
Pumpkin Pie Scones
intro
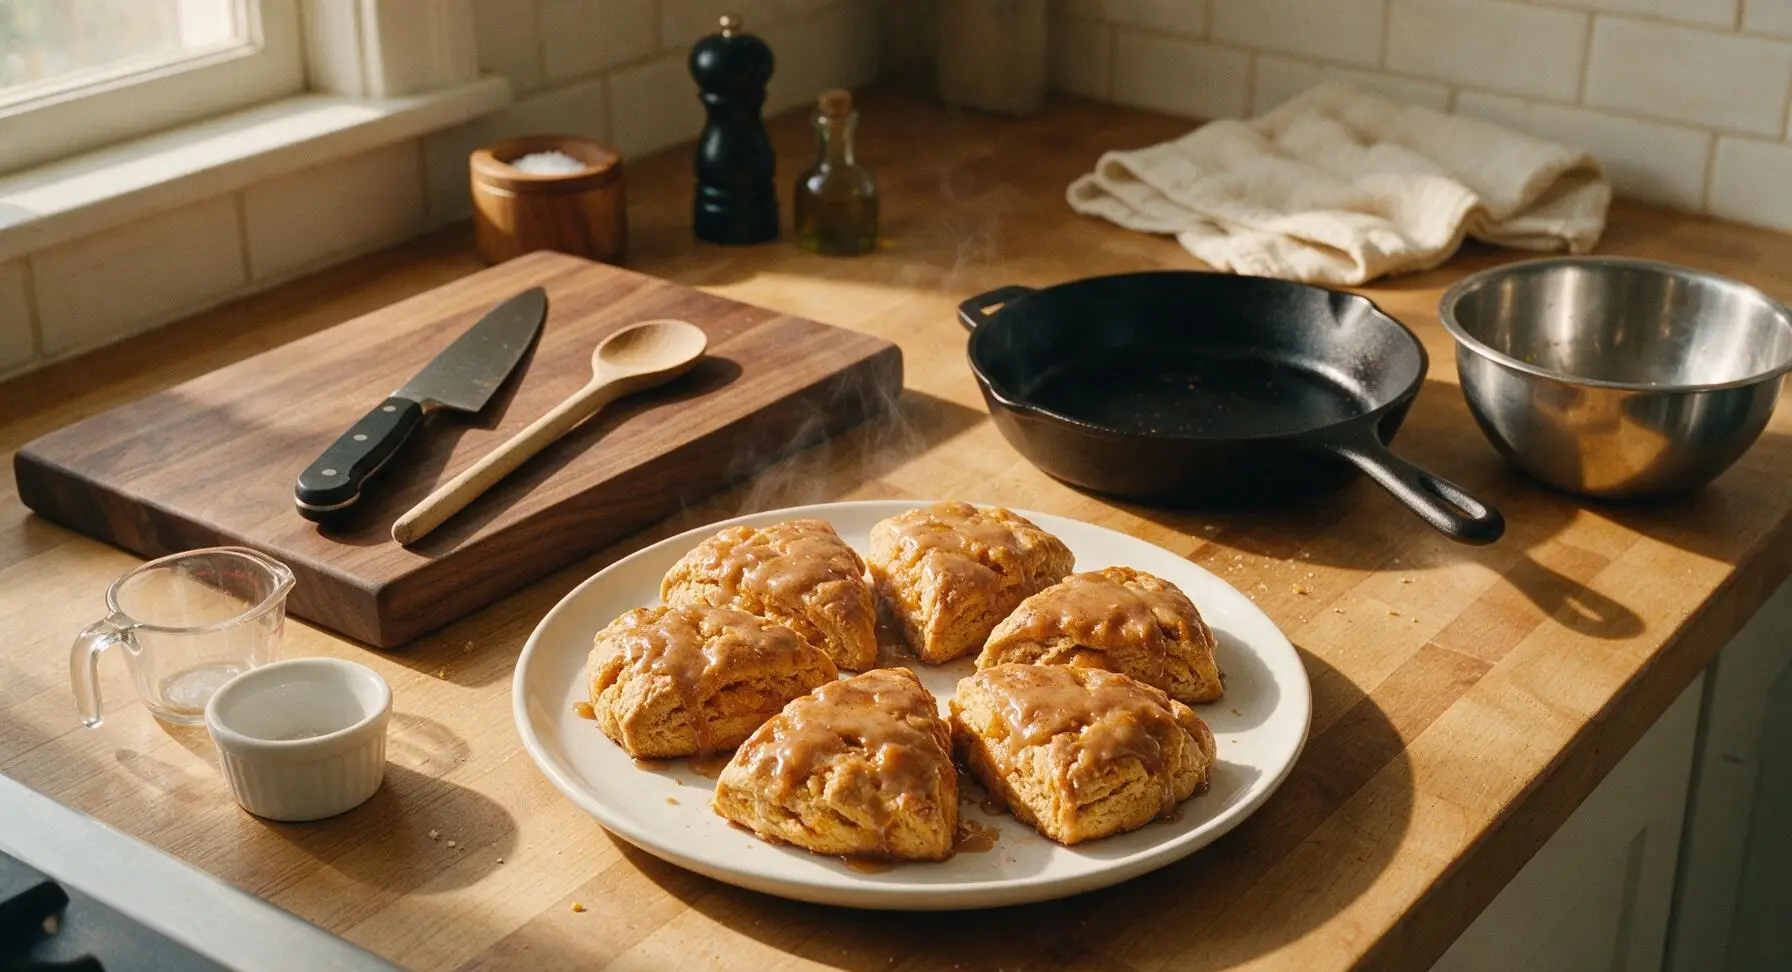
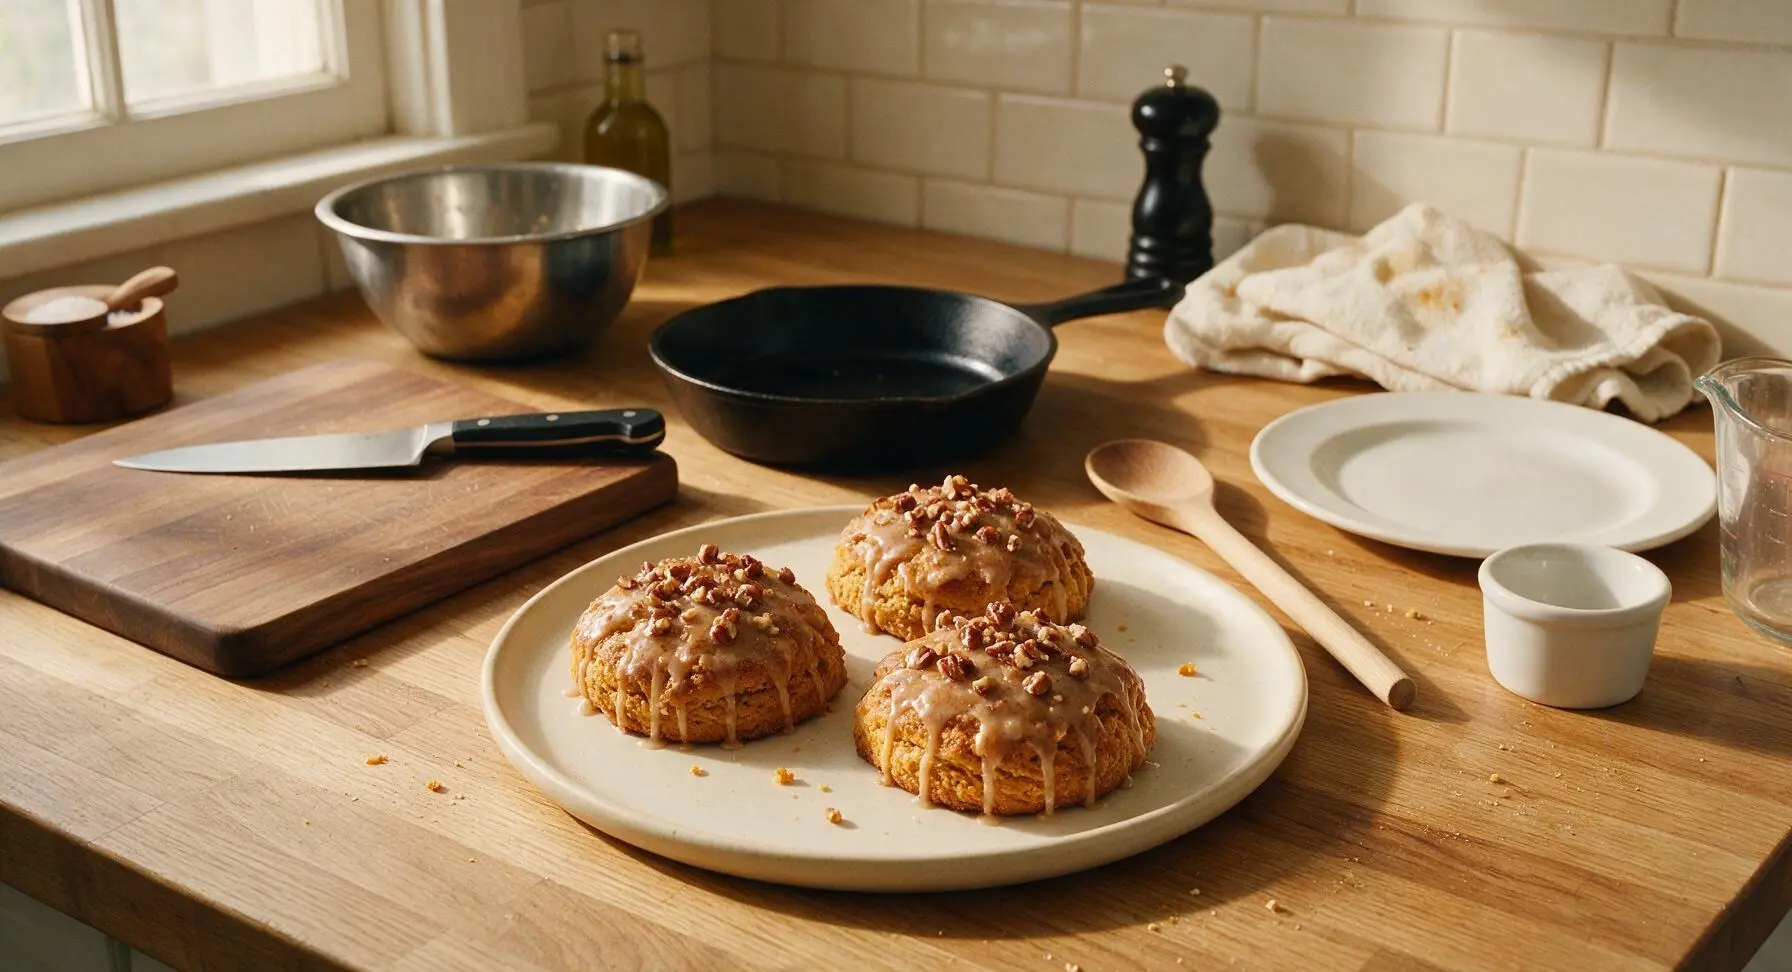
Tender, flaky scones infused with warm pumpkin pie spice and sweet pumpkin, finished with a cinnamon-maple glaze— the perfect cozy autumn treat for coffee or holiday spreads.
Ingredients
Steps
Whisk Dry Ingredients
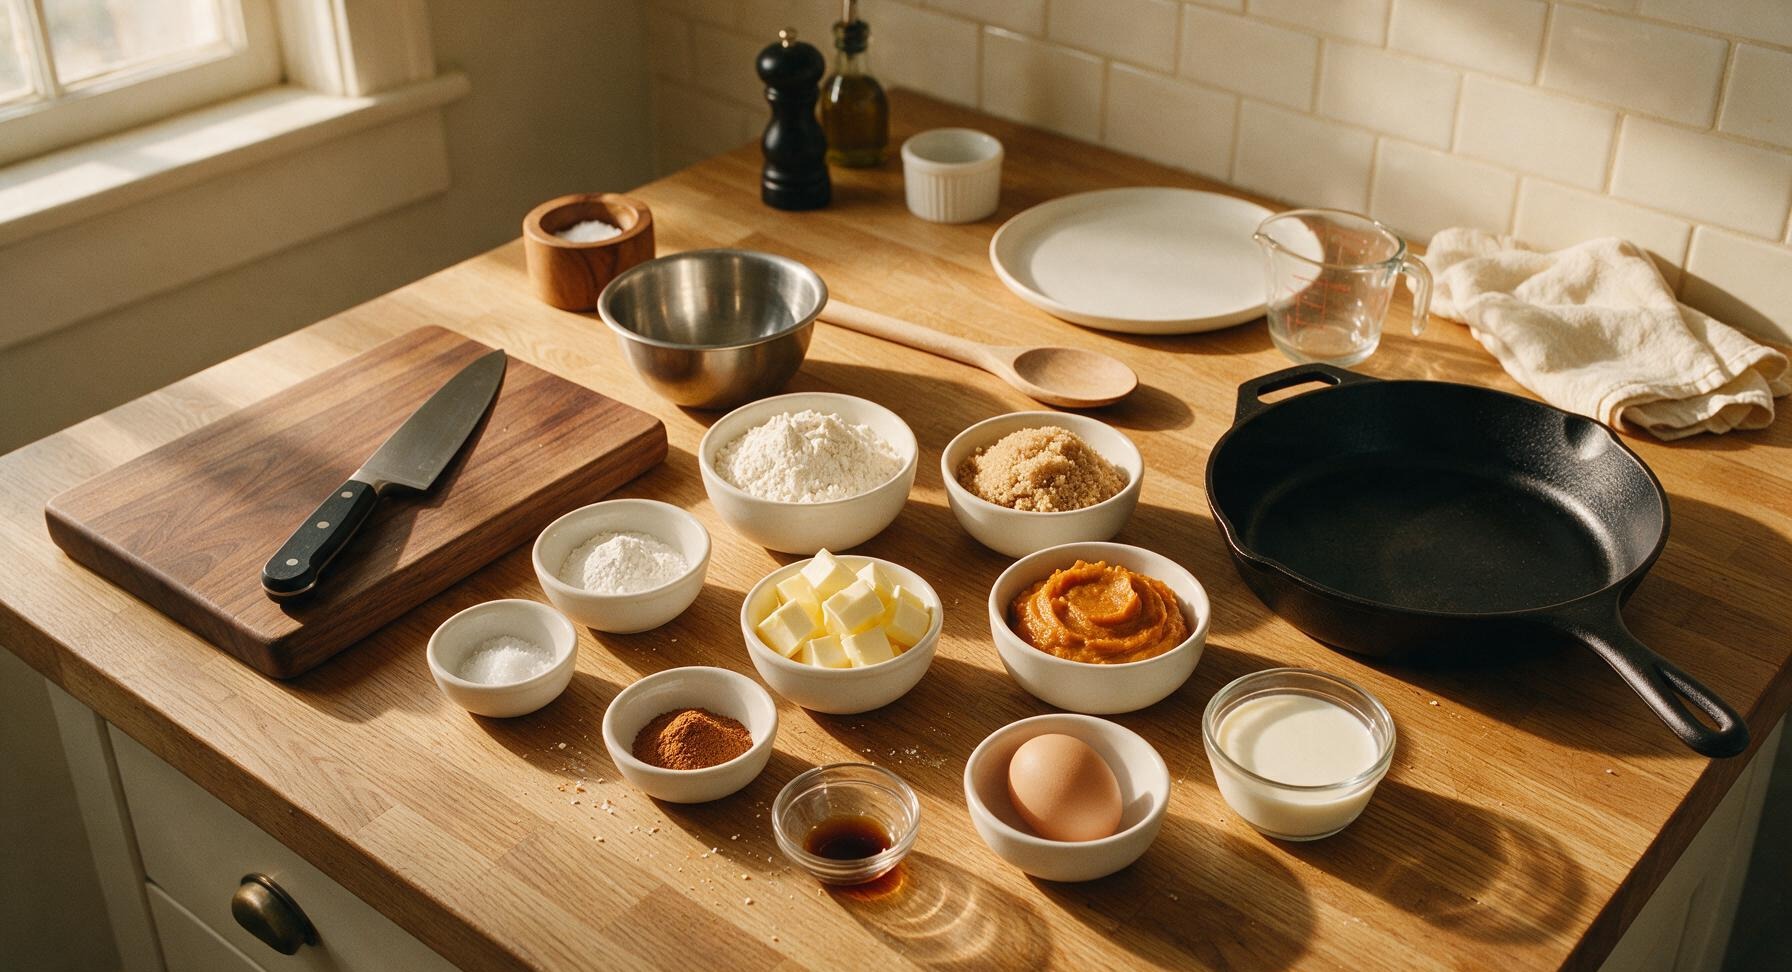
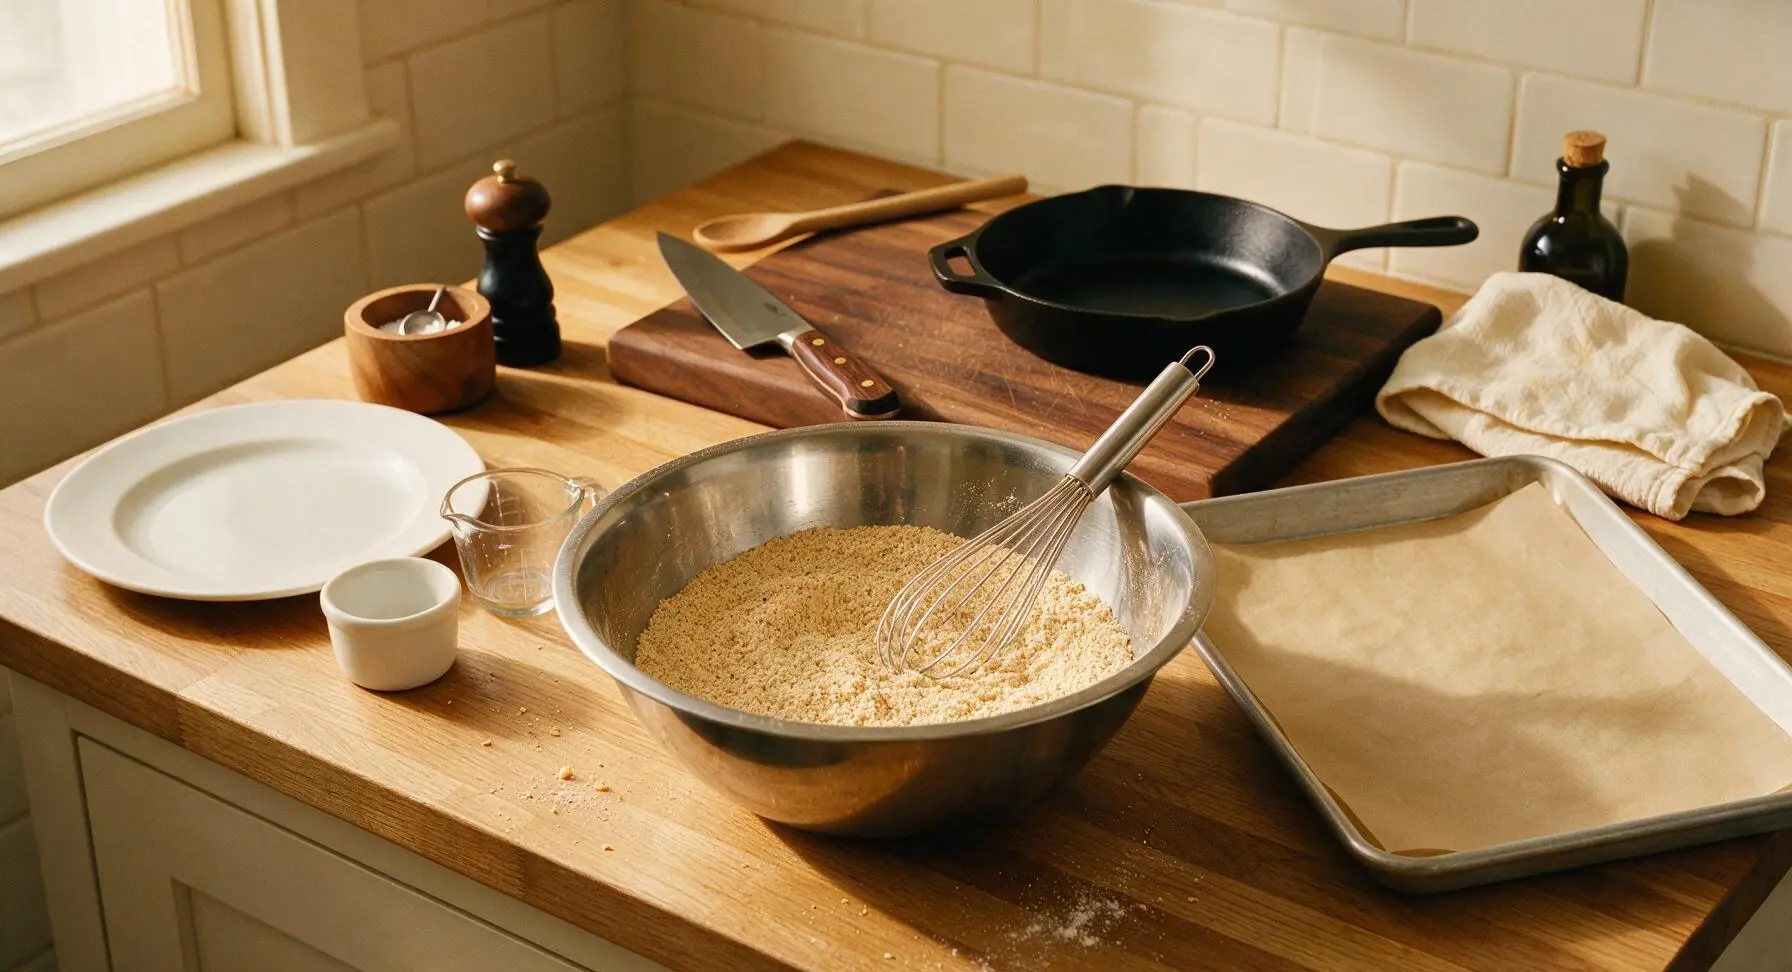
Preheat oven to 400°F (200°C) and line the half-sheet aluminum baking pan with unbleached parchment paper. In the large stainless steel mixing bowl, combine 2 1/2 cups (310g) all-purpose flour, 1/3 cup (65g) packed light brown sugar, 1 tablespoon baking powder, 2 teaspoons pumpkin pie spice, and 1/2 teaspoon fine sea salt. Use the large stainless steel whisk to stir until fully combined, breaking up any clumps of brown sugar, about 30 seconds. The mixture should be a uniform pale tan with no visible spice streaks.
Cut in Cold Butter
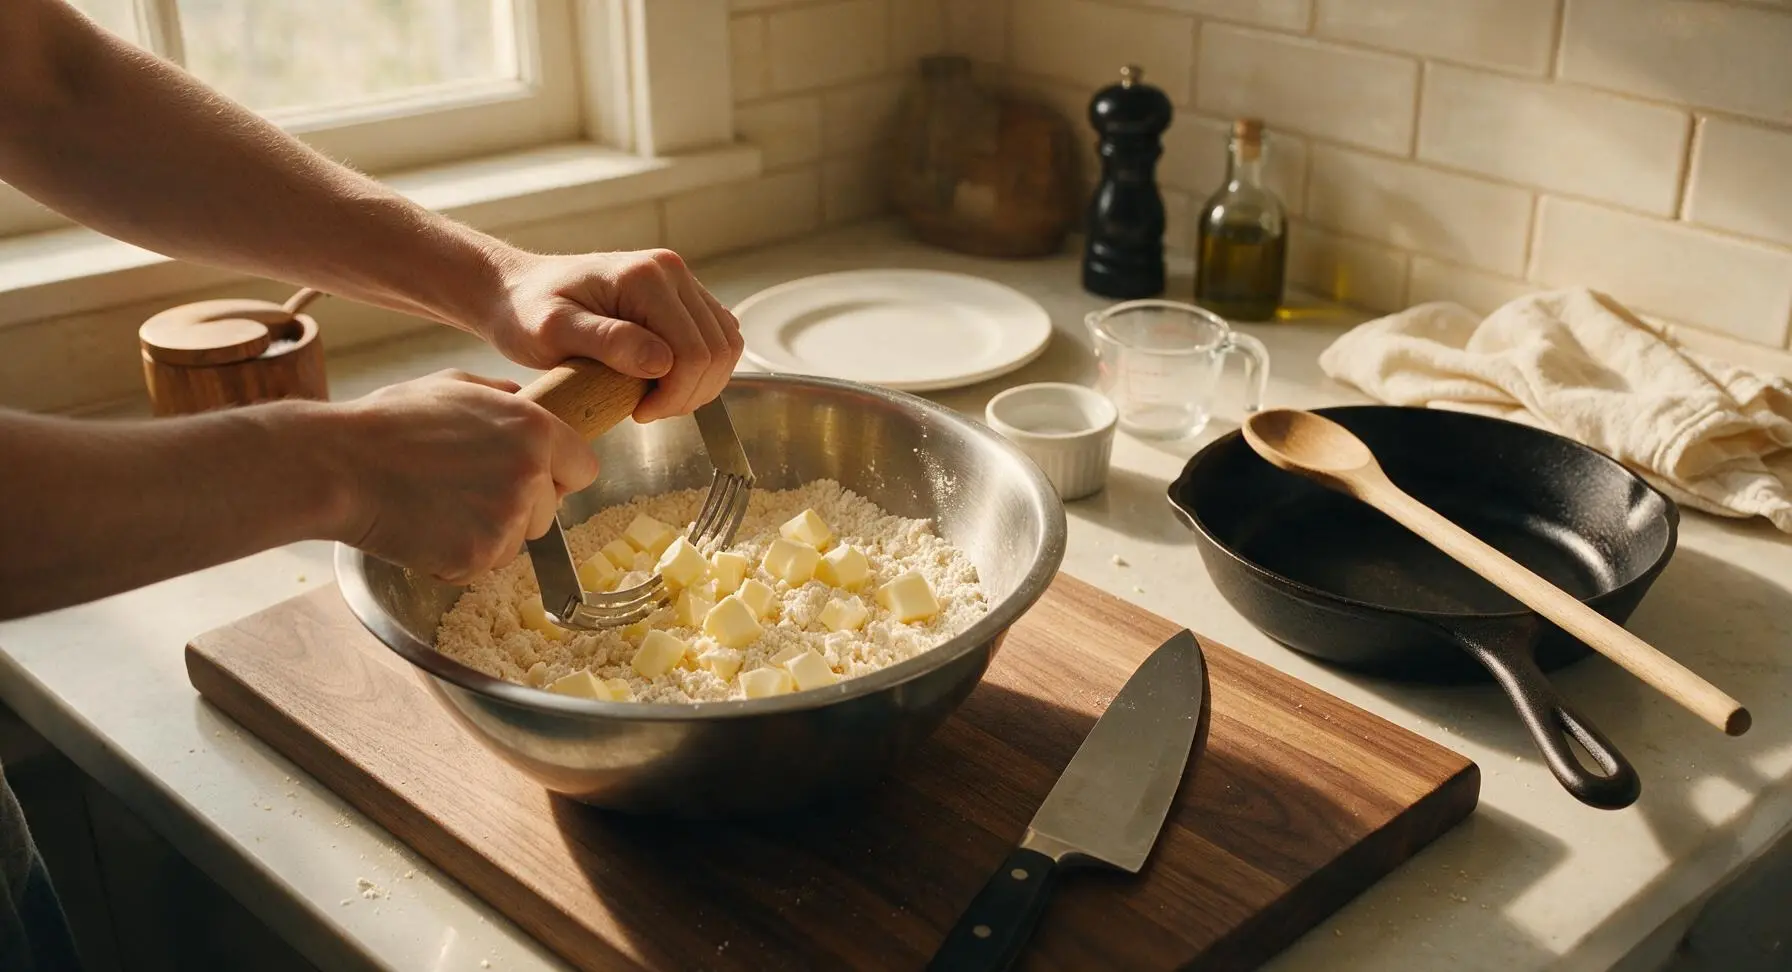
Add 1/2 cup (113g) cold 1cm-cubed unsalted butter to the dry ingredient mixture. Using the beech-handle pastry cutter, press down repeatedly to cut the butter into the flour, scraping the sides of the bowl as needed, until the mixture resembles coarse crumbs with some pea-sized butter pieces remaining. This takes roughly 2 minutes. Do not overwork the mixture, as these solid butter chunks create flaky layers as they melt in the oven.
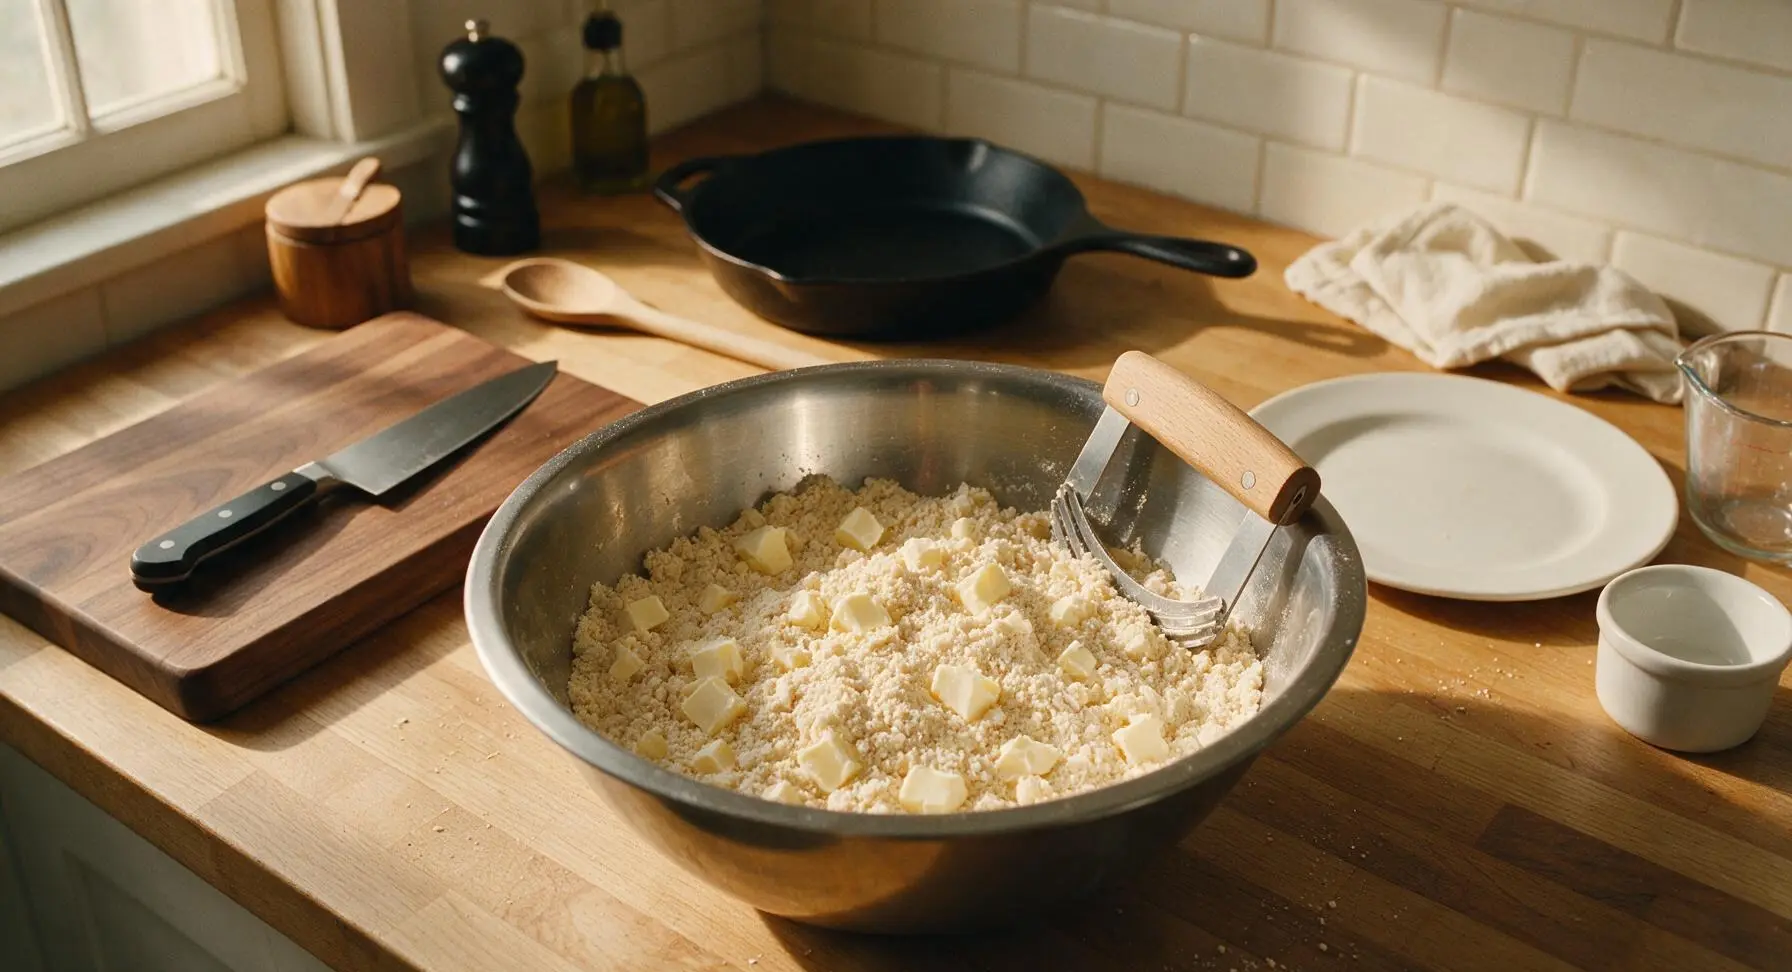
Mix Wet Ingredients
In the small stainless steel mixing bowl, combine 1/2 cup (120g) plain pumpkin puree (not pumpkin pie filling), 1 large cold egg, 3 tablespoons heavy cream, and 1 teaspoon vanilla extract. Use the small glass-handled whisk to stir until completely smooth, with no streaks of unincorporated egg remaining, about 1 minute. The mixture will be a uniform deep orange color.
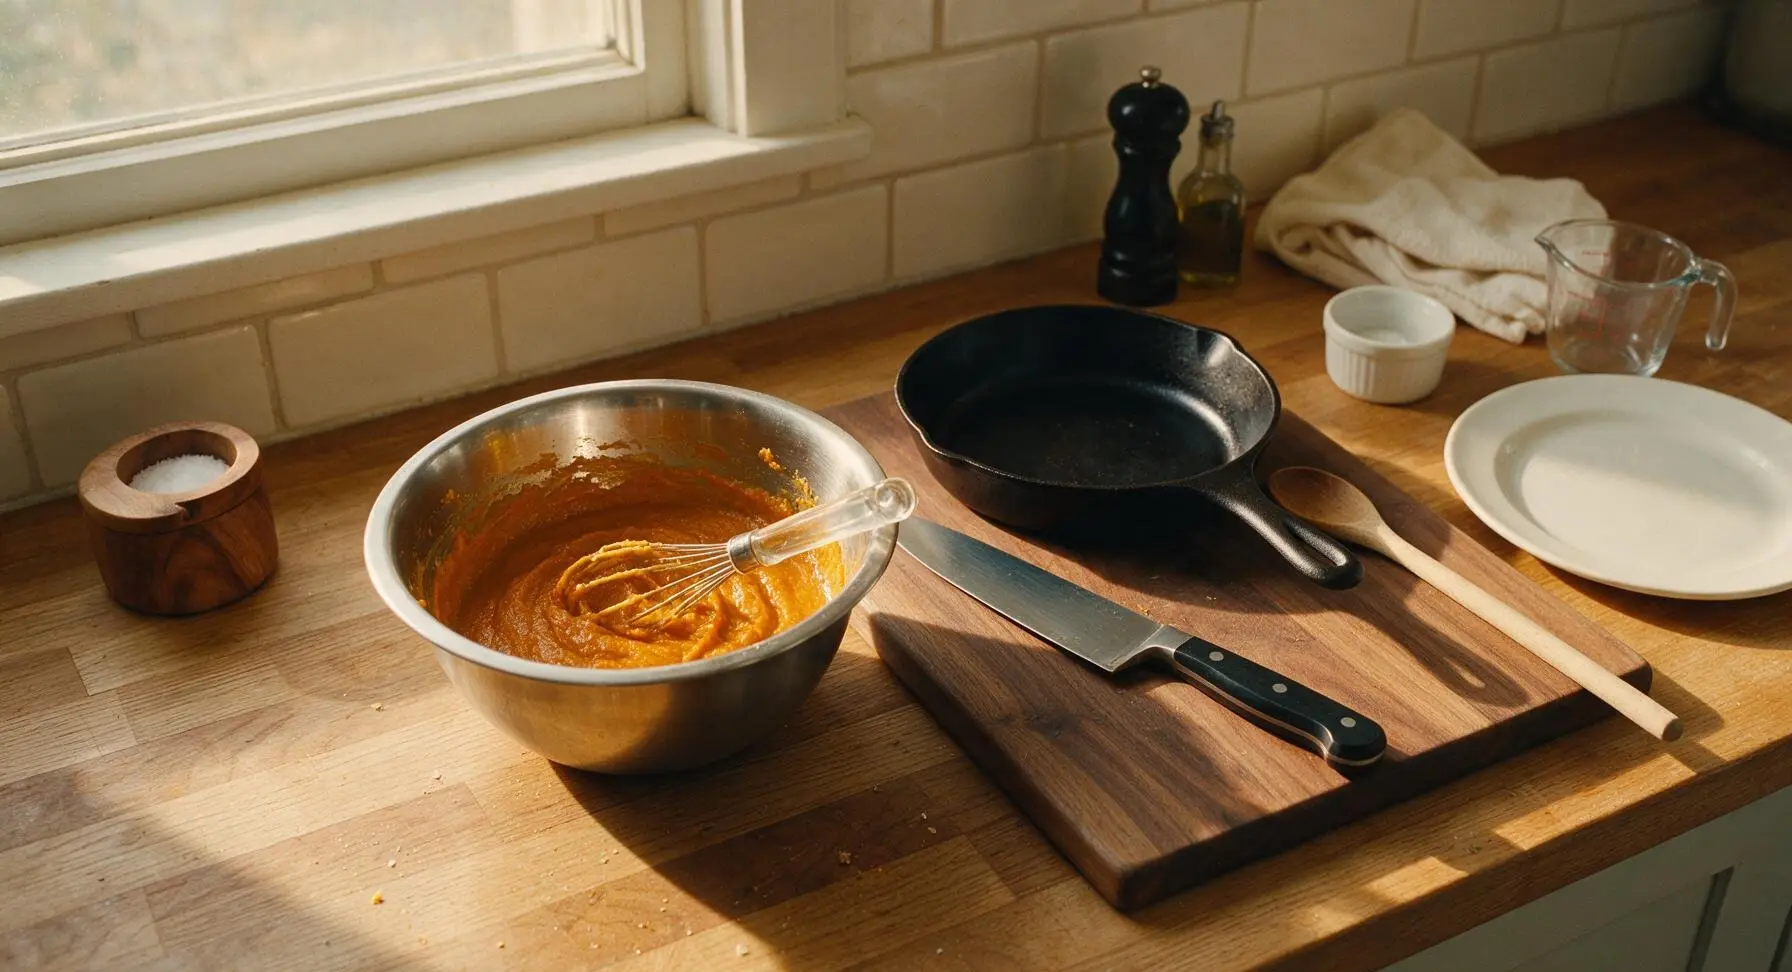
Fold Shaggy Dough
Pour the smooth wet pumpkin mixture into the large bowl with the dry butter-flour crumbs. Use the dusty blue silicone spatula to gently fold the ingredients together, scraping the bottom of the bowl to incorporate hidden dry flour, just until a shaggy, slightly sticky dough forms. Stop mixing as soon as no dry flour pockets remain – overmixing develops gluten and leads to tough, dense scones. This takes roughly 45 seconds.
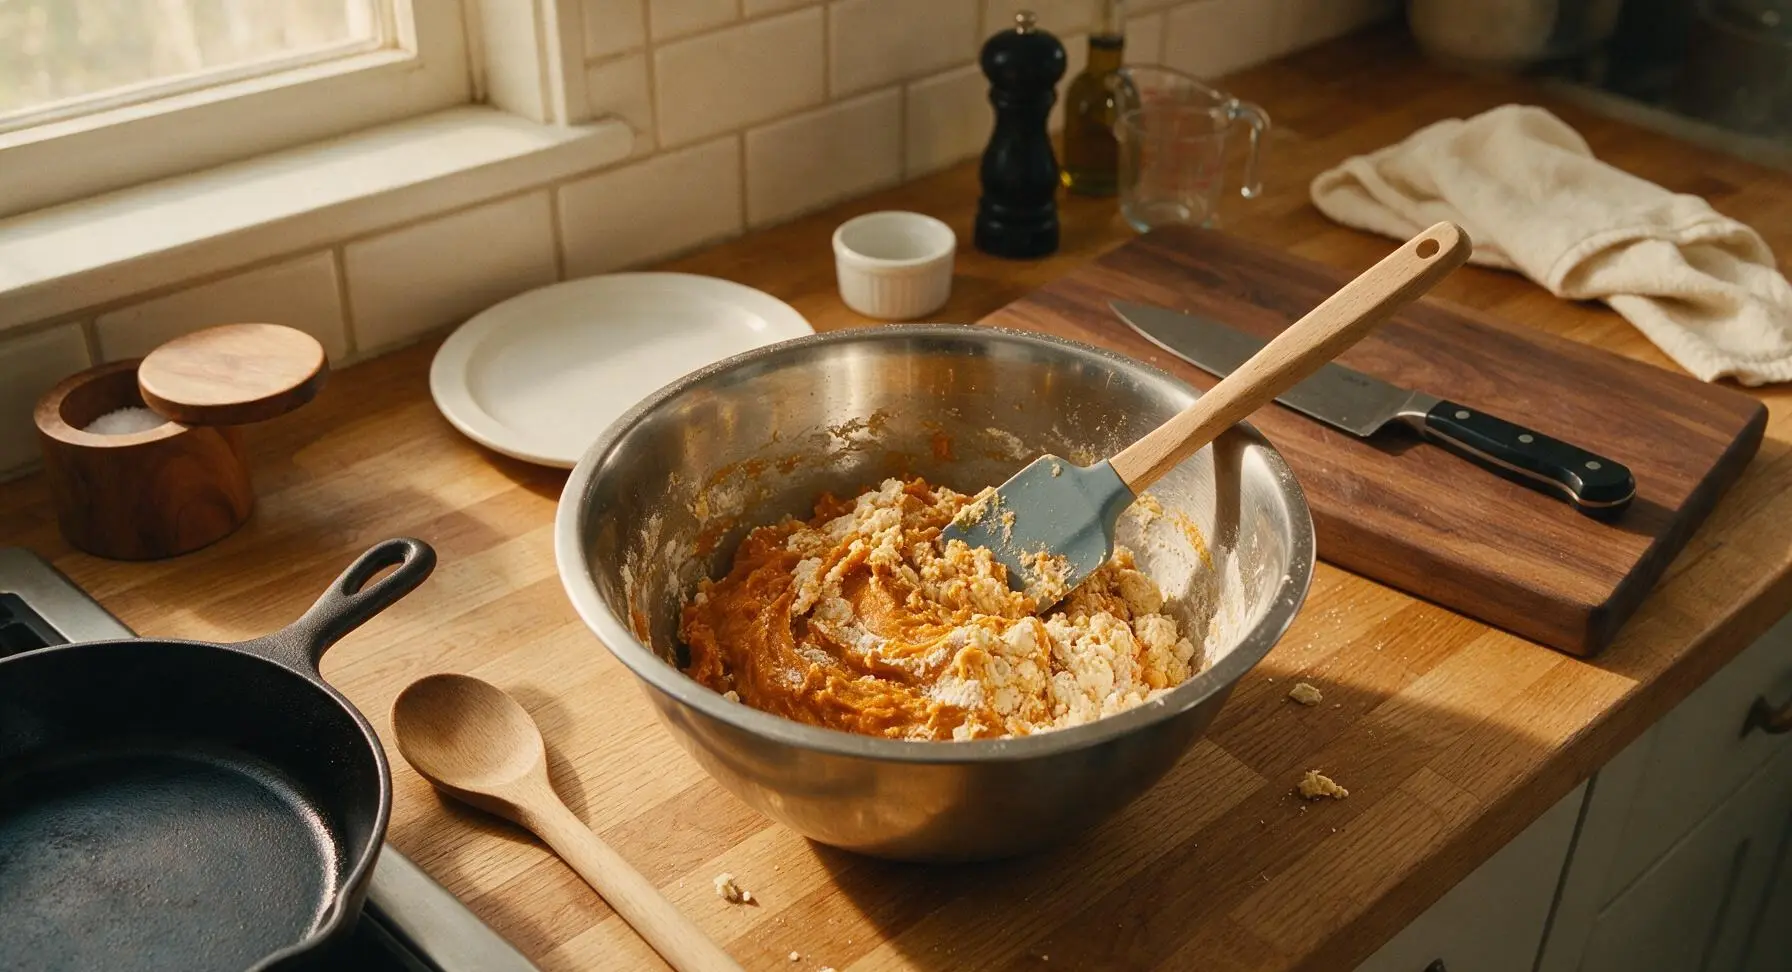
Shape and Cut Scones
Lightly flour a small section of the maple counter, then turn the shaggy dough out onto the floured surface. Use clean hands to pat the dough into a uniform 20cm (8-inch) round disk, roughly 2.5cm (1-inch) thick. Use the round stainless steel dough scraper to cut the disk evenly into 8 triangular wedges, as if slicing a pie. Arrange the wedges 5cm (2 inches) apart on the parchment-lined baking pan, then use the dusty blue silicone pastry brush to brush the top of each scone lightly with extra heavy cream to encourage a golden, crisp crust.
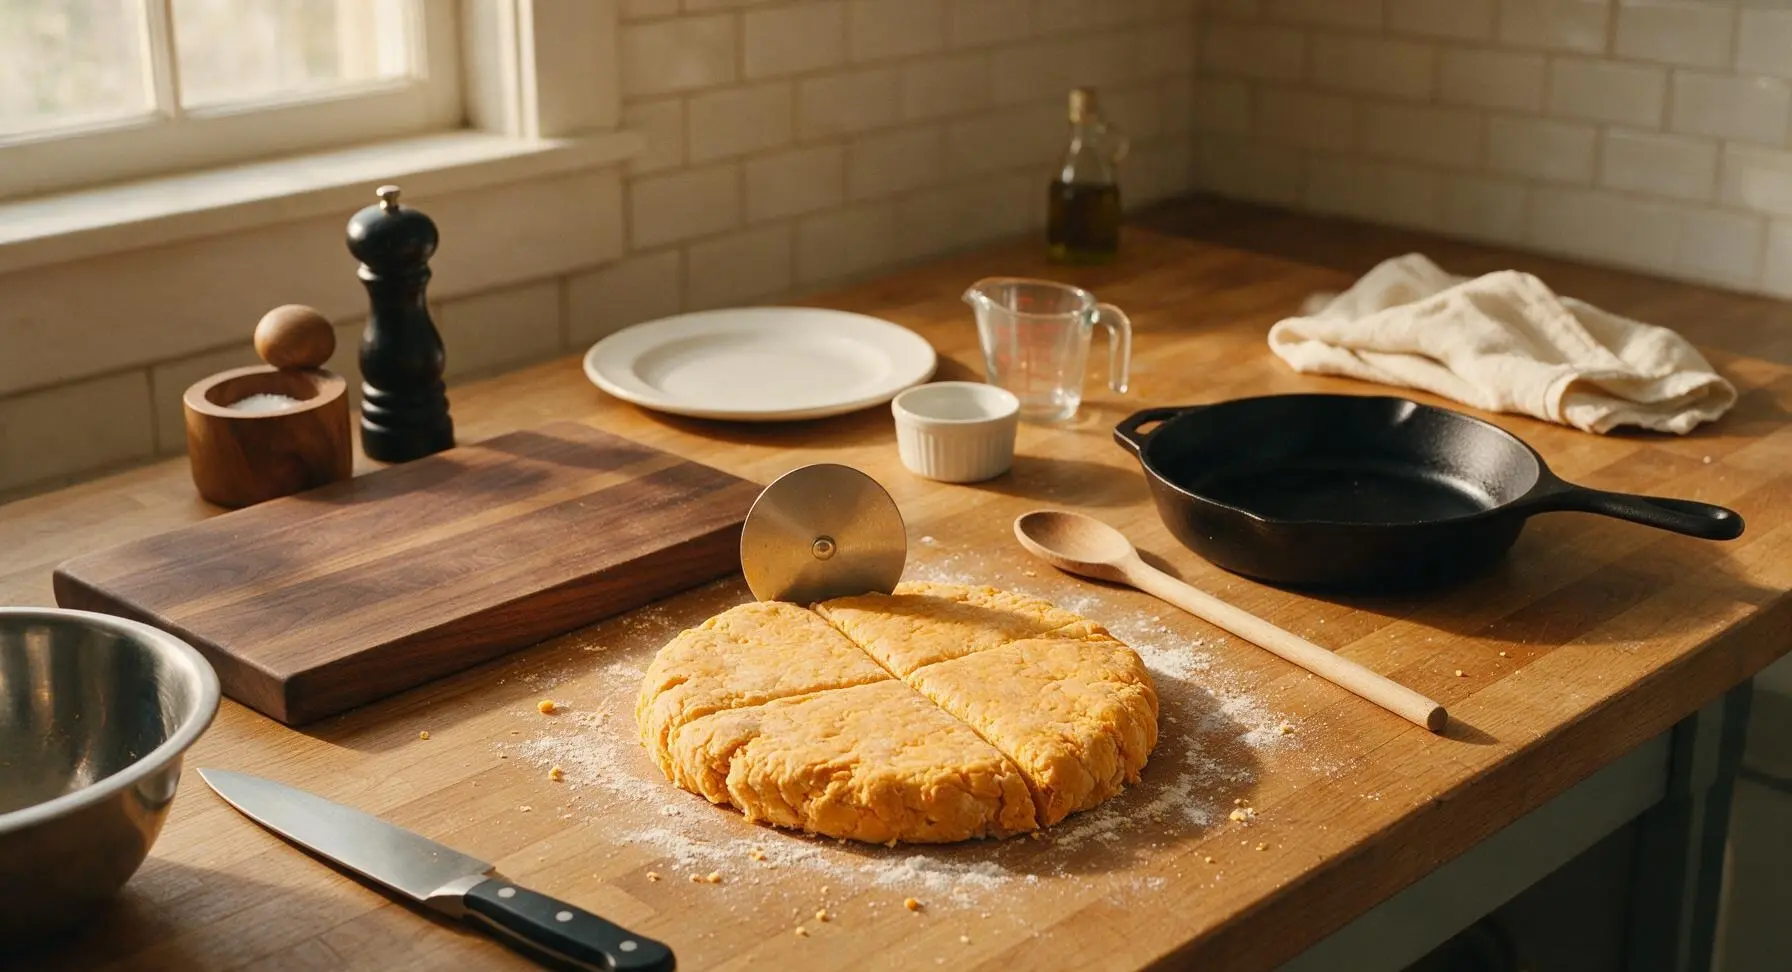
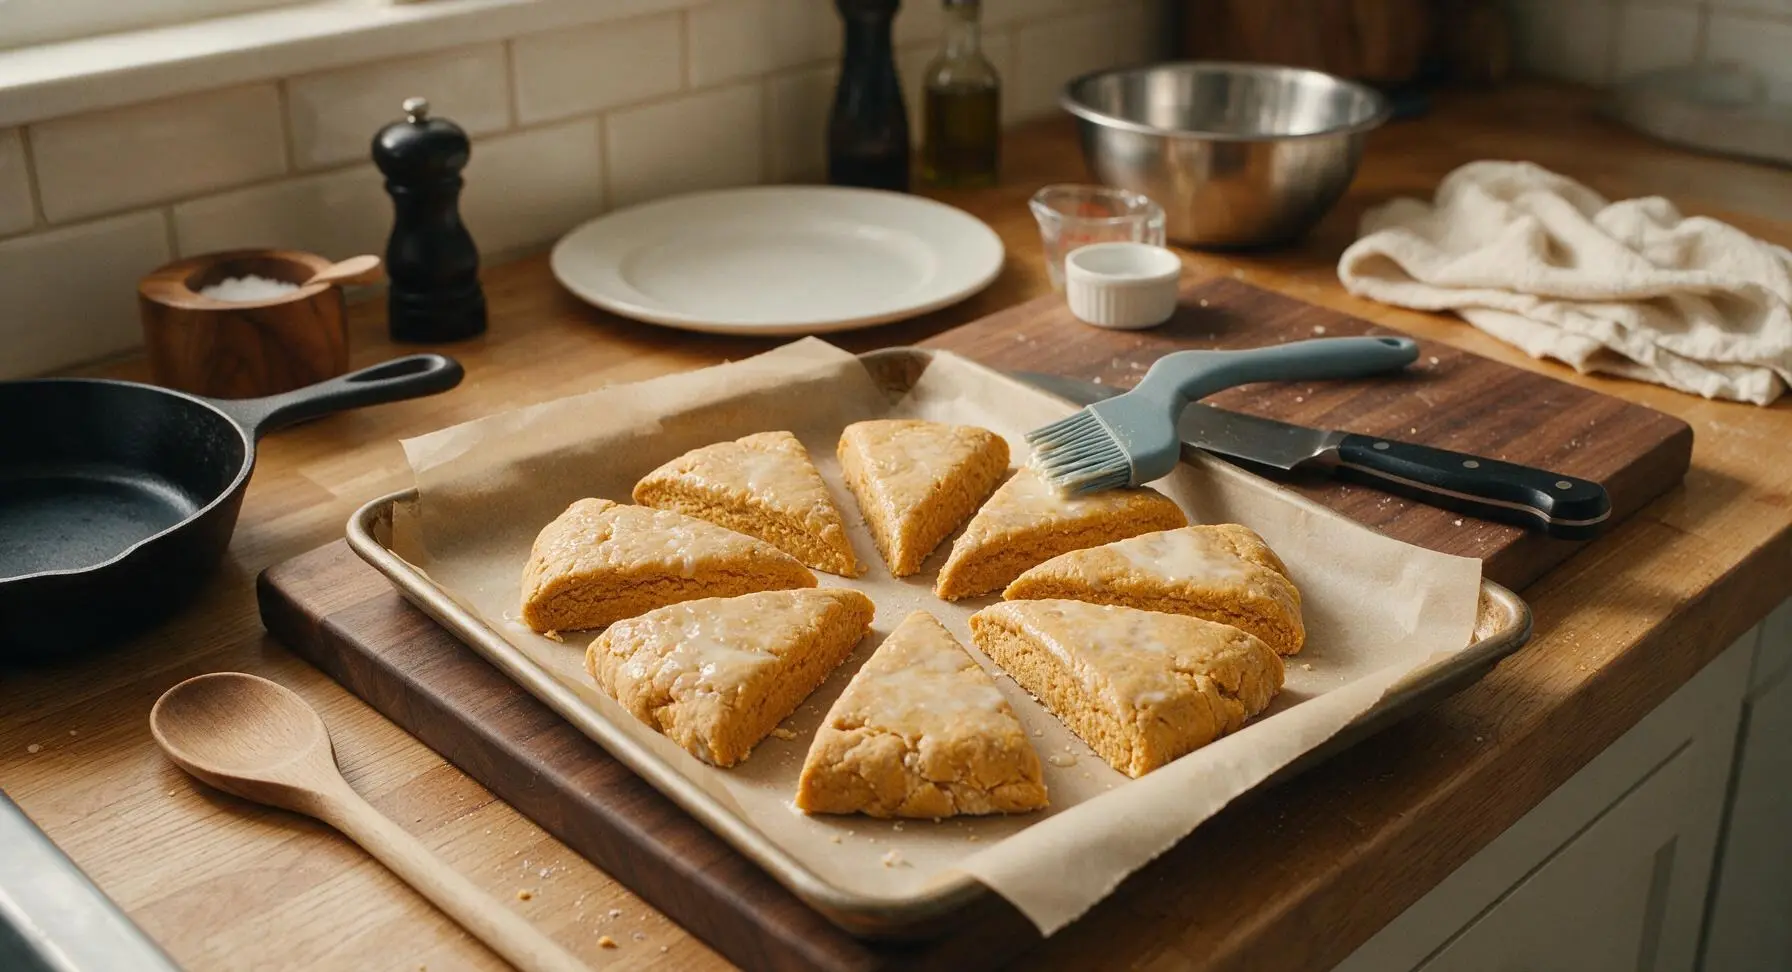
Bake to Golden Brown
Place the prepared baking pan on the middle rack of the preheated 400°F (200°C) oven. Bake for 16-18 minutes, until the scone edges are deep golden brown and the tops are fully set; a toothpick inserted into the center of a scone should come out with 1-2 moist crumbs attached, no wet batter. Remove the pan from the oven, then immediately transfer the scones to the matte black wire cooling rack to cool completely for 20 minutes before glazing.
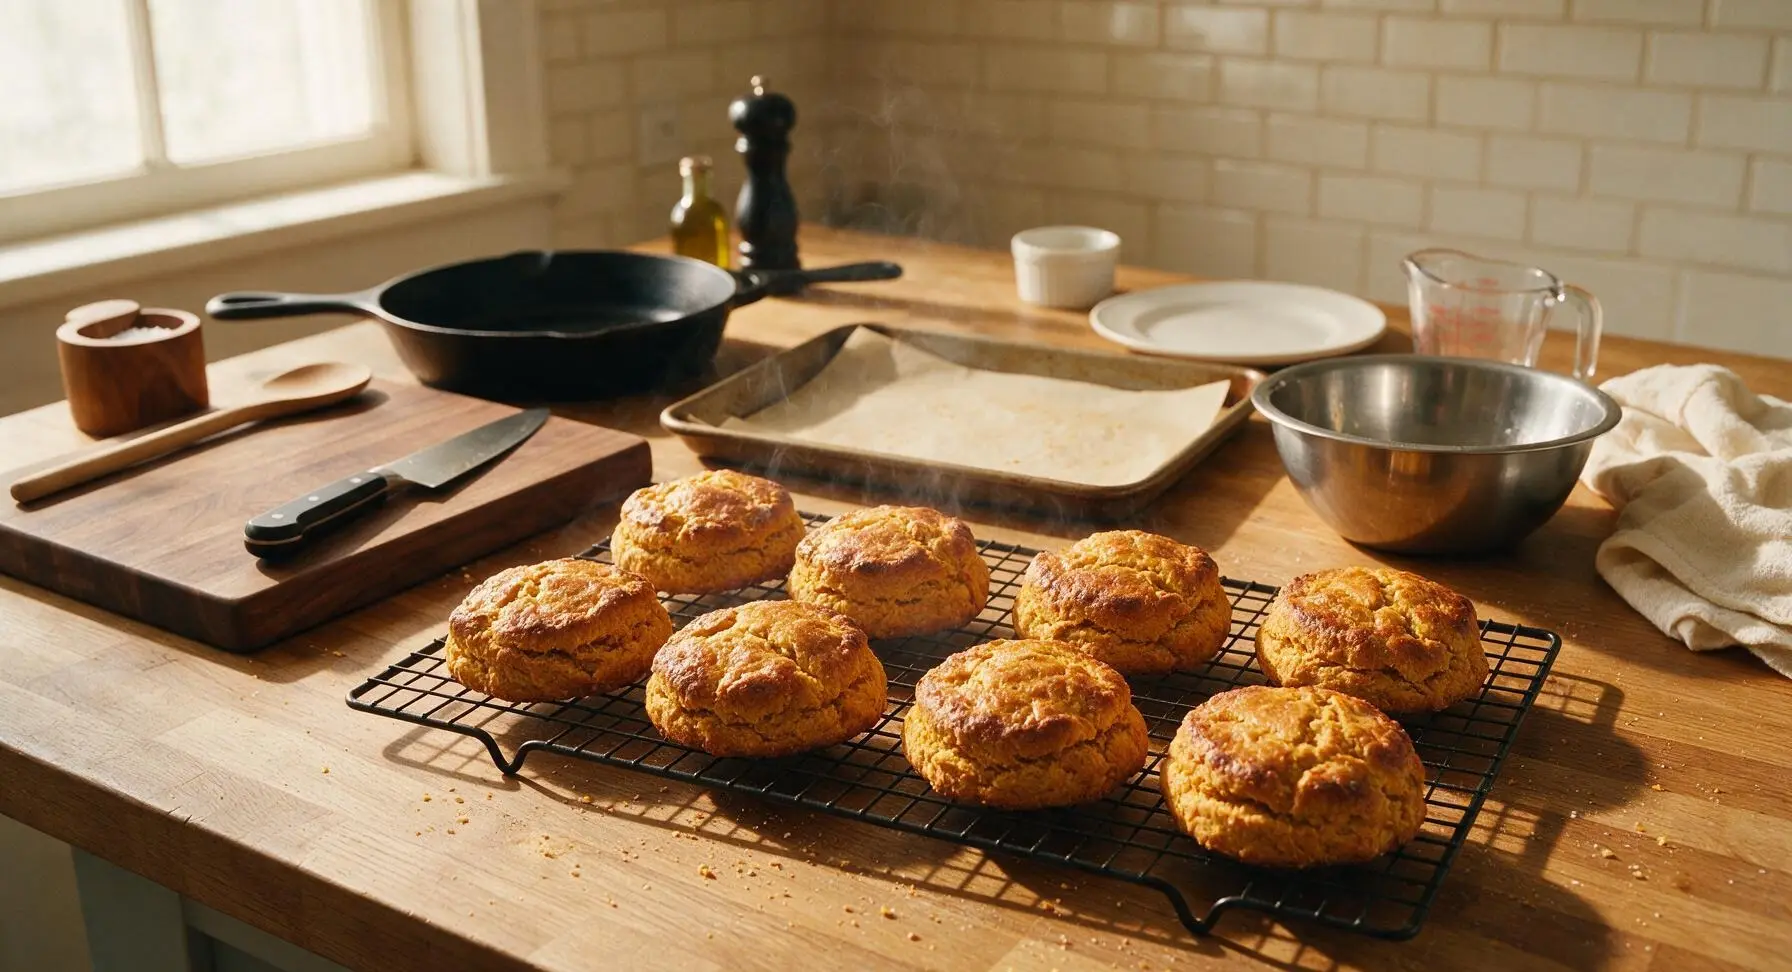
Mix Spiced Glaze
While the scones cool, prepare the cinnamon-maple glaze: in one small clear glass ramekin, combine 1 cup (120g) powdered sugar, 1 tablespoon pure maple syrup, 1/4 teaspoon ground cinnamon, and 2 tablespoons whole milk. Use the small glass-handled whisk to stir until completely smooth, adjusting consistency as needed: add 1/2 teaspoon extra milk if the glaze is too thick to drizzle, or 1 tablespoon extra powdered sugar if it is too runny.
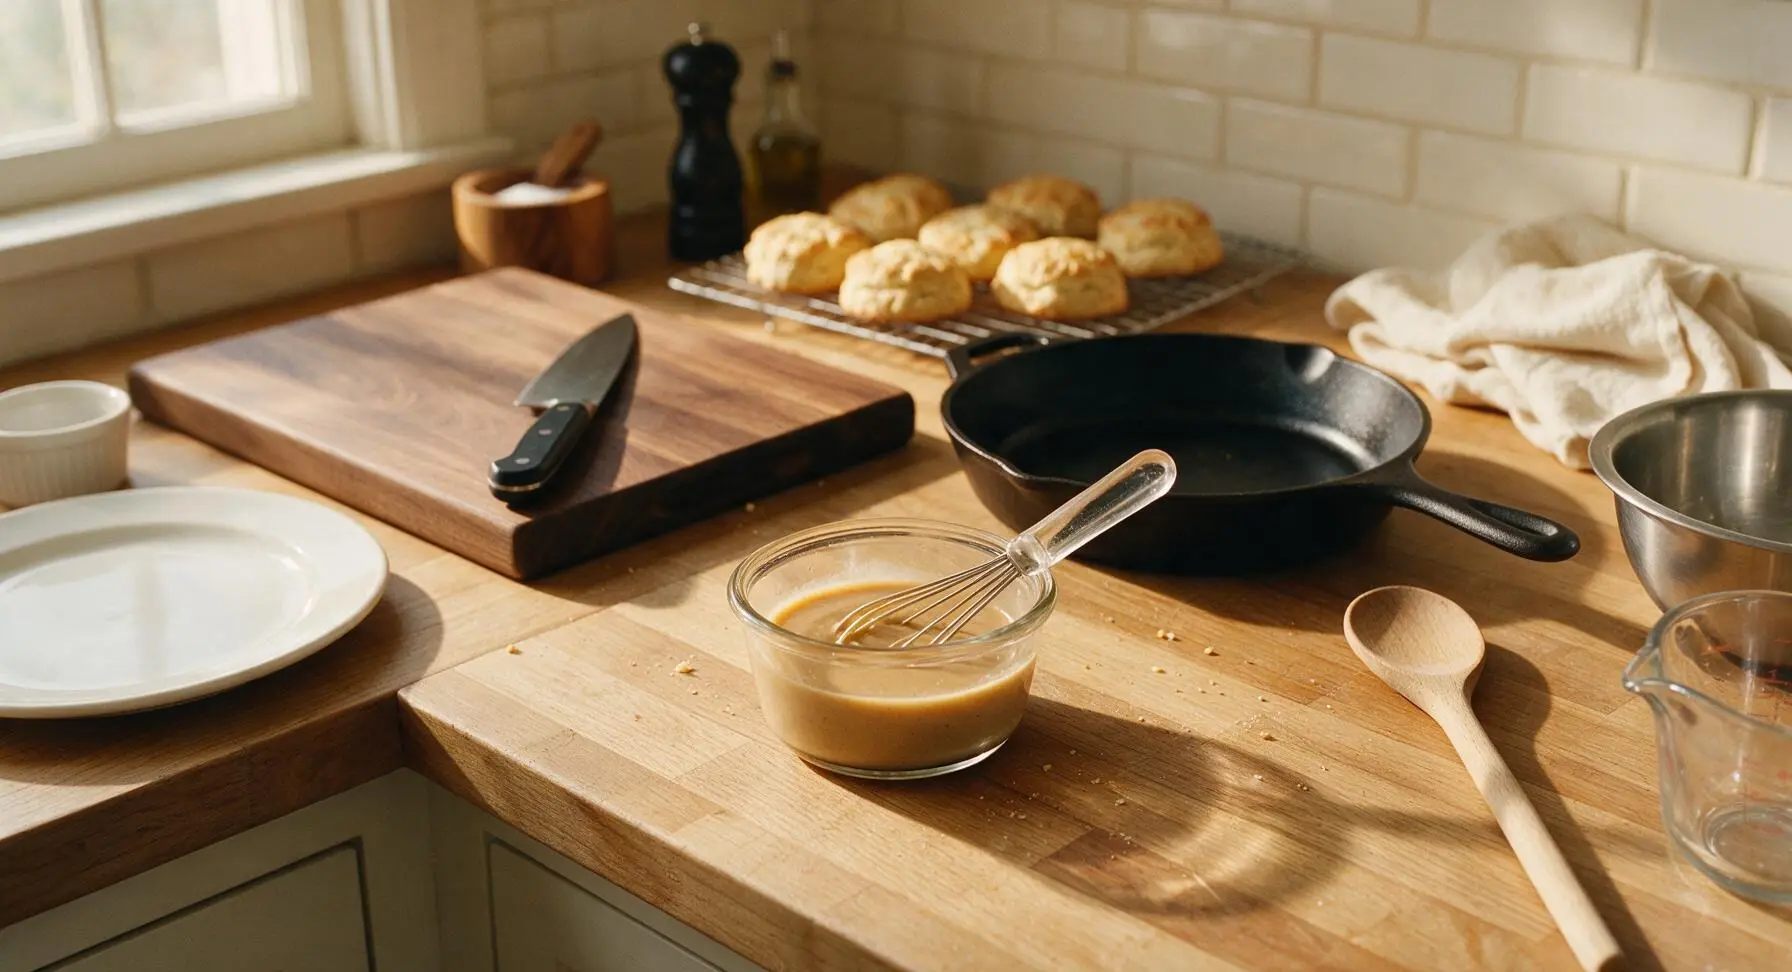
Glaze and Plate Scones
Hold the small whisk 10cm above each cooled scone to drizzle the spiced glaze generously over the top, letting it run in thin trails down the scone sides. Sprinkle 2 tablespoons total of chopped candied pecans over the wet glaze before it sets. Let the glaze set for 5 minutes at room temperature, then arrange three scones on the matte cream ceramic serving platter for serving.
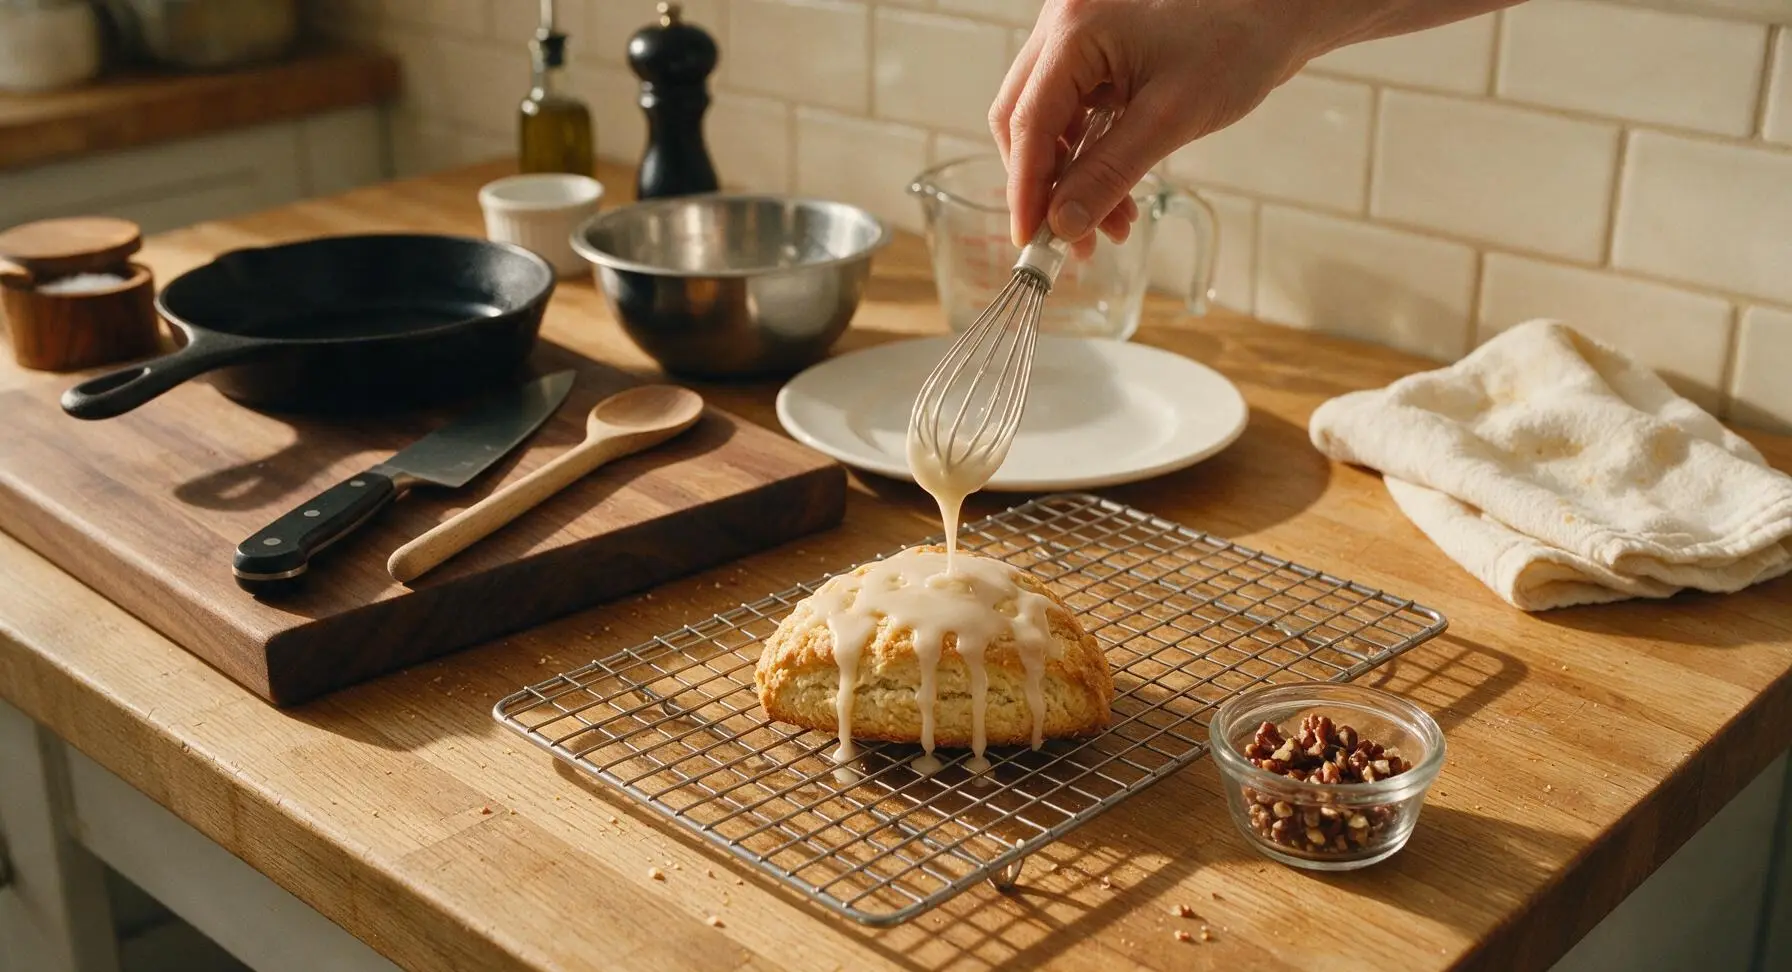
Tips
2.Resist the urge to overmix the dough: stop folding as soon as no dry flour remains, as overworking the dough develops wheat gluten that will make scones tough and bread-like rather than tender.
3.Wait until scones are fully cooled before applying glaze: warm scones will cause the glaze to melt, slide off, and absorb into the pastry instead of setting into a thick, glossy, sweet top coating.






OMG these pumpkin pie scones are SO good! I threw them together last minute for my office potluck yesterday and everyone was begging for the recipe. Took barely any prep time and cooked in exactly 18 minutes like the recipe said—total game changer for fall baking. The sweet spiced glaze on top? *Chef’s kiss* No dry, crumbly mess like other scone recipes I’ve tried!
My kids loved it! I made these for our Saturday morning breakfast before soccer practice and even my super picky 7 year old asked for a second one. I swapped half the all-purpose flour for whole wheat to make them a little heartier and they still turned out light and fluffy. Will be adding these to our weekly meal prep rotation for sure!
These are super tasty, but my first batch spread way more than I expected on the baking sheet! Did I maybe overwork the dough, or is my butter too soft? Flavor is 10/10 though, the pumpkin pie spice balance is perfect.
Made these to go with my morning pumpkin spice latte all week and they are chef’s kiss. So easy to throw together even on a Sunday night when I’m half watching football. I added a handful of white chocolate chips to half the batch for my partner and he swears that’s the superior version.
SO good! I brought these to my friend’s fall bonfire last weekend and people were coming back for thirds. I was worried they’d be too sweet since I don’t love overly sugary pastries, but the spice level and sweetness are totally balanced. Way easier than making a whole pumpkin pie for a crowd, honestly.
As someone who’s never successfully made scones before (they always turn out like hard rocks lmao) these were a total win! The easy difficulty rating is no joke, I didn’t mess up a single step. My roommates thought I bought them from the fancy bakery down the street.
Wait has anyone tried making these ahead and freezing them? I want to prep a big batch for Thanksgiving morning so I don’t have to bake while I’m cooking the rest of the meal. The recipe looks so easy I know they’ll taste great, just curious if freezable!