
Pumpkin Pie with Evaporated Milk
intro
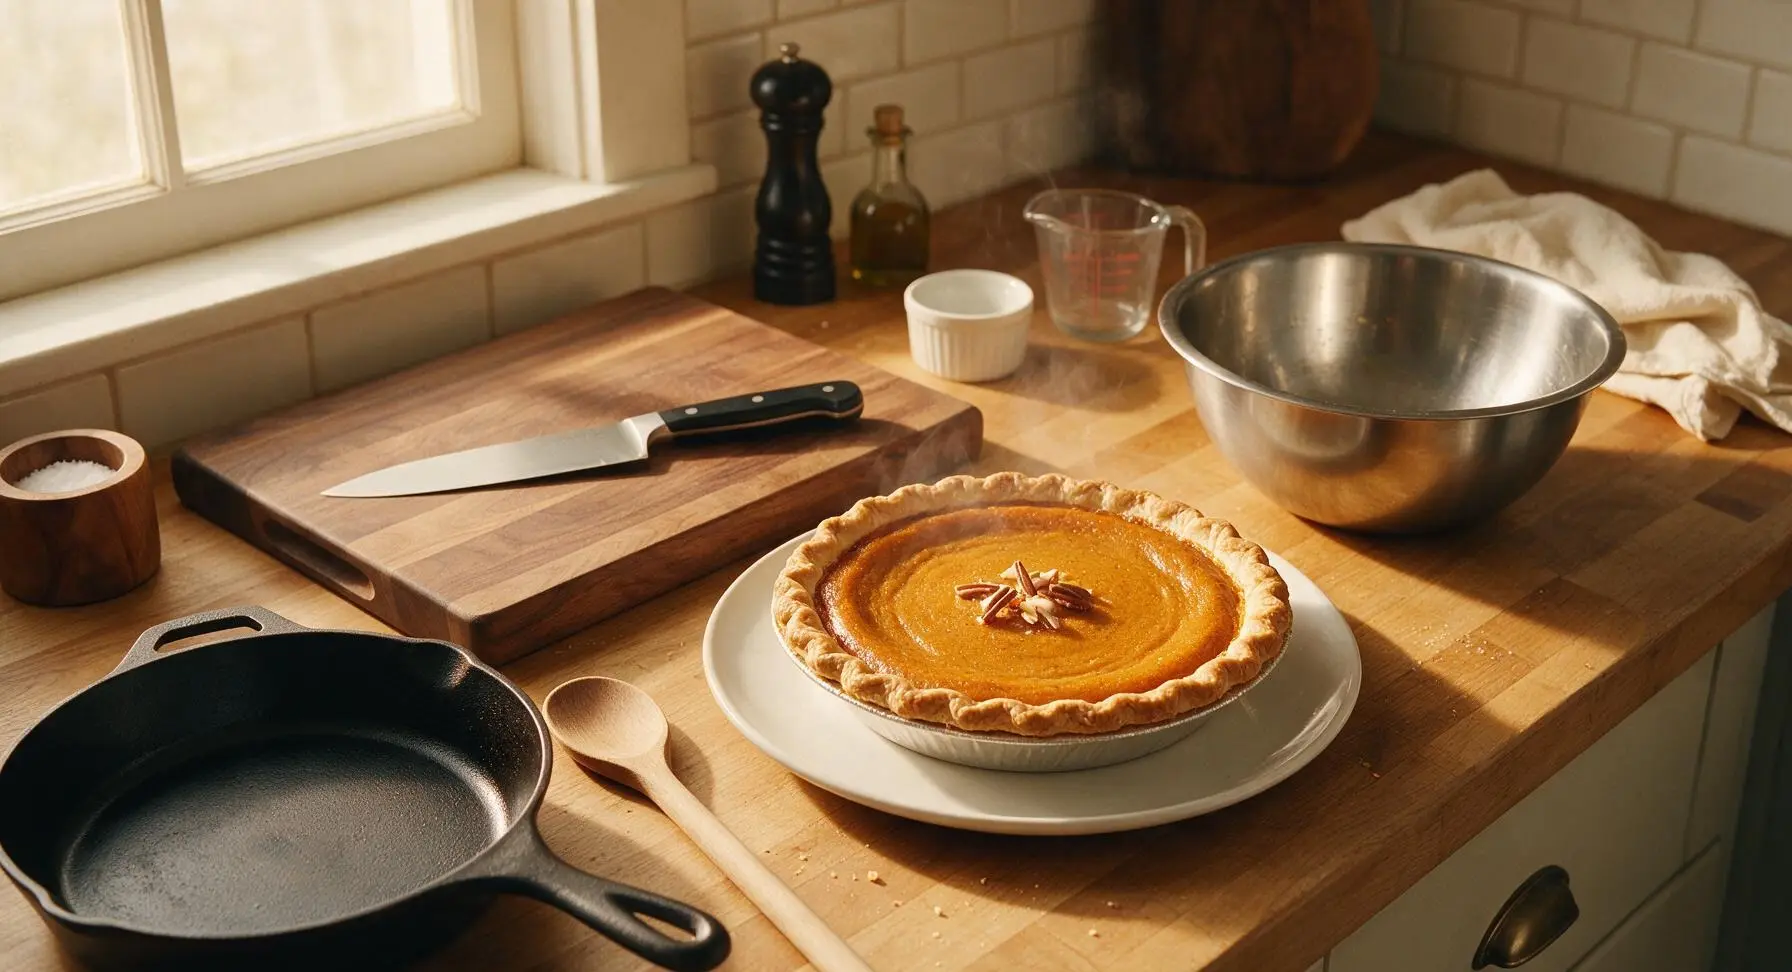
Silky, warmly spiced pumpkin custard in a flaky golden crust, enriched with creamy evaporated milk for the iconic, nostalgic Thanksgiving dessert.
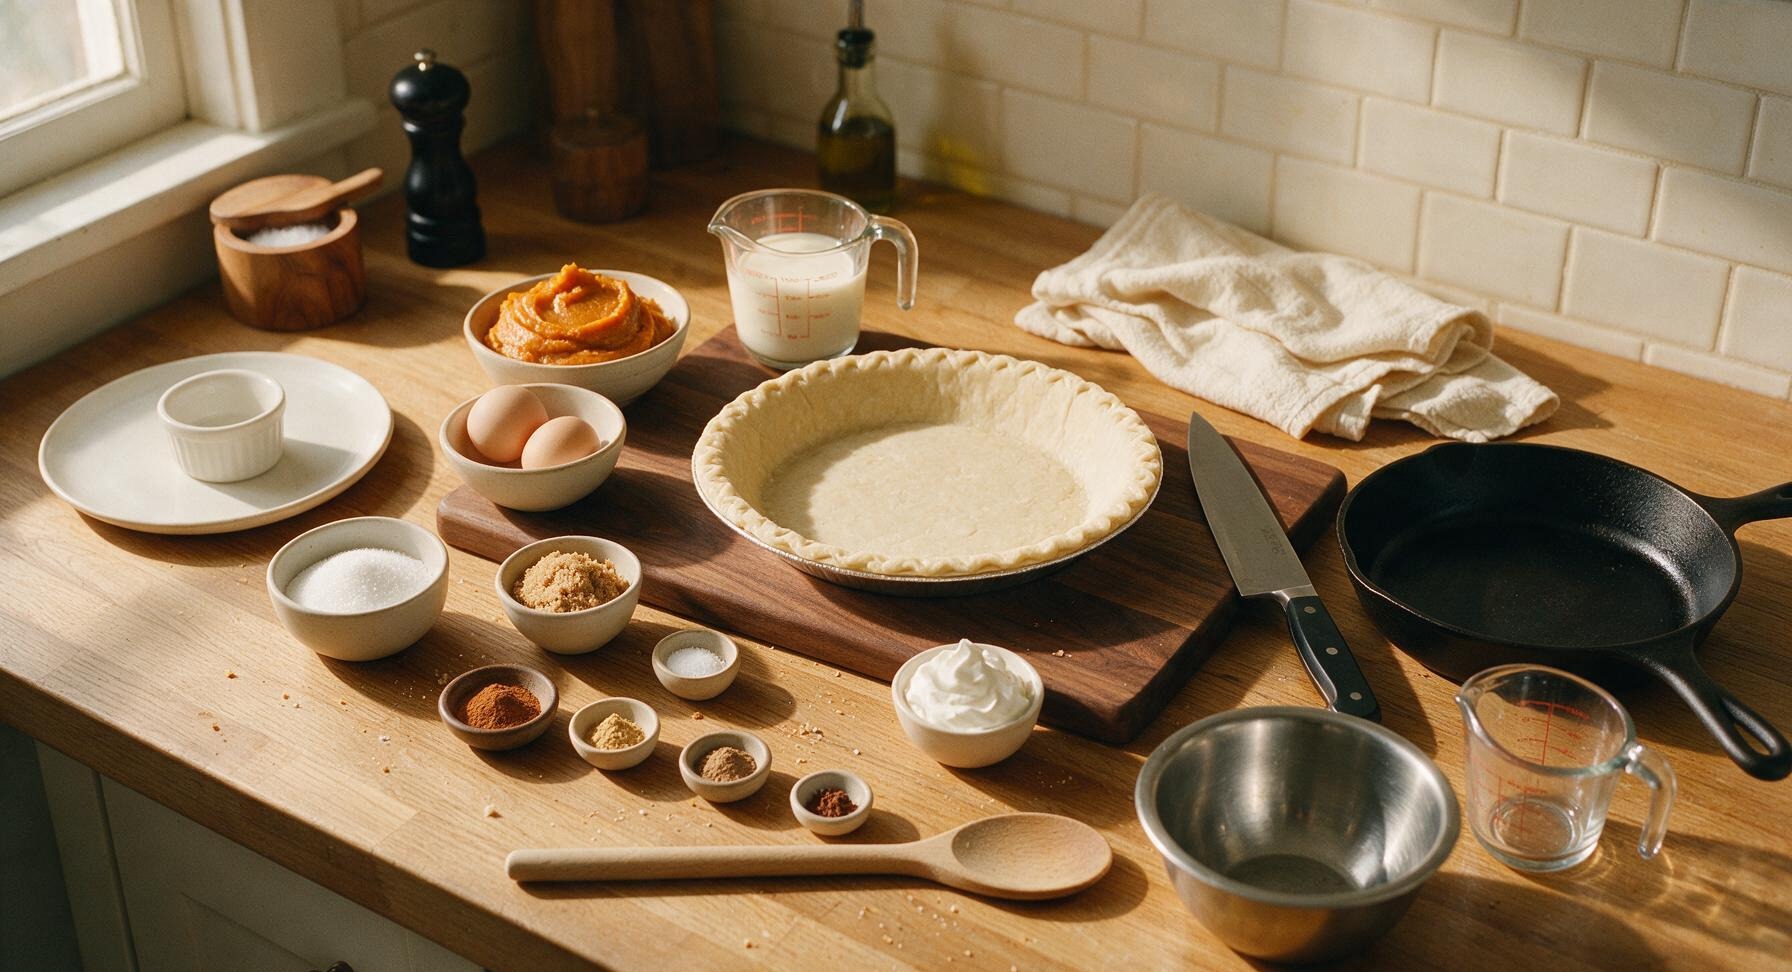
Ingredients
Steps
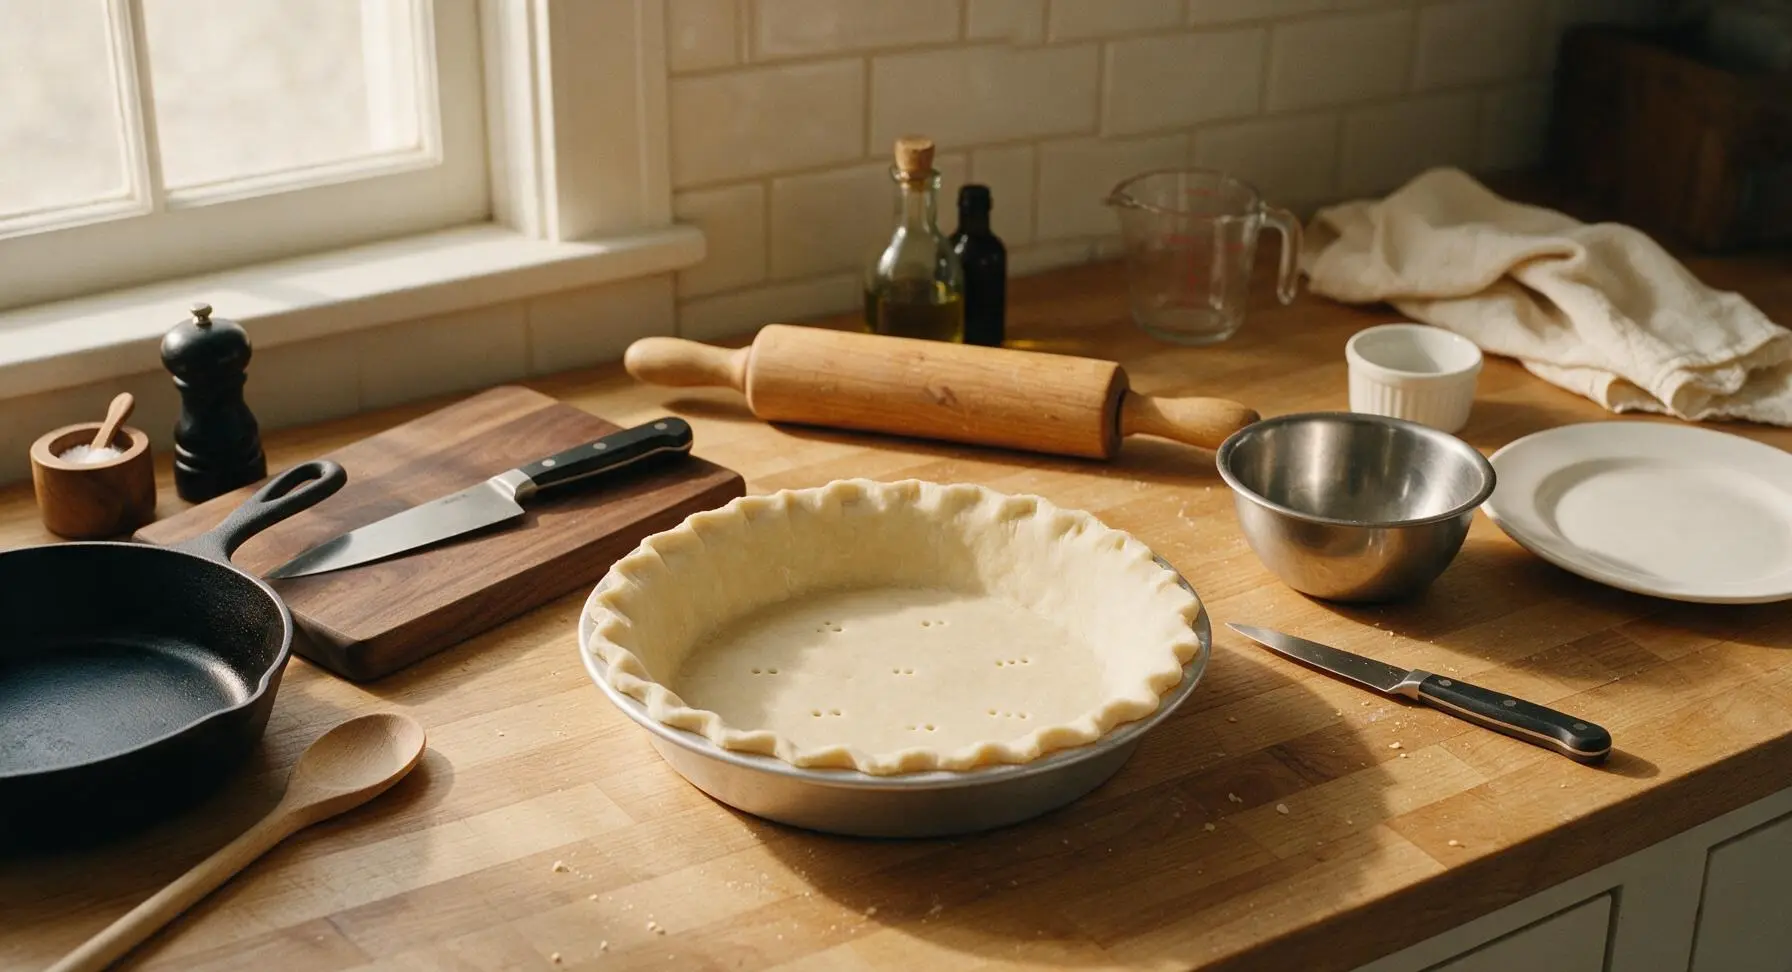
Fit Crust to Pan
Preheat oven to 425°F (220°C). Unroll the refrigerated 9-inch pie crust and gently lay it into the matte silver aluminum pie dish. Press the crust firmly against the bottom and fluted sides of the dish, trimming any overhang to 1 inch and crimping the edge evenly with your fingers. Prick the bottom of the crust 8-10 times with the 3-inch paring knife to prevent air bubbles from forming during baking. Blind baking is not required for this recipe, as the custard will bond to the crust as they bake together.
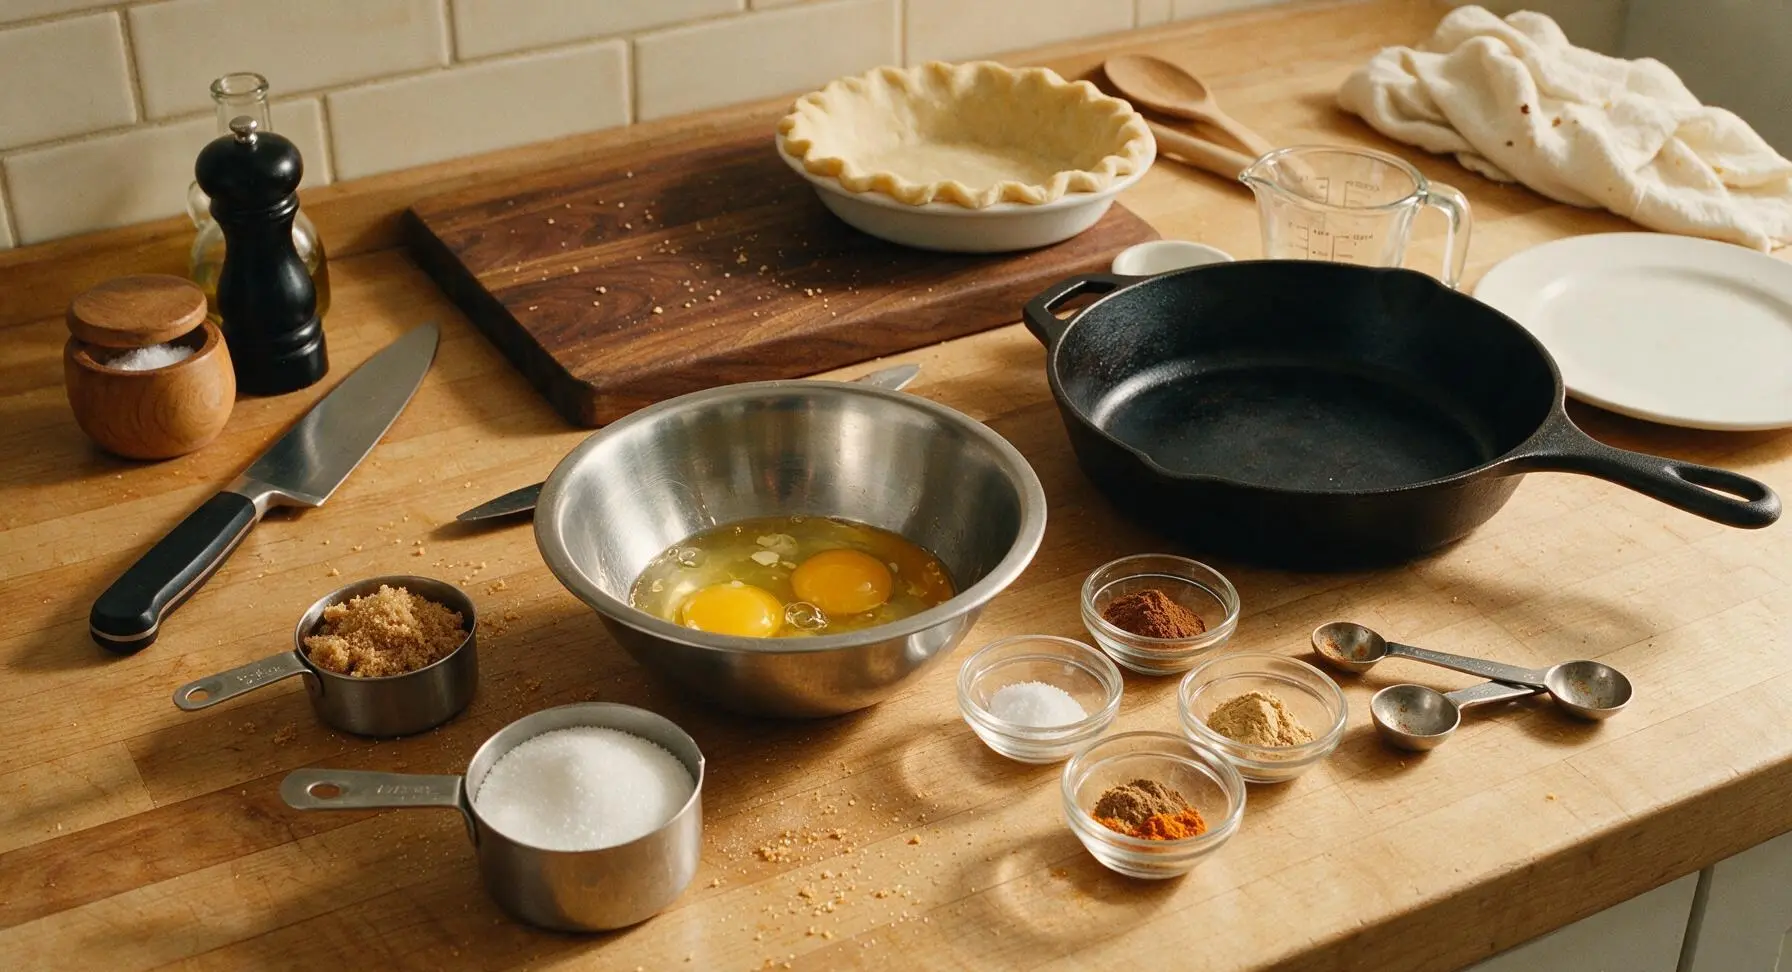
Measure Filling Ingredients
Use the stainless steel measuring cups and spoons to portion all filling ingredients into the clear glass prep bowls: 1/2 cup granulated sugar, 1/4 cup packed light brown sugar, 1 tbsp ground cinnamon, 1 tsp ground ginger, 1/2 tsp ground nutmeg, 1/4 tsp ground cloves, and 1/2 tsp fine table salt. Crack the 2 large eggs into the medium stainless steel mixing bowl, picking out any small shell fragments with the tip of the paring knife.
Whisk Egg Base
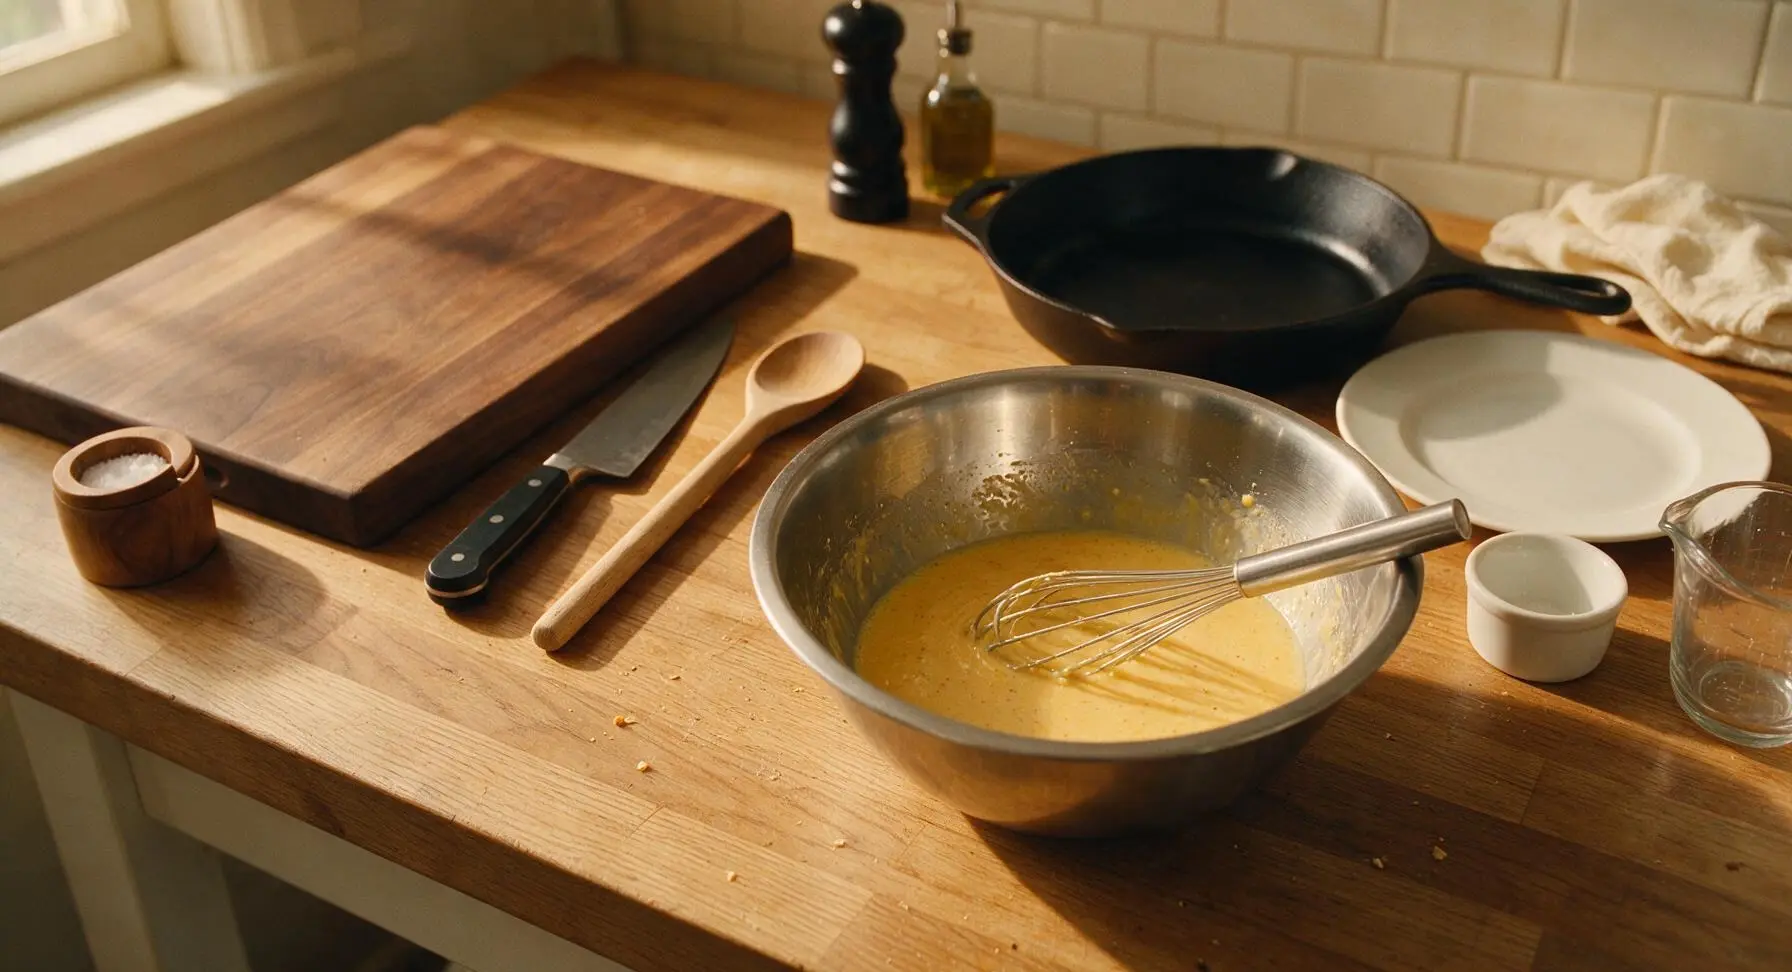
Add the measured granulated sugar, brown sugar, spices, and salt to the eggs in the mixing bowl. Use the stainless steel balloon whisk to beat the mixture for 30 seconds until fully combined, smooth, and pale golden, with no visible lumps of packed brown sugar remaining.
Mix Pumpkin and Milk
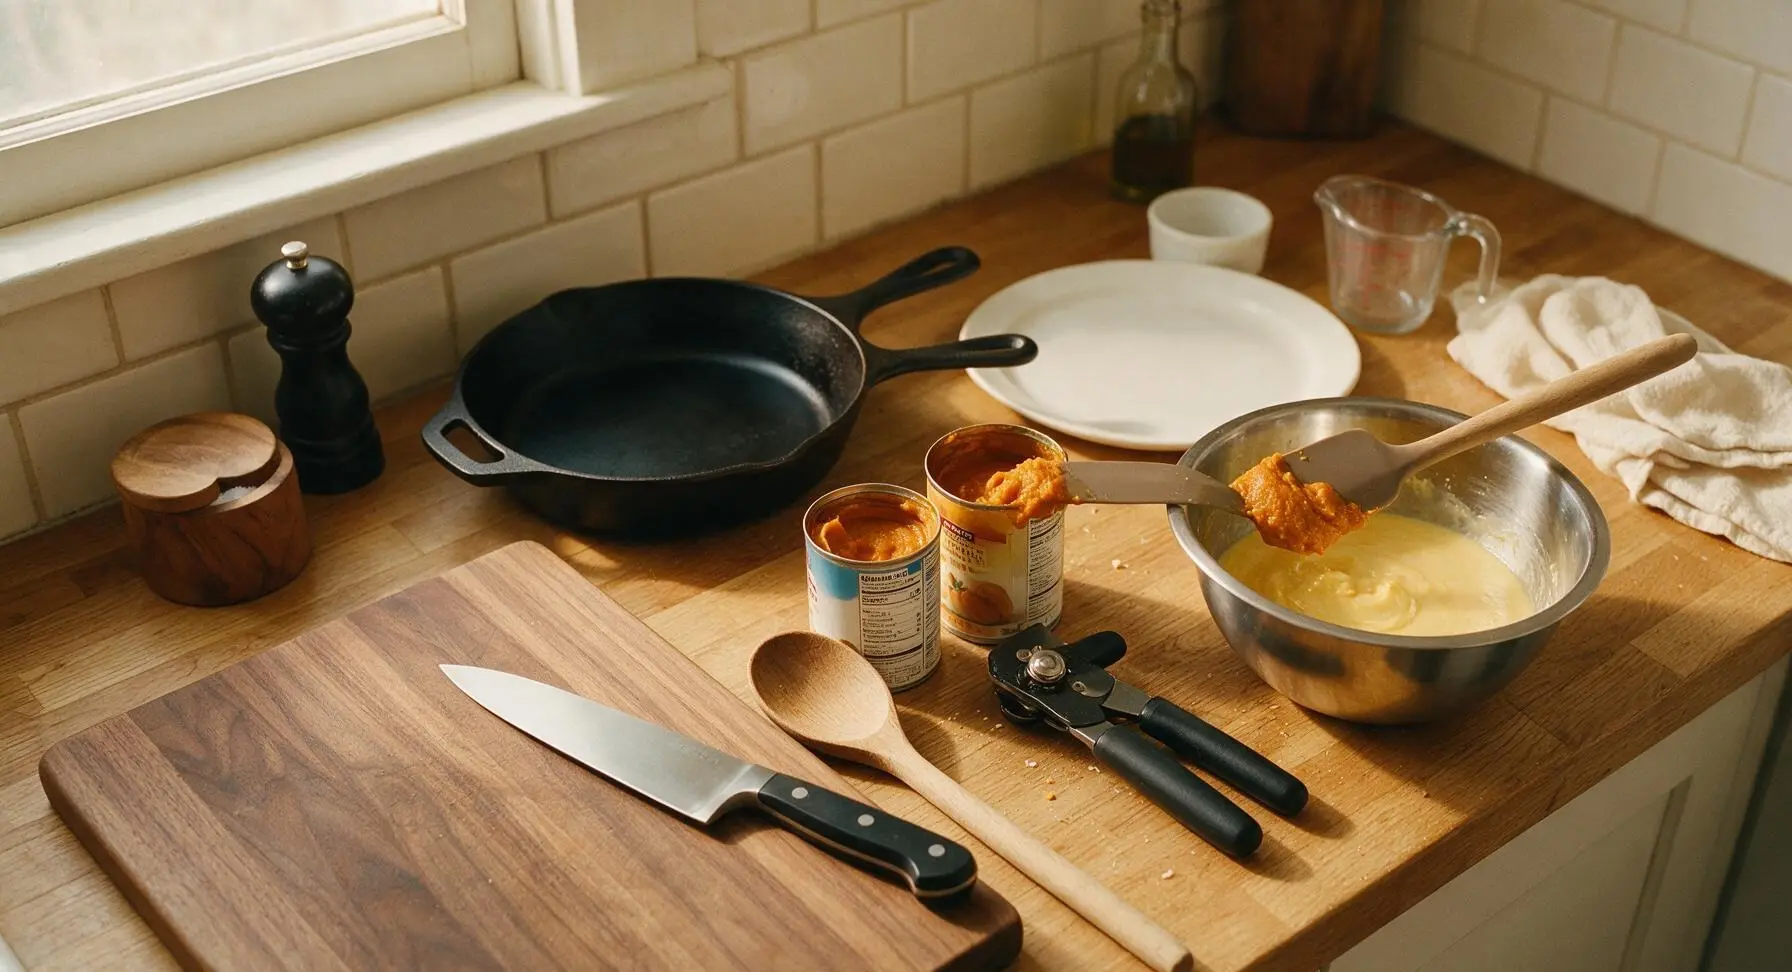
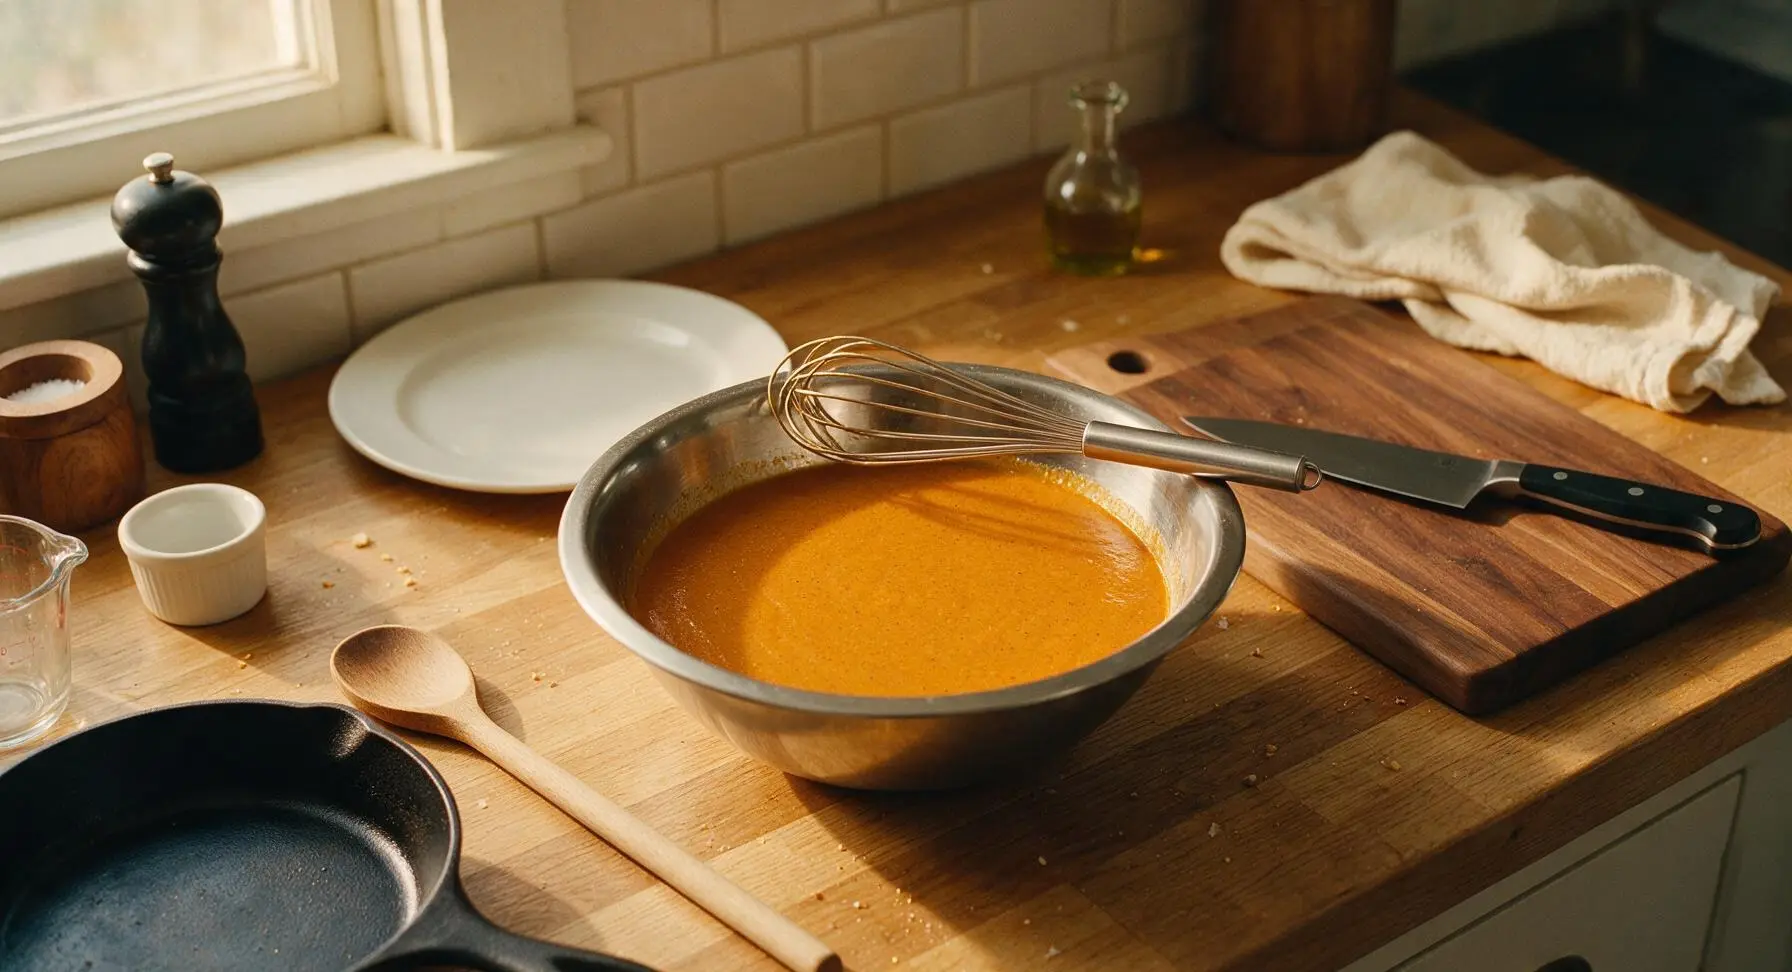
Open the can of pure pumpkin puree with the matte black manual can opener, then scrape all puree into the egg mixture using the matte taupe silicone spatula. Stir gently to combine, then open the can of full-fat evaporated milk and pour it slowly into the bowl, whisking continuously at a slow speed until the filling is completely smooth, with a uniform deep orange color and no streaks of egg or pumpkin. Avoid over-whisking to prevent incorporating excess air, which causes surface cracks as the custard bakes.
Pour Filling into Crust
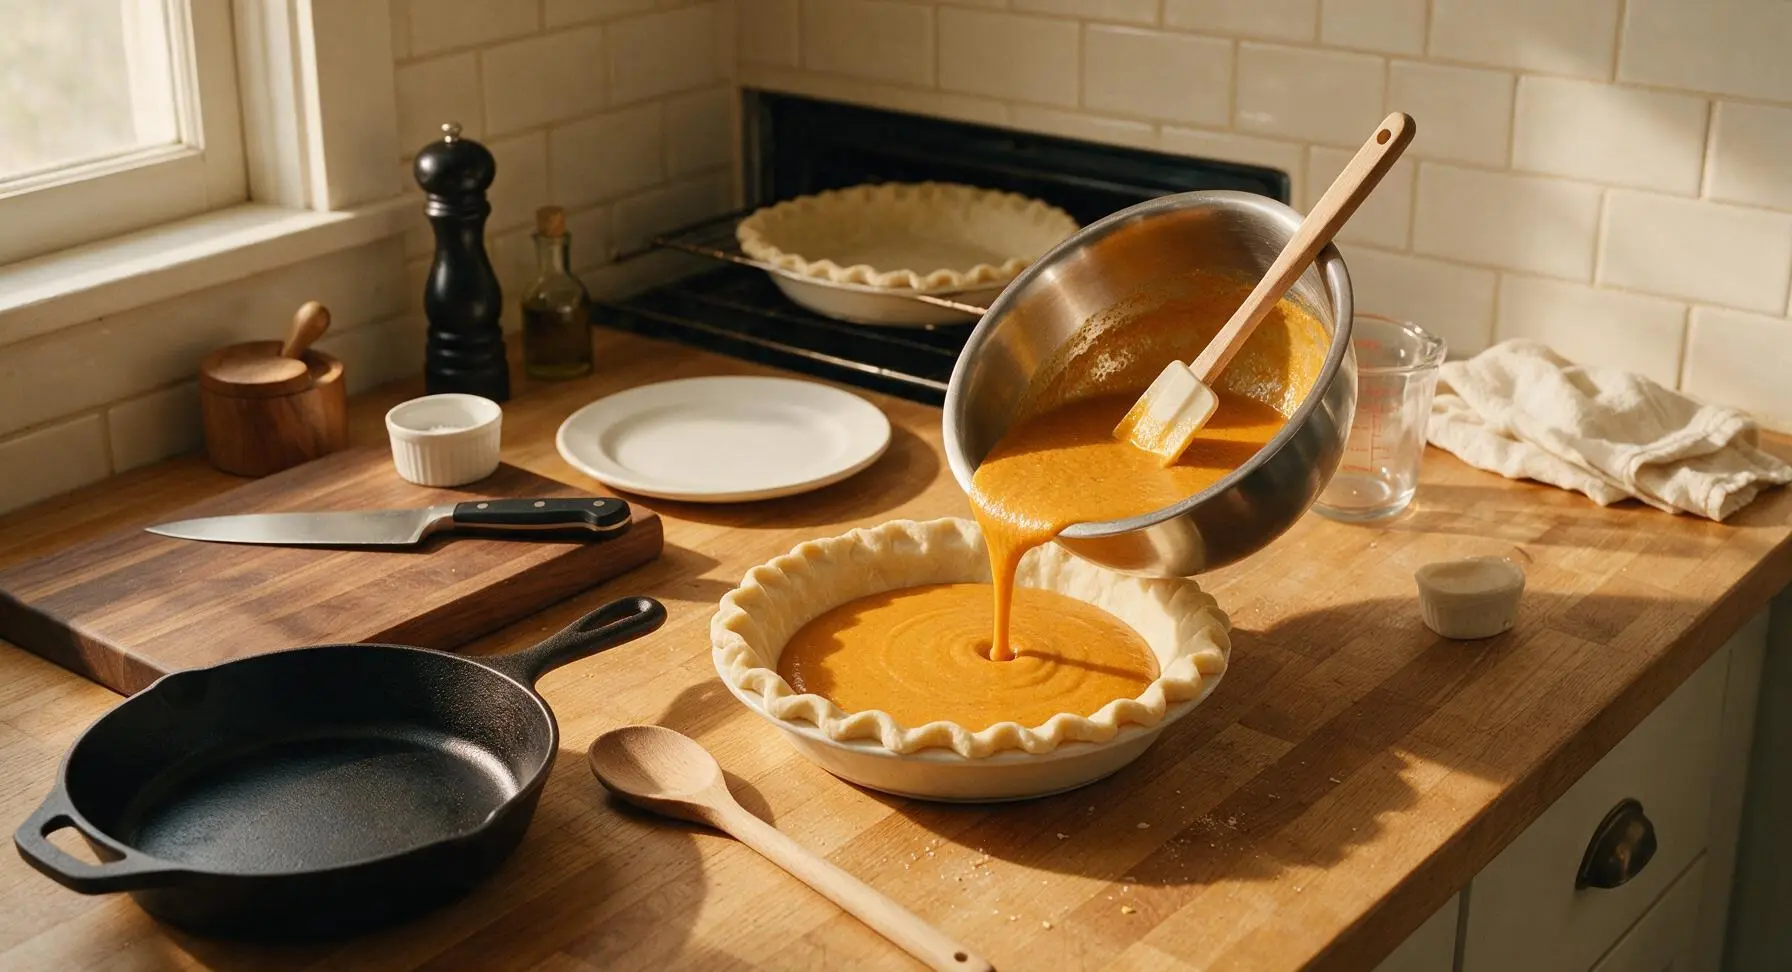
Pull the middle oven rack out slightly, and set the crust-lined pie dish on the rack. Carefully pour the smooth pumpkin filling directly into the crust, filling to 1/4 inch below the crimped edge to prevent overflow as the custard puffs during baking. Gently slide the oven rack back into place and close the oven door.
Bake to Custard Set
Bake at 425°F (220°C) for 15 minutes, then reduce the oven temperature to 350°F (175°C) without opening the oven door, and bake for an additional 40-50 minutes. The pie is done when the outer 2 inches of custard are fully set and slightly puffed, and the center 2 inches jiggle gently like set Jell-O when the dish is nudged. The center will fully set as the pie cools; over-baking leads to rubbery custard and deep surface cracks.
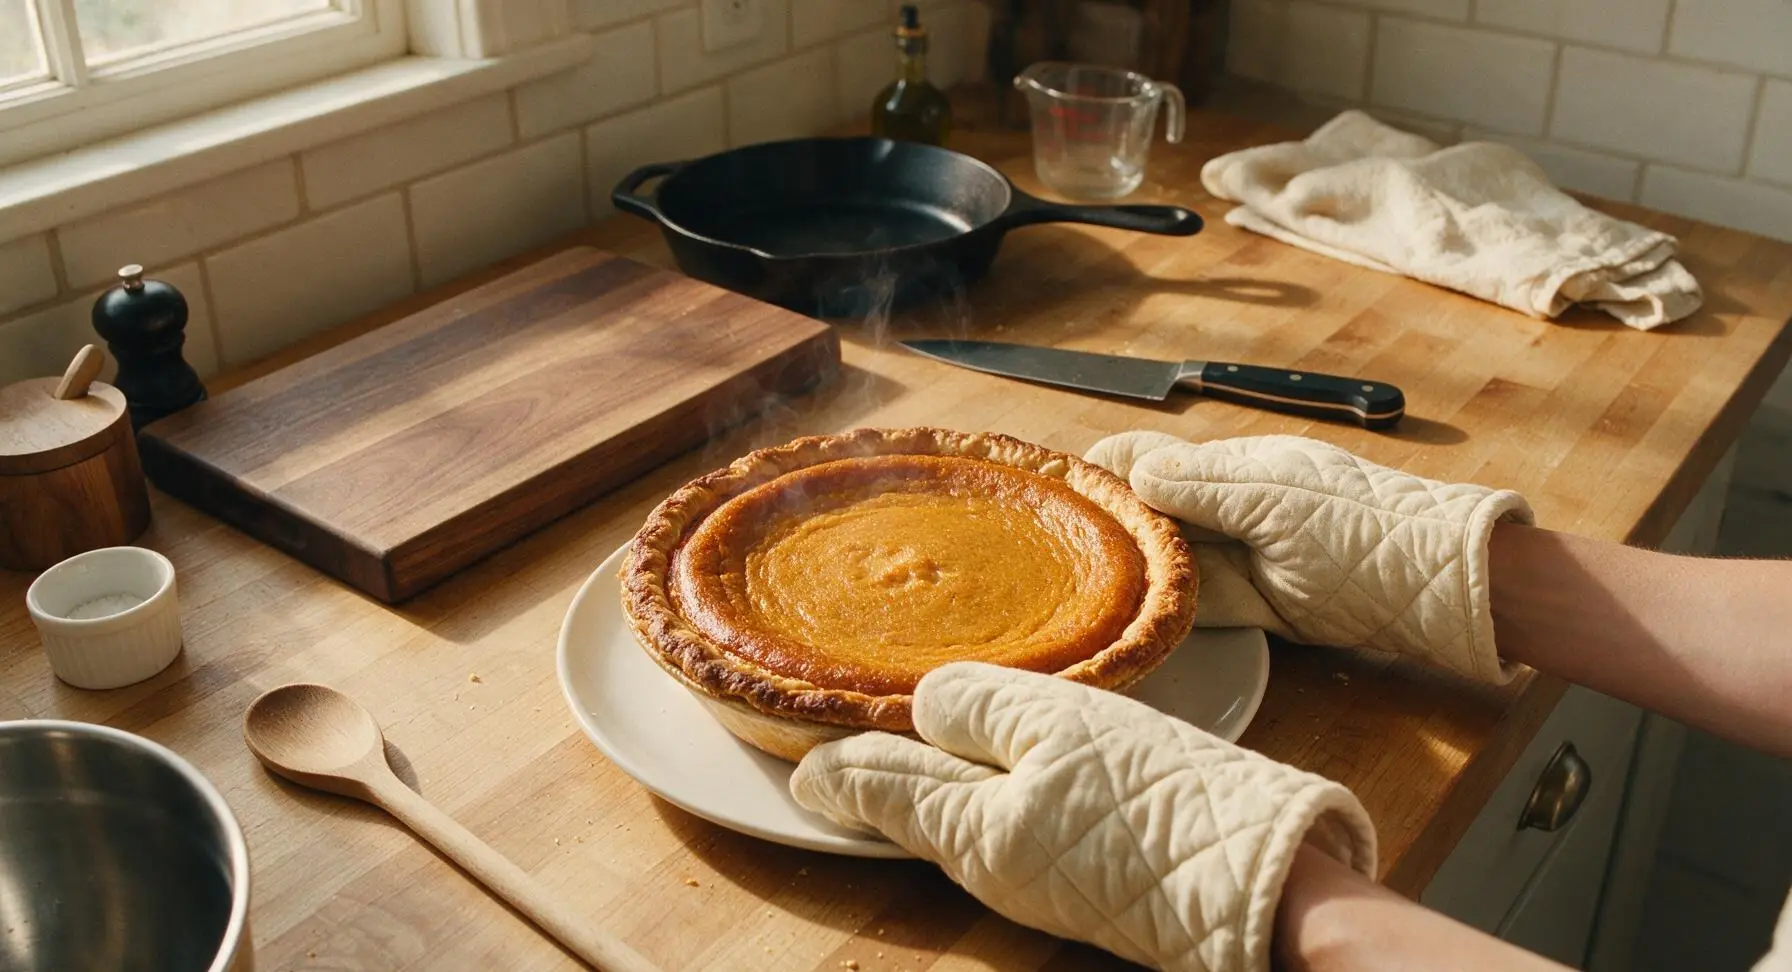
Cool Completely Before Serving
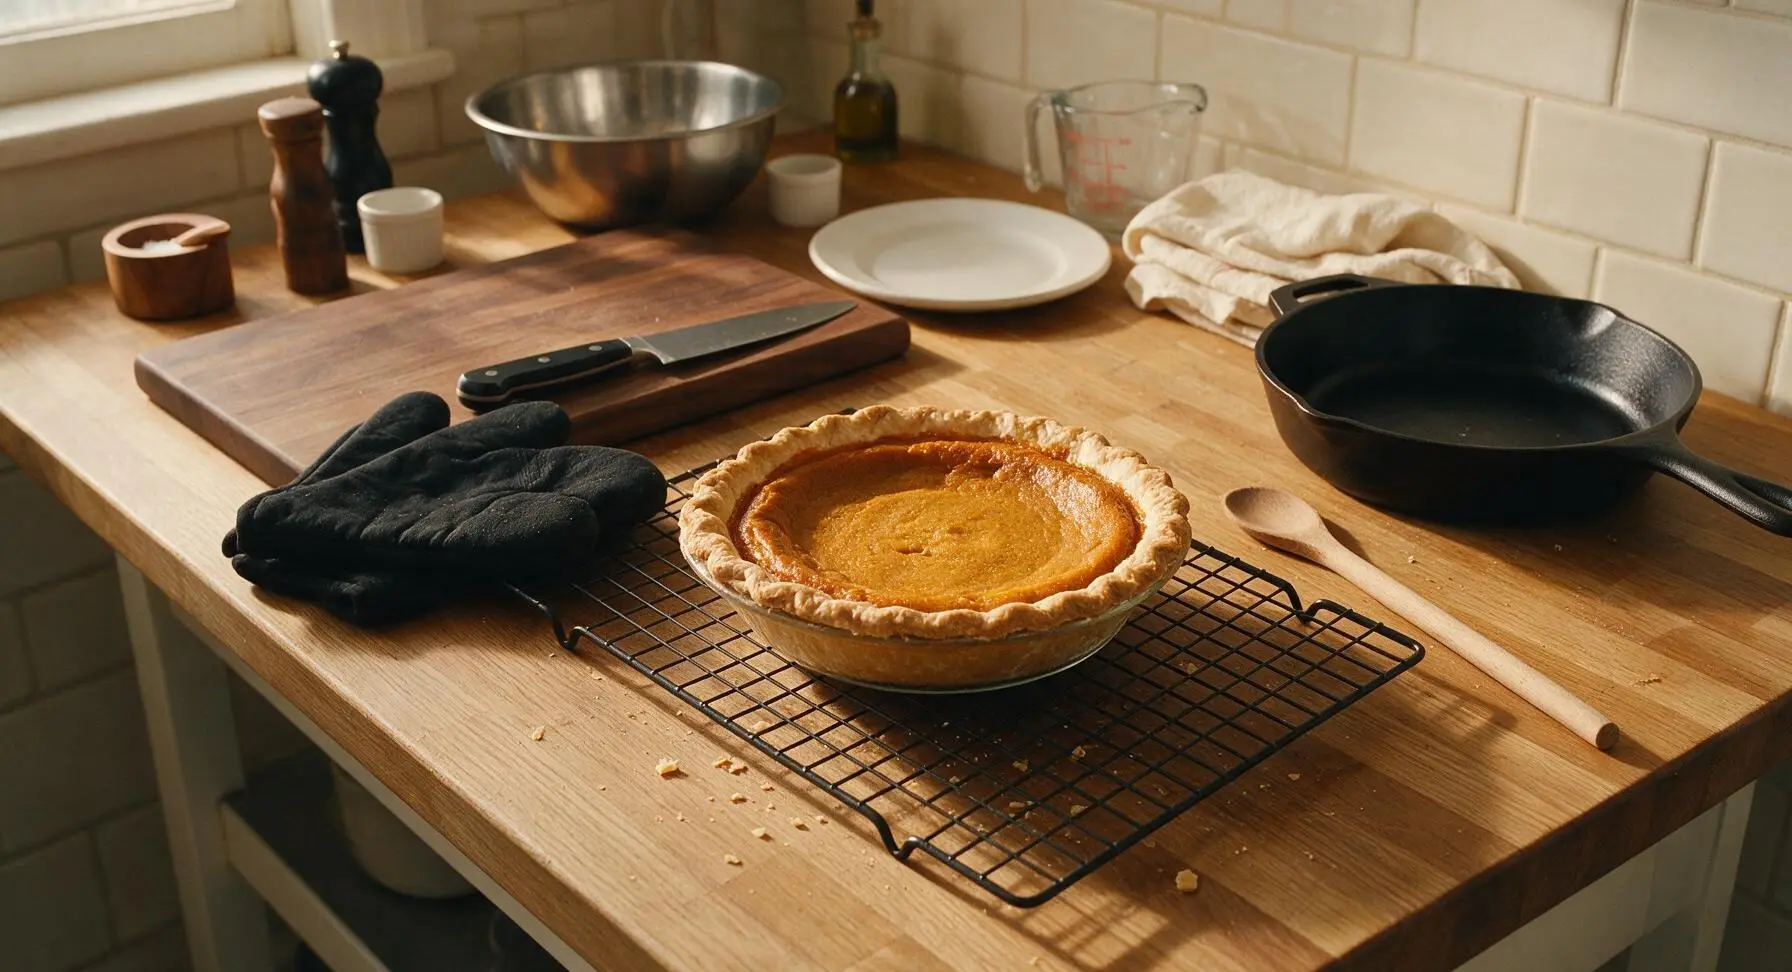
Transfer the hot pie directly from the oven to the matte black wire cooling rack set on the counter. Let it cool completely at room temperature for 2 full hours, then chill in the refrigerator for at least 1 hour before slicing. Do not cut the pie while warm, as the custard will be runny and will not hold a clean slice shape.
Tips
2.Avoid over-baking the pie: the outer 2 inches of custard should be fully set, but the center 2 inches will still have a soft Jell-O-like jiggle when removed from the oven. Residual heat will finish setting the center as it cools; over-baking causes tough, rubbery custard and deep, unsightly cracks across the pie surface.
3.For clean, neat slices, chill the fully cooled pie for at least 1 hour before cutting, and wipe the brass pie server blade with a warm, damp cloth between each slice. This prevents soft custard from smearing across the flaky crust edges for a restaurant-worthy presentation.






OMG this pumpkin pie came out perfect for our family Thanksgiving dinner last weekend! I was so nervous making pie from scratch instead of buying the store-bought frozen one, but the evaporated milk makes it so rich and creamy, no weird grainy texture at all. My 7 year old went back for a second slice before I even finished serving everyone! SO good, will be my go-to recipe from now on.
Wait how easy is this really? I’ve never baked a pie in my life and I’m supposed to bring dessert to my friend’s fall party next weekend. The cook time says 1 hour, does that include prep time too? I don’t want to show up with a burnt mess lmao.
Brought this to my office potluck yesterday and it was GONE in 10 minutes. People were asking me for the recipe before they even finished their first bite. The evaporated milk gives it that perfect velvety texture that beats every other pumpkin pie I’ve ever made. Total game changer, no more condensed milk for me!
Has anyone tried making this with a gluten free pie crust? My youngest has celiac and I want to make this for our Sunday family dinner but don’t want the crust to get soggy under the filling.
I added a tiny bit of extra cinnamon and a pinch of nutmeg on top before baking and wow, it tasted exactly like the pumpkin pie my grandma used to make every Thanksgiving. So easy even I didn’t mess it up, and I burn toast half the time lmao.
Made this on Sunday to have as a little treat throughout the week and it held up perfectly in the fridge for 4 days! The evaporated milk keeps it from getting watery even after sitting, which is way better than the last pumpkin pie recipe I tried that turned into a soupy mess after day 2. My kids begged for a slice every night after dinner, total win.
Just pulled this out of the oven and my whole apartment smells like fall! I was worried the evaporated milk would make it too sweet but it’s perfectly balanced, not cloying at all. Can’t wait to dig in once it cools down, already know it’s gonna be amazing.
I grew up eating my grandma’s pumpkin pie made with evaporated milk and I’ve been chasing that flavor for years — this recipe is dead on. Not too spiced, perfectly creamy, the flaky crust pairs so well with the smooth filling. Made it for my church potluck last Sunday and three older ladies came up to ask for the recipe, that’s how you know it’s good!