
Pumpkin Pie with Marshmallow Topping

title 1
Pumpkin Pie with Marshmallow Topping
⏱️ cook time 1 hour 10 minutes
🍽️ servings 8
⚡ Difficulty medium

intro

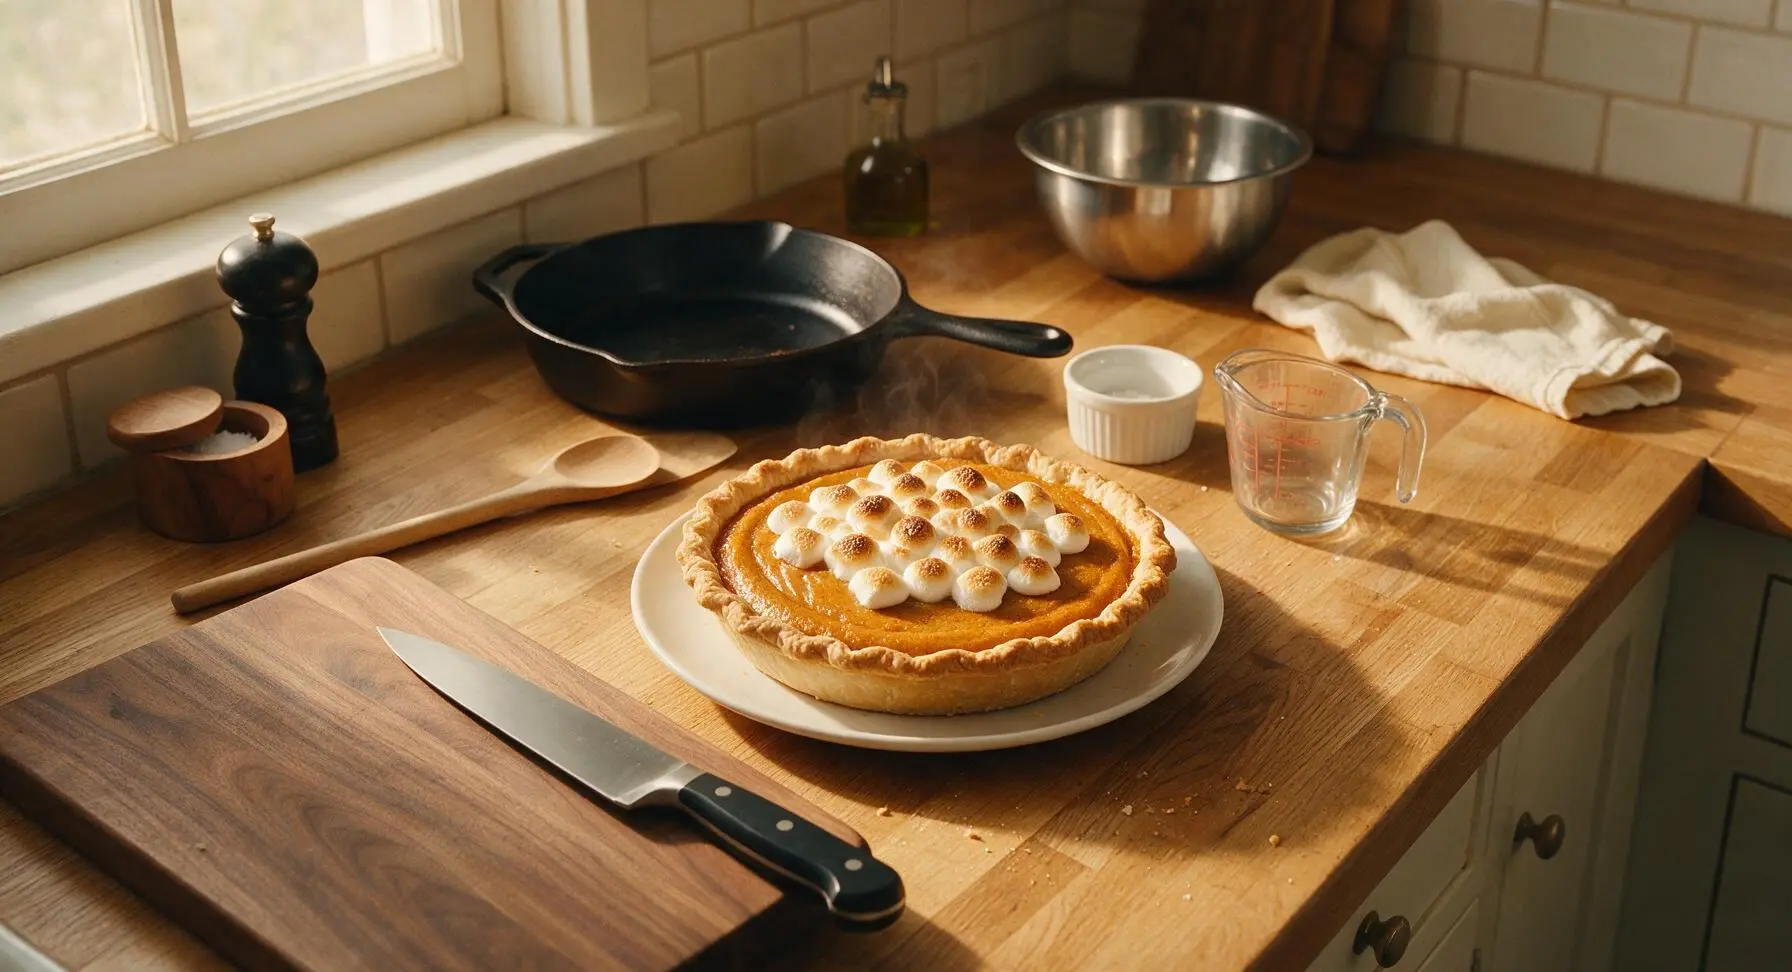
Creamy warmly spiced pumpkin custard in a flaky butter crust, crowned with toasty golden marshmallows for a nostalgic, cozy fall dessert perfect for holiday gatherings.

Ingredients
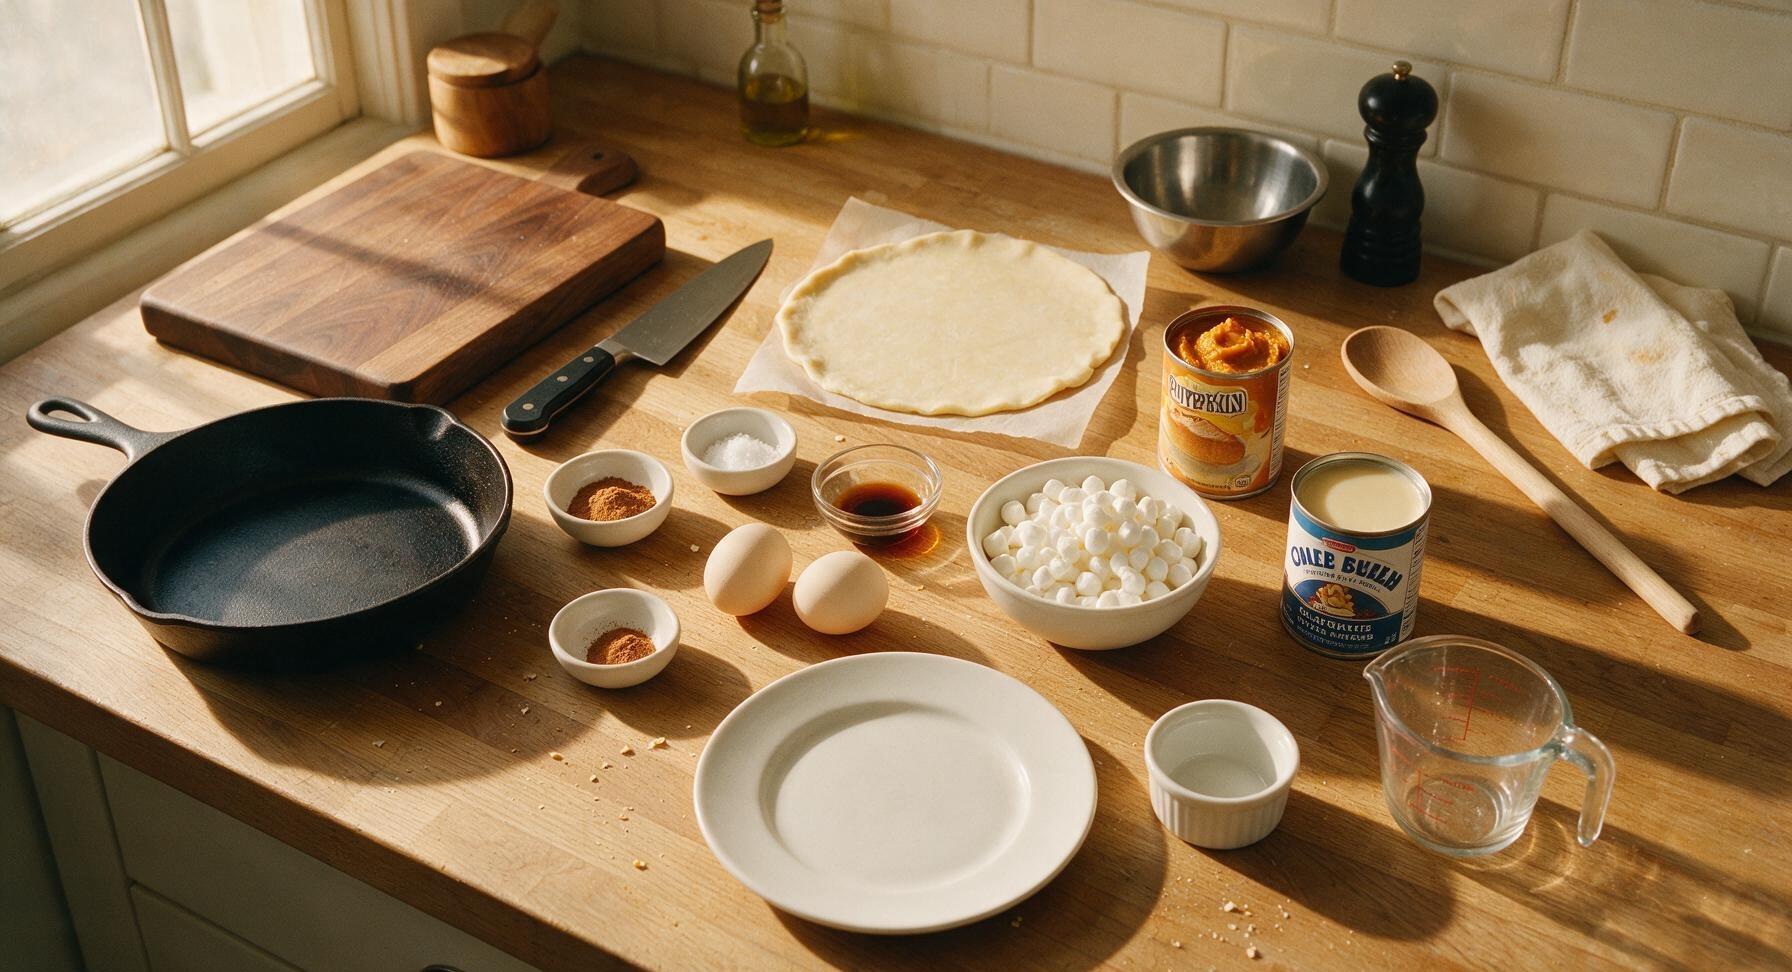
9-inch all-butter refrigerated pie crust 1 (140g) crust
Pure canned pumpkin puree (not pie mix) 425g (1 15oz can)
Mini marshmallows 1.5 cups (75g)
Sweetened condensed milk 396g (1 14oz can)
Large eggs 2
Pumpkin pie spice 2 teaspoons
Fine sea salt 1/2 teaspoon
Pure vanilla extract 1 teaspoon
Ground cinnamon (for dusting) 1/4 teaspoon

Steps

1

Blind Bake Pie Crust

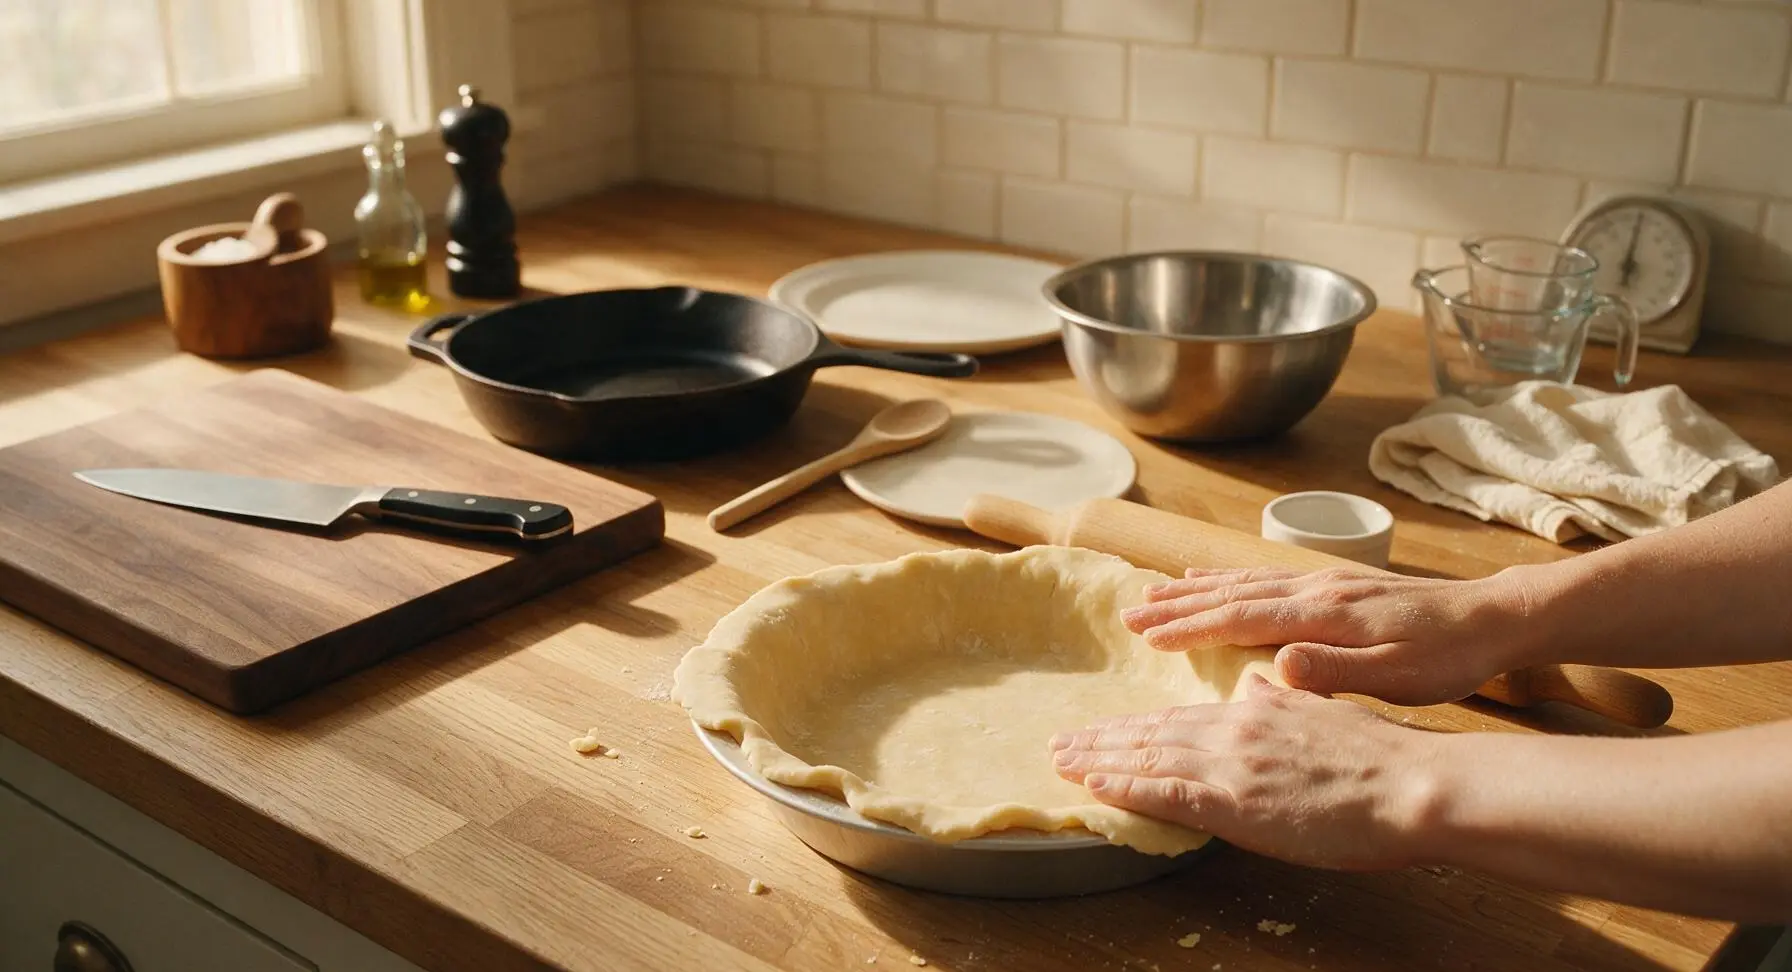
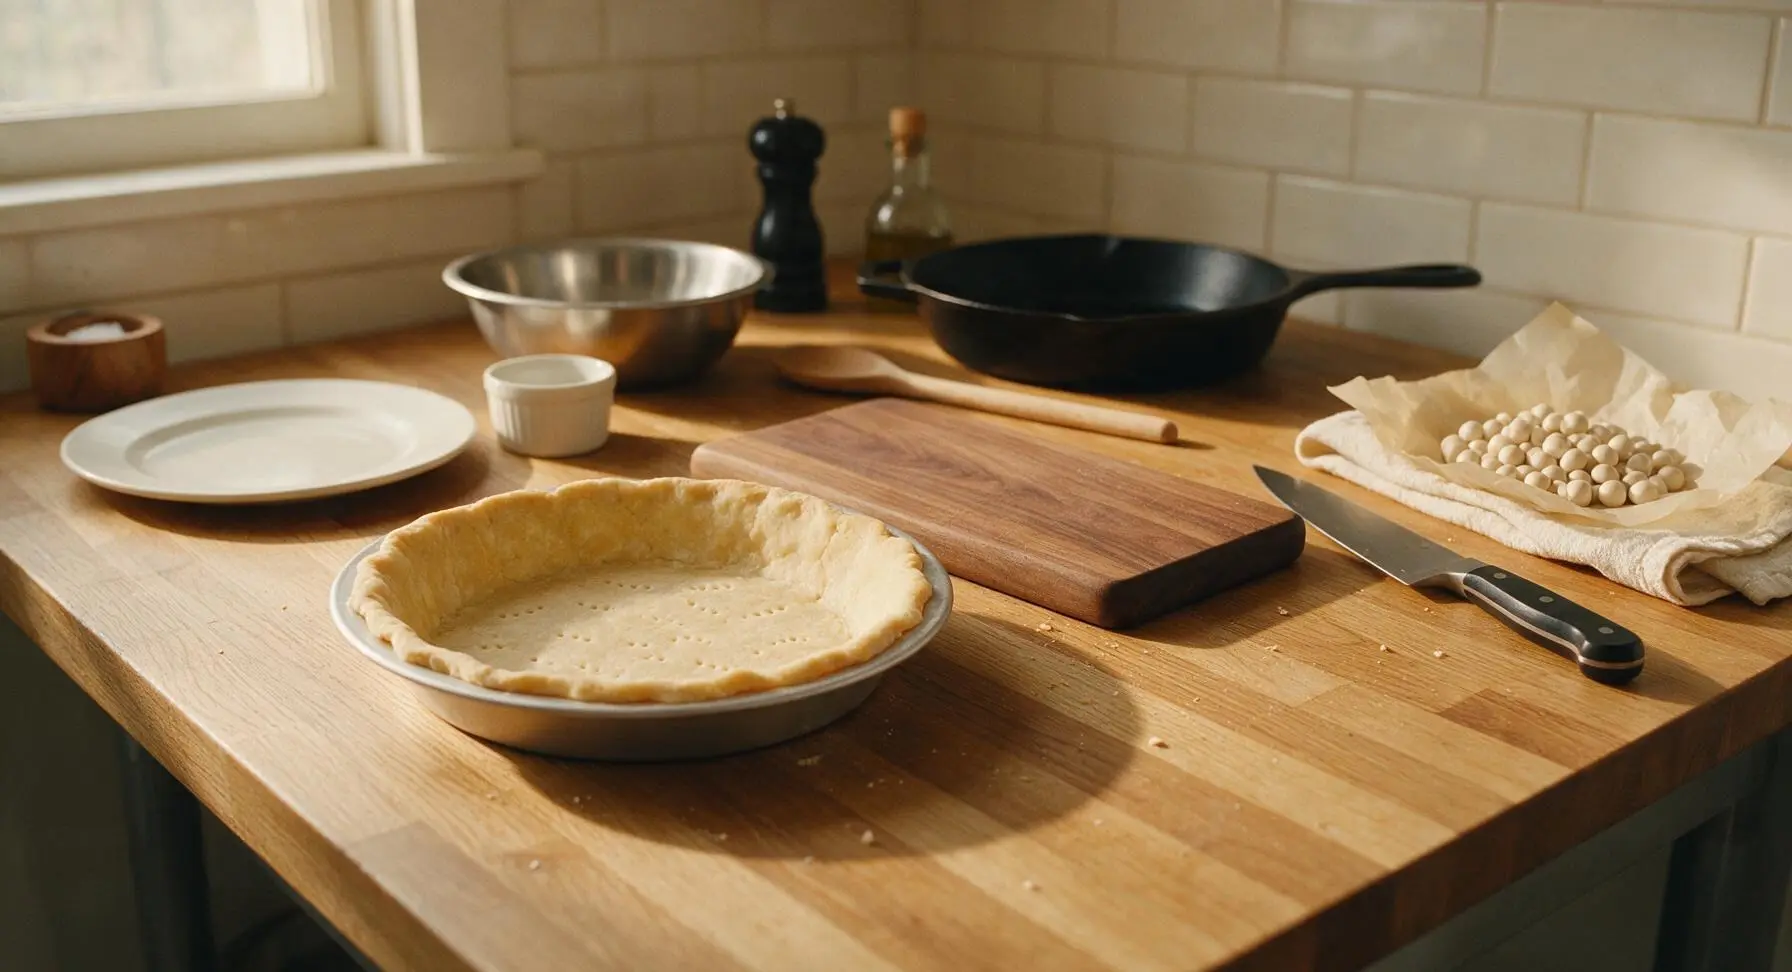
Preheat oven to 425°F (220°C). Unroll the refrigerated all-butter pie crust and gently press it into the 9-inch matte silver aluminum pie dish, pressing firmly against the fluted sides, trimming any overhang to 1/2 inch, and crimping the edge evenly with your fingers. Prick the crust bottom all over with a fork 15-20 times to prevent air bubbles from lifting the crust. Line the crust with parchment paper, fill with ceramic pie weights or dried beans, and bake for 10 minutes. Remove the weights and parchment, then bake 5 minutes more until the crust is pale golden and dry to the touch. Remove from oven and reduce oven temperature to 350°F (175°C).
Step 1
step1:Blind Bake Pie Crust
Step 1
step1:Blind Bake Pie Crust
2

Combine Spices and Salt

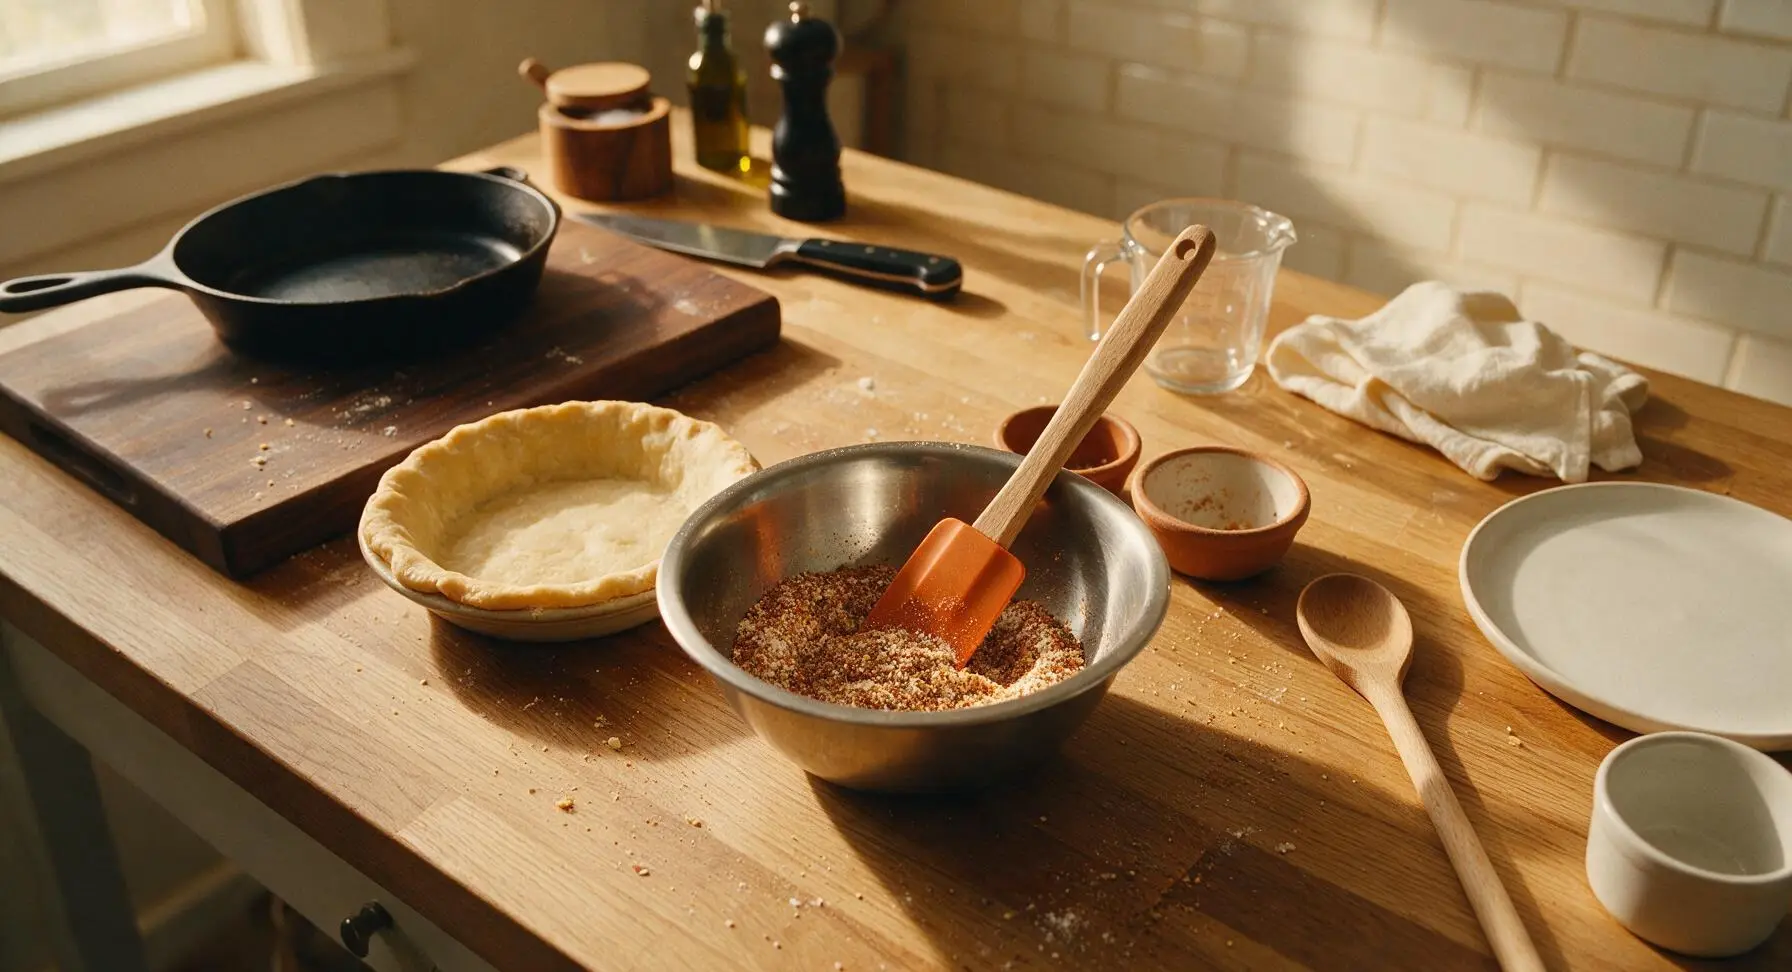
In the small brushed stainless steel mixing bowl, combine the 2 teaspoons pumpkin pie spice, 1/2 teaspoon fine sea salt, and 1 teaspoon pure vanilla extract. Stir briefly with the burnt orange silicone spatula until evenly mixed, then set the bowl near the stove for easy access when mixing the filling.
Step 2
step2:Combine Spices and Salt
3

Whisk Custard Filling

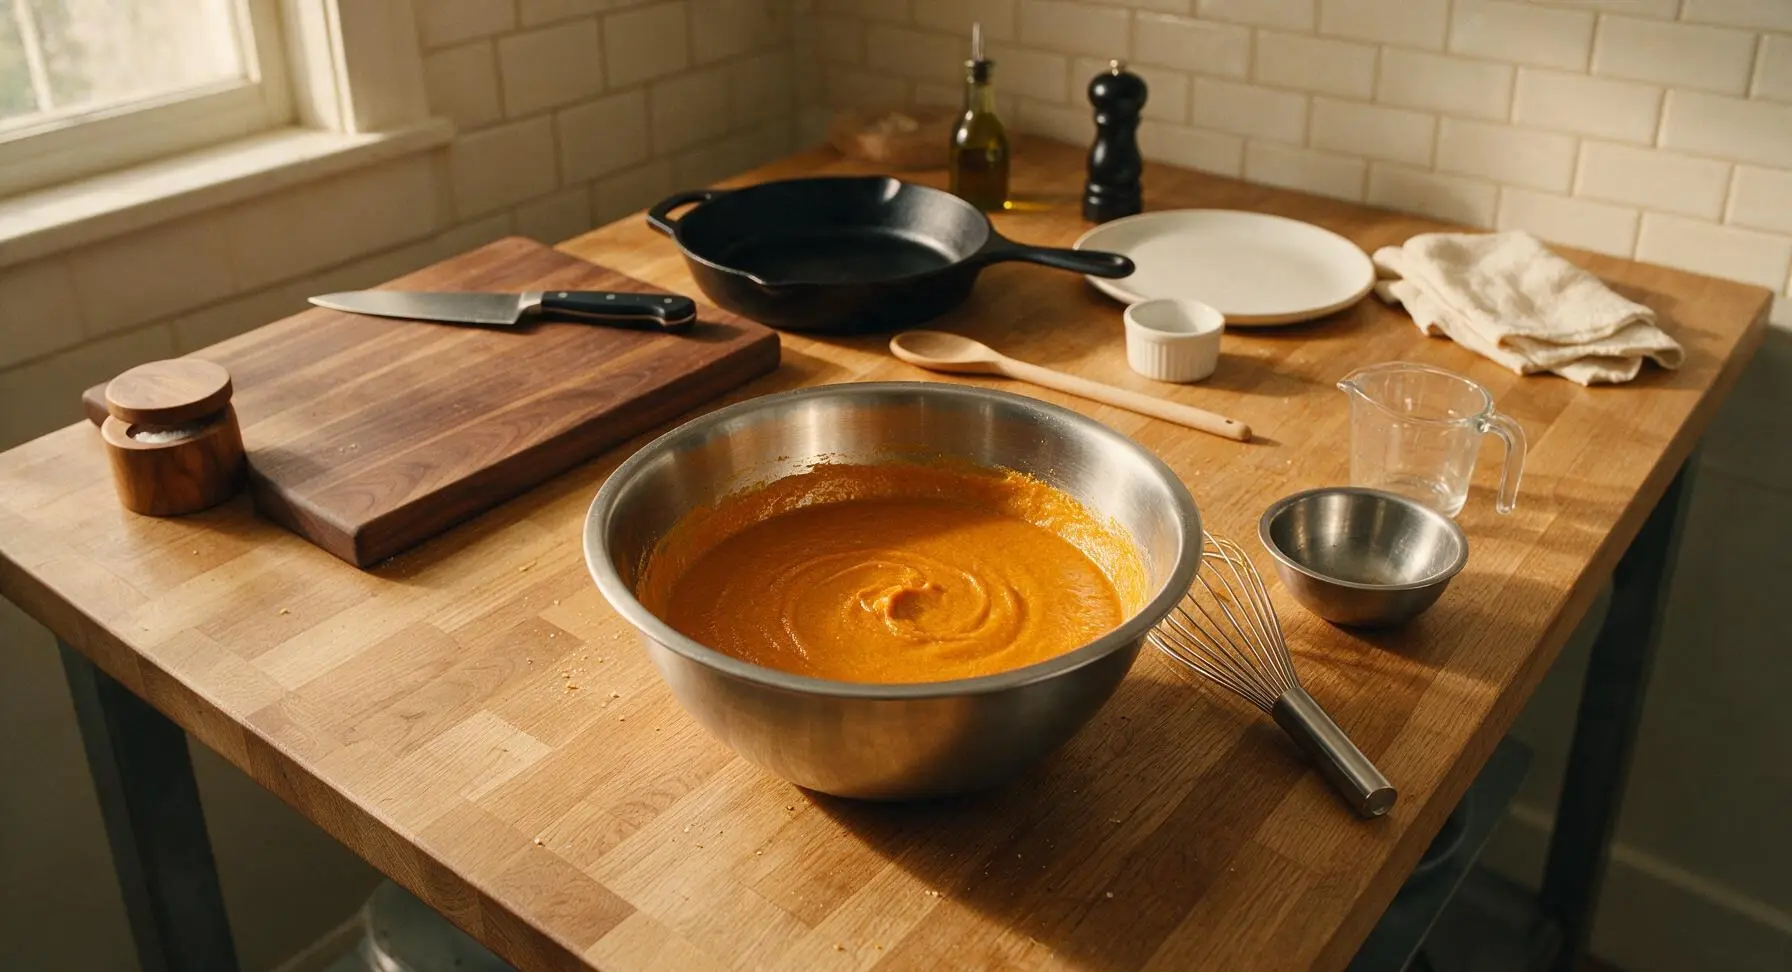
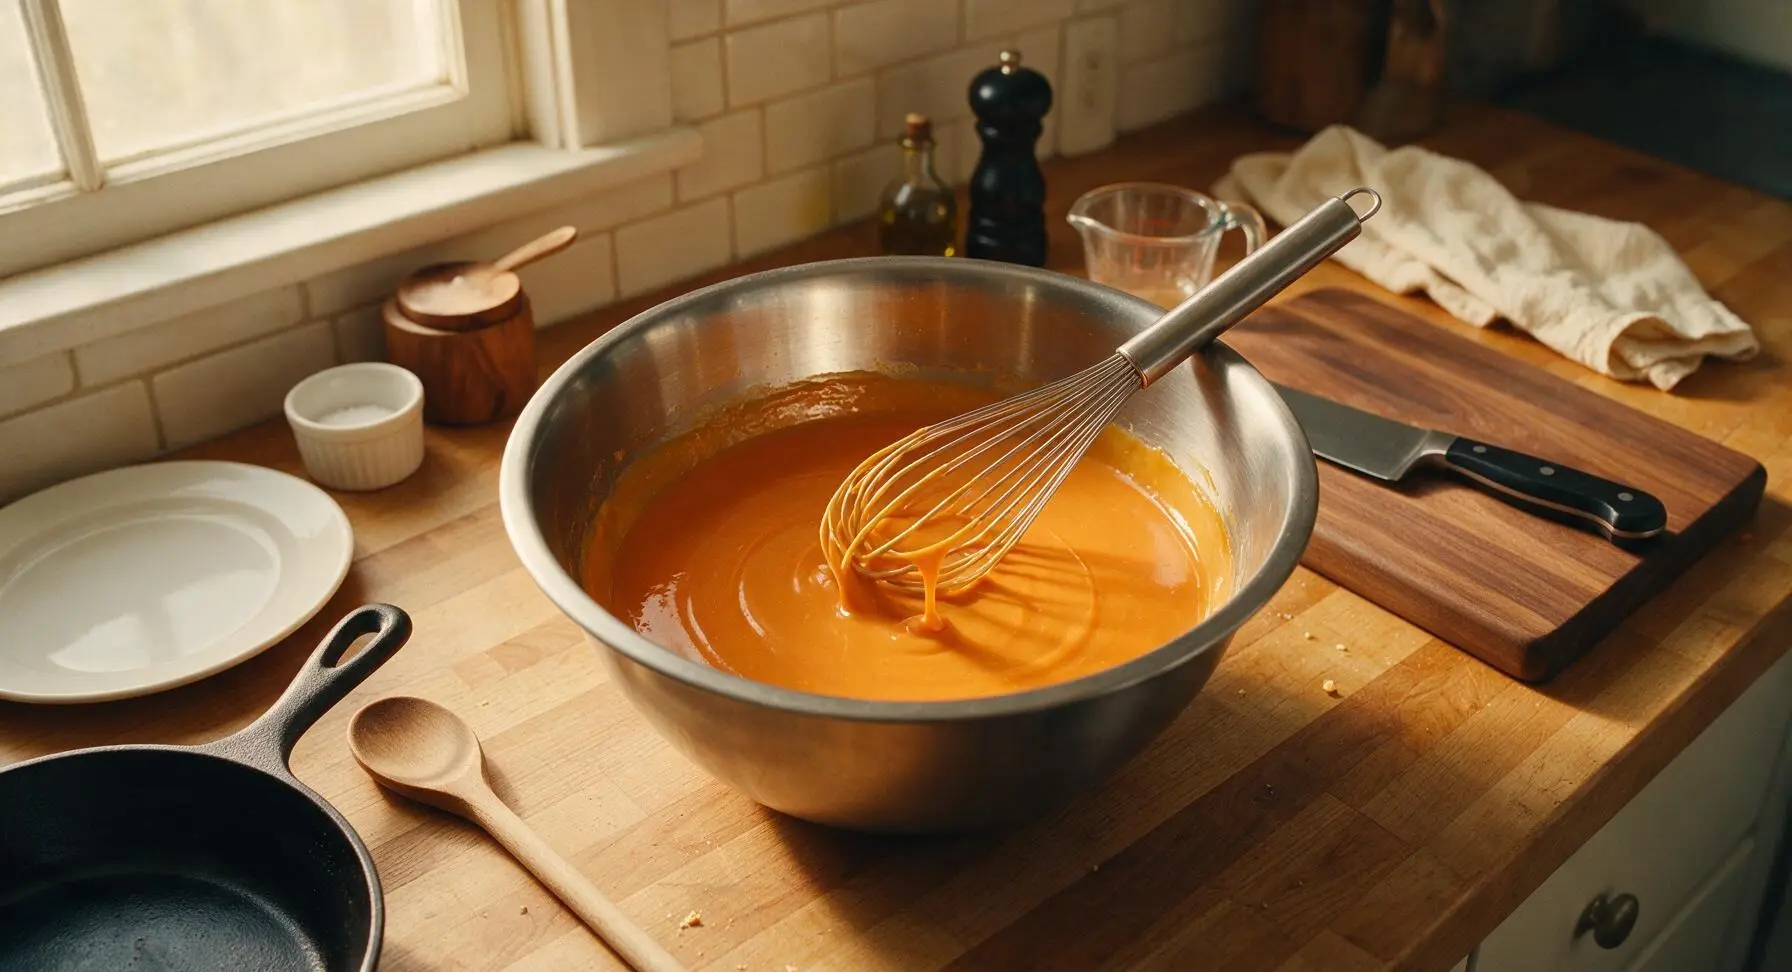
In the large brushed stainless steel mixing bowl, add the 425g pure pumpkin puree, 396g sweetened condensed milk, 2 lightly beaten large eggs, and the pre-mixed spice blend. Use the stainless steel wire whisk to stir for 1-2 minutes until completely smooth, with no lumps of pumpkin or streaks of egg remaining. The finished custard should be a uniform deep orange color, thick but easily pourable.
Step 3
step3:Whisk Custard Filling
Step 3
step3:Whisk Custard Filling
4

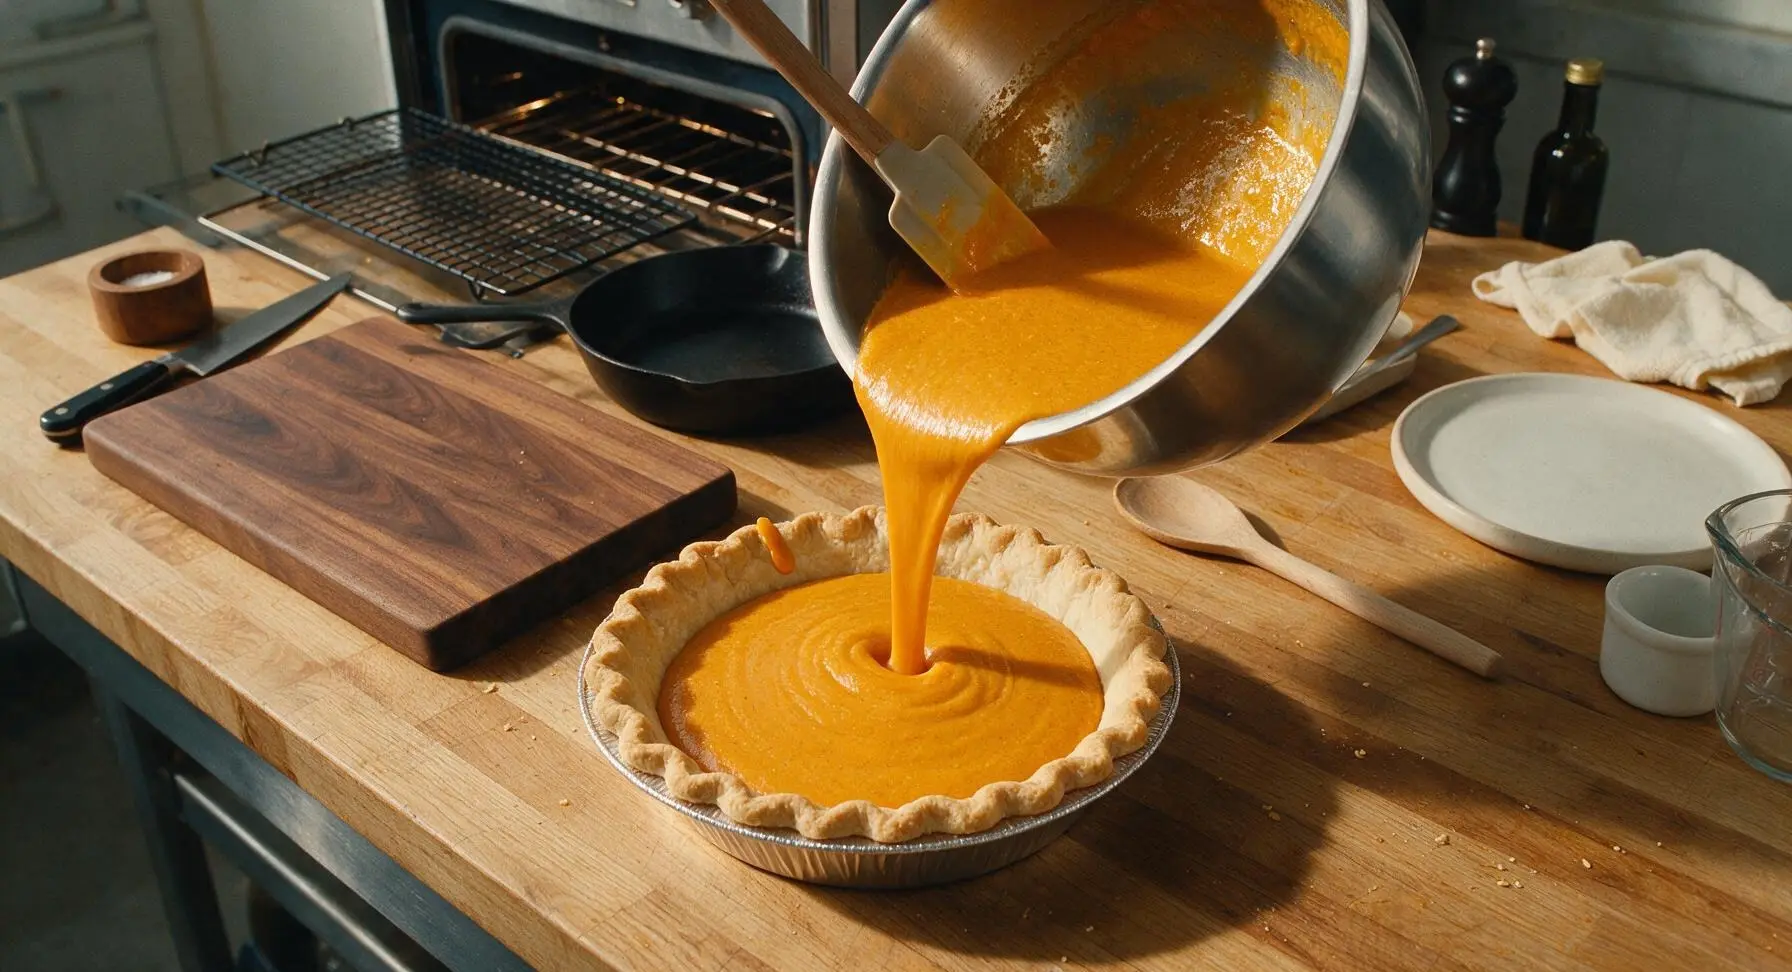
Pour Filling into Crust

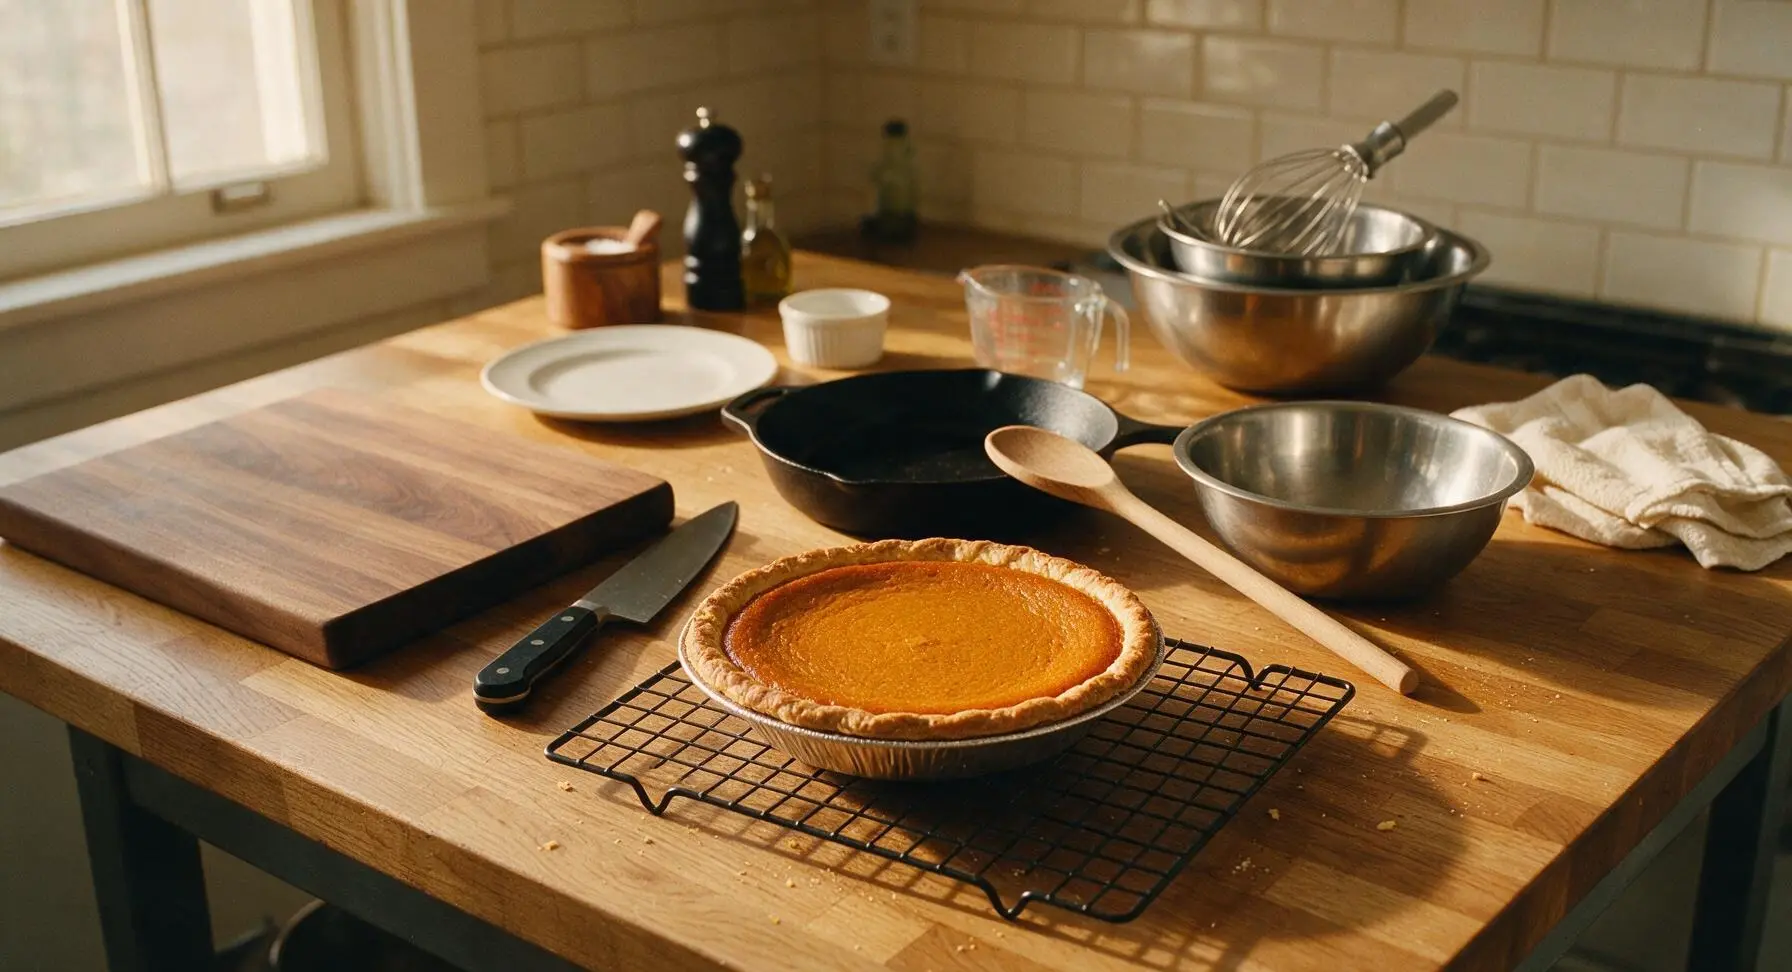
Set the blind-baked pie crust (still in its aluminum dish) on the middle oven rack. Slowly pour the smooth pumpkin custard into the warm crust, filling to 1/4 inch below the crimped edge to avoid overflow during baking. Bake at 350°F (175°C) for 50-55 minutes, until the outer 2 inches of custard are fully set and the center 2 inches jiggles slightly like firm Jell-O when the dish is gently nudged. Remove from the oven, transfer to the black wire cooling rack, and let cool completely at room temperature for 2 hours, then chill in the refrigerator for 1 hour before adding topping.
Step 4
step4:Pour Filling into Crust
Step 4
step4:Pour Filling into Crust
5

Top with Marshmallows

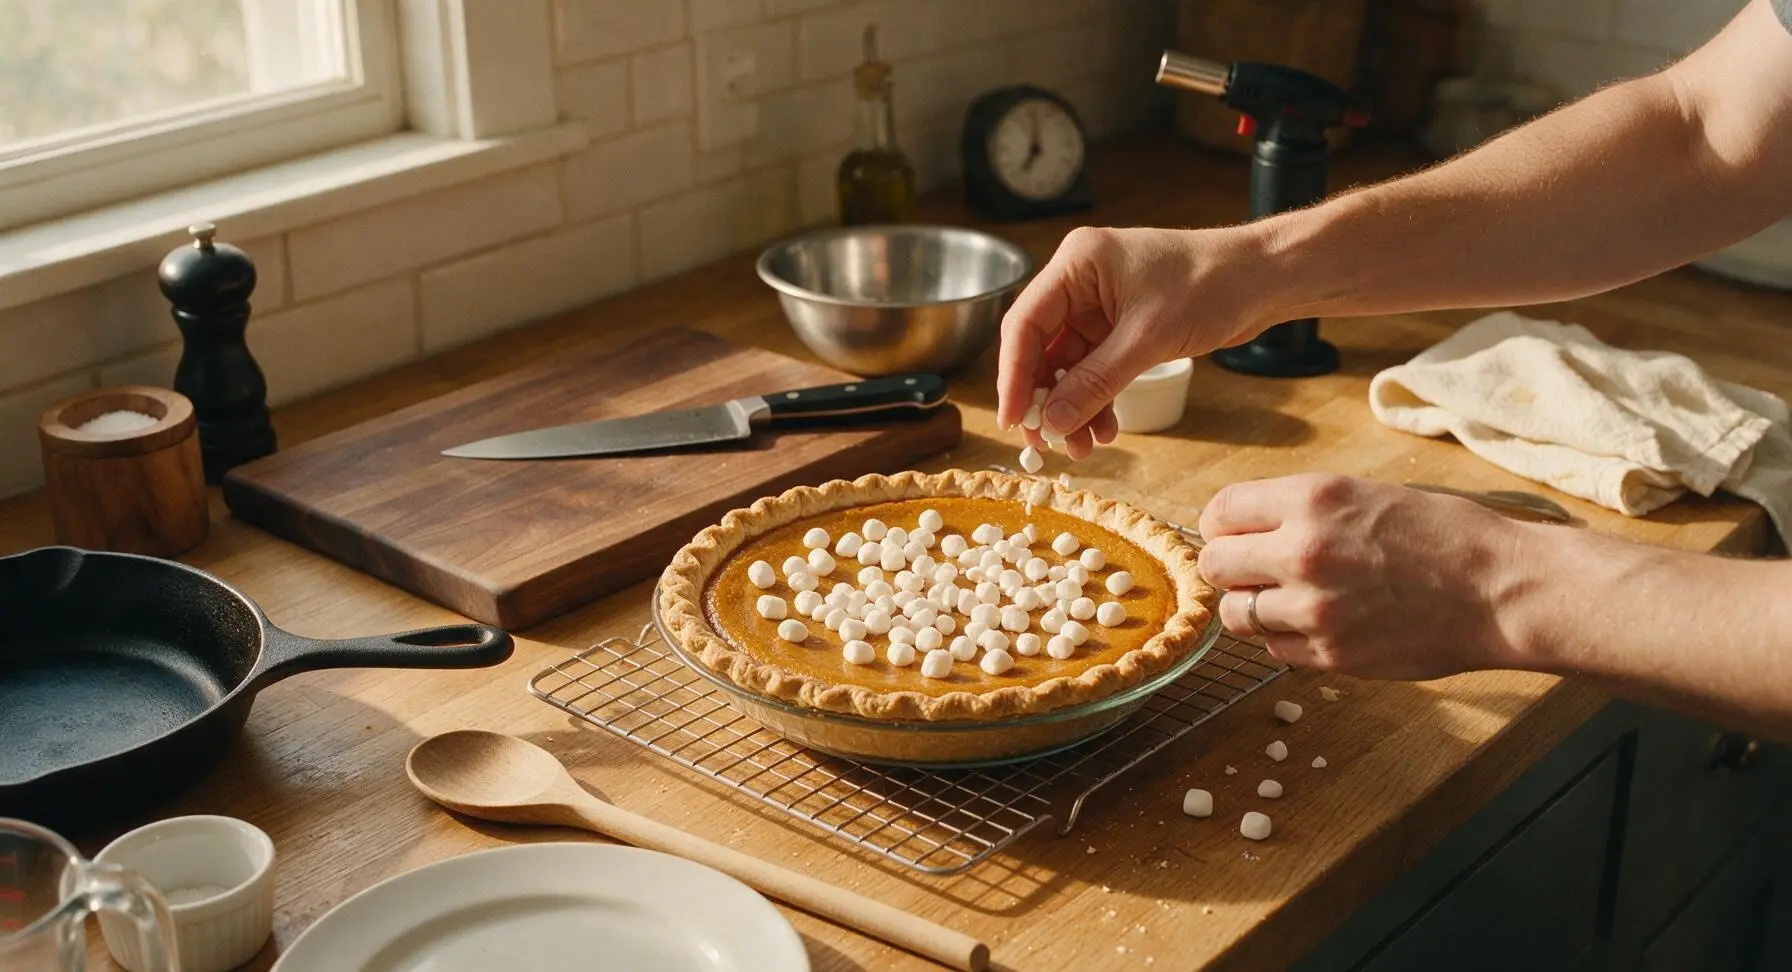
Remove the fully chilled pie from the refrigerator. Arrange the 1.5 cups of mini marshmallows in a single even layer across the entire top surface of the cooled custard, packing them lightly so they sit close together with no large gaps, leaving the golden crimped crust edge fully exposed.
Step 5
step5:Top with Marshmallows
6

Toast Marshmallow Peaks

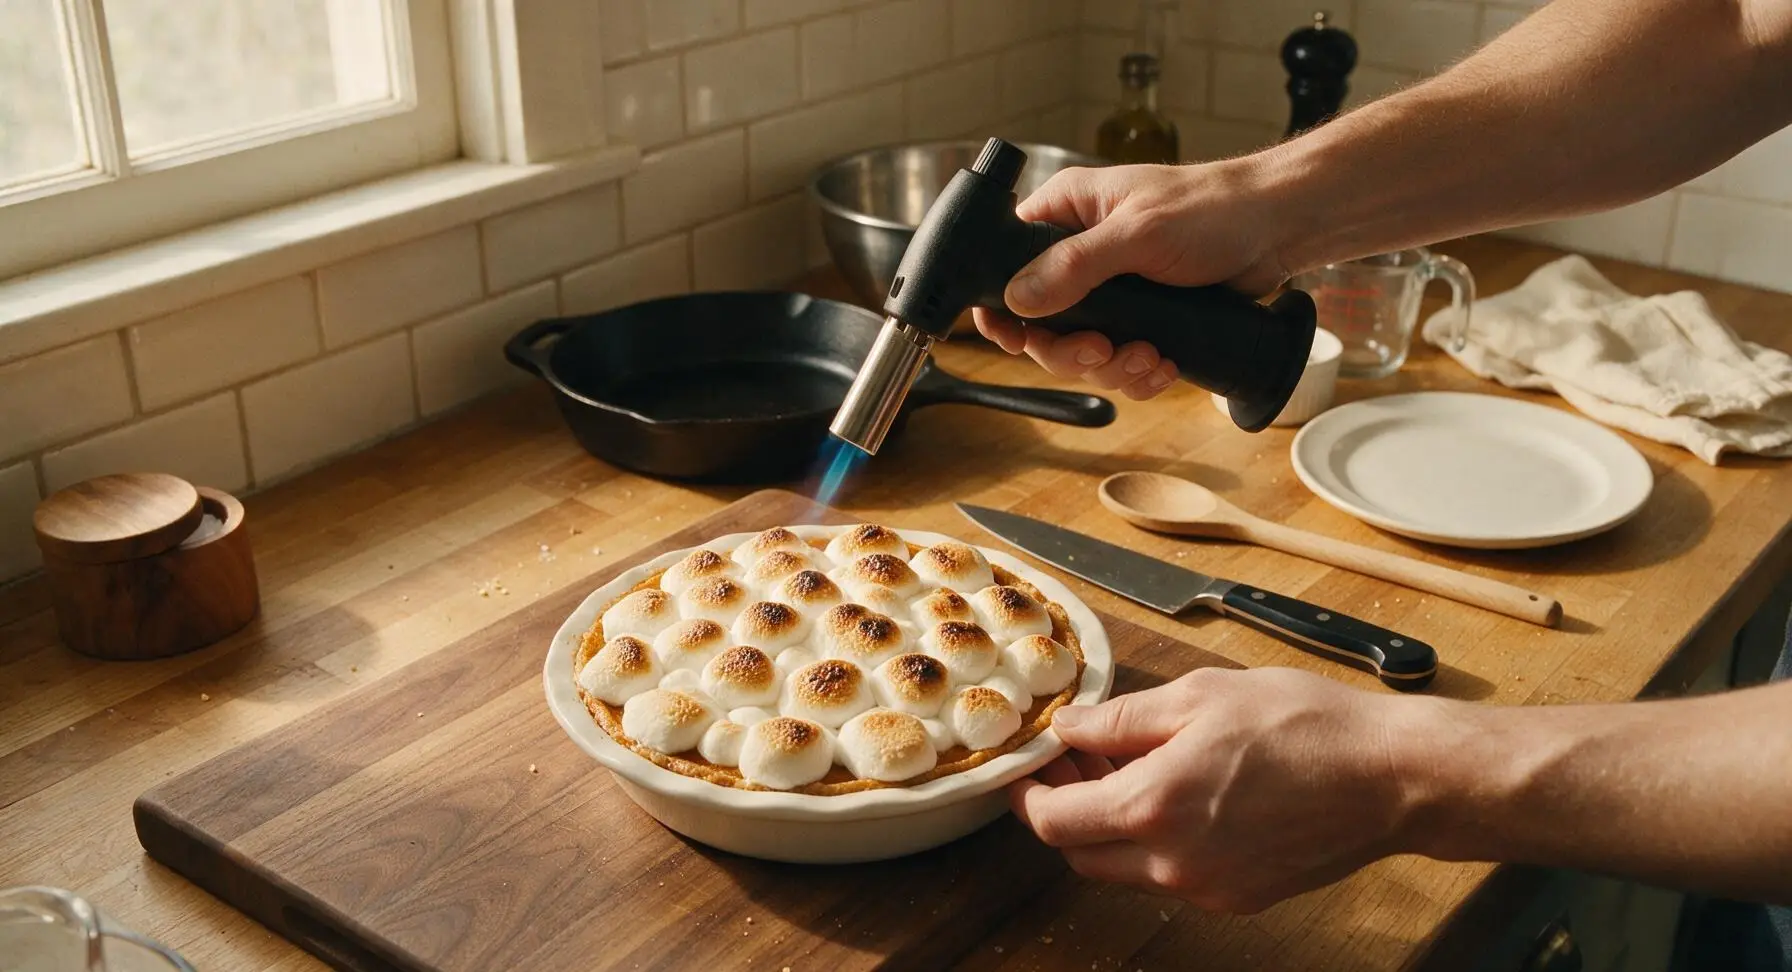
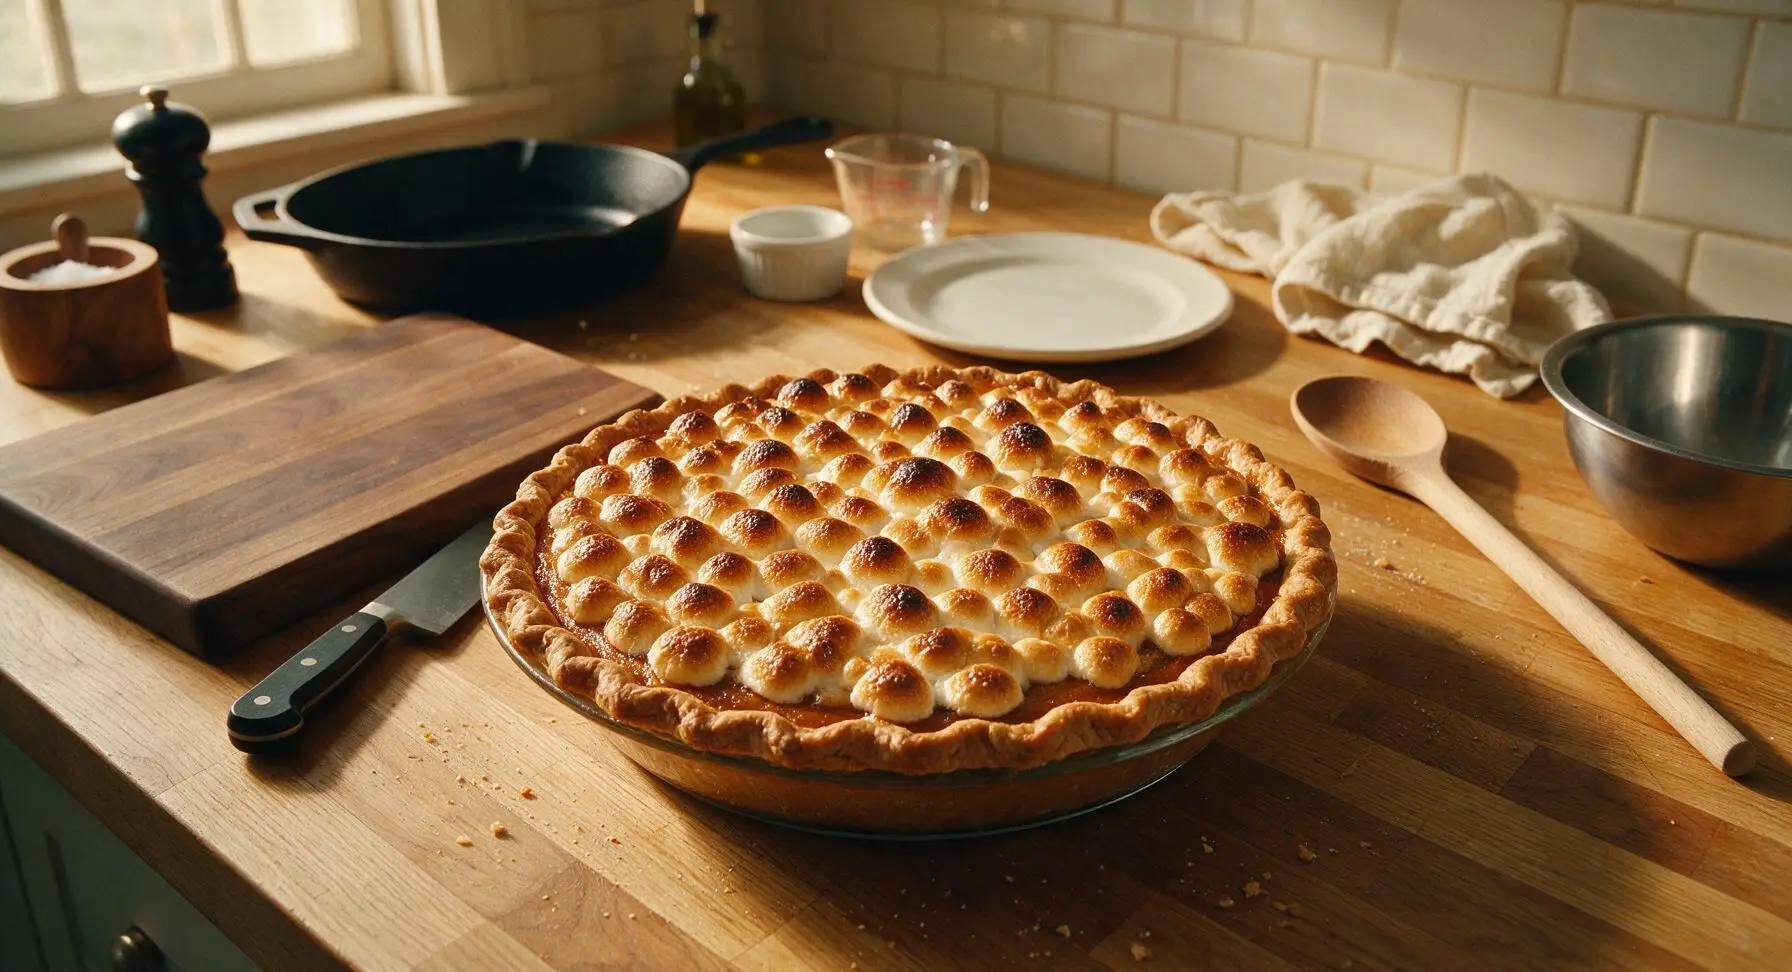
Hold the matte black kitchen torch 6-8 inches away from the marshmallow surface, moving the flame constantly in slow circular motions to toast evenly. Continue toasting for 2-3 total minutes, turning the pie dish as needed, until marshmallows are puffed, deep golden brown with slightly charred dark brown peaks, taking care not to burn the exposed crust edge.
Step 6
step6:Toast Marshmallow Peaks
Step 6
step6:Toast Marshmallow Peaks
7

Slice and Plate Pie

Run a thin knife around the inner edge of the crust to loosen it from the dish, then cut the pie into 8 even slices. Use the stainless steel pie server to lift one slice onto a matte cream ceramic dessert plate, dust the slice lightly with the remaining 1/4 teaspoon ground cinnamon, and serve.
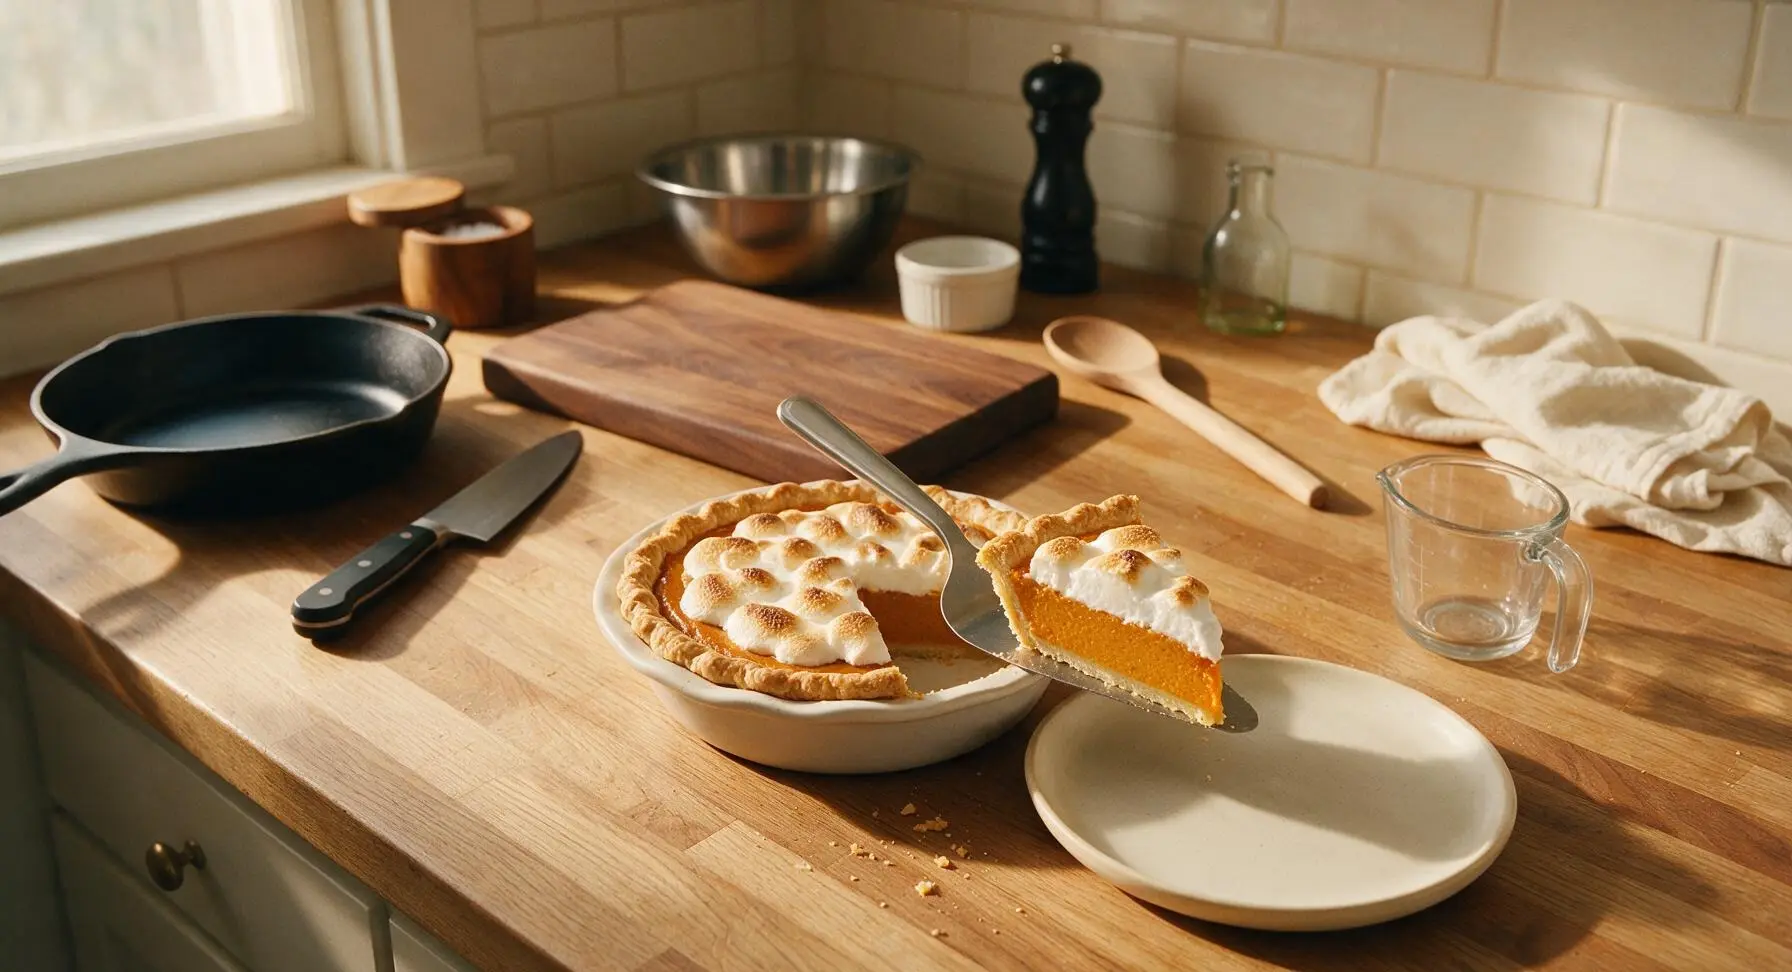
Step 7
step7:Slice and Plate Pie

Tips

1.Avoid using pumpkin pie mix instead of pure pumpkin puree: pre-made pie mix already contains added sugar and pre-measured spices, which will result in an overly sweet, unbalanced filling when paired with sweetened condensed milk and our custom spice blend.
2.Wait for the pie to fully cool and chill before adding marshmallows: warm or room-temperature custard will melt marshmallows into a sticky, runny layer that slides off the pie instead of holding its fluffy shape when toasted.
3.Keep the kitchen torch moving constantly while toasting: mini marshmallows can burn and turn bitter in as little as 2 seconds under a direct stationary flame, so slow, constant circular motion ensures even golden browning without charred patches.


✨ You May Also Like

Desserts & Baking
🍜 Italy

Creamy, coffee-kissed classic Northern Italian no-bake dessert, with layers of rum-spiked mascarpone cream, soft ladyfingers, and a rich cocoa dusting.

⏱️ 4 hours 3Desserts & Baking ★ 4.7
Desserts & Baking
🍜 France

Flaky, shatteringly crisp, buttery French croissants with golden exteriors and soft, airy layered interiors, perfect for pairing with coffee for a special morning treat.

⏱️ 12 hours Desserts & Baking ★ 4.5
Desserts & Baking
🍜 United States

Warm, spiced baked apples topped with a fluffy golden biscuit crust, this cozy dessert pairs perfectly with vanilla ice cream for cool-weather comfort.

⏱️ 55 minuteDesserts & Baking ★ 4.6
Desserts & Baking
🍜 United States

A star-spangled classic American blueberry pie with buttery flaky crust and bright sweet-tart filling, perfect for summer patriotic gatherings.

⏱️ 1 hour 25Desserts & Baking ★ 4.7
Desserts & Baking
🍜 United States

A beloved no-bake regional Maine candy with a chewy coconut-potato center coated in rich dark chocolate, a New England holiday staple since the 1870s.

⏱️ 2 hours 3Desserts & Baking ★ 4.8
Desserts & Baking
🍜 France

Luxuriously creamy, floral frozen custard made with aromatic Tahitian vanilla beans, boasting a smooth, rich texture that melts slowly on the tongue.

⏱️ 3 hours 3Desserts & Baking ★ 4.5

Pumpkin Pie with Marshmallow Topping:Frequently Asked Questions

1.Can I use canned pumpkin pie mix instead of plain pure pumpkin puree for this recipe? ▾
Skip the pre-made pumpkin pie mix for this recipe—it already has added sweeteners, spices, and thickeners that will throw off the custard’s balance, making it overly cloying and unevenly spiced. Stick to plain, unsweetened canned pumpkin puree to control the flavor and texture exactly, so warm spice notes and the creamy, rich base shine through.
2.Do I need to blind bake the refrigerated all-butter pie crust before adding the filling? ▾
Yes, do a quick 10-minute blind bake at 425°F with pie weights or dried beans on a sheet of parchment inside the crust. The wet pumpkin custard needs a sturdy, partially set base to avoid a soggy, gummy bottom crust. Skipping this step almost always leaves the bottom of the crust undercooked, even after the filling fully bakes through.
3.How do I toast the mini marshmallow topping without burning it to a crisp? ▾
Keep a very close eye on the marshmallows the entire time they’re under heat! Once your filled pie is fully cooled, top it evenly with mini marshmallows, then broil on the lowest oven rack 4–6 inches from the heat for 30 to 60 seconds. Pull it as soon as the tops turn light golden amber—marshmallows go from perfect to charred black in mere seconds.
4.Can I make this pie ahead of time for a holiday gathering? ▾
You can bake the crust and pumpkin custard filling up to 2 days ahead, wrap it tightly in plastic wrap, and store it in the refrigerator. Wait to add and toast the mini marshmallow topping until 30 minutes before serving, though—marshmallows get sticky, deflate, and lose their fluffy, toasty texture if left on the chilled pie too long.
5.Why did my pumpkin custard crack across the top when I baked it? ▾
Cracks almost always stem from overbaking, too high an oven temperature, or sudden temperature changes. The custard is done when the edges are fully set but the very center 2 inches still jiggles slightly like Jell-O—it will finish setting as it cools. Let it cool gradually at room temp instead of shoving it straight into the fridge to avoid thermal shock.
6.Do I need to use room temperature large eggs for the custard filling? ▾
For the silkiest, lump-free custard, take your large eggs out of the fridge 30 minutes before mixing to bring them to room temperature. Cold eggs don’t incorporate as smoothly into the pumpkin puree and sweetened condensed milk, which can leave tiny lumps or cause the custard to bake unevenly with a slightly curdled texture. If you’re pressed for time, submerge eggs in warm tap water for 5 minutes to speed this up.
7.How do I get clean, neat slices without dragging sticky marshmallow everywhere? ▾
For picture-perfect slices that don’t pull marshmallow strings across the pie, grab a sharp, thin-bladed knife, run it under hot tap water, and wipe it dry between every single cut. The warm blade glides right through the toasty marshmallow layer, set custard, and flaky butter crust without sticking, for clean slices ready to serve.

Comments (10)

2 days ago

OMG, made this for our family Thanksgiving pre-game dinner last night and it was a total hit! The marshmallow topping gets that perfect toasty, gooey edge and the pumpkin filling is so creamy, not cloyingly sweet like store-bought pies. Game changer for my holiday spread going forward!

yesterday

Did you toast the marshmallows with a kitchen torch or stick it under the broiler? I’m nervous about burning them!

2 hours ago

Great question! Either method works, but if you use the broiler, make sure to keep a super close eye on it—they go from perfectly golden to burnt in 30 seconds flat! A kitchen torch gives you a little more control if you have one on hand.

3 days ago

Tried this for my office potluck yesterday and people were coming back for seconds even after all the other desserts were gone! Only note is I added a tiny extra pinch of cinnamon to the filling because I’m a spice fiend, and it worked perfectly.

2 days ago

Love that tweak! Extra cinnamon is such a cozy add, I’ll have to note that variation for spice lovers next time I test the recipe. So glad it was a potluck hit!

5 days ago

Made this Sunday to have as a little treat all week for meal prep and it held up so well in the fridge! The marshmallow topping doesn’t get weirdly soggy like I was worried it would, which is a huge win. 10/10 will be making this all fall long.

1 week ago

My kids loved it! I was worried the spice level would be too much for my picky 6 year old but she asked for a second slice before she even finished her first. Only thing is my crust shrank a little on the sides while blind baking—any tips for that next time?

5 days ago

I used to have that problem all the time! I started chilling my crust for 30 minutes after fitting it in the pie plate before blind baking, and weighing it down with pie weights the whole time—no more shrinkage for me!

3 days ago

That’s exactly the tip I’d share too! Chilling the crust thoroughly before baking prevents the gluten from tightening up and shrinking, and pie weights (or even dried beans!) keep it from puffing up or sliding down the sides. So glad your kiddo enjoyed the pie!

yesterday

SO good. I’ve made three different pumpkin pie recipes this month already and this one is by far the best. The marshmallow topping adds that perfect light, sweet contrast to the rich spiced pumpkin. Who knew a classic could get such a good upgrade?

2 hours ago

Agreed! I thought the marshmallow topping would be too much but it’s actually way lighter than the usual whipped cream I top mine with. Obsessed.

30 minutes ago

As someone who’s never made a pie from scratch before, I was nervous the medium difficulty would be too much for me, but the instructions were so clear! My only mishap was I over-toasted a couple spots on the marshmallow, but it still tasted amazing. Great for new bakers if you take your time!

5 minutes ago

That makes me so happy to hear! Don’t stress about a couple extra toasty marshmallow spots—those are actually my favorite bites, they taste like campfire s'mores. Can’t wait to hear what you bake next!

2 weeks ago

Brought this to my friend’s harvest party over the weekend and everyone was asking for the recipe before they even finished their first bite. The gooey marshmallow layer is such a fun throwback to the sweet potato casserole we all grew up with, but paired with pumpkin pie it just works. Will absolutely be making this again for Thanksgiving.

1 week ago

I swapped the regular pie crust for a gluten-free gingersnap crust to fit my dietary needs, and wow—this pie was out of this world. The gingersnap added an extra little zing that paired so well with the pumpkin and marshmallow. Highly recommend that swap for any GF folks out there!

5 days ago

Oh that swap sounds genius! Did you use a specific brand of marshmallows that’s GF? I’ve had trouble finding ones that don’t have weird cross-contamination warnings.

3 days ago

That gingersnap crust swap sounds incredible, I’m definitely going to test that for our GF readers! @DairyFreeDude Most mainstream marshmallow brands are certified gluten-free these days, but always double check the label for cross-contamination warnings if that’s a concern for your dietary needs. So glad you loved the recipe!

2 hours ago

I thought the 1 hour 10 minute cook time sounded long at first, but most of that is hands-off baking time so it was way less work than I expected. The end result was so worth it—my partner said it’s better than the pumpkin pie his grandma makes, which is the highest possible praise if you ask me.

30 minutes ago

Wait till you tell his grandma that 😂 I made this last week and my husband said the same thing, I’m low-key scared to bring it to his family Thanksgiving now for fear of starting a pie rivalry!

just now

Full transparency, I burned the first batch of marshmallow topping so bad my smoke alarm went off, but I scraped it off, added a new layer of marshmallows, and tried again, and the final pie was chef’s kiss. Don’t be like me and walk away from the broiler, y’all. It’s worth the extra few minutes standing guard to get that perfect golden top.



