
Pumpkin Roll / Pumpkin Pie Roll

title 1
Pumpkin Roll / Pumpkin Pie Roll
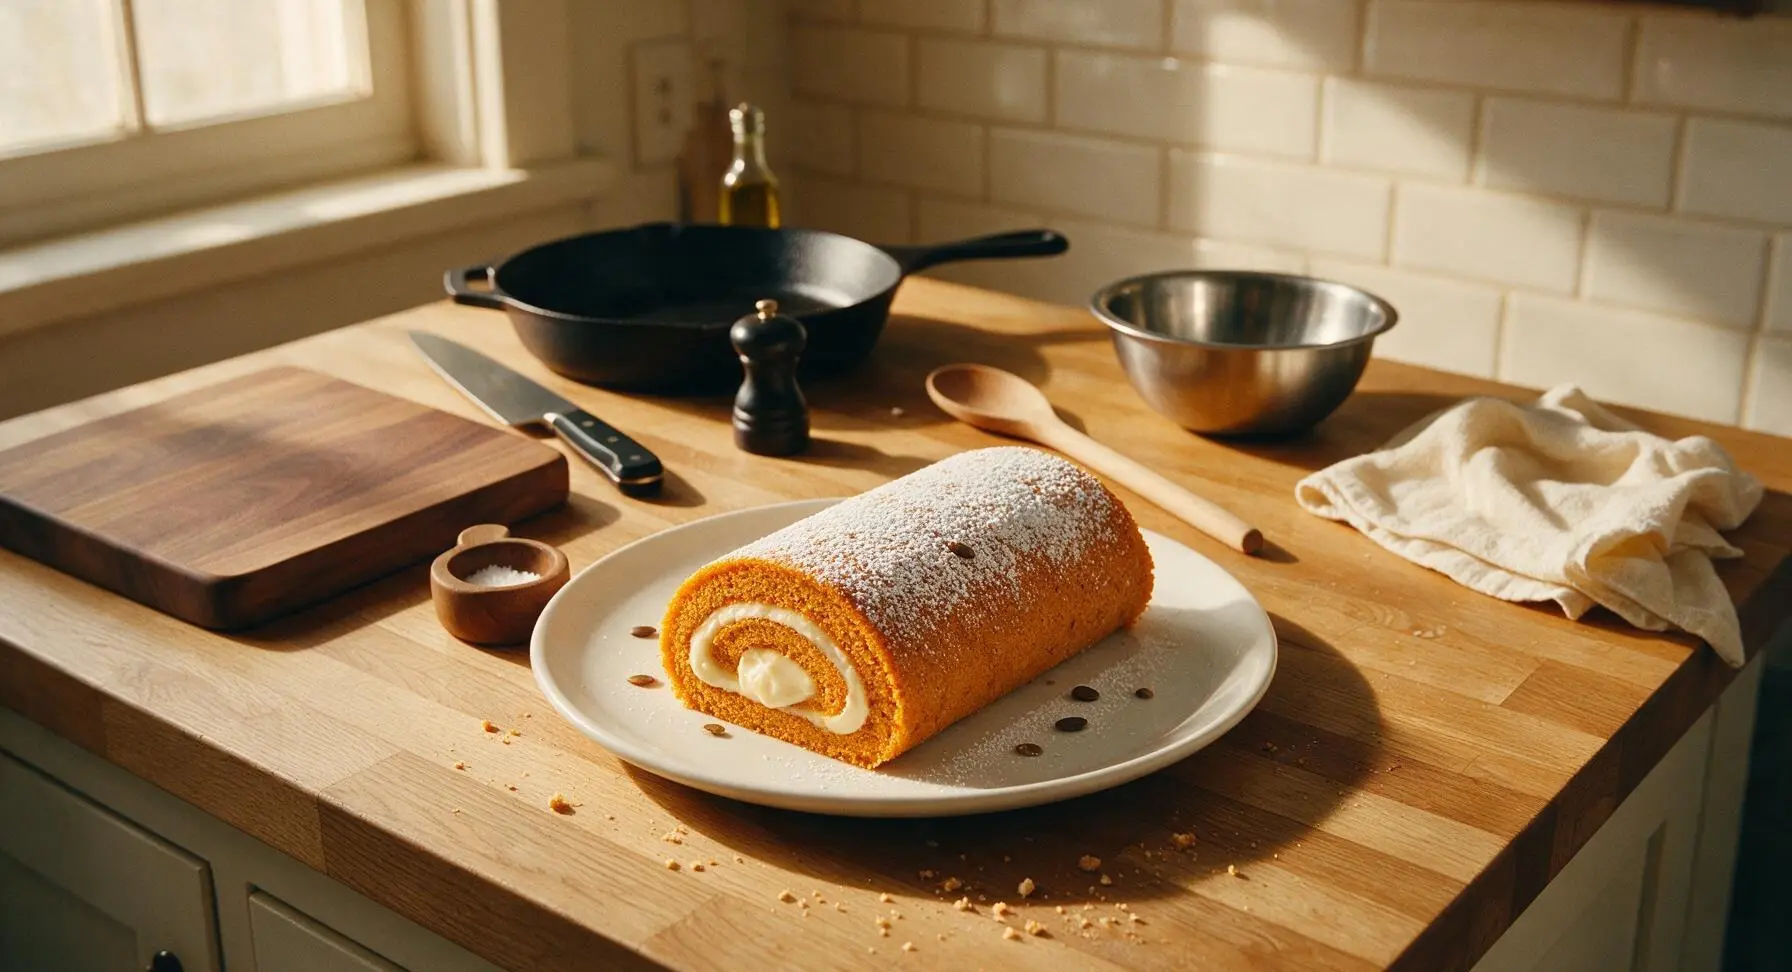
⏱️ cook time 15 minutes, plus 1 hour 30 minutes cooling and chilling time
🍽️ servings 8
⚡ Difficulty medium

intro

A tender, spiced pumpkin sponge cake rolled around silky, tangy cream cheese filling, dusted with powdered sugar—an iconic cozy fall dessert perfect for holiday tables.

Ingredients
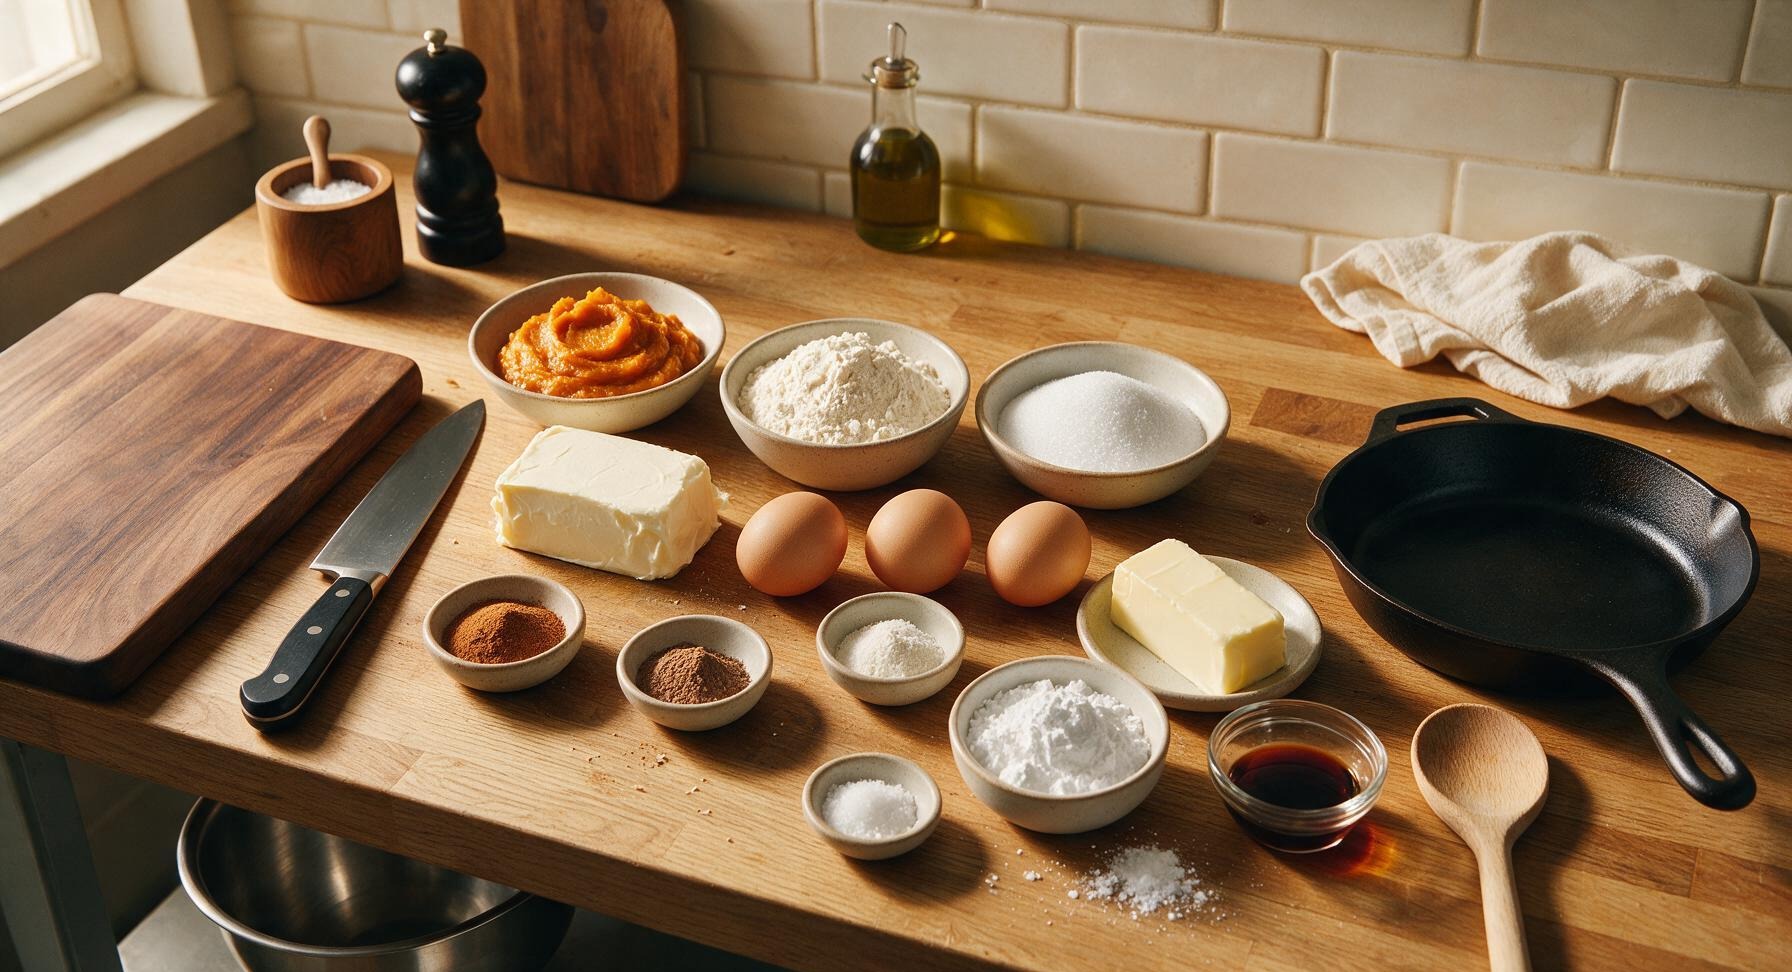
Pure pumpkin puree (not pie filling) 2/3 cup (150g)
All-purpose flour 3/4 cup (95g)
Full-fat block cream cheese 8 oz (226g), softened to room temperature
Granulated sugar 1/2 cup (100g)
Large eggs 3, room temperature
Ground cinnamon 1 tsp
Ground nutmeg 1/4 tsp
Baking soda 1/2 tsp
Fine sea salt 1/4 tsp
Unsalted butter 6 tbsp (85g), softened to room temperature
Powdered sugar 1 cup (120g), plus 2 tbsp extra for dusting
Pure vanilla extract 1 tsp

Steps

1

Prep Pan and Oven

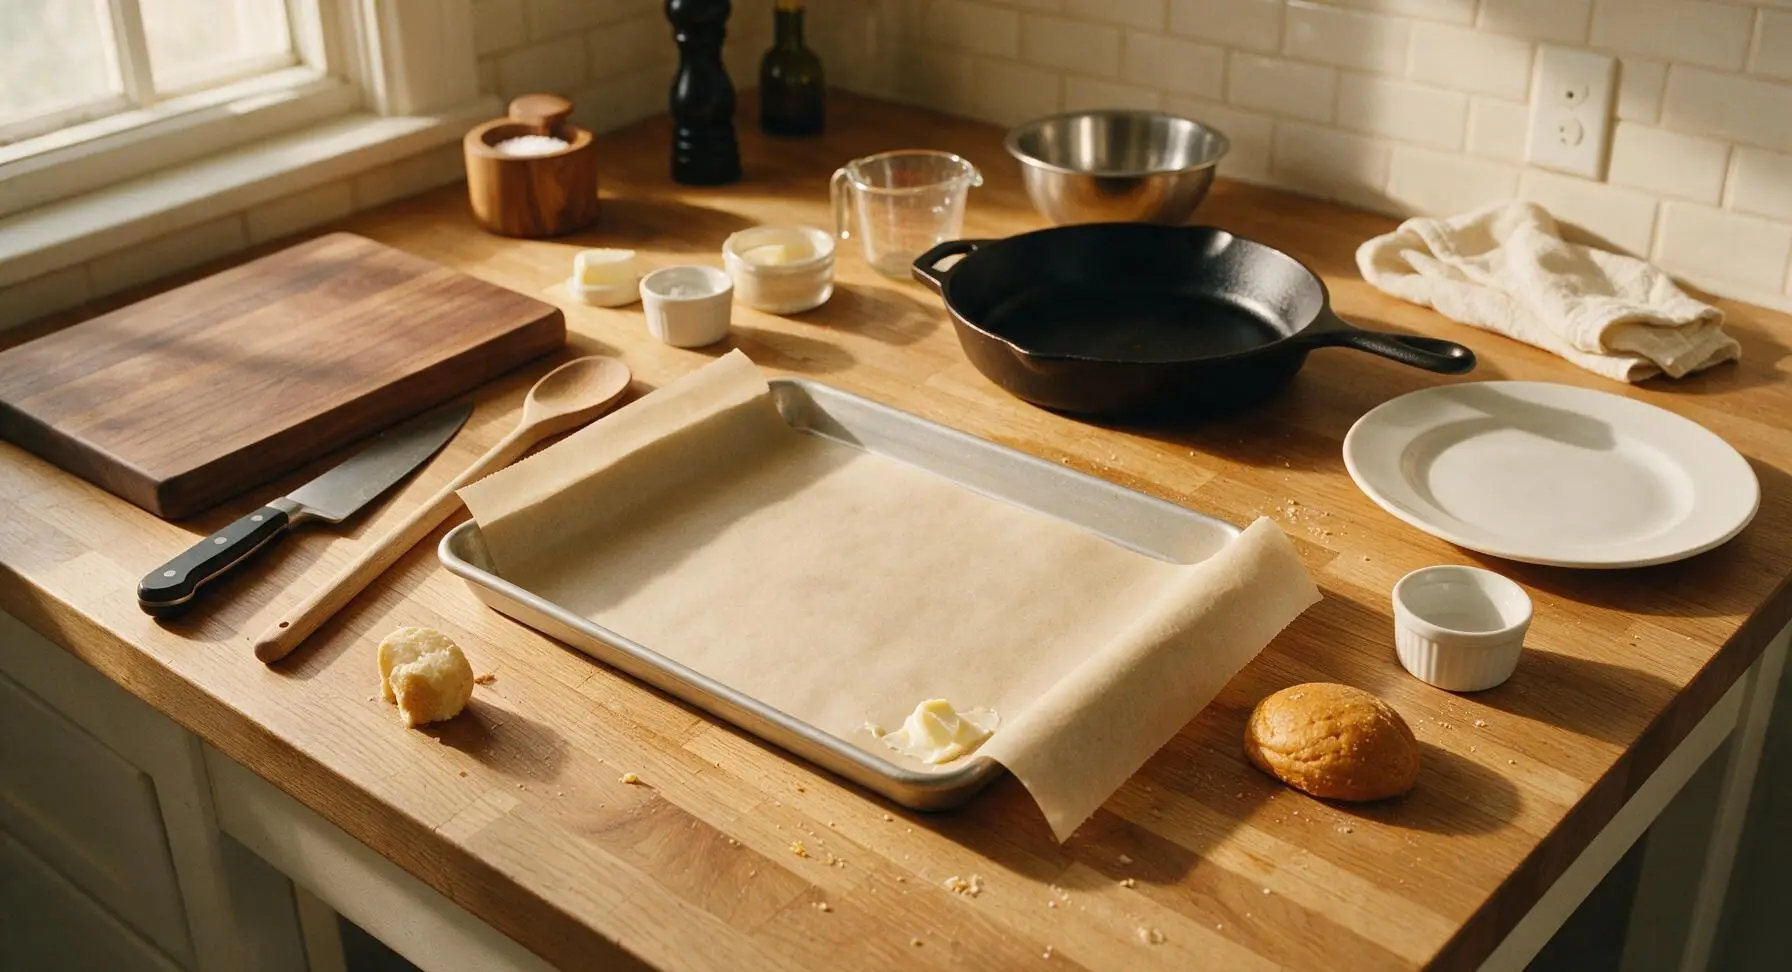
Preheat oven to 375°F (190°C). Line the 10x15 inch matte silver aluminum jelly roll pan with unbleached parchment paper, leaving a 1-inch overhang on the two short ends to help lift the finished cake out. Lightly coat the parchment with a thin wipe of softened butter to prevent sticking, wiping away any excess butter with a paper towel.
Step 1
step1:Prep Pan and Oven
2

Whisk Dry Cake Ingredients

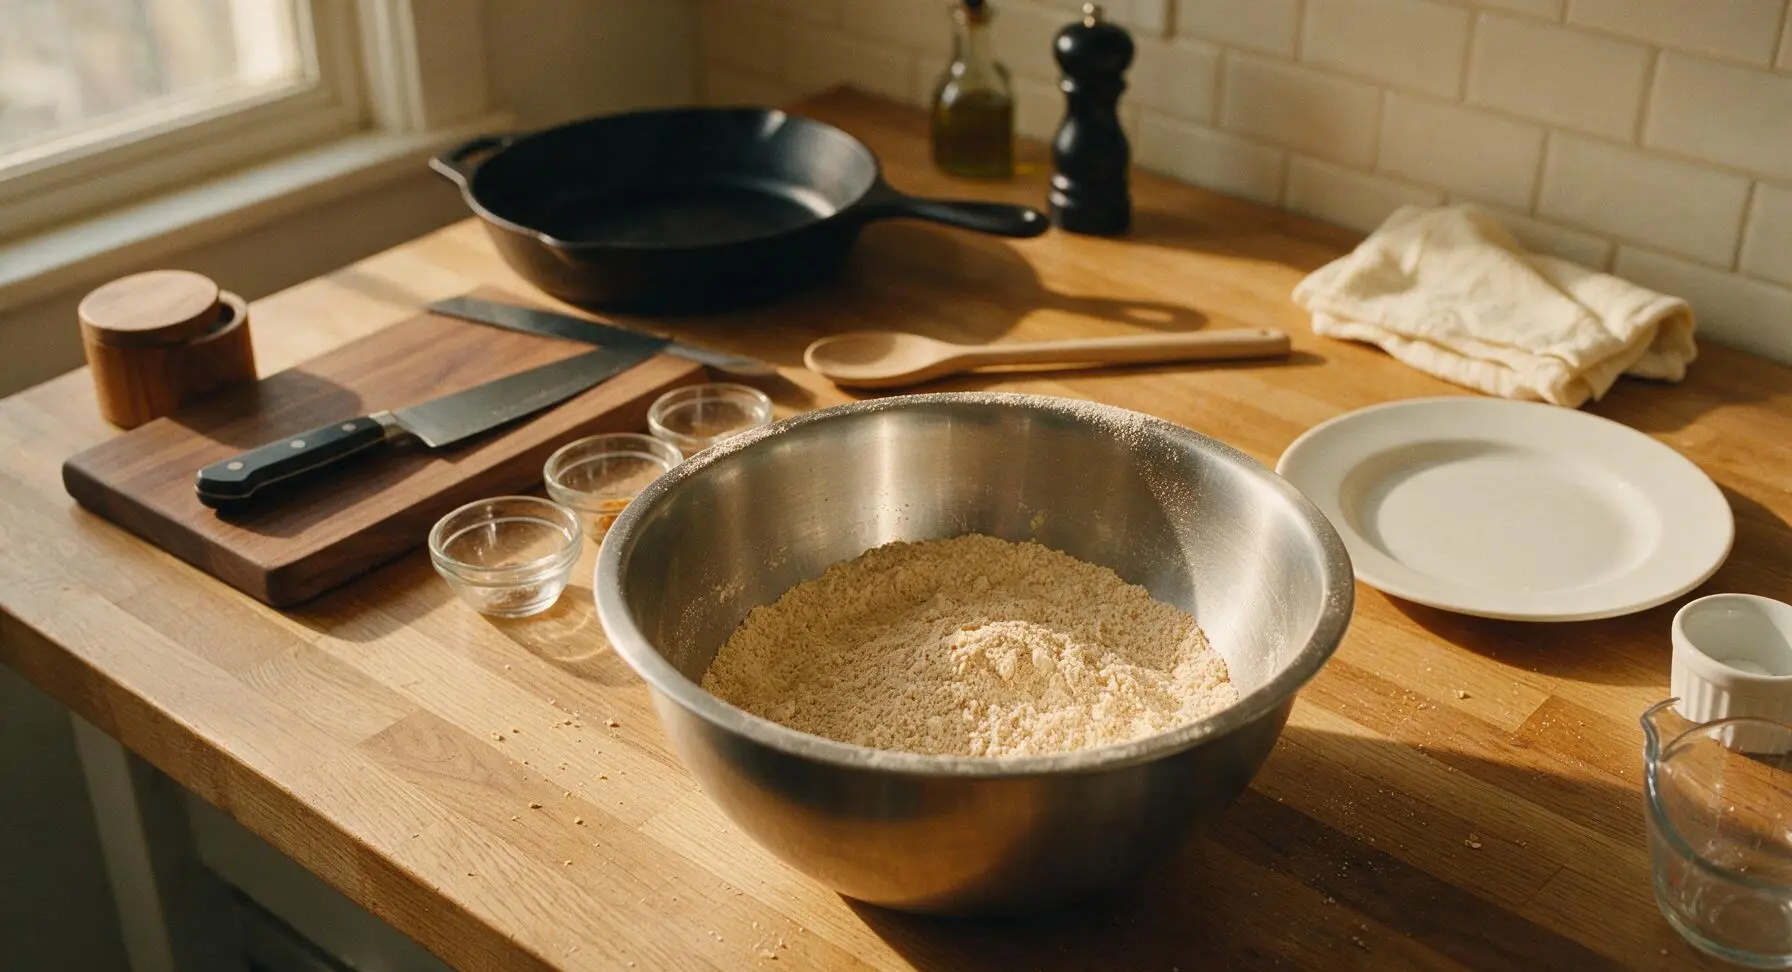
In the large brushed stainless steel mixing bowl, combine the all-purpose flour, granulated sugar, baking soda, ground cinnamon, ground nutmeg, and fine sea salt. Whisk vigorously for 30 seconds until fully combined, breaking up any small lumps of baking soda or spice to ensure even leavening and no clumps in the finished cake.
Step 2
step2:Whisk Dry Cake Ingredients
3

Mix Wet Cake Batter

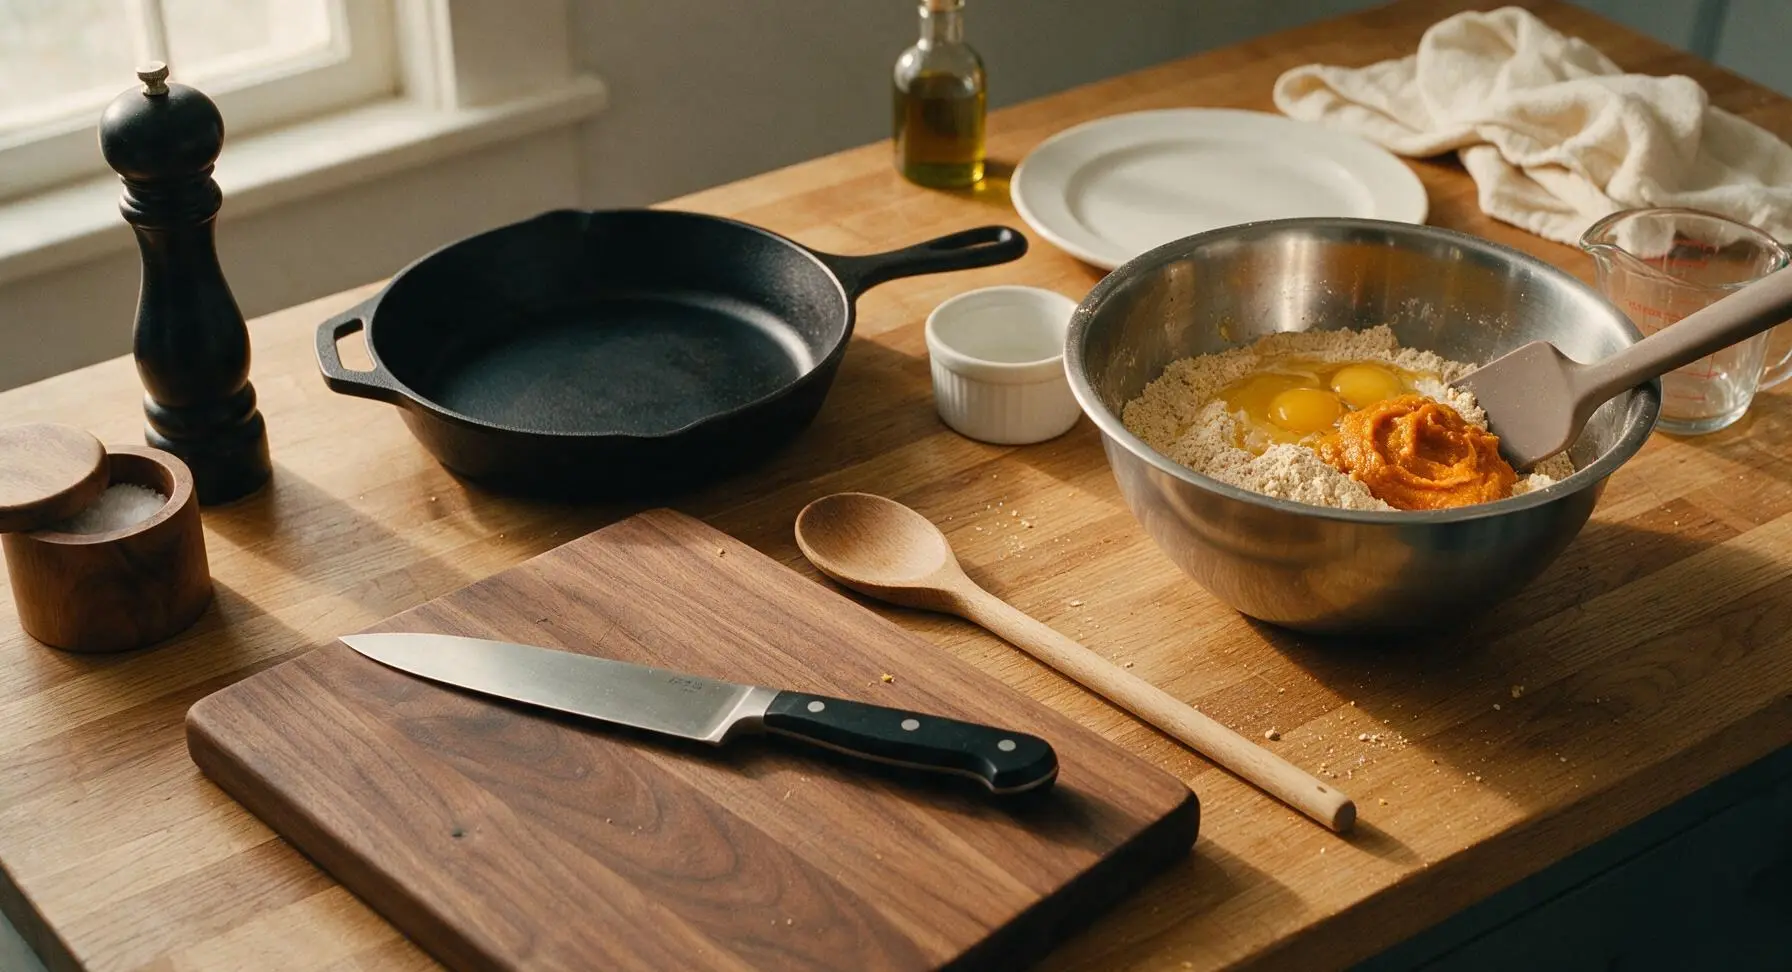
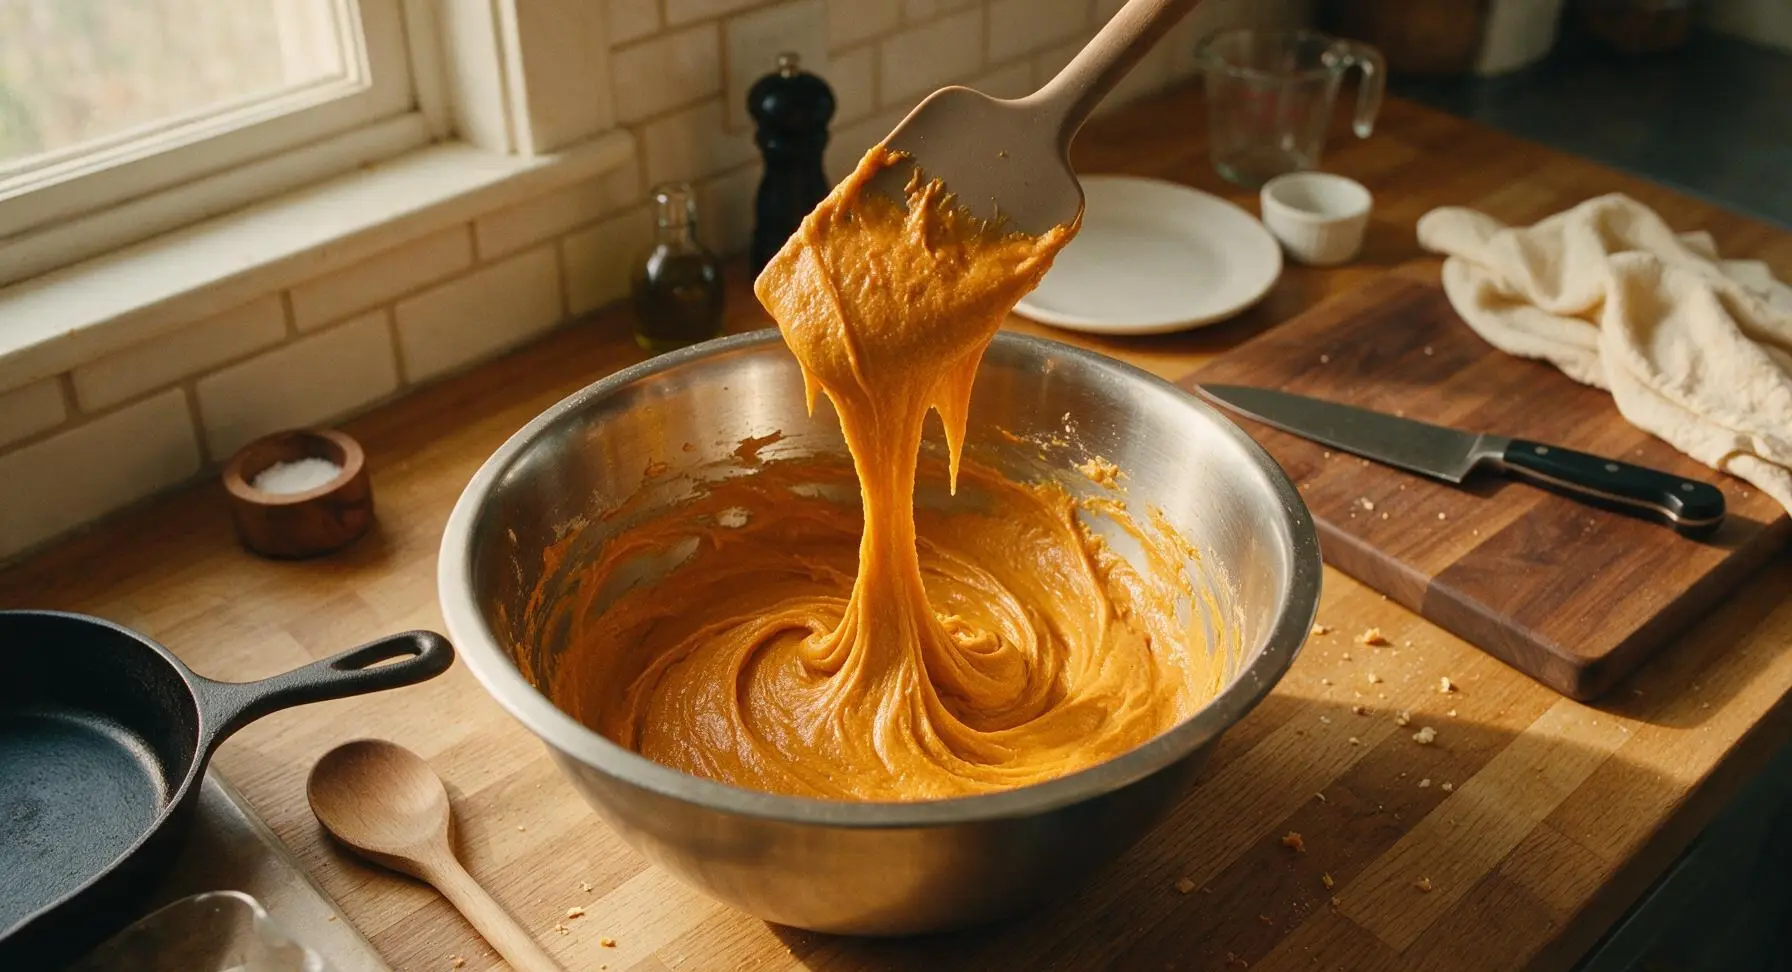
Add the room temperature eggs and pumpkin puree to the dry ingredient mixture in the large bowl. Use the matte taupe silicone spatula to fold the ingredients together until just combined—do not overmix, as this will develop gluten and make the cake tough. The finished batter will be a smooth, deep orange, thick enough to coat the back of the spatula, with no streaks of dry flour remaining.
Step 3
step3:Mix Wet Cake Batter
Step 3
step3:Mix Wet Cake Batter
4

Bake Thin Sponge Cake

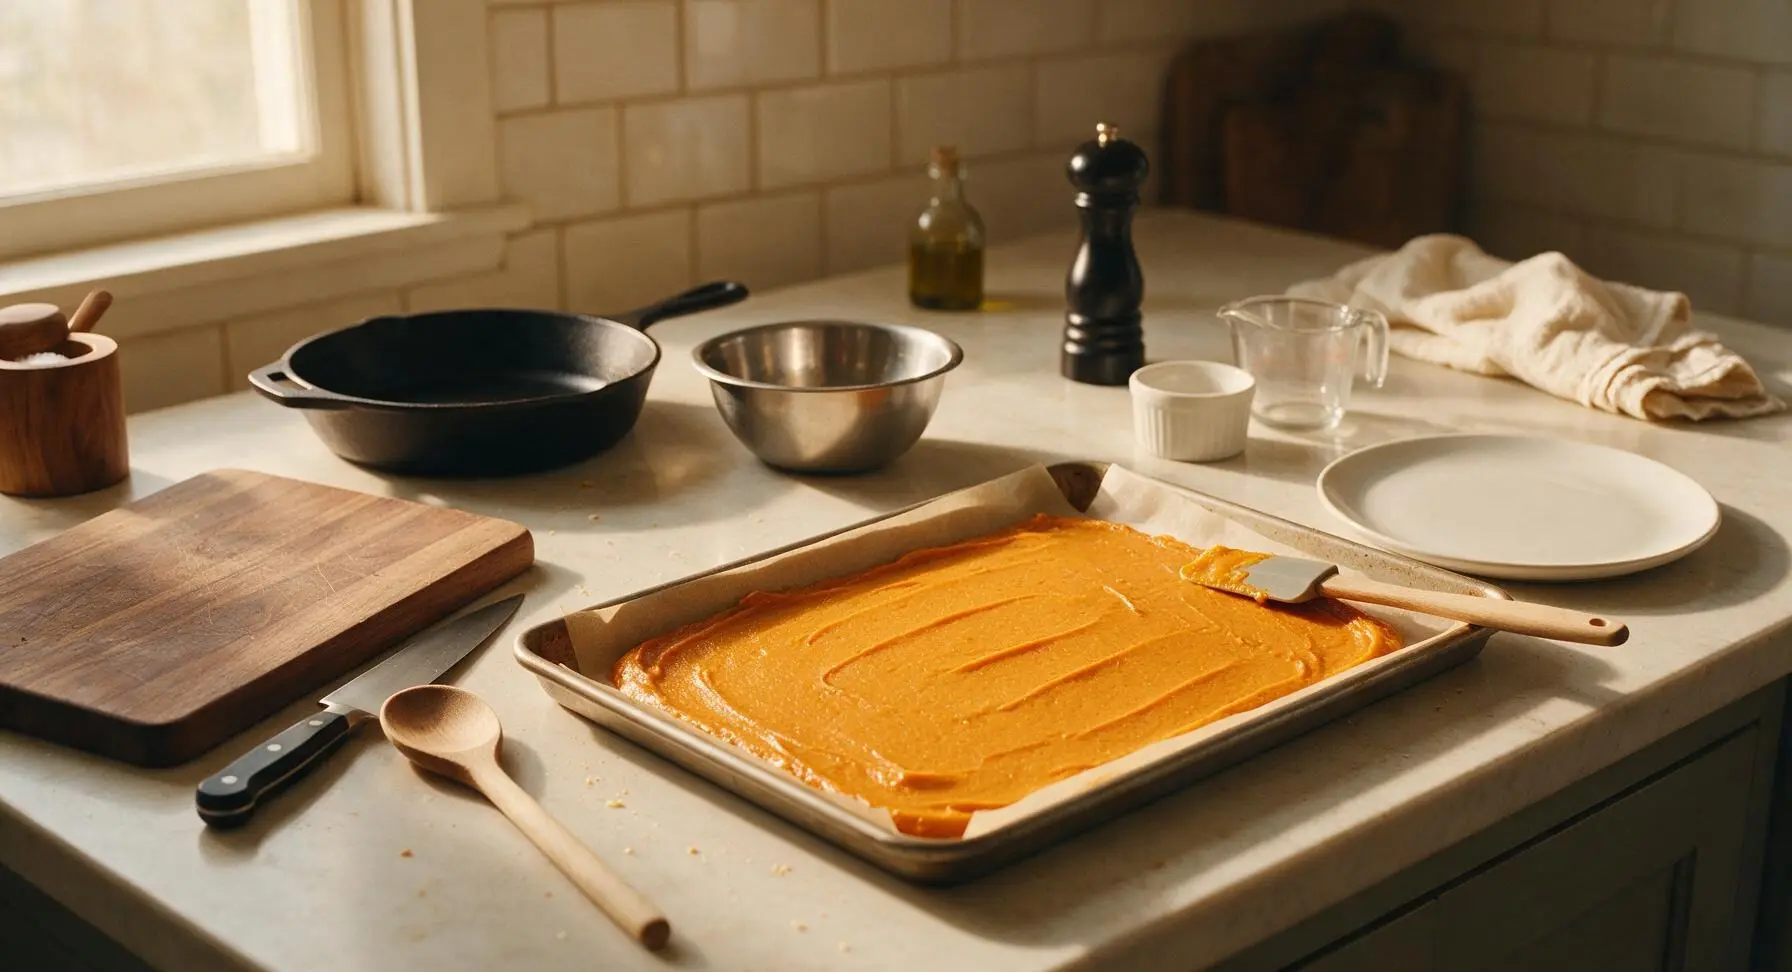
Pour the finished batter onto the prepared parchment-lined jelly roll pan, using the silicone spatula to spread it into an even, thin layer all the way to the edges of the pan. Bake for 12-15 minutes at 375°F (190°C), until the top springs back lightly when touched and a toothpick inserted into the center comes out with only 1-2 moist crumbs attached. Do not overbake, as a dry, crisp cake will crack when rolled.
Step 4
step4:Bake Thin Sponge Cake
5

Roll Warm Cake to Cool

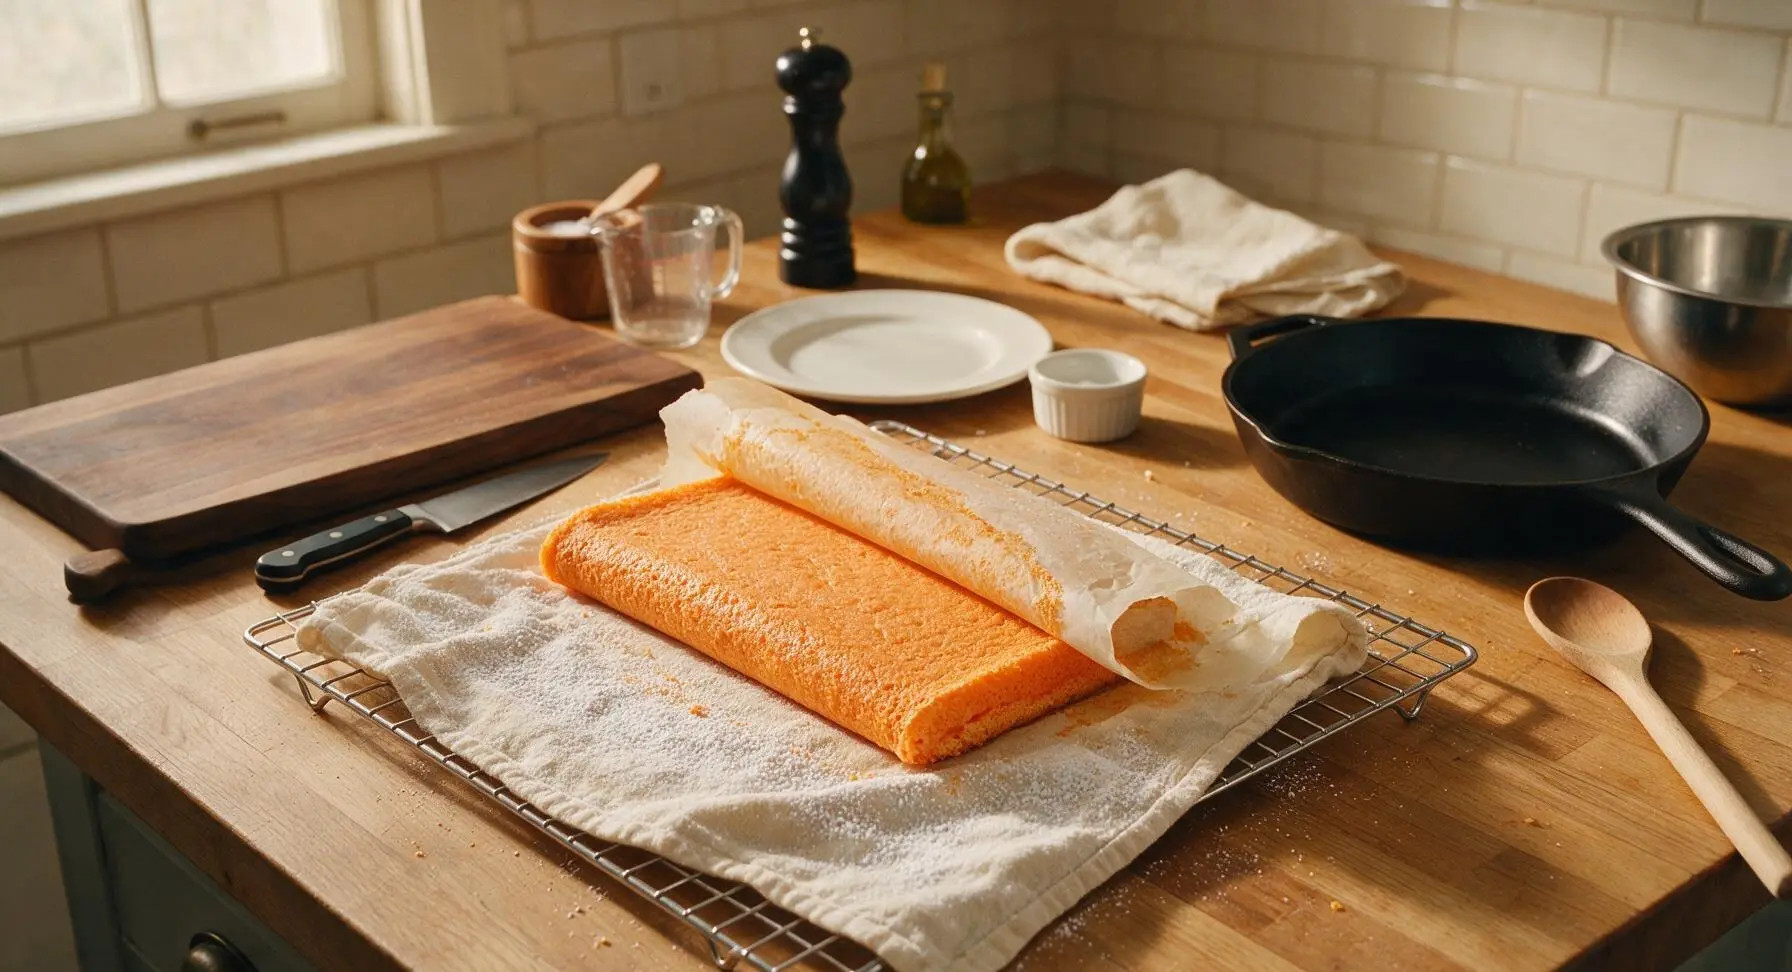
As soon as the cake finishes baking, lift it out of the pan using the parchment overhang and transfer it to the chrome wire cooling rack. Lay the unbleached thin cotton kitchen towel flat over the top of the cake, dust the towel lightly with powdered sugar, then carefully flip the cake over onto the towel. Peel the parchment paper off the back of the cake, then roll the cake and towel together tightly starting from the short end. Let the rolled cake cool completely on the rack for 30 minutes—this sets the spiral shape while the cake is flexible to prevent cracking later.
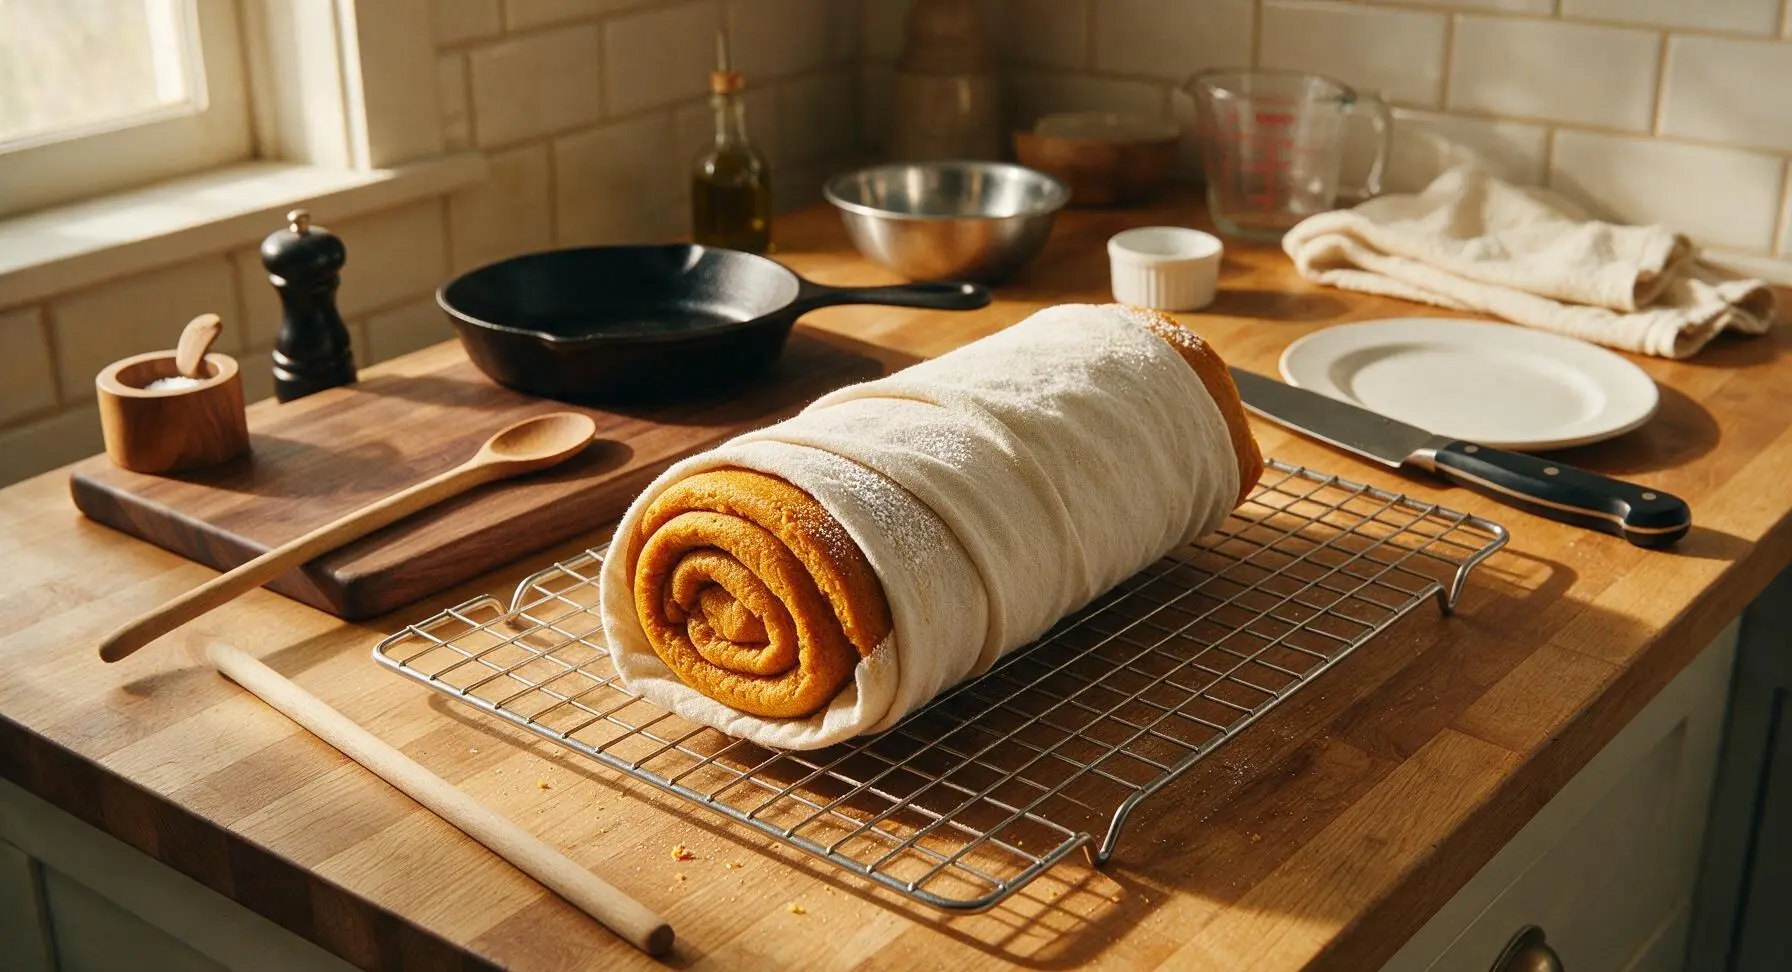
Step 5
step5:Roll Warm Cake to Cool
Step 5
step5:Roll Warm Cake to Cool
6

Whip Cream Cheese Filling

While the cake cools, prepare the filling: in the medium brushed stainless steel mixing bowl, combine the softened room temperature cream cheese, softened unsalted butter, powdered sugar, and pure vanilla extract. Use the matte white electric hand mixer to beat the mixture on medium speed for 2-3 minutes, until completely smooth, light, and fluffy, with no visible lumps of cream cheese. Scrape down the sides of the bowl with the silicone spatula halfway through mixing to ensure even texture.
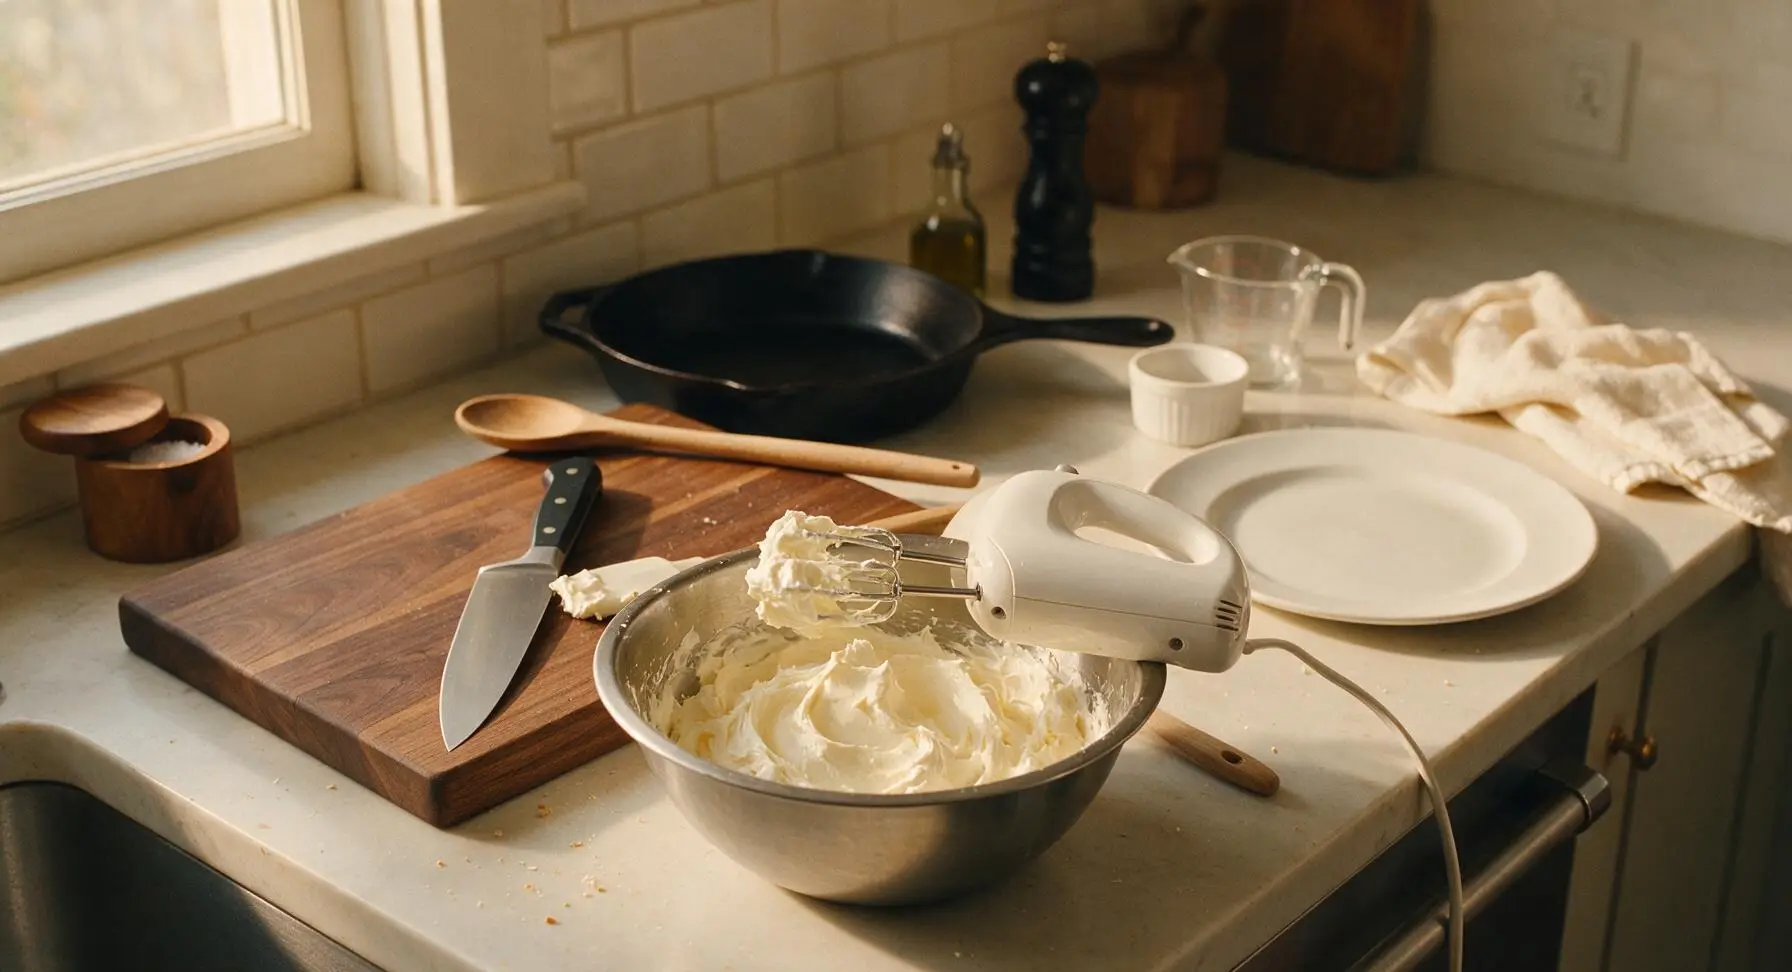
Step 6
step6:Whip Cream Cheese Filling
7

Fill and Reroll Log

Once the rolled cake is completely cool to the touch (no remaining warmth seeping through the towel), carefully unroll it slowly—it will hold a gentle curve, and a small crack at the inner curve is normal and will not show in the finished roll. Use the offset metal spatula to spread the cream cheese filling evenly across the entire surface of the cake, leaving a 1/4-inch border at the far short end to prevent filling from oozing out when rolled. Tightly re-roll the cake (without the towel this time) starting from the same short end used for the initial cool roll, pressing gently to form a tight, even log. Wrap the rolled log tightly in plastic wrap and refrigerate for at least 1 hour to set.
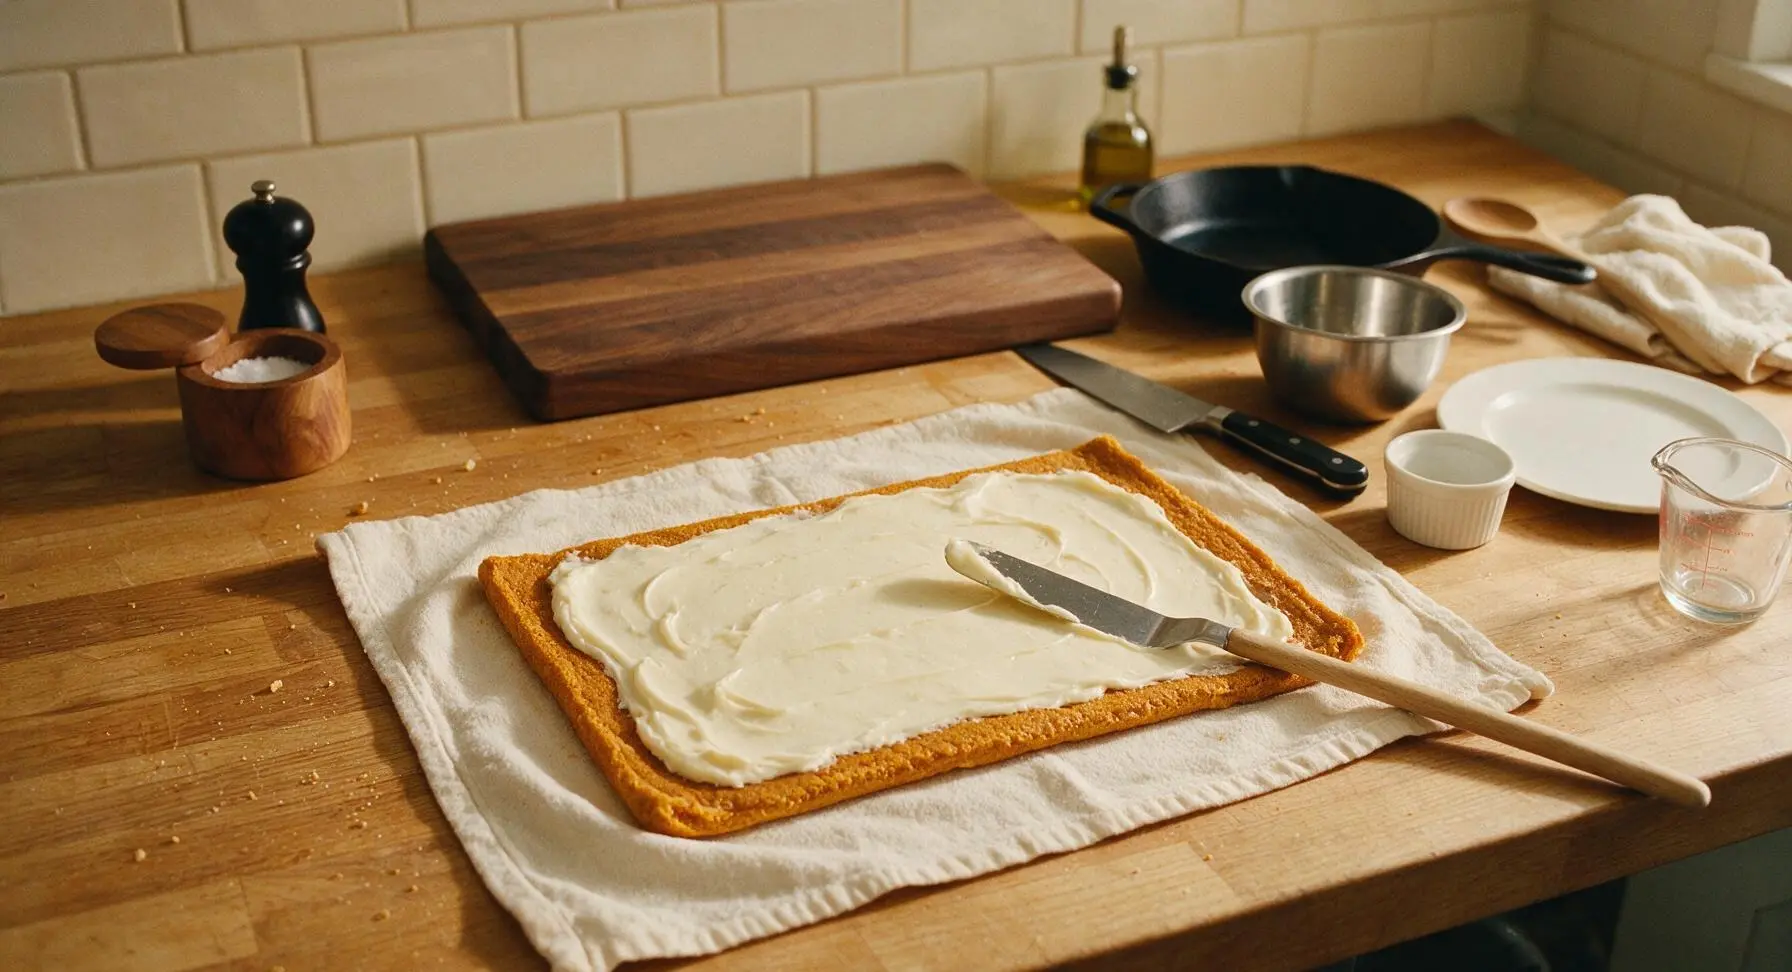
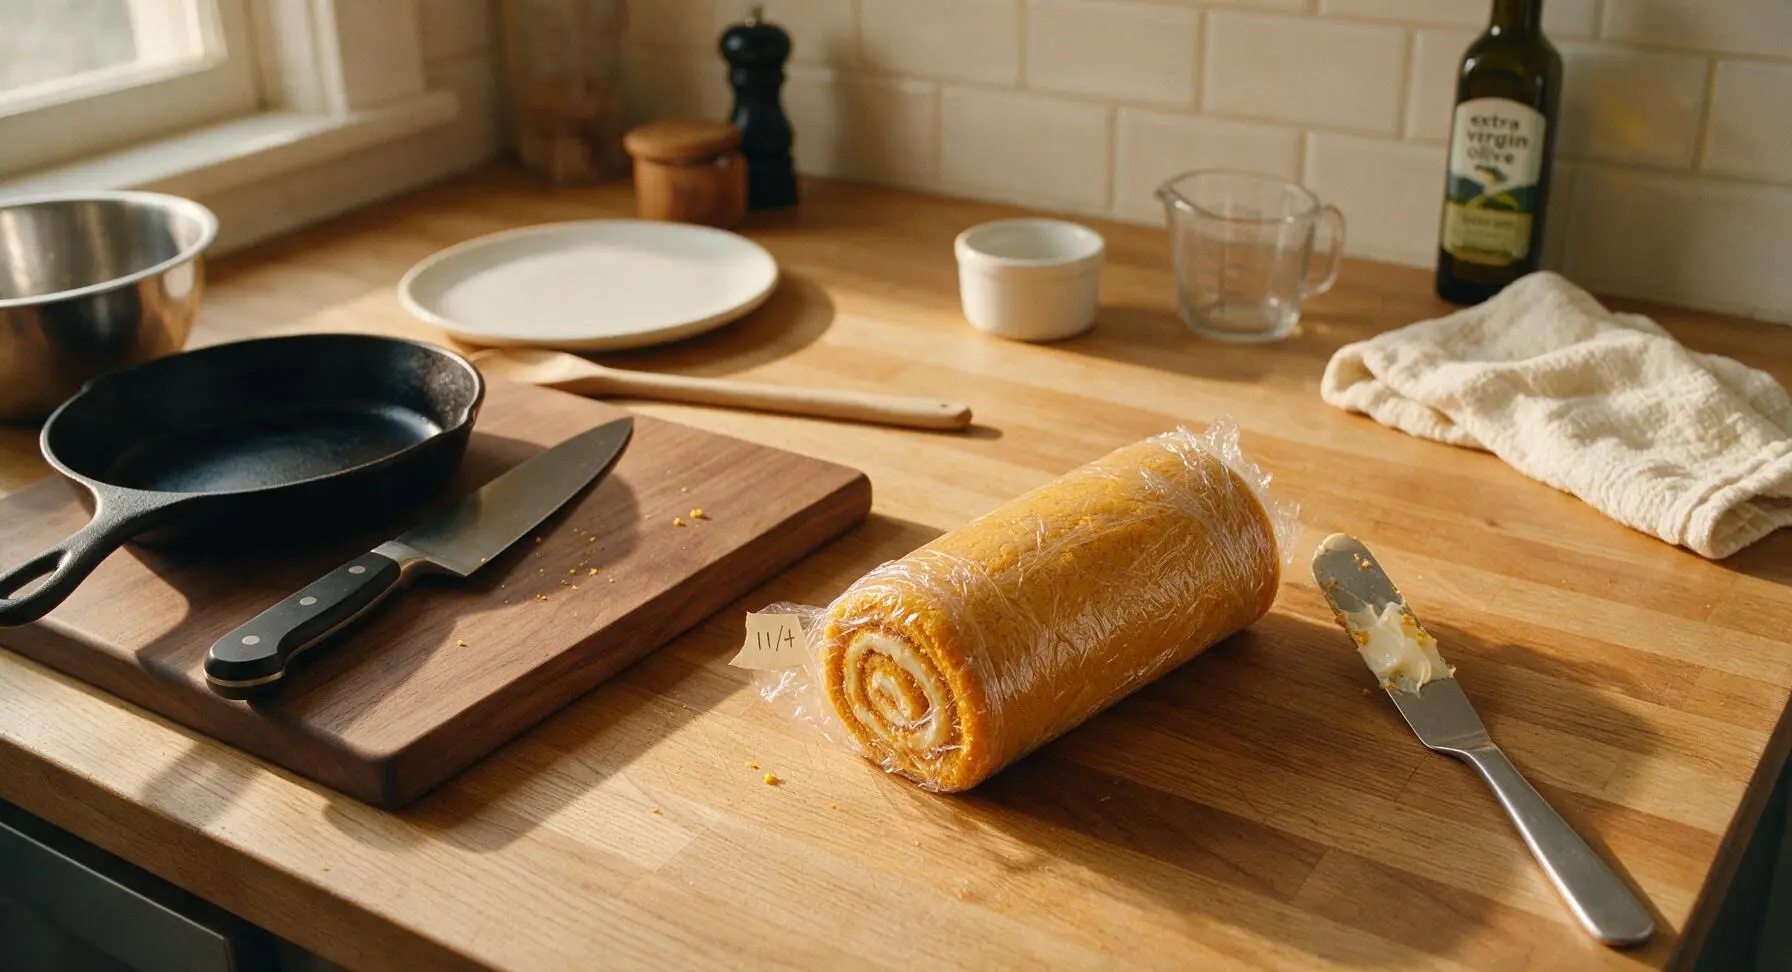
Step 7
step7:Fill and Reroll Log
Step 7
step7:Fill and Reroll Log
8

Dust, Slice, and Serve

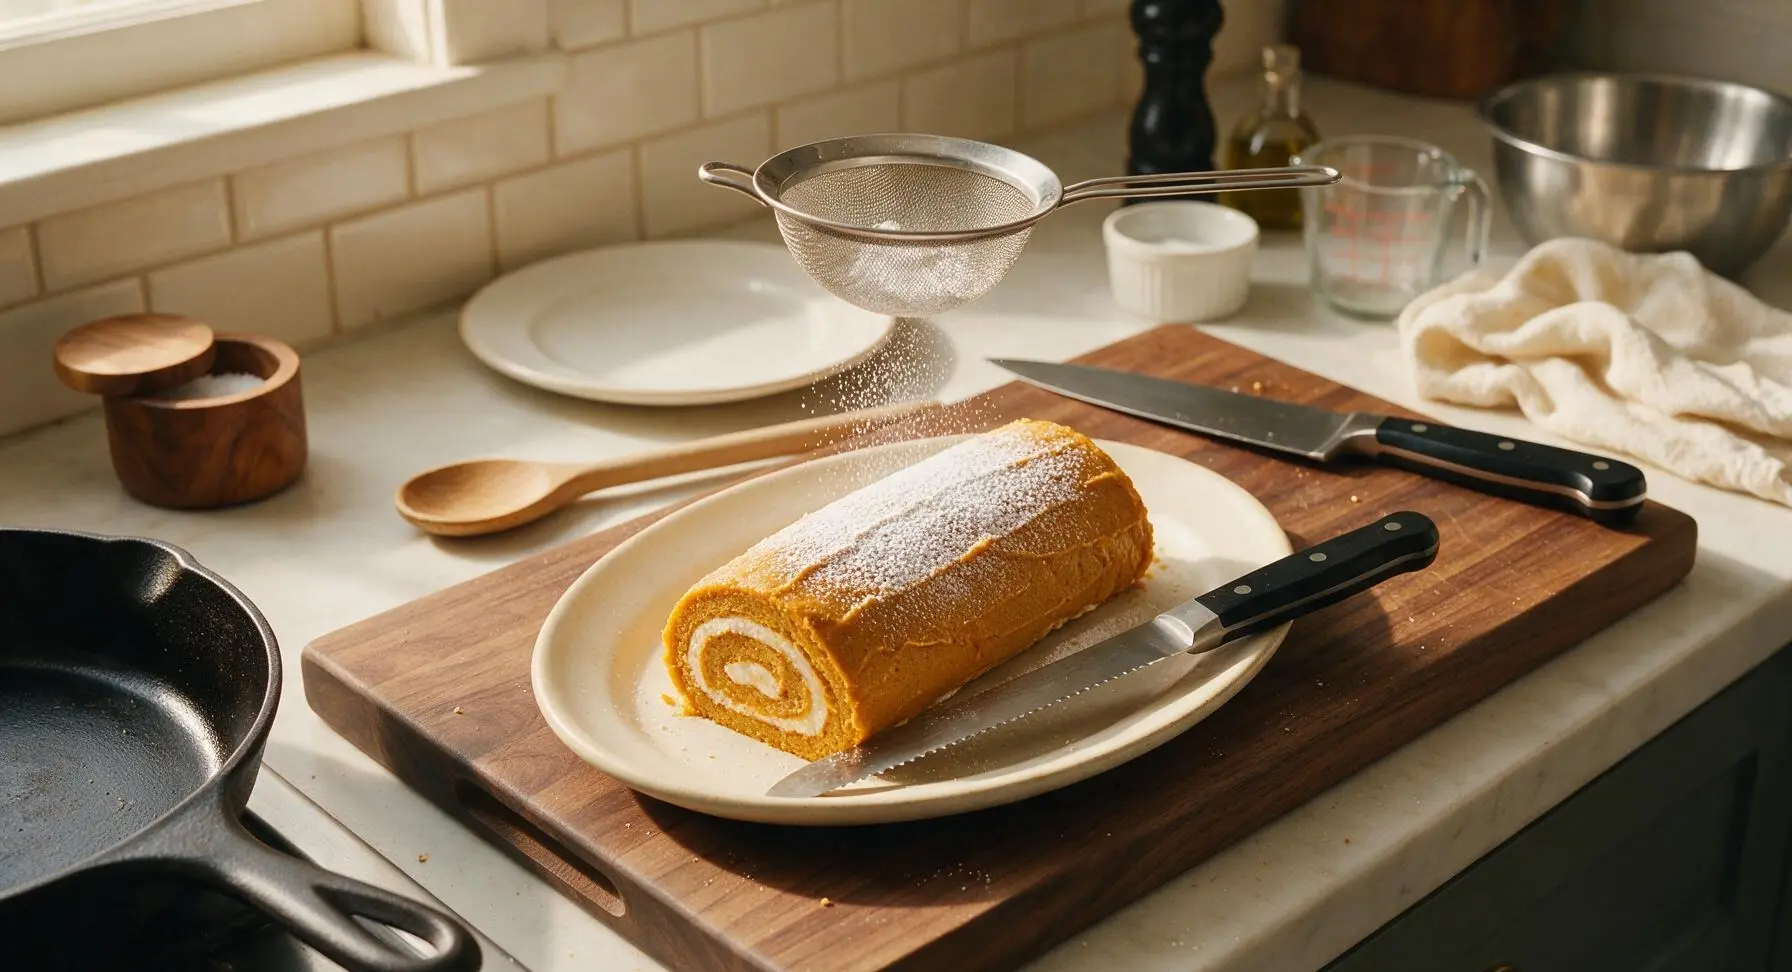
After the log has chilled for 1 hour, unwrap it and transfer it to the oval matte cream ceramic serving platter. Hold the fine-mesh stainless steel sieve 6 inches above the roll and dust the top evenly with the remaining 2 tablespoons of powdered sugar. Use the serrated bread knife to trim 1/4 inch off each ragged end for a clean, polished look, then slice the roll into 8 even 1-inch thick slices. Serve chilled.
Step 8
step8:Dust, Slice, and Serve

Tips

1.Use room temperature eggs, cream cheese, and butter for both cake and filling: cold ingredients create lumpy, uneven texture, and cold eggs can cause the cake batter to seize, leading to a dense, unevenly baked sponge. Let ingredients sit on the counter for 1 hour before starting for best results.
2.Always roll the warm cake in a powdered sugar-dusted towel immediately after taking it out of the oven: this sets the spiral shape while the cake is soft and flexible, preventing unsightly cracks when you add filling and reroll later. Letting the cake cool completely while flat will almost always result in deep cracks across the cake surface.
3.Chill the filled roll for a full hour before slicing, and wipe your serrated knife blade with a warm damp cloth between each cut: this lets the cream cheese filling firm up so slices hold their clean spiral shape instead of oozing, and the warm knife creates smooth, clean cuts without tearing the tender sponge.


✨ You May Also Like

Desserts & Baking
🍜 Italy

Creamy, coffee-kissed classic Northern Italian no-bake dessert, with layers of rum-spiked mascarpone cream, soft ladyfingers, and a rich cocoa dusting.

⏱️ 4 hours 3Desserts & Baking ★ 4.7
Desserts & Baking
🍜 France

Flaky, shatteringly crisp, buttery French croissants with golden exteriors and soft, airy layered interiors, perfect for pairing with coffee for a special morning treat.

⏱️ 12 hours Desserts & Baking ★ 4.5
Desserts & Baking
🍜 United States

Warm, spiced baked apples topped with a fluffy golden biscuit crust, this cozy dessert pairs perfectly with vanilla ice cream for cool-weather comfort.

⏱️ 55 minuteDesserts & Baking ★ 4.6
Desserts & Baking
🍜 United States

A star-spangled classic American blueberry pie with buttery flaky crust and bright sweet-tart filling, perfect for summer patriotic gatherings.

⏱️ 1 hour 25Desserts & Baking ★ 4.7
Desserts & Baking
🍜 United States

A beloved no-bake regional Maine candy with a chewy coconut-potato center coated in rich dark chocolate, a New England holiday staple since the 1870s.

⏱️ 2 hours 3Desserts & Baking ★ 4.8
Desserts & Baking
🍜 France

Luxuriously creamy, floral frozen custard made with aromatic Tahitian vanilla beans, boasting a smooth, rich texture that melts slowly on the tongue.

⏱️ 3 hours 3Desserts & Baking ★ 4.5

Pumpkin Roll / Pumpkin Pie Roll:Frequently Asked Questions

1.Can I use canned pumpkin pie filling instead of plain pure pumpkin puree for this recipe? ▾
No, skip pie filling here—it is pre-sweetened, heavily spiced, and often has added thickeners that will throw off the cake’s tender texture and balanced warm spice flavor. Stick to unsweetened plain pumpkin puree, and drain any excess watery liquid off the top before mixing to avoid a soggy sponge that cracks when rolled.
2.Why does my pumpkin roll always crack when I go to roll it? ▾
Cracking almost always traces back to three common missteps: overbaking the cake which dries out the crumb, letting the cake cool fully flat before rolling, or skipping the warm pre-roll step. Roll the cake tightly (but not squished) in a powdered-sugar-dusted clean tea towel right out of the oven to set its curled shape for a crack-free result.
3.Can I use low-fat or whipped tub cream cheese for the filling instead of full-fat block cream cheese? ▾
Skip low-fat or tub-style whipped cream cheese for this filling—they have higher moisture content and added stabilizers that make the filling runny, so it oozes out when you slice the roll. Full-fat block cream cheese, softened to room temperature, creates that signature silky, tangy, set filling that holds its shape perfectly.
4.How far in advance can I make a pumpkin roll before serving? ▾
You can assemble the full pumpkin roll up to 3 days ahead of serving. Keep it tightly wrapped in plastic wrap in the refrigerator, and wait to dust it with powdered sugar until right before you serve it to avoid the sugar absorbing into the cake and leaving splotchy, wet marks. The spices actually mellow and meld nicely with a day or two of chill time.
5.Can I freeze a pumpkin roll for longer-term storage? ▾
Absolutely! Wrap the uncut, filled pumpkin roll tightly in two layers of plastic wrap, then a final layer of aluminum foil to prevent freezer burn, and it will keep well for up to 3 months. Thaw it overnight in the refrigerator before slicing, and hold off on dusting with powdered sugar until right before serving for the best texture.
6.My cream cheese filling always comes out lumpy—what am I doing wrong? ▾
Lumpy filling almost always stems from using cold cream cheese that wasn’t fully softened before mixing. Let your block cream cheese sit on the counter for 1 to 1.5 hours until it reaches cool room temperature, then beat it on low speed first to avoid incorporating excess air, which can also make filling runny and hard to slice.
7.Do I really need to line my jelly roll pan with parchment paper for this recipe? ▾
Yes, this step is non-negotiable for easy, tear-free removal. Line your 10x15-inch jelly roll pan with parchment paper that overhangs the two short sides by 2 inches, so you can lift the warm cake straight out of the pan immediately after baking to start the rolling process without sticking or tearing.
8.Why does my pumpkin sponge turn out rubbery instead of light and tender? ▾
A rubbery crumb usually comes from two common mistakes: overmixing the batter once you add the all-purpose flour, which develops too much tough gluten, or overbeating eggs on high speed. Mix batter just until no dry flour streaks remain, and beat eggs on medium speed until pale and fluffy for a soft, tender crumb.
9.Can I add mix-ins like nuts or chocolate chips to my pumpkin roll? ▾
You absolutely can, just prep add-ins properly so they don’t sink to the bottom of the cake while baking. Keep pieces small, and toss them in a light dusting of flour before folding ½ cup of finely chopped toasted pecans or mini semi-sweet chocolate chips into the batter or sprinkling them over filling before rolling.
10.How thick should I spread the cream cheese filling before rolling the cake? ▾
Spread the filling in an even, ¼-inch thick layer across the entire cooled, unrolled cake, leaving a ½-inch bare border along the far long edge. That small border prevents filling from squishing out as you roll the cake up tight, so you get clean, neat slices with a perfect ratio of spiced cake to tangy filling.
11.Do I need to keep the finished pumpkin roll refrigerated? ▾
Yes, because the cream cheese filling is perishable, store the assembled pumpkin roll covered in the refrigerator at all times when you’re not serving it. It can sit out at room temperature for up to 2 hours during holiday meals or gatherings, but pop it back in the fridge after that to keep the filling food-safe and firmly set.

Comments (5)

2 days ago

OMG, this pumpkin roll was the star of our annual family fall potluck last weekend! I was so nervous it would crack when I rolled it, but I followed the tip to let it cool completely in the towel and it came out perfect. My kids begged for seconds before everyone even got a first slice, SO good. Only tweak: I added a tiny extra dash of cinnamon to the cream cheese filling because we’re total spice fiends over here. 10/10 will make again for Thanksgiving!

yesterday

Wait, did you dust the towel with powdered sugar first? I tried a different pumpkin roll last year and it stuck so bad I had to toss the whole thing, curious if that step is non-negotiable here!

yesterday

Great question! Dousing the kitchen towel with a generous layer of powdered sugar before turning the cake out is absolutely key to prevent sticking – don’t skimp on it! So glad it was a hit at your potluck, BakeMom92, that extra cinnamon in the filling sounds like such a tasty upgrade.

3 days ago

Tried this for my daughter’s birthday fall party at school, total game changer. I’ve always thought pumpkin rolls were too fussy for a weeknight bake, but 15 minutes cook time? No joke, it came together faster than the boxed brownies I almost grabbed. The only hiccup was I overwhipped the cream cheese filling a little so it was runnier than I wanted, but no one complained at all. Will definitely be adding this to my regular fall rotation.

2 days ago

So happy this worked out for the school party! Next time if your filling gets a little runny, pop it in the fridge for 15-20 minutes before spreading it on the cake – it firms right up and makes rolling even easier. Thanks for giving it a try!

1 week ago

Made this a week ago for my weekly meal prep so I’d have a little sweet treat all week, and it held up perfectly in the fridge for 4 days! I love that it’s not cloyingly sweet like a lot of store-bought pumpkin rolls, the spice balance is spot on. I brought a slice to my coworker and she immediately asked for the recipe, so that’s the highest praise if you ask me. Only knock is I wish the recipe noted what size jelly roll pan to use – I used a 10x15 and it worked, but I almost grabbed my smaller cookie sheet which would’ve been a disaster.

5 days ago

Has anyone tried making this with a 1:1 gluten free flour blend? I’m hosting Thanksgiving this year and my niece is celiac, so I’m hunting for desserts everyone can eat. I’m giving this 5 stars already because the instructions are so straightforward, this looks so good I don’t want to pass it up!

3 days ago

I made it last week with Bob’s Red Mill 1:1 GF blend and it turned out identical to the regular version! Just make sure you don’t overmix the batter, same as you would with regular flour, and it won’t crack at all. My gluten-eating husband had no idea it was GF, total win.

5 minutes ago

Just pulled this out of the oven and my whole apartment smells like fall heaven! I was worried the medium difficulty rating meant I’d mess it up as someone who only bakes a handful of times a year, but the steps are so straightforward. Pro tip for new bakers: set a timer for that 15 minute cook time, I almost left mine in too long because I got distracted scrolling TikTok. Can’t wait to dig in once it’s done chilling!

just now

Wait how long are you chilling yours for? The recipe says at least an hour but I’m making this for a dinner party tonight and wondering if 45 mins is enough if I’m totally crunched for time!

just now

So excited for you to try it! If you’re short on time, you can pop it in the freezer for 30 minutes instead of the fridge for an hour to speed up the chilling process – just don’t leave it in so long it freezes solid. It’ll still slice perfectly and taste amazing!



