
Pumpkin Tartlets
intro
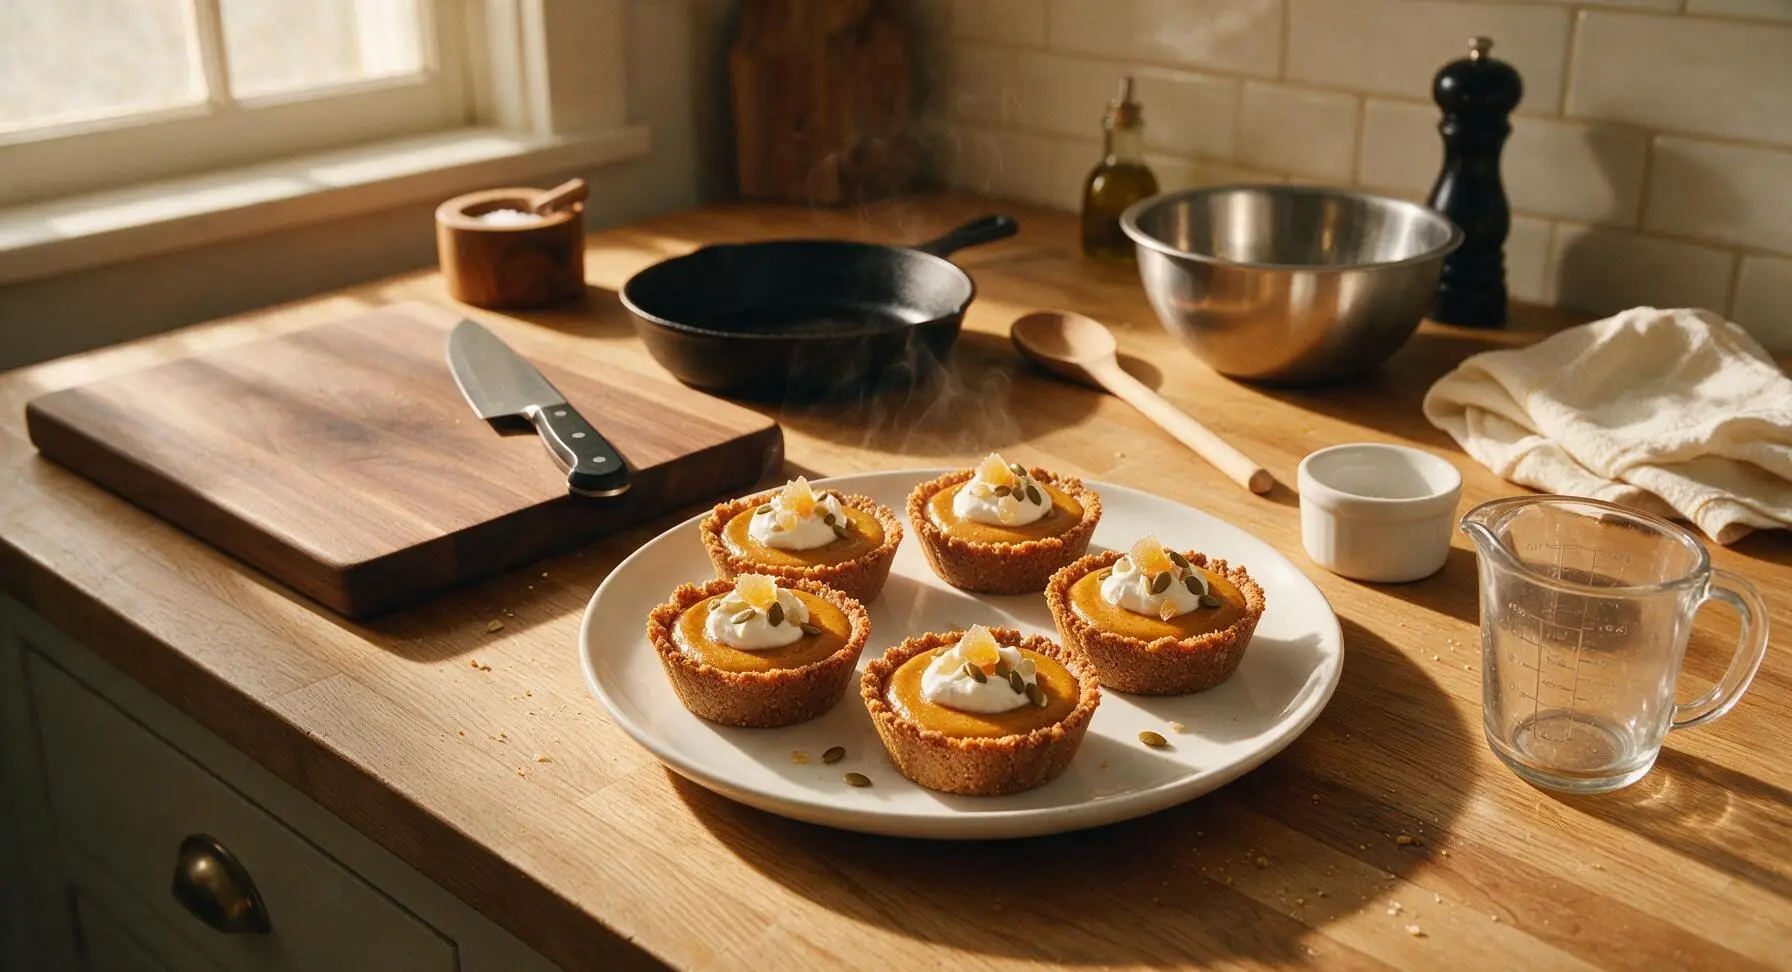
Silky spiced pumpkin custard nestled in crisp, buttery gingersnap crumb crusts, these bite-sized tartlets are the perfect portable fall dessert for holiday gatherings.
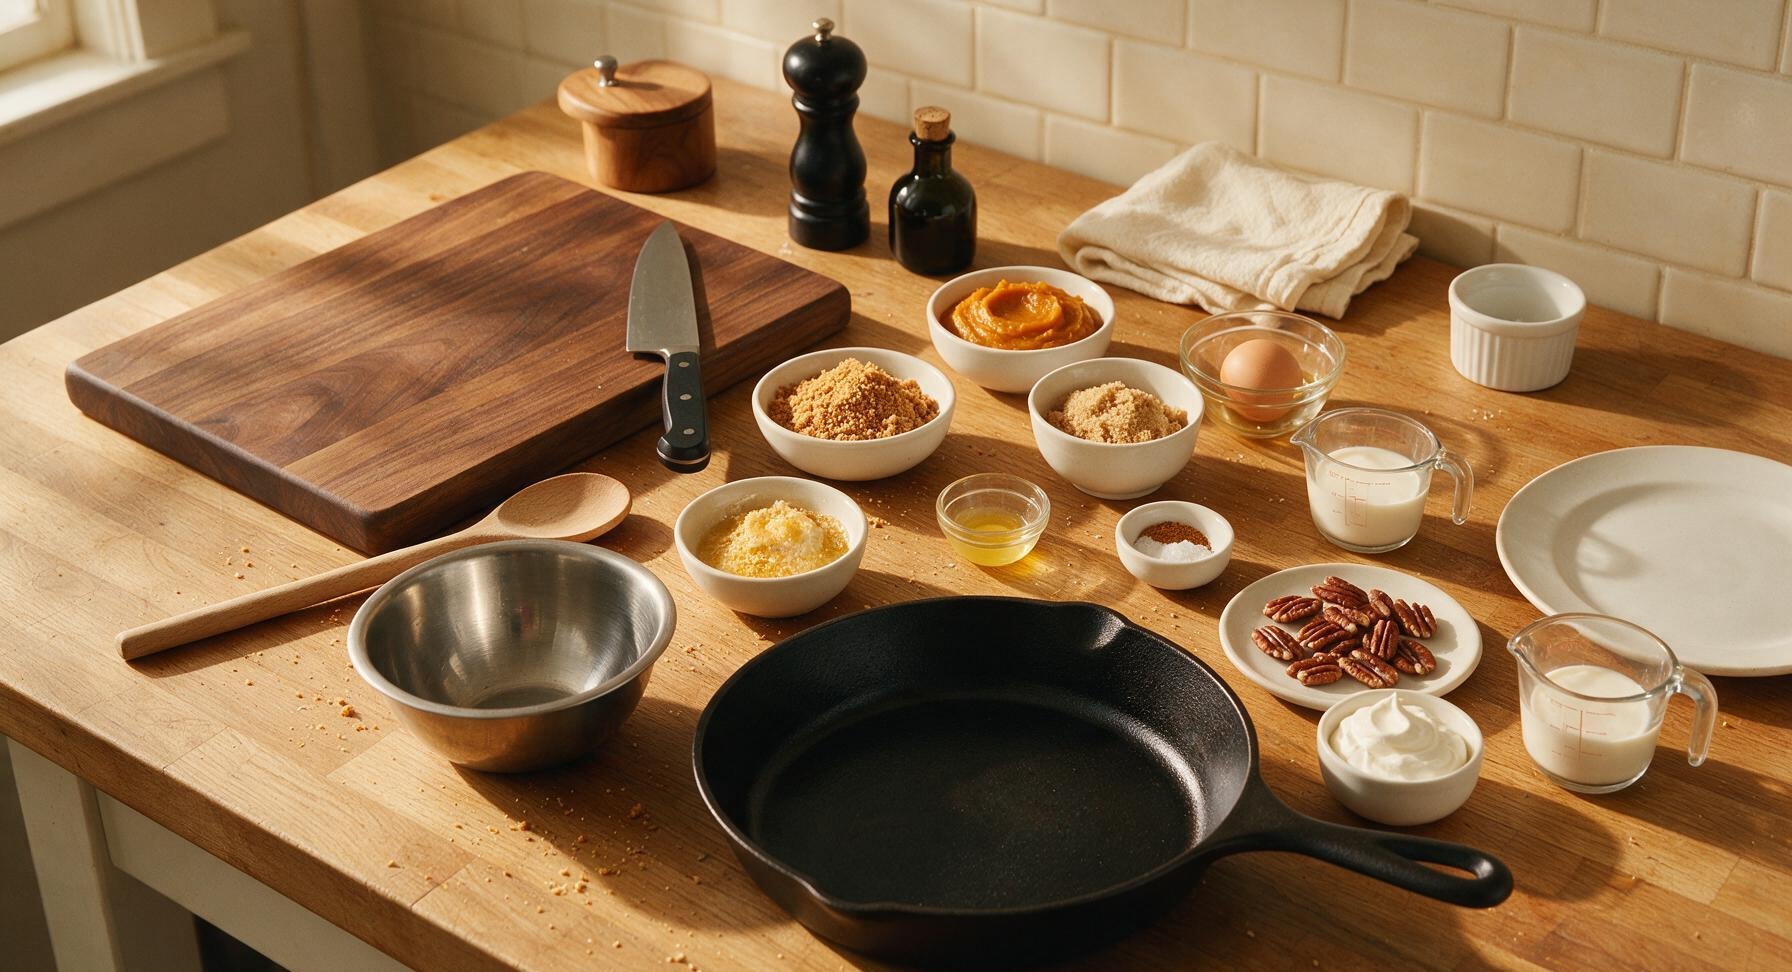
Ingredients
Steps
Prep Oven and Tin
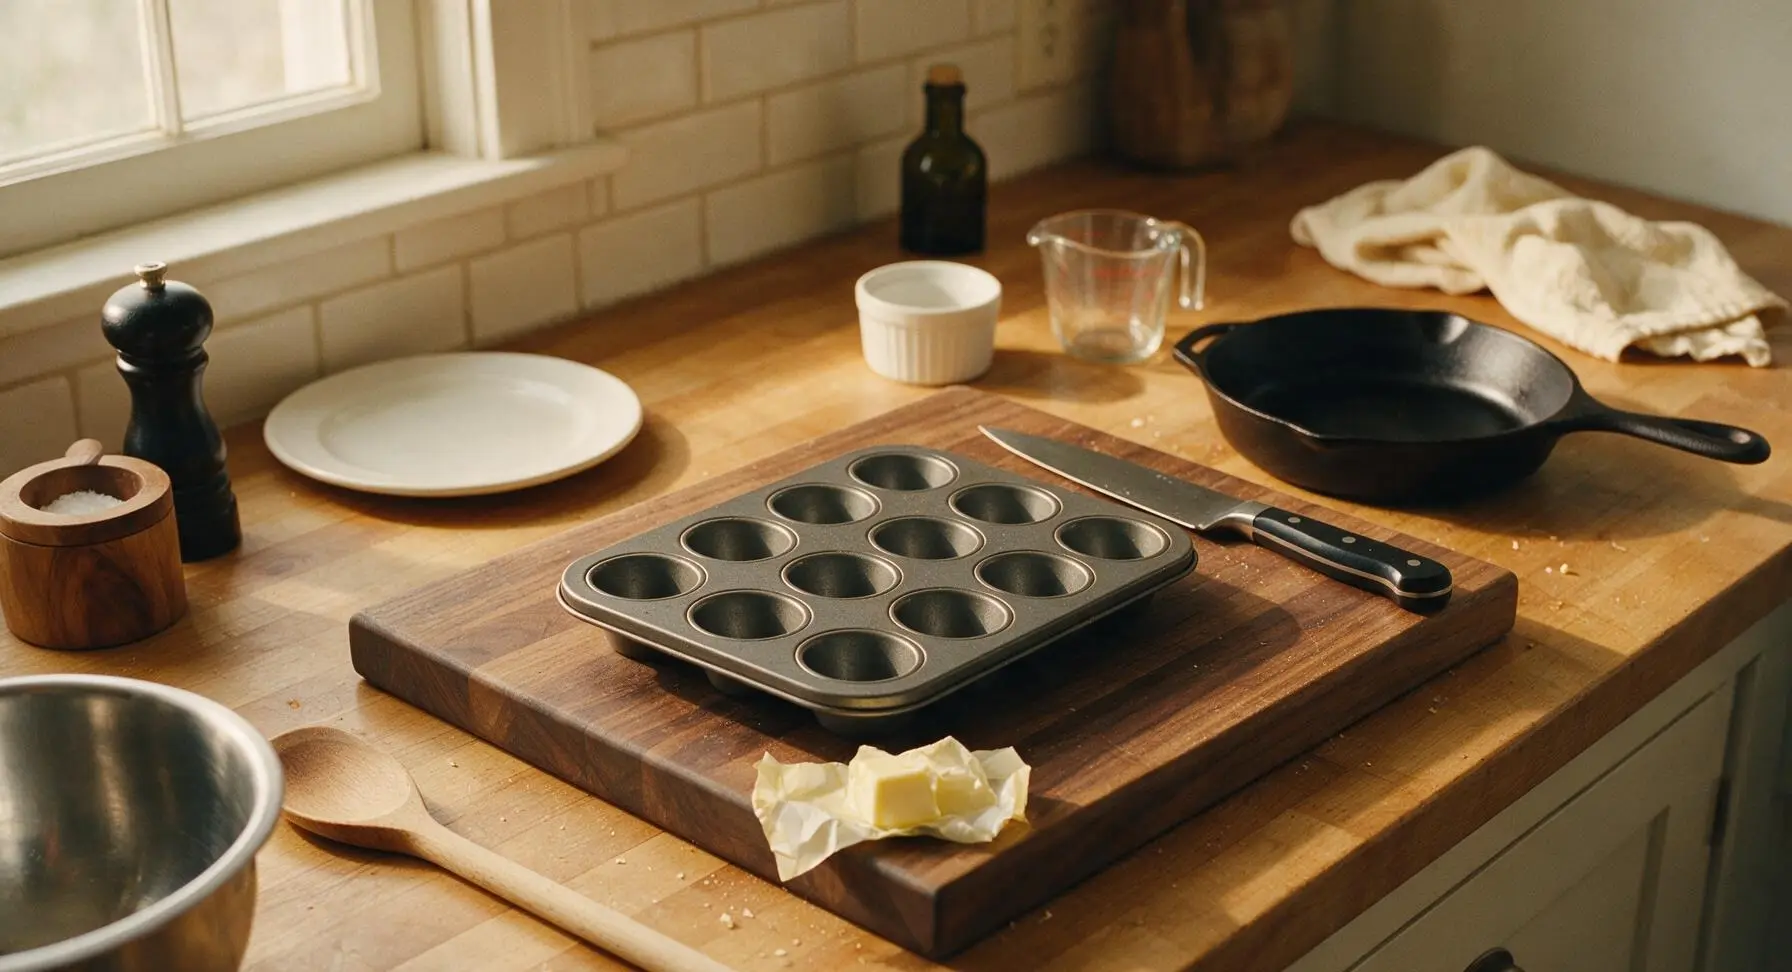
Preheat your oven to 350°F (175°C). Lightly grease each cup of the 12-cup matte dark gray carbon steel mini muffin tin with a thin layer of softened butter (not included in measured ingredients) to prevent sticking. Set the tin on top of the acacia wood cutting board on the central work area. Do not use paper liners, as the crumb crust will stick to them during baking.
Mix Crumb Crust Base
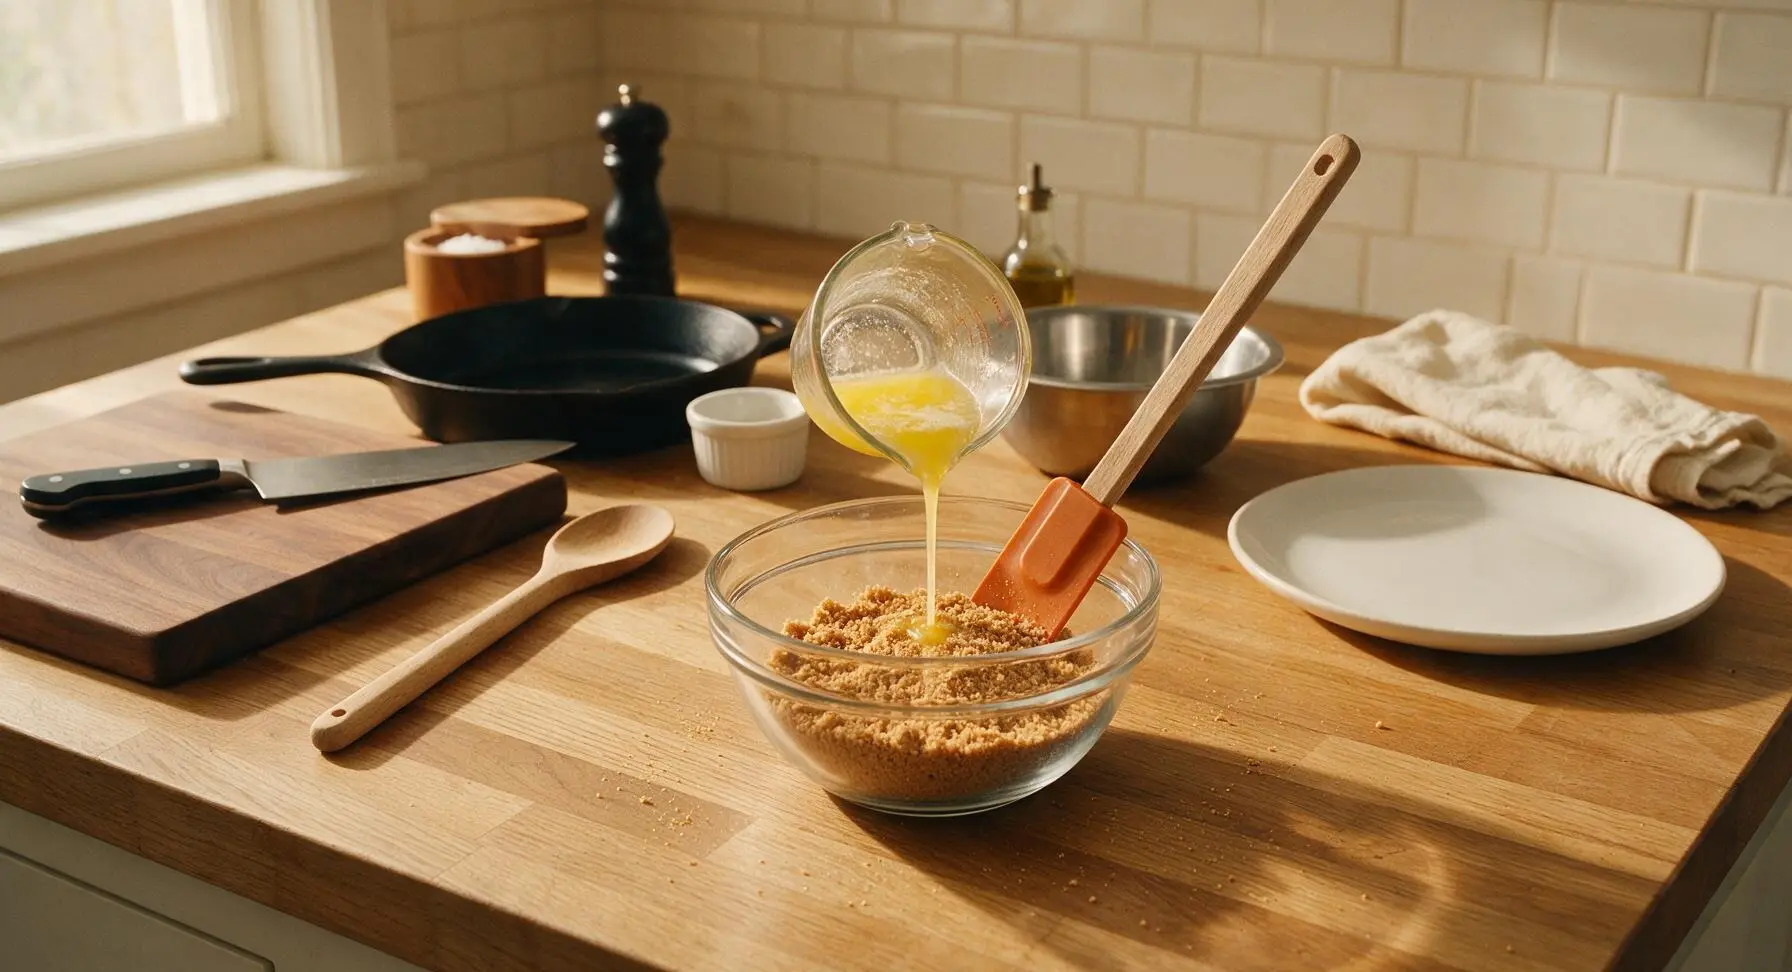
Pour the 1 ½ cups gingersnap crumbs into the small clear tempered glass mixing bowl. Drizzle the 6 tablespoons of melted unsalted butter from the glass measuring cup over the crumbs, stirring with the burnt orange silicone spatula until every crumb is evenly moistened. The finished mixture should clump tightly when squeezed in your palm, with the texture of wet sand, and no dry crumb pockets remaining.
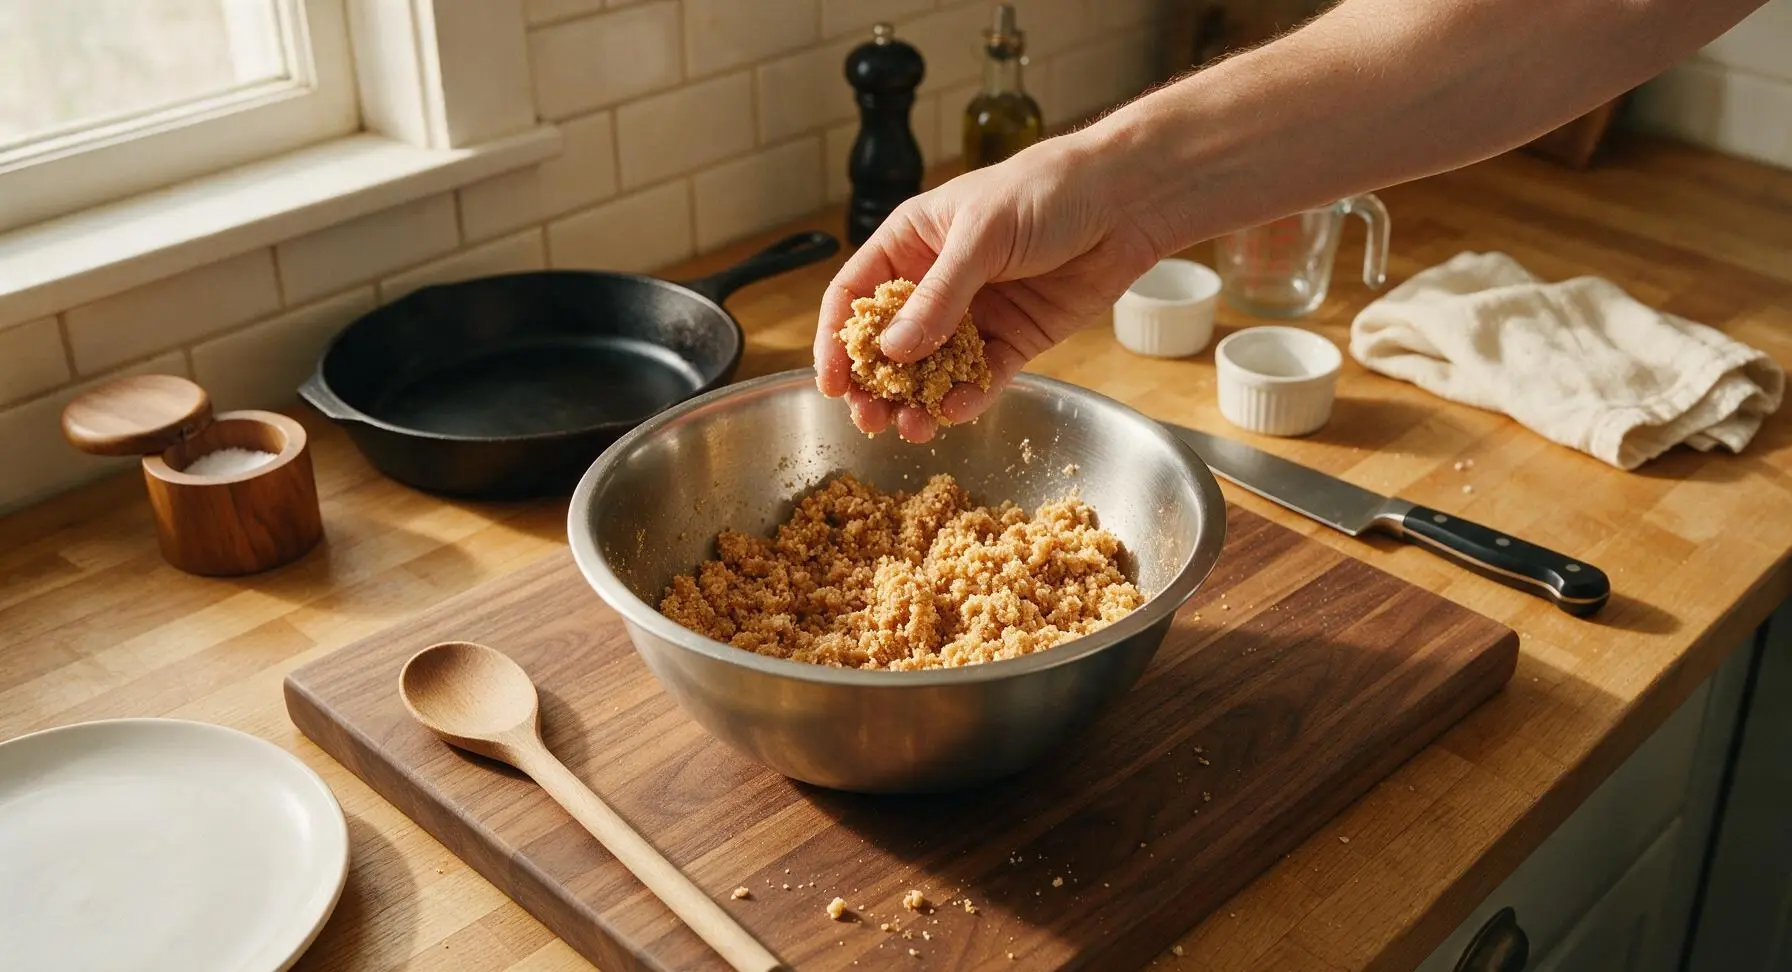
Press Crust Into Cups
Scoop 1 tablespoon of the moistened crumb mixture into each cup of the prepared mini muffin tin. Use the light beech wood mini tart tamper to press crumbs firmly into the bottom and 1cm up the sides of each cup, creating an even, compact crust shell. Check for thin spots or gaps where filling could leak through during baking, and patch with extra crumbs as needed.
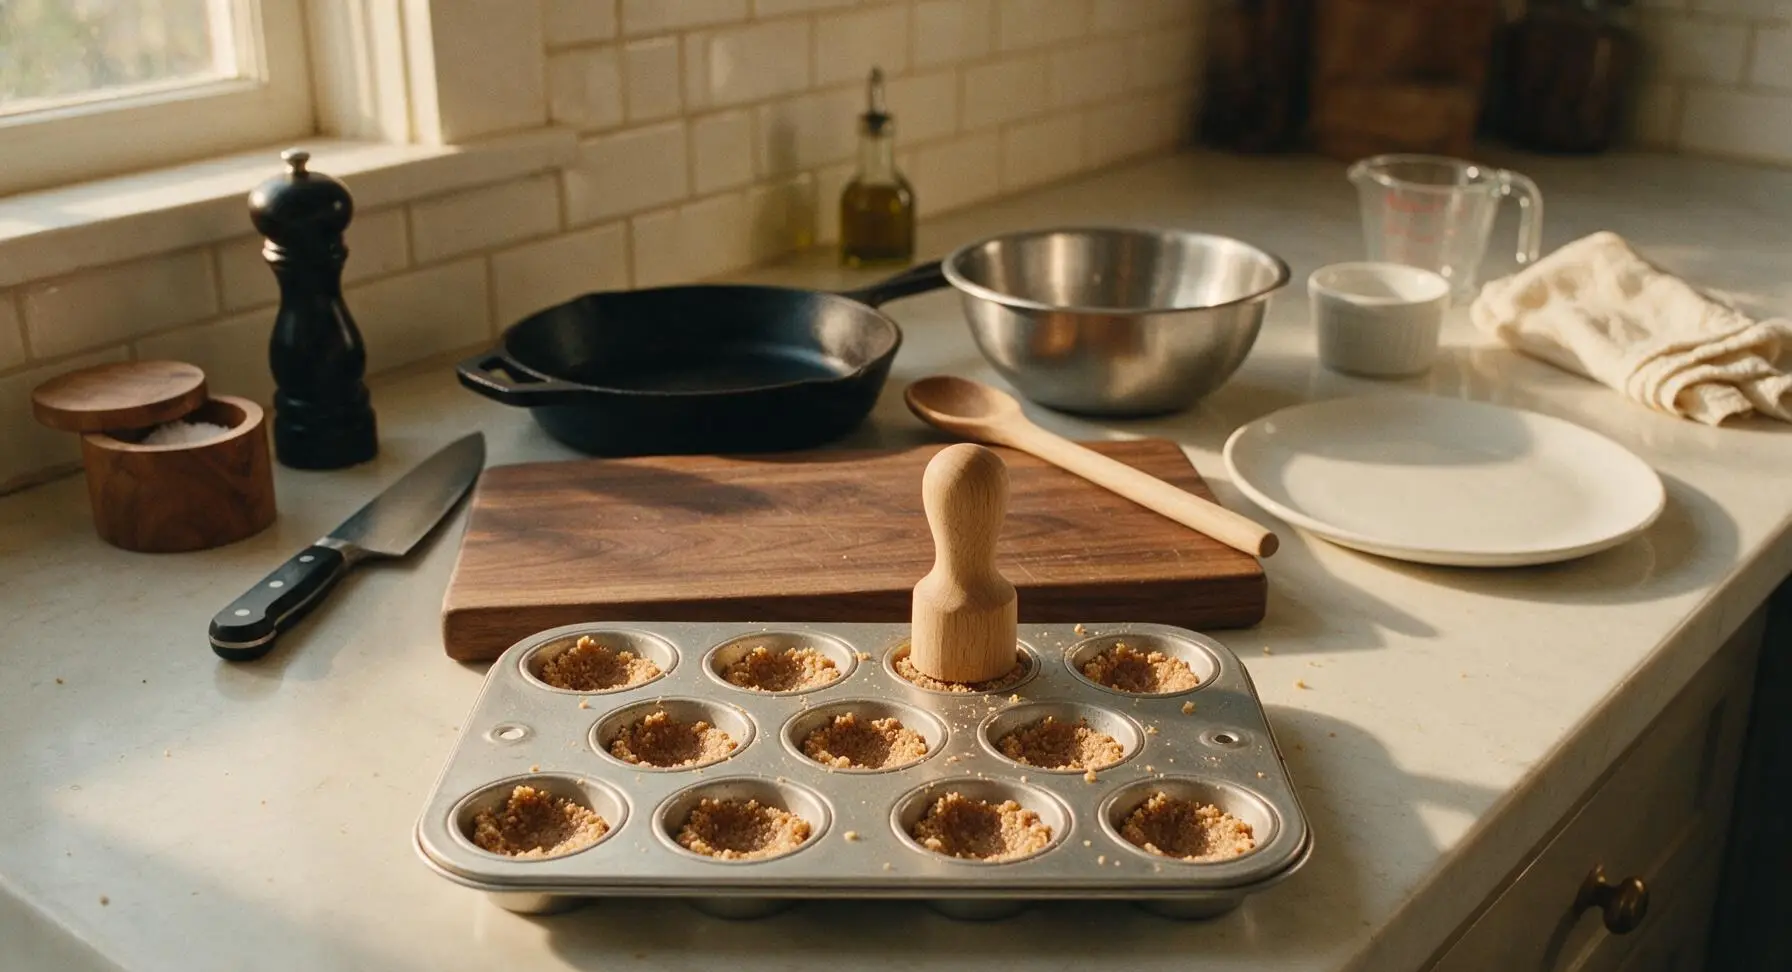
Whisk Spiced Pumpkin Filling
In the medium brushed stainless steel mixing bowl, combine the 1 cup pumpkin puree, packed light brown sugar, whole large egg, heavy cream, pumpkin pie spice, vanilla extract, and fine sea salt. Stir slowly with the silicone spatula until completely smooth, with no lumps of egg or streaks of spice remaining. Do not over-stir, as this incorporates air that can cause filling to crack while baking.
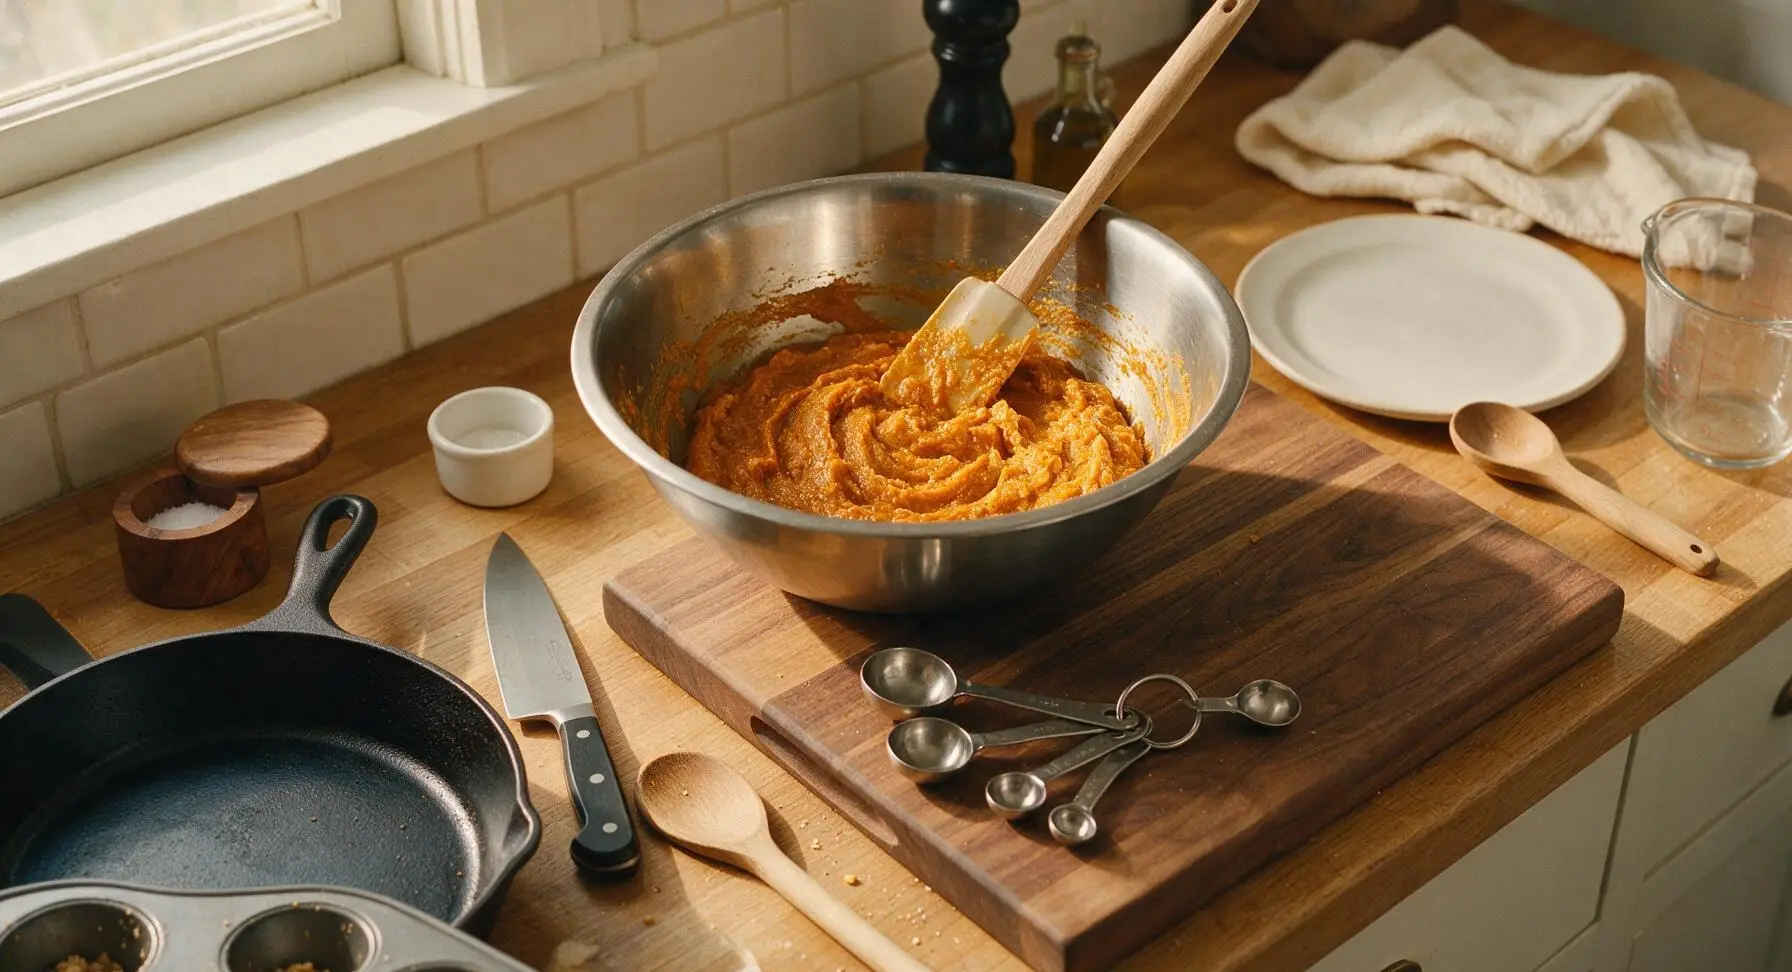
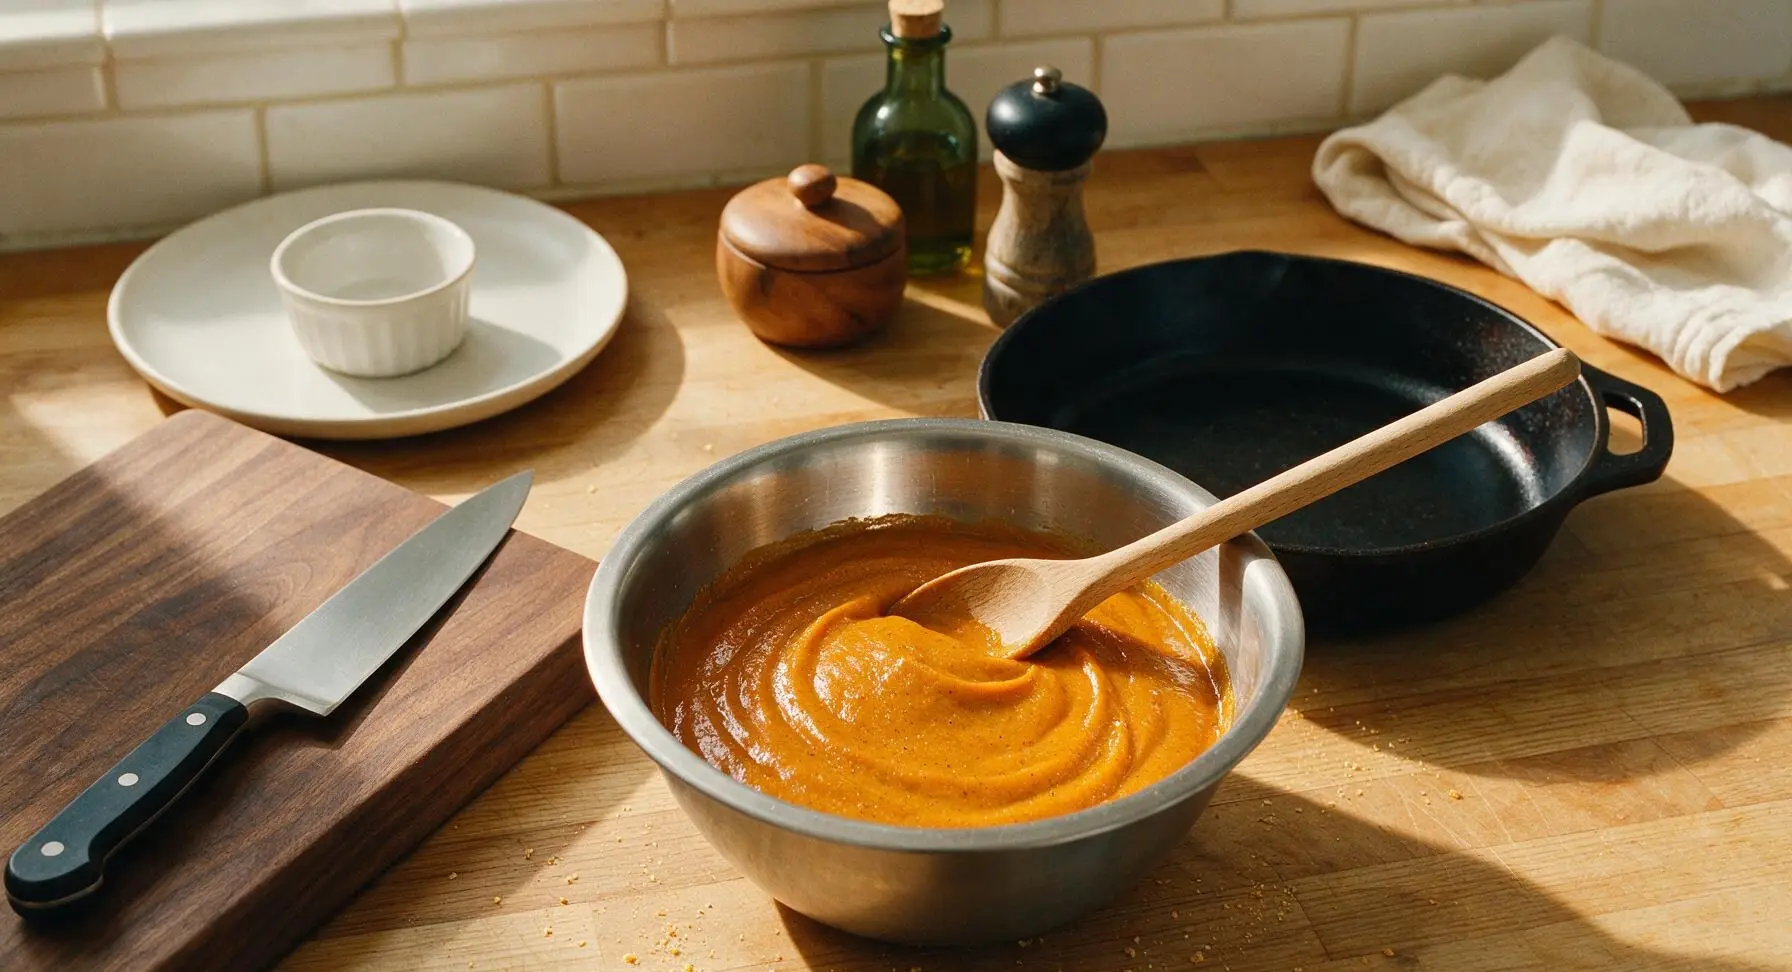
Fill and Bake Tartlets
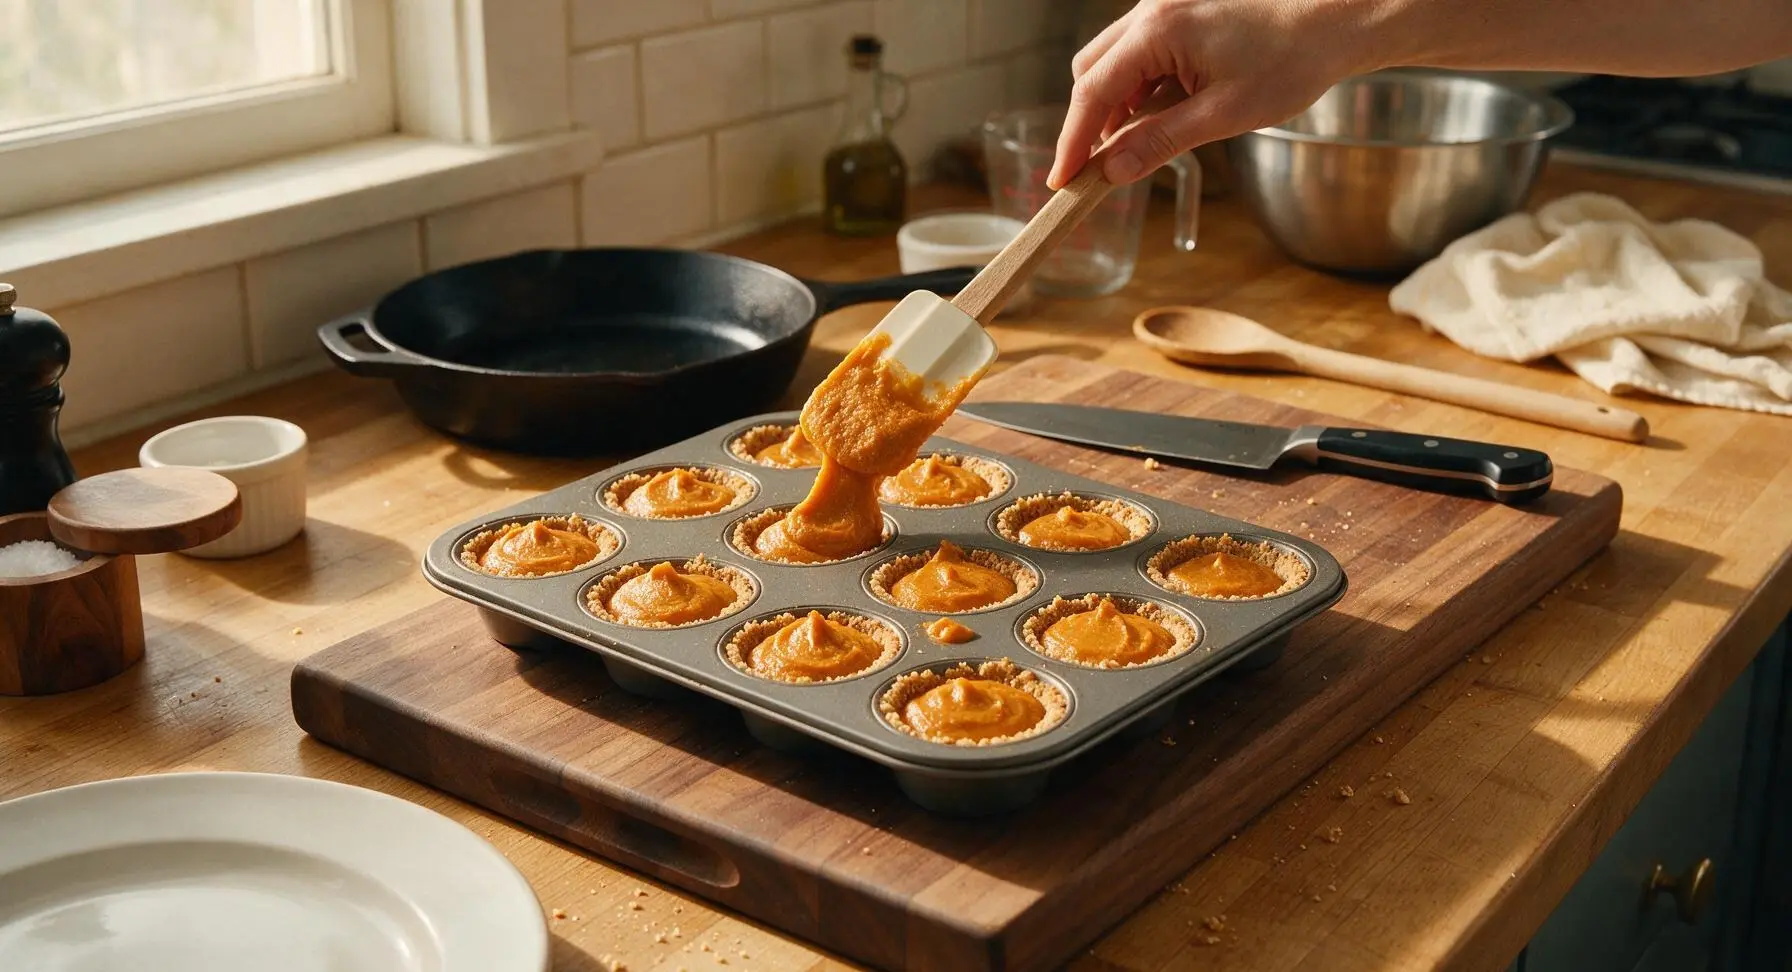
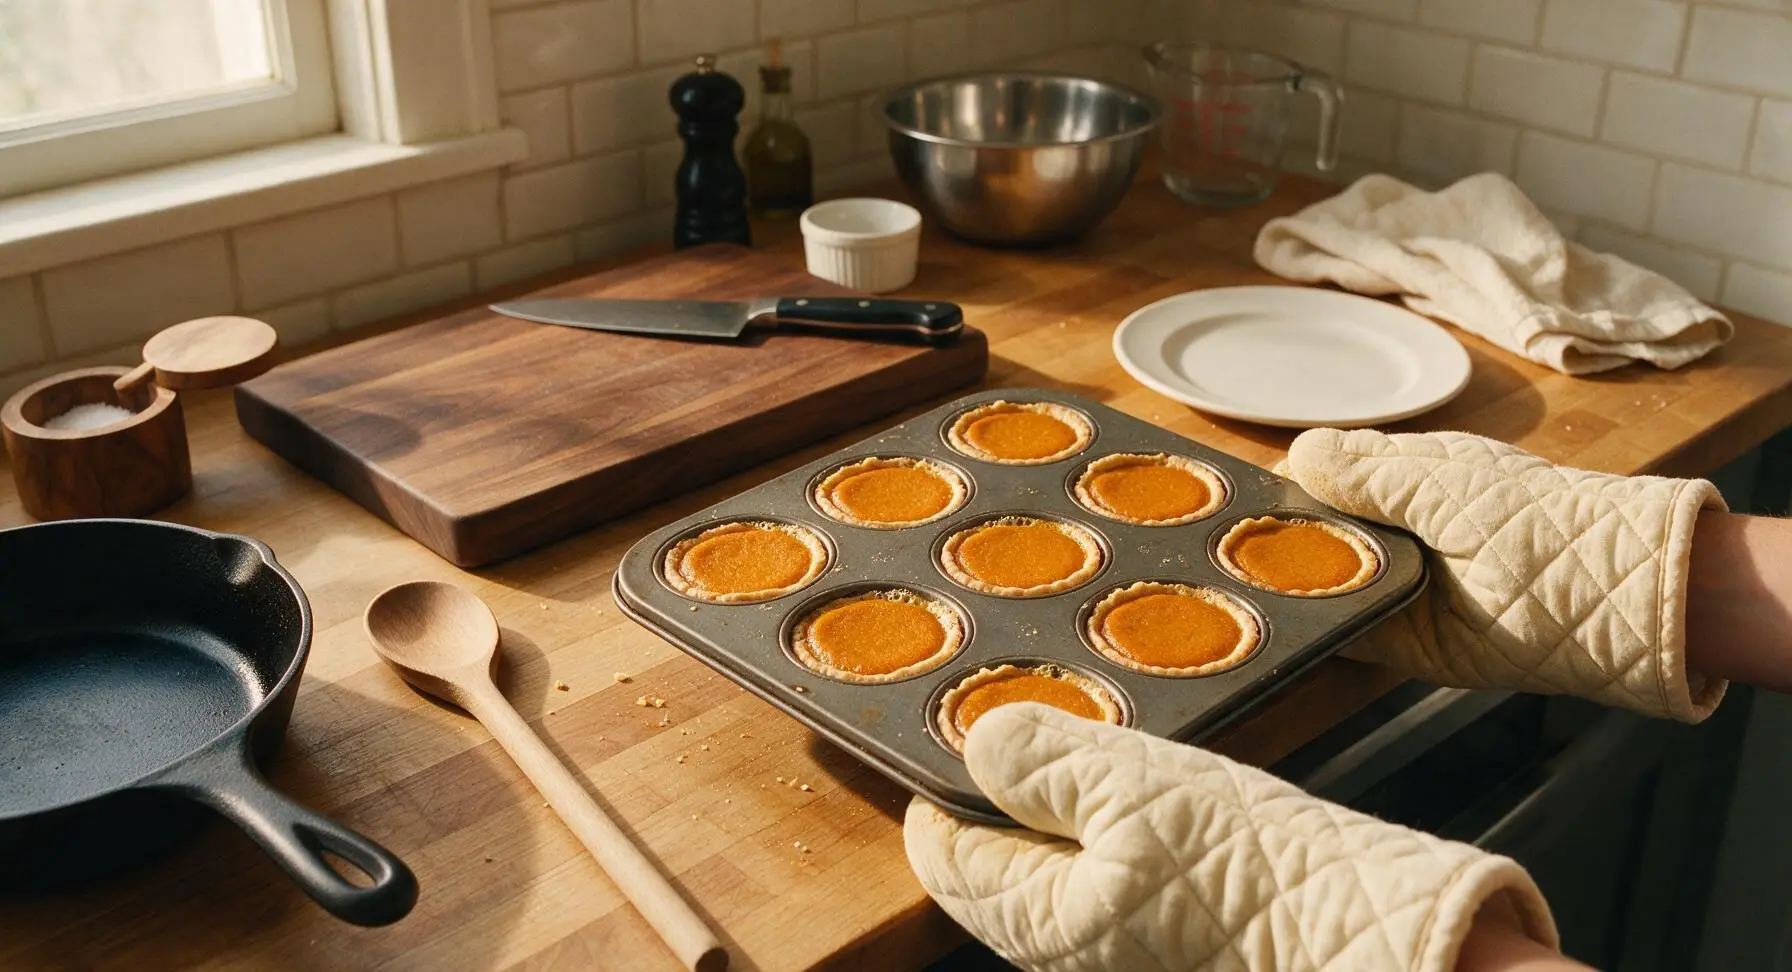
Scoop 1 tablespoon of smooth pumpkin filling into each crumb-lined tin cup, filling to just below the top of the crumb crust (do not overfill, as filling bubbles slightly during baking). Place the tin in the preheated 350°F (175°C) oven and bake for 18-20 minutes. The filling is done when edges are fully set and the very center has a soft, slight jiggle; it will set fully as it cools.
Cool Tartlets Fully
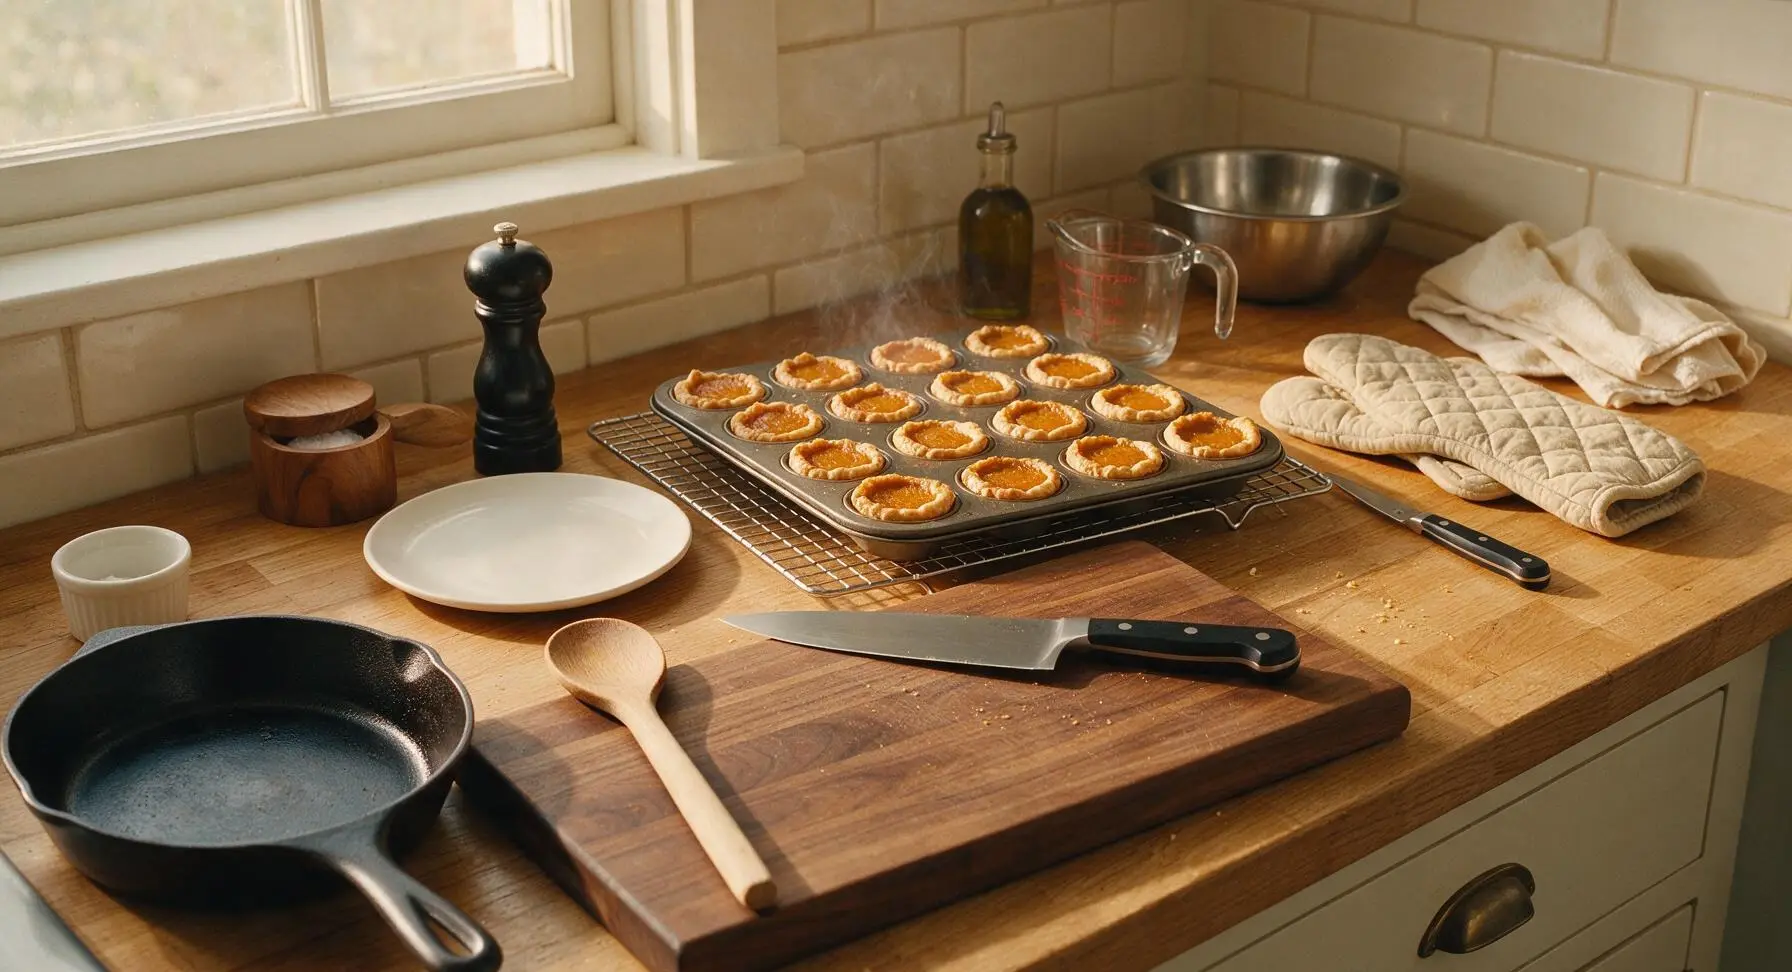
Transfer the hot tin directly to the chrome wire cooling rack set on the counter. Let tartlets cool in the tin for 15 minutes at room temperature, then carefully run the small paring knife tip around each tartlet edge to loosen, and lift out to cool completely on the rack for an additional 30 minutes. Do not remove tartlets while warm, as the crumb crust will crumble.
Garnish and Plate Tartlets
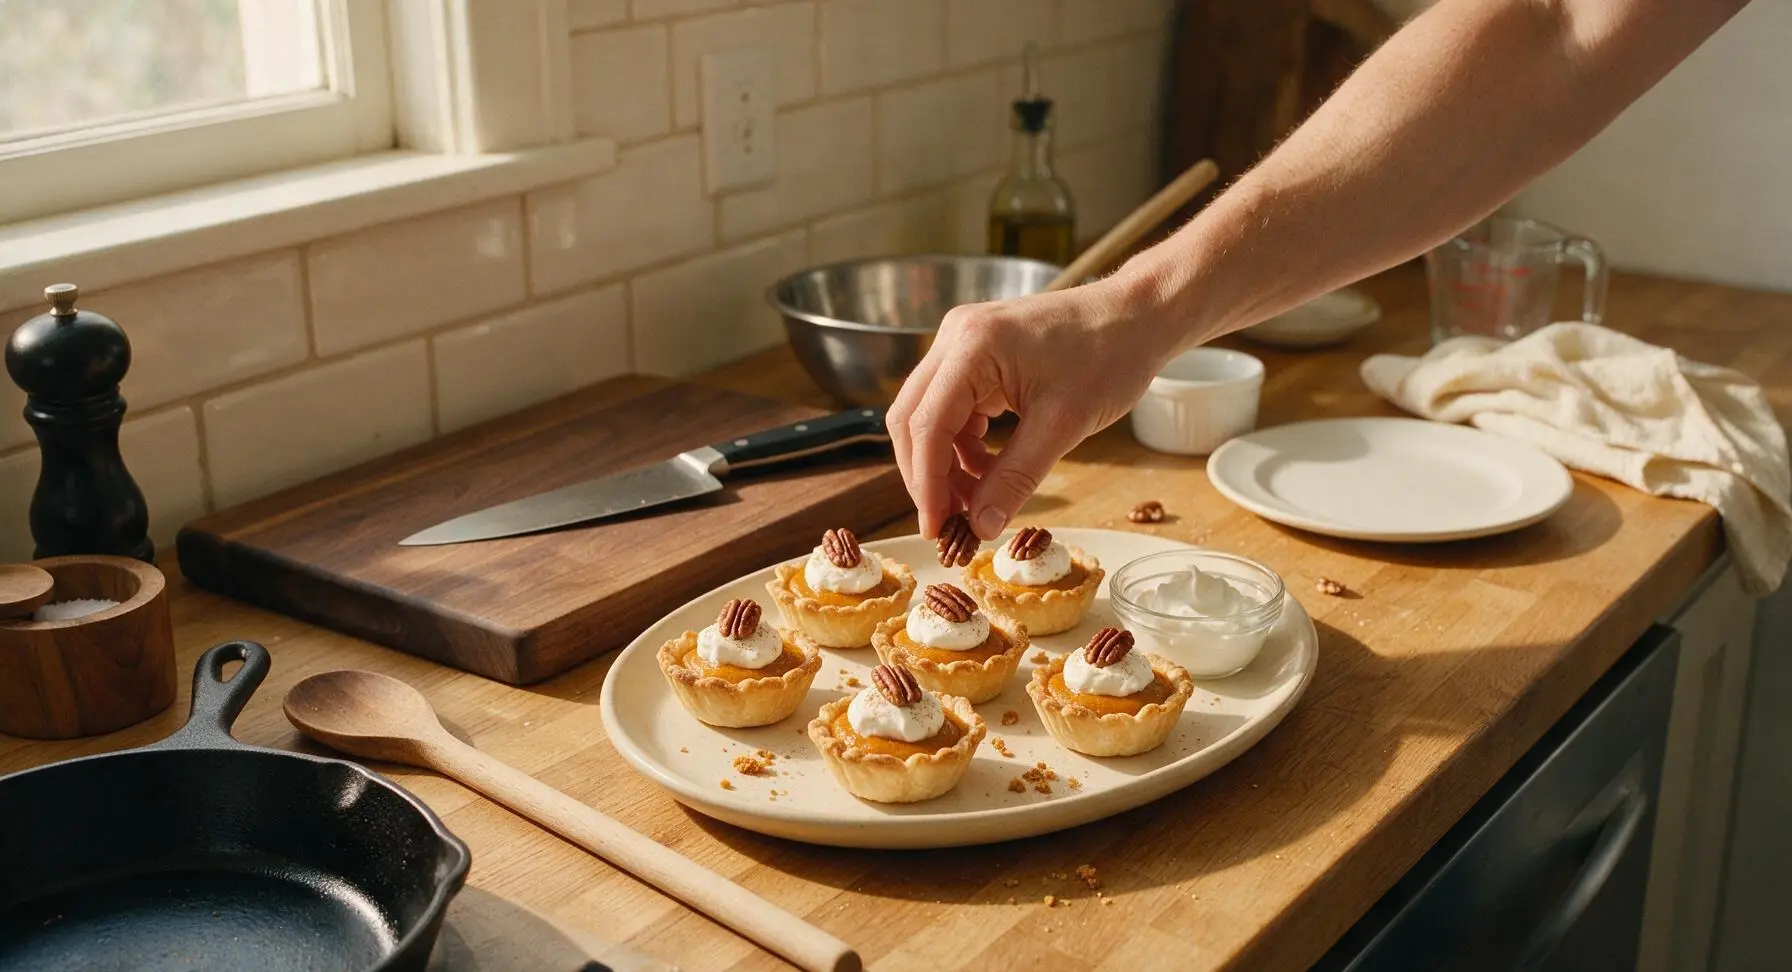
Once fully cooled, arrange tartlets on the matte cream ceramic serving platter. Top each tartlet with a 1-teaspoon dollop of whipped cream, a light pinch of ground cinnamon, and one toasted pecan half for garnish. Serve at room temperature or slightly chilled, with extra whipped cream on the side.
Tips
2.Avoid over-stirring the pumpkin filling: over-mixing incorporates excess air, which expands in the oven heat and causes the filling to crack as it cools, leading to a less smooth, less polished top surface.
3.Wait until tartlets are fully cooled before removing them from the tin: the buttery gingersnap crust is very fragile when warm, and will crumble if popped out early; the full 45-minute cooling time lets the crust set firmly for clean, intact removal.






OMG these pumpkin tartlets are a total game changer! Threw them together last minute for our family Sunday dinner and even my super picky 7 year old asked for seconds. Cook time was actually only 20 minutes like the recipe says, no fancy tricks needed. 10/10 will be making these for every fall potluck from now on!
As someone who burns literally every baked good I try, these were SO good! I used pre-made mini tart shells I had in my dorm fridge and they turned out perfect. My roommate is already begging me to make them again for our floor's fall hang next week.
Brought these to my office potluck yesterday and they were gone in 10 minutes flat! Multiple people asked for the recipe, I felt like such a star. The only tiny tweak I made was adding a pinch of nutmeg to the filling for extra warmth.
Made these with my 8 year old daughter for her school harvest party, they turned out great! Only reason I’m not giving 5 stars is I wish the recipe noted you can use store-bought crust for even faster prep, I spent extra time making crust from scratch before I realized it wasn’t necessary.
These are my new go-to meal prep sweet treat for the week! I make a batch on Sunday, keep them in the fridge, and grab one when I need a little afternoon pick-me-up. They’re not too sweet, which I love, and the pumpkin flavor is perfect without being overpowering.
Really solid pumpkin tartlet recipe! I added a little extra cinnamon and a dash of cloves because I love super spiced pumpkin desserts, and they hit the spot. Cook time was spot on, no issues with burning or undercooked filling.
I’ve been making pumpkin pie for Thanksgiving for 40+ years, and I have to say these little tartlets might replace the full pie this year! They’re the perfect single serving size, no slicing mess, and even my grandkids who turn up their nose at pumpkin pie ate two each.
Taste was great, but I ran into a little issue where my filling didn’t set all the way? I followed the recipe exactly, measured everything out, but they were a little runny even after cooling for an hour. Did I do something wrong?
Just pulled these out of the oven and my whole apartment smells like fall heaven!!! I topped each one with a little salted caramel drizzle and they look like they came from a fancy bakery. Can’t wait to dig in once they cool.
So happy this recipe works with oat milk! I swapped the regular dairy milk for oat milk and used a dairy-free butter for the crust (I used pre-made GF crust too) and you can’t even tell the difference. Finally a fall dessert I can eat without stomach issues!
Made these for our tailgate before the college football game last weekend and they were the perfect handheld snack. No plates needed, no mess, everyone raved about them. Way better than the usual cookies and brownies everyone brings.
Made 4 dozen of these for my kid’s school bake sale and we sold out in the first 30 minutes! We priced them at $2 each and raised almost $100 for the 5th grade field trip. I can’t believe how easy they were to make for such a huge payoff.
Made these for a cozy fall date night in with my partner and they were so romantic! We paired them with spiked apple cider and watched scary movies, it was the perfect low-effort but impressive dessert. I was worried they’d be too much work for a weeknight date, but they came together so fast.
Pro tip for anyone wondering: these cook perfectly in an air fryer too! I didn’t want to heat up my whole oven, so I popped them in the air fryer at 350 for 12 minutes and they came out perfectly golden with a creamy set filling. Only knock is I wish the recipe had air fryer instructions included, but it was easy to figure out.