
quick banana pudding
intro
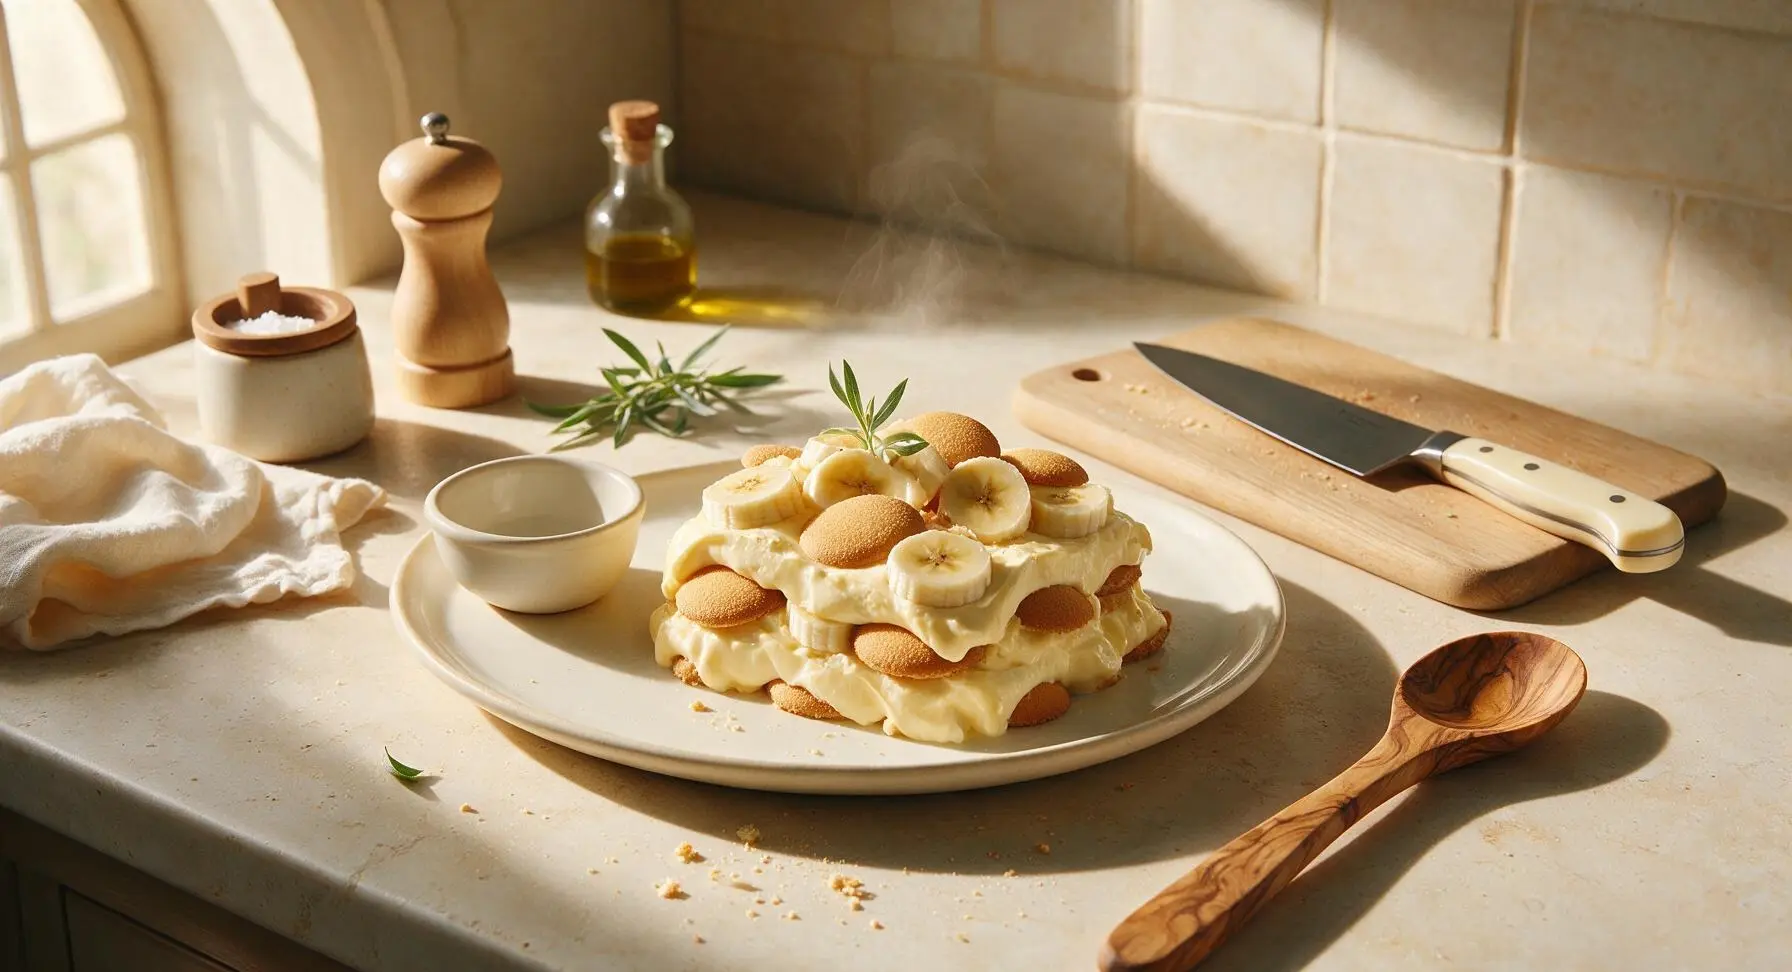
Creamy no-bake quick banana pudding layered with crisp vanilla wafers, sweet ripe bananas, and fluffy vanilla custard—ready in 15 minutes, no oven required, perfect for sharing.
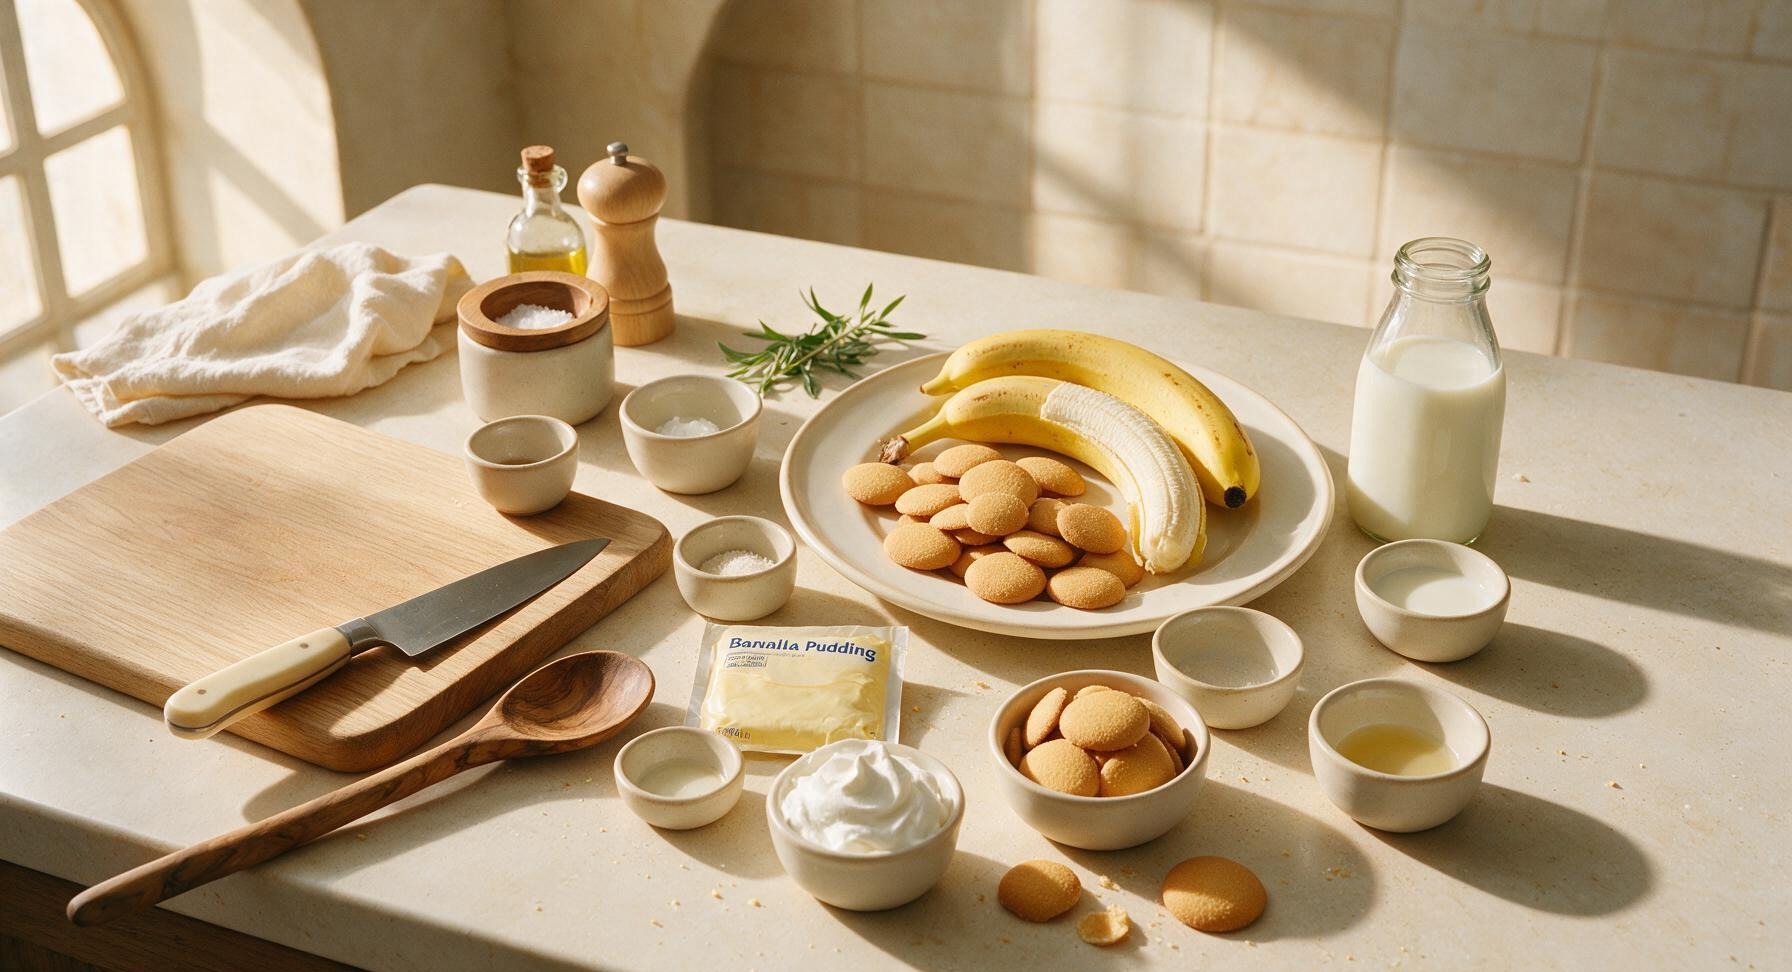
Ingredients
Steps
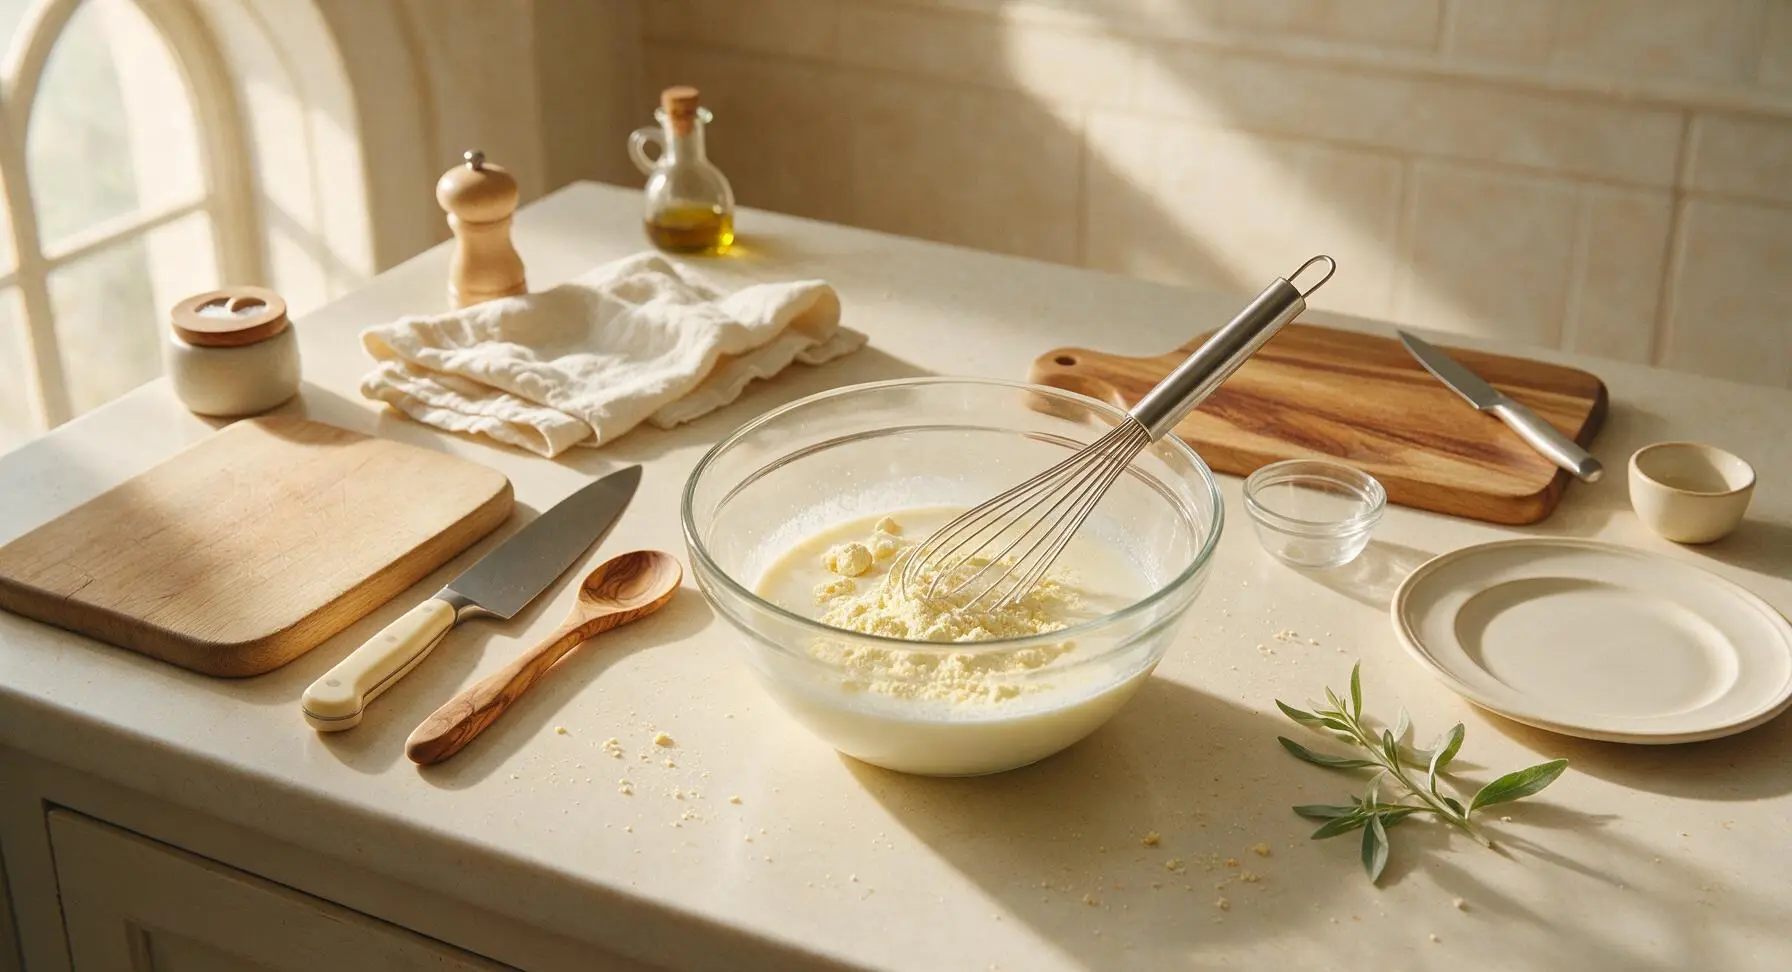
Whisk Pudding Base
Pour 2 cups cold whole milk and 1 teaspoon vanilla extract into the clear glass mixing bowl. Empty the full 3.4oz packet of instant vanilla pudding mix into the bowl. Using the polished stainless steel wire whisk, stir the mixture continuously for 2 minutes, scraping the sides and bottom of the bowl regularly, until completely smooth with no dry lumps of pudding mix remaining. The mixture will begin to thicken slightly as you whisk, reaching the consistency of thin custard.
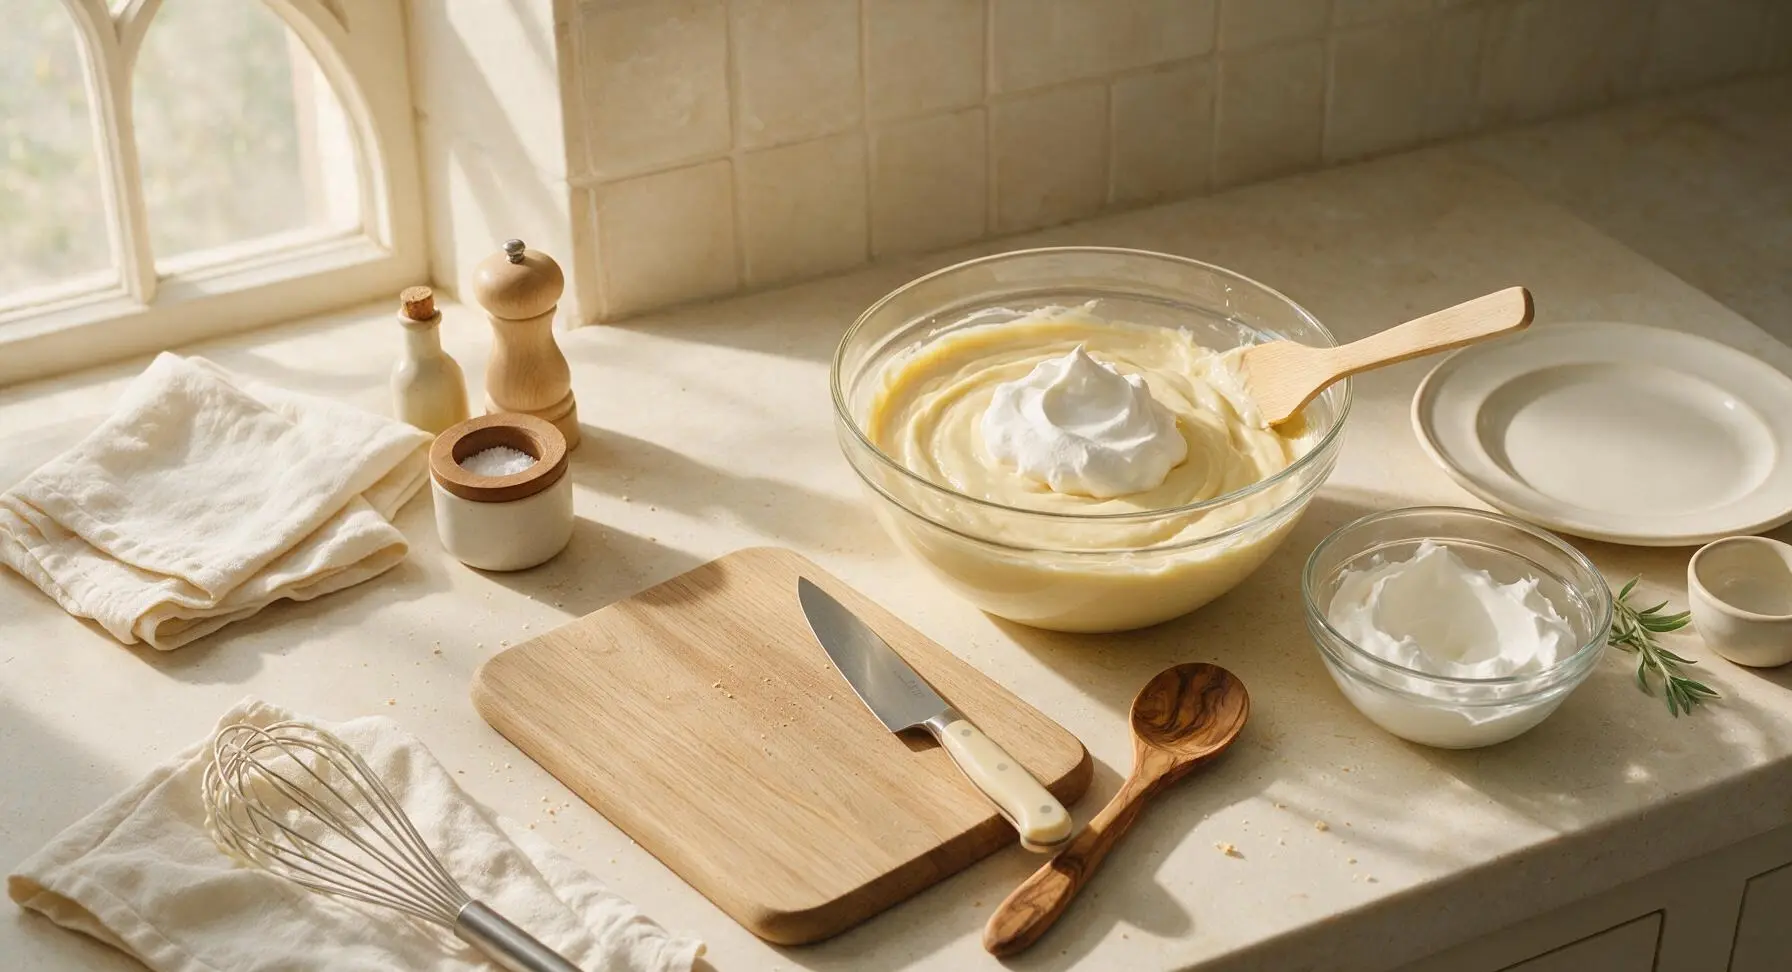
Fold in Whipped Topping
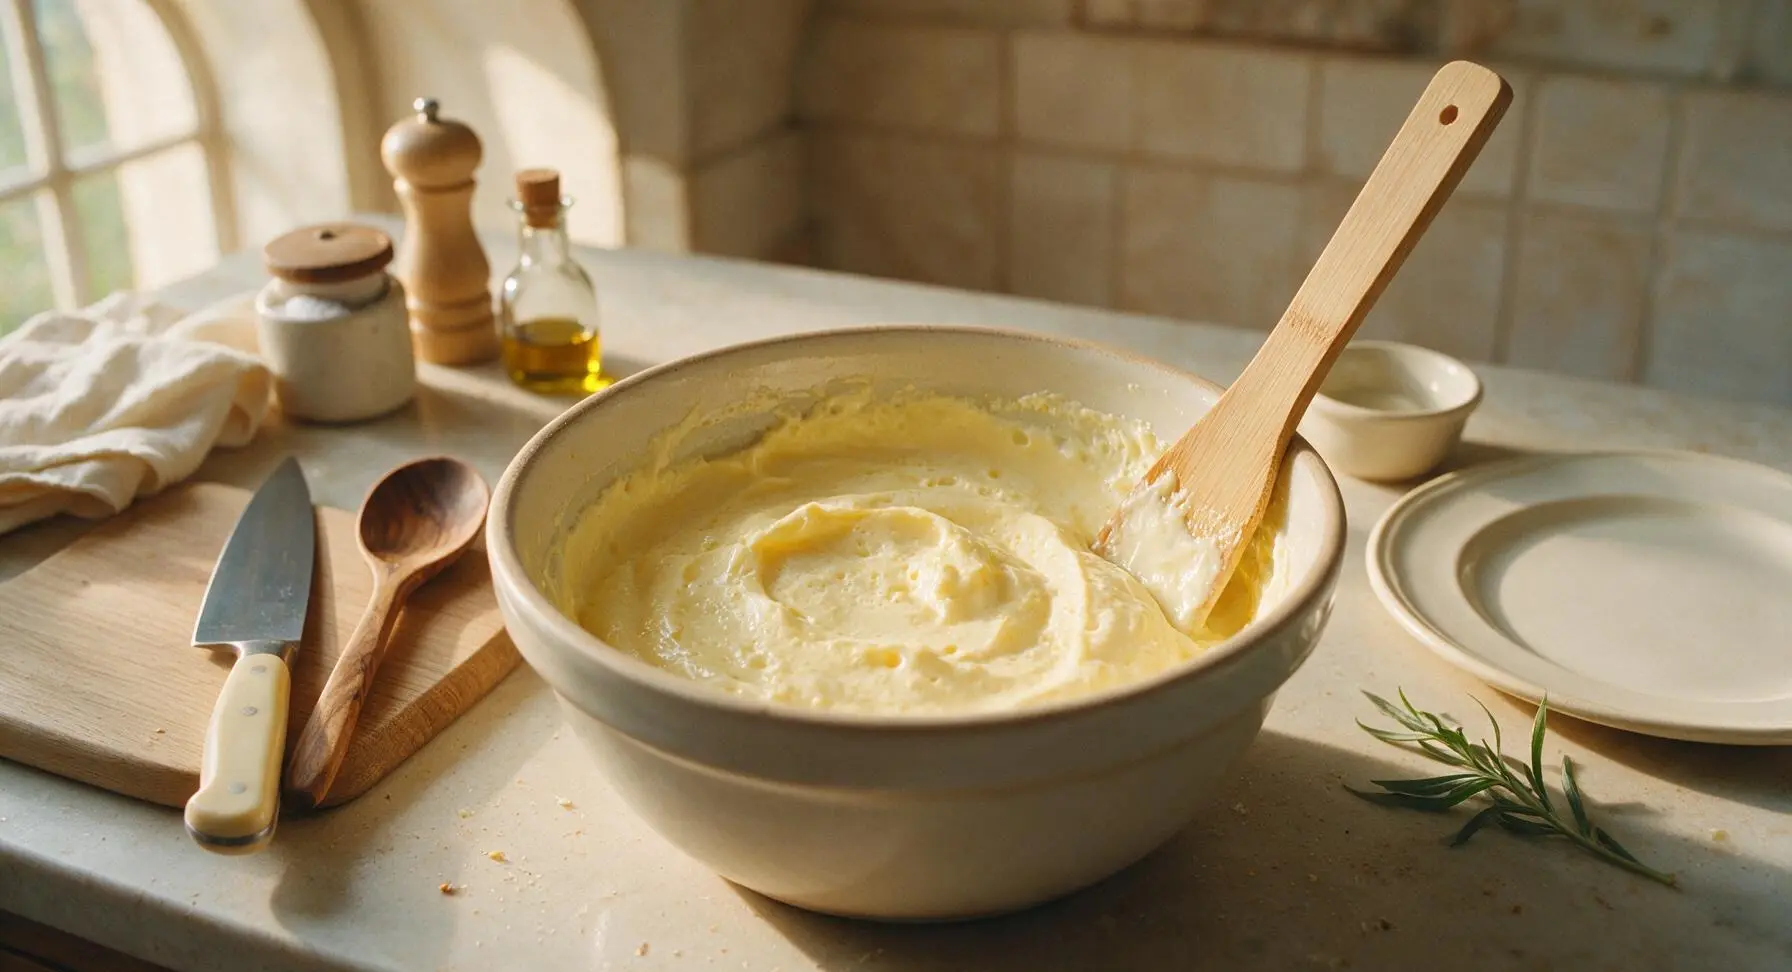
Let the whisked pudding rest undisturbed for 5 minutes to thicken to a soft, spoonable consistency. Add ¾ cup of the thawed whipped topping to the bowl, reserving the remaining ¼ cup for final garnish. Use the light bamboo spatula to gently fold the whipped topping into the pudding with slow, sweeping up-and-over motions, until the mixture is a uniform pale creamy yellow with no white streaks. Do not stir vigorously or overmix, as this will deflate the whipped topping and result in runny pudding.
Slice Ripe Bananas
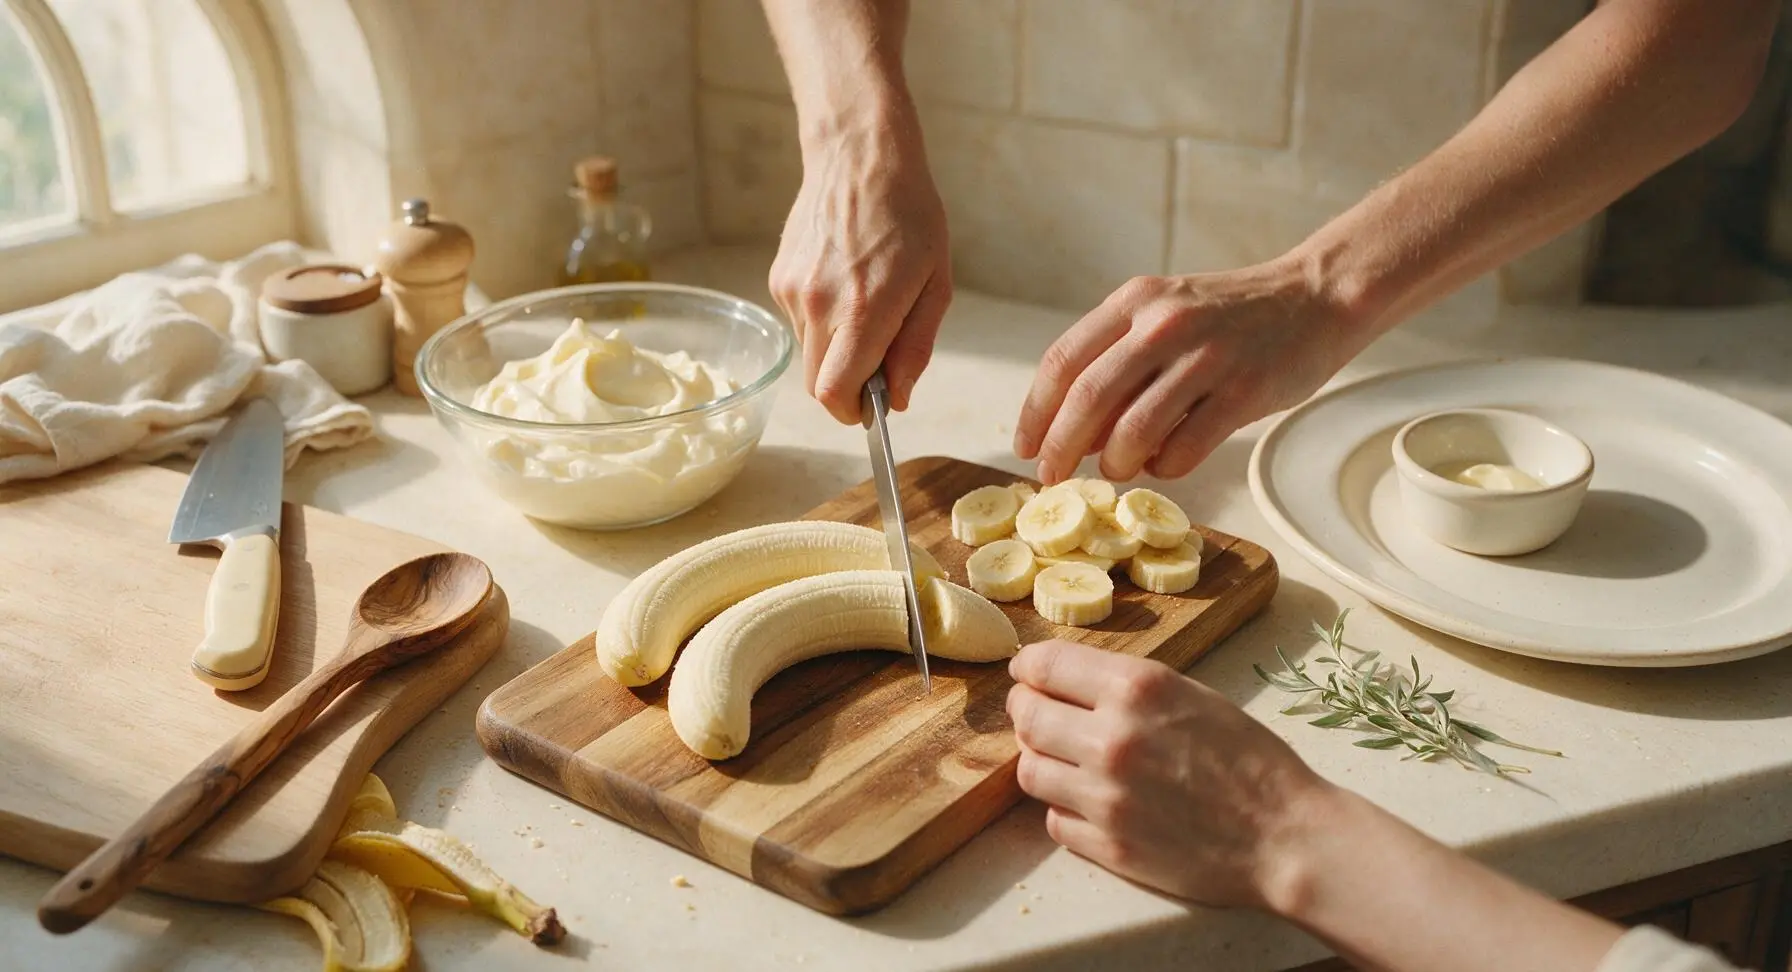
Peel all three ripe bananas, placing the peeled fruit on the acacia wood cutting board. Use the 6-inch stainless steel paring knife to slice the bananas into even ¼-inch thick rounds, discarding any bruised, browned, or overly mushy sections. Uniform slice thickness ensures consistent layers and even banana distribution in every bite.
Prep Trifle Cups
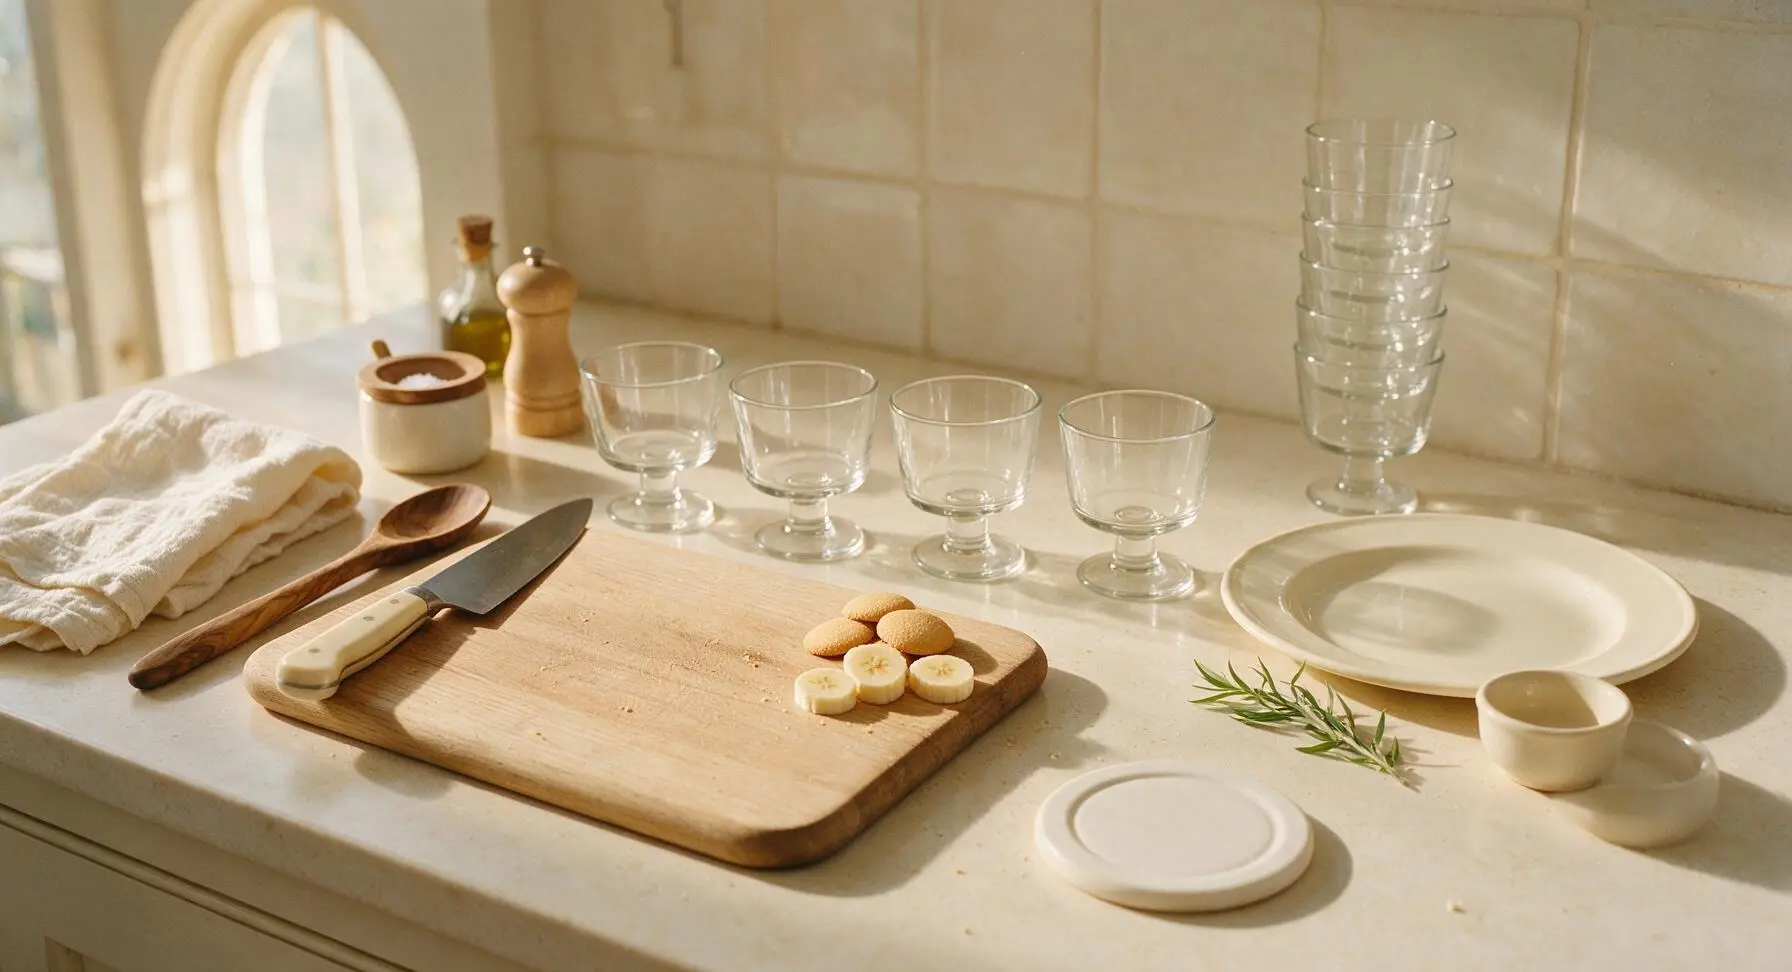
Take four of the 12oz clear glass trifle cups from the stacked set at top-right counter, placing them in a neat, evenly spaced row on the counter between the cutting board and the back wall. Set aside 4 whole, unbroken vanilla wafers and 4 perfectly round, blemish-free banana slices on the corner of the cutting board to use as final garnish.
Layer Base Ingredients
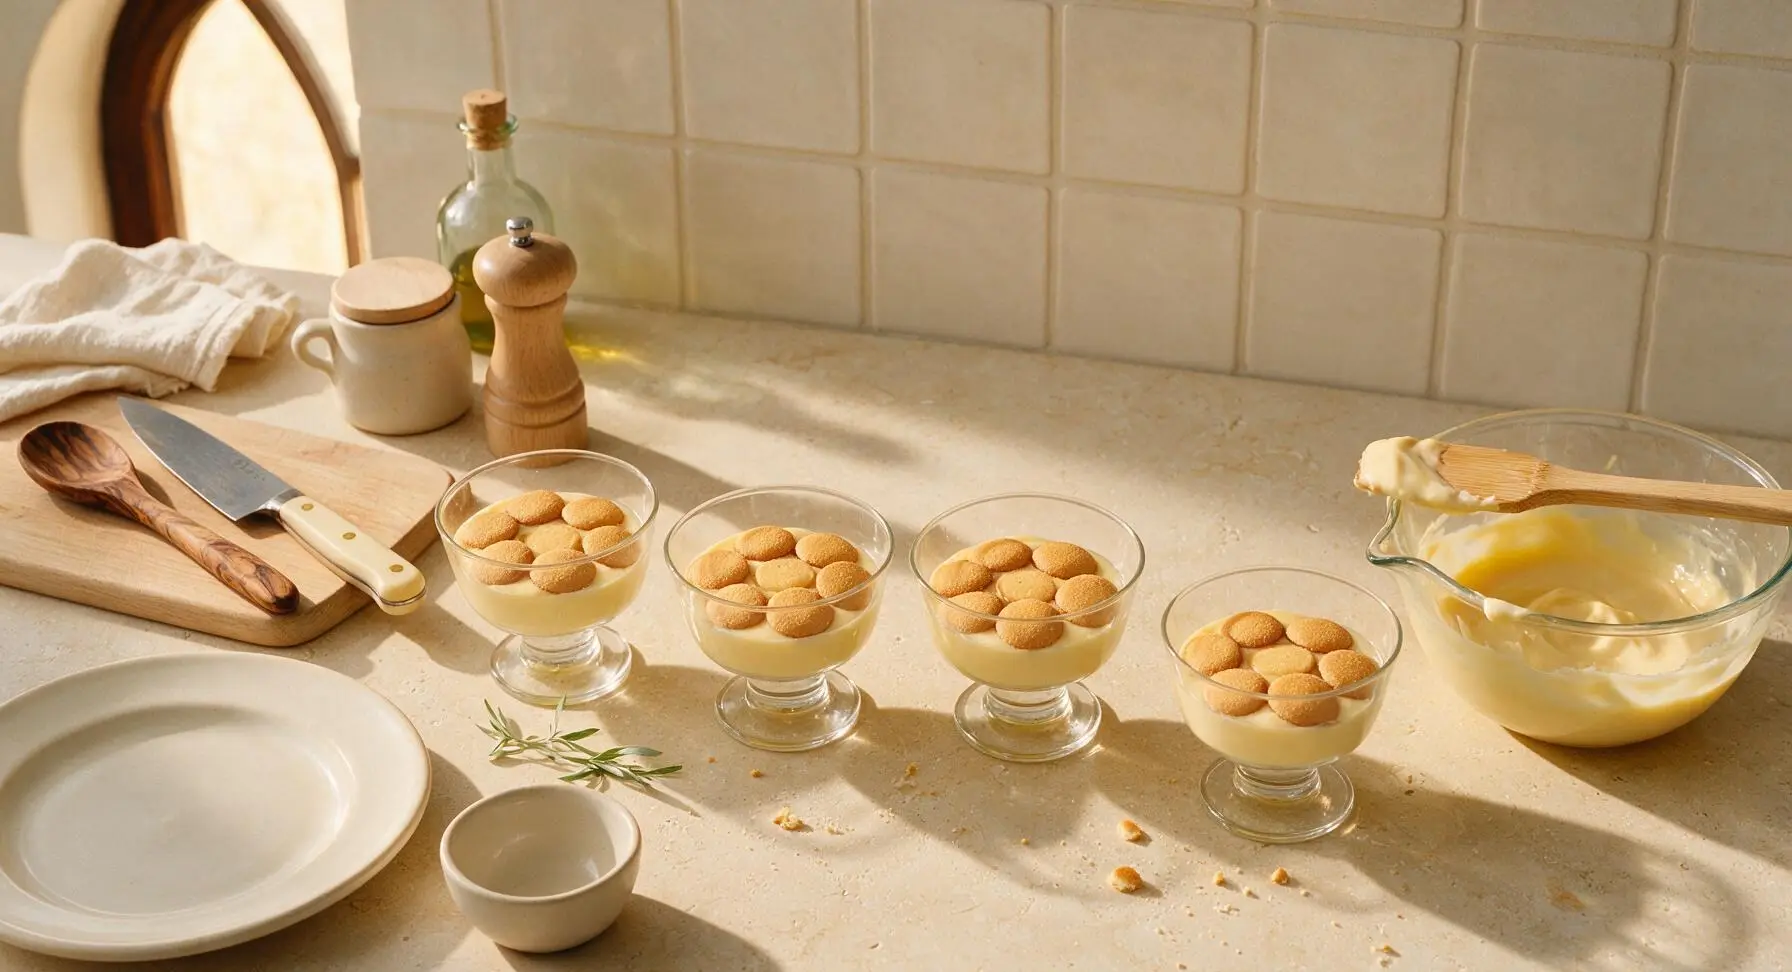
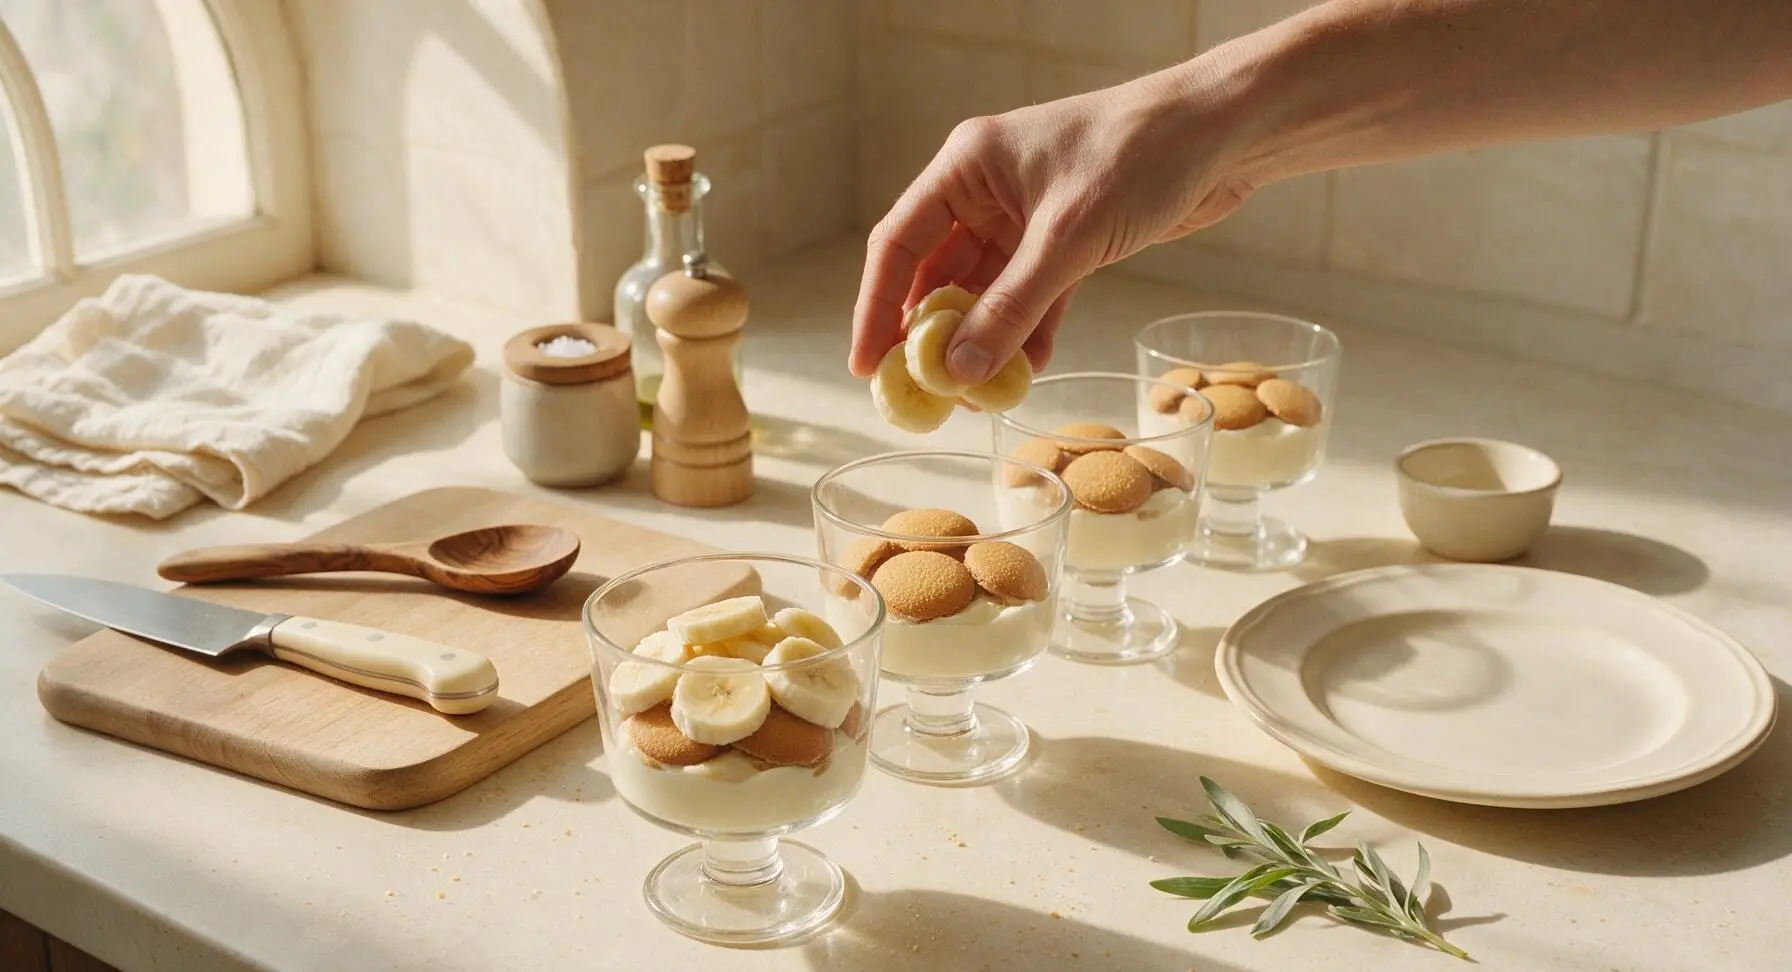
Use the bamboo spatula to scoop 2 tablespoons of the pudding mixture into the bottom of each trifle cup, spreading it into a smooth even layer. Top the pudding layer in each cup with 4-5 vanilla wafers, arranged in a single flat layer, pressing very gently so the wafers adhere slightly to the pudding. Do not press hard enough to crack or break the wafers.
Build Remaining Layers
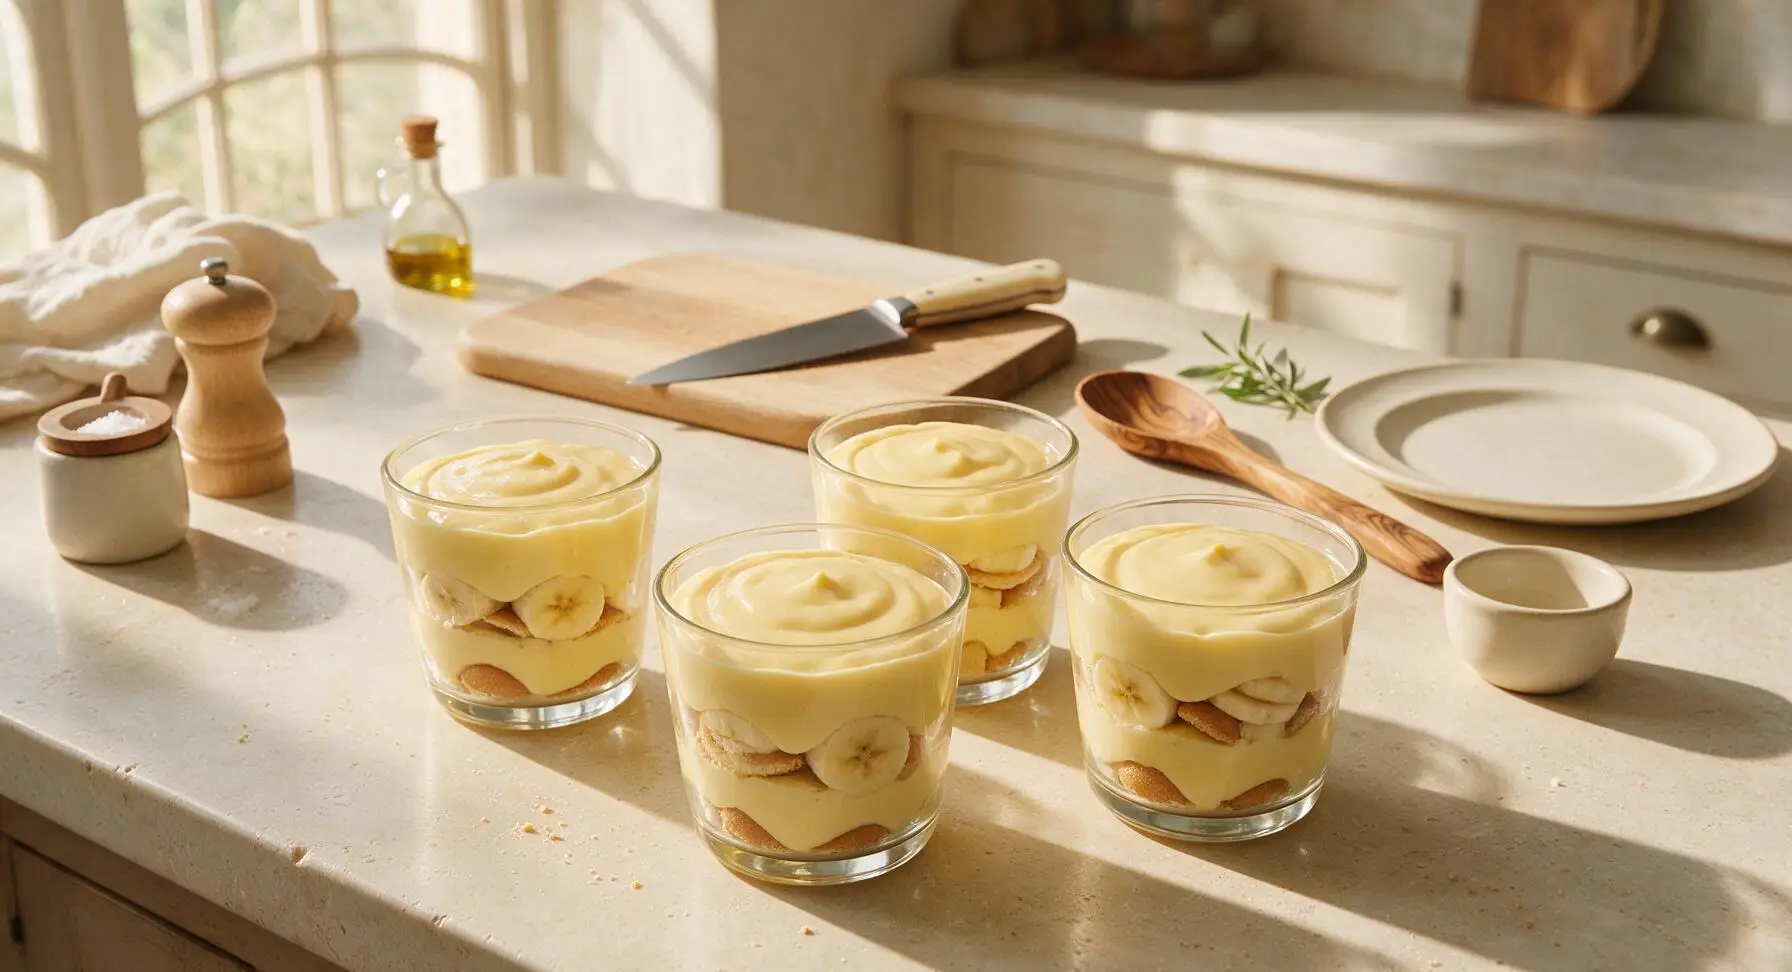
Top the wafer layer in each cup with 4-5 banana slices, arranged in a slightly overlapping even layer. Add another 2 tablespoons of pudding over the bananas, spreading gently, followed by a second layer of wafers, a second layer of banana slices, and a final 2-tablespoon dollop of pudding to reach just below the rim of each cup. Gently tap each cup on the counter once to settle the layers and remove trapped air gaps, so layers remain distinct and even.
Garnish and Chill
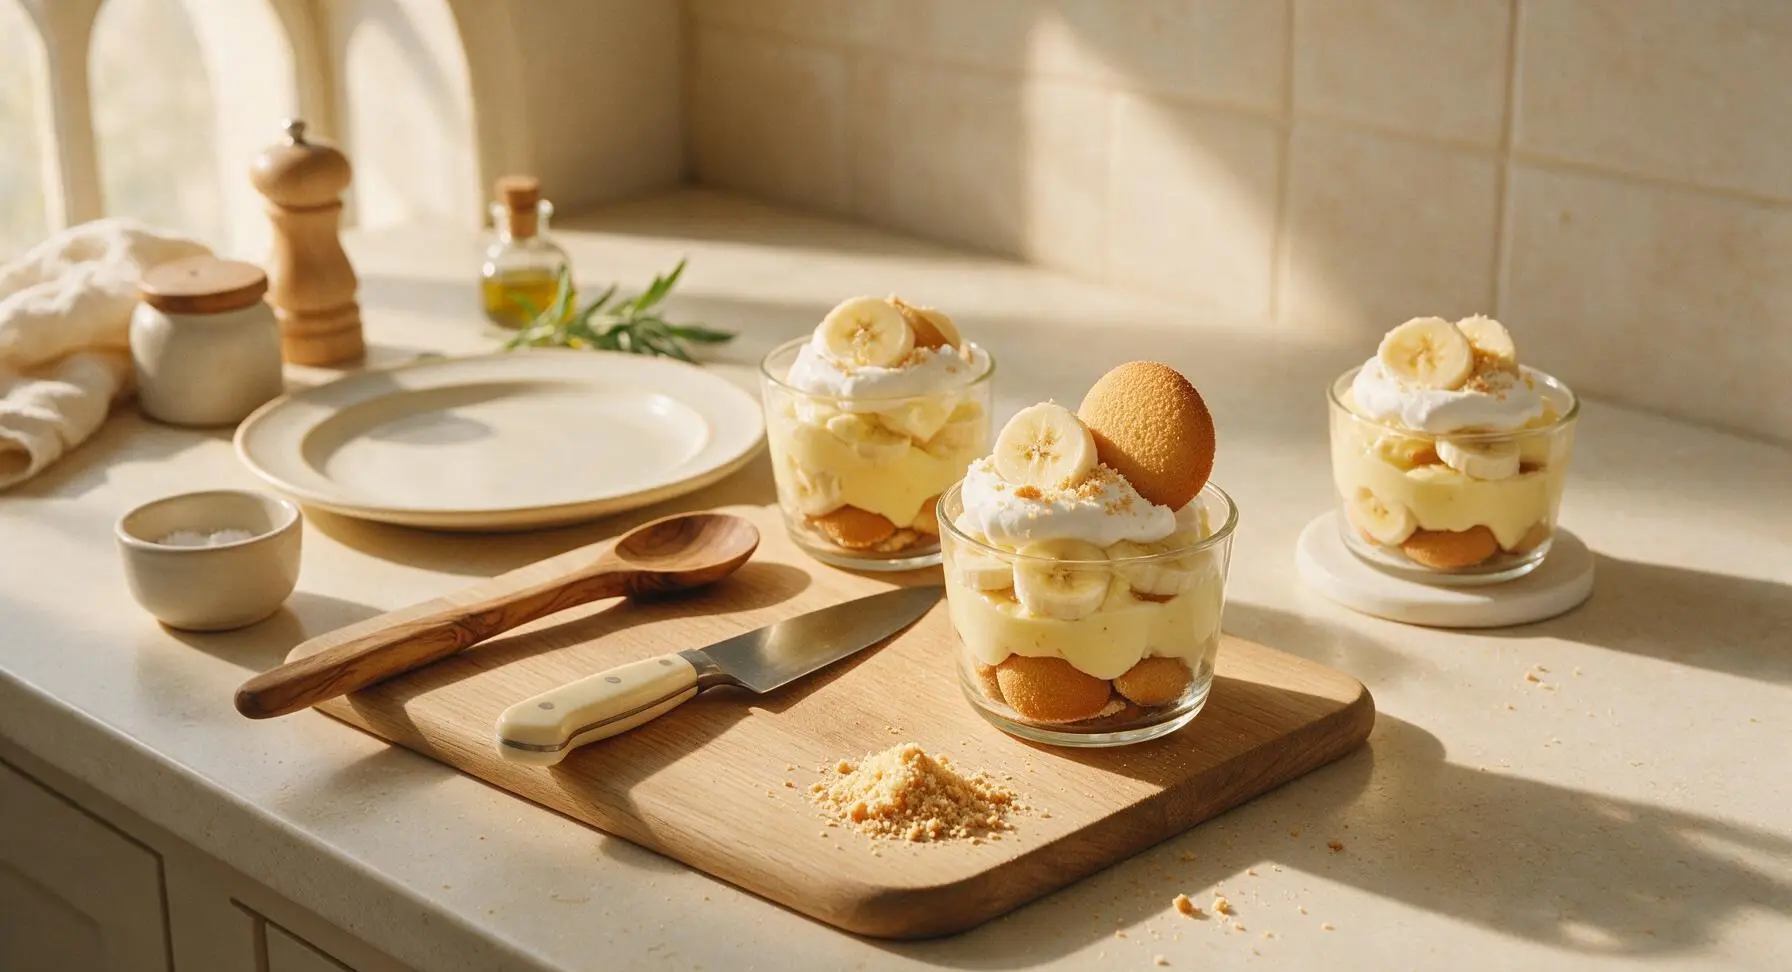
Top each pudding cup with a 1-tablespoon dollop of the reserved whipped topping. Lean one whole reserved vanilla wafer at a 45-degree angle against the whipped cream on each cup, fan one reserved banana slice on top of the cream, and sprinkle a pinch of crushed vanilla wafer crumbs over the top for extra texture. Serve immediately for soft, cake-like wafers, or chill in the refrigerator for 30 minutes for a firmer, more set pudding texture.
Tips
2.Fold whipped topping gently instead of stirring vigorously: harsh stirring deflates the air bubbles in the whipped topping, leading to a dense, runny pudding instead of the signature light, fluffy texture.
3.Wait to add the top banana garnish until right before serving: sliced bananas exposed to air will oxidize and turn brown over time, even when nestled in pudding, so adding the garnish last keeps the dessert looking bright and fresh.






OMG this no-bake banana pudding is a total game changer! I threw it together in 10 minutes flat for our neighborhood potluck and people were begging me for the recipe. I didn’t even have time to chill it and it was still SO good. My picky 7 year old asked for thirds!
As a broke college student with zero kitchen access besides a mini fridge, this is literally perfect. No cook time? No fancy equipment? I used the slightly overripe bananas I had sitting on my dorm desk and a cheap box of vanilla pudding mix, tossed it in a tupperware, and ate it while cramming for midterms. 10/10 will be making this every week.
I made this for our family Sunday dinner after church this past weekend and it was the first dessert gone! I added a little extra whipped cream on top and a sprinkle of cinnamon like my grandma used to do, and it tasted just like her classic recipe but took 1/10th of the time. Will absolutely be adding this to my regular rotation.
Wait has anyone tried making this ahead for weekly meal prep? I’m always looking for sweet snacks that hold up in the fridge for a few days so I don’t reach for candy bars in the afternoon. Worried the bananas will get all brown and mushy.
Super quick and tasty! I swapped the regular vanilla wafers for gluten-free vanilla cookies since I have a wheat sensitivity, and it turned out absolutely perfect. My husband who hates all my gluten-free swaps even went back for a second serving. Only reason I’m not giving 5 stars is I wish it had a little note about swap options for folks with dietary restrictions!
Brought this to a backyard cookout over the weekend and everyone thought I spent hours making it from scratch. Little do they know I was running 20 minutes late and threw it together in 8 minutes flat before running out the door lmao. 10/10, no notes.
OMGGGG I just mixed this up real quick before my kid’s soccer team snack time and it’s SO good even before chilling! Quick heads up though, if you want that super thick classic texture definitely don’t skip the 30 minute chill—mine’s a little runny right now since I’m crunched for time, but the kids are gonna lose their minds regardless.