
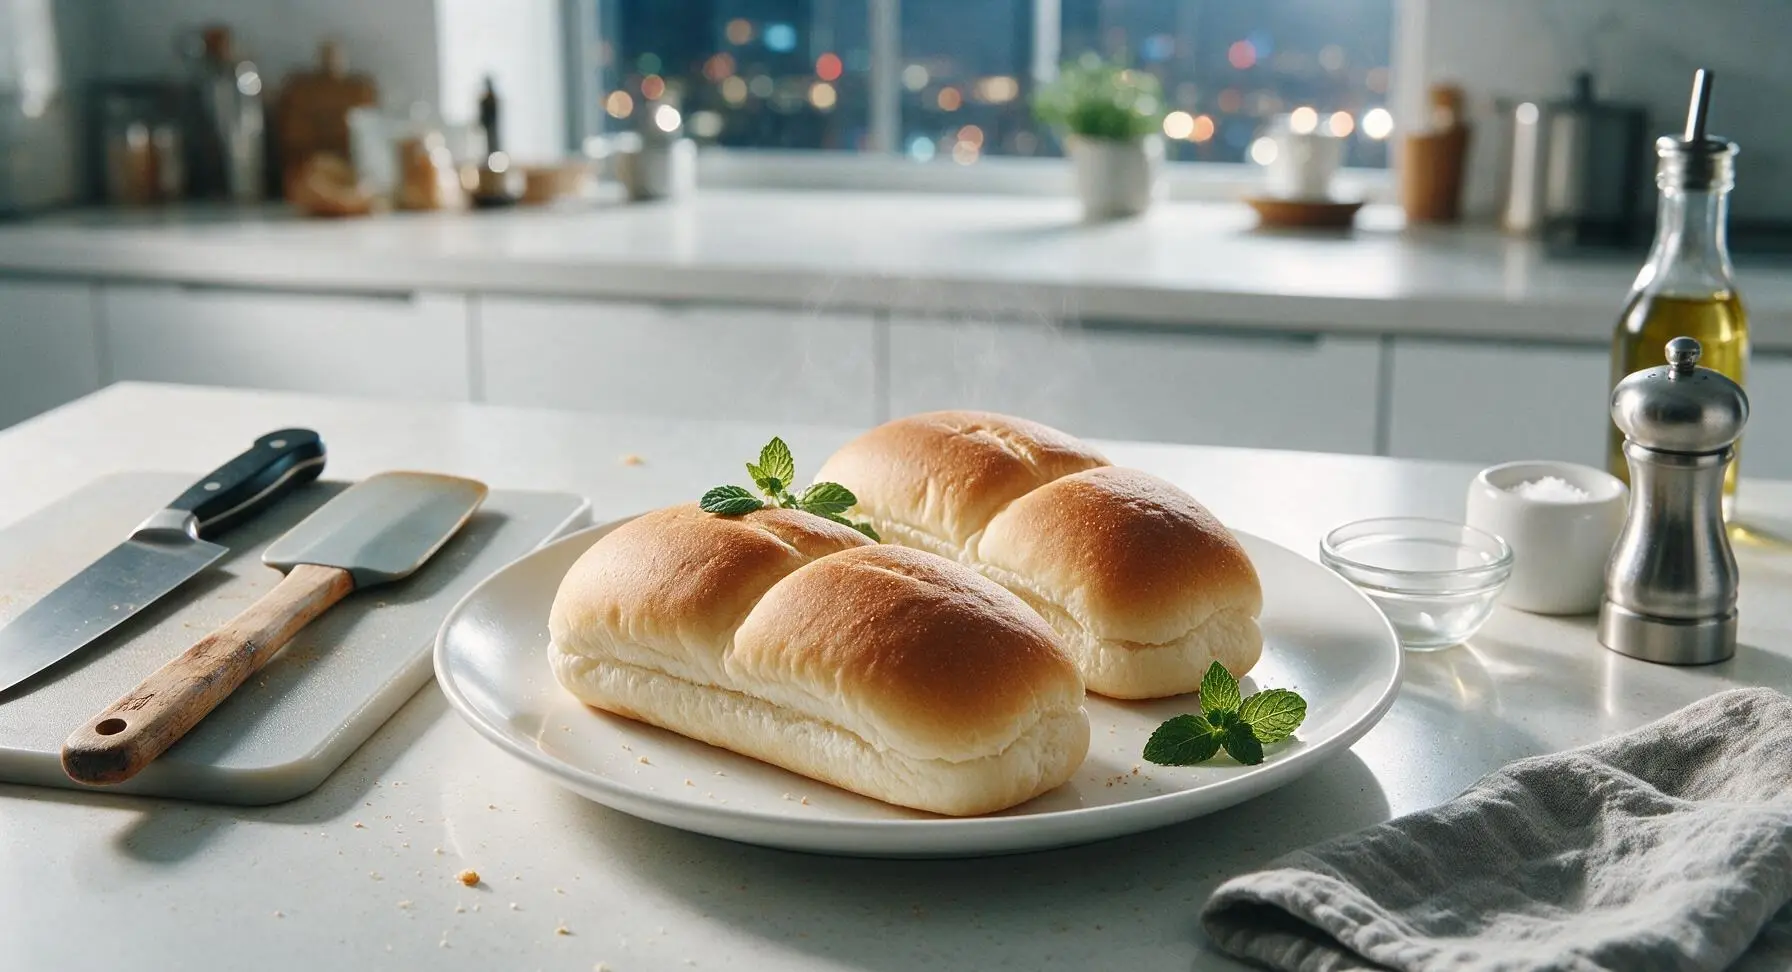
quick hot dog bun

title 1
quick hot dog bun
⏱️ cook time 15 minutes
🍽️ servings 8
⚡ Difficulty easy

intro

Soft, fluffy quick hot dog buns ready in under an hour, skipping long proofing waits for last-minute weeknight franks, backyard cookouts, or easy slider sandwiches.

Ingredients
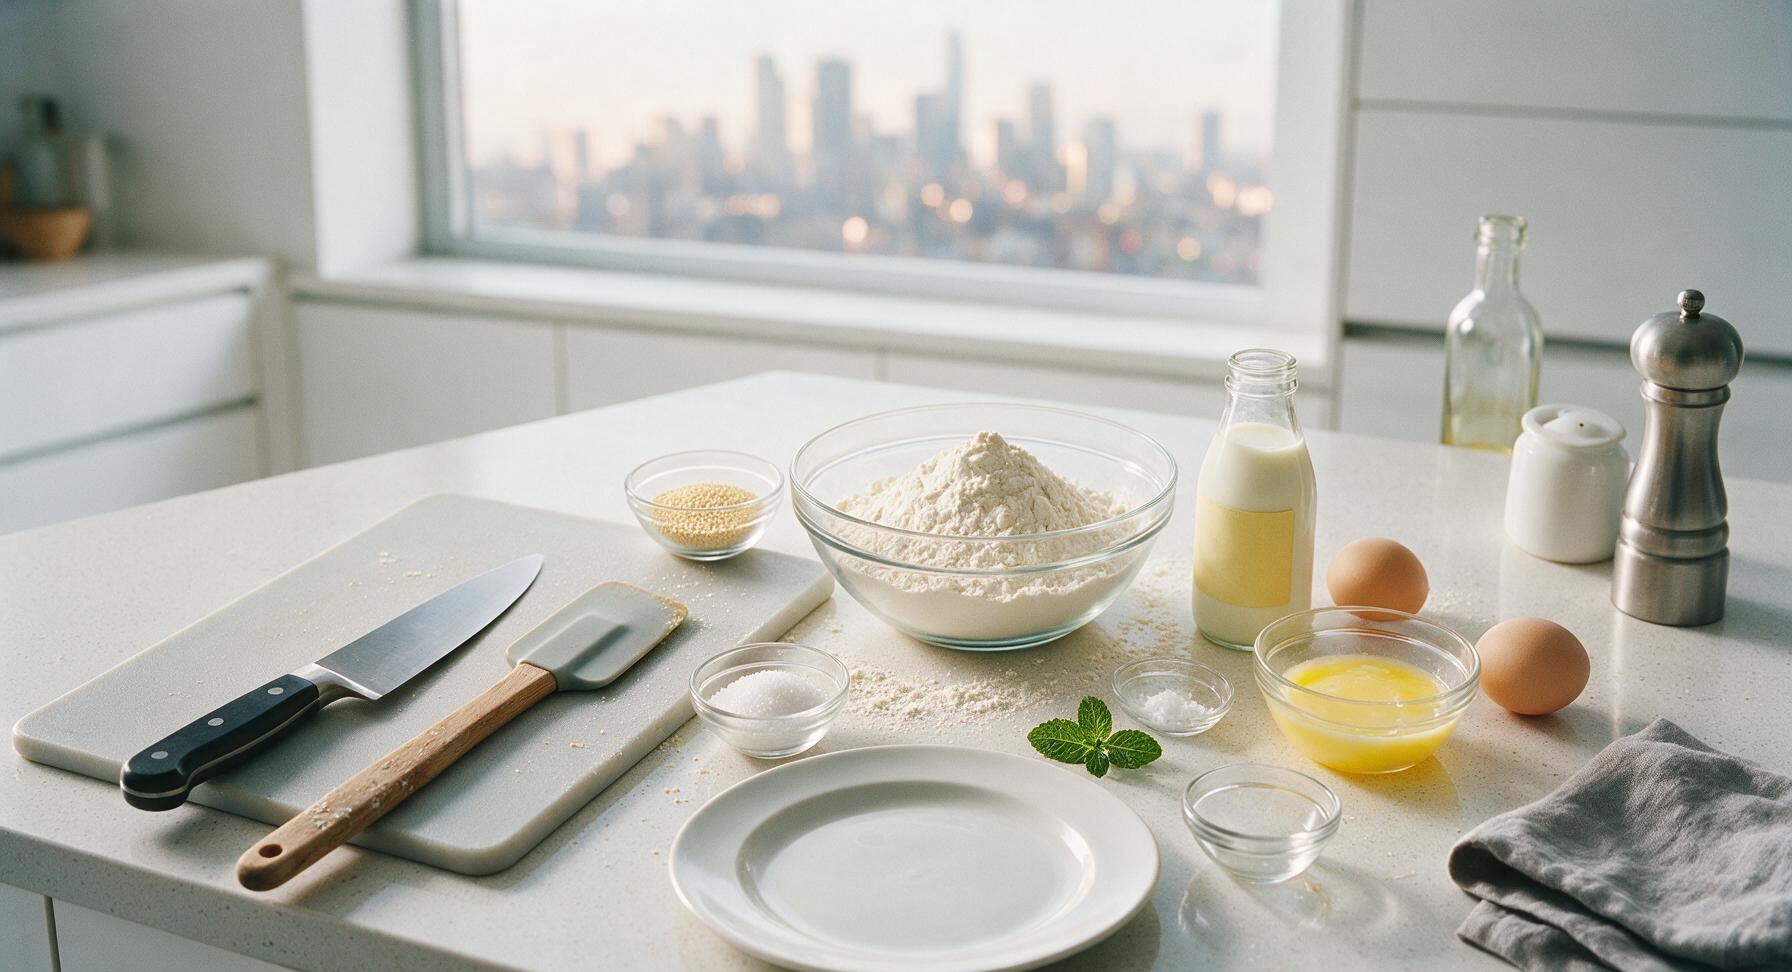
All-purpose flour 360g (3 cups)
Rapid rise instant yeast 7g (1 standard packet)
Granulated sugar 15g (1 tbsp)
Fine sea salt 6g (1 tsp)
Whole milk, warmed to 43C/110F 180ml (3/4 cup)
Unsalted butter, melted and cooled 28g (2 tbsp)
Large egg, room temperature 1 unit (50g)
Extra melted butter for topping 14g (1 tbsp)

Steps

1

Whisk Dry Ingredients

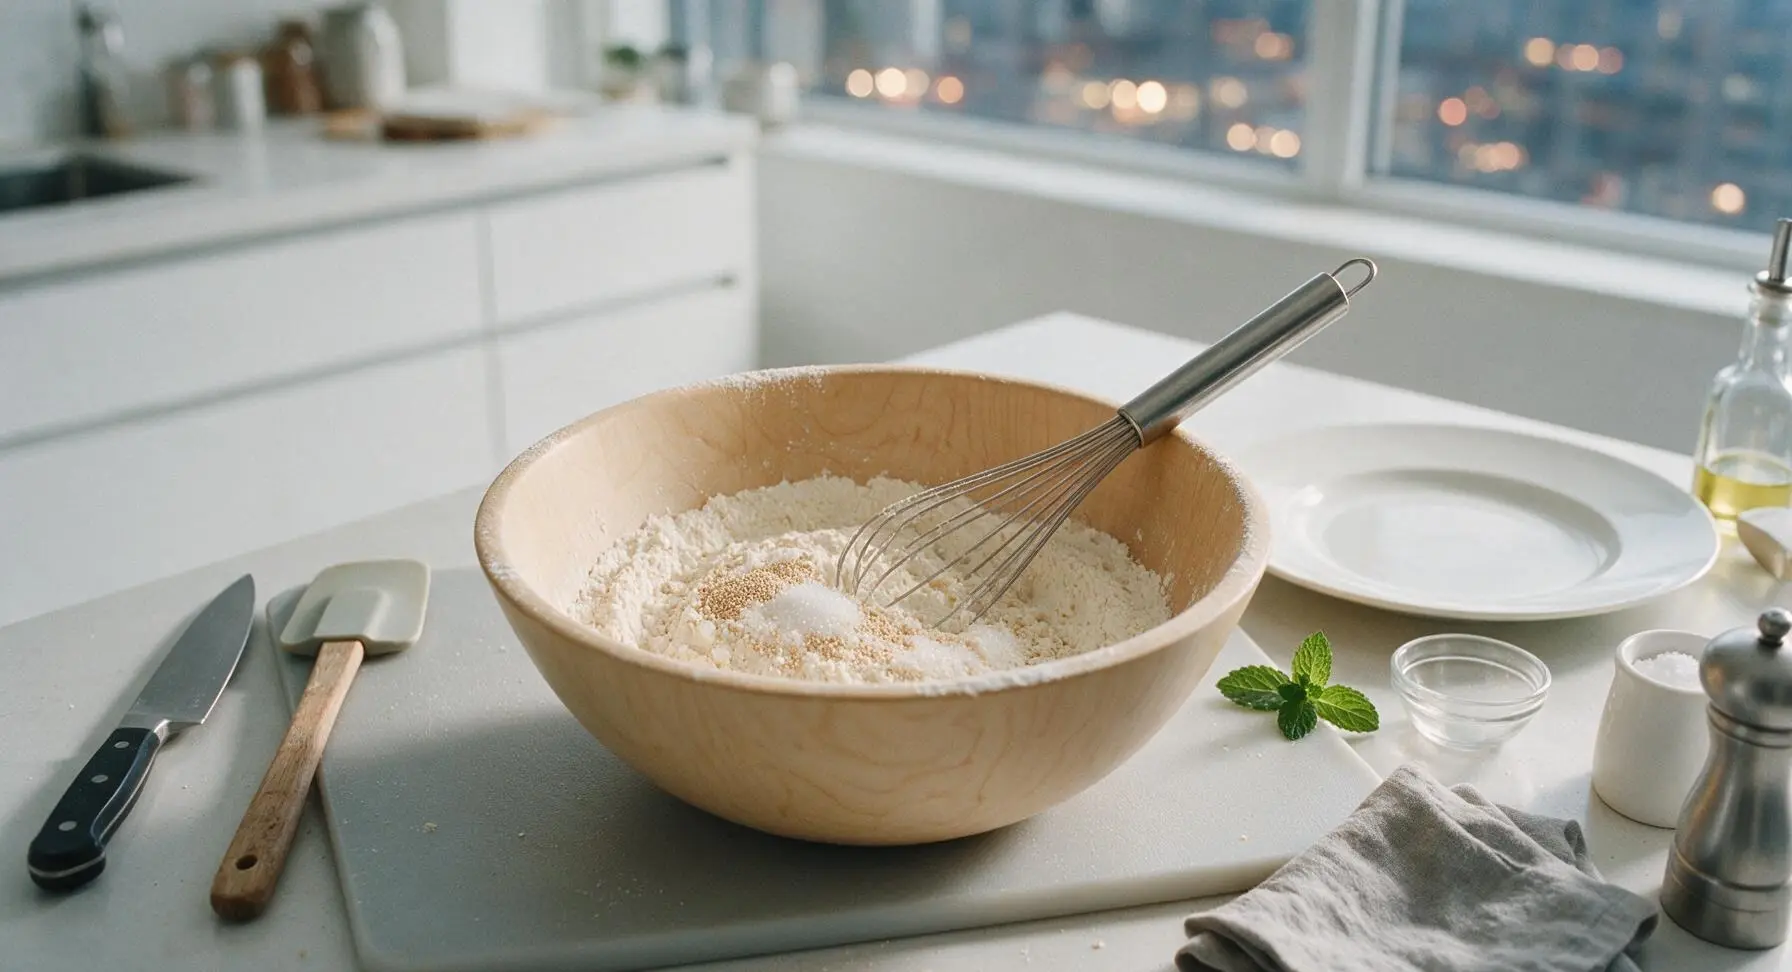
Place the large light birch mixing bowl on the center of the cutting board. Add 360g all-purpose flour, 7g rapid rise yeast, 15g granulated sugar, and 6g fine sea salt to the bowl. Use the stainless steel balloon whisk to stir for 30 seconds, fully combining the dry ingredients so yeast and salt are evenly distributed, with no clumps of yeast visible in the flour.
Step 1
step1:Whisk Dry Ingredients
2

Combine Wet Ingredients

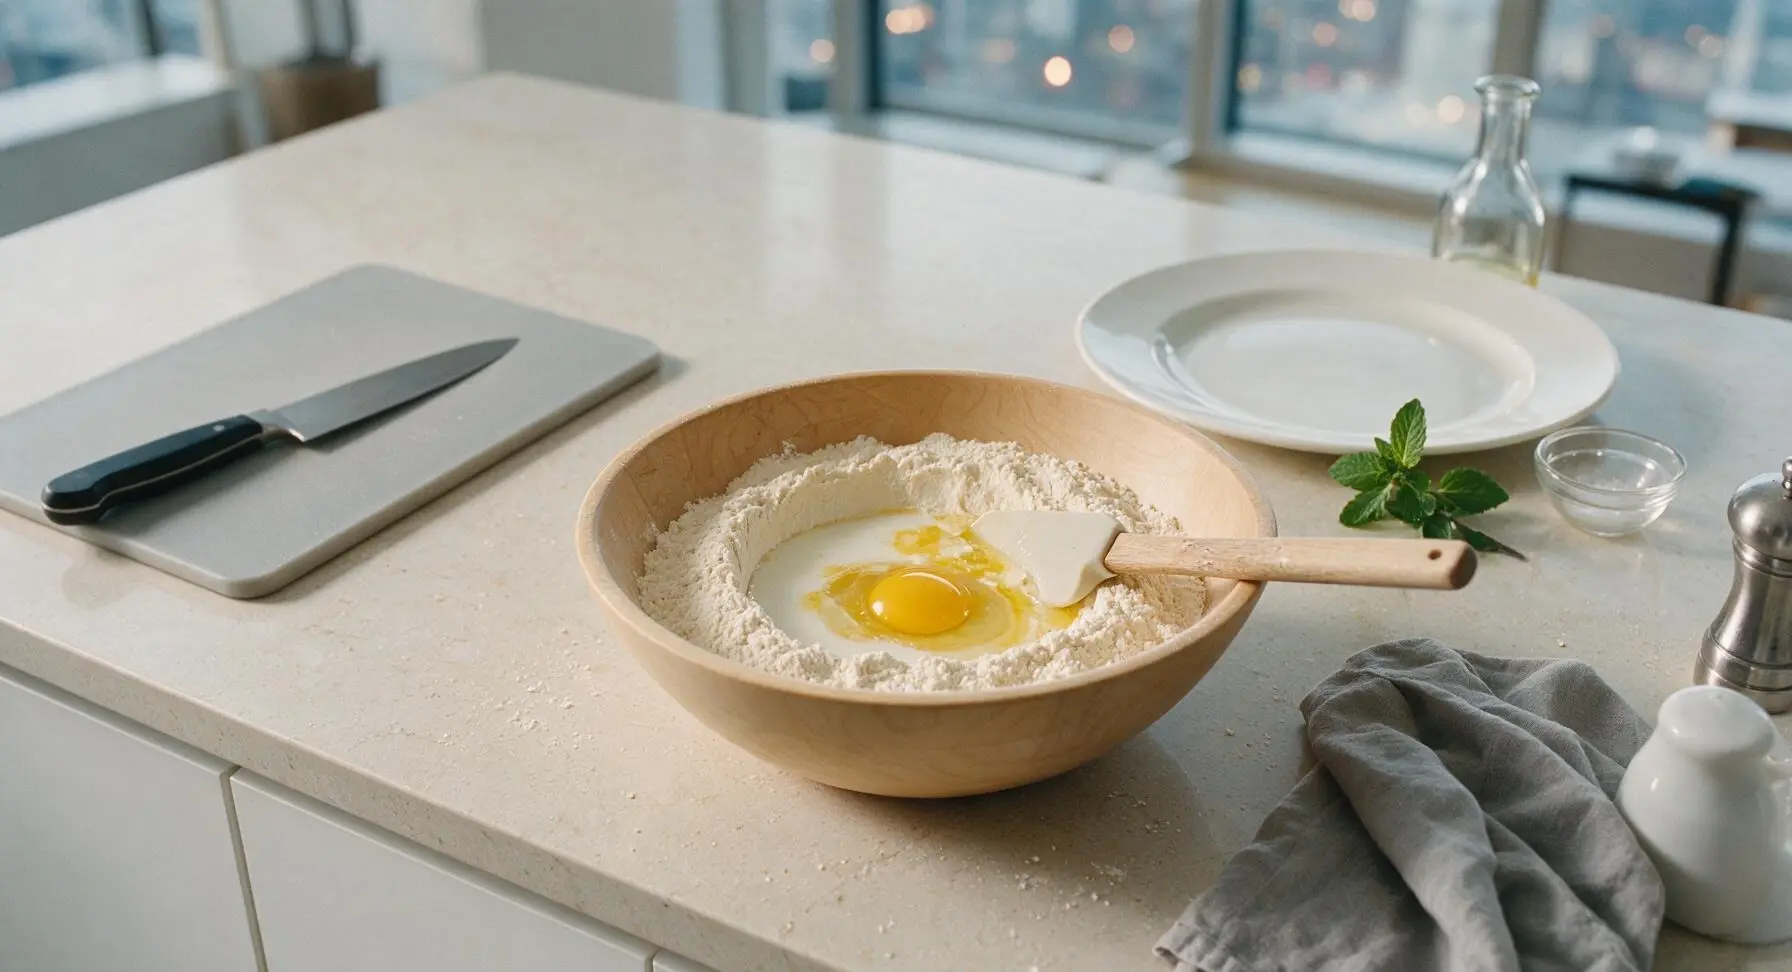
Make a 10cm wide well in the center of the whisked dry ingredients. Pour the warmed 110F whole milk, cooled melted 28g butter, and cracked room temperature egg into the well. Use the off-white silicone spatula to stir for 1 minute, until a shaggy, sticky dough forms with no dry flour pockets left at the bottom of the bowl.
Step 2
step2:Combine Wet Ingredients
3

Knead Smooth Dough

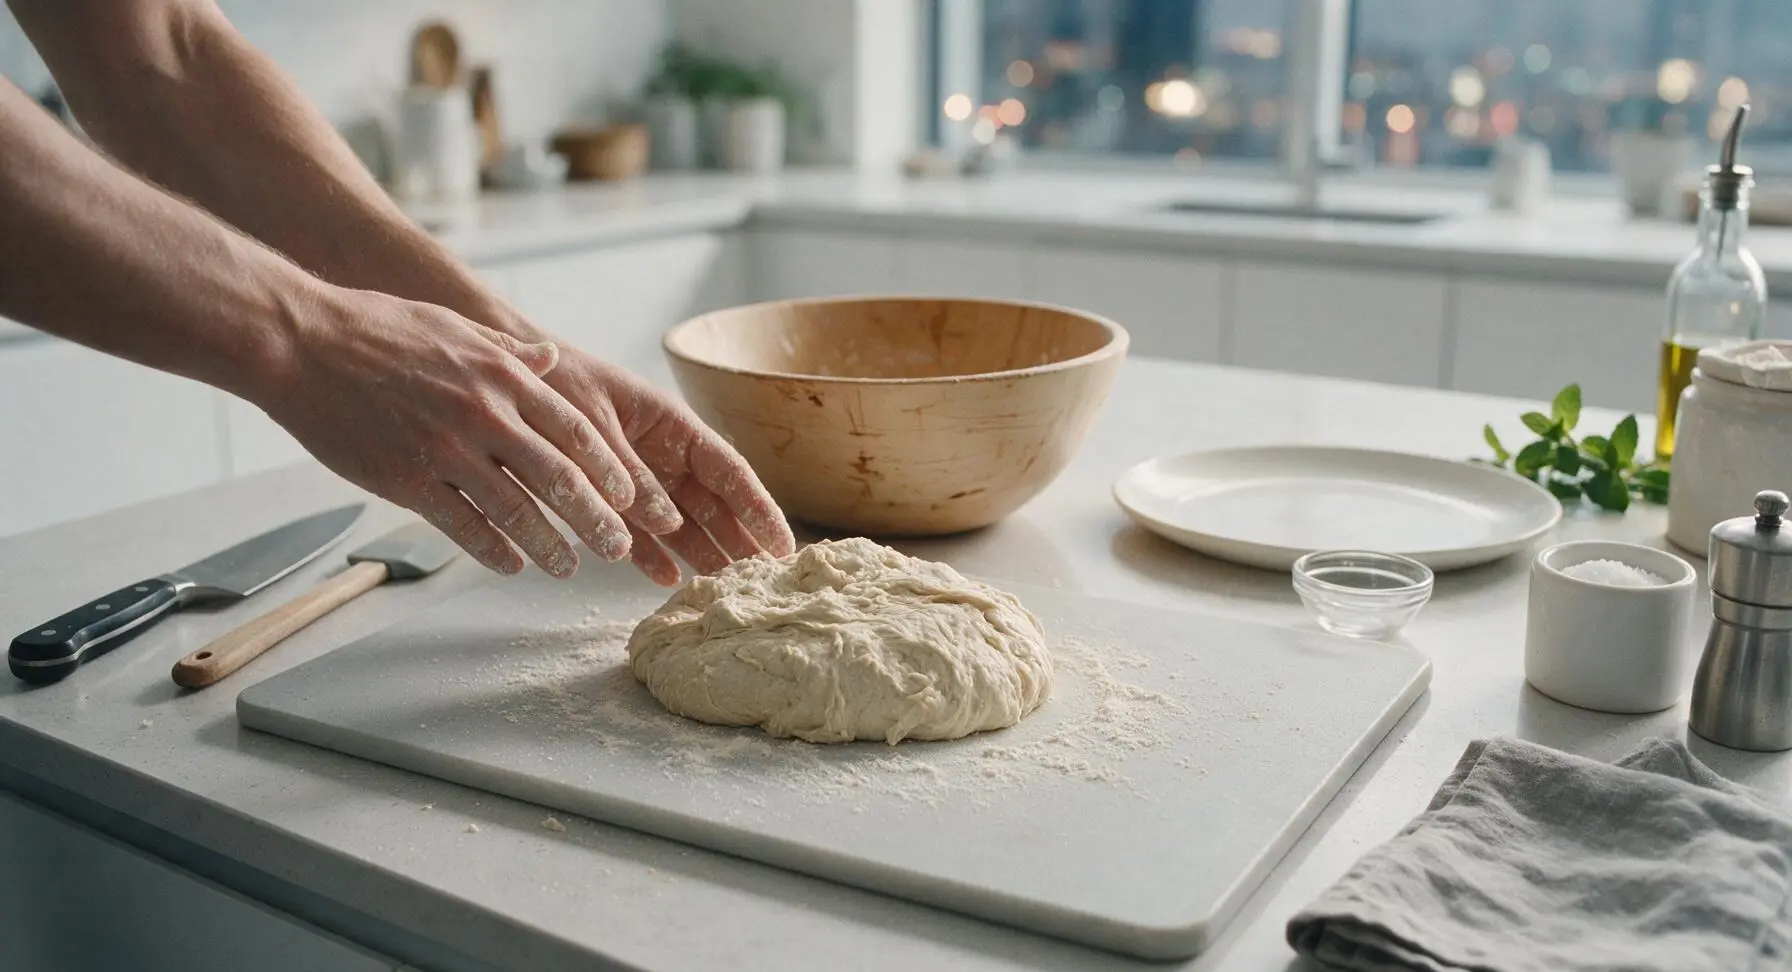
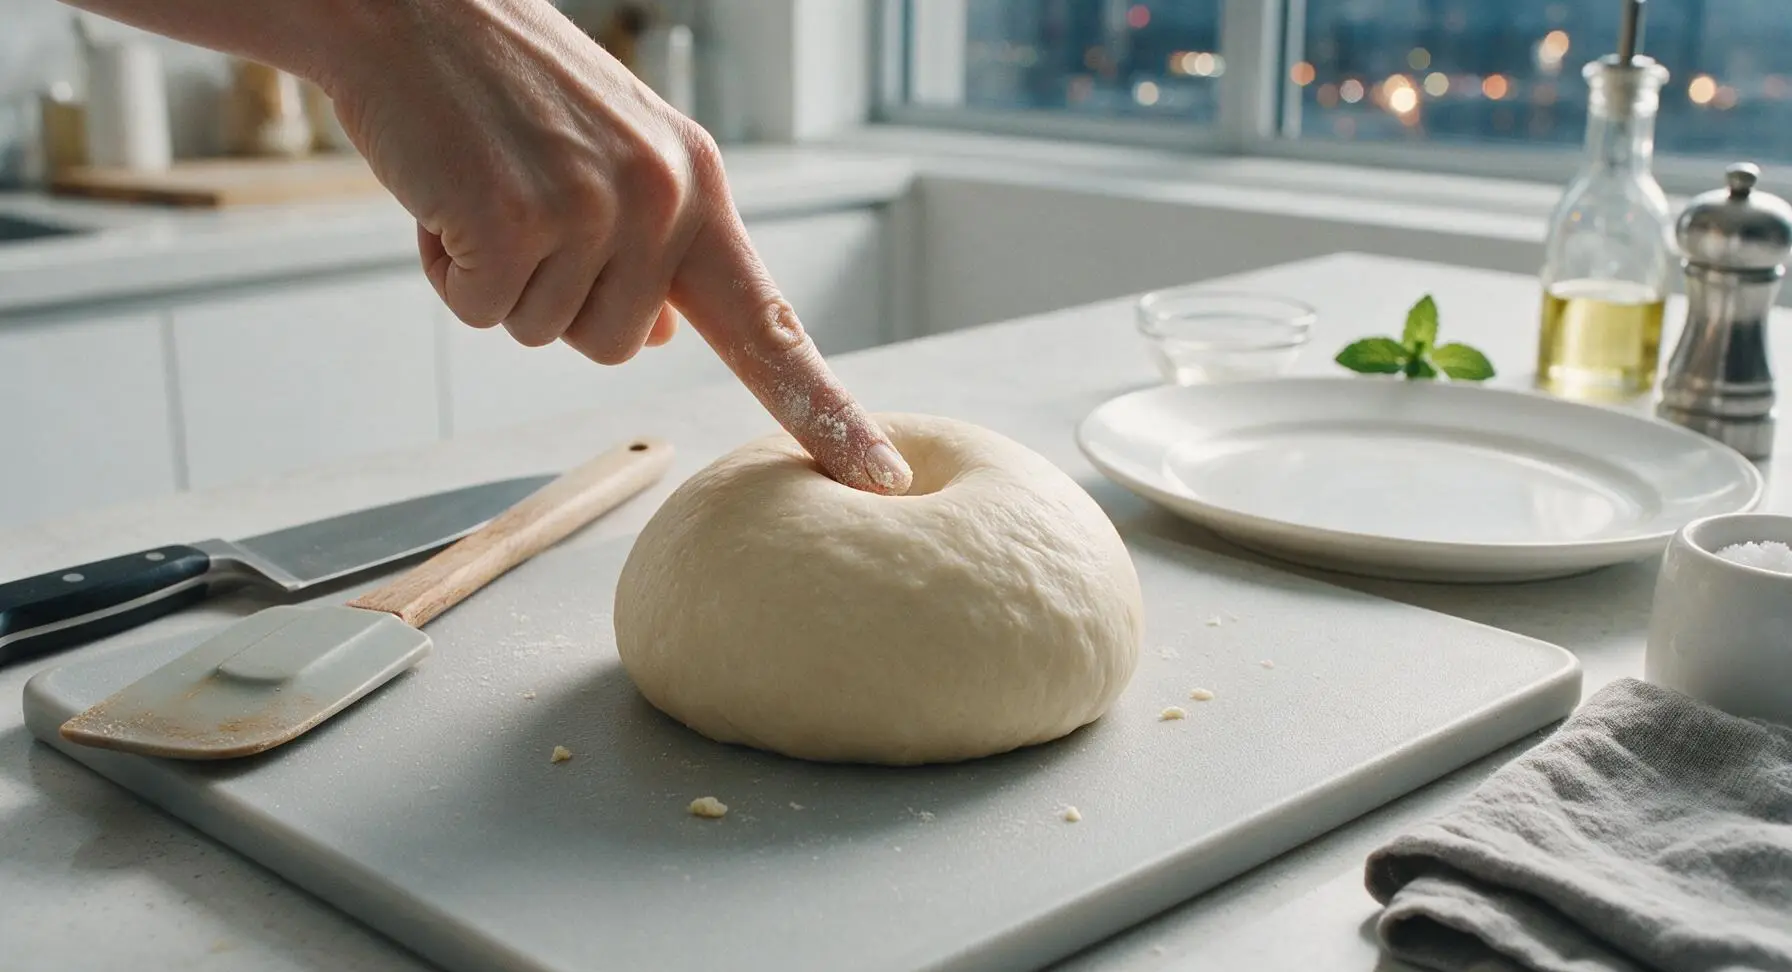
Lightly dust the center of the birch cutting board with 1 tsp of flour from the ceramic flour crock. Turn the shaggy dough out onto the floured surface. Knead by hand for 5 minutes: fold the dough over itself, push forward with the heel of your palm, turn a quarter turn, and repeat. The dough is ready when it is smooth, satiny, and springs back halfway when poked with a floured finger.
Step 3
step3:Knead Smooth Dough
Step 3
step3:Knead Smooth Dough
4

Shape Hot Dog Buns

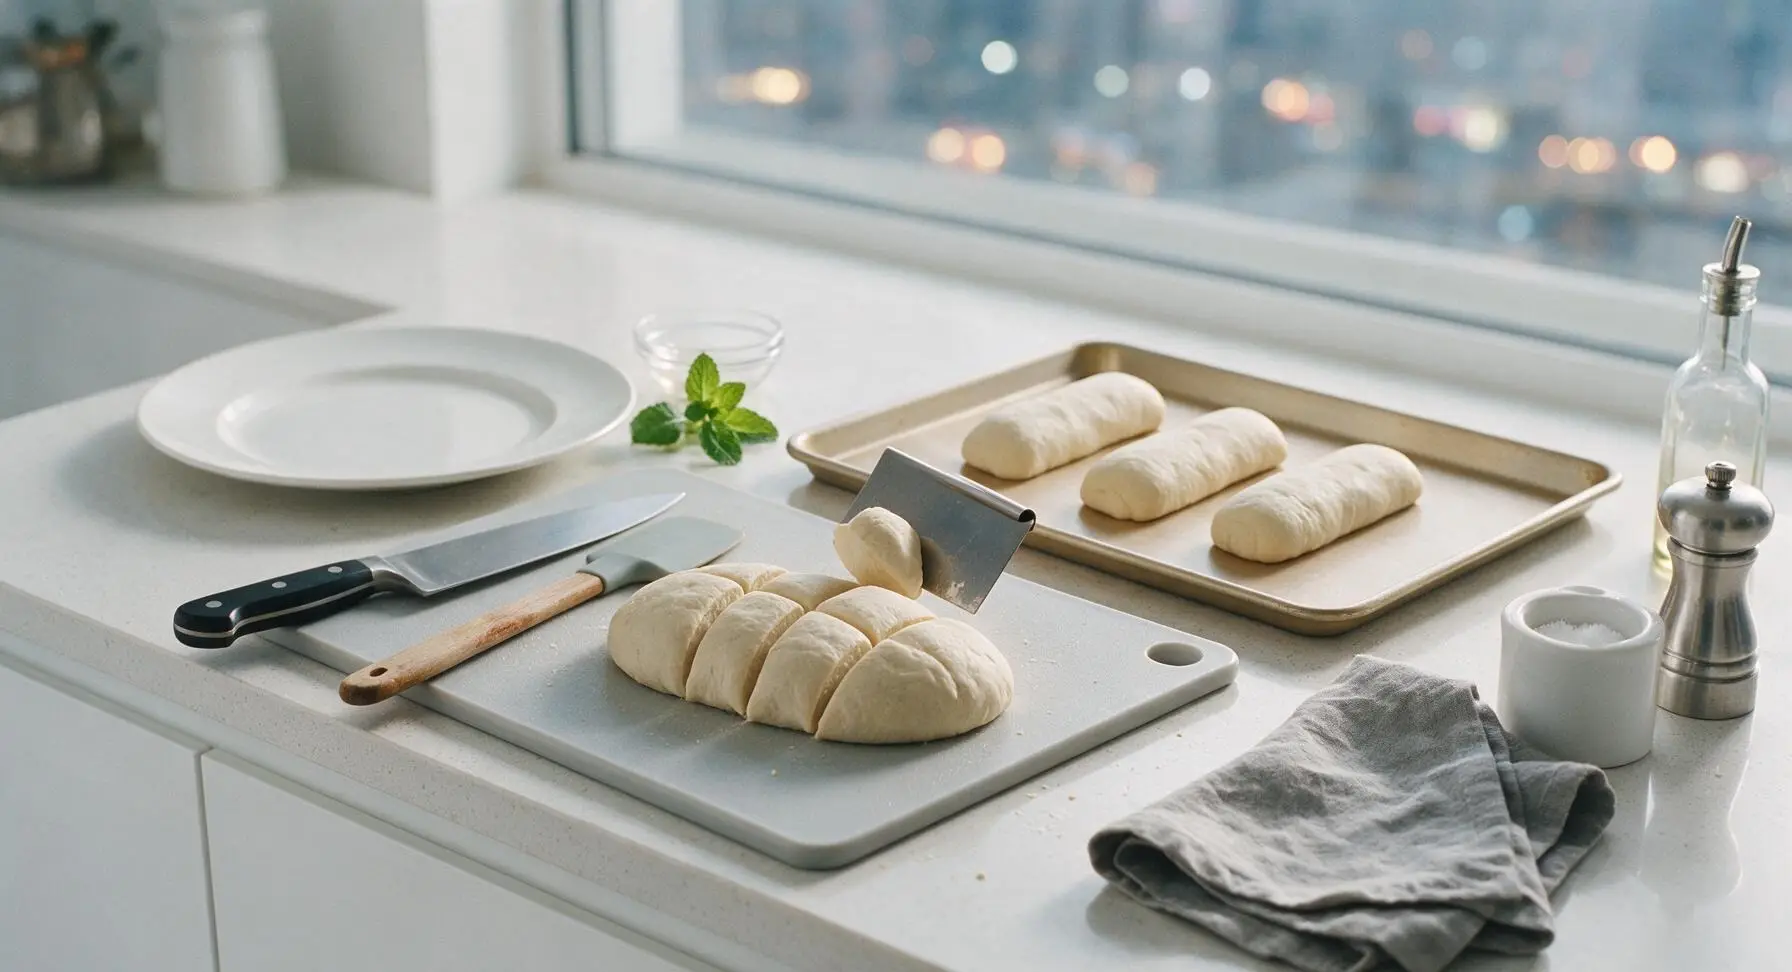
Retrieve the light gold aluminum baking sheet from under the cooling rack, and lightly grease the surface with a thin swipe of melted butter from the measured ingredient portion. Use the stainless steel dough scraper to cut the smooth dough ball into 8 equal 75g pieces. Roll each piece between your palms and the board into a 12cm (5 inch) long log, slightly tapered at the ends to match classic hot dog bun shape. Set shaped logs 5cm apart on the prepared baking sheet.
Step 4
step4:Shape Hot Dog Buns
5

Proof Shaped Buns

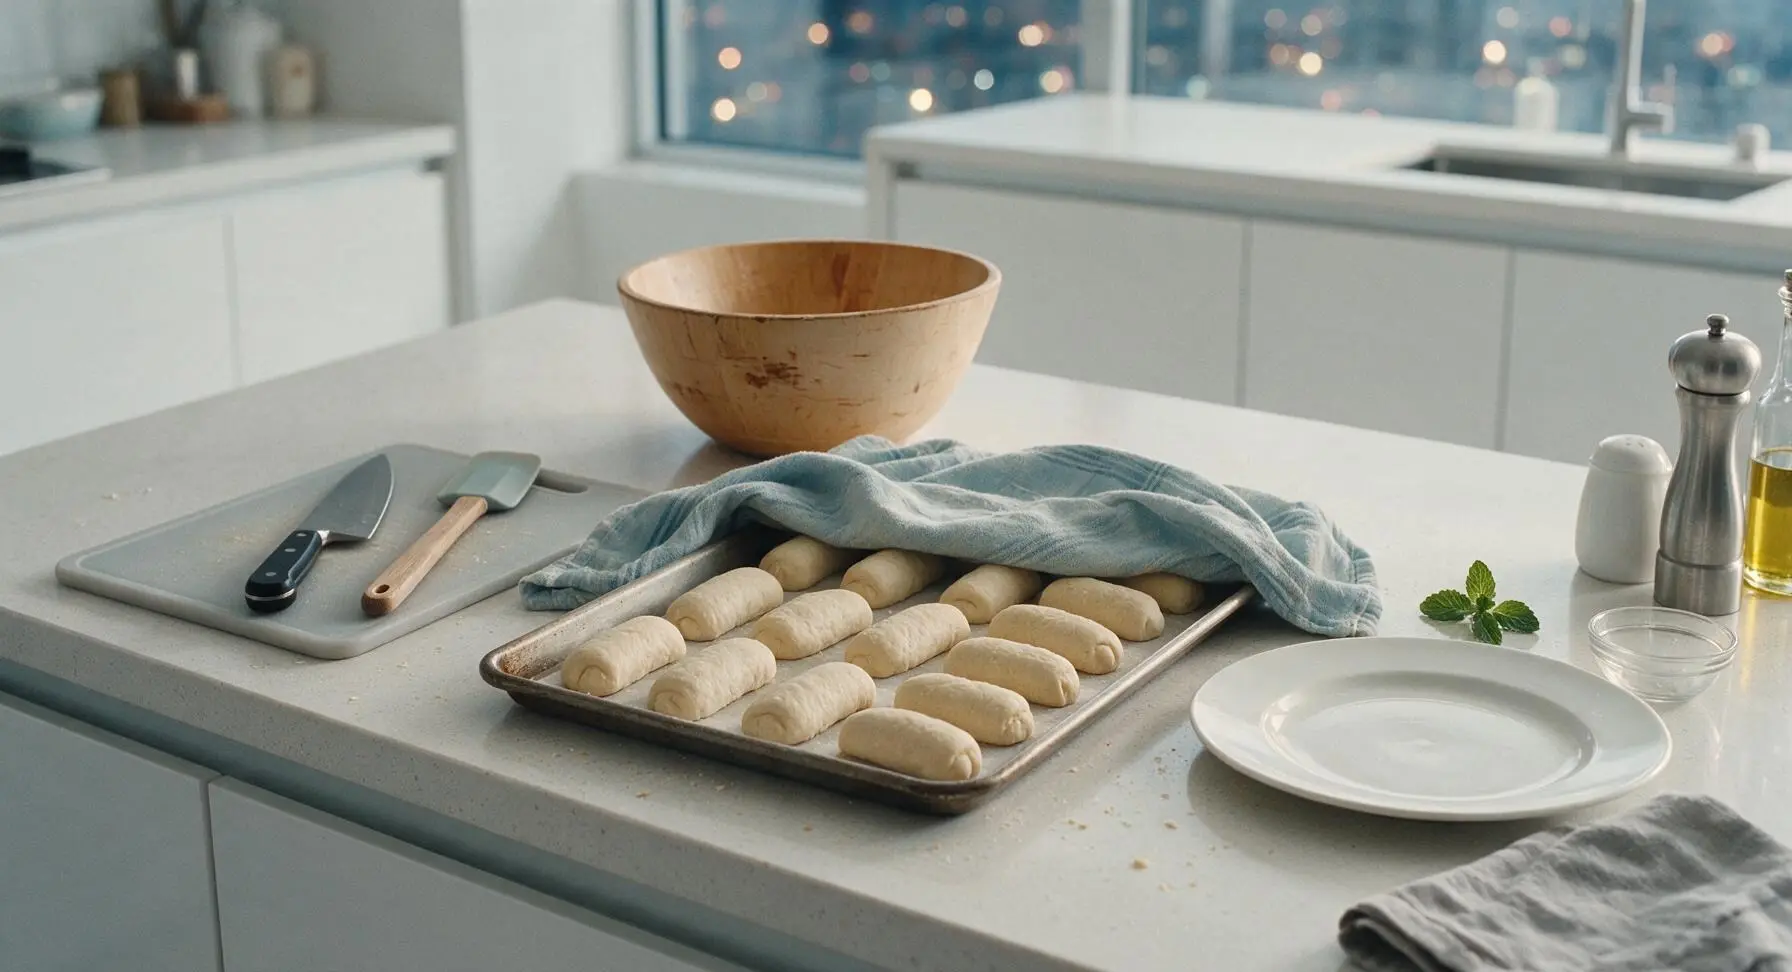
Loosely drape the faded light blue striped kitchen towel over the baking sheet of shaped buns, making sure the towel sits high enough not to stick to the dough surfaces as it rises. Let rest in a warm spot on the counter for 20 minutes, until buns have puffed to 1.5x their original size, and leave a slow-rebounding indent when pressed gently with a finger.
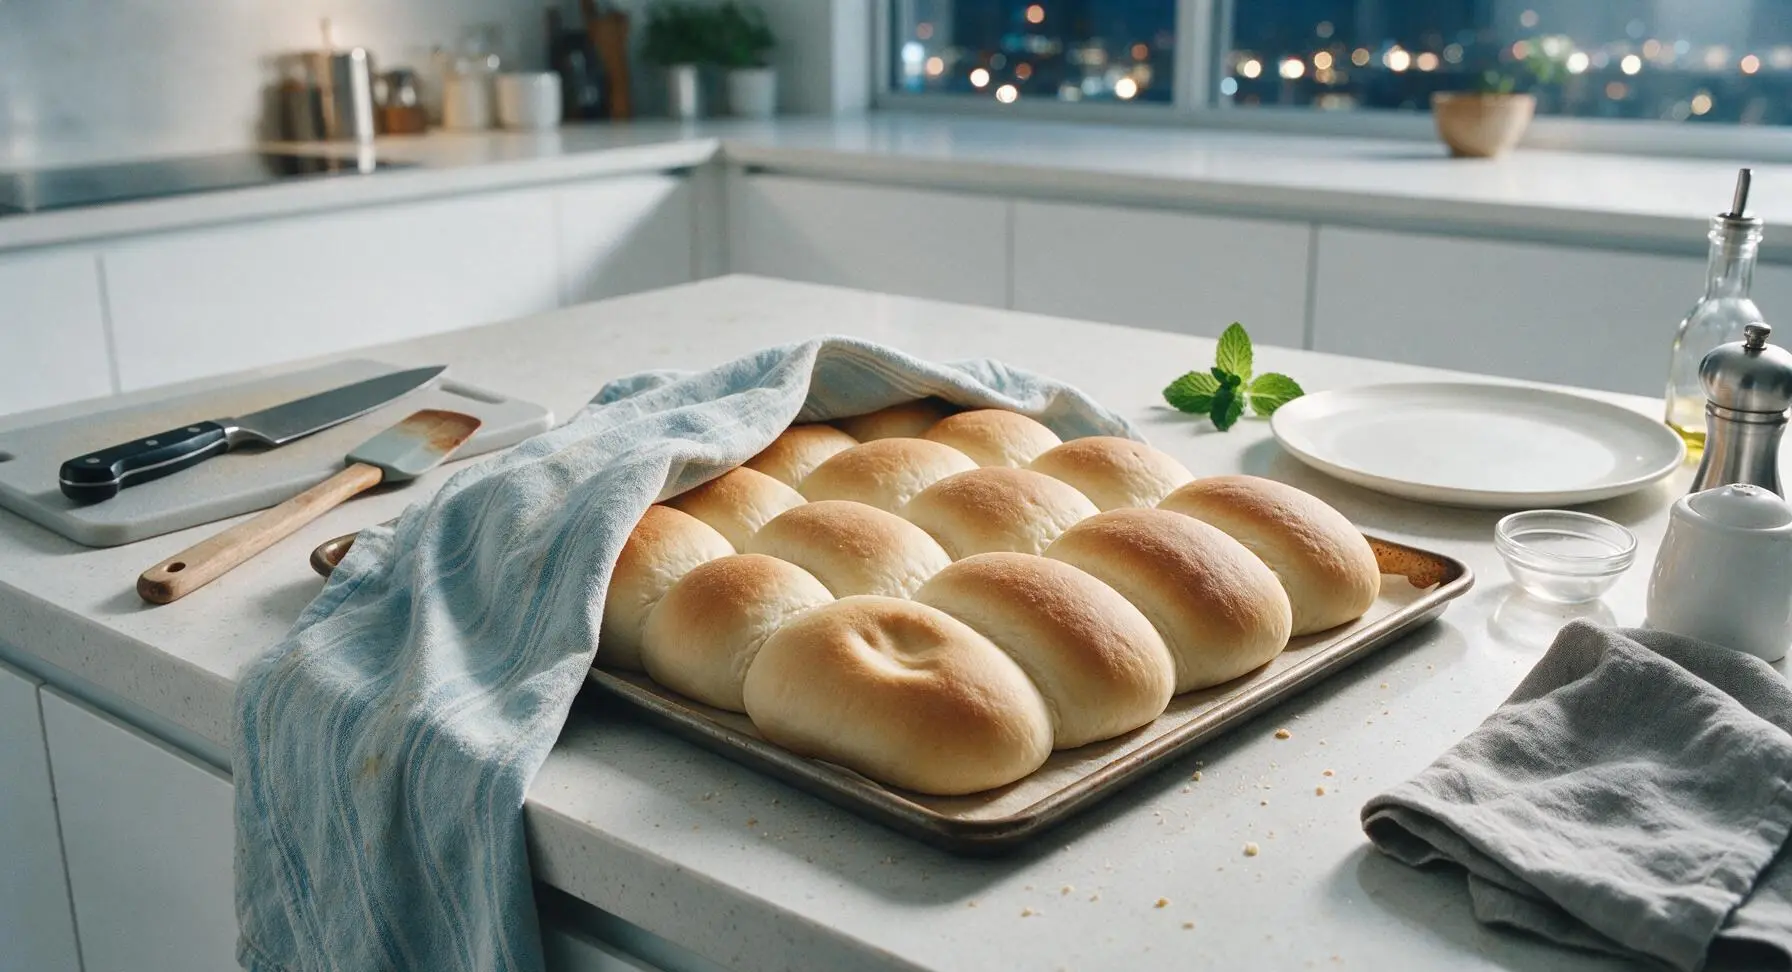
Step 5
step5:Proof Shaped Buns
Step 5
step5:Proof Shaped Buns
6

Bake Until Golden

While the buns proof, preheat oven to 200C/400F. Once buns are fully puffed, remove the towel, slide the baking sheet onto the middle oven rack, and bake for 12-15 minutes. Buns are done when tops are a soft light golden brown, and internal temperature reaches 88C/190F. Avoid overbaking, as this will create tough crusts.
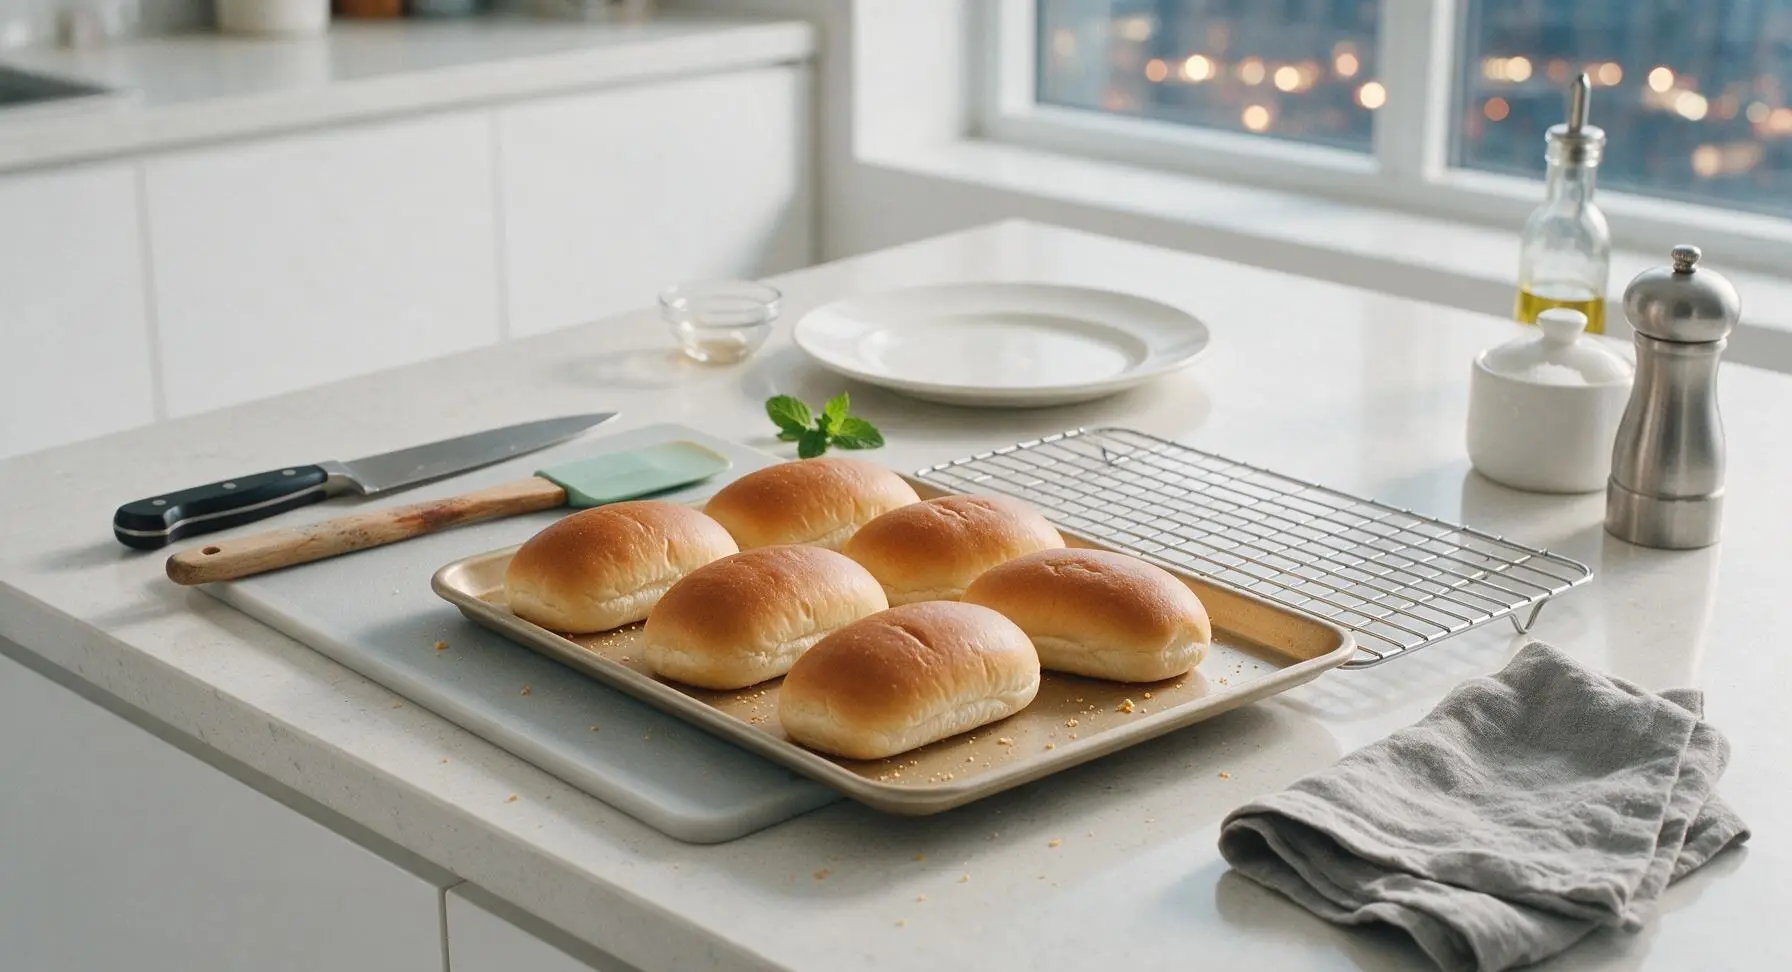
Step 6
step6:Bake Until Golden
7

Butter Bun Tops

Immediately after pulling the baking sheet from the oven, pour the remaining 14g melted butter into a small clear glass ramekin. Use the small silicone pastry brush to spread the butter evenly across the tops of all hot buns. The butter will melt and soak into the crust, keeping it soft and adding a rich, savory note.
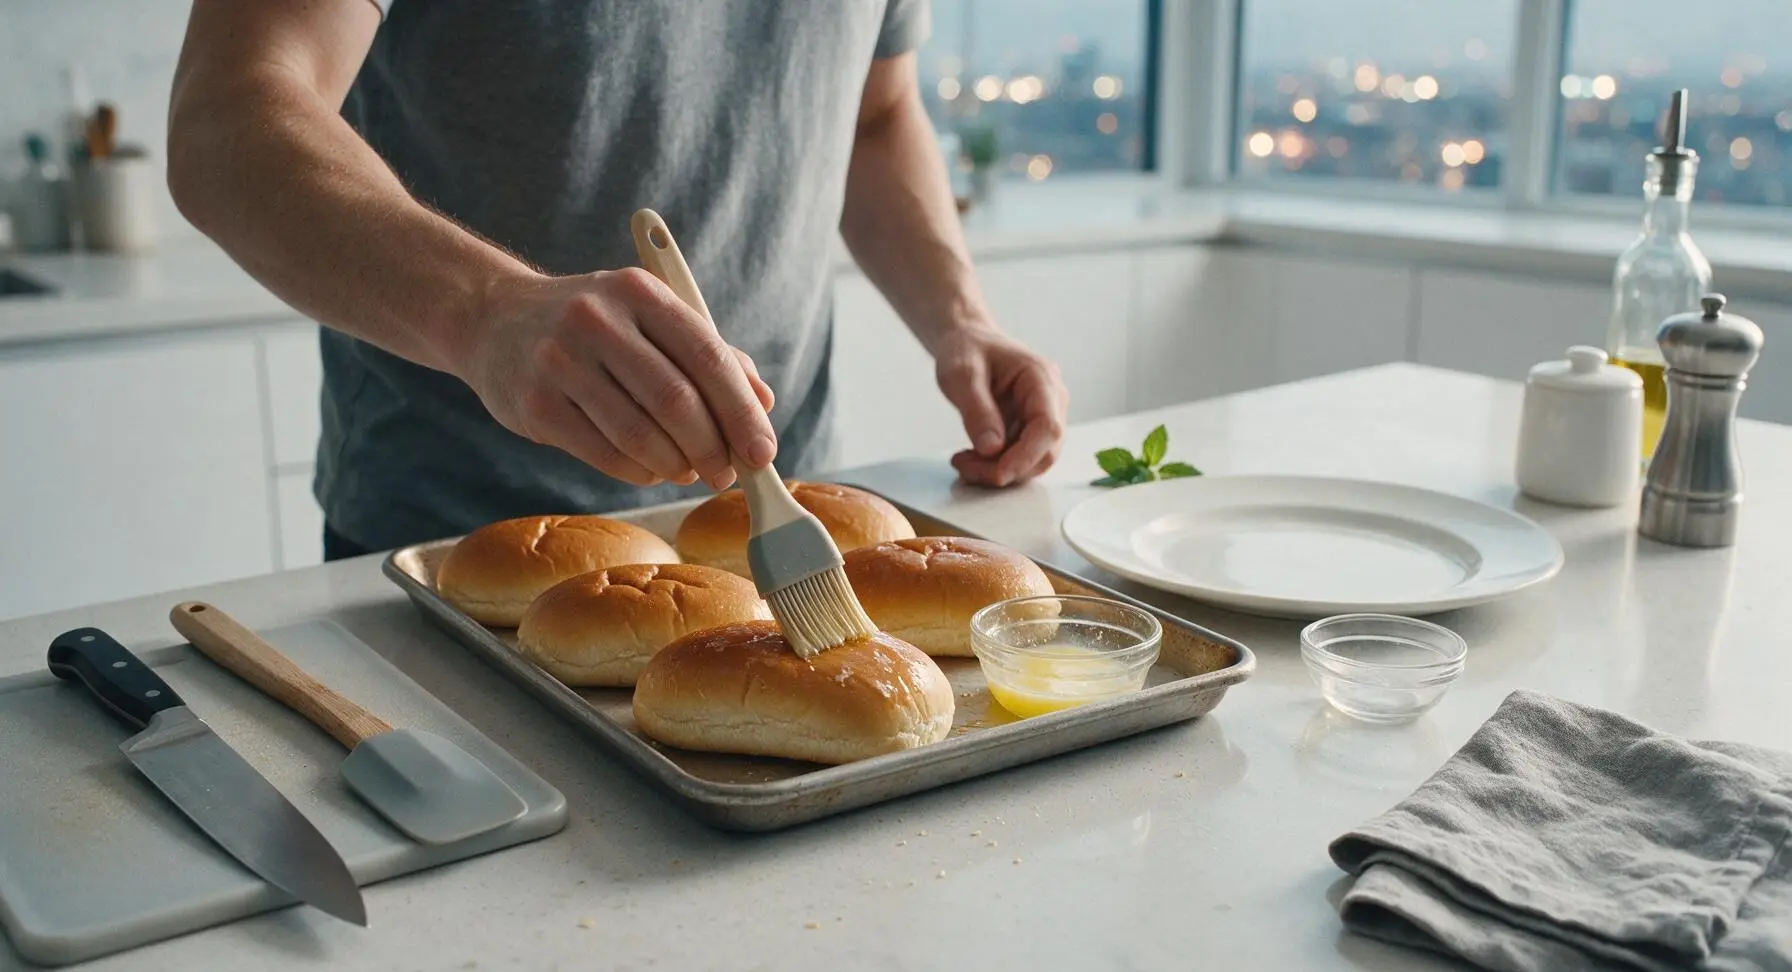
Step 7
step7:Butter Bun Tops
8

Cool Slightly and Serve

Use the dough scraper to lift the buttered buns from the baking sheet to the chrome wire cooling rack to cool for 5 minutes (buns do not need to cool fully, as warm soft buns are ideal for hot dogs). Transfer cooled buns to the off-white matte ceramic oval platter for serving, splitting lengthwise (without cutting all the way through) to hold hot dogs and toppings.
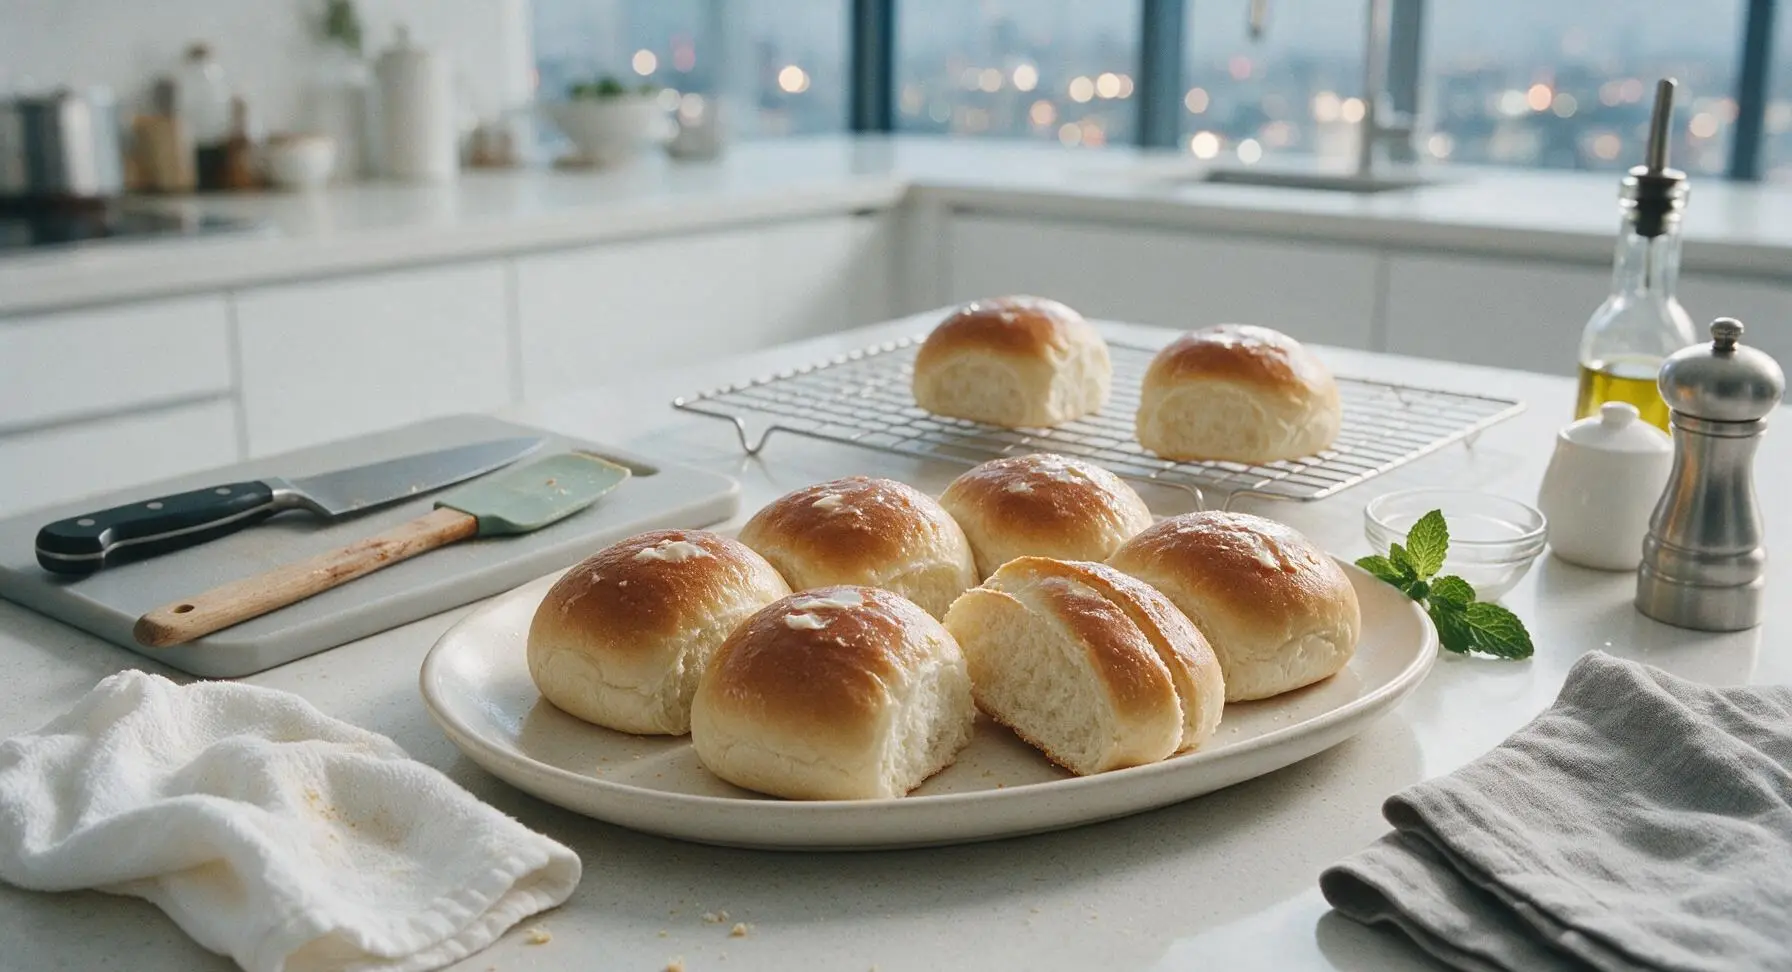
Step 8
step8:Cool Slightly and Serve

Tips

1.Check your milk temperature carefully before adding yeast: milk hotter than 120F/49C will kill yeast and prevent buns from rising, while milk colder than 100F/38C will slow rising and add extra time. The milk should feel like warm bath water on your inner wrist.
2.Resist the urge to add extra flour while kneading even if the dough feels slightly sticky: too much flour will produce dense, tough buns instead of the soft, pillowy texture you want. A light dusting on your hands is all you need to prevent sticking.
3.Store fully cooled buns in an airtight zip-top bag at room temperature for up to 2 days. Do not refrigerate buns, as cold temperatures speed up starch retrogradation and make bread go stale much faster than room temperature storage.


✨ You May Also Like

Desserts & Baking
🍜 Italy

Creamy, coffee-kissed classic Northern Italian no-bake dessert, with layers of rum-spiked mascarpone cream, soft ladyfingers, and a rich cocoa dusting.

⏱️ 4 hours 3Desserts & Baking ★ 4.7
Desserts & Baking
🍜 France

Flaky, shatteringly crisp, buttery French croissants with golden exteriors and soft, airy layered interiors, perfect for pairing with coffee for a special morning treat.

⏱️ 12 hours Desserts & Baking ★ 4.5
Desserts & Baking
🍜 United States

Warm, spiced baked apples topped with a fluffy golden biscuit crust, this cozy dessert pairs perfectly with vanilla ice cream for cool-weather comfort.

⏱️ 55 minuteDesserts & Baking ★ 4.6
Desserts & Baking
🍜 United States

A star-spangled classic American blueberry pie with buttery flaky crust and bright sweet-tart filling, perfect for summer patriotic gatherings.

⏱️ 1 hour 25Desserts & Baking ★ 4.7
Desserts & Baking
🍜 United States

A beloved no-bake regional Maine candy with a chewy coconut-potato center coated in rich dark chocolate, a New England holiday staple since the 1870s.

⏱️ 2 hours 3Desserts & Baking ★ 4.8
Desserts & Baking
🍜 France

Luxuriously creamy, floral frozen custard made with aromatic Tahitian vanilla beans, boasting a smooth, rich texture that melts slowly on the tongue.

⏱️ 3 hours 3Desserts & Baking ★ 4.5

quick hot dog bun:Frequently Asked Questions

1.How is this quick hot dog bun recipe faster than standard homemade bun recipes? ▾
This recipe cuts total time to under an hour by using rapid-rise instant yeast and skipping the long, slow bulk fermentation step traditional buns require. You only need one short rest after shaping, so you can go from mixing ingredients to warm, soft buns in time for last-minute weeknight meals or impromptu cookouts without advance planning.
2.What temperature should I warm the whole milk to for the best results? ▾
Warm your whole milk to exactly 110°F (43°C) for this recipe—this is the ideal sweet spot to activate rapid-rise yeast without killing it. If milk is too cool, yeast won’t activate properly and buns will be dense; if it’s over 120°F, it will kill yeast and your dough won’t rise. Use a quick-read thermometer for the most consistent, reliable results.
3.Can I use active dry yeast instead of rapid-rise instant yeast here? ▾
You can swap in active dry yeast, but you’ll need one small adjustment to keep the recipe quick. First, dissolve the active dry yeast in the warm milk with a pinch of sugar for 5–7 minutes until it foams, then mix it into your dry ingredients. You won’t need extra rise time, so total prep will still stay right around an hour.
4.Do I need bread flour to get soft, fluffy hot dog buns? ▾
No, this recipe is formulated specifically for regular all-purpose flour, so you don’t need to keep specialty bread flour on hand. The combination of warm milk, properly activated rapid-rise yeast, and a short rest period will give you soft, pillowy, fluffy buns with the standard AP flour you likely already have in your pantry.
5.How long do I need to let the shaped buns rest before baking? ▾
After you shape the dough into individual bun-sized logs, you only need to let them rest for 20–25 minutes in a warm, draft-free spot before baking. They’ll puff up noticeably in that short window thanks to the rapid-rise yeast, so you don’t have to wait an hour or more for a full second proof like you would with traditional bun recipes.
6.Can I make these buns ahead of time for a backyard cookout? ▾
Absolutely! You can bake these buns up to 2 days ahead of your event, then store them completely cooled in an airtight zip-top bag at room temperature. Right before serving, warm them for 3–5 minutes in a 300°F oven or 10 seconds in the microwave to bring back that fresh, soft, just-baked texture.
7.Why did my quick hot dog buns turn out dense instead of fluffy? ▾
Dense buns usually come down to one of three common issues: your milk was too hot and killed the yeast, your yeast was expired and didn’t activate properly, or you didn’t let shaped buns rest long enough in a warm enough spot. Always check yeast expiration, use a thermometer for milk temp, and rest buns away from cold drafts for the best rise.
8.Can I use a plant-based milk instead of whole milk for this recipe? ▾
Yes, you can swap whole milk for unsweetened oat milk or soy milk for a dairy-free version, as long as you warm it to the same 110°F temperature. Avoid thin, watery plant milks like plain almond milk, as they won’t give you the same rich, soft crumb that whole milk or creamier plant-based alternatives provide.
9.How big should I shape each bun to fit standard-sized hot dogs? ▾
For standard grocery store hot dogs or sausages, divide your dough into 8 equal pieces, then roll each piece into a 4–5 inch long, evenly thick log. They will puff up during the short rest and baking time, so don’t shape them too large or they’ll end up oversized and won’t hold hot dogs and toppings neatly.
10.Can I use these quick buns for foods other than regular hot dogs? ▾
Definitely! These soft, fluffy buns work perfectly for mini slider burgers, pulled pork sandwiches, breakfast sausage links, or even split and toasted for quick garlic bread sides. Their neutral, slightly sweet, soft crumb pairs well with both savory and slightly sweet fillings, making them incredibly versatile for fast weeknight meals.
11.Do I need to brush the buns with an egg wash before baking? ▾
An egg wash is totally optional, but it will give your buns a shiny, golden, slightly crisp top that looks just like bakery-bought buns. If you don’t want to use an egg, you can brush tops with a little melted butter or warm milk right before baking for a softer, lighter golden top without the extra glossy finish.
12.How do I keep the buns soft after they come out of the oven? ▾
As soon as you pull the baked buns out of the oven, brush the tops lightly with melted butter, then transfer them to a wire rack and cover loosely with a clean kitchen towel as they cool. The trapped steam and butter will keep the crust soft instead of crunchy, so you get that pillowy texture perfect for holding hot dogs.
13.Can I freeze these quick hot dog buns for later use? ▾
Yes, these buns freeze really well for up to 3 months. Let them cool completely after baking, then wrap them tightly in plastic wrap and store in a labeled freezer bag. When you’re ready to use them, thaw at room temperature for 30 minutes, then warm briefly in the oven or microwave to refresh their soft texture.
14.Do I need a stand mixer to make this dough, or can I mix it by hand? ▾
You don’t need any special equipment at all—this dough comes together easily by hand with a regular mixing bowl and wooden spoon, no stand mixer or dough hook required. It only needs 3–4 minutes of kneading on a lightly floured surface to get a smooth, elastic dough, so it’s totally accessible for beginner bakers.
15.Why is there a small amount of granulated sugar in this recipe? ▾
The small amount of granulated sugar serves two key purposes: it feeds the rapid-rise yeast to help it activate quickly for that fast rise time, and it adds a very subtle, mild sweetness that balances the fine sea salt and matches the classic soft hot dog bun flavor you expect. It won’t make the buns taste overly sweet.

Comments (5)

3 days ago

OMG, where has this quick hot dog bun recipe been my whole life?! We do hot dog nights every Wednesday for the kids and I always forget to grab buns from the store on my way home from work. 15 minute cook time? Total lifesaver. My kids loved them so much they asked for seconds before they even finished their first dog. These are way softer and fresher than the sad pre-packaged ones at the grocery store, 10/10!

2 days ago

Tried these out for our last backyard cookout and they were a hit! Only thing is, mine came out a tiny bit denser than I expected—did I maybe overwork the dough? I’m still a total newbie when it comes to baking anything that isn’t from a box mix, so any tips would be awesome. Flavor was amazing though, will definitely make again!

yesterday

So glad you enjoyed the flavor, Mike! If they came out dense, it’s usually from over-kneading the dough or not letting it rest for the quick 5 minute rise mentioned in step 2. Next time, mix just until the dough comes together, let it sit, and they’ll be nice and fluffy! Let us know how it goes if you give it another shot.

1 week ago

These are perfect for my weekly meal prep! I make a batch on Sunday, slice them up, and keep them in the fridge for quick lunches all week. I’ve even used them for sloppy joes and pulled pork sliders when I don’t have regular burger buns, they work so well! So easy even I can’t mess them up, which is saying something lol.

5 days ago

Oh great idea using them for pulled pork! I never thought to repurpose them for other sandwiches, I’m totally trying that this weekend when I smoke a pork butt. Thanks for the tip!

yesterday

Wait, can I make these with whole wheat flour? My partner is trying to cut back on white flour and I’d love to make these for our anniversary cookout next weekend! These look so quick and easy, I don’t want to mess them up.

2 hours ago

I tried it with half whole wheat half all purpose last week and it worked great! 100% whole wheat was a little too dense for my taste, but the half and half was fluffy and had that nice nutty flavor. Hope that helps!

30 minutes ago

Great question! As Liz mentioned, a 50/50 blend of whole wheat and all-purpose flour works beautifully here without sacrificing that soft, fluffy texture. If you go 100% whole wheat, you may want to add an extra tablespoon of water to keep the buns from getting too dry. Have fun at your anniversary cookout!

just now

Game. Changer. I brought these to my office potluck yesterday and people were coming up to me for HOURS asking where I got the buns. They couldn’t believe I made them from scratch in 15 minutes! Even my boss, who is a total food snob, said they were better than the ones from the fancy bakery downtown. SO good, I’ll never buy store bought hot dog buns again!



