
Rainbow Cookies
intro
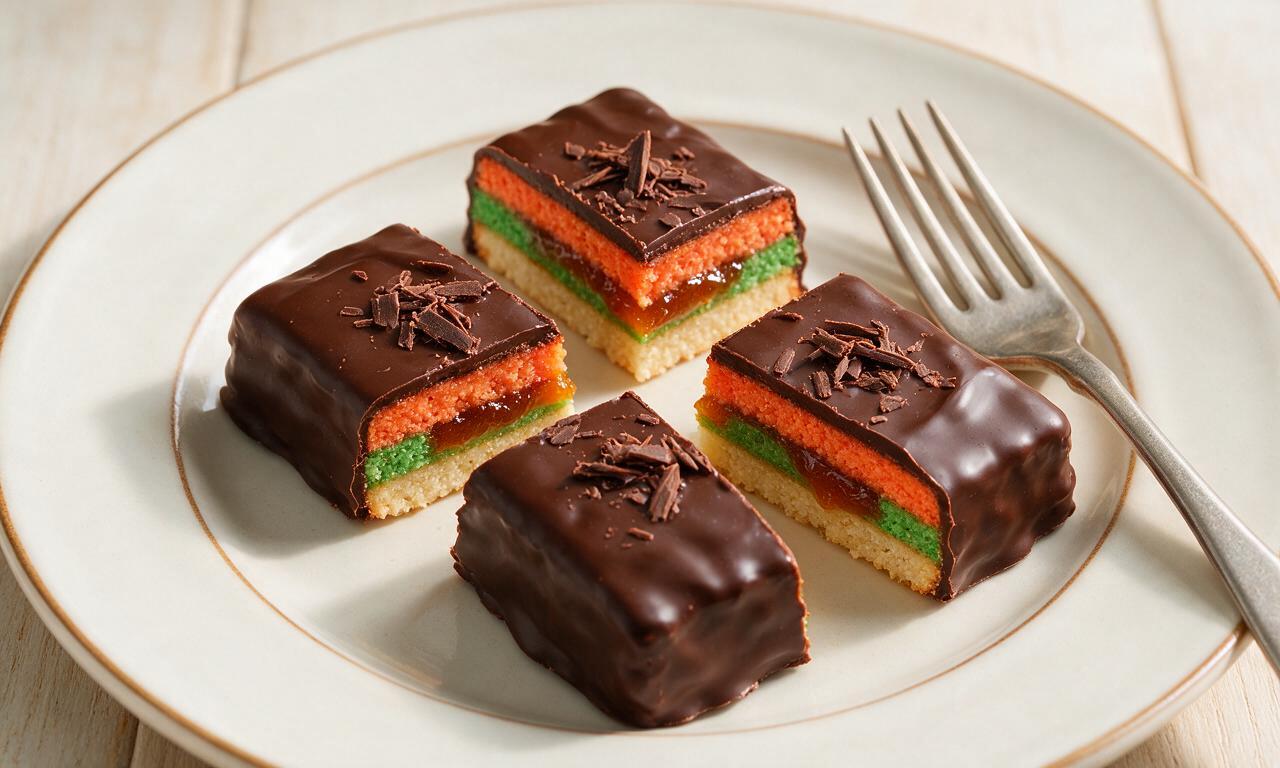
Vibrant three-layered almond cookies sandwiched with smooth apricot jam and coated in rich dark chocolate, a beloved Italian-American bakery staple for festive cookie platters.
Ingredients
Steps
Make base cookie batter
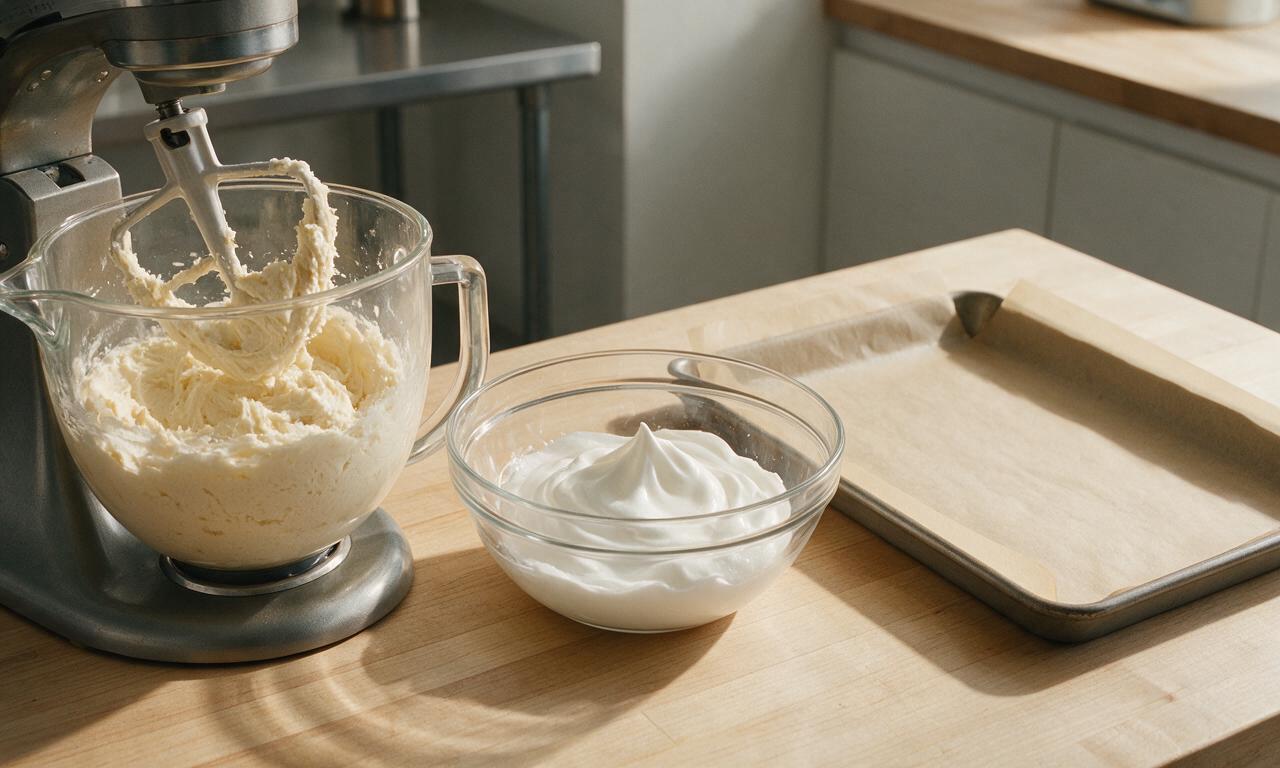
Preheat oven to 175°C (350°F) with the rack in the middle position. Line a 22x33cm (9x13 inch) rimmed jelly roll pan with parchment paper, leaving a 5cm (2 inch) overhang on the two long sides to easily lift baked layers later. In a dry stand mixer bowl fitted with a paddle attachment, beat 226g room-temperature almond paste, 226g softened unsalted butter, and 200g granulated sugar on medium speed for 4 minutes until completely smooth, pale, and free of almond paste lumps. Add 4 room-temperature egg yolks one at a time, beating 30 seconds after each addition, then stir in 1 tsp almond extract and 1/4 tsp fine sea salt. Turn mixer to low speed, gradually add 120g sifted all-purpose flour, and mix only until no dry flour streaks remain. In a separate grease-free glass bowl, whip 4 egg whites on medium-high speed for 2 minutes until stiff, glossy peaks form, then gently fold into the batter in three even portions to keep the mixture light and airy.
Bake colored cookie layers
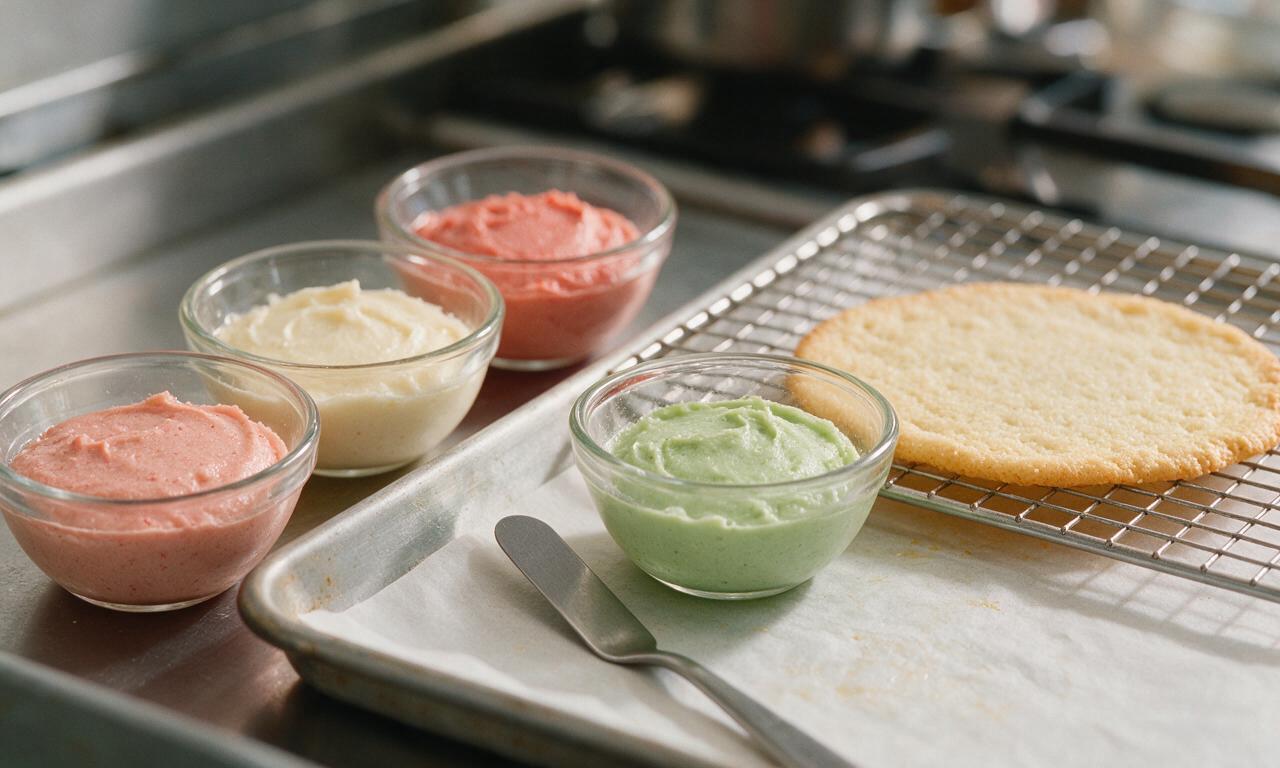
Divide the finished batter evenly into three separate bowls (roughly 320g / 1.3 cups per bowl). Leave one bowl uncolored (pale off-white), stir 1/4 tsp green gel food coloring into the second bowl until evenly tinted a soft pastel green, and stir 1/4 tsp red gel food coloring into the third bowl until evenly tinted a soft pastel red. Wash and dry the parchment-lined pan between each layer: spread the green batter in an ultra-thin, even layer across the entire pan bottom, bake for 8-9 minutes until the top is just set and edges are lightly golden, then lift out using the parchment overhang and transfer to a wire rack to cool completely. Repeat the baking process with the uncolored white batter, then the red batter, baking each layer 8-9 minutes at 175°C (350°F) and cooling fully on racks for 20 minutes before assembly.
Assemble layered cookie stack
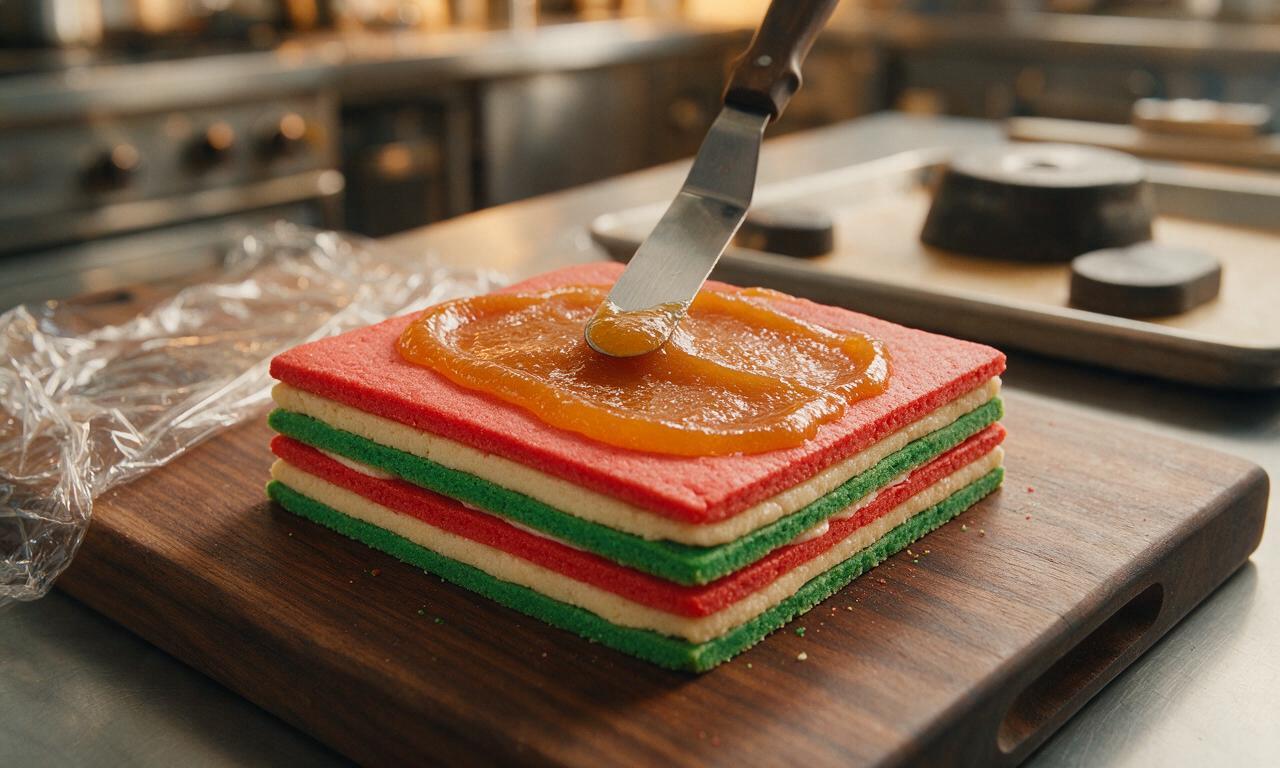
Once all three cookie layers are fully cooled, heat 180g seedless apricot jam in a small saucepan over low heat for 2 minutes until runny, then pour through a fine-mesh sieve to remove any fruit lumps. Place the cooled green cookie layer on a flat cutting board, spread half of the warm strained jam evenly across the entire surface using a small offset spatula, leaving a 3mm (1/8 inch) border from the edge. Carefully align the white cookie layer directly on top of the jam-coated green layer, press gently to adhere, then spread the remaining half of the apricot jam evenly across the top of the white layer. Top with the red cookie layer, press gently to create a tight, even stack, then wrap the entire stack tightly in plastic wrap. Place a second 22x33cm (9x13 inch) pan on top of the wrapped stack, set two 450g (1 lb) canned goods or baking weights on the upper pan, and chill in the refrigerator for 1 hour to set the layers and fuse them together.
Melt chocolate coating
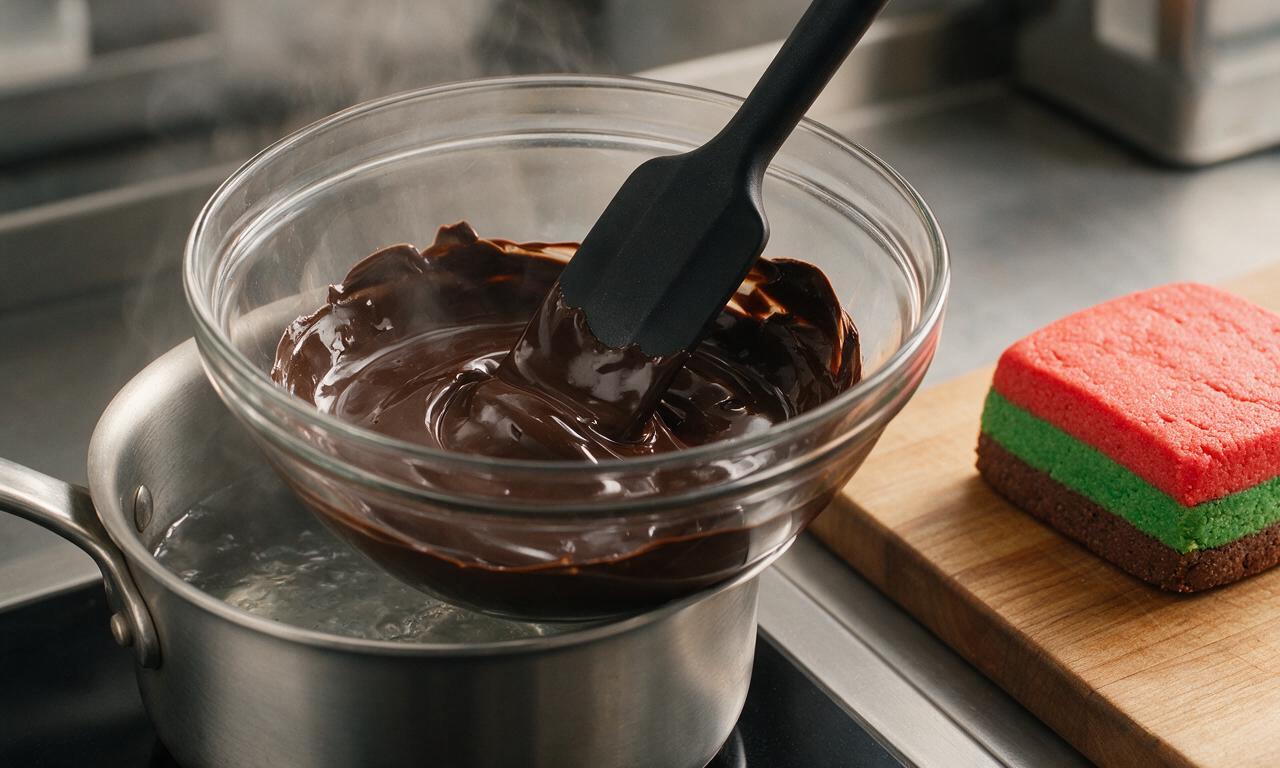
After the cookie stack has chilled for 1 hour and set, unwrap the plastic and trim any uneven edges from the stack with a sharp serrated knife to create a perfect, even rectangle. Place 170g chopped 70% dark chocolate and 1 tsp neutral vegetable oil in a dry heatproof bowl set over a small saucepan of gently simmering water (double boiler, ensure the bowl does not touch the water surface). Stir continuously over medium-low heat for 3-4 minutes until the chocolate is completely smooth and melted, reaching a temperature of 32°C (90°F) on a candy thermometer, then remove the bowl from the heat.
Coat stack in chocolate
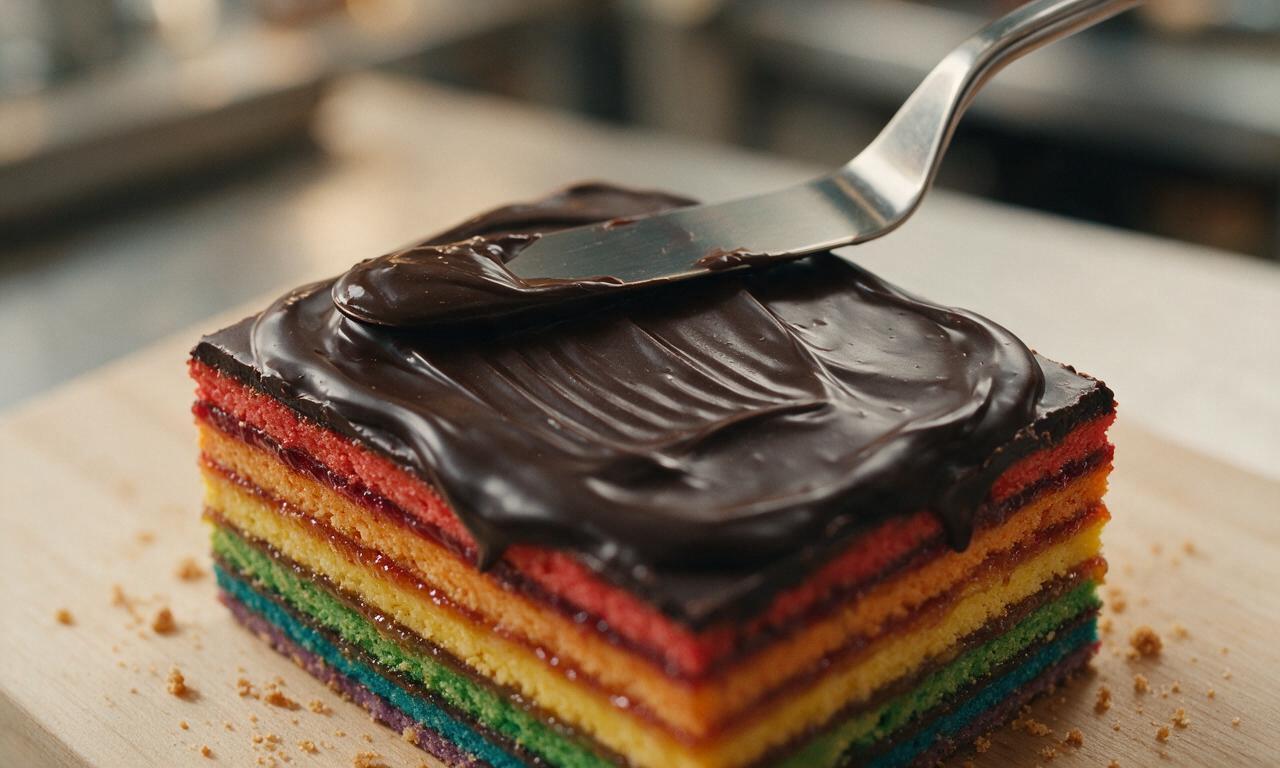
Pour half of the melted dark chocolate evenly over the top of the chilled red cookie layer, spread into a thin, even coat with an offset spatula, covering the entire top surface. Return the chocolate-topped stack to the refrigerator for 15 minutes until the top chocolate layer is fully firm to the touch. Remove from the fridge, flip the entire stack over so the uncoated green layer is facing up, pour the remaining melted chocolate over the surface, spread into a thin even coat, then use the tines of a fork to create light, wavy decorative lines across the wet chocolate if desired. Chill for another 20 minutes until the second chocolate layer is completely set.
Cut into individual cookies
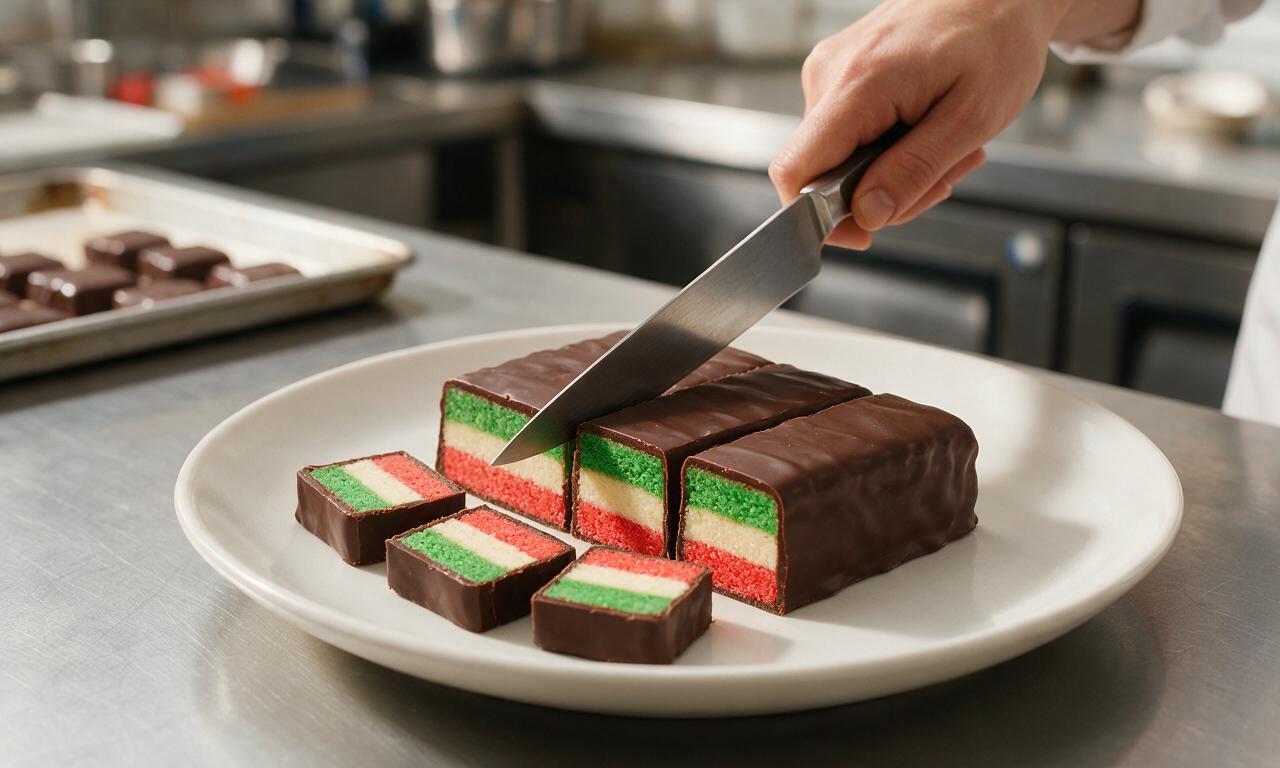
Once both chocolate layers are fully set, remove the stack from the refrigerator and let it rest at room temperature for 10 minutes to prevent the chocolate from cracking when cutting. Use a sharp, thin-bladed knife warmed under hot running water and dried between cuts to slice the stack into 5cm (2 inch) wide strips, then cut each strip crosswise into 5cm (2 inch) square cookies, wiping the knife clean after every 2-3 cuts for sharp, clean edges. Arrange finished cookies on a serving platter, or store in an airtight container in the fridge for up to 1 week.
Tips
2.Gently fold beaten egg whites into the batter rather than stirring vigorously, to preserve trapped air and keep baked layers soft and light instead of dense and tough.
3.Always warm your knife under hot water and dry it between cuts when portioning set cookies to prevent the hard chocolate shell from cracking or pulling away from the cookie layers.






OMG these taste exactly like the rainbow cookies my Italian grandma used to bring to every Sunday family dinner! I was so intimidated because I thought they’d be super fussy, but the step-by-step instructions made it totally doable. My kids devoured half the pan before I even had a chance to drizzle the chocolate on top 😂
Game changer. I’ve never made a layered cookie before, and I was sure I’d mess up the food coloring for the red and green layers, but they came out perfectly vibrant. Brought these to my neighbor’s Christmas party and everyone thought I bought them from a fancy Italian bakery in Dallas. 10/10 will make again.
Made these gluten free by swapping in a 1:1 GF almond flour blend, and they were SO good! The texture was almost identical to the regular version, even my husband who hates GF baked goods went back for thirds. Only note is I added a tiny extra splash of almond extract to amp up the flavor.
Wait, hold up—2 hours 50 minutes total time? I spent almost 4 hours on these because I kept having to wait for layers to set, and my chocolate seize up when I was melting it. They tasted fine, but definitely more labor intensive than I expected for a home baker.
Made these for my kid’s end-of-season soccer team potluck and they were the first dessert gone! All the moms were asking where I got the recipe, and a couple of the kids said they looked like ‘edible rainbow bricks’ in the best way possible. The apricot jam layer is *chef’s kiss*
These are perfect with a strong espresso in the morning, no cap. I cut mine into tiny bite-sized squares so I don’t feel guilty grabbing a couple with my coffee on my way out to work. The only tweak I made was using semi-sweet chocolate instead of dark for the coating, since I prefer a sweeter finish.
First time ever making any kind of fancy baked good and I was so nervous about messing this up, but it came out amazing! I did accidentally use too much red food coloring so my red layer was a little neon, but no one at my Friendsgiving cared at all. So proud of myself!
I’ve been making these cookies for 40+ years for Christmas, and I have to say this recipe is almost identical to the one my own mother passed down! The only difference is I always add a thin layer of raspberry jam alongside the apricot for a little extra tang. Tried that this time with this recipe and it worked beautifully.
These hold up so well in the fridge for meal prep! I made a batch on Sunday and cut them into individual squares, stored them in an airtight container, and they were still perfectly moist all week for my mid-afternoon snack. Way better than grabbing a candy bar from the vending machine at work.
Took these to a holiday cookie swap and I swear three people asked me to start selling them. The almond flavor is so rich, and the chocolate coating cracks perfectly when you bite into it just like the bakery versions. Worth every minute of prep time, trust me.
Y’all, I messed up so bad. I forgot to line my baking pan with parchment paper, so the pink layer stuck completely to the bottom when I tried to take it out. I ended up making a cookie crumble trifle with the broken pieces, jam, and chocolate, and it was still fire, but next time I’m definitely not skipping the parchment 😭
I grew up eating these at every Italian wedding and bakery in the suburbs, and this recipe is dead on. The balance of almond, jam, and chocolate is exactly what I remember from when I was a kid. I’ve been searching for a solid recipe for years, so glad I finally found this one.
I was a little worried the almond paste would be too strong for my southern family who’s used to super sweet desserts, but they went crazy for these! I added a tiny bit of vanilla extract to mellow the almond just a touch, and it was the perfect adjustment for our taste buds. Even my picky teen asked for seconds.
Has anyone tried making these with less sugar? I’m trying to cut back on added sugars but I’ve been craving these like crazy since I saw the recipe. Wondering if cutting the sugar in the cake layers by 1/3 would ruin the texture?
These are now my go-to holiday cookie for every gathering! I made them for Christmas, made a red/white/blue version for Fourth of July, and even pastels for Easter by switching up the food coloring. The recipe is so versatile, you can match the colors to any holiday or event.
Made these in my tiny dorm kitchen with a hand mixer and a couple of cheap baking pans, and they turned out way better than I expected! My roommates and I ate almost the whole pan while we were studying for finals last week. 10/10, even for people with minimal kitchen equipment.