1.Can I use only dark raisins instead of a mix of dark and golden for this raisin pie?
▾
Absolutely! The mixed raisins simply add layered sweetness and pretty color contrast, but all dark raisins work beautifully—they bring a deeper, molasses-kissed flavor that pairs perfectly with the pie’s warm spices. All golden raisins work too, for a lighter, fruitier profile; no measurement adjustments are needed either way.
2.Do I need to soak raisins before making the filling?
▾
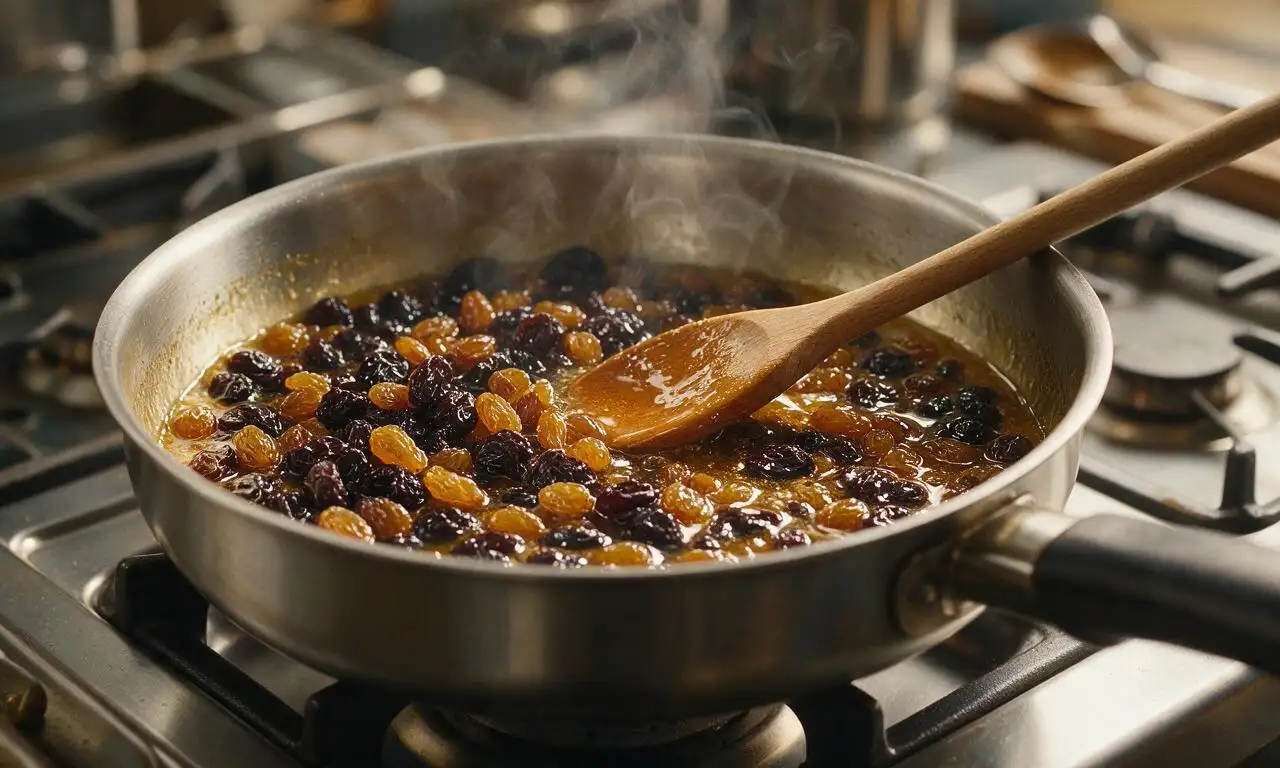
You don’t have to, but a quick 10-minute soak in hot water (or even spiced rum for a boozy twist) plumps them up extra juicy for the filling. If you skip soaking, just simmer the raisin mixture a minute or two longer on the stovetop to make sure they soften fully before pouring into the crust.
3.Can I use a store-bought double pie crust instead of homemade?
▾
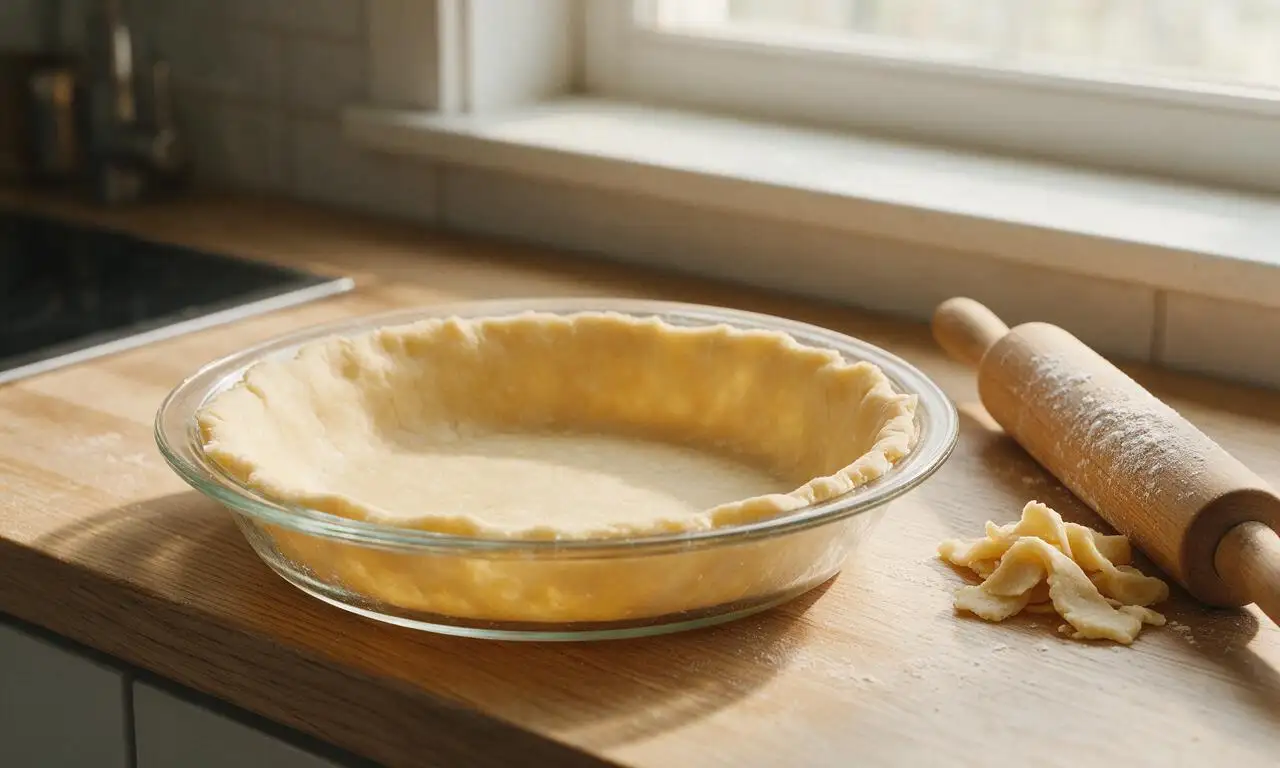
Of course! Store-bought refrigerated double crust is a huge time-saver and works perfectly for this recipe. Just let it sit at room temperature for 10-15 minutes before unrolling to prevent cracking, and crimp the edges tightly to keep the sweet, juicy filling from leaking out as it bakes.
4.Why do I need both granulated sugar and light brown sugar for the filling?
▾
The two sugars balance each other out perfectly: granulated sugar adds clean, straightforward sweetness without overpowering the raisin flavor, while packed light brown sugar brings subtle caramel and molasses notes that give the pie that signature old-fashioned, nostalgic depth. Swapping all for one sugar will work, but you’ll lose that layered taste.
5.My filling turned runny the last time I made raisin pie—how do I fix that?
▾
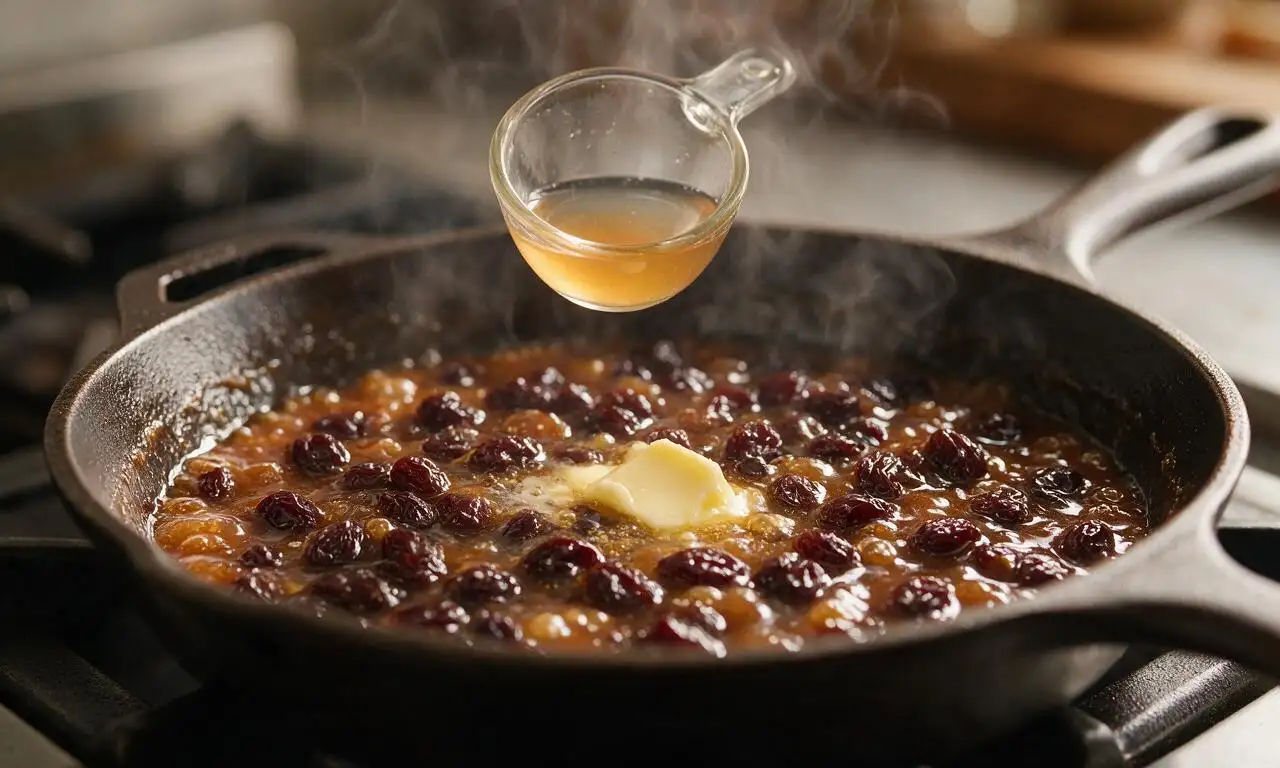
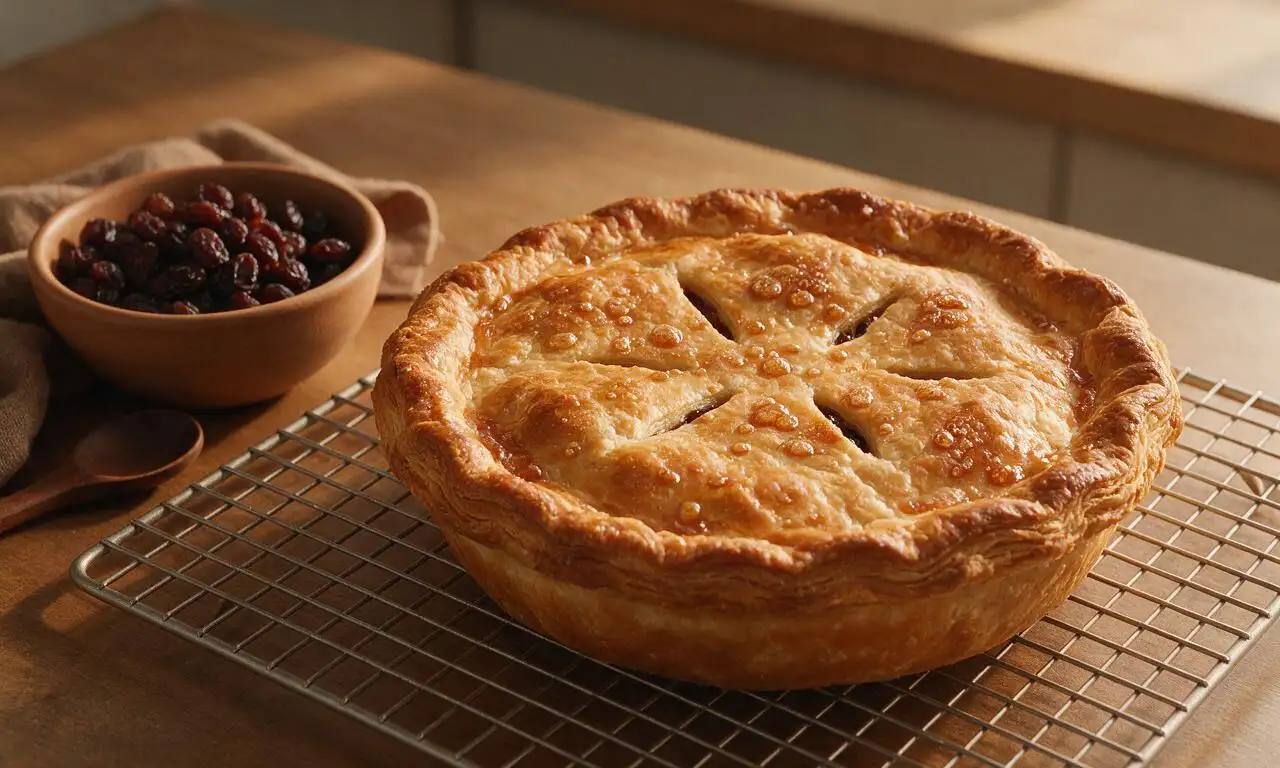
Runny filling almost always comes from not cooking the cornstarch long enough to fully activate its thickening power. Make sure you simmer the filling mixture for 1-2 full minutes after it comes to a bubble, stirring constantly, before taking it off the heat. Also, let the pie cool completely (3-4 hours) before slicing to let the filling set.
6.Can I add spices to the filling, and if so, which ones work best?
▾
This vintage pie shines with warm, cozy baking spices! Stick to ½ teaspoon ground cinnamon, ¼ teaspoon ground nutmeg, and a tiny pinch of ground cloves for a classic profile—too much spice will overpower the natural raisin sweetness. A tiny splash of vanilla extract or a teaspoon of lemon zest also brightens the rich, sweet filling beautifully.
7.How do I keep the bottom crust from getting soggy?
▾
A few easy tricks prevent soggy bottom crust here! First, you can blind bake the bottom crust for 8 minutes at 400°F before adding the filling, or brush the unbaked bottom crust with a thin layer of beaten egg white before pouring in the hot filling to create a moisture barrier. Always bake the pie on the lower oven rack too, to crisp the bottom directly.
8.Can I make this pie a day ahead of a gathering?
▾
Absolutely! This pie is actually ideal for making ahead, since the filling needs time to fully set. Bake it fully, let it cool completely to room temperature, then cover it loosely with foil and store it in the fridge for up to 2 days. Let it sit at room temp for 30 minutes before serving for the best flavor and texture.
9.Do I need to cut vents in the top crust?
▾
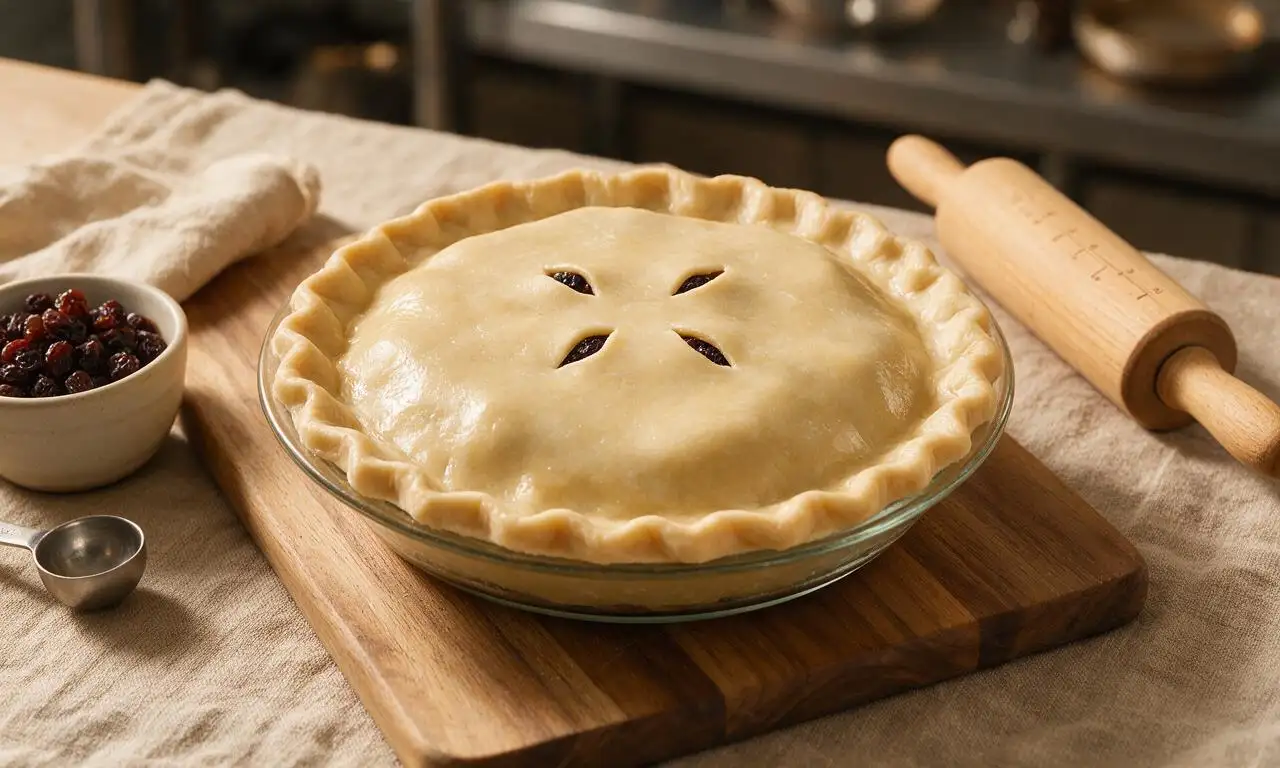
Yes, definitely! The hot, steamy filling builds up pressure as the pie bakes, and without vents, steam will get trapped, making the crust soggy and potentially causing the filling to burst out the crimped edges. Cut 4-5 2-inch slits in the top crust before baking, or use small cookie cutters to make fun decorative cutouts.
10.Can I freeze baked old-fashioned raisin pie?
▾
You sure can! Let the baked pie cool completely, then wrap it tightly in two layers of plastic wrap and a layer of aluminum foil, and freeze for up to 3 months. Thaw it overnight in the fridge, then rewarm slices gently in the oven at 325°F for 10 minutes if you prefer it served warm, with no noticeable quality loss.
11.What’s the purpose of cornstarch in the filling—can I substitute it with flour?
▾
Cornstarch creates a clear, glossy, smooth filling that lets the raisin flavor shine, without the cloudy, starchy taste you can get from too much flour. If you need a substitute, use 2 tablespoons of all-purpose flour for every 1 tablespoon of cornstarch, and simmer the filling a minute longer to cook out the raw flour taste.
12.Should I brush the top crust with anything before baking?
▾
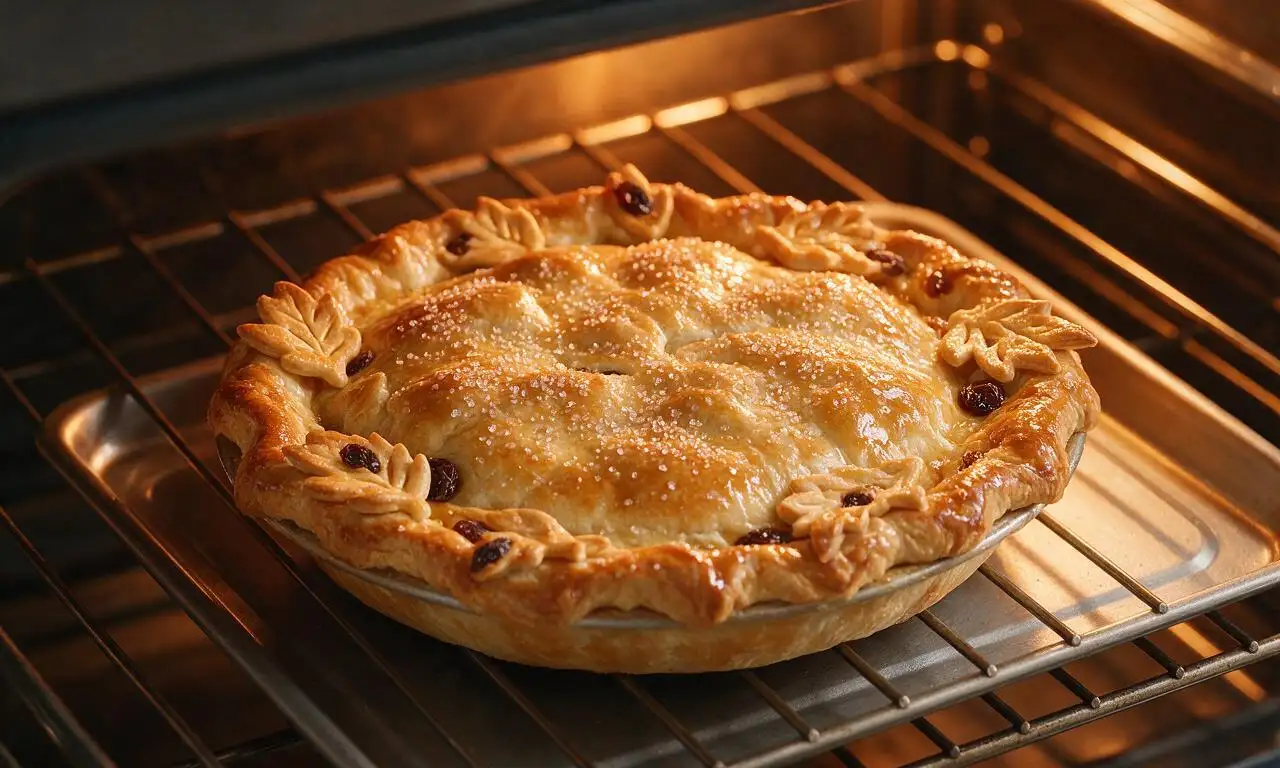
For that classic golden, crisp, shiny top crust, brush it lightly with an egg wash (1 beaten egg mixed with 1 tablespoon of heavy cream or whole milk) right before baking, and sprinkle with a pinch of coarse granulated sugar for extra crunch. If you don’t have egg, a light brush of melted butter works too, though it won’t get quite as glossy.
13.My raisins are really dry and hard out of the bag—what should I do?
▾
Dry, stale raisins are super easy to revive! Place them in a heatproof bowl, pour boiling water over them to cover, and let them sit for 15-20 minutes until they plump up, then drain well before using in the filling. You can also simmer them directly in the filling liquid for an extra 3-4 minutes to soften them without a pre-soak.
14.Can I add other mix-ins to the raisin filling?
▾
Definitely, as long as you don’t overload it! Classic mix-ins include ½ cup of chopped walnuts or pecans for nutty crunch, a handful of dried currants for extra fruit depth, or 2 tablespoons of finely chopped candied orange peel for a bright, citrusy kick. Avoid adding too many wet mix-ins, as that can throw off the filling’s thickening balance.
15.What oven temperature is best for baking this pie, and how long does it take?
▾
Bake the pie at 400°F for the first 15 minutes to set the crust and help it stay flaky, then turn the oven down to 375°F and bake for another 35-40 minutes. You’ll know it’s done when the crust is deep golden brown, and you can see the filling bubbling up through the top vents, which signals the cornstarch is fully activated.
16.How do I keep the crimped pie edges from burning while baking?
▾
The thin crimped edges cook faster than the rest of the crust, so they’re prone to burning! About 20 minutes into the bake time, wrap a thin strip of aluminum foil around the outer edge of the pie, or use a reusable silicone pie crust shield, to block direct heat. Remove the shield for the last 5 minutes to let edges crisp evenly.
17.Can I make this as a single-crust crumb-top pie instead of a double crust?
▾
Absolutely! Skip the top crust, and make a simple crumb topping from ½ cup flour, ¼ cup packed brown sugar, ¼ cup cold cubed butter, and a pinch of cinnamon, crumbled over the top of the filling. Bake it at the same temperature, adding a foil edge shield if needed, until the crumb topping is golden and filling is bubbly.
18.How long will leftover raisin pie stay fresh?
▾
Leftover pie will stay fresh stored loosely covered in the refrigerator for 3-4 days. The filling will stay nicely set, and the crust will hold its texture better in the fridge than left out at room temperature, since the sugary filling can attract moisture and grow mold faster if left out for more than 2 hours, especially in warm weather.

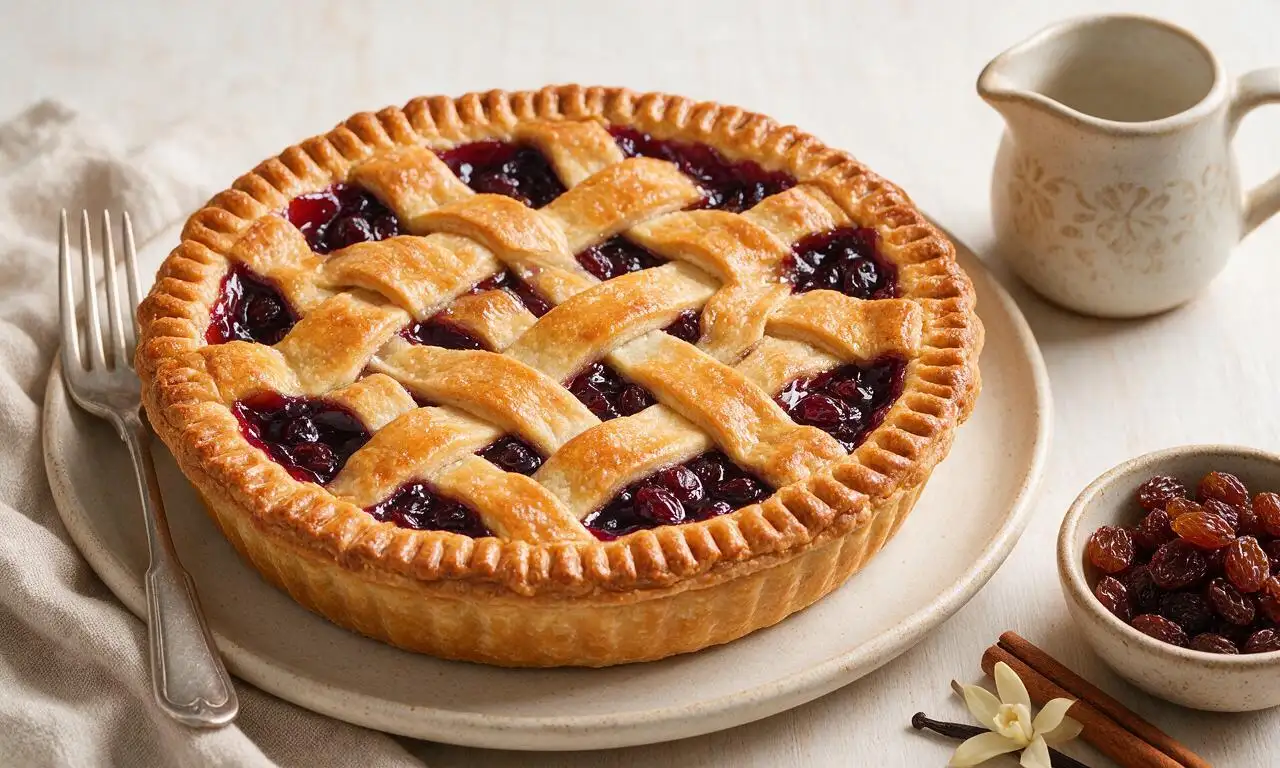






OMG this old-fashioned raisin pie is SO good! I made it for my grandma’s 82nd birthday dinner last Sunday and everyone was raving – even my teen son who swears he hates raisins ate two slices! The texture of the filling is perfectly gooey without being runny, and the hint of lemon zest cuts the sweetness so nicely. It did take me a little longer than the listed cook time because my oven runs cool, but totally worth the extra wait. 10/10 will be making this for our annual church potluck next month!
Solid classic raisin pie recipe! I’ve been chasing the flavor of the raisin pie my great-aunt used to make at Thanksgiving and this comes really close. Difficulty is definitely spot on as medium – I messed up the first batch of filling because I didn’t stir the cornstarch slurry enough and it got lumpy, but the second try turned out perfect. My whole family asked for seconds at Sunday dinner, my kids loved it and kept asking when I’d make it again. Will keep this in my recipe box!
Game changer! I brought this raisin pie to our neighborhood block party potluck last weekend and it was the first dessert gone! People kept coming up to ask me for the recipe all night. I added a tiny dash of nutmeg on top of the crust before baking and it gave it such a cozy warm flavor. So easy to follow even for someone who doesn’t bake pies often like me!
First time ever making a pie from scratch and I picked this recipe because raisin pie is my dad’s favorite. Wait, is the filling supposed to be super runny when you pull it out of the oven? I followed the cook time exactly but it jiggles a lot more than I expected, I’m worried I messed it up for Father’s Day dinner 😅
I was a little skeptical about making raisin pie for meal prep because I thought it wouldn’t hold up in the fridge, but this is perfect! I sliced it up into individual portions on Sunday and grabbed a slice every night this week for a little sweet treat after dinner. The flavor actually gets better after a day or two in the fridge, which is a total win for busy weeks. Only note: I’d cut the sugar by a tablespoon next time since I prefer less sweet desserts, but that’s just personal preference!
Took me back to my childhood! My grandpa used to grow his own raisins (weird, I know) and make this exact pie every fall when the weather cooled down. I haven’t had a raisin pie that tasted this close to his in probably 20 years. The balance of sweet and tart is spot on, and the crust instruction was easy to follow even though I usually buy pre-made crust. Chef’s kiss!
This looks incredible! Old-fashioned raisin pie was my favorite dessert as a kid but I haven’t had it since I went dairy free 5 years ago. Has anyone tried making this with vegan butter and a plant-based pie crust? I’d love to bring this to our friend Thanksgiving dinner next month if it works with swaps!
Tried this last night for my wife’s birthday because raisin pie is her all-time favorite dessert. Let me tell you, I was nervous because I’m terrible at baking pies – I always overwork the crust and it gets tough. But I followed the directions step by step, didn’t overmix the crust, and let the filling slow simmer like it said, and it came out perfect! My wife said it was better than the raisin pie her grandma used to make, which is the highest praise possible. SO good, can’t wait to make it again for Christmas dinner!