
red velvet banana pudding

title 1
red velvet banana pudding
⏱️ cook time 10 minutes
🍽️ servings 8
⚡ Difficulty easy

intro

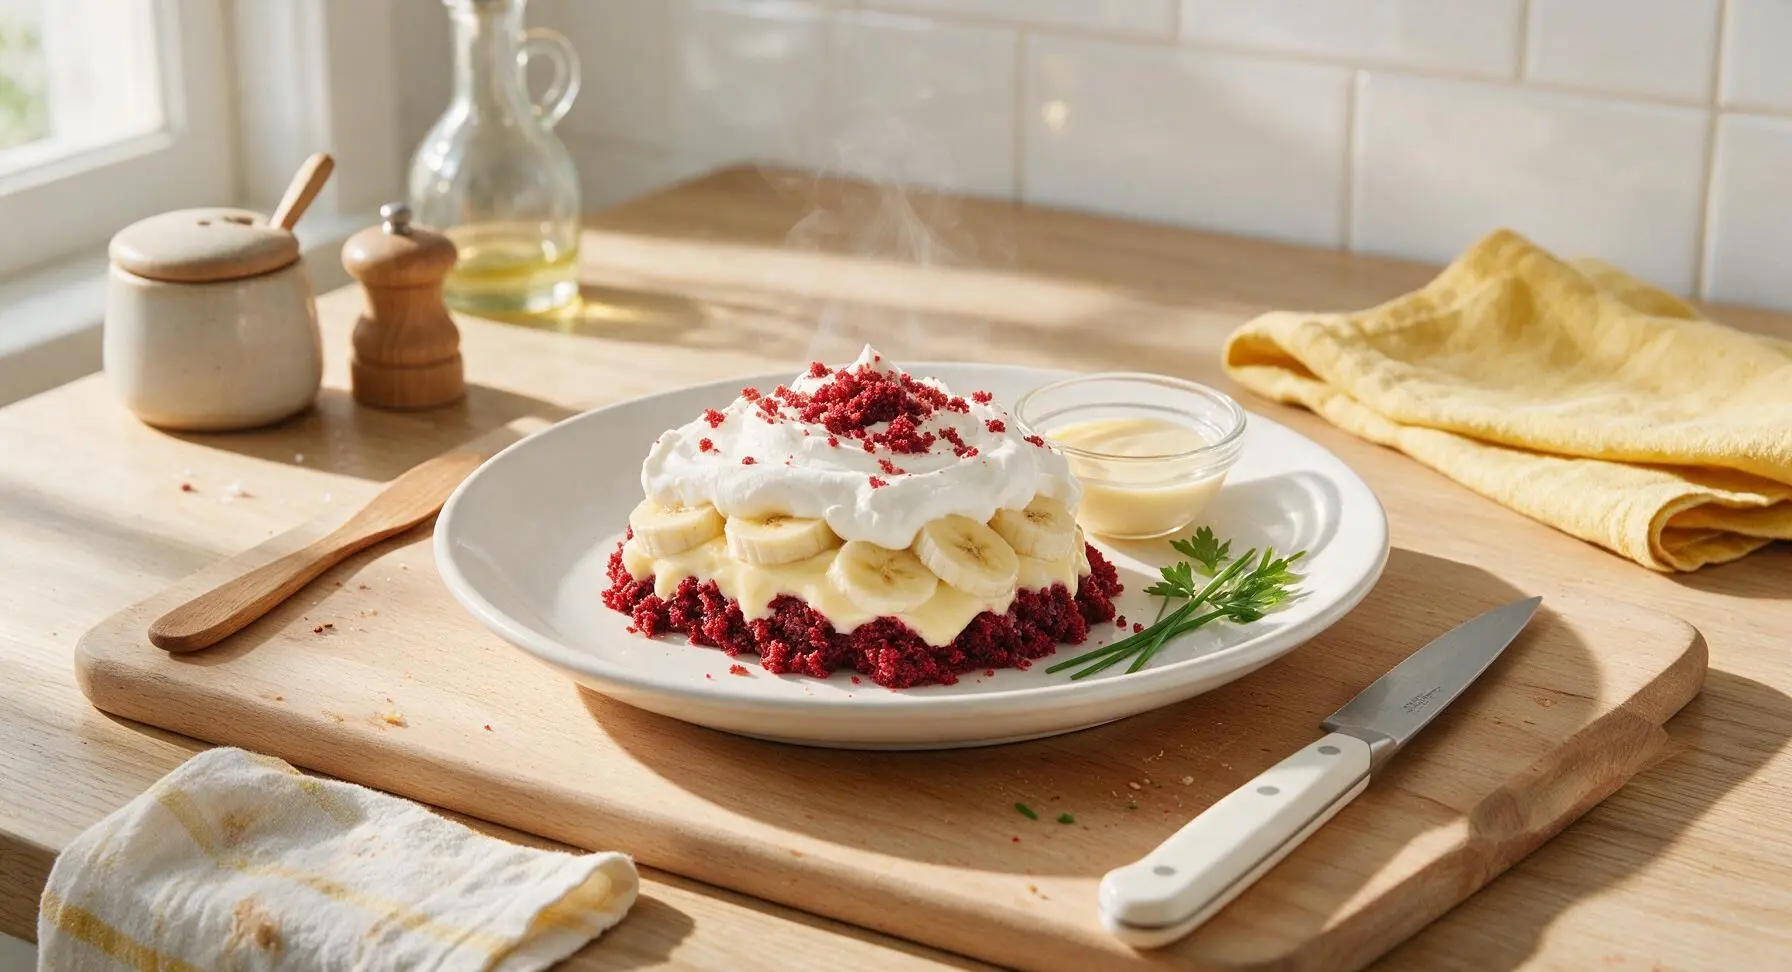
A lush, nostalgic twist on classic Southern banana pudding, swapping vanilla wafers for tangy red velvet cake crumbles layered with ripe banana, silky vanilla custard, and fluffy whipped cream for a crowd-pleasing treat.

Ingredients
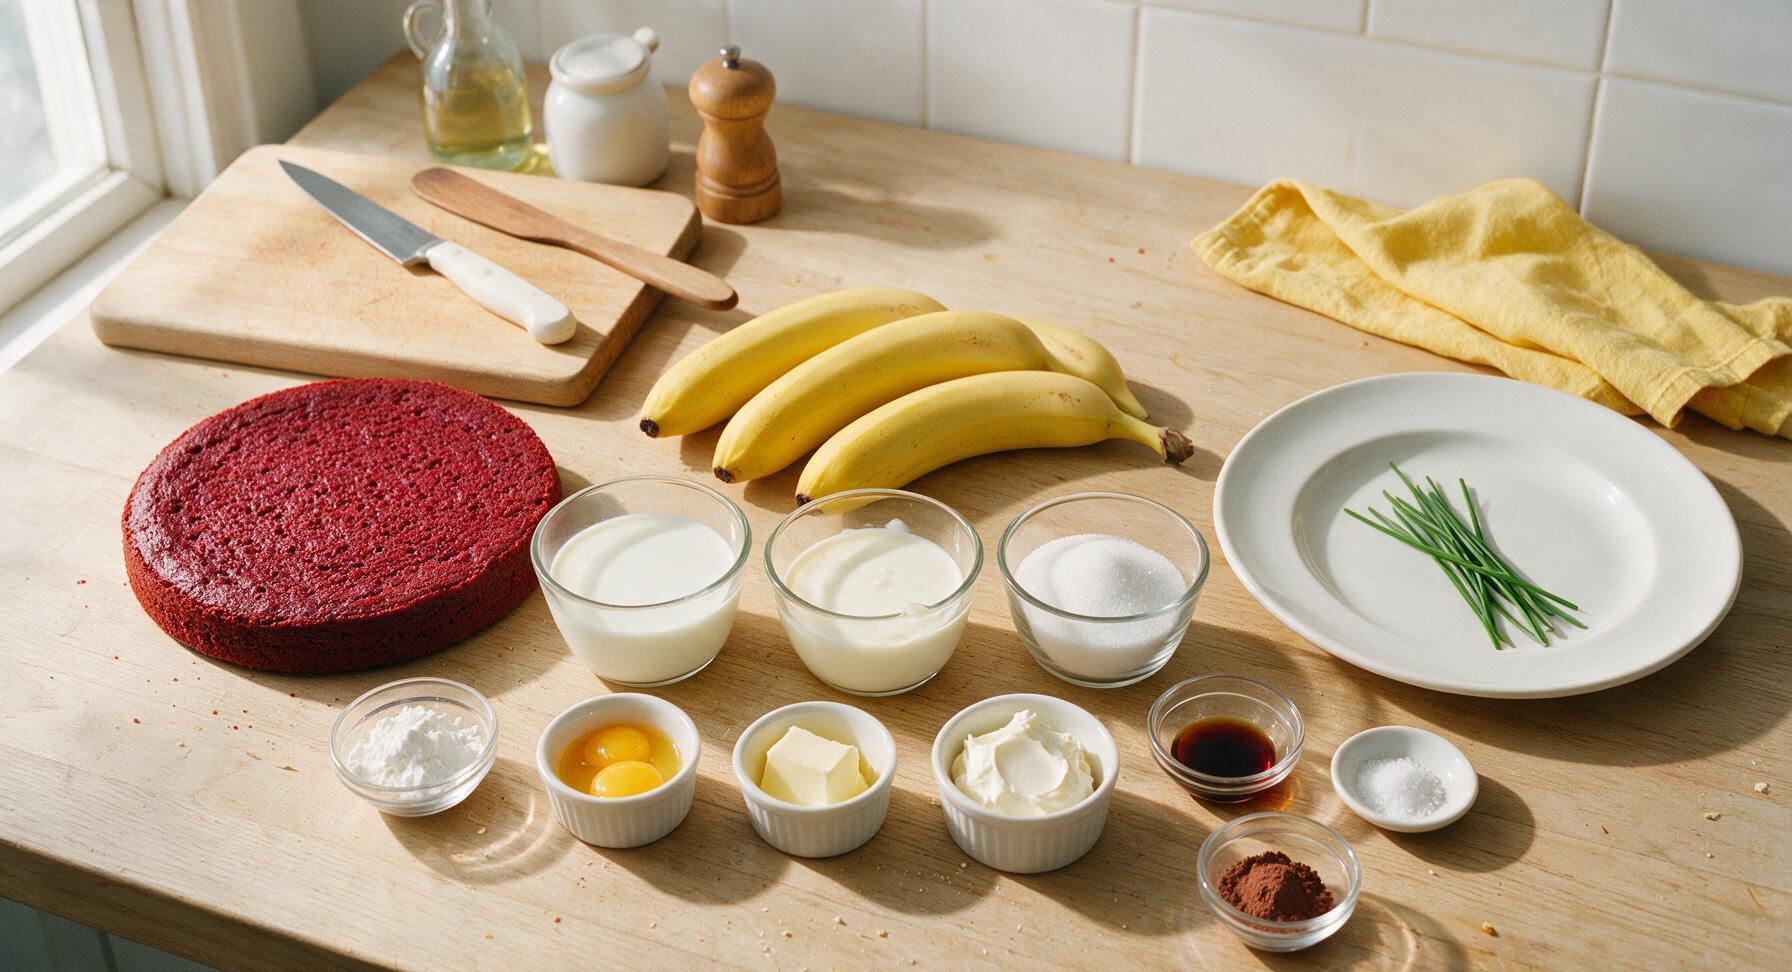
Prepared red velvet cake layer (9-inch, frosting removed) 1 whole (about 4 cups crumbs)
Ripe firm bananas 4 large
Whole milk 2 cups
Heavy cream 1.5 cups, divided
Granulated sugar 2/3 cup
Cornstarch 3 tablespoons
Large egg yolks 3 each
Unsalted butter 2 tablespoons
Cream cheese, softened 4 oz (113g)
Pure vanilla extract 2 teaspoons
Kosher salt 1/4 teaspoon
Unsweetened cocoa powder 1 teaspoon (for garnish)

Steps

1

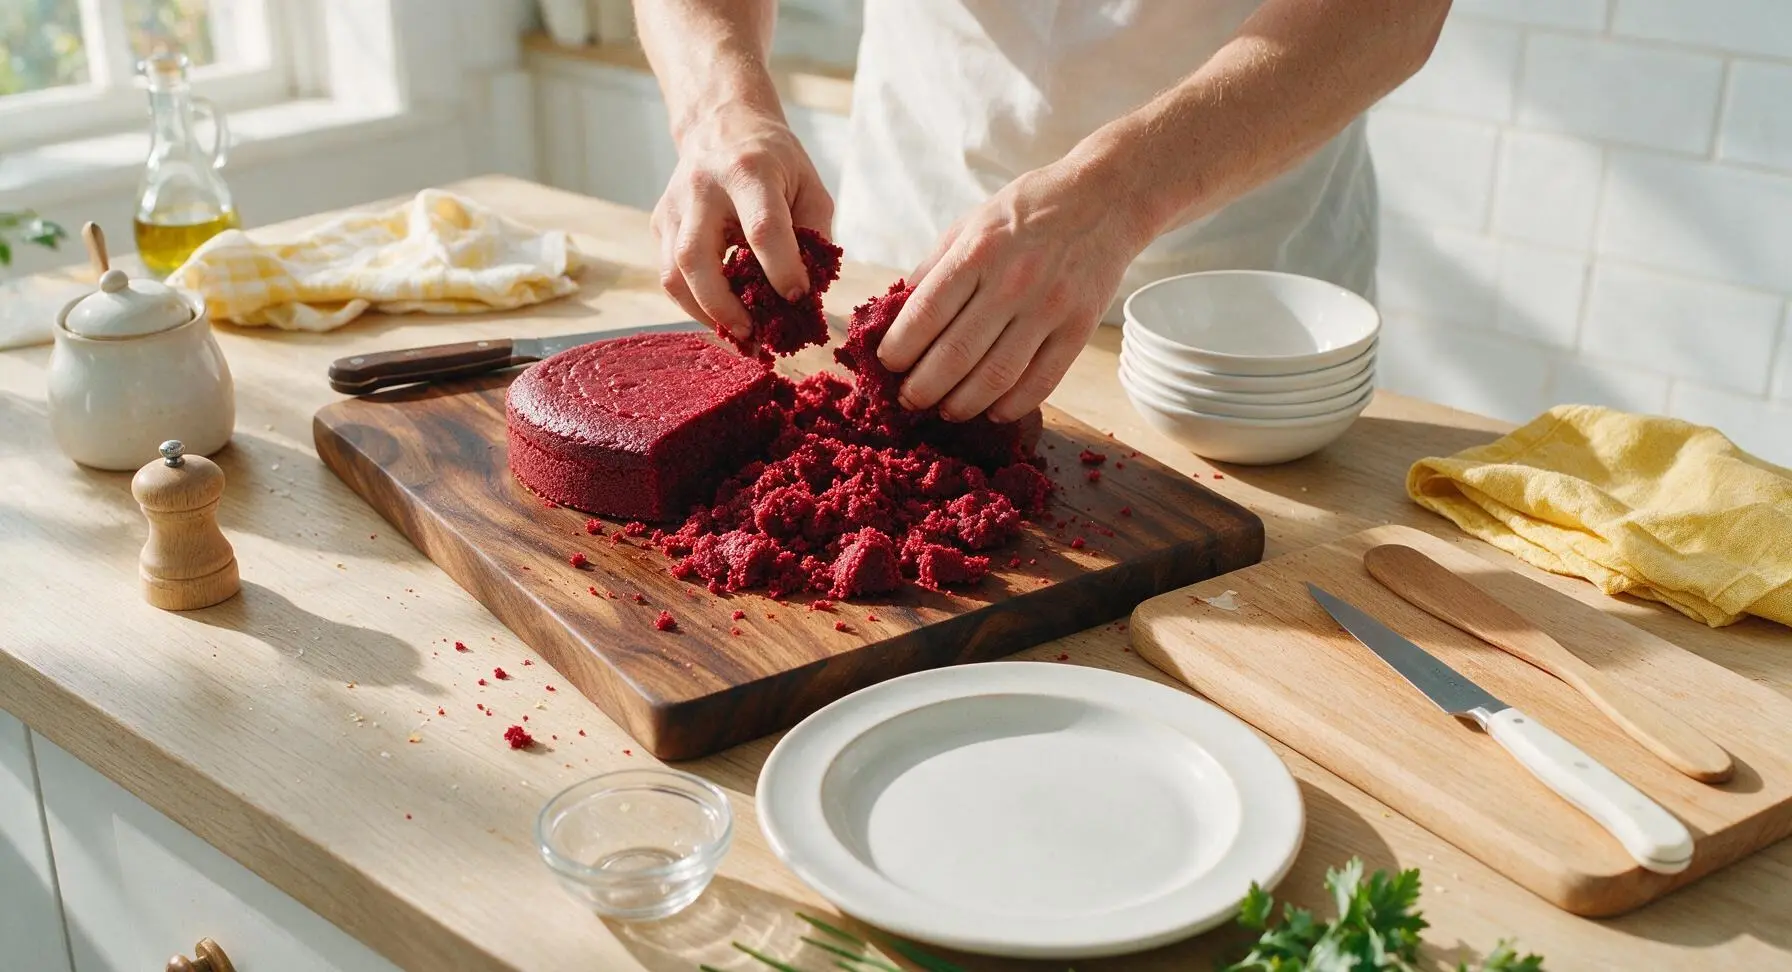
Crumble Red Velvet Cake

Remove any thick frosting from the prepared 9-inch red velvet cake layer (if present). Tear the cake into coarse, uneven ½-inch crumbs (avoid grinding into fine powder) and set aside ½ cup of crumbs to use for garnish. You will have roughly 4 cups of crumbs total for layering.
Step 1
step1:Crumble Red Velvet Cake
2

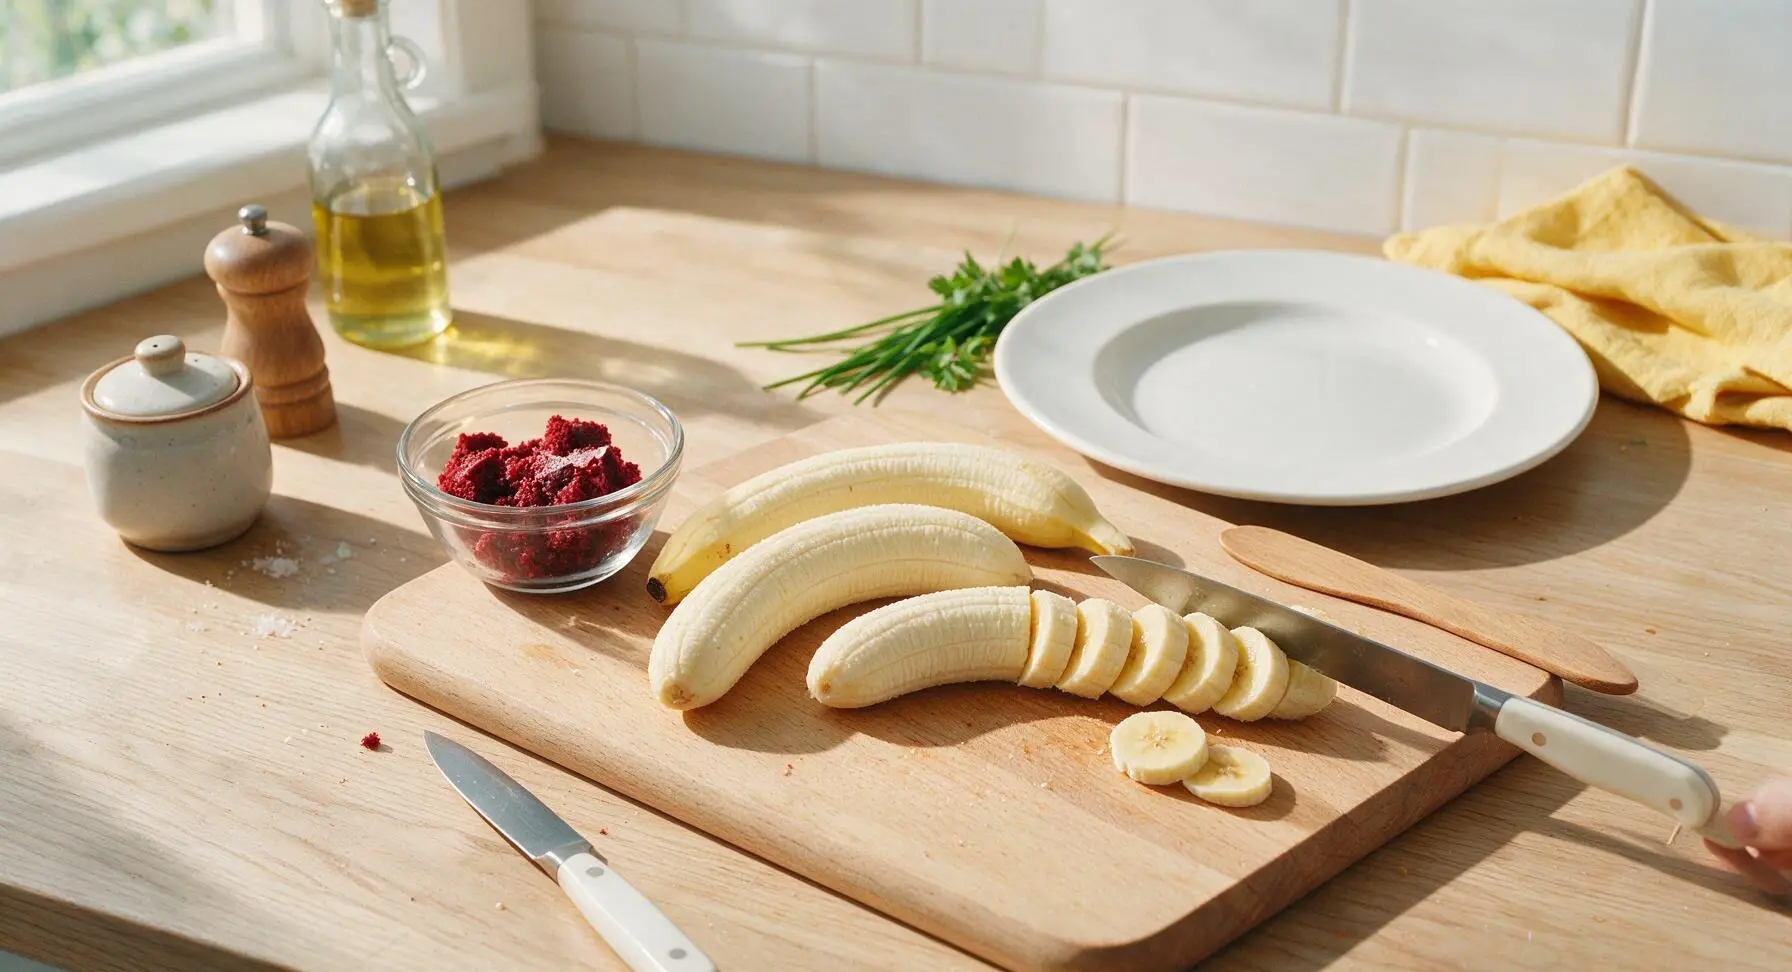
Slice Fresh Bananas

Peel all 4 ripe but firm bananas, and use the chef knife to slice them into uniform ¼-inch thick rounds on the acacia cutting board. Select bananas with only small light brown flecks; avoid overripe mushy bananas or underripe green-tipped bananas for the best flavor and texture. Set sliced bananas aside until assembly.
Step 2
step2:Slice Fresh Bananas
3

Mix Custard Base

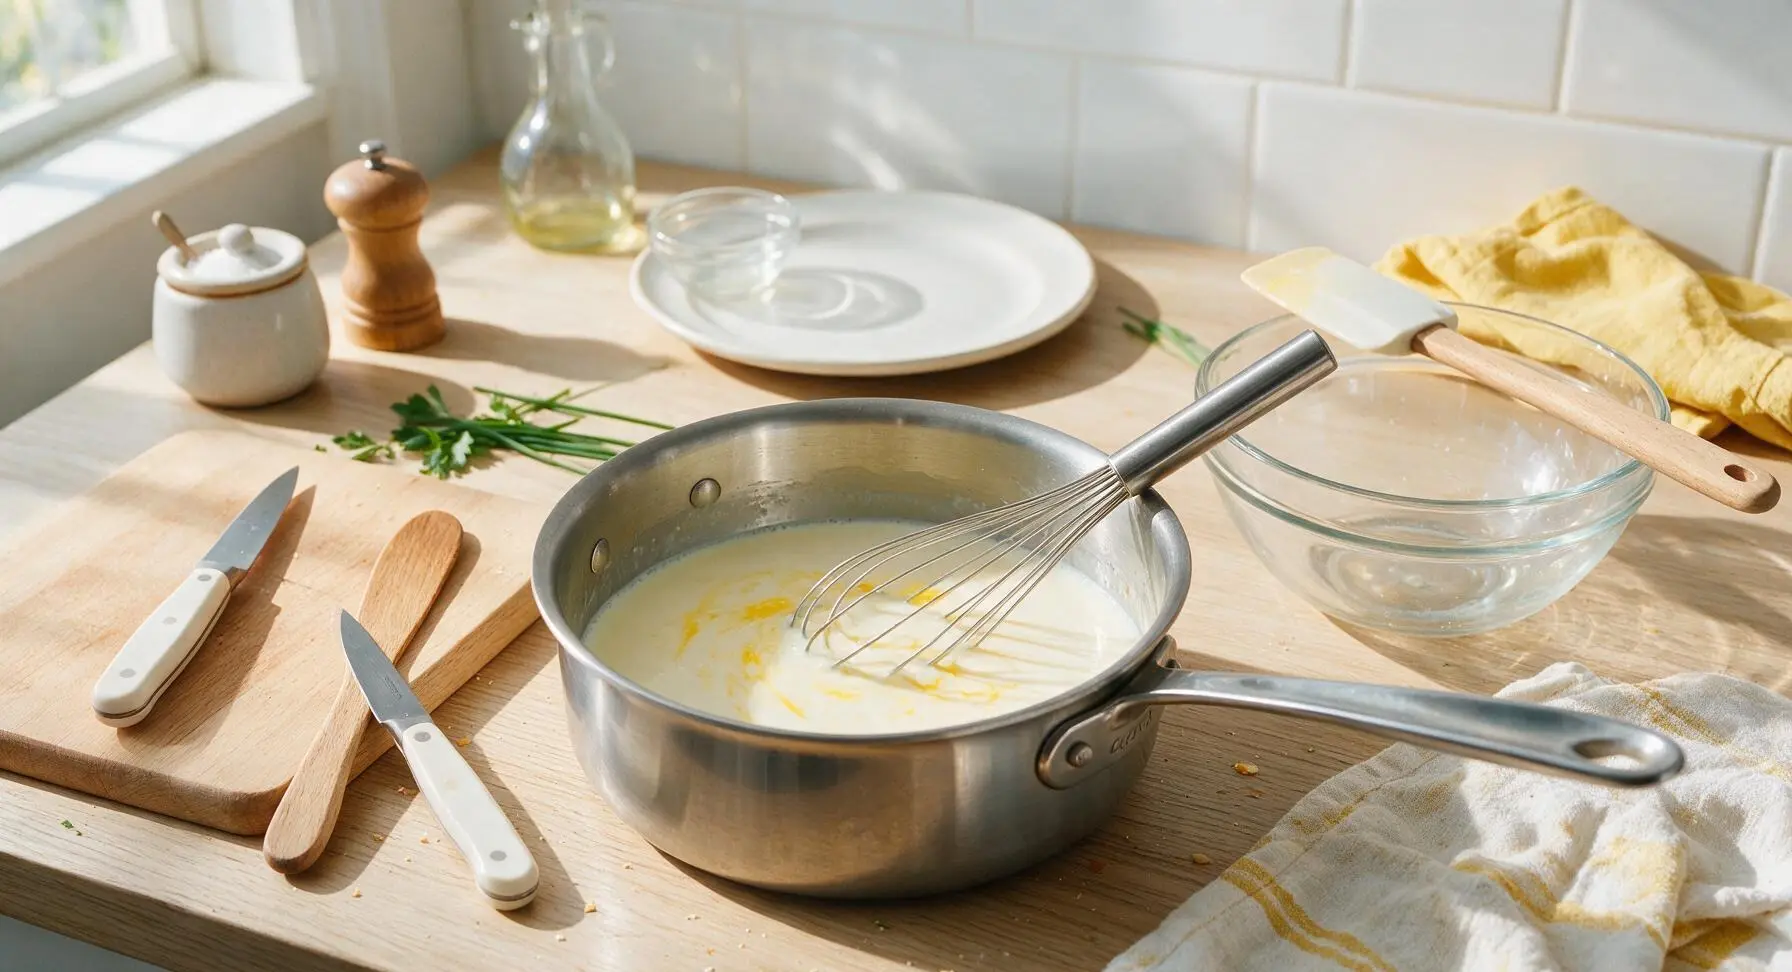
Place the 2-quart stainless steel saucepan on the counter, and add the 2/3 cup granulated sugar, 3 tablespoons cornstarch, and 1/4 teaspoon kosher salt. Whisk with the wire whisk until fully combined, with no visible lumps of cornstarch. Slowly whisk in 2 cups whole milk and 1 cup of the heavy cream until smooth, then whisk in the 3 large egg yolks until fully incorporated, with no streaks of yolk remaining.
Step 3
step3:Mix Custard Base
4

Cook Thick Vanilla Custard

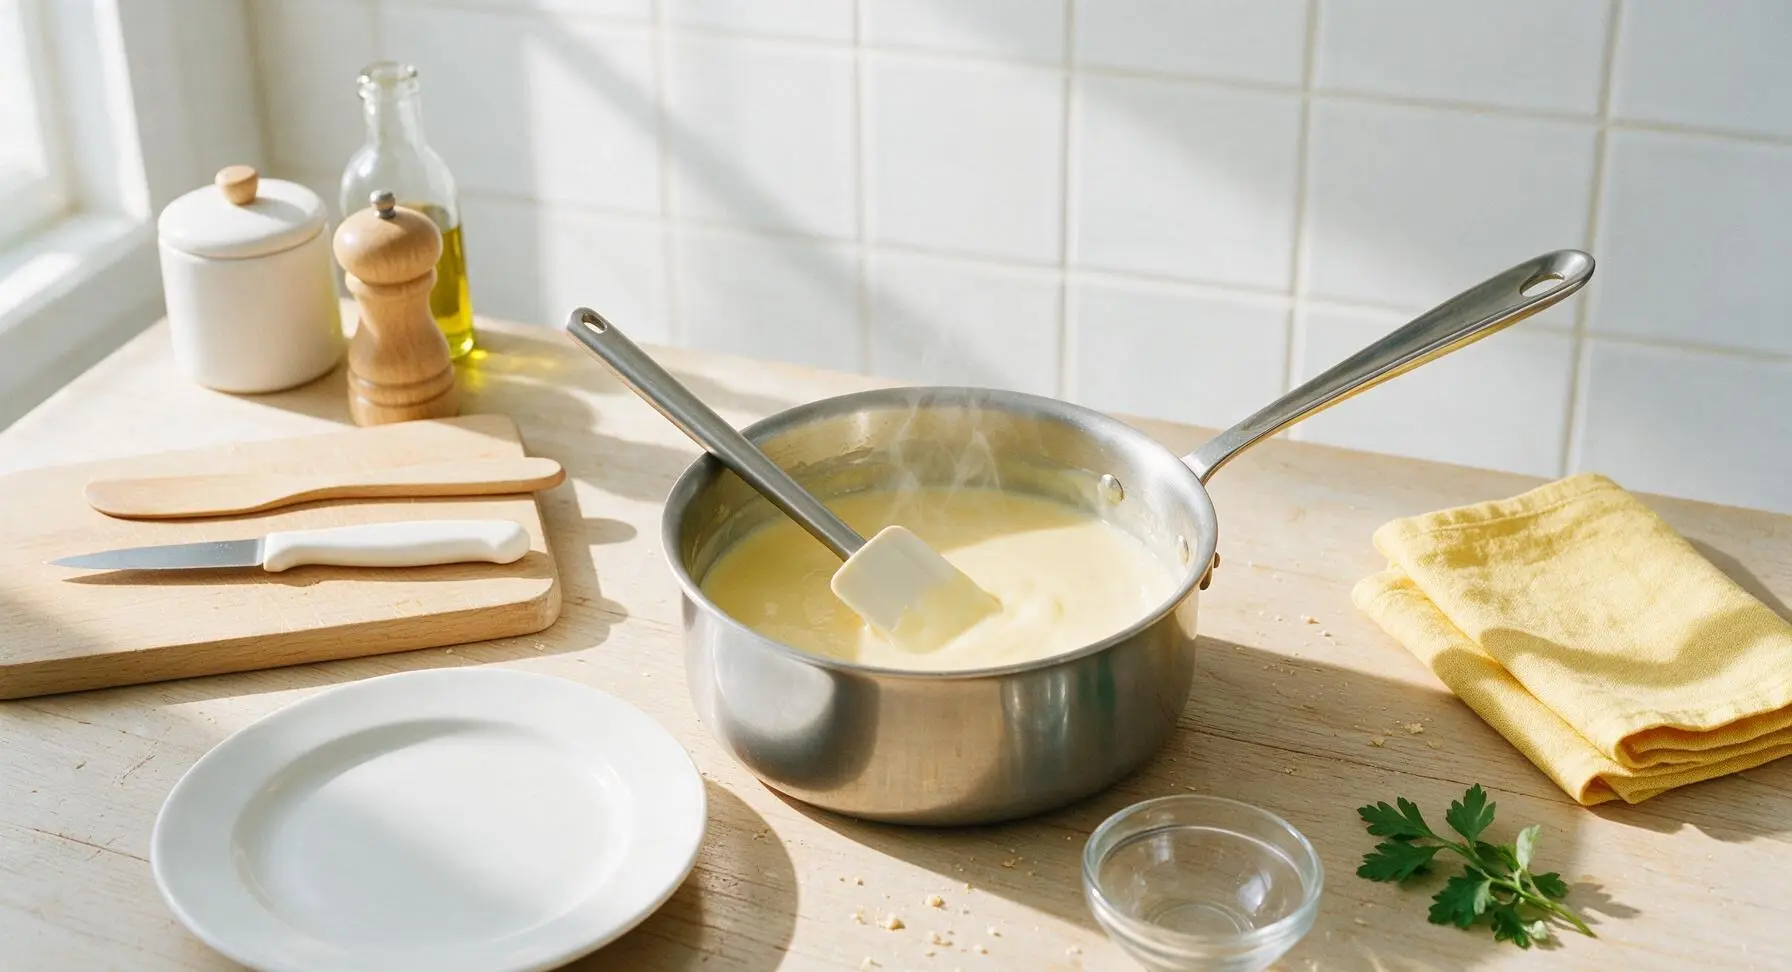
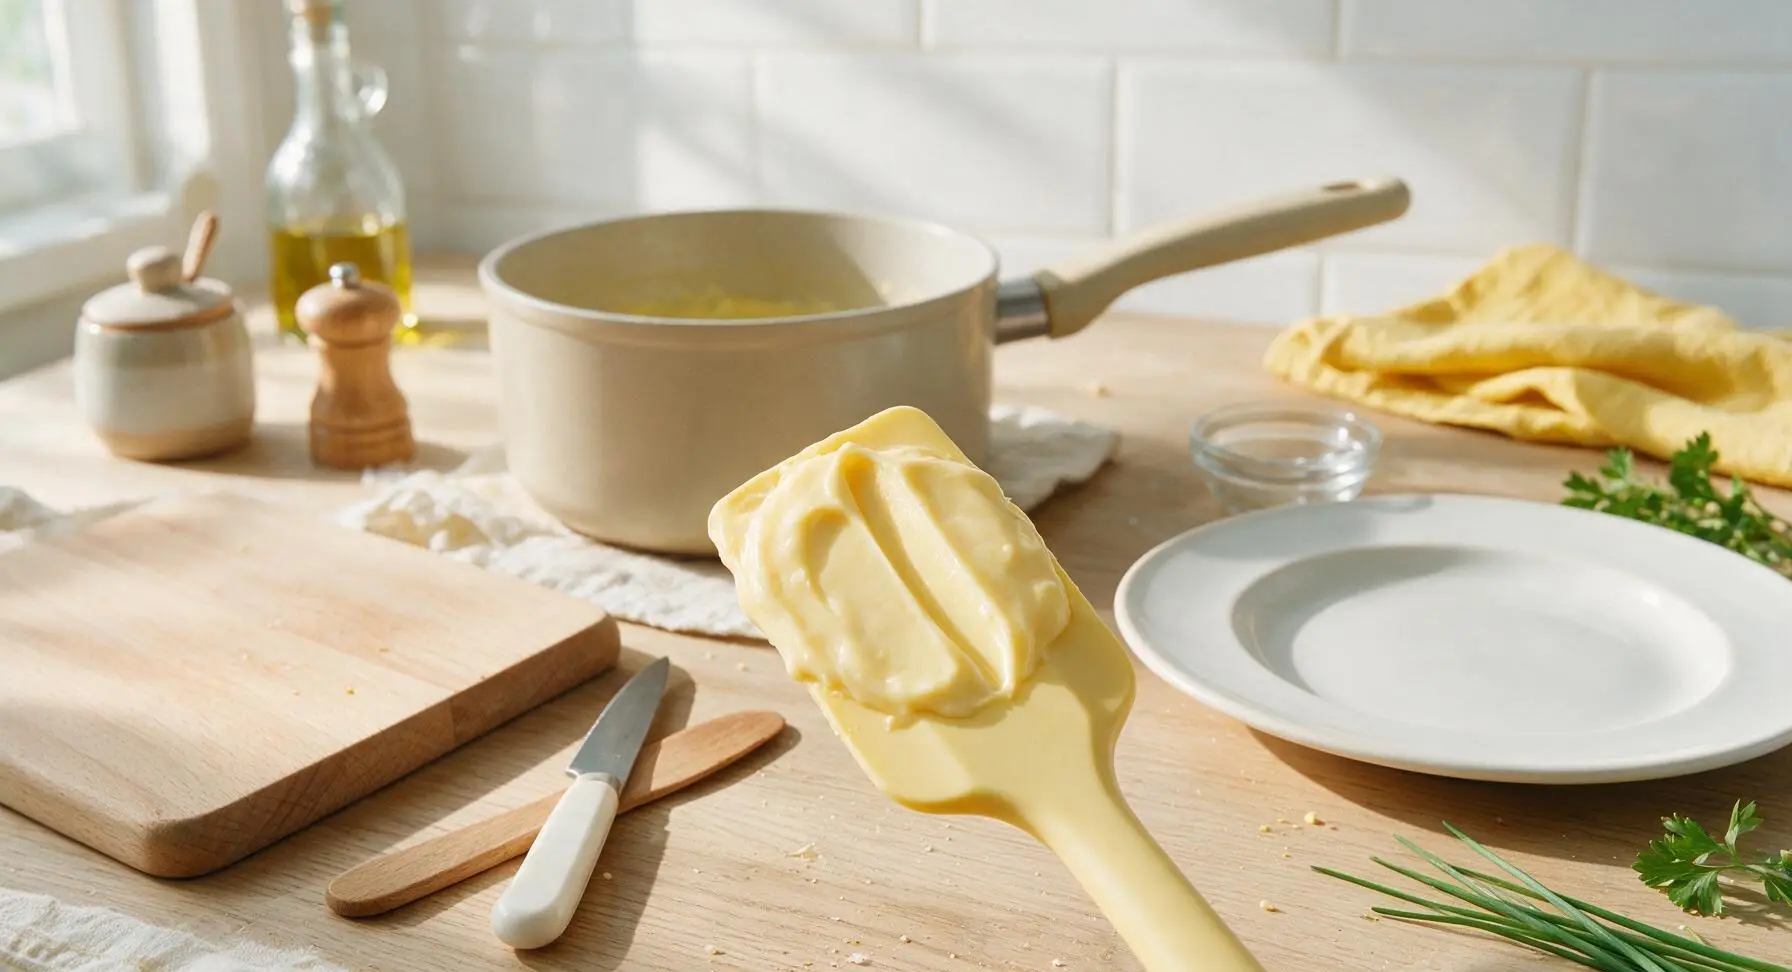
Place the saucepan over medium-low heat, stirring constantly with the silicone spatula and scraping the bottom and sides of the pan to prevent scorching. Cook for 8-10 minutes, until the custard thickens to a pudding-like consistency that coats the back of the spatula. Test for doneness by running a finger through the custard on the spatula: the line should hold cleanly without running. Remove the pan from heat immediately once thickened to avoid curdling.
Step 4
step4:Cook Thick Vanilla Custard
Step 4
step4:Cook Thick Vanilla Custard
5

Blend Cream Cheese and Butter

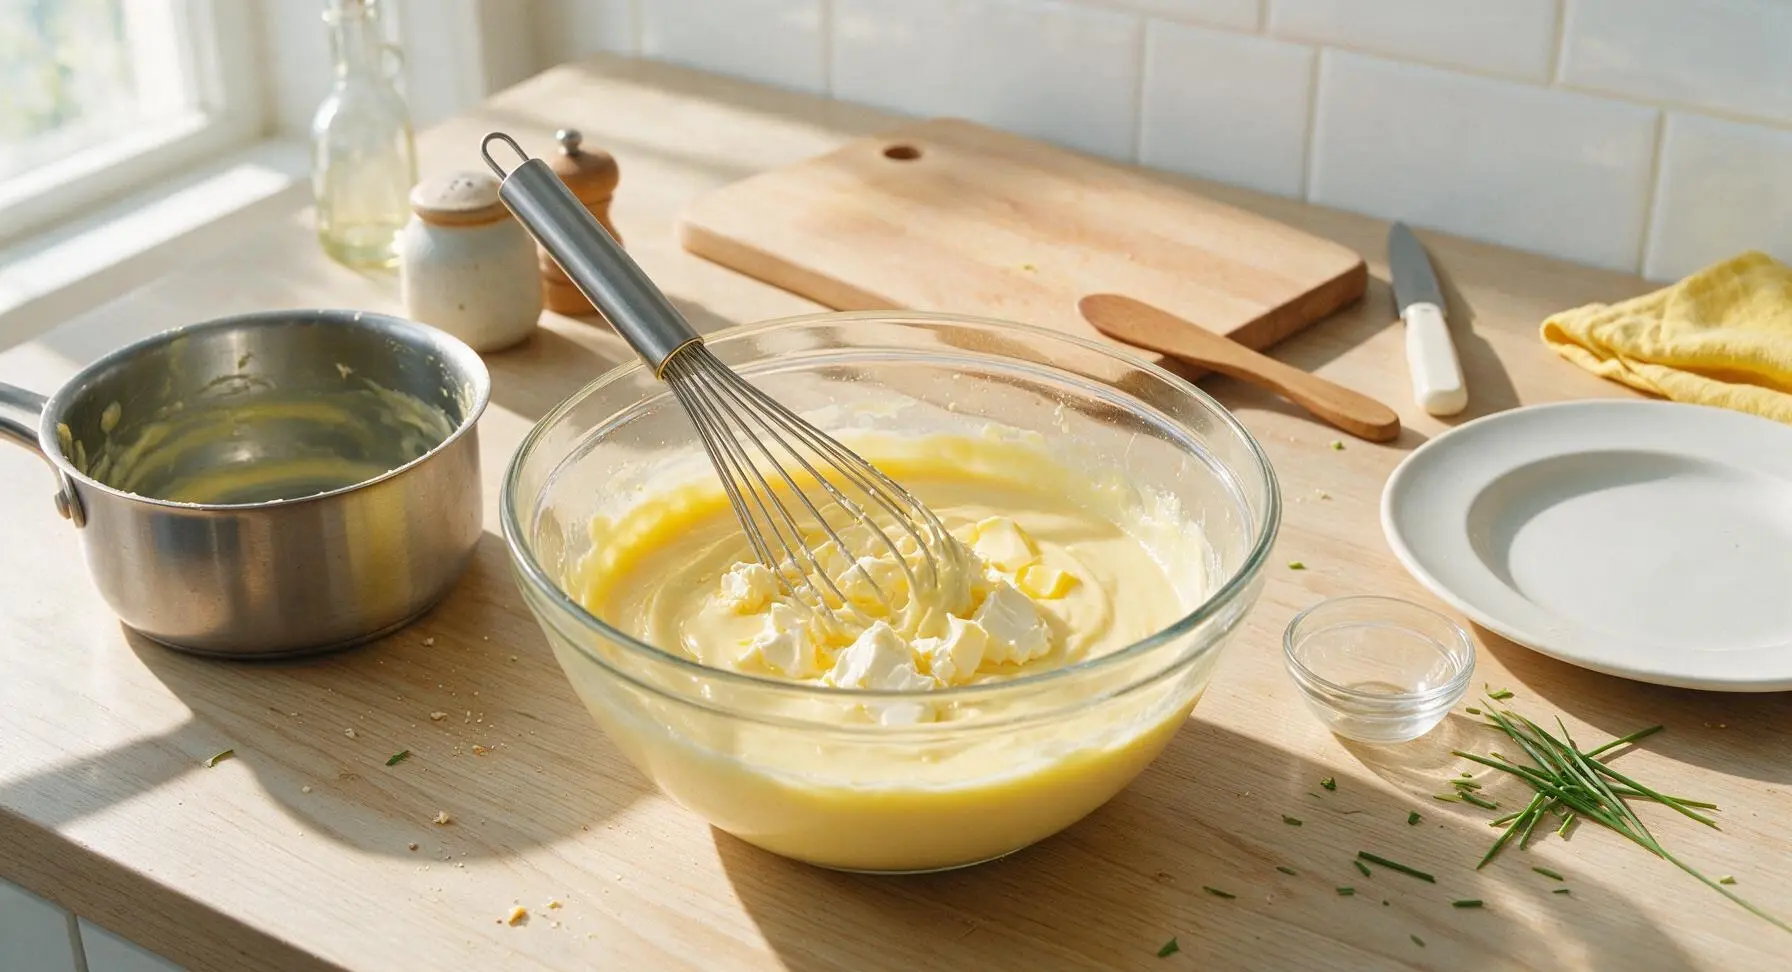
Stir the 2 tablespoons of cut unsalted butter and 2 teaspoons vanilla extract into the hot custard until fully melted and smooth. Add the 4oz softened room-temperature cream cheese, whisking vigorously until no lumps remain and the custard is silky and glossy. Pour the custard into the large glass mixing bowl, and let it cool for 15 minutes at room temperature, stirring occasionally to prevent a skin from forming.
Step 5
step5:Blend Cream Cheese and Butter
6

Layer Pudding Components

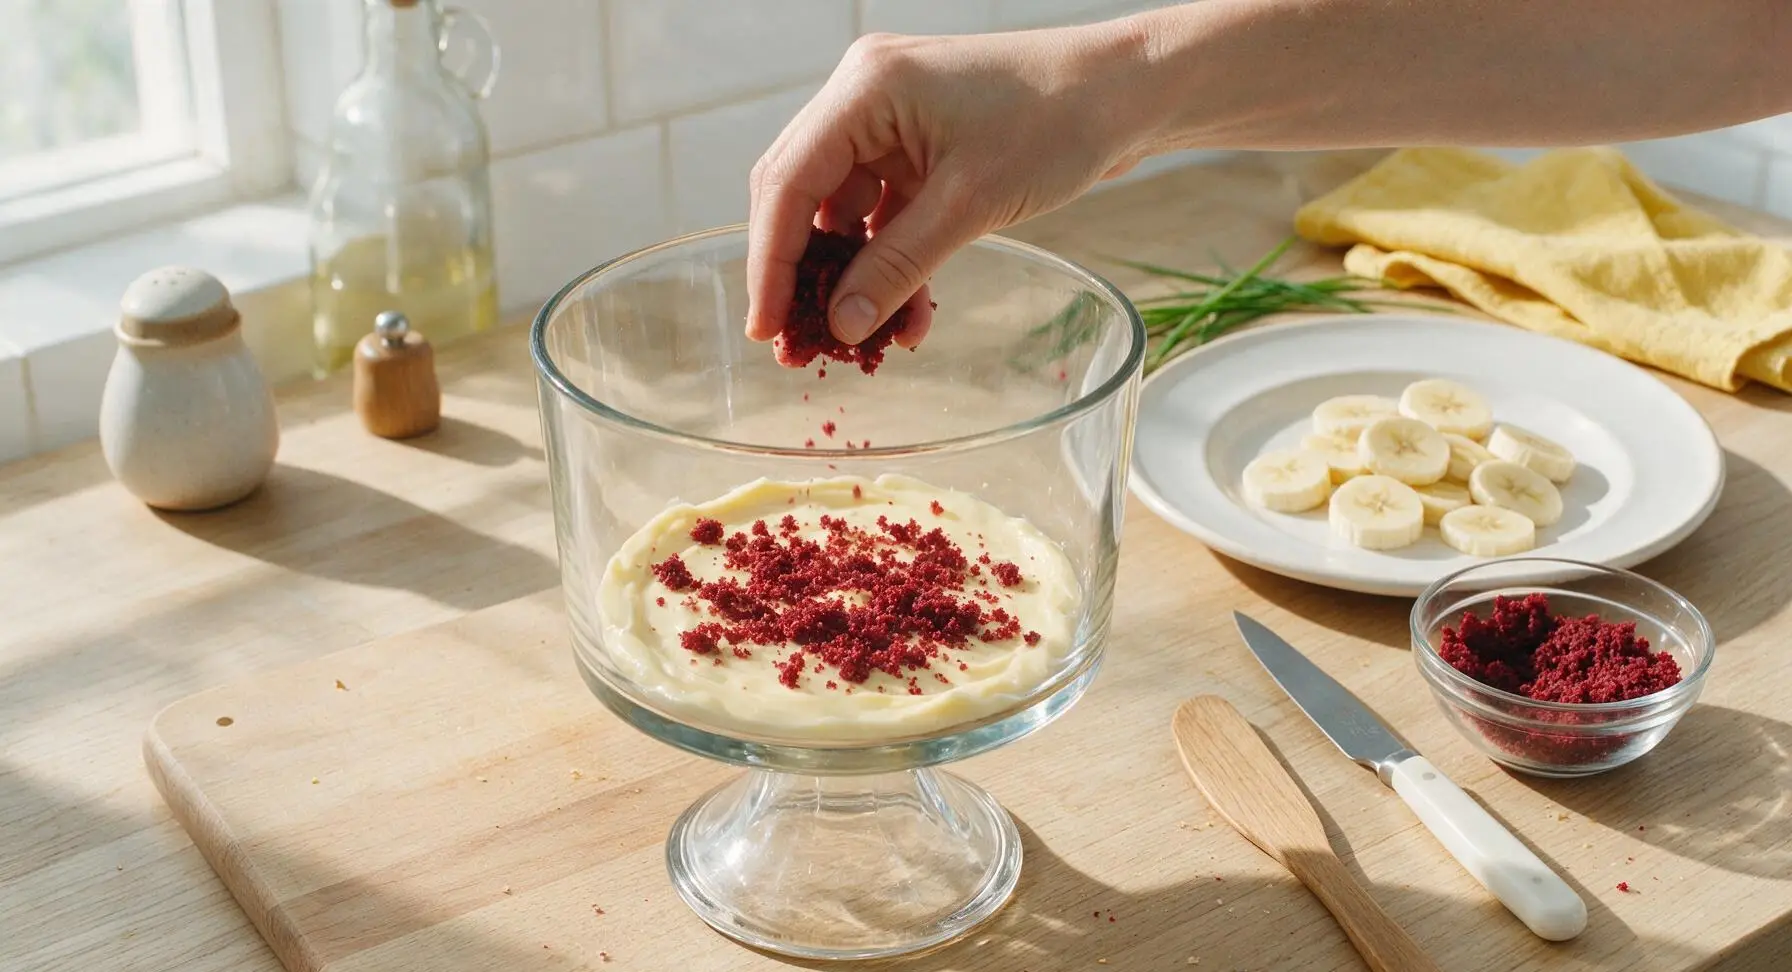
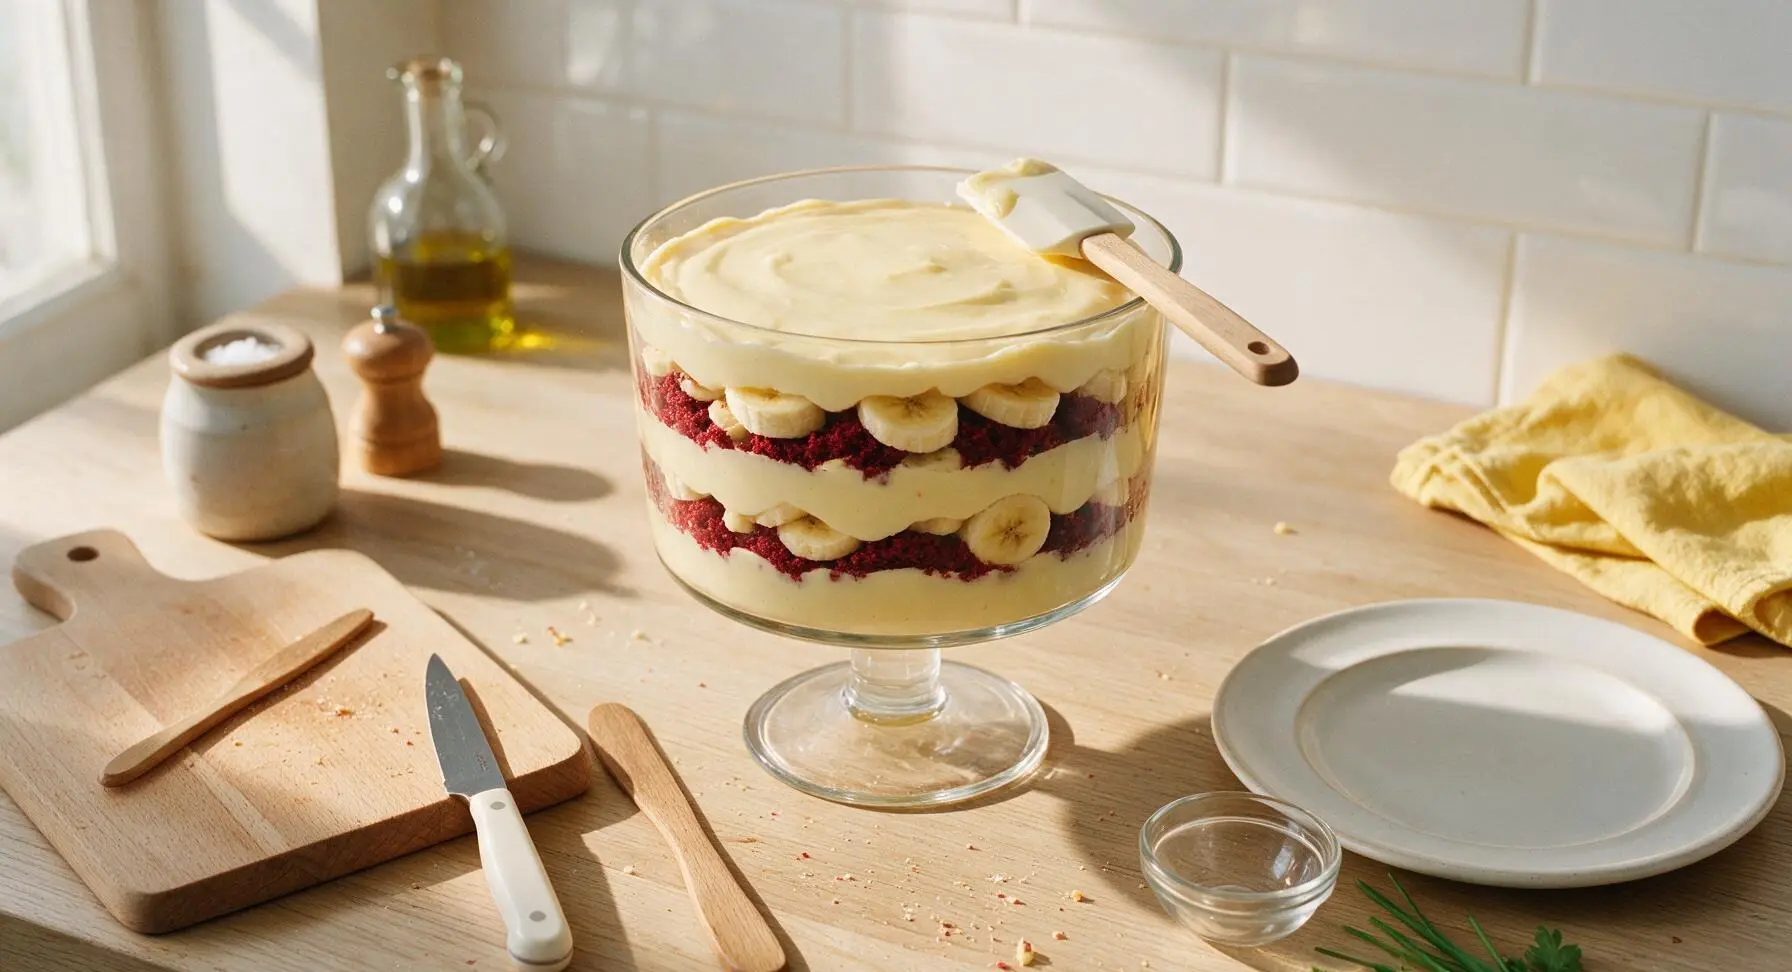
Scoop 1/3 of the cooled custard into the bottom of the clear glass trifle dish, spreading it into an even layer with the silicone spatula. Top the custard with half of the red velvet cake crumbs in a uniform layer, then arrange half of the sliced banana rounds over the crumbs, overlapping slightly. Repeat the layering sequence: another 1/3 of the custard, the remaining cake crumbs, the remaining banana slices, then finish with the final 1/3 of custard spread smoothly over the top.
Step 6
step6:Layer Pudding Components
Step 6
step6:Layer Pudding Components
7

Whip Fluffy Cream Topping

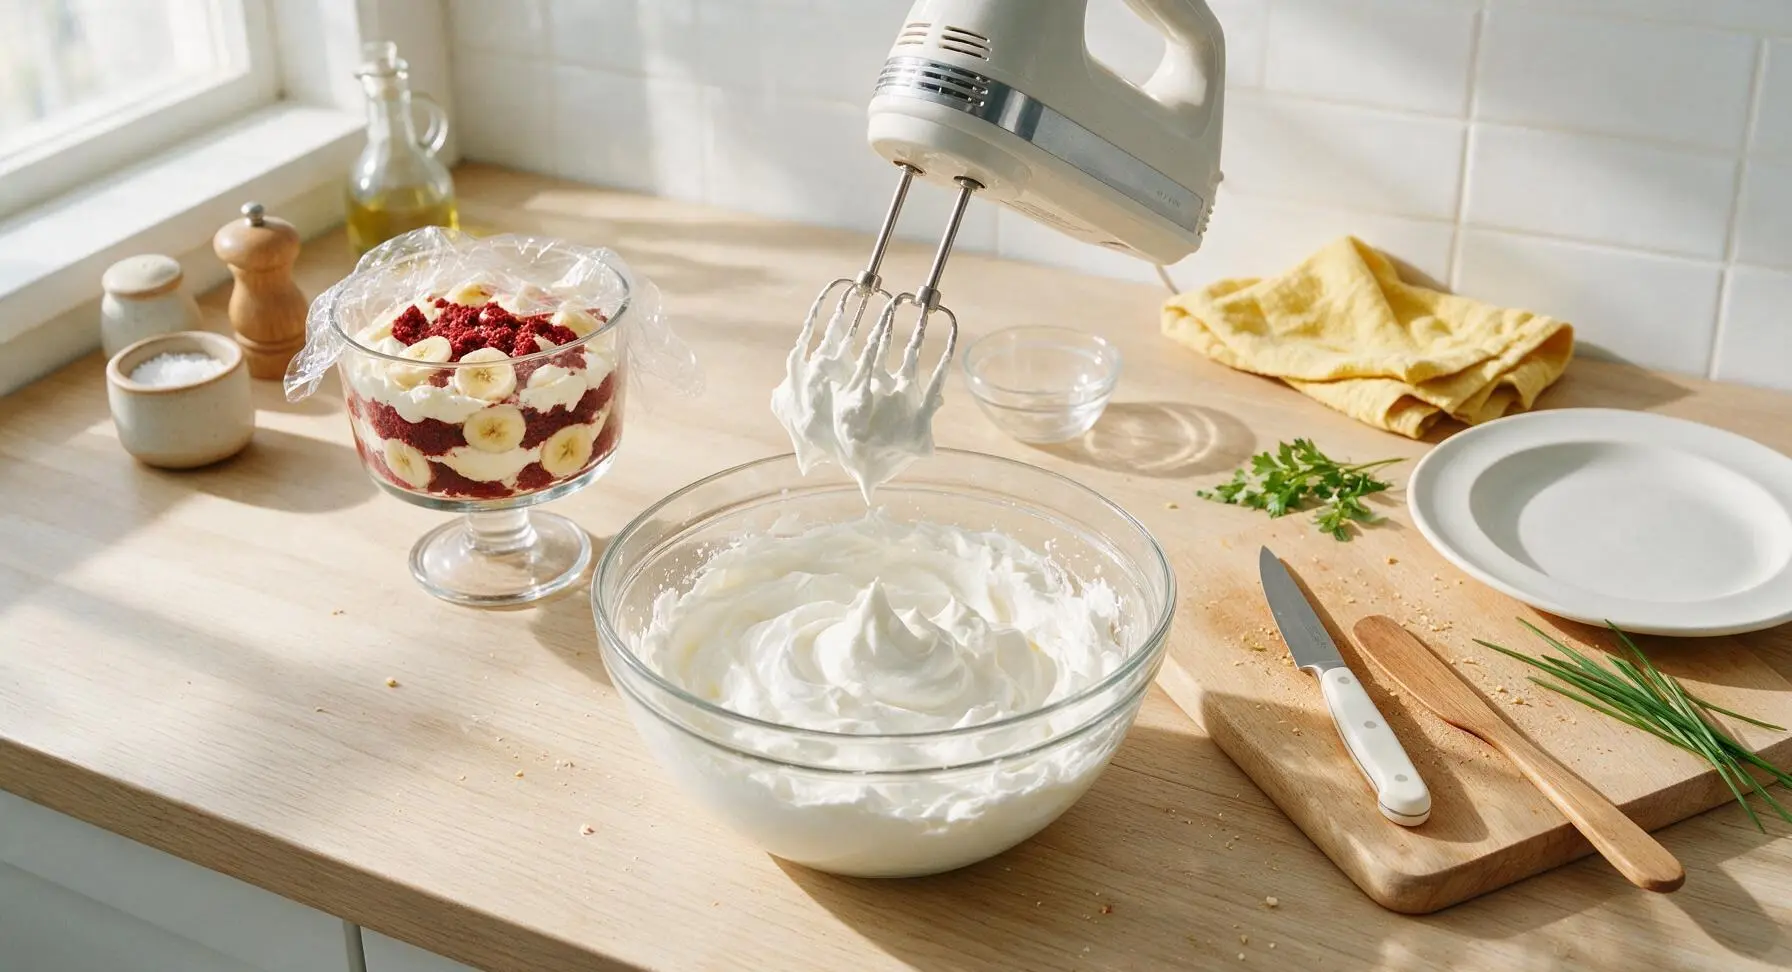
Wash and dry the glass mixing bowl thoroughly, then pour in the remaining ½ cup cold heavy cream. Use the electric hand mixer on medium speed to whip the cream for 2-3 minutes, until soft, billowy peaks form that droop slightly when the mixer is lifted. Do not overwhip to stiff, grainy peaks, as this will create a dry topping.
Step 7
step7:Whip Fluffy Cream Topping
8

Top and Chill Pudding

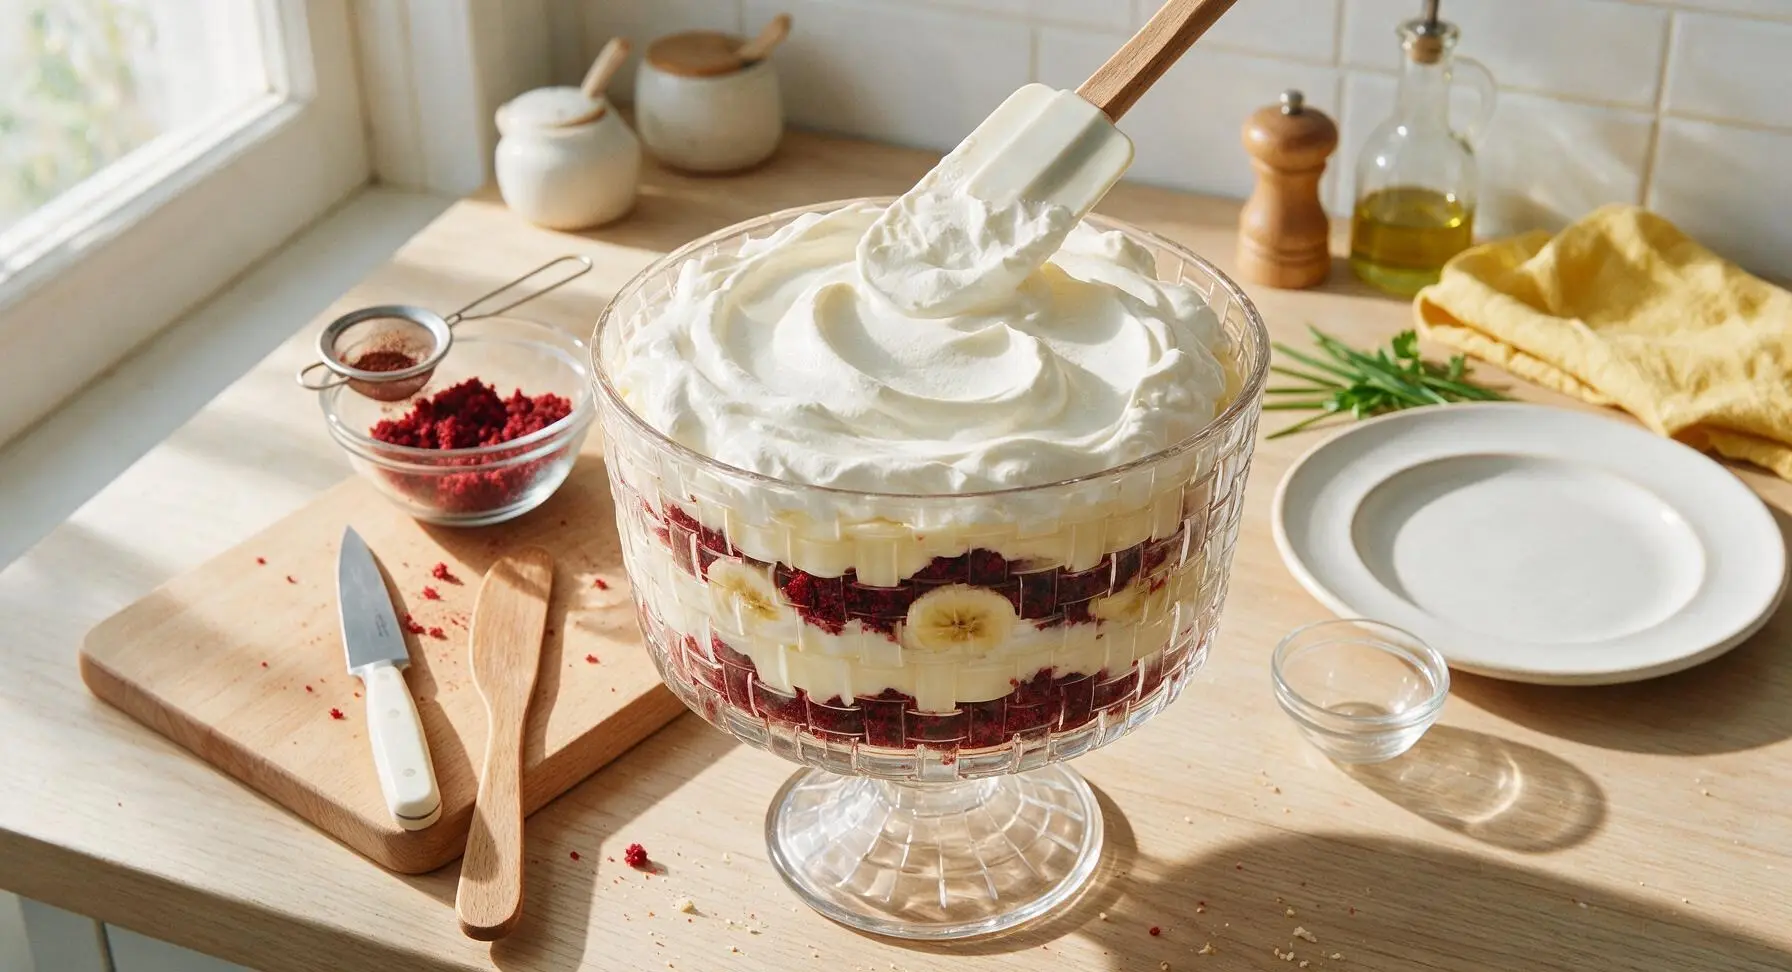
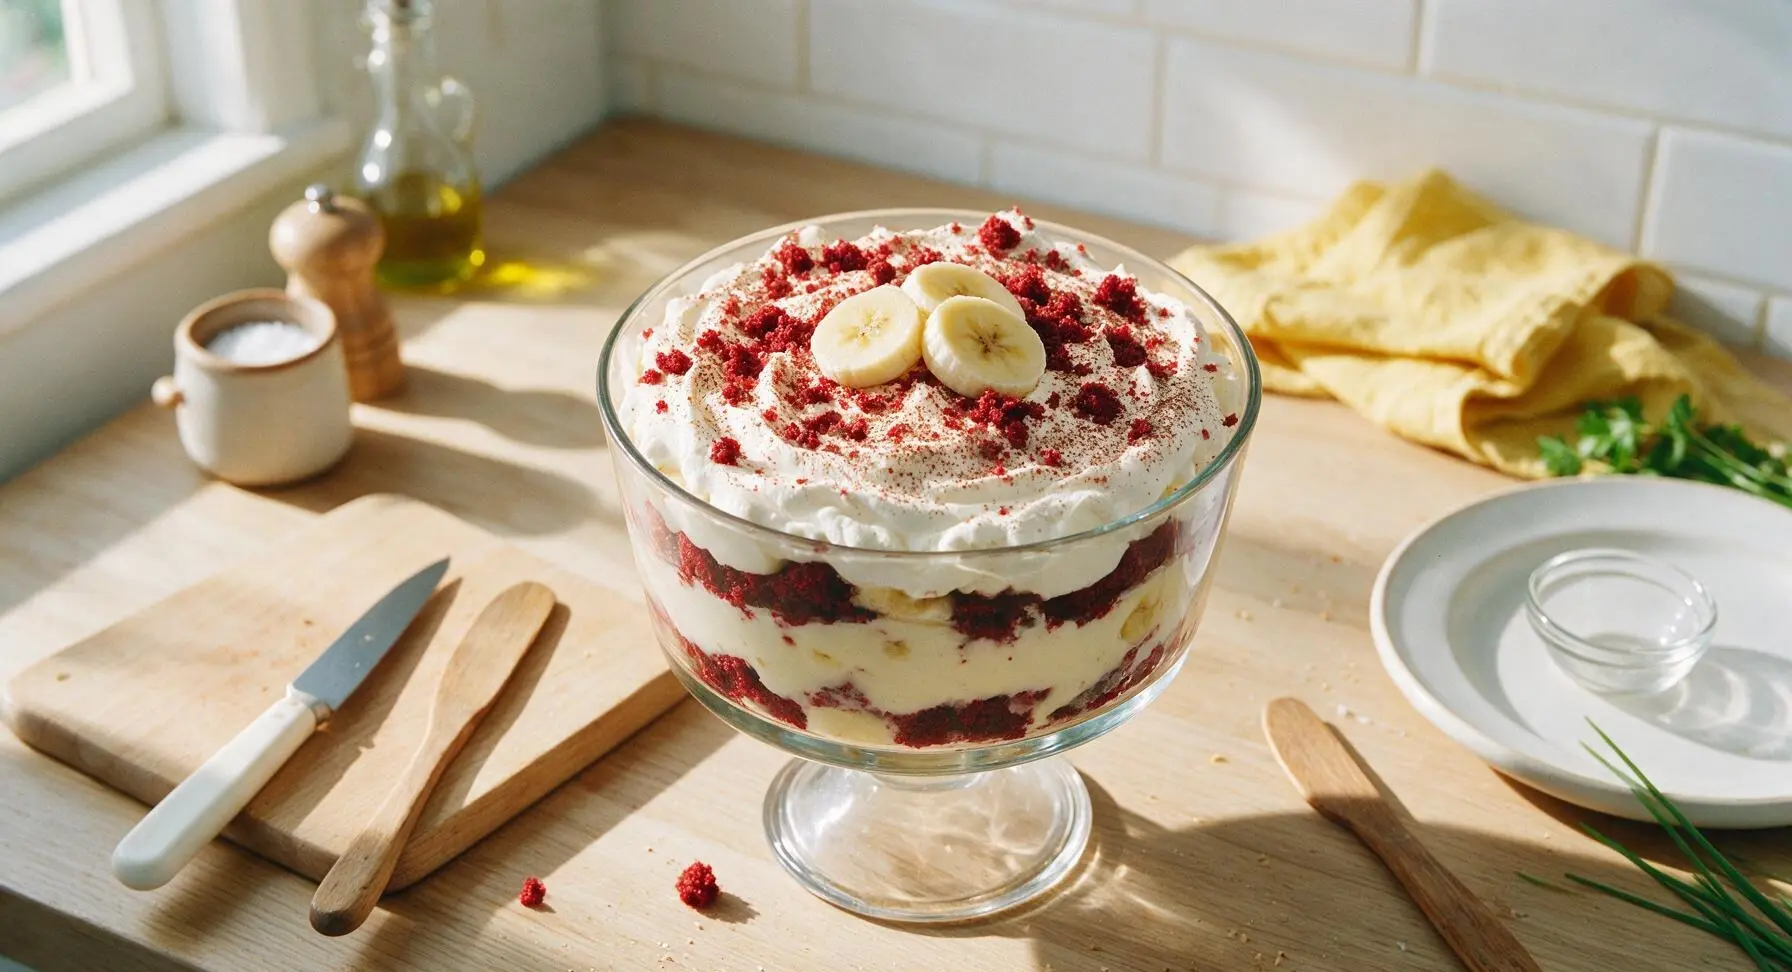
Spread the freshly whipped cream evenly over the top custard layer in the trifle dish, creating soft swirled peaks with the back of the silicone spatula. Sprinkle the reserved ½ cup red velvet cake crumbs over the whipped cream, fan 3 thin banana slices in the center for garnish, and dust lightly with 1 teaspoon unsweetened cocoa powder. Cover the dish loosely with plastic wrap and chill in the refrigerator for a minimum of 4 hours (up to 24 hours) before serving, to allow flavors to meld and cake crumbs to soften.
Step 8
step8:Top and Chill Pudding
Step 8
step8:Top and Chill Pudding

Tips

1.Choose firm, ripe bananas with only small light brown flecks for the best results: overripe bananas will turn mushy and brown quickly during chilling, while underripe green-tipped bananas have a starchy, bland flavor that clashes with the rich, sweet custard.
2.Press a sheet of plastic wrap directly onto the surface of the warm custard as it cools to prevent a thick, rubbery skin from forming; trapped steam causes this skin, which will create unappealing lumps in your smooth pudding layers.
3.For the most cohesive, classic texture, make the pudding a full 24 hours before serving: this resting time lets the red velvet cake crumbs absorb custard and soften to a texture nearly identical to the vanilla wafers used in traditional banana pudding, without becoming soggy.


✨ You May Also Like

Desserts & Baking
🍜 Italy

Creamy, coffee-kissed classic Northern Italian no-bake dessert, with layers of rum-spiked mascarpone cream, soft ladyfingers, and a rich cocoa dusting.

⏱️ 4 hours 3Desserts & Baking ★ 4.7
Desserts & Baking
🍜 France

Flaky, shatteringly crisp, buttery French croissants with golden exteriors and soft, airy layered interiors, perfect for pairing with coffee for a special morning treat.

⏱️ 12 hours Desserts & Baking ★ 4.5
Desserts & Baking
🍜 United States

Warm, spiced baked apples topped with a fluffy golden biscuit crust, this cozy dessert pairs perfectly with vanilla ice cream for cool-weather comfort.

⏱️ 55 minuteDesserts & Baking ★ 4.6
Desserts & Baking
🍜 United States

A star-spangled classic American blueberry pie with buttery flaky crust and bright sweet-tart filling, perfect for summer patriotic gatherings.

⏱️ 1 hour 25Desserts & Baking ★ 4.7
Desserts & Baking
🍜 United States

A beloved no-bake regional Maine candy with a chewy coconut-potato center coated in rich dark chocolate, a New England holiday staple since the 1870s.

⏱️ 2 hours 3Desserts & Baking ★ 4.8
Desserts & Baking
🍜 France

Luxuriously creamy, floral frozen custard made with aromatic Tahitian vanilla beans, boasting a smooth, rich texture that melts slowly on the tongue.

⏱️ 3 hours 3Desserts & Baking ★ 4.5

red velvet banana pudding:Frequently Asked Questions

1.How is this red velvet banana pudding different from classic Southern banana pudding? ▾
Great question! Instead of the traditional crisp vanilla wafer layers, this recipe uses crumbled, frosting-free red velvet cake for a subtle tangy, lightly cocoa-kissed base. It keeps that beloved nostalgic, creamy layered texture, but adds a rich, vibrant pop of color and mild tang that cuts through sweet custard and ripe banana for a more dynamic bite.
2.Why do I need to remove the frosting from the prepared 9-inch red velvet cake layer? ▾
Frosting is loaded with extra sugar and fat that would make your pudding layers soggy, overly sweet, and greasy instead of light and balanced. Scraping off all cream cheese or buttercream frosting leaves you with tender, slightly tangy red velvet crumb that holds up to custard without turning mushy, so you get distinct, clean layers in every scoop.
3.How ripe should the bananas be for this recipe? ▾
Reach for ripe but firm bananas, ideally with just a few small brown speckles on the peel. Overly soft, fully brown bananas will turn mushy and release too much moisture as the pudding chills, making layers runny, while fully green, unripe bananas will be starchy and bland, lacking that signature sweet, fruity flavor.
4.Can I use a store-bought red velvet cake instead of a homemade one? ▾
Absolutely! A store-bought 9-inch red velvet cake works perfectly here, as long as you fully scrape off all the frosting before crumbling it. It cuts down on prep time significantly, and no one will be able to tell the difference once it’s layered with custard, banana, and whipped cream—just pick a cake with a moist, not dry, crumb for best results.
5.Why does the recipe call for whole milk instead of low-fat or skim for the custard? ▾
Whole milk has a rich, creamy 3.25% fat content that creates a smooth, luxe vanilla custard without feeling heavy. Skim or low-fat milk will produce a thin, watery custard that doesn’t coat the cake crumbles and banana slices properly, leading to a runny, less flavorful final pudding that lacks that classic silky mouthfeel.
6.Can I make this pudding ahead of time for a party or potluck? ▾
You sure can—this is actually a perfect make-ahead potluck dish! Assemble all the layers completely (hold off on the top whipped cream garnish if you prefer extra fluff), cover tightly with plastic wrap, and chill for up to 24 hours before serving. The resting time lets flavors meld beautifully; just add extra cake crumb garnish right before serving for a little texture contrast.
7.How do I keep my banana slices from turning brown in the pudding? ▾
The easiest trick is to toss sliced bananas in a tiny bit of lemon juice (about 1 teaspoon for 3 sliced bananas) before layering—you won’t taste the citrus, but the ascorbic acid slows oxidation. Once bananas are nestled between custard and cake layers and covered, very little air reaches them, so browning is minimal even without lemon for the first 24 hours.
8.How long does this red velvet banana pudding need to chill before serving? ▾
For the best texture and flavor, plan to let it chill for a minimum of 4 hours in the fridge. That gives the custard time to set fully, the red velvet crumbs time to soften slightly (but not turn mushy) from absorbing a little custard, and all the flavors to meld together into that cohesive, scoopable treat you want. Chilling overnight is even better if you have time.
9.Can I use tub-style whipped topping instead of fresh whipped cream made with heavy cream? ▾
You can, but I recommend using fresh heavy cream whipped with a little granulated sugar for the best flavor and texture. Tub-style whipped topping has a distinctly artificial, overly sweet aftertaste and stiffer, less creamy mouthfeel that doesn’t pair as nicely with tangy red velvet and sweet banana, but it works as a quick swap if that’s what you have on hand.
10.Will the red velvet cake turn the entire pudding an unappetizing pink or gray color? ▾
Not at all! As long as you use a properly baked red velvet cake with standard red coloring (most store-bought versions do), the crumbles will hold their deep, rich red hue as they chill, creating a pretty, vibrant contrast against the pale custard, white whipped cream, and pale yellow banana slices. Just avoid over-mixing layers to keep color contrast sharp.
11.How many servings does this red velvet banana pudding make? ▾
This recipe makes roughly 8 to 10 generous servings, perfect for a small family gathering, potluck, or weekend dessert spread. If you’re serving a larger crowd, you can easily double the ingredients and assemble it in a 9x13 inch glass baking dish so everyone gets a scoop with all three key layers: red velvet crumble, banana, and creamy custard.
12.How should I store leftover red velvet banana pudding? ▾
Store leftovers tightly covered with plastic wrap pressed directly to the surface of the pudding (to prevent a skin from forming on the whipped cream or custard) in the refrigerator for up to 3 days. I don’t recommend freezing this pudding, as the custard will separate and turn grainy when thawed, and banana slices will become mushy and watery once frozen.
13.My custard turned out lumpy—what did I do wrong, and can I fix it? ▾
Lumpy custard almost always happens from cooking the milk, sugar, and cream base over too high heat, or not stirring constantly as it thickens. If you end up with small lumps, pour the warm custard through a fine-mesh sieve before layering to remove clumps, and you’ll still end up with perfectly silky, smooth pudding with zero noticeable flaws.
14.Can I add extra mix-ins to this pudding for more texture? ▾
Absolutely! Fun mix-ins that pair beautifully include mini white chocolate chips, toasted pecans, a light sprinkle of cocoa powder, or even a thin drizzle of cream cheese glaze between layers. Just don’t overload the layers, or you’ll lose that perfect balance of soft cake, creamy custard, and tender banana that makes this twist so special.
15.Do I need a special dish to assemble this pudding? ▾
Not at all! A standard 2-quart glass trifle dish works beautifully to show off the vibrant red, pale yellow, and white layers, but a regular 9x9 inch glass baking dish, large glass bowl, or even individual mason jars for single servings work just as well. The only real rule is to pick a dish deep enough to stack 2 to 3 full sets of layers without overflowing.
16.Is there a way to make this recipe lower in sugar? ▾
You can cut the granulated sugar in the custard and fresh whipped cream by 25% without ruining the texture, since ripe bananas and prepared red velvet cake already add plenty of baked-in and natural sweetness. Skip sugar-free instant pudding mix as a shortcut, though—it has a distinct artificial aftertaste that clashes with the subtle tang of the red velvet crumbs.
17.Will the red velvet cake crumbles get too soggy as the pudding chills? ▾
Not if you use a properly baked, frosting-free red velvet cake and let the custard cool slightly before layering. Hot custard will melt the cake crumbs into mush, but warm, room-temperature custard will soften the crumbs just enough to mimic that perfect tender texture (similar to softened vanilla wafers in classic pudding) without turning soggy, even after 24 hours of chilling.

Comments (3)

2 days ago

OMG this red velvet banana pudding was a total game changer for our family potluck last weekend! I was so nervous to try a twist on classic banana pudding but everyone was coming back for seconds, even my super picky 8 year old. I couldn’t believe it only takes 10 minutes to throw together—no way anyone can mess this up, even on a busy weeknight. I added a handful of extra white chocolate chips on top for a little crunch, chef’s kiss.

yesterday

Wait the extra white chocolate chips sound genius! I’m making this for my church potluck this Sunday, do you think it holds up okay if I make it the night before?

2 hours ago

So glad you and your family loved the recipe! Adding white chocolate chips is such a fun, tasty hack—great call. To answer the question above, this pudding actually tastes even better after chilling for 8-12 hours, so prepping it the night before is totally perfect, no soggy layers promise!

yesterday

Tried this last night for my girlfriend’s birthday dinner since she’s obsessed with both red velvet and banana pudding, and let me tell you—she almost cried it was SO good. I’m definitely not a baker, like I burn toast half the time, but the easy difficulty rating was not lying. I thought I’d have to spend hours in the kitchen for a fancy birthday dessert, but 10 minutes start to finish, no fancy equipment needed? Unbeatable. 10/10 will be making this again for our next date night.

5 minutes ago

This makes us so happy to hear! Love that this no-fuss recipe worked out for your girlfriend’s birthday—no fancy baking skills required, that’s exactly what we aim for. Hope you two have the coziest date night when you whip it up again!

30 minutes ago

Added this to my weekly meal prep rotation for quick sweet treats this week! I love that it’s no-bake and so quick to put together, perfect for Sunday meal prep when I’m already juggling a million things. I portioned it out into little individual cups so I can grab one after dinner without eating the whole tray (okay, let’s be real, I still might eat half the batch by Wednesday). The red velvet flavor isn’t too overpowering, it pairs so nicely with the sweet banana and creamy vanilla pudding layers. My roommate already stole two cups so I’ll definitely have to make a double batch next time.



