
Red Velvet Brownies
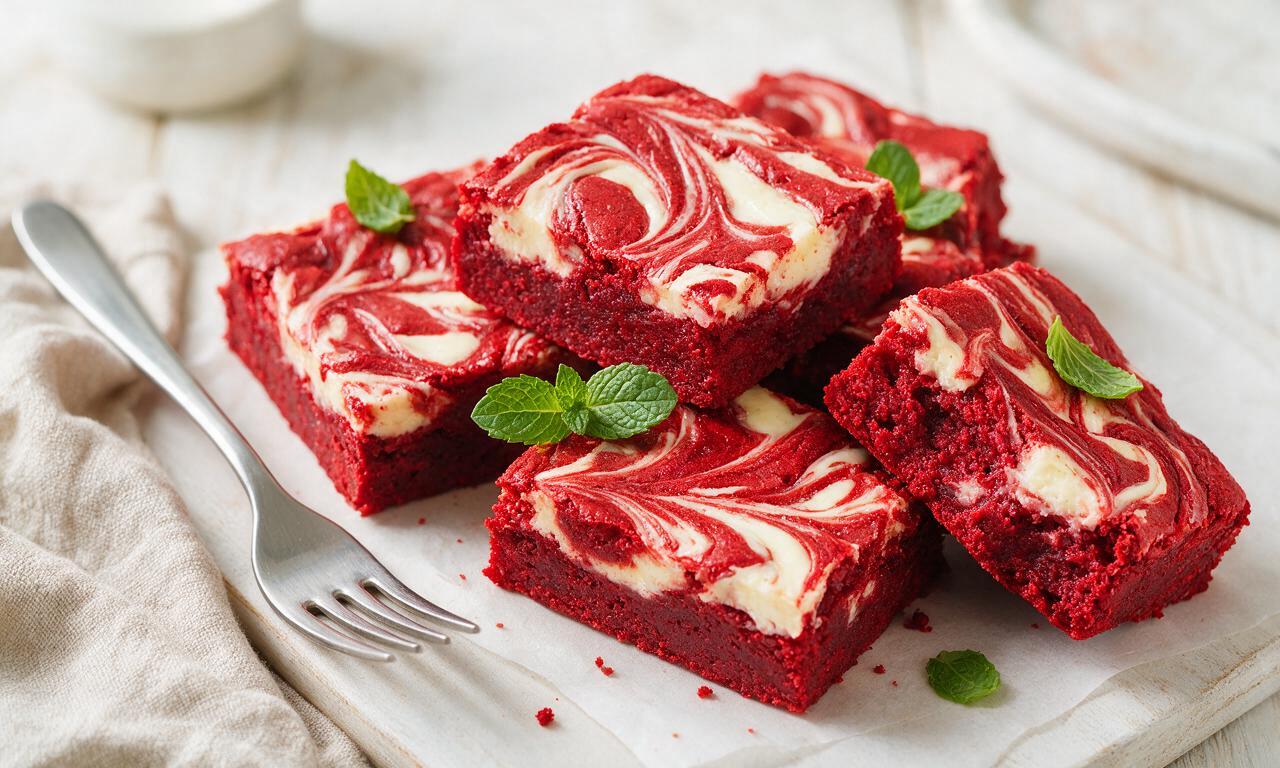
intro
Fudgy, cocoa-kissed red velvet brownies marbled with tangy cream cheese, boasting a vibrant red hue and rich, indulgent texture perfect for festive sweet moments.
Ingredients
Steps
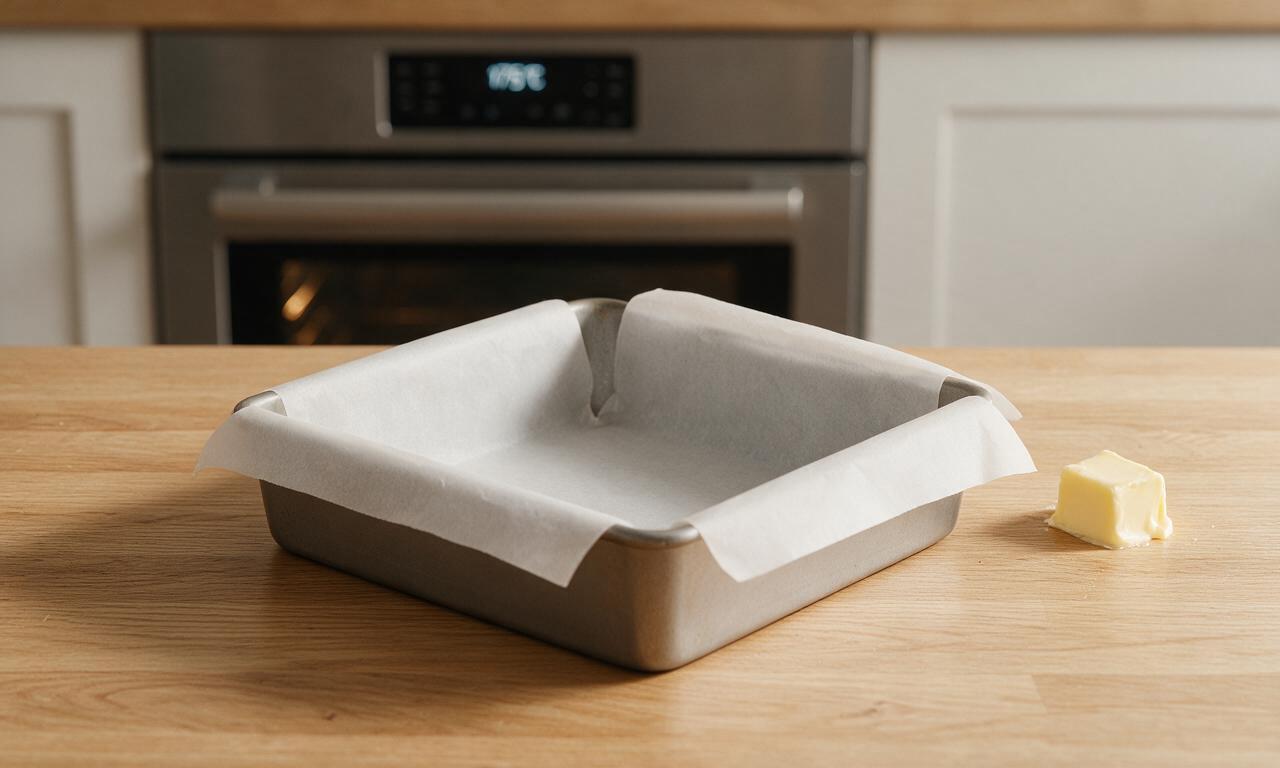
Prep oven and pan
Preheat your oven to 175°C (350°F). Line a 20cm (8x8 inch) square metal baking pan with parchment paper, leaving a 5cm (2 inch) overhang on two opposite sides for easy brownie removal after baking. Use the reserved 1g (1/4 tsp) of softened butter to lightly grease any exposed pan sides not covered by parchment to prevent sticking.
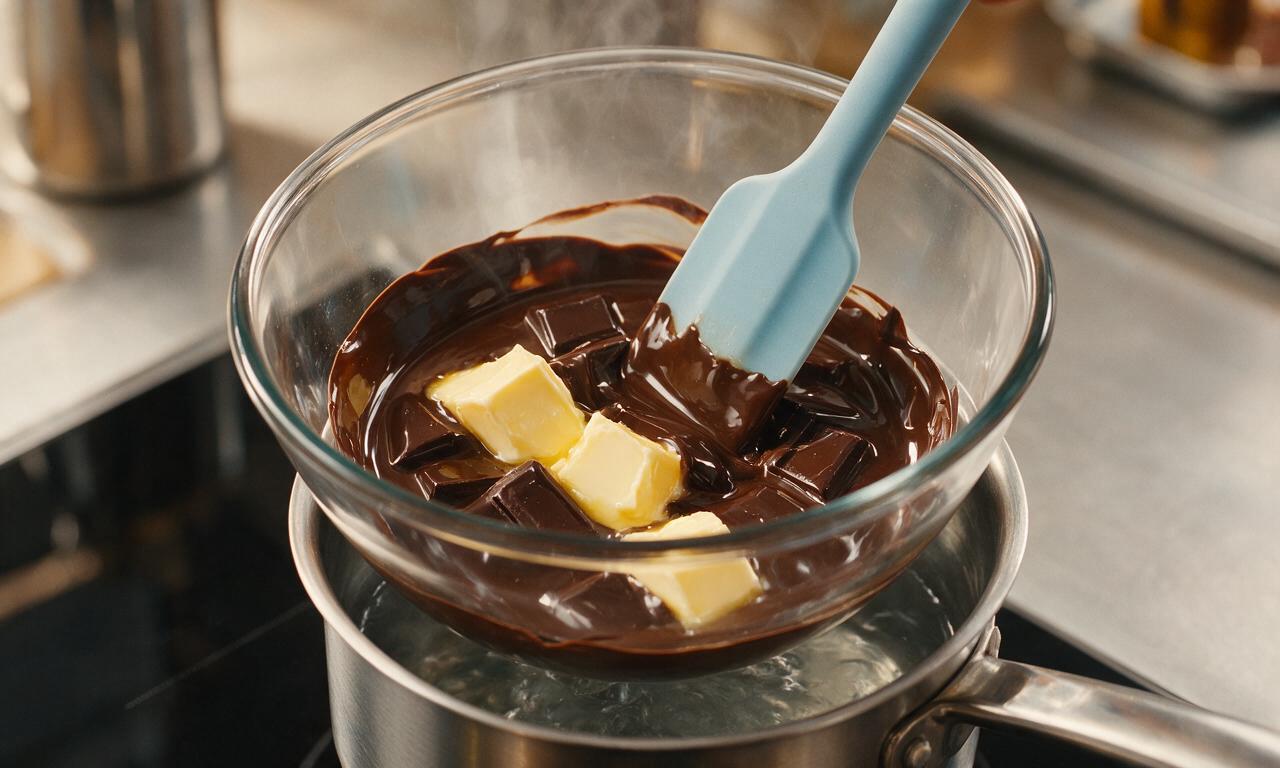
Melt butter and chocolate
Place 113g of the unsalted butter and chopped 70% dark chocolate in a heatproof glass bowl set over a small pot of gently simmering water (double boiler setup, ensure no water touches the bottom of the bowl). Stir constantly with a silicone spatula over medium-low heat for 3-4 minutes until the mixture is fully melted and glossy smooth. Remove the bowl from heat and let it cool for 5 minutes at room temperature.
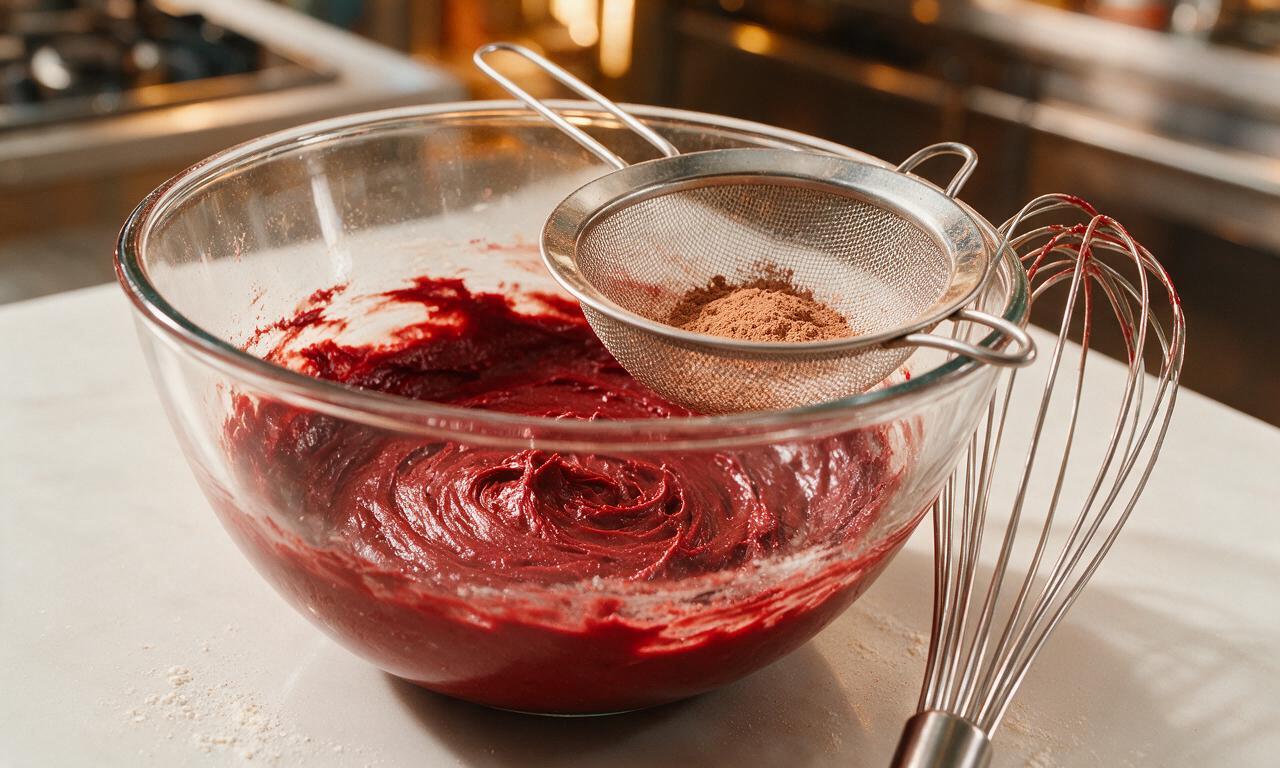
Mix red velvet base
Whisk the granulated sugar into the cooled melted chocolate mixture until fully combined. Add the room-temperature eggs one at a time, whisking vigorously for 30 seconds after each addition to fully incorporate. Stir in 5ml (1 tsp) of the vanilla extract, red food coloring, and fine salt. Sift the all-purpose flour and unsweetened cocoa powder over the wet mixture, then fold gently with a spatula just until no dry flour streaks remain—do not overmix, as this will create tough, cakey brownies.
Make cream cheese swirl
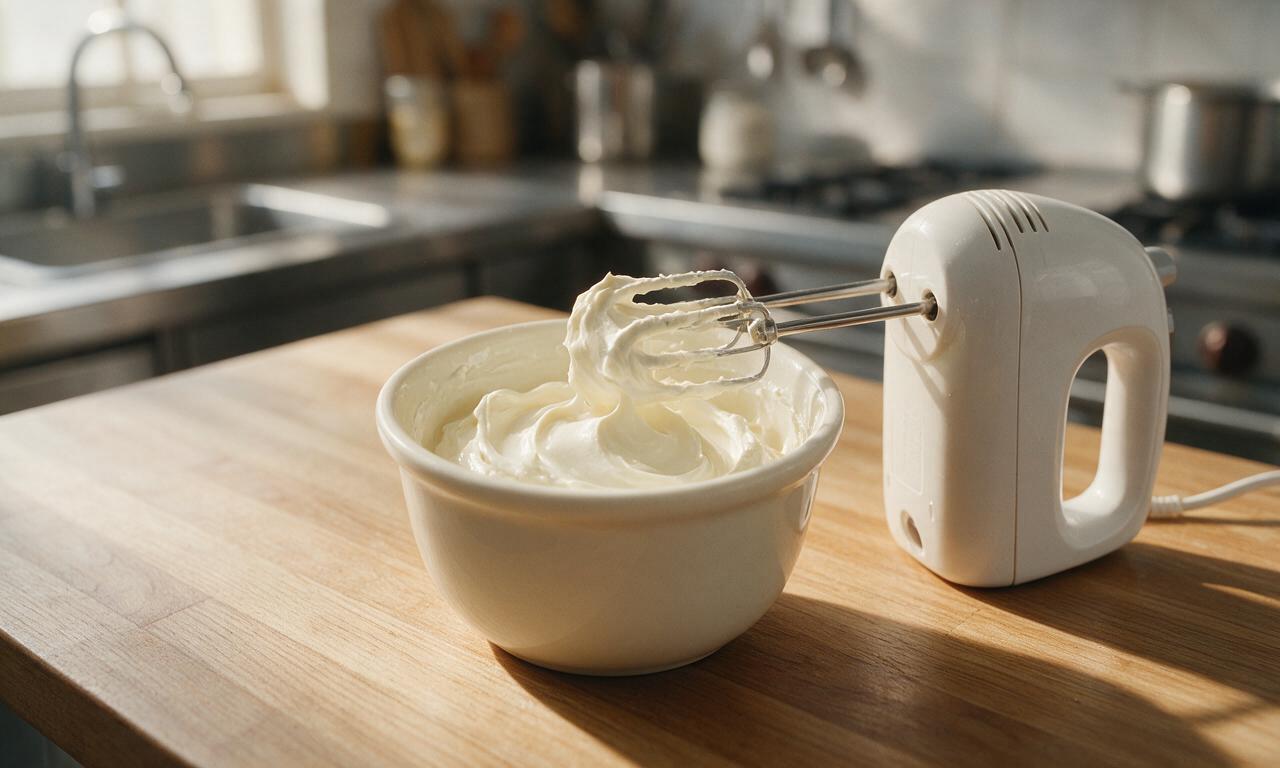
In a separate medium bowl, add the room-temperature full-fat cream cheese. Beat with an electric hand mixer on medium speed for 2 minutes until completely smooth, with no visible lumps. Add the sifted powdered sugar and remaining 2.5ml (1/2 tsp) of vanilla extract, then beat on low speed for 1 more minute until the mixture is creamy and fully combined.
Assemble marbled layers
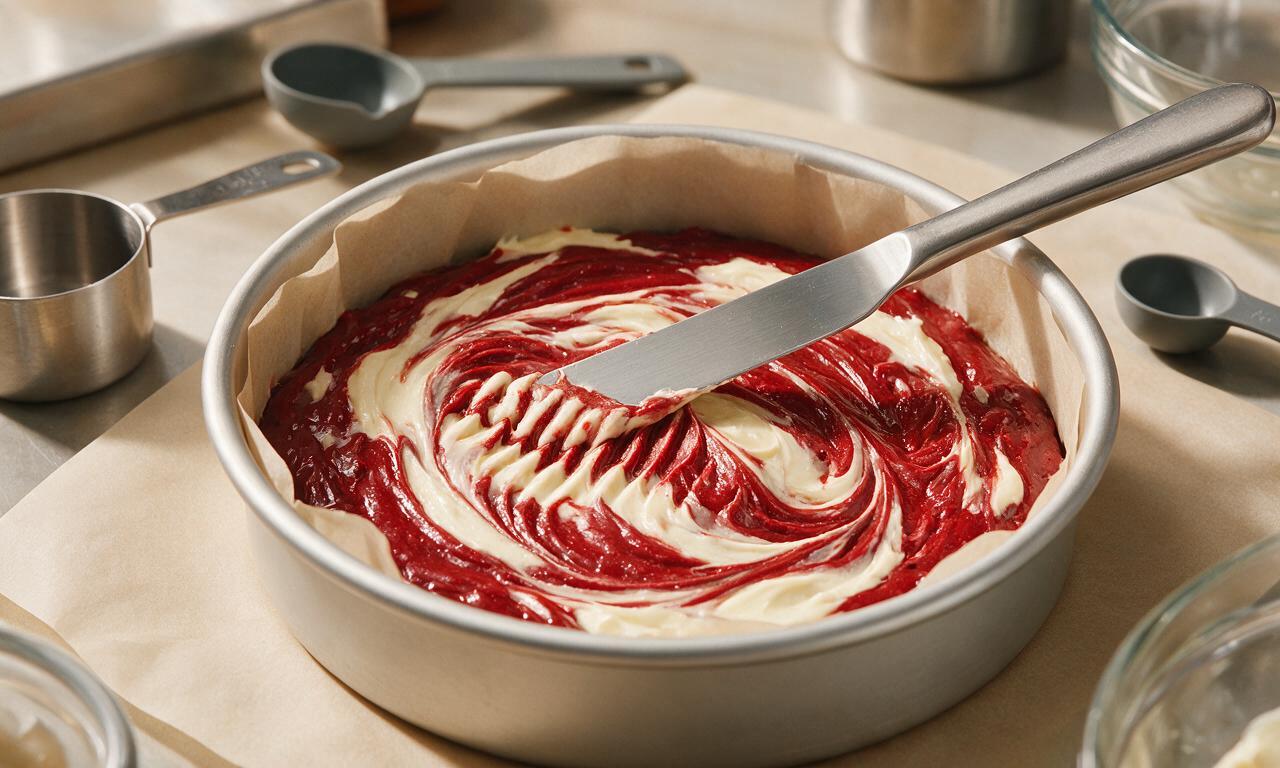
Pour 2/3 of the red velvet brownie batter into the prepared pan, spreading it into an even, smooth layer with an offset spatula. Dollop tablespoon-sized spoonfuls of the cream cheese mixture evenly across the top of the red base layer, then pour the remaining 1/3 of the red brownie batter over the cream cheese in random, uneven dollops. Drag a clean butter knife through the layers in slow, wide zig-zag motions to create a swirled marbled pattern—do not over-swirl, as this will blend the colors completely instead of creating distinct streaks.
Bake and cool brownies
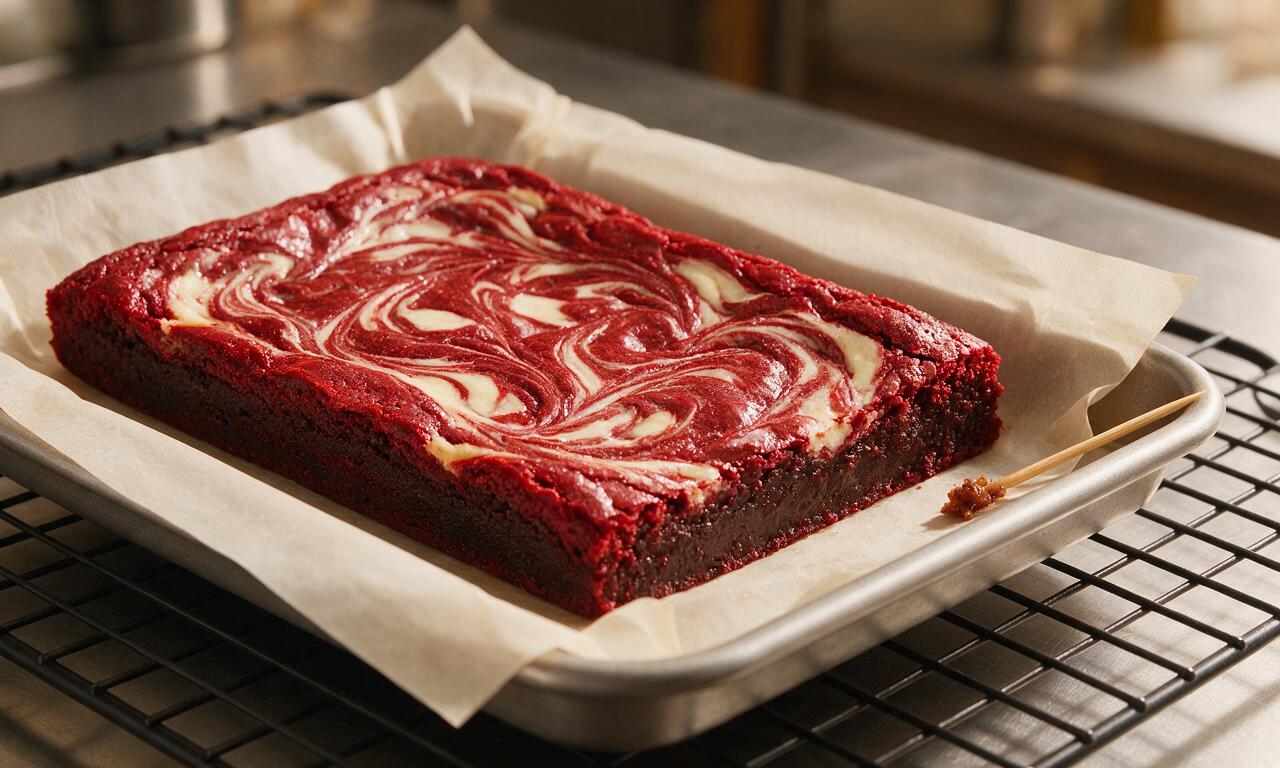
Place the pan on the middle rack of the preheated oven and bake for 28-30 minutes at 175°C (350°F). The brownies are done when the edges are fully set and the center jiggles just slightly; a toothpick inserted 2cm (1 inch) from the pan edge will come out with moist, fudgy crumbs, not wet batter. Let the brownies cool completely in the pan on a wire rack for 45 minutes, then use the parchment overhang to lift the entire slab out of the pan and cut into 9 equal squares.
Tips
2.Do not overbake the brownies: the center should have a slight jiggle when you remove the pan from the oven, as residual heat will continue to set the brownies as they cool for a perfectly fudgy texture.
3.If using concentrated gel red food coloring instead of liquid, reduce the amount to 5ml (1 tsp) to avoid an overly artificial taste while still achieving a bright, classic red velvet hue.






OMG these brownies were such a hit at my office potluck last week! I was worried the marbling would be tricky since I’m not a super confident baker, but the recipe was so straightforward and easy to follow. They’re perfectly fudgy, not too cakey, and that little swirl of cream cheese? *Chef’s kiss* My coworkers were begging me for the recipe before I even left the break room. 10/10 will be making these for my kid’s soccer team snack next!
SO good, even with my random last-minute adjustment! I didn’t have any red food coloring in the pantry when I started baking last night so I swapped in a little beet powder to get that deep red hue, and you couldn’t even taste the difference. Cook time was spot on for my weird old oven – 45 minutes exactly, and the edges were nice and chewy while the middle was that perfect gooey fudgy texture. My boyfriend ate three squares right after they cooled down, zero shame. Total game changer for quick weeknight treats!
I initially planned to meal prep a batch of these for weekday snacks but ended up bringing them to my family’s Sunday dinner dessert last weekend, and they were gone before we even finished the main course! I’ve tried so many red velvet brownie recipes over the years that come out dry or taste like fake chocolate, but these are perfectly rich, the red velvet flavor is spot on, and the marbled cream cheese swirl cuts the sweetness just right. My 7 year old said they’re “better than the brownies from the bakery down the street” which is the highest possible praise in my book. Super easy to throw together even on a busy weekend, no fancy equipment required at all.