1.Why do my red velvet cookies turn out flat instead of thick and chewy?
▾
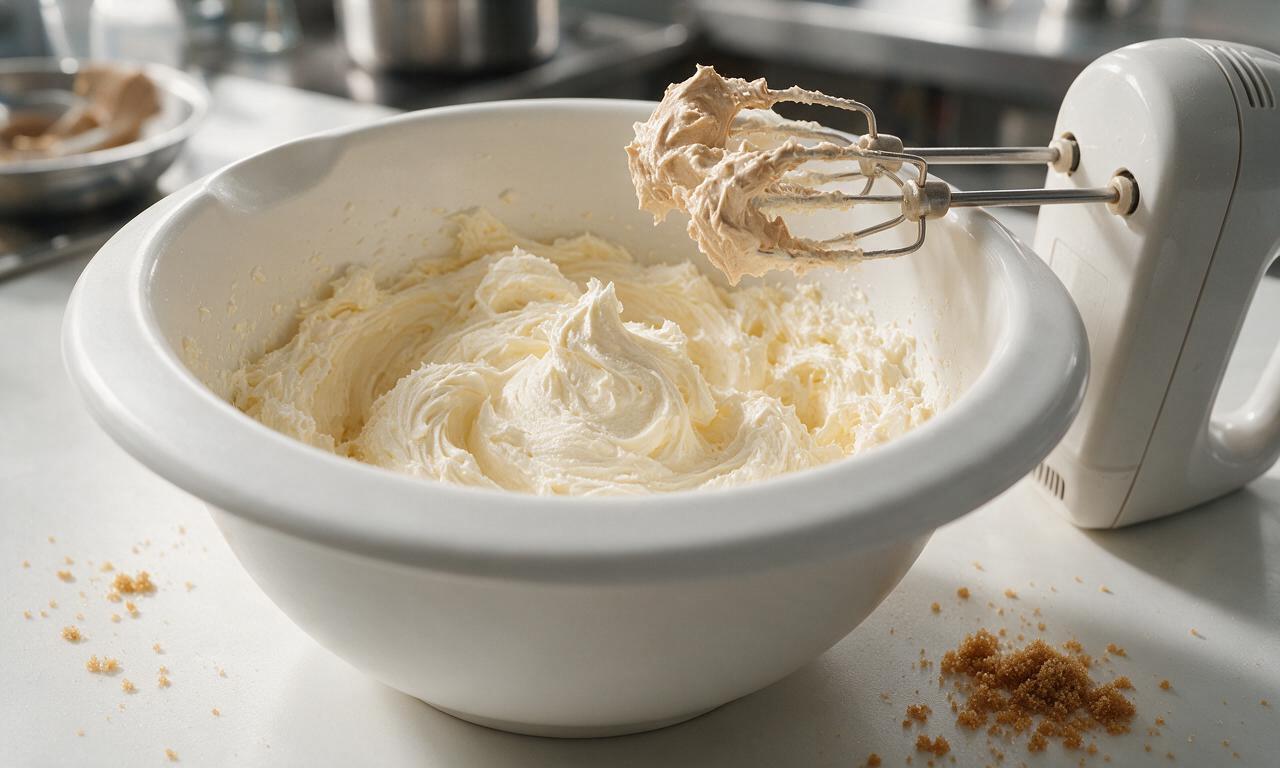
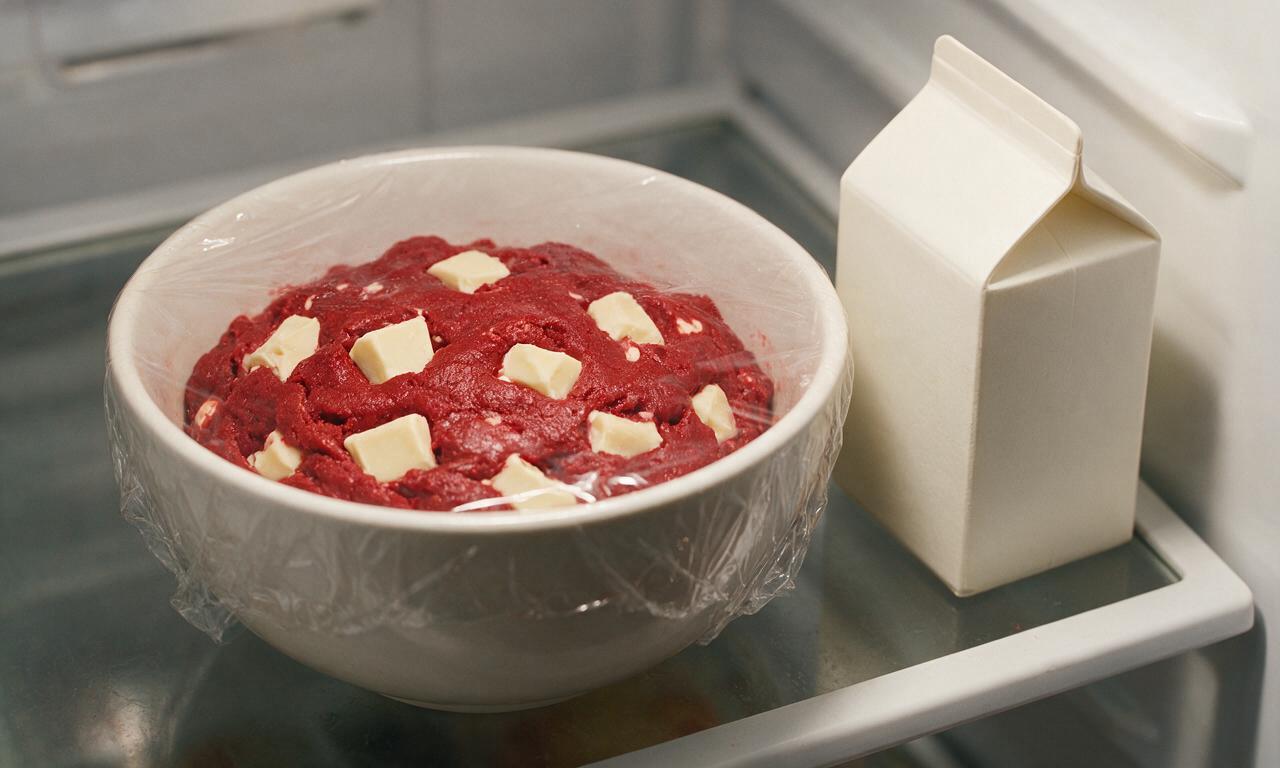
Great question! The most common culprit is overly softened butter—you want it cool to the touch, not melted or greasy, when creaming with granulated and packed light brown sugar. Chill your dough for at least 1 hour before baking to prevent excess spread, and double-check your baking soda is fresh so cookies set properly before spreading too thin.
2.Can I use white chocolate chips instead of hand-cut white chocolate chunks?
▾
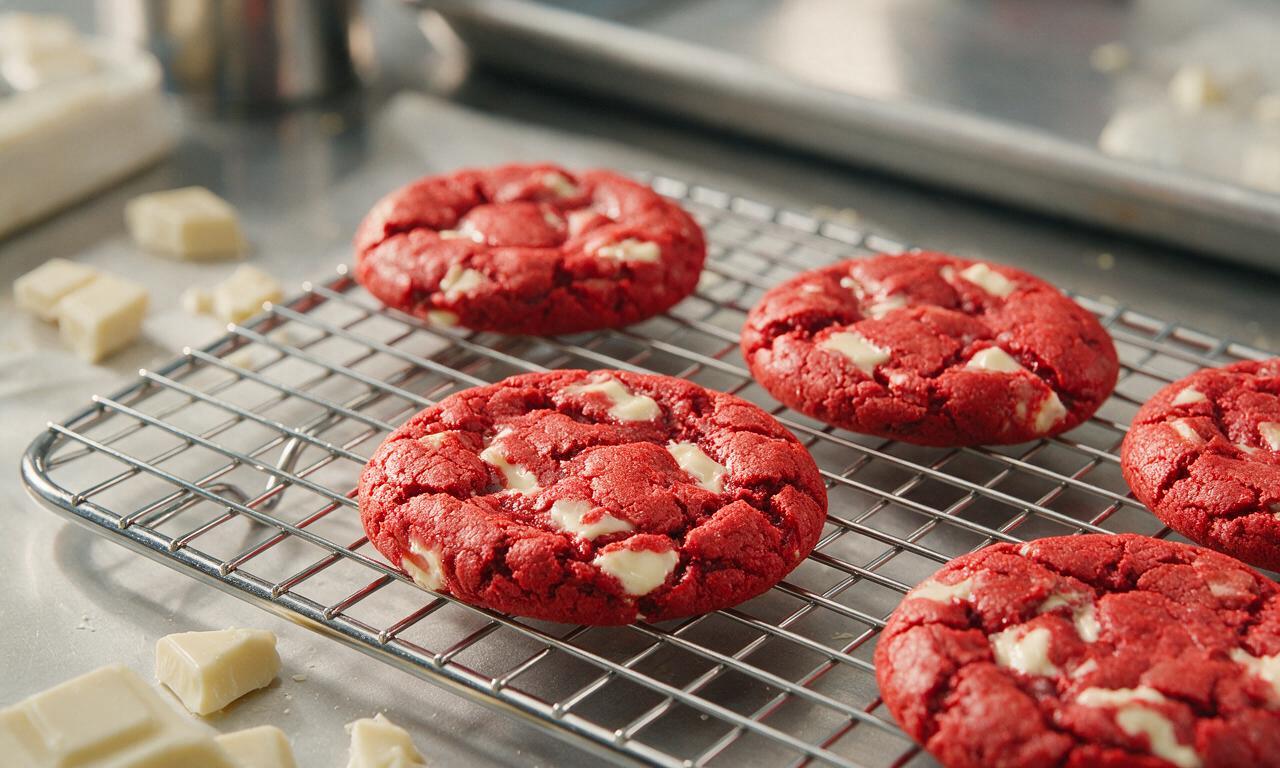
Absolutely! Hand-cut chunks give you those delicious, melty irregular pockets of white chocolate, but high-quality white chocolate chips work perfectly too. Just look for chips with cocoa butter listed as a main ingredient, not vegetable oil fillers, so they melt smoothly and have that rich, creamy flavor that pairs so well with the subtle cocoa tang of the red velvet base.
3.How do I get that vibrant, classic red color without using too much food coloring?
▾
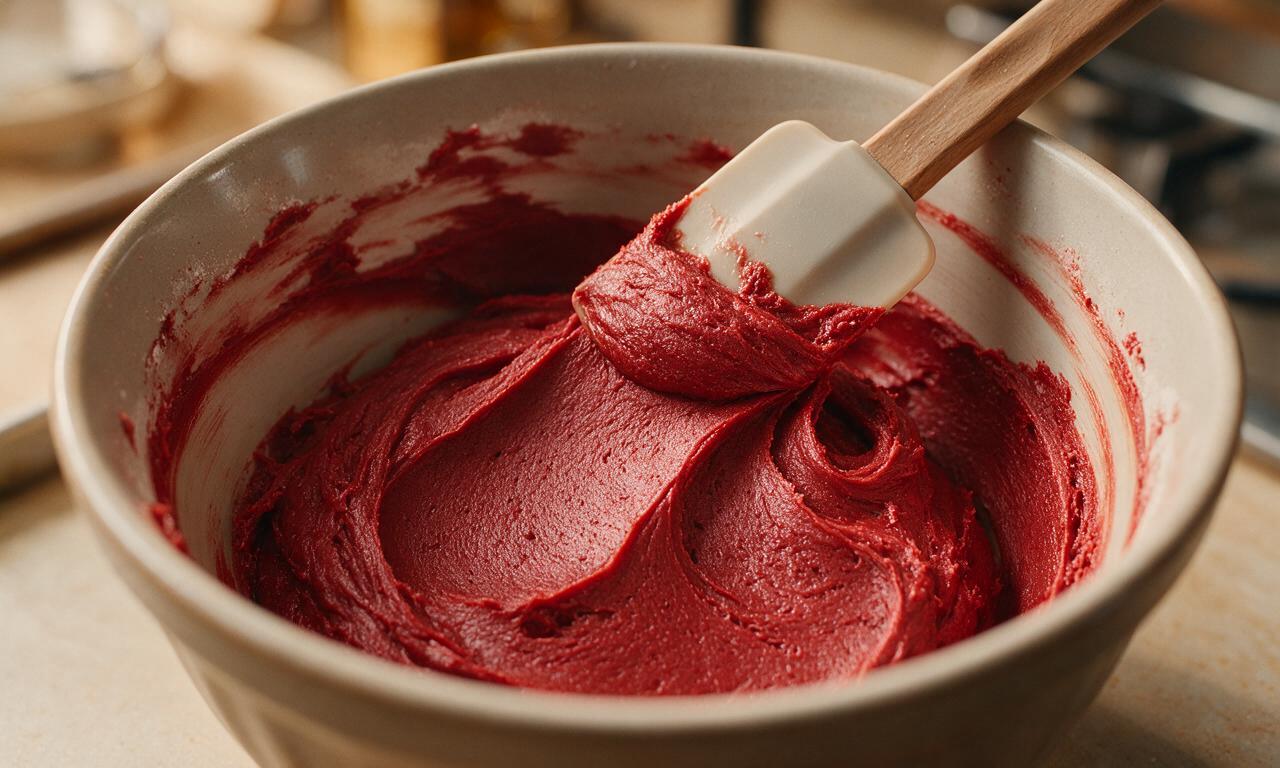
Start with 1 to 1.5 teaspoons of gel-based red food coloring, not liquid, for the best payoff. Liquid coloring adds extra moisture that can throw off your dough texture and requires far more product to get a deep red hue. Mix the coloring into your creamed butter and sugar before adding dry ingredients to get an even, consistent color across every cookie.
4.Do I really need to chill the cookie dough before baking?
▾
Chilling is non-negotiable for that perfect chewy texture and deep, balanced red velvet flavor. It lets the all-purpose flour hydrate fully, firms up the butter to reduce spread, and gives the subtle cocoa notes time to meld with the brown sugar caramel notes. Even a 30-minute chill makes a noticeable difference, but 2 hours (or overnight) is ideal for the best results.
5.Can I use salted butter instead of unsalted butter for this recipe?
▾
You can absolutely swap in salted butter if that’s what you have on hand! Just cut any additional added salt in the recipe by ¼ teaspoon per stick of salted butter you use, to keep the flavor balanced. Unsalted butter lets you control the exact salt level to make the sweet white chocolate and tangy cocoa pop, but the swap works seamlessly with that small adjustment.
6.Why do my cookies have a weird bitter aftertaste?
▾
That bitter flavor almost always comes from using too much low-quality red food coloring or too much cocoa powder. Stick to gel food coloring to avoid the harsh chemical aftertaste that comes with overusing liquid coloring, and measure your cocoa carefully—red velvet only has a subtle cocoa tang, not a full chocolate cookie level of cocoa, so extra will throw off the balance.
7.How long do these cookies stay fresh after baking?
▾
Stored in an airtight container at room temperature, these chewy cookies stay perfectly soft and delicious for 3 to 4 days. Tuck a slice of plain white bread into the container with the cookies after the first day; the bread releases just enough moisture to keep the cookies chewy, so you won’t end up with dried-out, crumbly edges even a few days after baking.
8.Can I freeze the cookie dough to bake later?
▾
Absolutely! Scoop your mixed dough into individual, evenly sized portions, freeze them solid on a baking sheet, then transfer to a labeled freezer bag for up to 3 months. When you’re ready to bake, pop the frozen dough scoops straight onto a baking sheet, add 2 to 3 minutes to your normal bake time, and you’ll have fresh, chewy cookies with no extra prep required.
9.What’s the best way to get evenly baked cookies every time?
▾
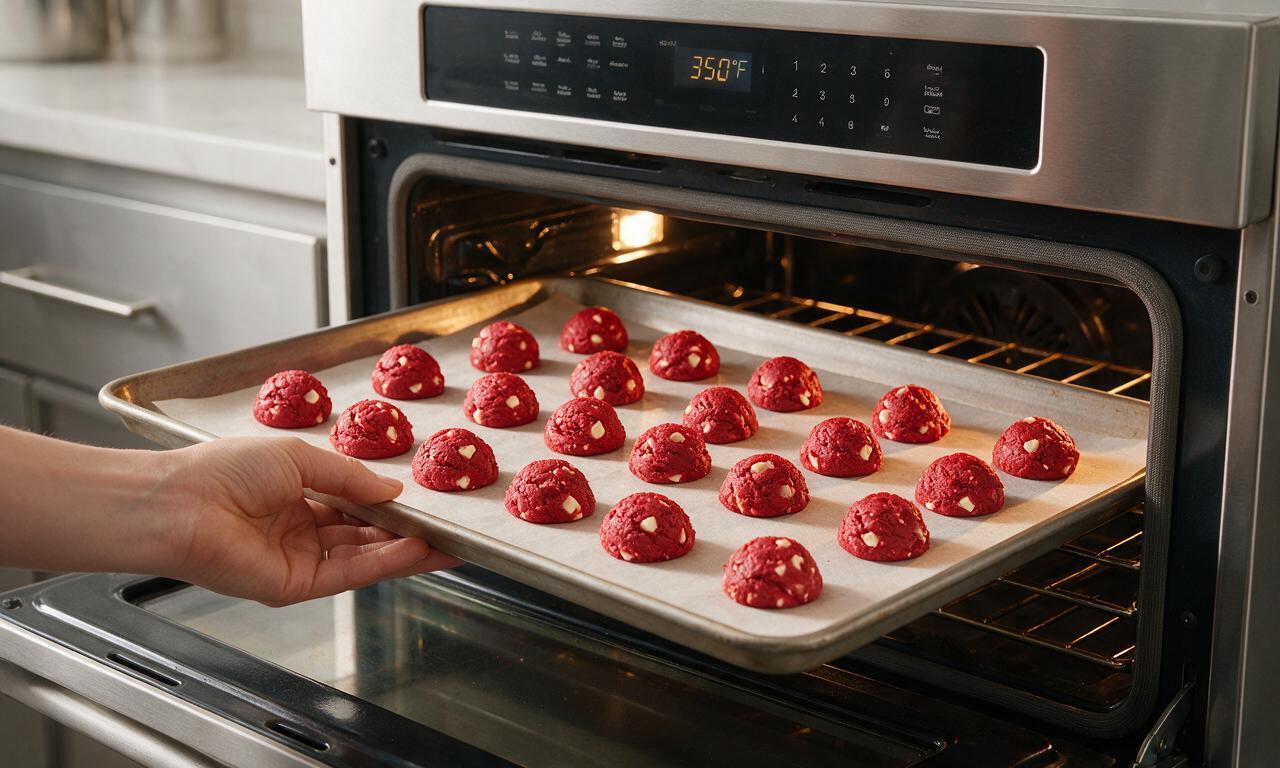
First, use a light-colored aluminum baking sheet lined with parchment paper, not dark nonstick sheets that burn cookie bottoms quickly. Scoop dough into uniform 2-tablespoon portions so every cookie bakes at the same rate, and rotate your sheet halfway through baking to account for oven hot spots. Pull cookies when edges are just set, centers still slightly soft.
10.Can I make these cookies gluten-free?
▾
You can easily make a gluten-free version with a high-quality 1:1 gluten-free all-purpose flour blend that includes xanthan gum. Skip blends made for bread or cake, as those will create a tough or crumbly texture. The rest of the ingredients—unsalted butter, sugars, white chocolate chunks—are naturally gluten-free, so no other swaps are needed for great results.
11.Why do my white chocolate chunks sink to the bottom of the cookies?
▾
Chunks usually sink if your dough is too soft, or if your chunks are extra large and heavy. Toss your white chocolate chunks in a light dusting of all-purpose flour before folding them into the dough to help them stay suspended, and make sure your dough is properly chilled before scooping and baking to keep chunks evenly distributed through every chewy bite.
12.Can I add mix-ins besides white chocolate chunks?
▾
Of course! Chopped pecans or walnuts add a lovely nutty crunch that pairs beautifully with red velvet, and a sprinkle of flaky sea salt on top right before baking cuts through the sweetness perfectly. You can also fold in crushed pretzel pieces for a salty-sweet twist, just keep total mix-ins to 1 ½ cups so you don’t overload the chewy cookie base.
13.What makes these cookies “red velvet” instead of just red chocolate cookies?
▾
Classic red velvet has a very subtle, tangy cocoa profile, not a rich, deep chocolate flavor, which sets these apart from plain red chocolate cookies. The base includes a small hit of acid to create that signature soft, tender crumb and bright tang, paired with that iconic deep red hue, rather than the dense, fudgy base of a standard chocolate cookie.
14.How do I get that perfect chewy center and crisp, buttery edge?
▾
The key is nailing your bake time and oven temperature. Bake at 375°F (190°C) for 9 to 11 minutes total—if you bake longer, the centers will set up hard instead of staying chewy. The high heat quickly sets the edges to a light crisp while leaving the center soft, and the ratio of packed light brown sugar to granulated sugar adds moisture that keeps centers chewy as they cool.
15.Can I use dark brown sugar instead of light brown sugar for this recipe?
▾
You can, but it will change the flavor and color slightly. Dark brown sugar has more molasses, which will give the cookies a deeper, more caramelized flavor and a slightly darker, less vibrant red hue. If you don’t mind that richer flavor, it works perfectly for chew, but light brown sugar is recommended to keep that classic bright red velvet look and milder, balanced sweetness.
16.Why are my cookies coming out dense and tough instead of soft?
▾
Tough, dense cookies almost always come from overmixing the dough after you add the all-purpose flour. Mix dry ingredients in just until you no longer see streaks of flour, then stop—overworking the dough develops excess gluten, which creates a tough, bready texture instead of that soft, tender chewy crumb. Avoid packing flour when measuring, too, as extra flour also creates dense results.
17.Are these cookies sturdy enough to pack for gifting or cookie swaps?
▾
Absolutely! These chewy cookies hold their shape perfectly and don’t crumble easily, making them ideal for holiday tins, cookie swaps, or care packages. Let them cool completely before packing, and layer them between sheets of parchment paper to prevent sticking. They stay chewy for days, so they’ll taste just as fresh when your recipient opens their gift as they did right out of the oven.
18.My cookies spread so much they merged into one big sheet on the pan—what went wrong?
▾
That almost always traces back to warm dough, overly soft butter, or an oven running too cool. If your butter is melted or your dough isn’t chilled, the fat melts too fast in the oven before the cookie structure can set. Use an oven thermometer to confirm your oven hits the right temperature, and chill dough extra long if your kitchen is warm to prevent spread.







OMG these cookies are INSANE! I brought a batch to my office potluck yesterday and every single one was gone in 10 minutes. The chewy texture is perfect, not cakey at all which is my biggest pet peeve with red velvet cookies. The white chocolate pairs so well, not too sweet. 10/10 will make every week from now on!
Super easy recipe even for someone who burns toast half the time lmao. I made these for my girlfriend’s birthday and she said they’re better than the fancy bakery ones we get downtown. Only thing I did extra was add a tiny sprinkle of sea salt on top before baking, game changer move.
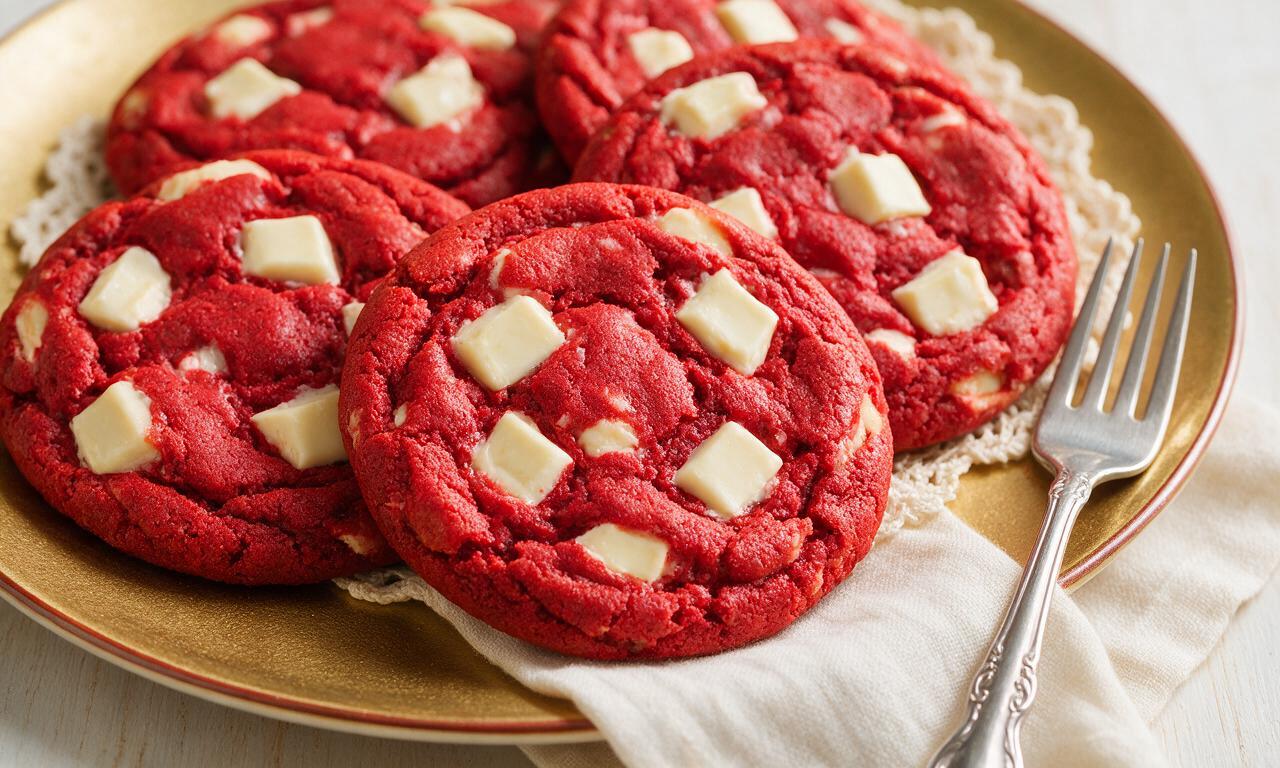
These are so good but mine spread way more than the photos show? Did I do something wrong? I followed the measurements exactly, used room temp butter like it said, but they came out super flat. Still tasted amazing, just not as thick and chewy looking as the recipe pics.
Made these for my son’s team snack after practice last week and all the kids were begging for the recipe. Even the coaches asked for a second cookie! Super straightforward, didn’t need any fancy ingredients which is a win for this dad who rarely bakes. Will absolutely make again for our next tailgate.
My kids loved it! I was worried the red velvet flavor would be too rich for them but they devoured three cookies each after dinner. I swapped half the white chocolate for semi-sweet since my youngest isn’t a huge white chocolate fan and it worked perfectly. So chewy, exactly what I was craving.
Wait, has anyone tried making these vegan? I have a potluck next weekend with a few vegan friends and I’d love to adapt this — the texture looks perfect! Wondering if flax eggs and vegan butter would work, or if anyone has tested it already.
SO good. I ate 4 straight out of the oven no shame. The chew is unreal, way better than the cakey red velvet cookies I’ve made in the past. The white chocolate gets all melty and gooey, it’s literal perfection. No notes, 10/10.
Do these freeze well? I like to make cookie dough scoops ahead of time to bake fresh for busy weeknights or last minute guests, and I’m wondering if I can keep a batch of this dough in the freezer for a few weeks.
Made these for a date night in and my partner thought I ordered them from a fancy bakery. The red velvet flavor is spot on, not too chocolatey, not too much food coloring taste which I hate. Perfect balance of flavors, will be adding these to my regular baking rotation.
Brought these to my neighborhood block party over the weekend and I had three people track me down to ask for the recipe before I even left! I added a little extra red food coloring to make them extra vibrant for a summer party and they looked so pretty on the dessert table. Chewy, sweet, total crowd pleaser.
Pretty good! I’m not a huge sweet tooth so I cut the white chocolate amount by about a third, and they were perfect for me. Cook time was accurate, super easy to follow even as a beginner baker. Would make again, probably with some chopped pecans next time for extra crunch.
Has anyone tried these with a 1:1 gluten free flour blend? I have celiac and have been searching for a good chewy gluten free red velvet cookie recipe, and this one looks perfect but I don’t want to waste ingredients if it doesn’t work!
Made these in my tiny dorm kitchen with like zero fancy equipment and they still turned out perfect! I didn’t have a mixer so I just stirred everything by hand, and I baked them on a cheap baking sheet with parchment paper. So easy, my entire floor came knocking when they smelled them baking lmao.
Wait, I thought these were supposed to be chewy but mine came out a little crispy around the edges and dry in the middle? I baked them for exactly 12 minutes like the recipe said, any tips? I used salted butter instead of unsalted, could that be it?
Testing cookie recipes for my annual Christmas cookie tin and these are definitely making the cut! They hold their shape really well, the color is gorgeous, and they taste even better the second day which is perfect for gifting. I’m going to add a little white chocolate drizzle on top for extra fancy vibes. Obsessed!