
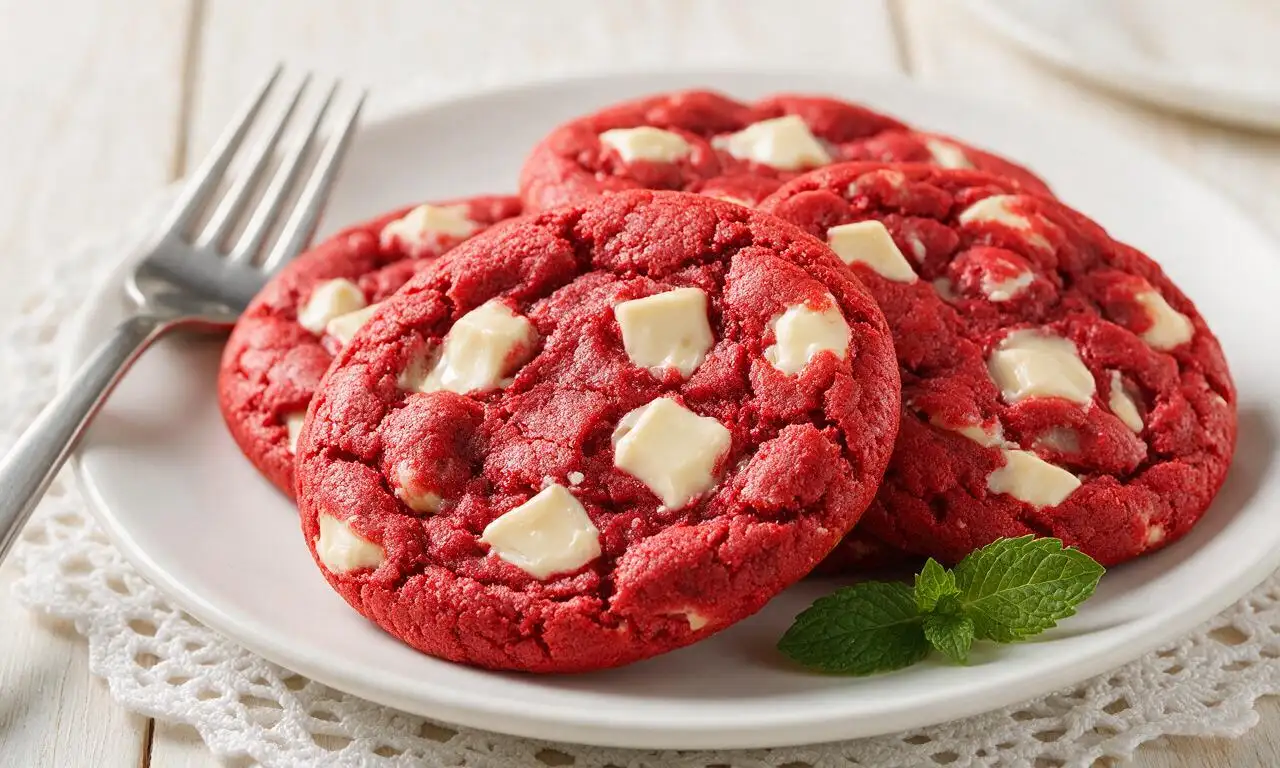
Red velvet cookies

title 1
Red velvet cookies
⏱️ cook time 1 hour (including 30 minute dough chill time)
🍽️ servings 12
⚡ Difficulty easy

intro

Soft, chewy vibrant red cookies with subtle cocoa notes, studded with creamy white chocolate chunks, a classic shareable Southern sweet treat.

Ingredients

All-purpose flour (spooned and leveled) 280 grams (2 ¼ cups)
Unsalted butter (softened to room temperature) 113 grams (½ cup / 1 stick)
Unsweetened natural cocoa powder 14 grams (2 tablespoons)
White chocolate chunks 170 grams (1 cup)
Gel red food coloring 15 milliliters (1 tablespoon)
Granulated white sugar 100 grams (½ cup)
Packed light brown sugar 100 grams (½ cup)
Large egg (room temperature) 50 grams (1 unit)
Pure vanilla extract 5 milliliters (1 teaspoon)
Baking soda 4 grams (1 teaspoon)
Fine sea salt 3 grams (½ teaspoon)
White distilled vinegar 5 milliliters (1 teaspoon)

Steps

1

Whisk dry ingredients

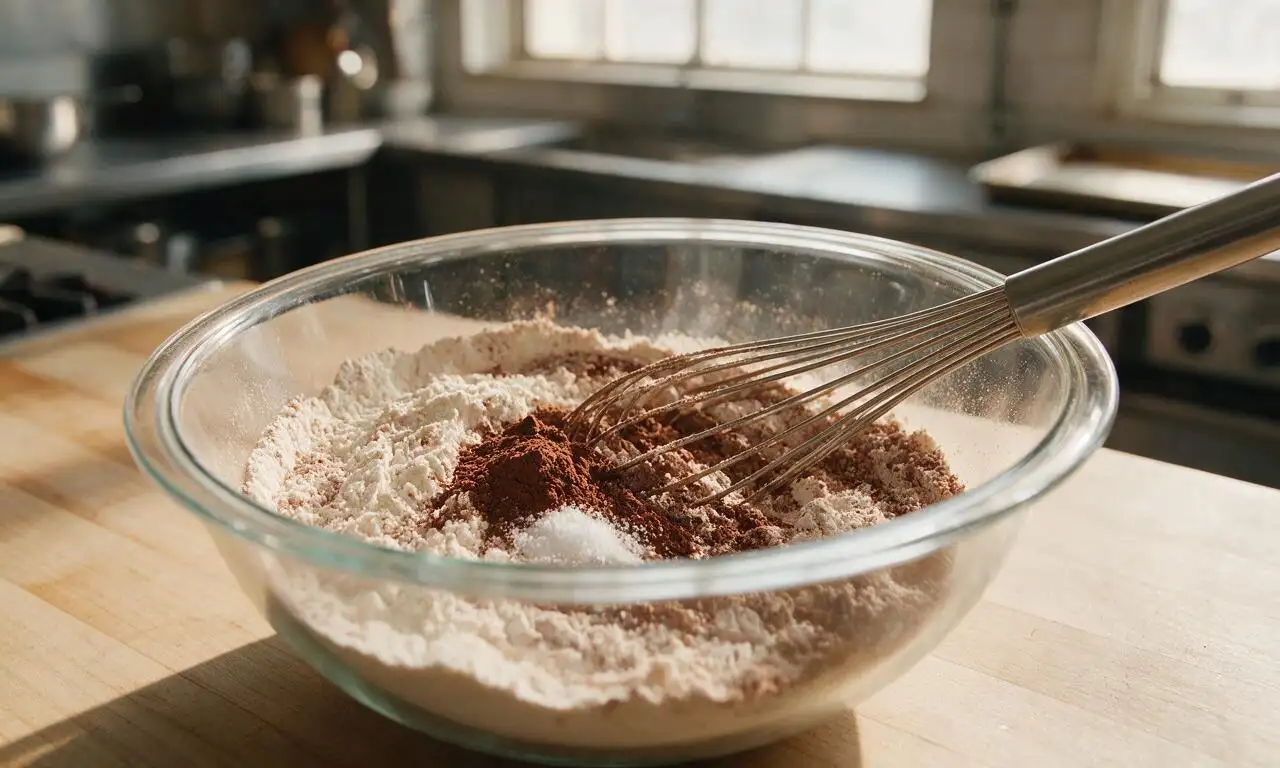
In a medium glass mixing bowl, combine 280g all-purpose flour, 14g unsweetened cocoa powder, 4g baking soda, and 3g fine sea salt. Whisk vigorously for 30 seconds until fully evenly blended, with no visible clumps of cocoa, then set the bowl aside.
Step 1
step1:Whisk dry ingredients
2

Cream butter and sugars

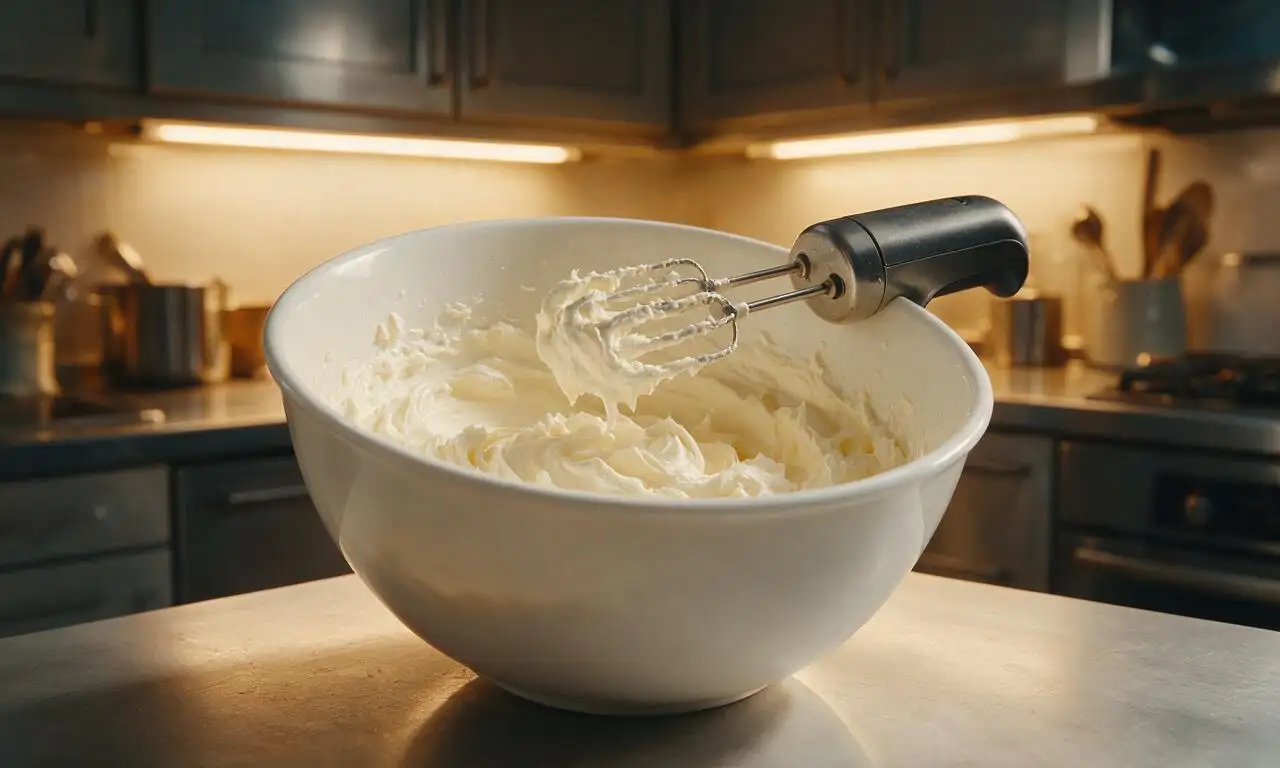
In a large mixing bowl, beat 113g softened unsalted butter, 100g granulated sugar, and 100g packed light brown sugar on medium-high speed (using a hand or stand mixer) for 2 full minutes. Stop once to scrape down the bowl sides, and beat until the mixture is pale, light, and fluffy.
Step 2
step2:Cream butter and sugars
3

Mix wet ingredients

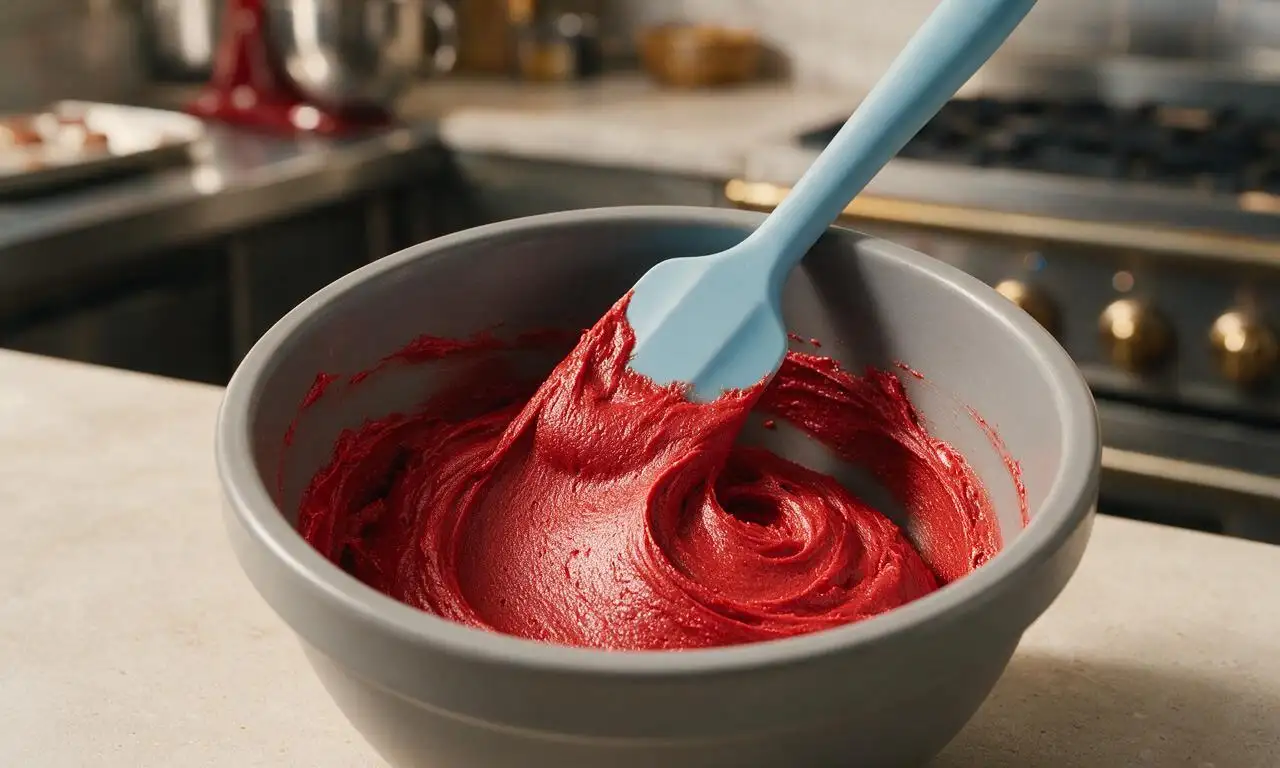
Reduce mixer speed to low, then add the room-temperature large egg, 5ml vanilla extract, 5ml white distilled vinegar, and 15ml gel red food coloring. Mix for 45 seconds until the batter is a uniform deep bright red, scraping down the bowl once halfway to eliminate uncolored streaks.
Step 3
step3:Mix wet ingredients
4

Fold in chocolate chunks

Add the pre-mixed dry ingredient blend to the red wet batter, mixing on the lowest speed for 20 seconds only. Stop as soon as no dry flour streaks remain (do not overmix), then fold in 170g white chocolate chunks by hand with a silicone spatula to distribute evenly.
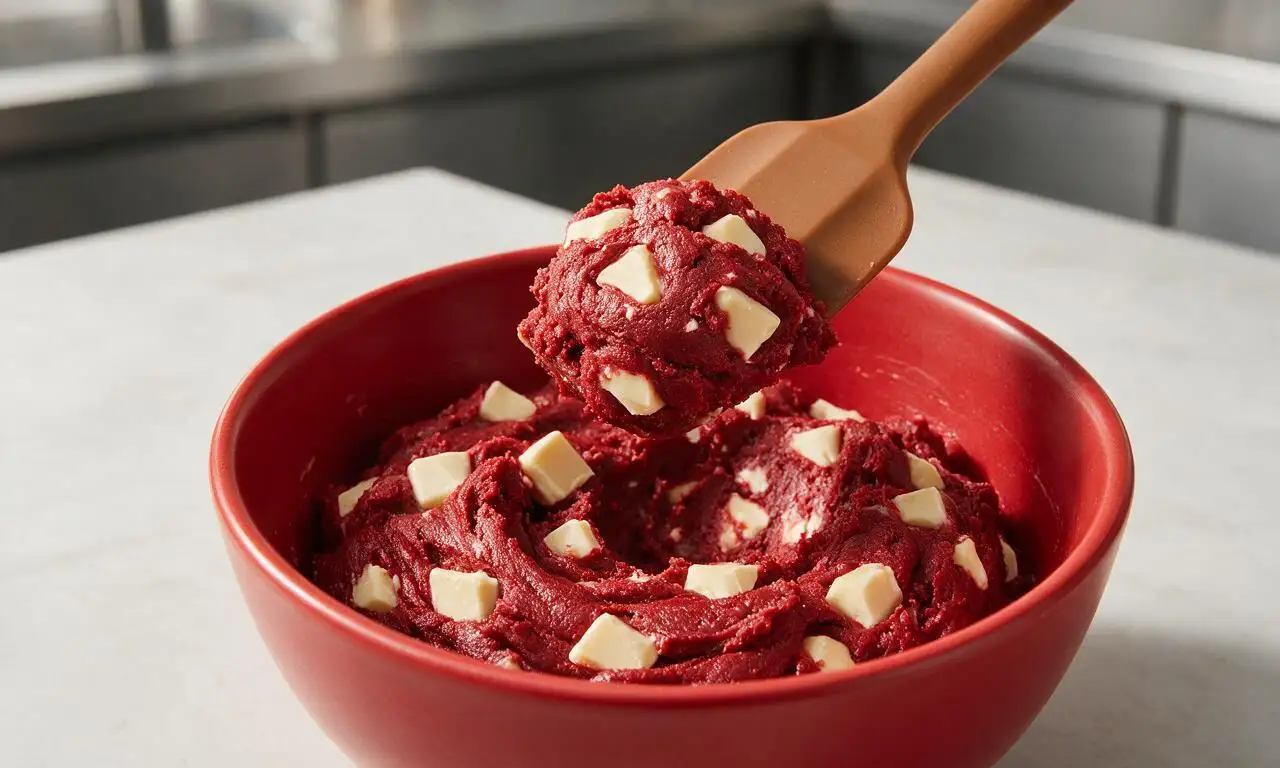
Step 4
step4:Fold in chocolate chunks
5

Chill cookie dough

Cover the dough tightly with plastic wrap, pressing the wrap directly against the dough surface to prevent a dry skin from forming. Refrigerate for 30 minutes at 4°C (39°F); this step prevents cookies from spreading too thin during baking, so do not skip it.
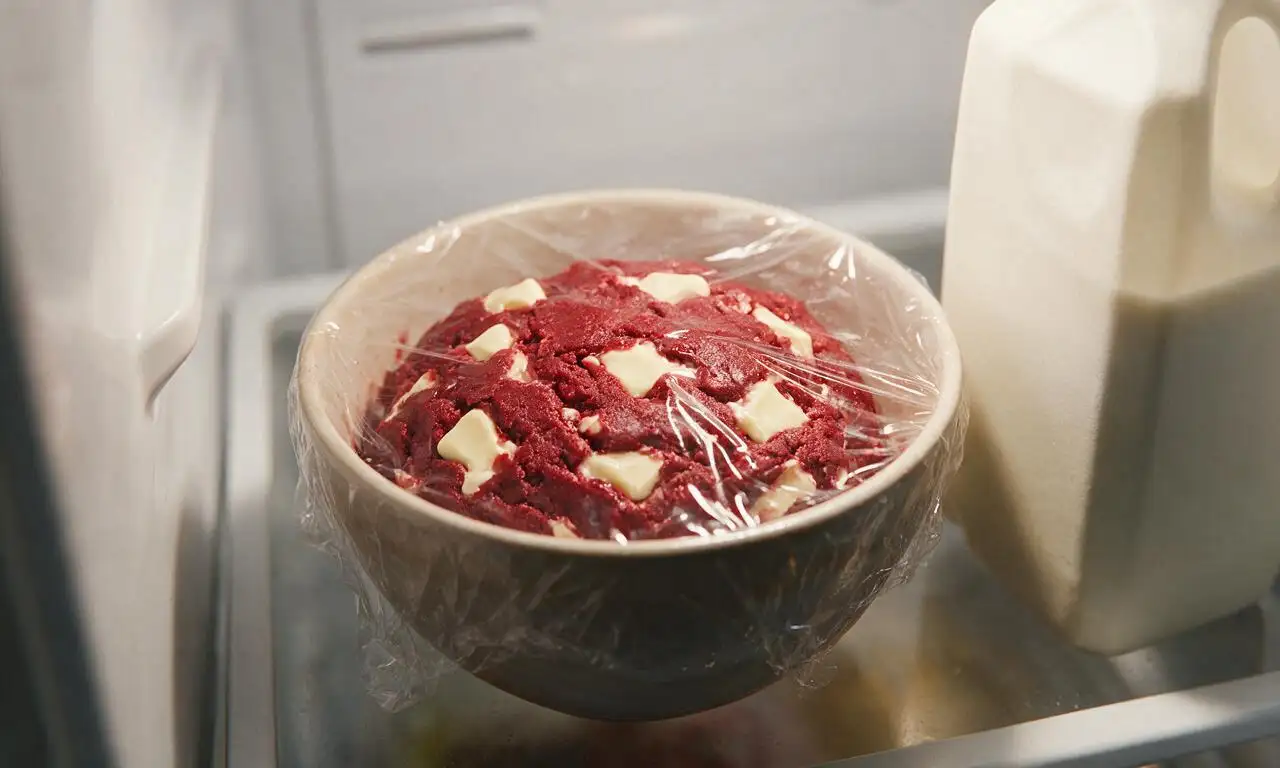
Step 5
step5:Chill cookie dough
6

Bake the cookies

While dough chills, preheat your oven to 175°C (350°F) and line two baking sheets with parchment paper. Scoop 30g (2 tablespoon) dough balls, spacing them 5cm (2 inches) apart on the prepared sheets. Bake for 10–11 minutes exactly: edges will be set, but centers will look slightly underbaked for a chewy final texture. Do not bake longer than 12 minutes to avoid dry, crumbly cookies.
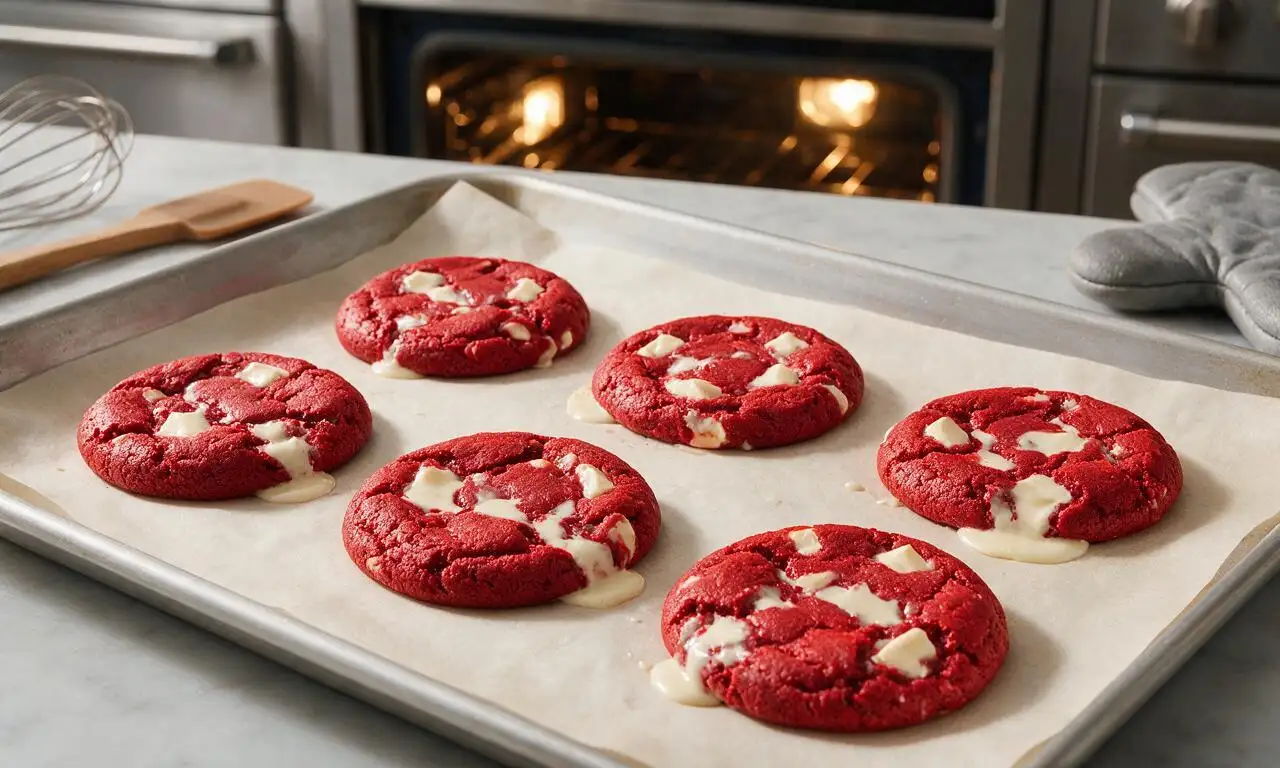
Step 6
step6:Bake the cookies
7

Cool and serve

Let cookies rest on the hot baking sheets for 5 full minutes after removing from the oven, as they will continue to set on the warm metal. Transfer cookies to a wire cooling rack for an additional 10 minutes before serving or storing in an airtight container.
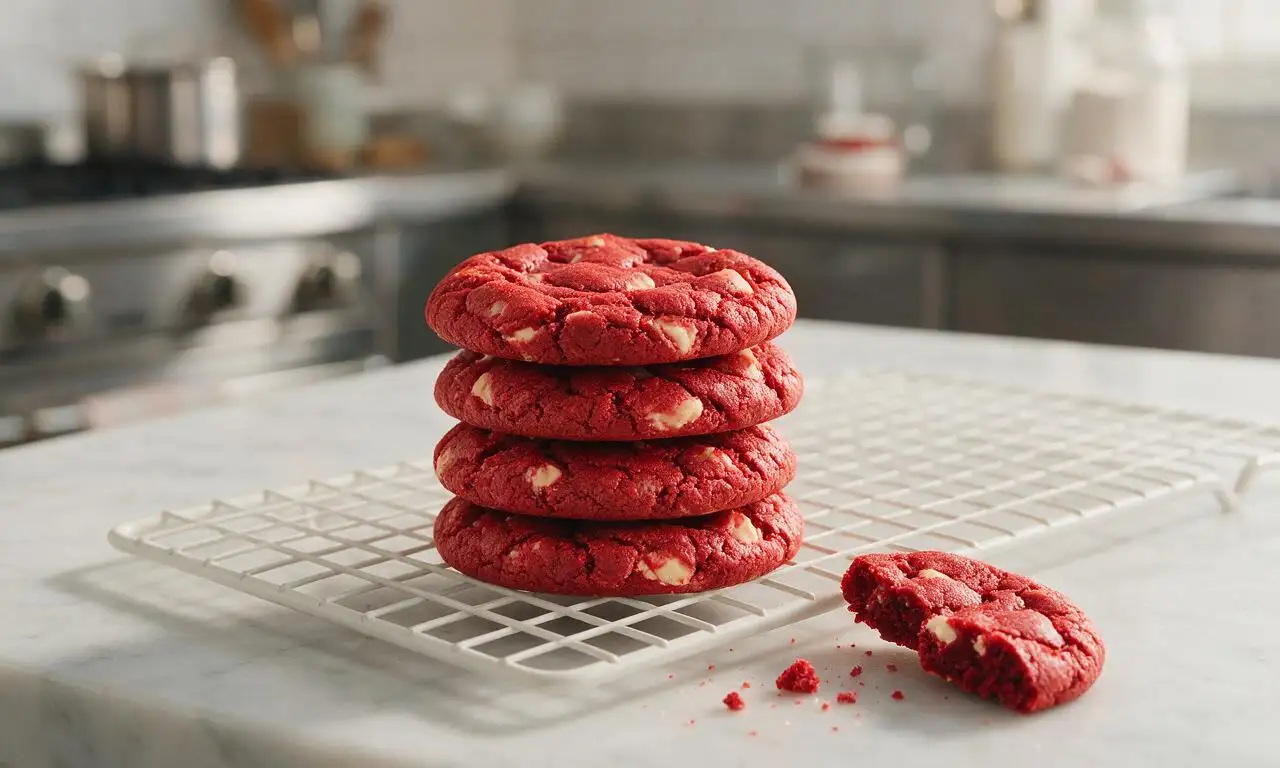
Step 7
step7:Cool and serve

Tips

1.Use gel red food coloring instead of liquid: liquid coloring thins cookie dough and produces a muted, pinkish-red hue instead of the signature deep, vibrant red color of classic red velvet.
2.Do not overmix the dough after adding dry ingredients: overmixing develops excess gluten in the flour, resulting in tough, dense cookies rather than the desired soft, chewy texture.
3.Resist the urge to bake cookies longer than 12 minutes: cookies will continue to set on the hot baking sheet after coming out of the oven, and overbaking leads to dry, crumbly results.


✨ You May Also Like

Desserts & Baking
🍜 Italy

Creamy, coffee-kissed classic Northern Italian no-bake dessert, with layers of rum-spiked mascarpone cream, soft ladyfingers, and a rich cocoa dusting.

⏱️ 4 hours 3Desserts & Baking ★ 4.7
Desserts & Baking
🍜 France

Flaky, shatteringly crisp, buttery French croissants with golden exteriors and soft, airy layered interiors, perfect for pairing with coffee for a special morning treat.

⏱️ 12 hours Desserts & Baking ★ 4.5
Desserts & Baking
🍜 United States

Warm, spiced baked apples topped with a fluffy golden biscuit crust, this cozy dessert pairs perfectly with vanilla ice cream for cool-weather comfort.

⏱️ 55 minuteDesserts & Baking ★ 4.6
Desserts & Baking
🍜 United States

A star-spangled classic American blueberry pie with buttery flaky crust and bright sweet-tart filling, perfect for summer patriotic gatherings.

⏱️ 1 hour 25Desserts & Baking ★ 4.7
Desserts & Baking
🍜 United States

A beloved no-bake regional Maine candy with a chewy coconut-potato center coated in rich dark chocolate, a New England holiday staple since the 1870s.

⏱️ 2 hours 3Desserts & Baking ★ 4.8
Desserts & Baking
🍜 France

Luxuriously creamy, floral frozen custard made with aromatic Tahitian vanilla beans, boasting a smooth, rich texture that melts slowly on the tongue.

⏱️ 3 hours 3Desserts & Baking ★ 4.5

Red velvet cookies:Frequently Asked Questions

1.Why did my red velvet cookies turn out cakey instead of chewy? ▾
This almost always traces back to three common missteps: packing flour into your measuring cup instead of spooning and leveling it, over-creaming butter and sugar to incorporate too much air, or overbaking. For perfect chew, stick to the spoon-and-level flour method, cream butter just until smooth, and pull cookies when edges are set but centers look slightly underdone—they’ll set fully as they cool.
2.Can I use liquid red food coloring instead of the gel called for in the recipe? ▾
You can, but you’ll need to adjust to avoid ruining the final texture. Liquid food coloring is far more diluted, so you’ll need 3–4 times as much to get that signature deep red hue, which adds extra moisture that can make cookies spread too thin. Offset that extra moisture by reducing vanilla by ½ teaspoon per teaspoon of liquid coloring used; gel always delivers truer color without texture tradeoffs.
3.Do I really need to chill the cookie dough before baking? ▾
Chilling is non-negotiable for that ideal chewy, non-flat texture, and it deepens the subtle cocoa and buttery flavor too. Chill dough for a minimum of 2 hours, and up to 3 days covered in the fridge. If you chill it longer than 12 hours, let it rest at room temperature for 10 minutes before scooping to make portioning easier.
4.Can I use regular white chocolate chips instead of white chocolate chunks? ▾
You absolutely can, but hand-cut white chocolate chunks create far better, more indulgent bites: they melt into irregular, creamy pockets throughout the cookie, rather than holding a stiff, uniform chip shape. If you opt for chips, pick a premium baking chip with at least 20% cocoa butter, and skip candy melts, which have a waxy, artificial taste and texture.
5.How do I store these cookies to keep them chewy for as long as possible? ▾
First, let cookies cool completely to room temperature before storing—trapped warm condensation will make them soggy. Keep them in an airtight container at room temperature for up to 5 days, and tuck one slice of plain white sandwich bread into the container: it releases slow, gentle moisture to keep cookies chewy without sogginess. Skip the fridge, which dries out baked goods quickly.

Comments (10)

2 days ago

OMG these are SO good! I brought a batch to my office potluck yesterday and every single cookie was gone in 10 minutes flat. The chew is perfect, not cakey at all which is my biggest pet peeve with red velvet cookies! The white chocolate chunks cut that slight cocoa tang so perfectly, total game changer.

yesterday

Ugh same! I’ve made so many bad cakey red velvet cookie recipes before, this one finally nailed the chewy texture I’ve been chasing!

yesterday

So glad these were a hit at your office potluck, Sarah! The key to that chewy, non-cakey texture is not overmixing the dough and making sure you don’t skip the 30 minute chill step — it makes all the difference!

3 days ago

Really solid recipe! My kids devoured these after school, only note is I wish there was a little more cocoa punch? I added an extra tablespoon of unsweetened cocoa powder the second time I made them and it was perfect for our family. Also, pro tip: toss a few extra white chocolate chunks on top right when they come out of the oven for that fancy bakery look.

2 days ago

Thanks for the extra cocoa tip! I love a deeper red velvet flavor too, I’m definitely trying that when I make these this weekend for my kid’s soccer snack.

2 days ago

Love that customization, Mike! Adding a touch more unsweetened cocoa is such a great call for folks who prefer a richer, deeper red velvet flavor — I’ll have to note that as an optional add-in next time I update the recipe! The extra white chocolate chunk on top trick is total chef’s kiss, too.

1 week ago

Made these for my roommate’s birthday and she cried real tears lmao. I’m usually a terrible baker, like I burn boxed brownies level bad, and these still turned out perfect! The recipe was so easy to follow, I didn’t even have to run to the store for any weird specialty ingredients. 10/10 will make again.

5 days ago

Wait as someone who also burns every baked good I touch, this gives me so much hope! Did you chill the dough the full 30 minutes or cut it short? I’m the worst at waiting for dough to chill lmao.

5 days ago

Girl I was so tempted to skip the chill but I forced myself to wait the full 30 and I swear it’s why they didn’t spread all weird in the oven! You got this!!

5 days ago

I’ve been searching for a go-to red velvet cookie recipe for years and this is IT! Chewy, not too sweet, the white chocolate pairs so perfectly. I made these for my church potluck on Sunday and multiple people asked for the recipe, I sent them all straight here!

3 days ago

That makes my day, Pam! Nothing beats a recipe that gets passed around after a church potluck — so happy you found your new go-to red velvet cookie!

2 weeks ago

Made these in my tiny dorm kitchen with like zero fancy equipment and they turned out insane! I used regular white chocolate chips instead of chunks because that’s all the campus grocery store had, and they were still chef’s kiss. Perfect for late night study snacks, my whole floor kept stopping by to grab one.

1 week ago

Wait this is such a win! I’m also in a dorm with just a tiny toaster oven, I’m gonna test these out this week — did you adjust the bake time at all for a toaster oven?

yesterday

Great recipe overall! My teen daughter requested these for her friend group hang, and they all loved them. Only heads up is my first batch spread a little more than I expected — I think our kitchen was super warm from the oven being on while I was mixing the dough, so I popped the second tray of dough back in the fridge for 10 extra minutes and they puffed up perfectly. Worth the extra wait!

2 hours ago

Great catch on the warm kitchen issue! If your space is extra warm from cooking or hot weather, adding 10-15 minutes of extra chill time absolutely prevents too much spreading, I’m glad you troubleshooted that so well for your daughter’s friend hang!

30 minutes ago

Swapped the all-purpose flour for my go-to 1:1 gluten free flour blend and these came out PERFECTLY. I was so nervous they’d be grainy or fall apart, but they had that exact chewy texture everyone is raving about. My gluten-eating husband ate three in one sitting and didn’t even notice they were GF! Will be making these on repeat.

5 minutes ago

Thank you for sharing this swap! I have celiac and have been dying to try these, I was worried the GF flour would mess up the texture, this is such a relief!

just now

Just pulled my first batch out of the oven and wow, that bright red color is so perfect for Christmas cookie tins! I added a little sprinkle of crushed peppermint on top of half the batch for a festive twist, can’t wait to hand these out to my neighbors this year. So easy even with my chaotic 3 year old “helping” me measure ingredients.

2 hours ago

Made these as a treat for my workout group after our long run Saturday, and everyone was obsessed. I cut the sugar just a tiny bit to fit our macros and they still tasted amazing, super versatile recipe. Only thing is I wish the yield was a little bigger, I had to make a double batch to feed everyone!

3 days ago

First time ever making cookies from scratch and I didn’t mess them up!!! The instructions were so clear and easy to follow, I loved that the total time was only an hour — I didn’t have to wait around forever for dough to rise or anything. The chewy texture is exactly what I wanted, and the white chocolate chunks are so melty and good. 10/10 for beginner bakers like me!



