
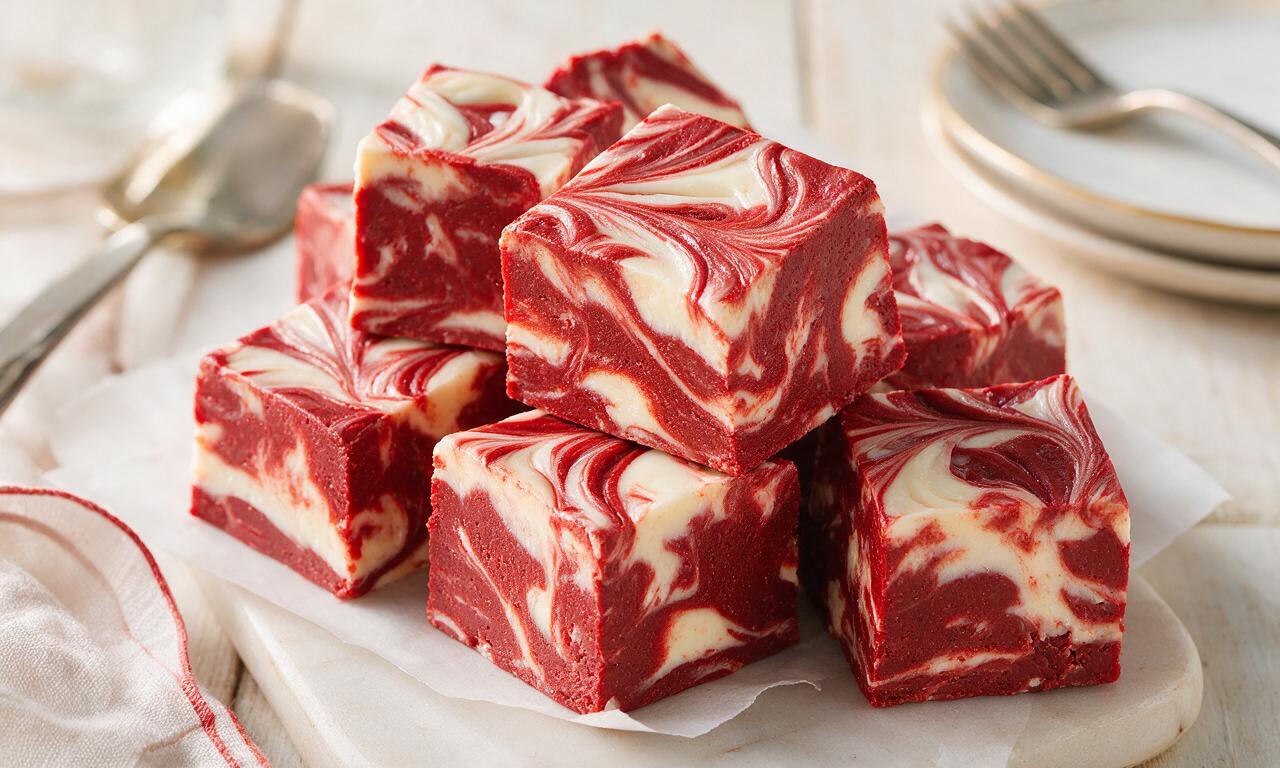
Red Velvet Fudge

Red Velvet Fudge
⏱️ cook time 2 hours 15 minutes (includes 2 hours inactive chill time)
🍽️ servings 16
⚡ Difficulty easy

intro

Velvety, cocoa-kissed red fudge marbled with tangy cream cheese, boasting classic red velvet flavor and a smooth, melt-in-your-mouth texture.

Ingredients

White chocolate chips 340 grams (2 cups)
Full-fat cream cheese 226 grams (1 8oz block, room temperature)
Sweetened condensed milk 396 grams (1 14oz can)
Unsweetened natural cocoa powder 10 grams (2 tablespoons)
Gel red food coloring 5ml (1 teaspoon)
Pure vanilla extract 5ml (1 teaspoon)
White distilled vinegar 5ml (1 teaspoon)
Fine sea salt 1.5 grams (1/4 teaspoon)

Steps

1

Prep pan and ingredients

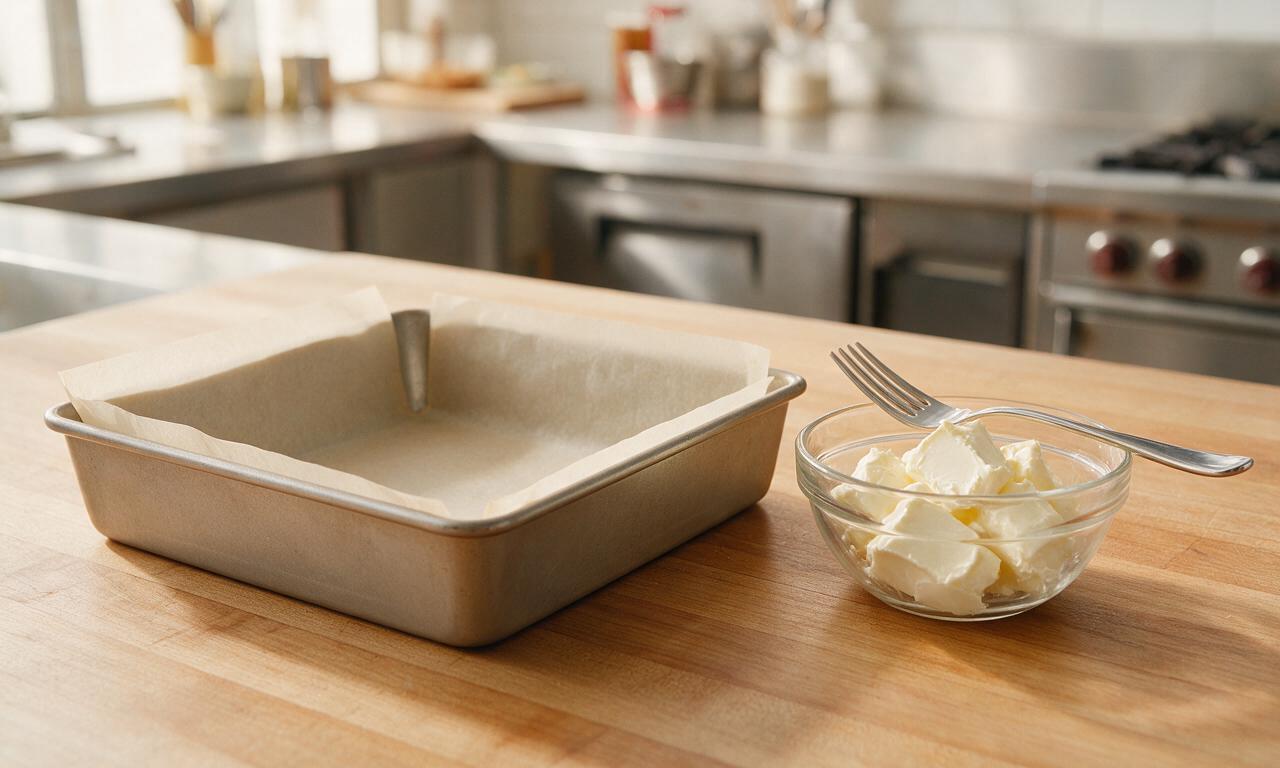
Line a 20cm (8x8 inch) square baking pan with parchment paper, leaving 5cm (2-inch) overhangs on two opposite sides to act as lift handles later. Cut the room-temperature full-fat cream cheese into 2.5cm (1-inch) cubes, place in a small bowl, and mash gently with a fork to remove any firm lumps; set aside.
Step 1
step1:Prep pan and ingredients
2

Melt fudge base

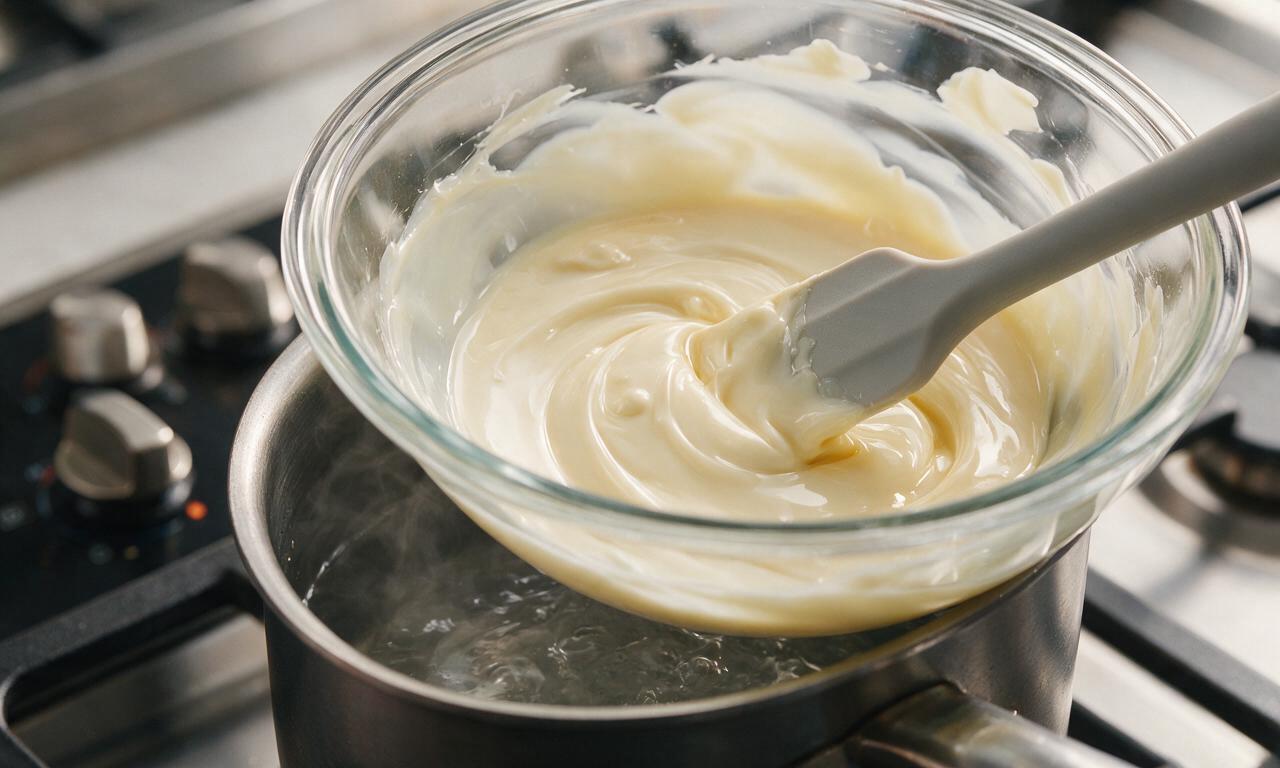
Add 340 grams white chocolate chips, the full 396 gram can of sweetened condensed milk, and 1/4 teaspoon fine sea salt to a medium heatproof glass bowl. Set the bowl over a saucepan of gently simmering water (double boiler setup, ensure the bowl does not touch the water) over medium-low heat. Stir constantly with a silicone spatula for 3-4 minutes until all chocolate is fully melted and the mixture is completely smooth with no lumps.
Step 2
step2:Melt fudge base
3

Mix red velvet flavor

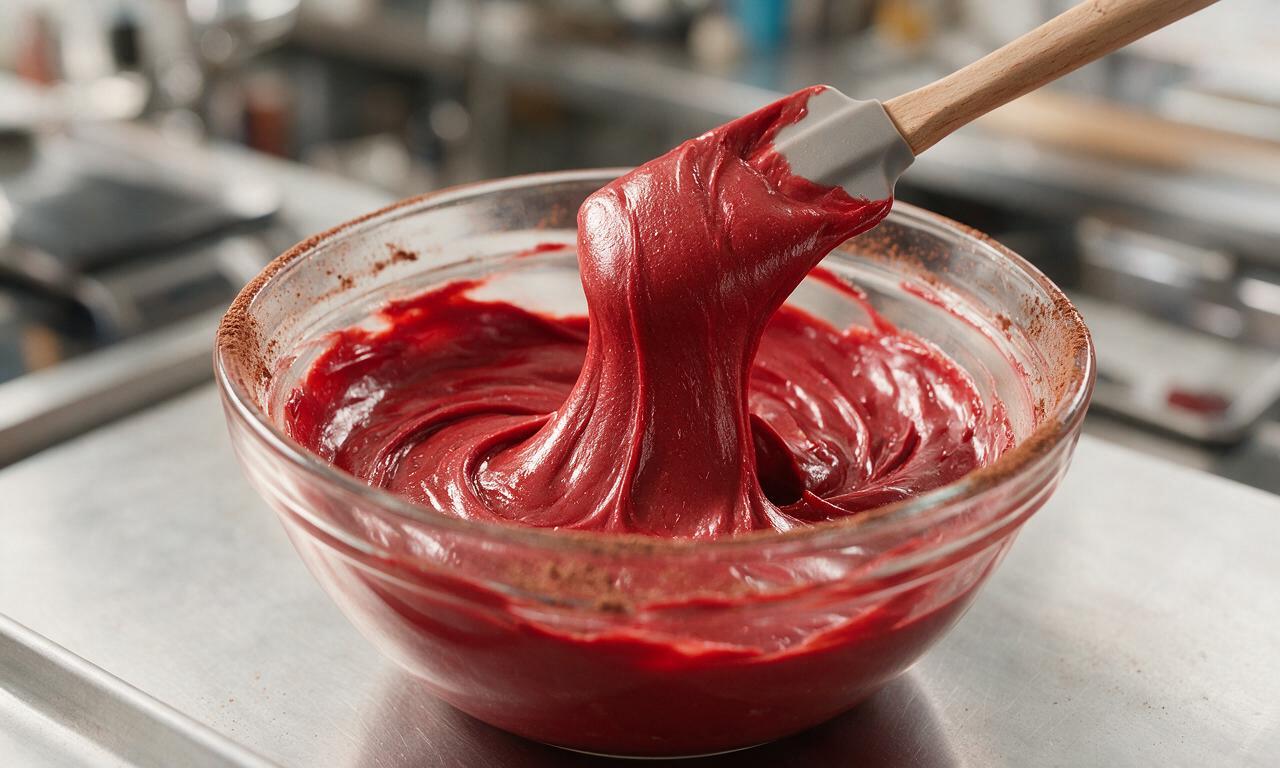
Carefully lift the bowl off the double boiler and set on a heatproof surface. Stir in 2 tablespoons unsweetened cocoa powder, 1 teaspoon vanilla extract, 1 teaspoon white distilled vinegar, and 1 teaspoon gel red food coloring. Stir vigorously for 1 full minute until the cocoa is fully dissolved, the mixture is a uniform deep crimson color, and no streaks of cocoa or food coloring remain.
Step 3
step3:Mix red velvet flavor
4

Create cream cheese swirl

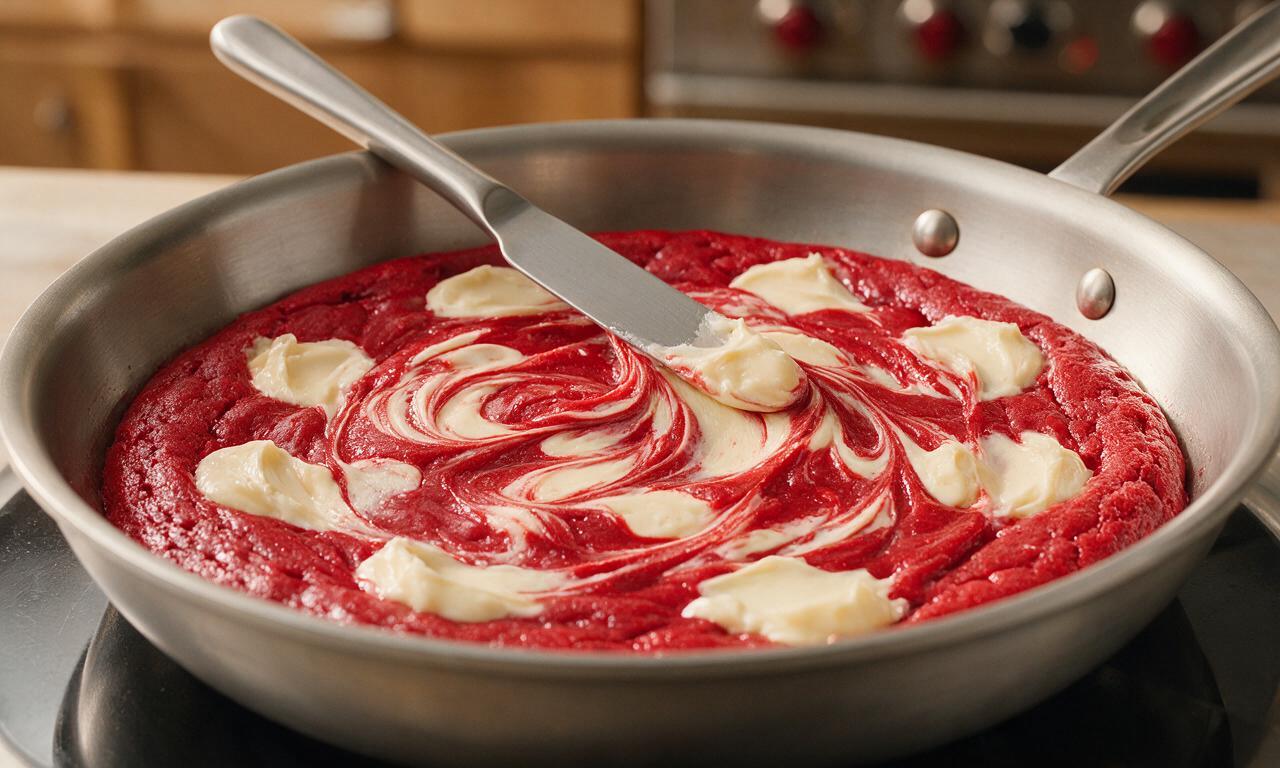
Pour the smooth red fudge base into the prepared parchment-lined pan, spreading it into an even layer with the spatula. Drop the reserved cubed cream cheese in tablespoon-sized dollops evenly across the fudge surface. Drag a butter knife through the dollops in a zig-zag motion, making 3-4 full passes across the pan, to create a marbled swirl effect; do not overmix, as distinct red and white streaks should remain visible.
Step 4
step4:Create cream cheese swirl
5

Chill fudge to set

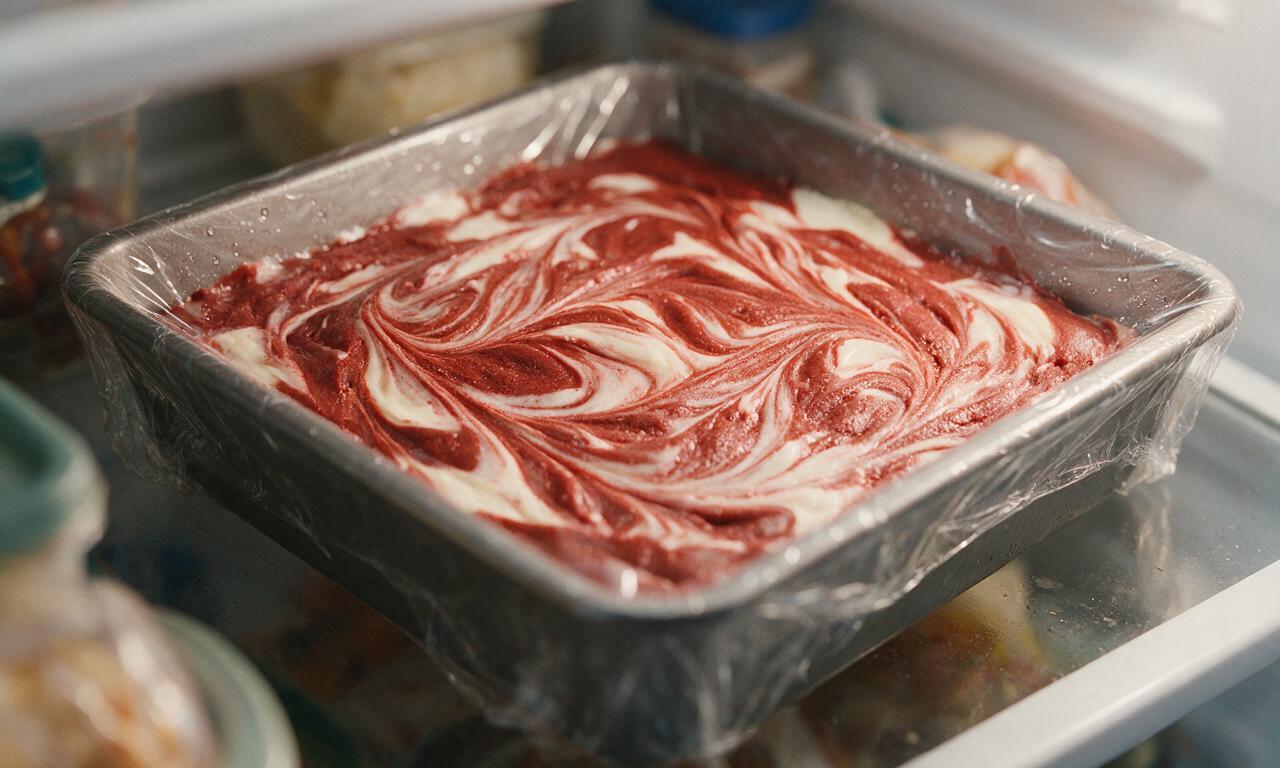
Cover the pan tightly with plastic wrap, pressing the wrap directly against the surface of the fudge to prevent a dry skin from forming as it chills. Place the pan on a level middle shelf in the refrigerator for 2 full hours, until the fudge is completely firm to the touch and does not leave an indent when pressed lightly with a clean finger.
Step 5
step5:Chill fudge to set
6

Cut and portion fudge

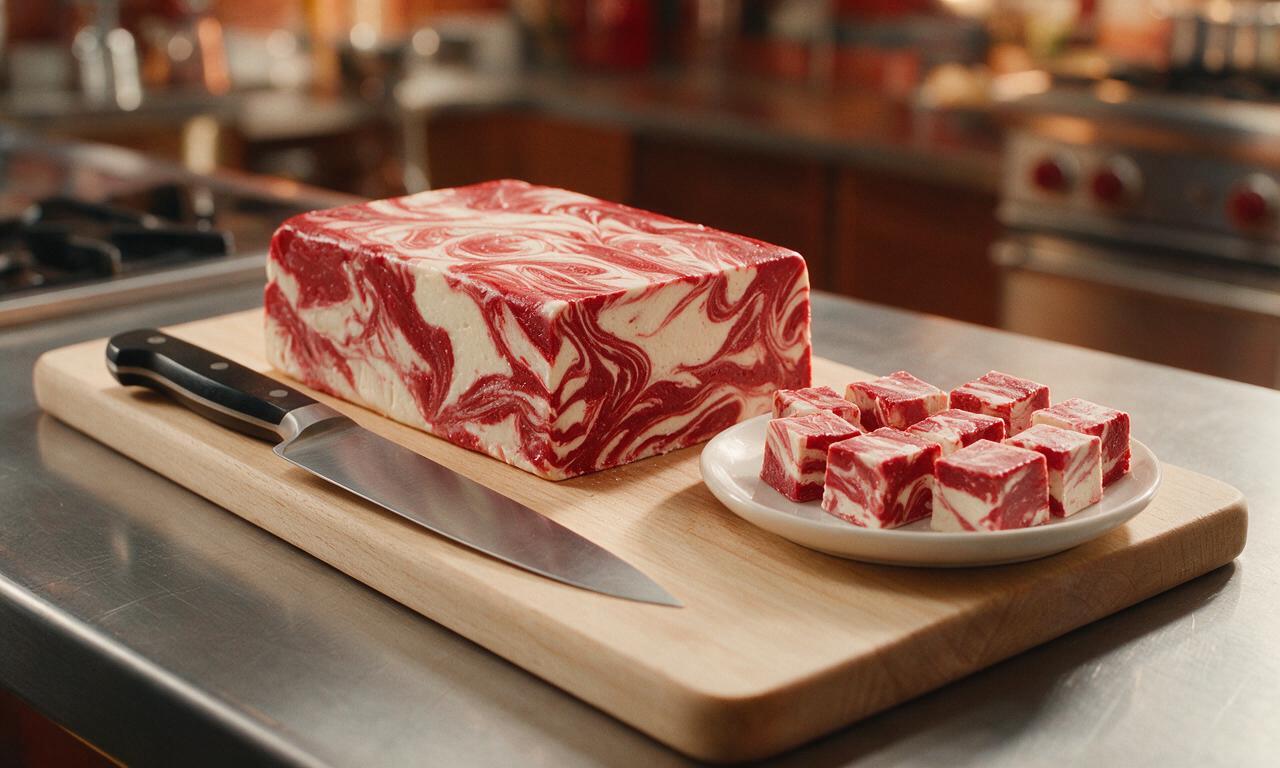
Once fully set, use the parchment paper overhangs to lift the entire solid fudge block out of the pan and transfer to a wooden cutting board. Peel the parchment away from the fudge sides, then use a sharp knife heated under hot running water for 10 seconds and wiped dry between cuts to slice the fudge into 16 equal 2.5cm (1-inch) square pieces. Serve chilled or at cool room temperature.
Step 6
step6:Cut and portion fudge

Tips

1.Use gel-based red food coloring instead of liquid food coloring: liquid coloring adds excess moisture that can cause chocolate to seize, and will produce a faded, pinkish red instead of the classic deep crimson red velvet shade.
2.Ensure no water droplets from the double boiler or wet utensils get into the melted chocolate, as even a tiny amount of water will cause the chocolate to seize into a grainy, lumpy mess that cannot be fixed.
3.For the cleanest, smoothest cuts, heat your knife under hot running water for 10 seconds and wipe it completely dry between every slice; this prevents the fudge from sticking to the blade and tearing the marbled surface.


✨ You May Also Like

Desserts & Baking
🍜 Italy

Creamy, coffee-kissed classic Northern Italian no-bake dessert, with layers of rum-spiked mascarpone cream, soft ladyfingers, and a rich cocoa dusting.

⏱️ 4 hours 3Desserts & Baking ★ 4.8
Desserts & Baking
🍜 France

Flaky, shatteringly crisp, buttery French croissants with golden exteriors and soft, airy layered interiors, perfect for pairing with coffee for a special morning treat.

⏱️ 12 hours Desserts & Baking ★ 4.7
Desserts & Baking
🍜 United States

Warm, spiced baked apples topped with a fluffy golden biscuit crust, this cozy dessert pairs perfectly with vanilla ice cream for cool-weather comfort.

⏱️ 55 minuteDesserts & Baking ★ 4.7
Desserts & Baking
🍜 United States

A star-spangled classic American blueberry pie with buttery flaky crust and bright sweet-tart filling, perfect for summer patriotic gatherings.

⏱️ 1 hour 25Desserts & Baking ★ 4.8
Desserts & Baking
🍜 United States

A beloved no-bake regional Maine candy with a chewy coconut-potato center coated in rich dark chocolate, a New England holiday staple since the 1870s.

⏱️ 2 hours 3Desserts & Baking ★ 4.9
Desserts & Baking
🍜 France

Luxuriously creamy, floral frozen custard made with aromatic Tahitian vanilla beans, boasting a smooth, rich texture that melts slowly on the tongue.

⏱️ 3 hours 3Desserts & Baking ★ 4.6

Red Velvet Fudge:Frequently Asked Questions

1.Why did my fudge turn out grainy instead of smooth and velvety?
Grainy fudge almost always stems from overheating ingredients or getting stray water in your melting mixture. Heat white chocolate and sweetened condensed milk over low heat, stirring constantly, until just smooth—don’t let it boil. Also, use fully room-temperature full-fat cream cheese so it blends seamlessly without lumps that cause a gritty texture.
2.Can I use regular liquid red food coloring instead of gel for this recipe?
I strongly recommend sticking to gel food coloring here. Liquid food coloring adds extra unplanned moisture that can throw off the fudge’s set, leaving it soft, sticky, or even separated instead of firm and melt-in-your-mouth. If you only have liquid, use no more than 1 teaspoon, and pat excess moisture off your cream cheese first to compensate.
3.How do I get distinct marbled streaks instead of muddling the two fudge layers together?
The key to pretty, clear marbling is to avoid over-swirling! Drop alternating dollops of the red velvet cocoa fudge base and cream cheese mixture across your lined pan first. Then drag a butter knife or toothpick through the layers in slow, wide S-curves only 2 to 3 times—any more stirring will fully blend the colors into a muddy pink.
4.How long does this fudge need to set, and can I speed the process up in the freezer?
For ideal texture, let the fudge set covered in the refrigerator for 4 hours, or ideally overnight, until it’s firm enough to slice cleanly. You can speed this up in the freezer for 45 to 60 minutes if you’re short on time, but don’t leave it longer—extended freezing causes the cream cheese layer to develop a grainy, icy texture.
5.Can I use low-fat cream cheese or reduced-fat white chocolate to make this lighter?
I don’t recommend low-fat swaps for this fudge. Full-fat cream cheese and standard white chocolate chips create the fudge’s rich, velvety structure; reduced-fat versions have extra water and stabilizers that lead to soft, rubbery, or separated fudge. This is an indulgent treat, so save the low-fat ingredient swaps for other baked goods.
6.How should I store this fudge, and how long will it stay fresh?
Since this fudge contains cream cheese, always store it in an airtight container in the refrigerator, with sheets of parchment between layers to prevent sticking. It will stay fresh, creamy, and flavorful for up to 2 weeks when stored properly. You can also freeze tightly wrapped slices for up to 3 months, thawing in the fridge for 30 minutes before serving.

Comments (5)

2 days ago

OMG this fudge is SO good! I brought it to my church potluck last Sunday and people were begging me for the recipe before service even ended. The marbled swirl looks so fancy but it was actually super easy to pull off, even for someone like me who burns chocolate 9 times out of 10. My kids kept sneaking pieces out of the fridge before it was even done chilling! Will 100% be making this for our holiday cookie plates this year.

1 week ago

Game changer alert! I’ve tried so many red velvet fudge recipes that come out grainy or way too artificial tasting, but this one is perfectly creamy and has that exact subtle cocoa tang I love. The white chocolate swirl balances it out so well, no weird food coloring aftertaste at all. Super straightforward directions, the 2 hour chill time is totally hands off so I was able to knock out a bunch of other meal prep while it set. 10/10. Quick side note — I used salted butter instead of unsalted because that’s all I had, and it still turned out amazing!

5 days ago

So glad you mentioned the salted butter swap! I never keep unsalted butter in the house, I always forget to buy it for recipes. Did you add any extra salt or just use it straight up?

4 days ago

Happy to hear the salted butter swap worked for you! We usually test with unsalted to control the salt level, but it’s totally fine to use salted — just skip the extra pinch of salt the recipe calls for if you go that route to keep it from being too salty. So glad you loved the fudge!

30 minutes ago

Quick question — can I make this with semi-sweet chocolate instead of white chocolate for the swirl? My husband hates white chocolate so I’m trying to tweak it for his birthday this weekend, but I don’t want to mess up the texture!

10 minutes ago

Great question! You can absolutely swap the white chocolate for semi-sweet — it’ll change the flavor profile a bit but the texture will turn out perfectly. Just make sure you melt it the same way you would the white chocolate, and don’t overmix when you swirl to keep that pretty marbled effect. Hope your husband loves it, happy birthday to him!

yesterday

Made this for my daughter’s soccer team snack table and it was a total hit! All the girls were going back for seconds, and even a couple of the coaches asked where I got the recipe. I was worried the red velvet would be too rich, but it’s perfectly balanced. Only note is I lined my pan with parchment paper like the recipe says and it popped right out no problem, don’t skip that step y’all!

5 hours ago

Oh good call on the parchment paper! I almost forgot that part last time I made fudge and spent 20 minutes scraping it out of the pan, definitely won’t skip it when I test this recipe this weekend. Did you cut yours into bite sized squares for the team?

5 days ago

Made this for our dorm floor movie night and it was gone in 10 minutes flat! So easy to make in our tiny shared kitchen too, no fancy equipment needed. I added a tiny sprinkle of flaky sea salt on top right before chilling and it took it to the next level, highly recommend that little hack. Perfect treat for a low-key night with friends, will definitely be making this again for our next study break!



