
Red Velvet Hot Chocolate
intro
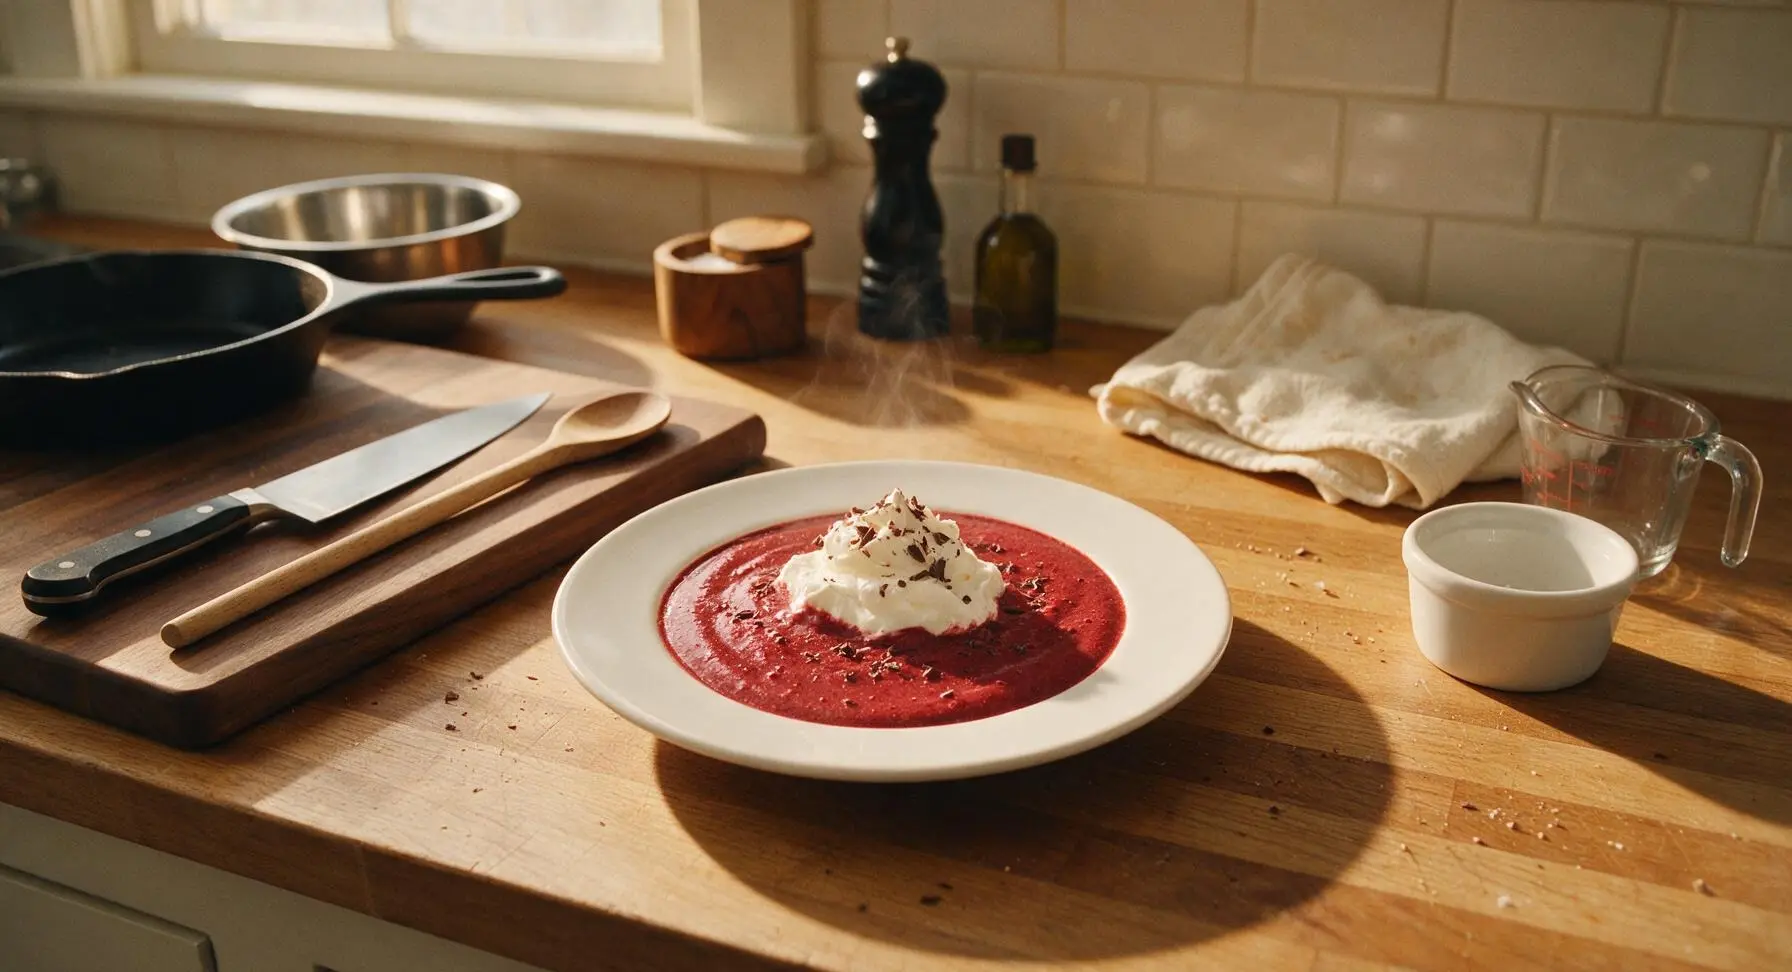
Velvety deep crimson hot chocolate with subtle cocoa and tangy cream cheese notes, topped with fluffy whipped cream and chocolate shavings—cozy, romantic, and perfect for cold winter days.
Ingredients
Steps
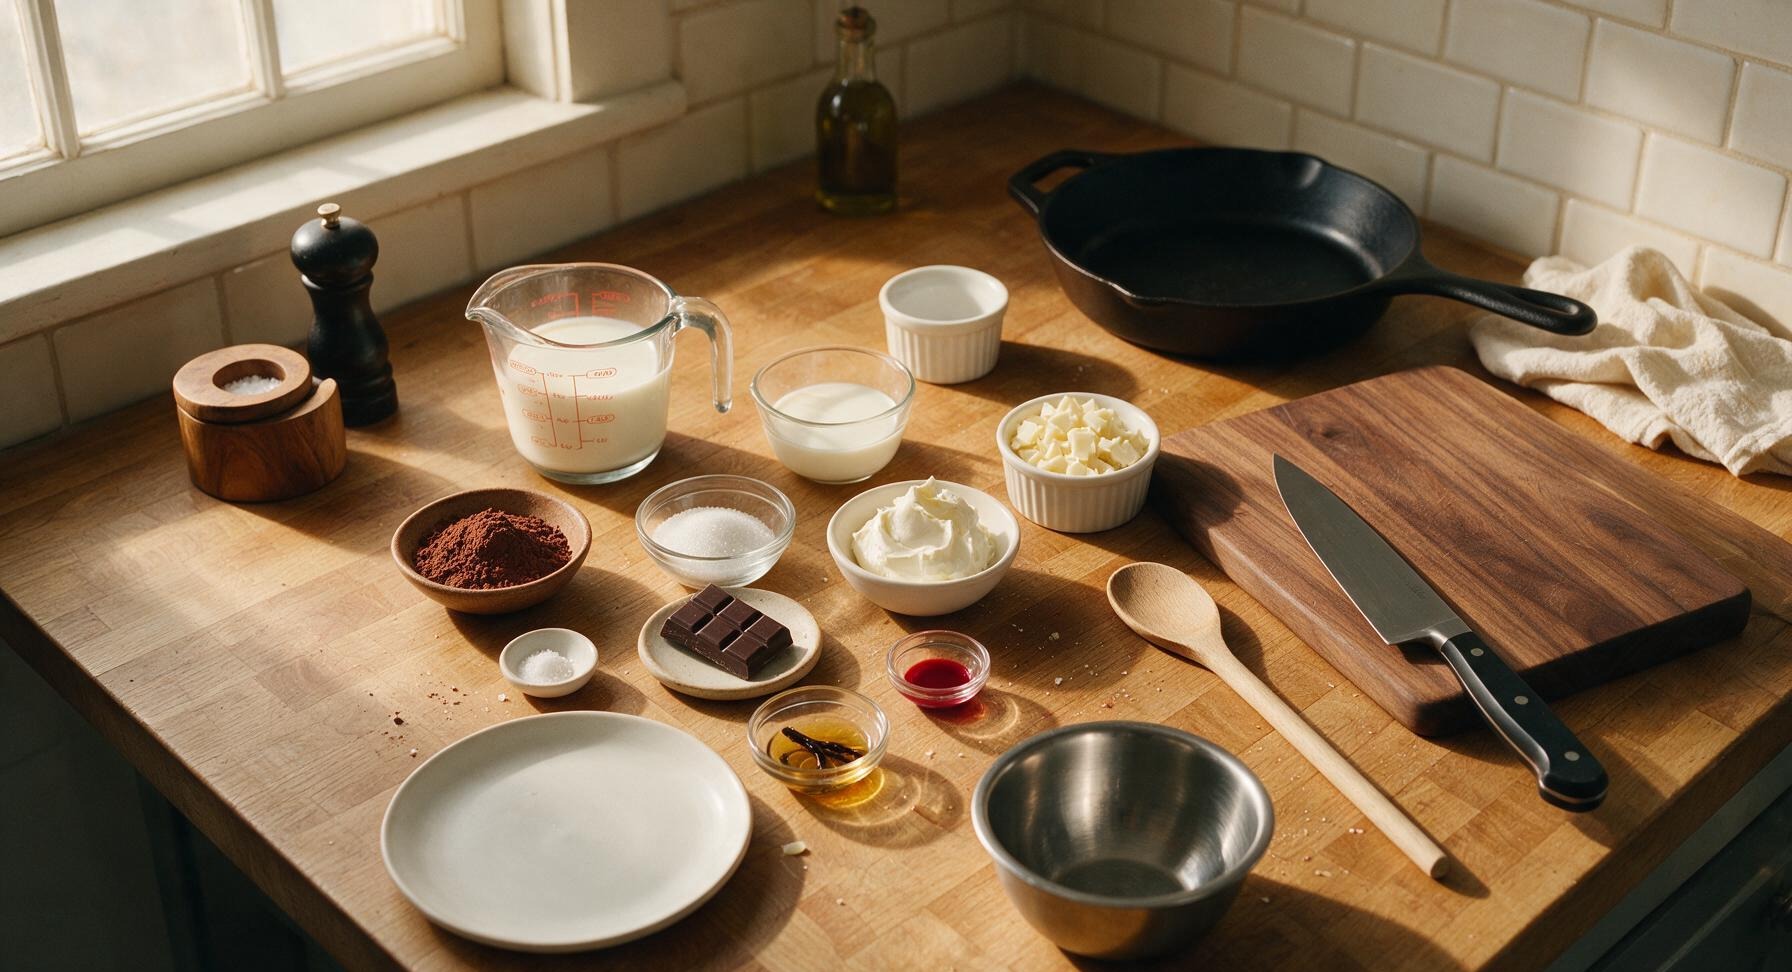
Prep Measured Ingredients
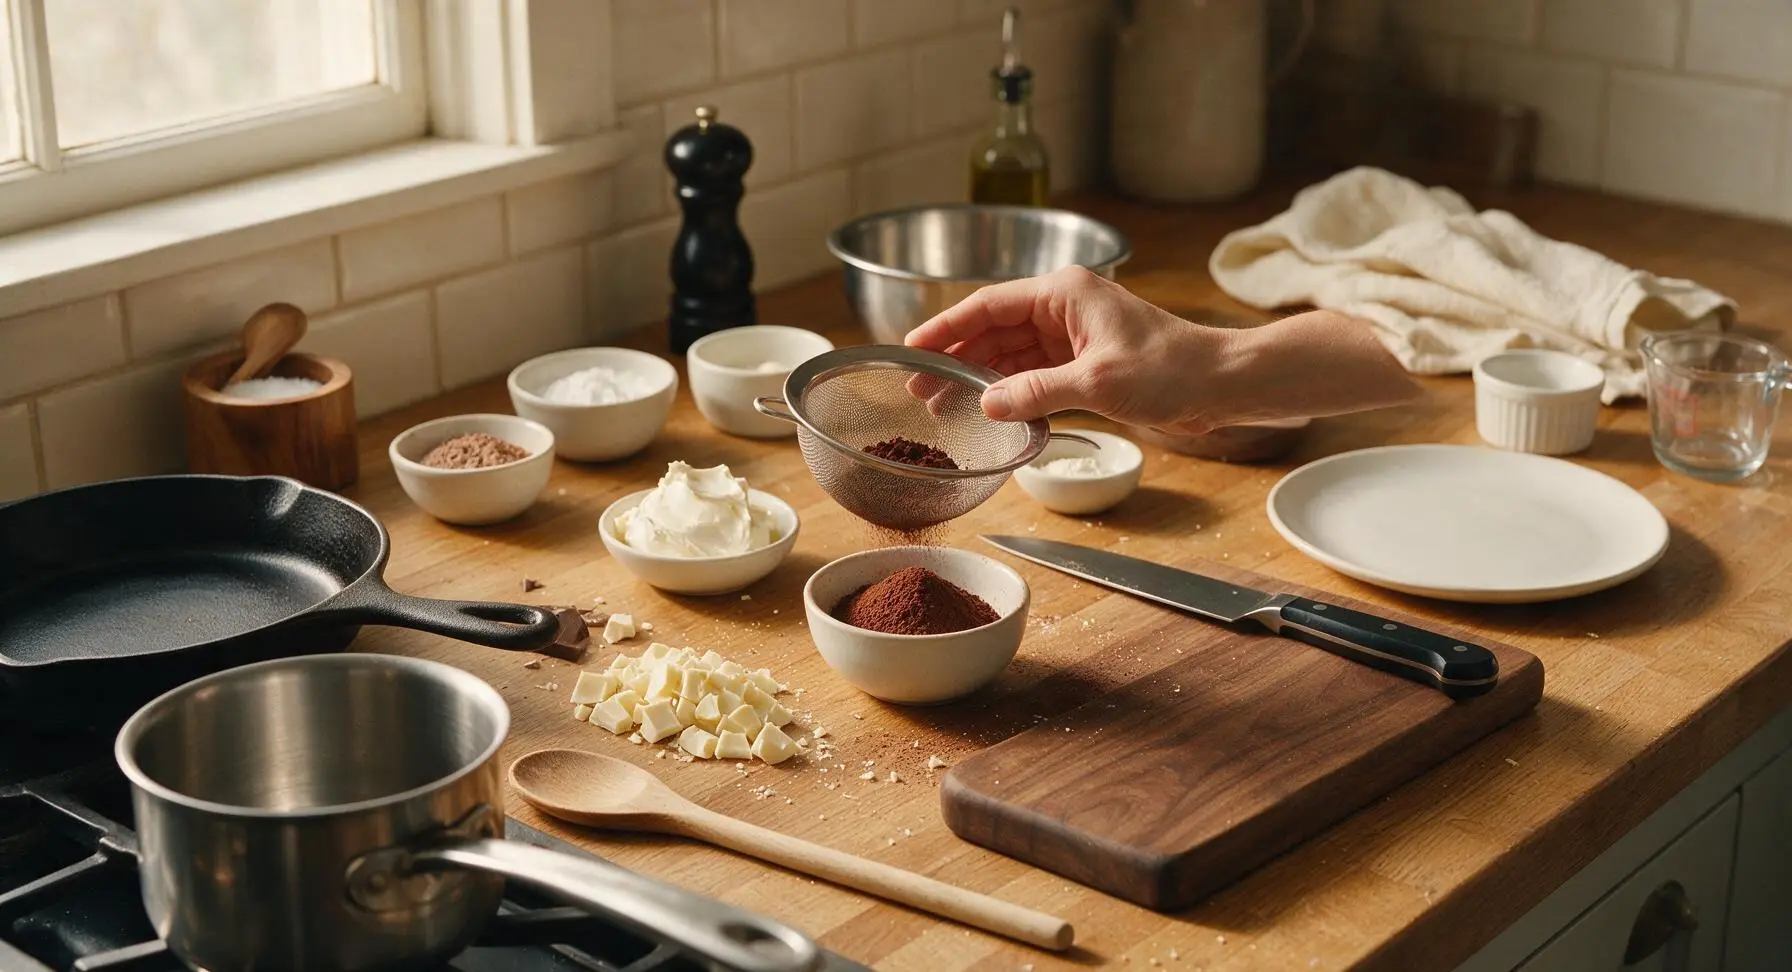
Before heating any ingredients, portion all items into the small matte white prep bowls: use the fine-mesh stainless steel sieve to sift 1.5 tbsp Dutch-process cocoa powder into a bowl to remove any lumps, chop white chocolate into 1cm pieces, and confirm the cream cheese is fully softened to room temperature (no cold, hard spots) to avoid lumps later. Use the stainless steel measuring spoons to portion sugar, salt, vanilla, and food coloring into separate small prep bowls. Chill 2 tbsp of heavy cream in the fridge for whipping.
Warm Milk and Cream
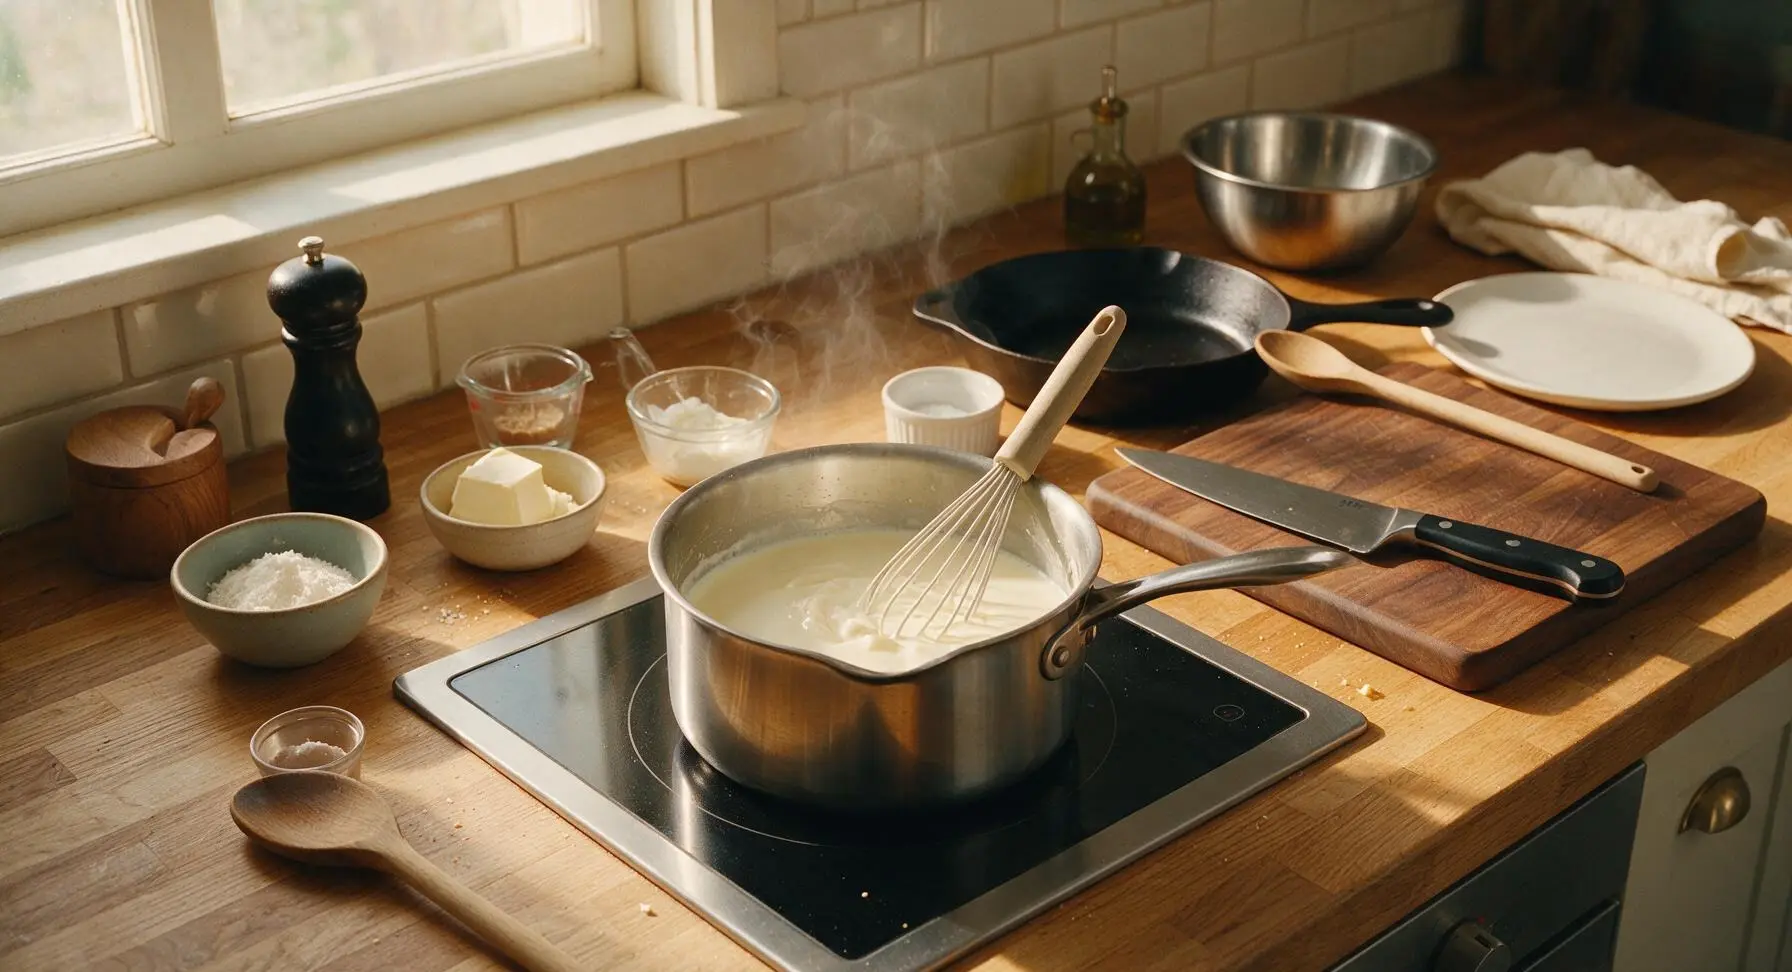
Pour 2 cups whole milk and 2 tbsp heavy cream into the 1.5L stainless steel saucepan, then place the pan on the induction cooktop over medium-low heat. Warm slowly for 4 minutes, stirring occasionally with the silicone whisk, until the mixture reaches 160°F (71°C). Do not bring to a boil, as scalded milk will create a grainy, unpleasant texture. The liquid will be steaming gently, with tiny pinprick bubbles forming around the inner edge of the pan when ready.
Melt Chocolate and Cocoa
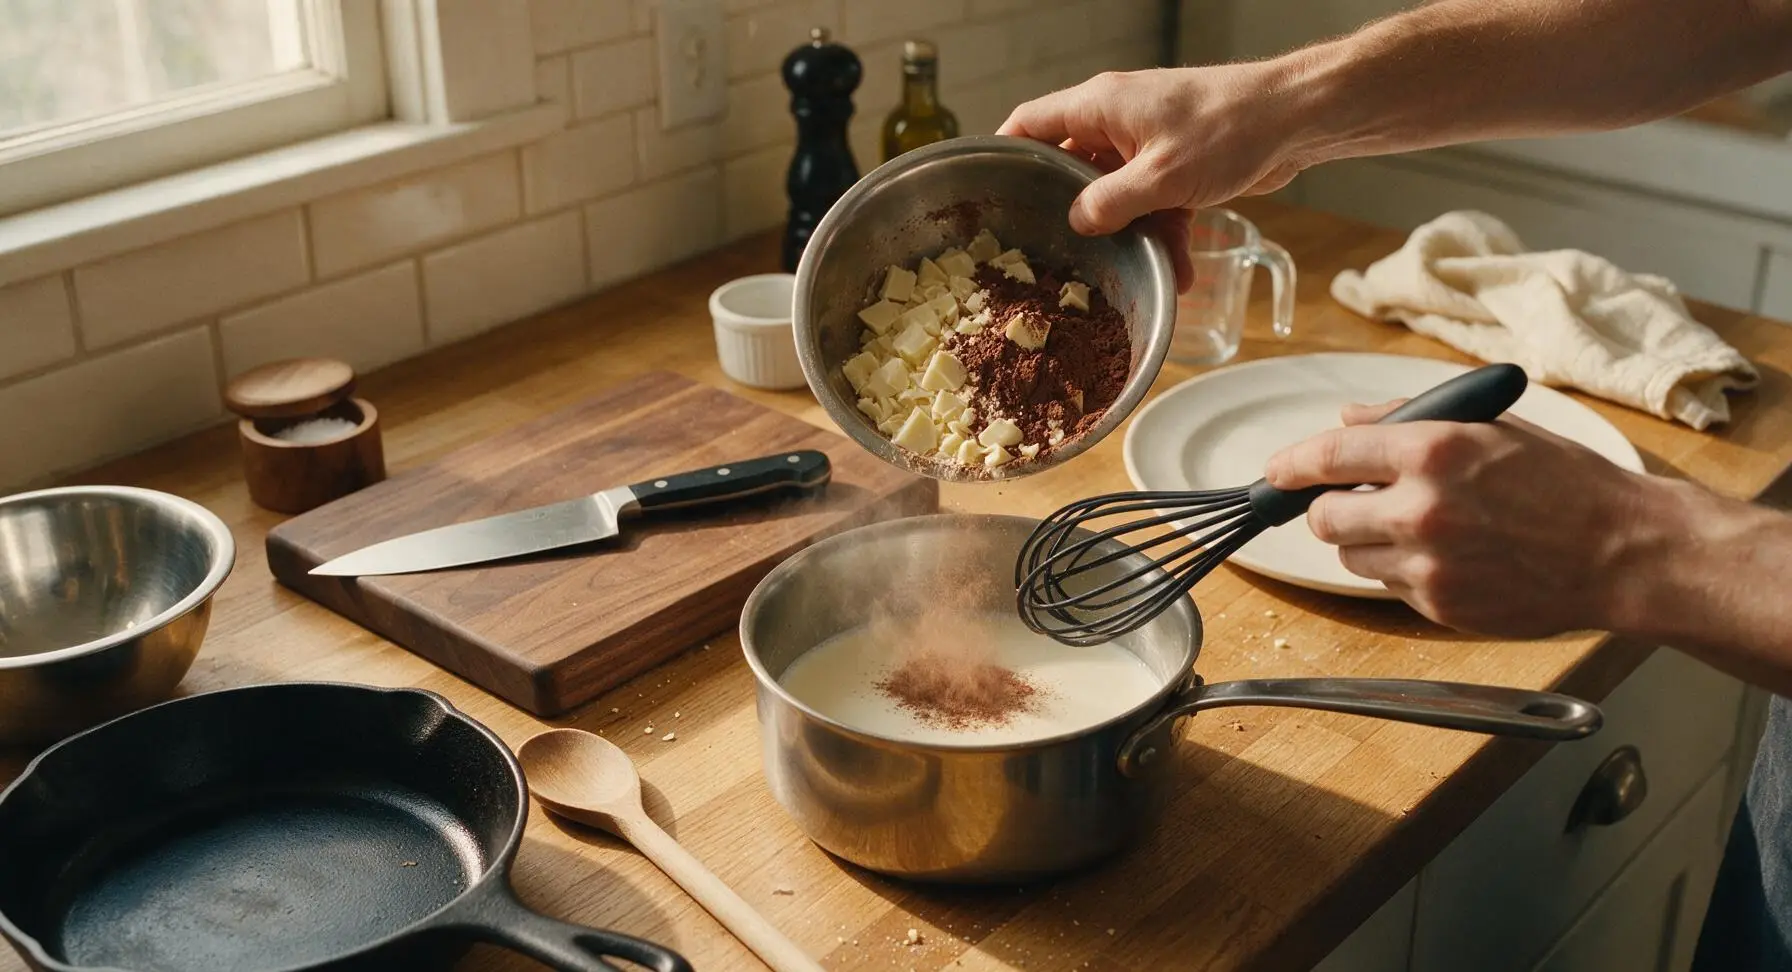
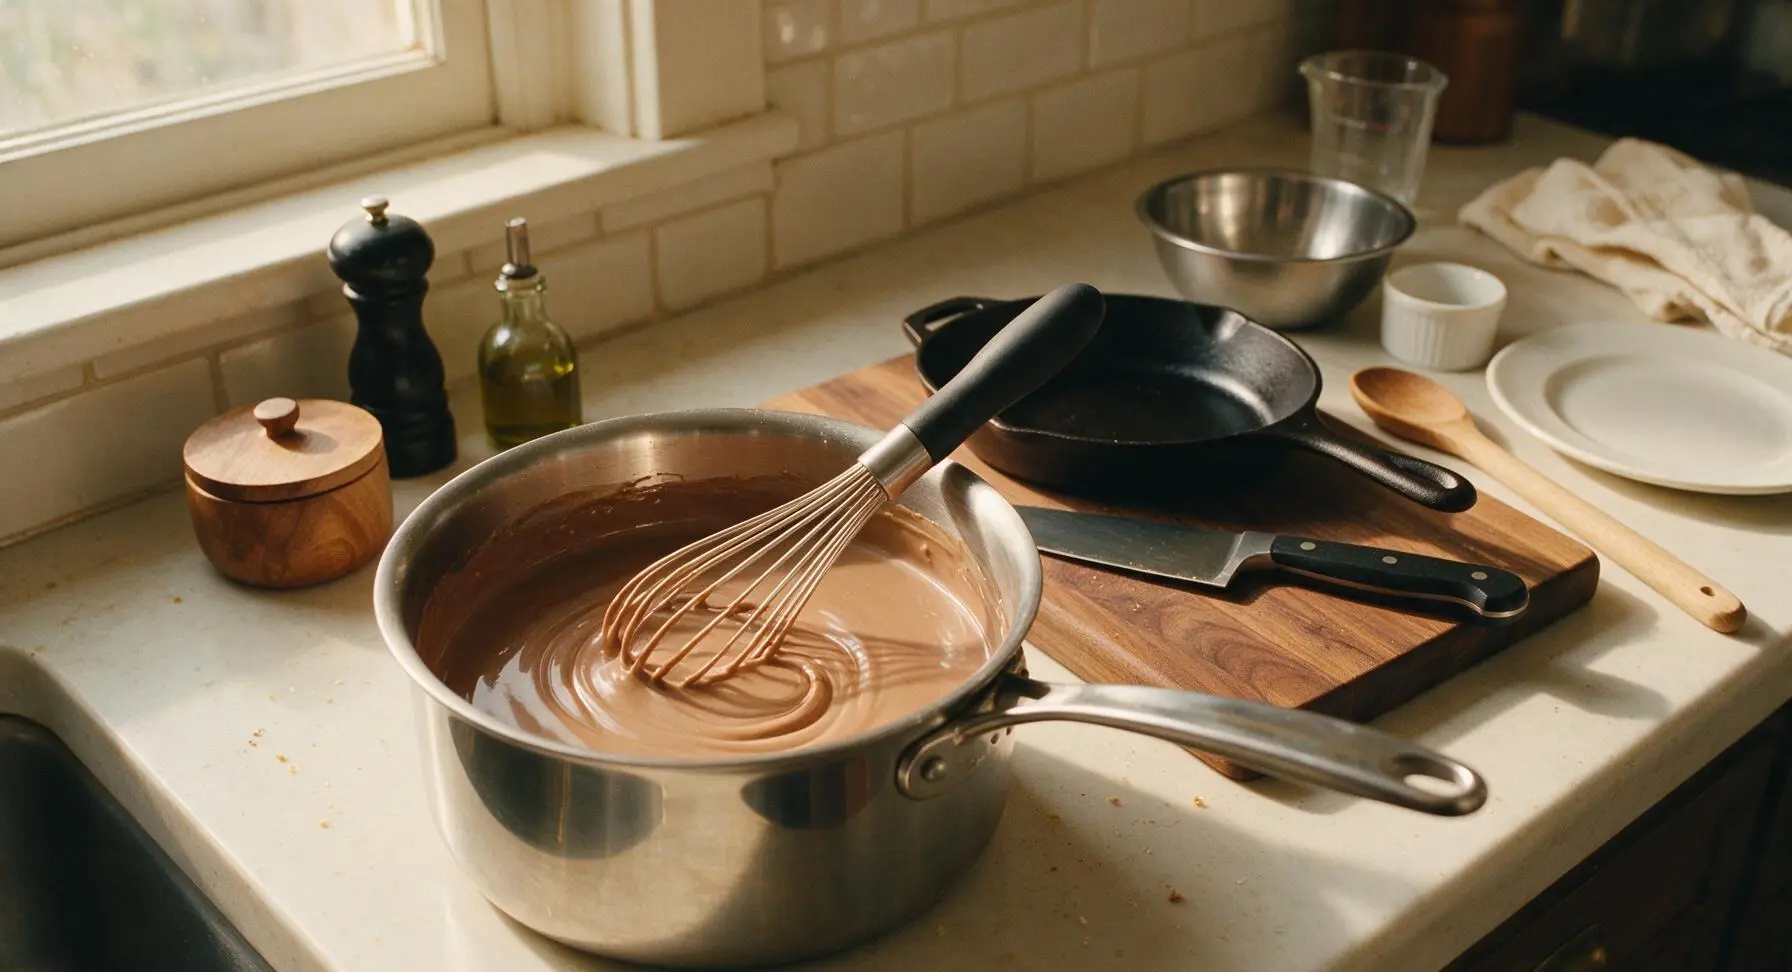
Add the sifted cocoa powder, chopped white chocolate, 1.5 tbsp granulated sugar, and 1/8 tsp fine sea salt to the warm milk mixture. Whisk constantly in slow, circular motions with the silicone whisk for 2-3 minutes, keeping heat on medium-low to avoid scorching the chocolate. Continue whisking until all white chocolate is fully melted, cocoa is completely incorporated, and no lumps or chocolate chunks remain visible in the smooth, pale brown liquid.
Add Red Velvet Elements
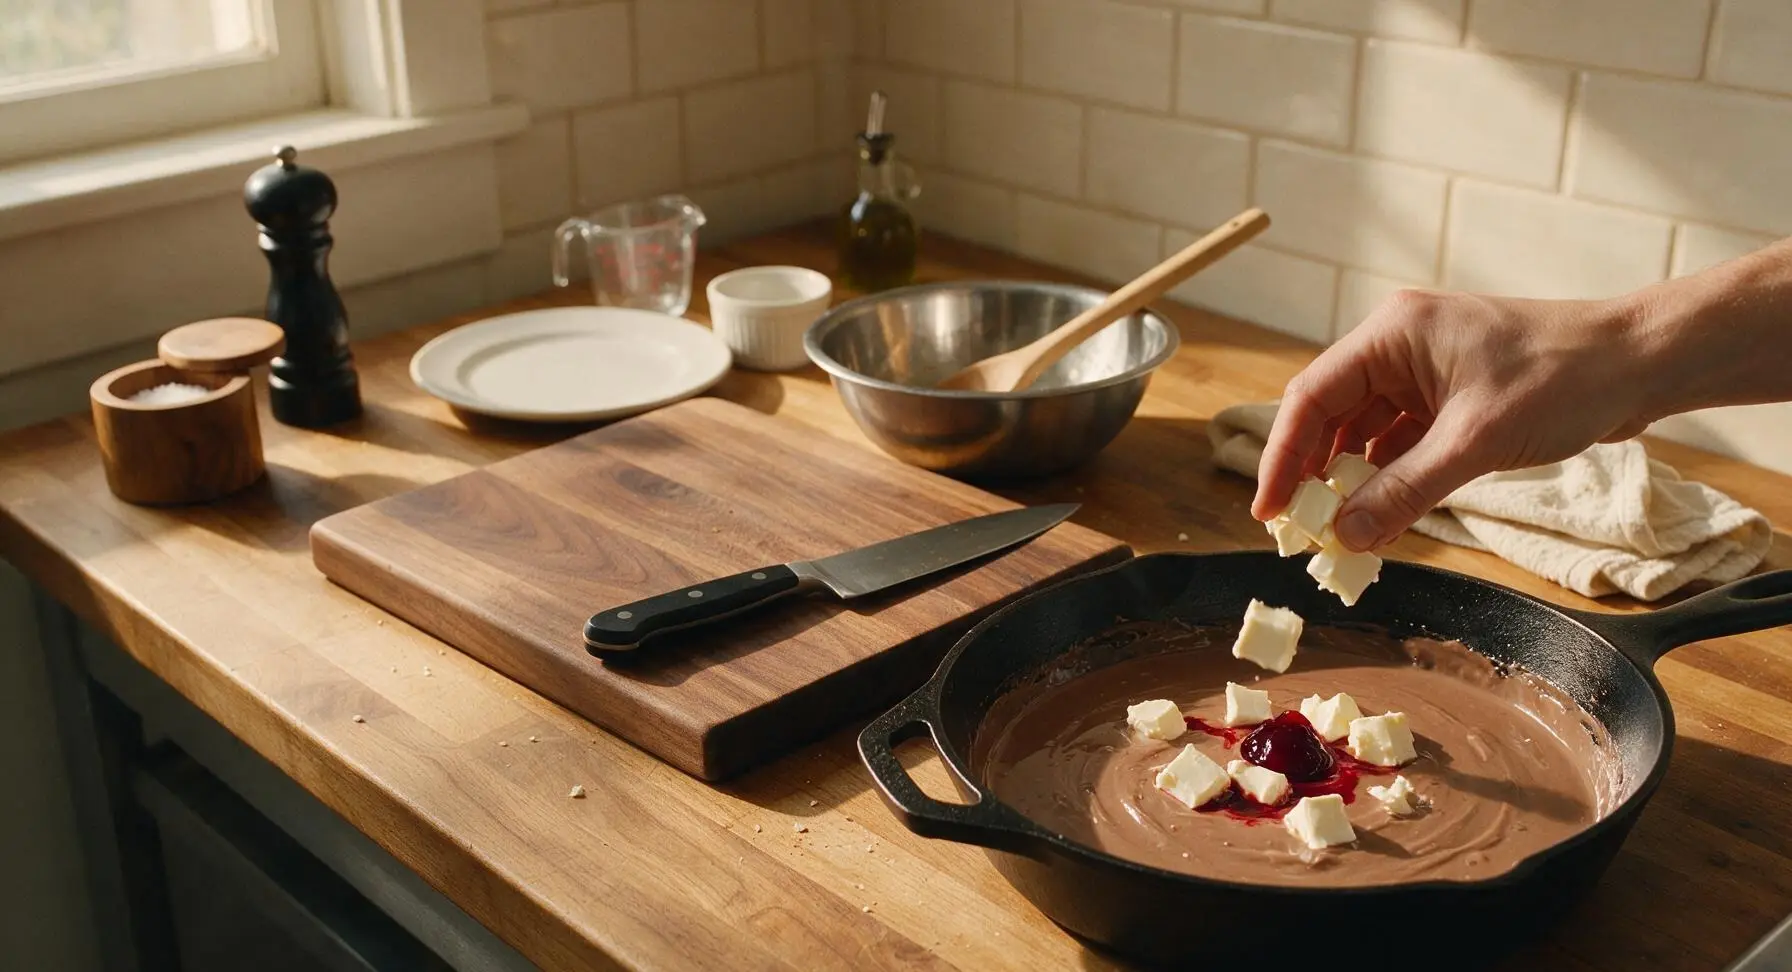
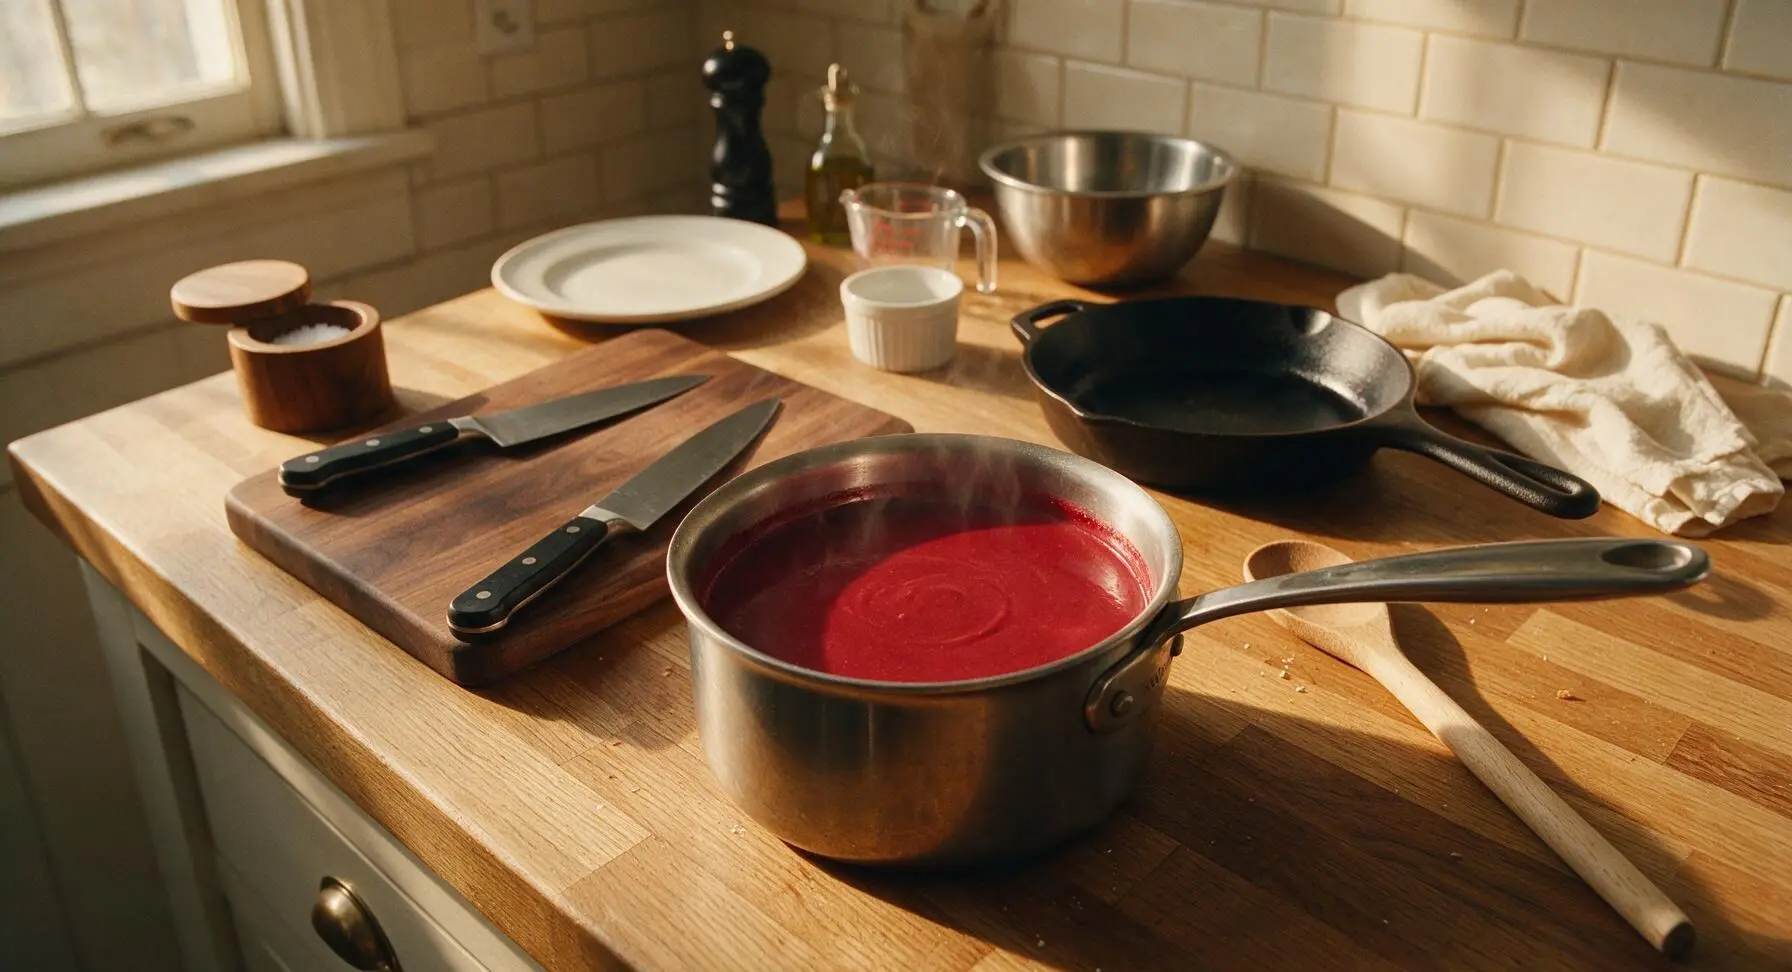
Add the softened room-temperature cream cheese, 3/4 tsp pure vanilla extract, and 1/4 tsp red gel food coloring to the pan. Whisk vigorously for 1-2 minutes, until the cream cheese is fully incorporated (no tiny white lumps remaining) and the mixture turns a uniform deep, rich crimson red, the classic red velvet shade. Add 1 extra drop of food coloring at a time if the color is too pale, but avoid adding excess, as gel food coloring can create a bitter aftertaste if overused.
Simmer to Thicken
Reduce heat to low, and let the hot chocolate simmer gently for 3 minutes, whisking every 30 seconds to prevent a thick skin from forming on the surface. The finished hot chocolate is ready when it coats the back of a metal spoon thickly, with slow, heavy drips falling back into the pan; if it runs off in a thin, watery stream, simmer for 1 additional minute. Remove the pan from heat immediately once the desired thickness is reached.
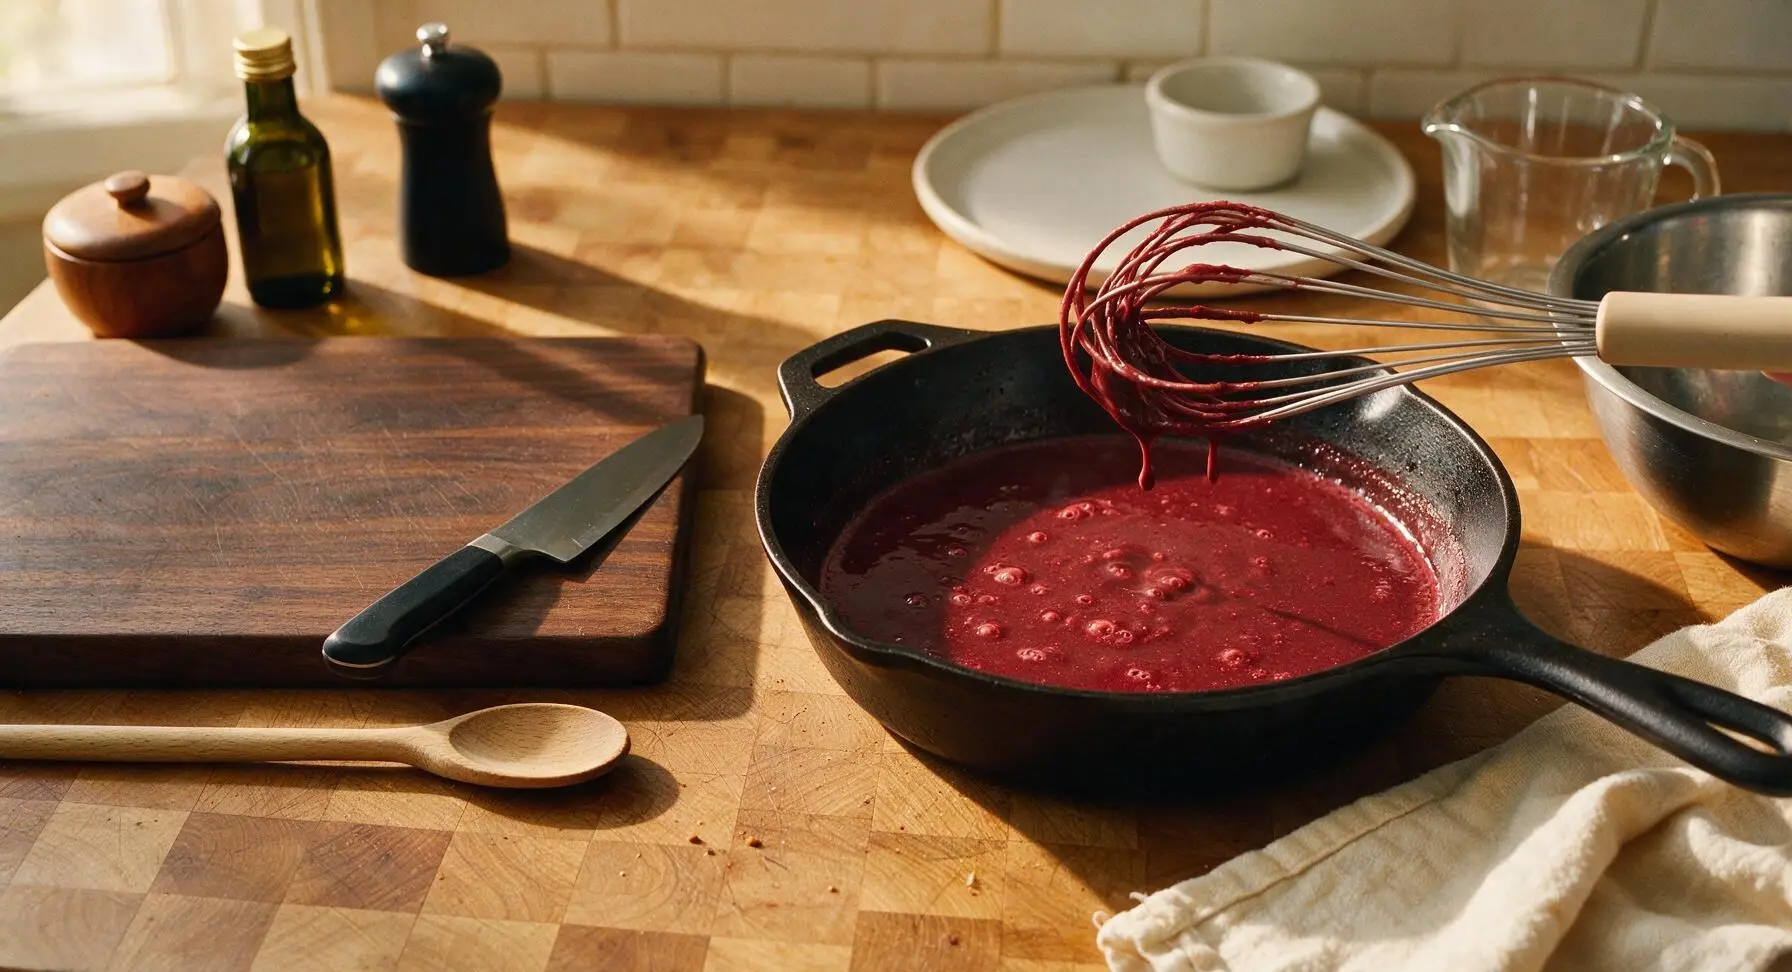
Whip Cream Topping
While the hot chocolate simmers, pour the remaining 2 tbsp chilled heavy cream into a clean prep bowl. Whip with the clean silicone whisk for 2 minutes until soft, billowy peaks form — do not over-whip to stiff, buttery peaks, as the cream should melt slightly into the hot chocolate when served. Use the stainless steel microplane grater to shave the 10g of dark chocolate into thin curls, collecting the shavings in the 6cm matte white ceramic ramekin.
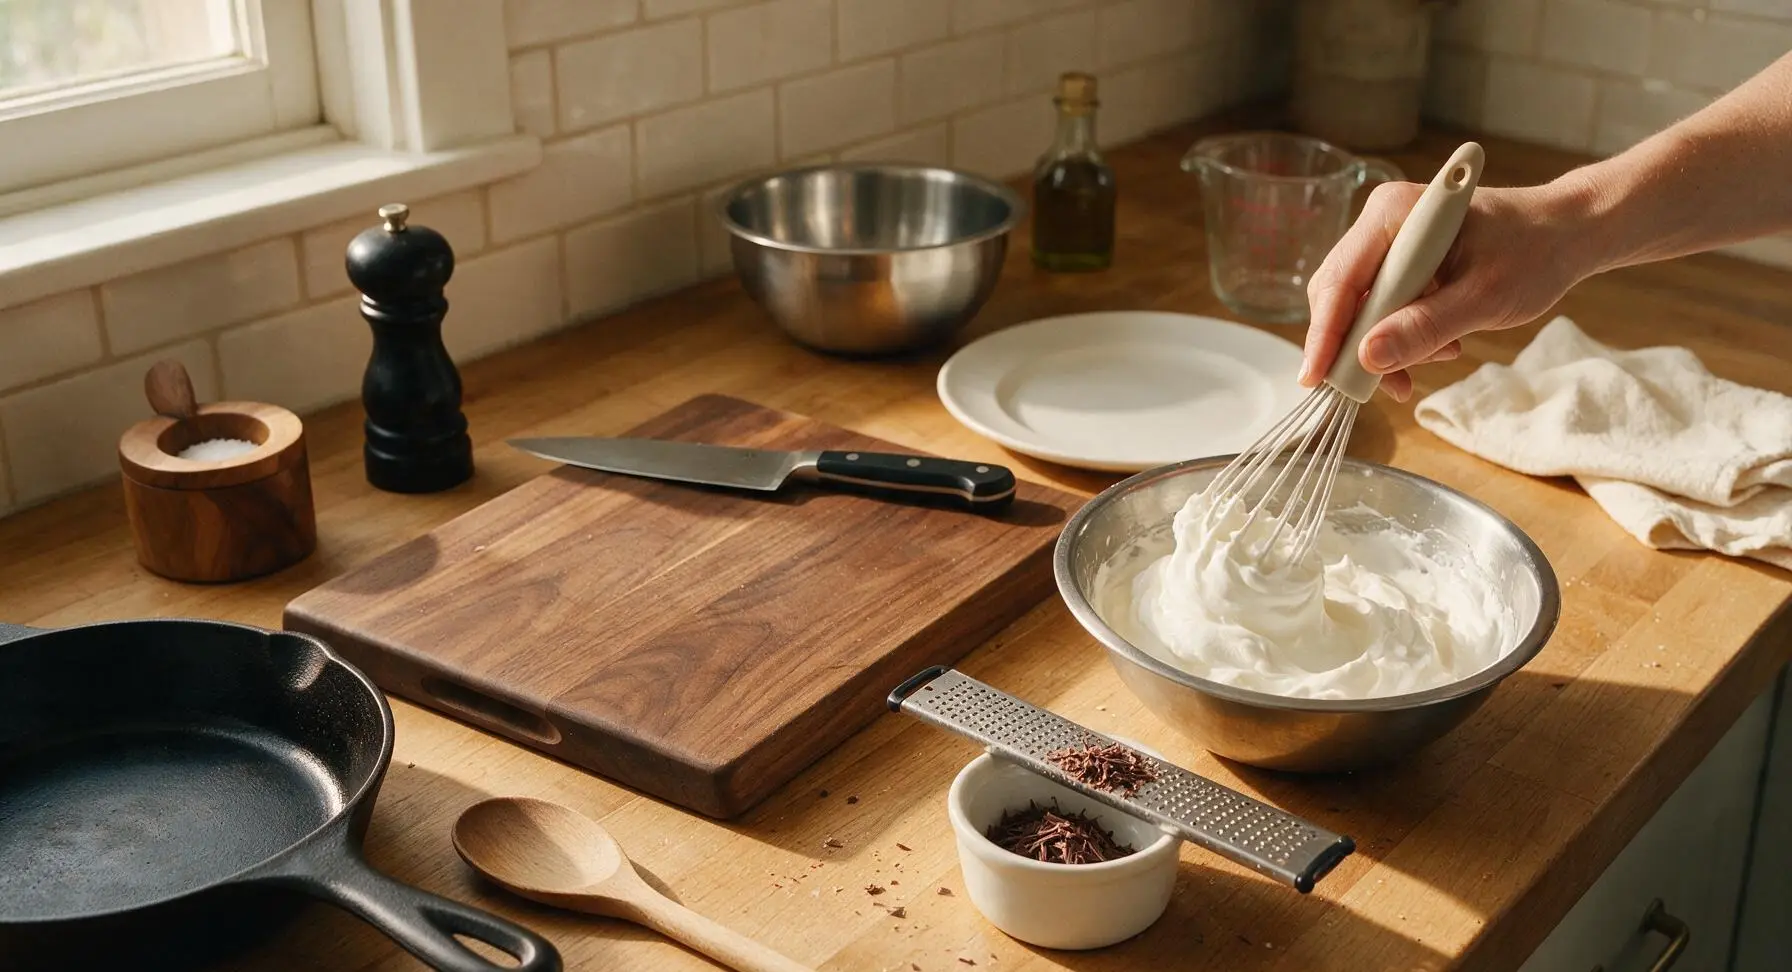
Pour into Serving Mugs
Set the two 12oz matte cream ceramic mugs on the counter next to the stovetop. Use the matte black stainless steel ladle to carefully pour the hot crimson chocolate into each mug, filling to 1cm below the rim to leave space for toppings. Dab any small drips from the mug rims with the corner of the fixed dusty rose linen towel (kept in its permanent top-right position) for a clean finish.
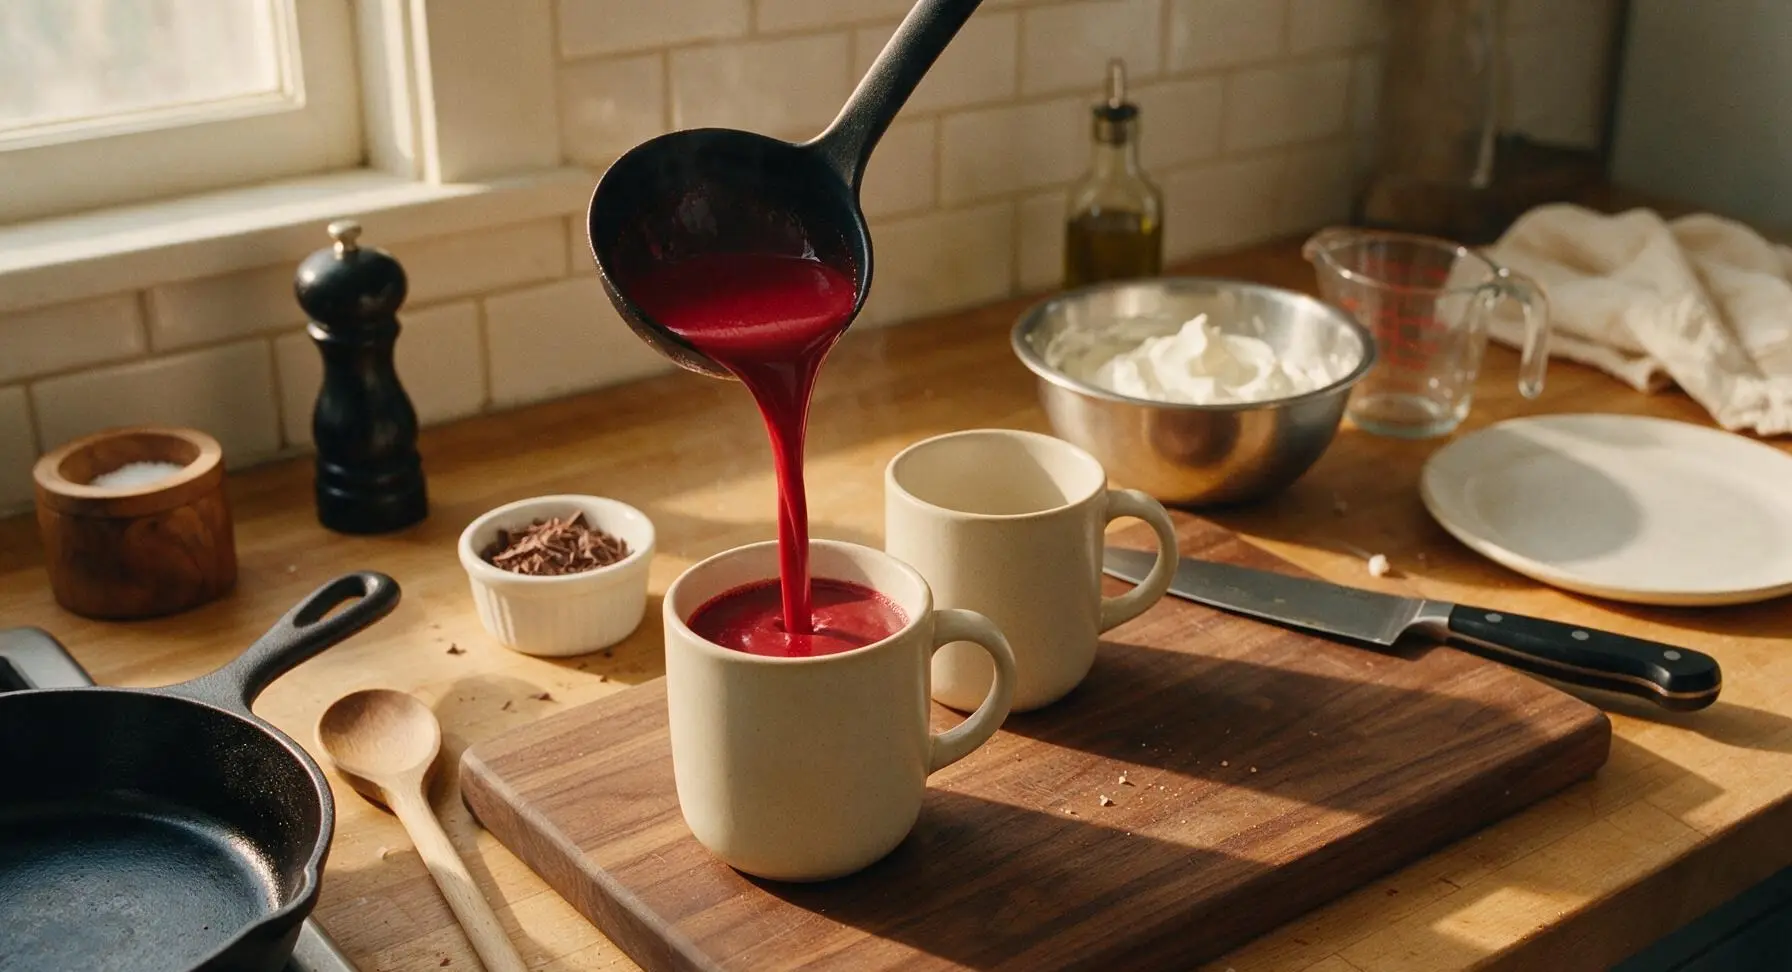
Top and Serve Warm
Top each mug of hot chocolate with a generous dollop of the freshly whipped cream, mounding it slightly in the center of the mug. Sprinkle dark chocolate shavings over the whipped cream, and serve immediately while the drink is hot and steaming, for the best velvety texture and flavor.
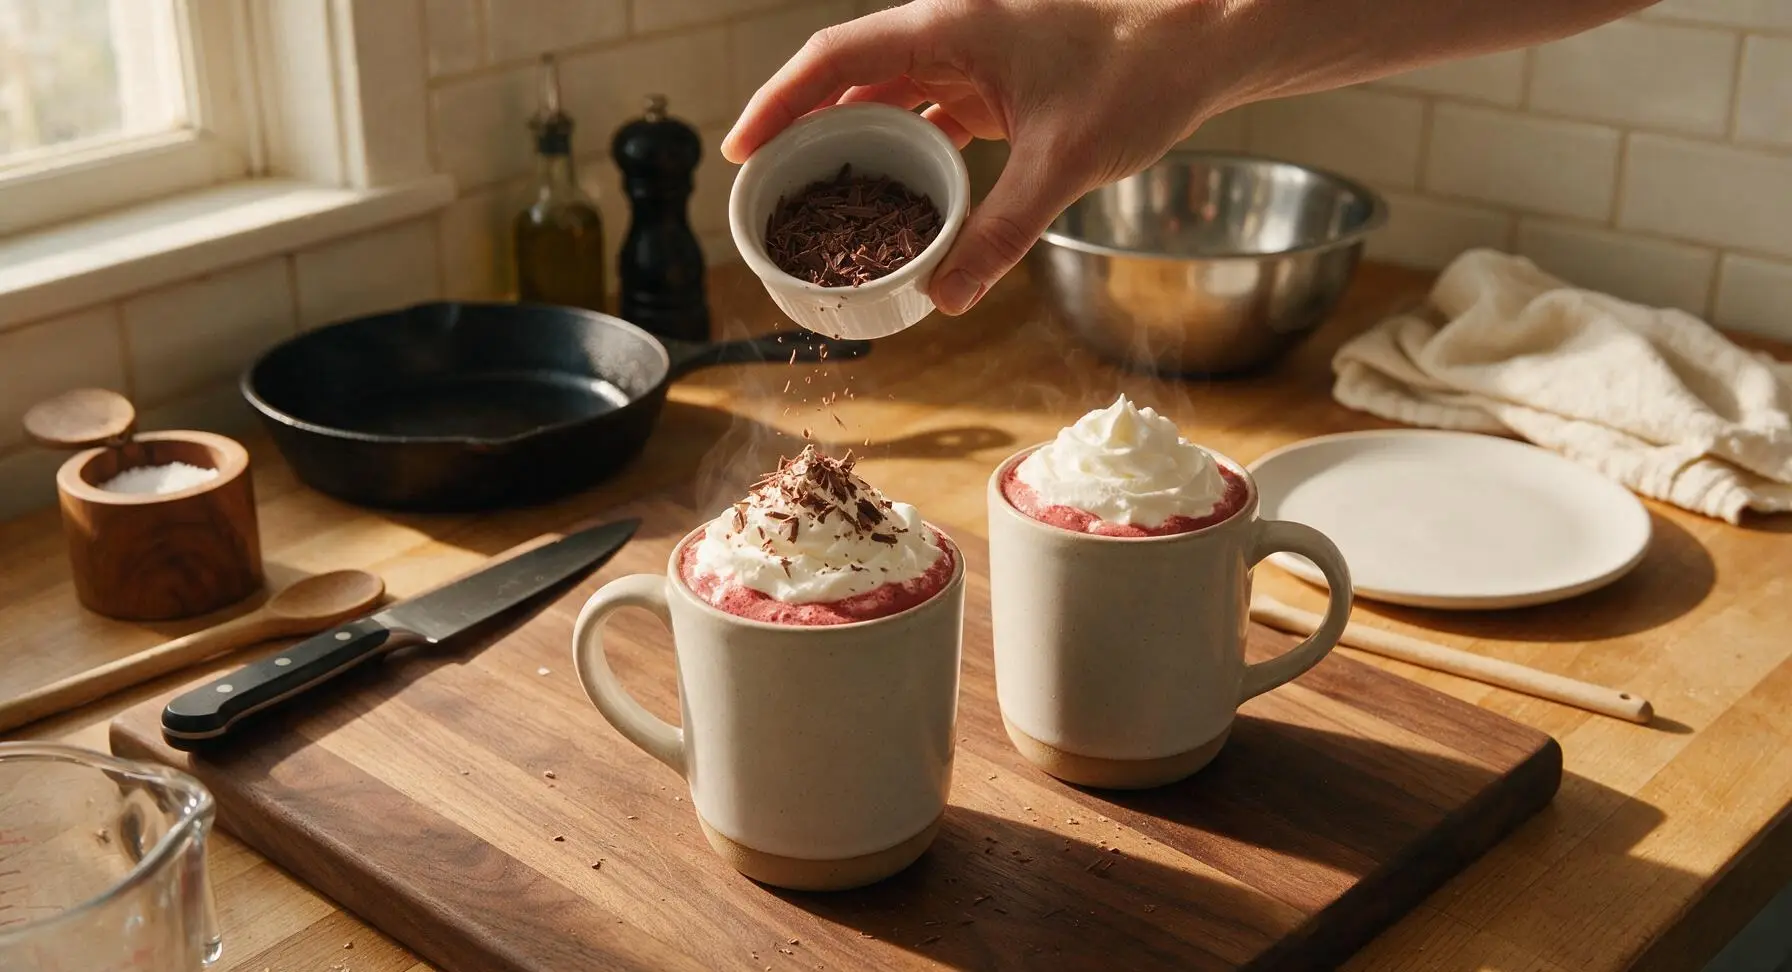
Tips
2.Never boil the milk mixture: High heat will scald the milk and scorch the white chocolate, leading to a grainy, bitter hot chocolate. Keep heat on medium-low throughout cooking, and stop heating as soon as the liquid is steaming and thick enough to coat a spoon.
3.Soften cream cheese fully before adding: Cold cream cheese will leave tiny, unappealing white lumps in your finished drink. Let it sit on the counter for 20 minutes before cooking, and cut it into 1cm cubes to help it melt evenly into the warm liquid, delivering that subtle, tangy note that makes red velvet unique.






OMG this red velvet hot chocolate is a total game changer! I made it for our family movie night last night and my kids begged for seconds. It’s so rich and creamy, the little hint of cocoa and that subtle red velvet tang? *Chef’s kiss* I topped ours with whipped cream and extra red velvet crumbs, 10/10 will be making this all winter long. So easy too, I was shocked it only took 10 minutes!
Made this for our neighborhood potluck over the weekend and it was gone in 15 minutes flat! Everyone was asking for the recipe, I felt like a celebrity. I added a tiny splash of peppermint schnapps to the adult batch and it was chef’s kiss. Only note: don’t skimp on the white chocolate chips, they make it so smooth!
Y’all I made this in my dorm microwave (don’t tell my RA lmao) and it was SO good. Way better than the sad packet hot chocolate they sell in the dining hall. I didn’t have red food coloring so I skipped it, still tasted exactly like red velvet cake to me. 10/10 for broke college students looking for a cozy study snack.
My 7 year old has been begging for red velvet everything lately so I whipped this up after school last week. She said it’s “better than the hot chocolate from Santa’s workshop” lmao. I added a handful of mini marshmallows and a dash of cinnamon on top, will definitely be making this for our Christmas party next month!
Made this after a cold rainy hike a couple weeks back and it was the perfect warm up. I used dark hot chocolate mix instead of regular cocoa because it’s what I had in the pantry, and added a little extra vanilla. Super easy, minimal cleanup, exactly what I needed after being out in the cold. Will be adding this to my regular post-hike rotation!