
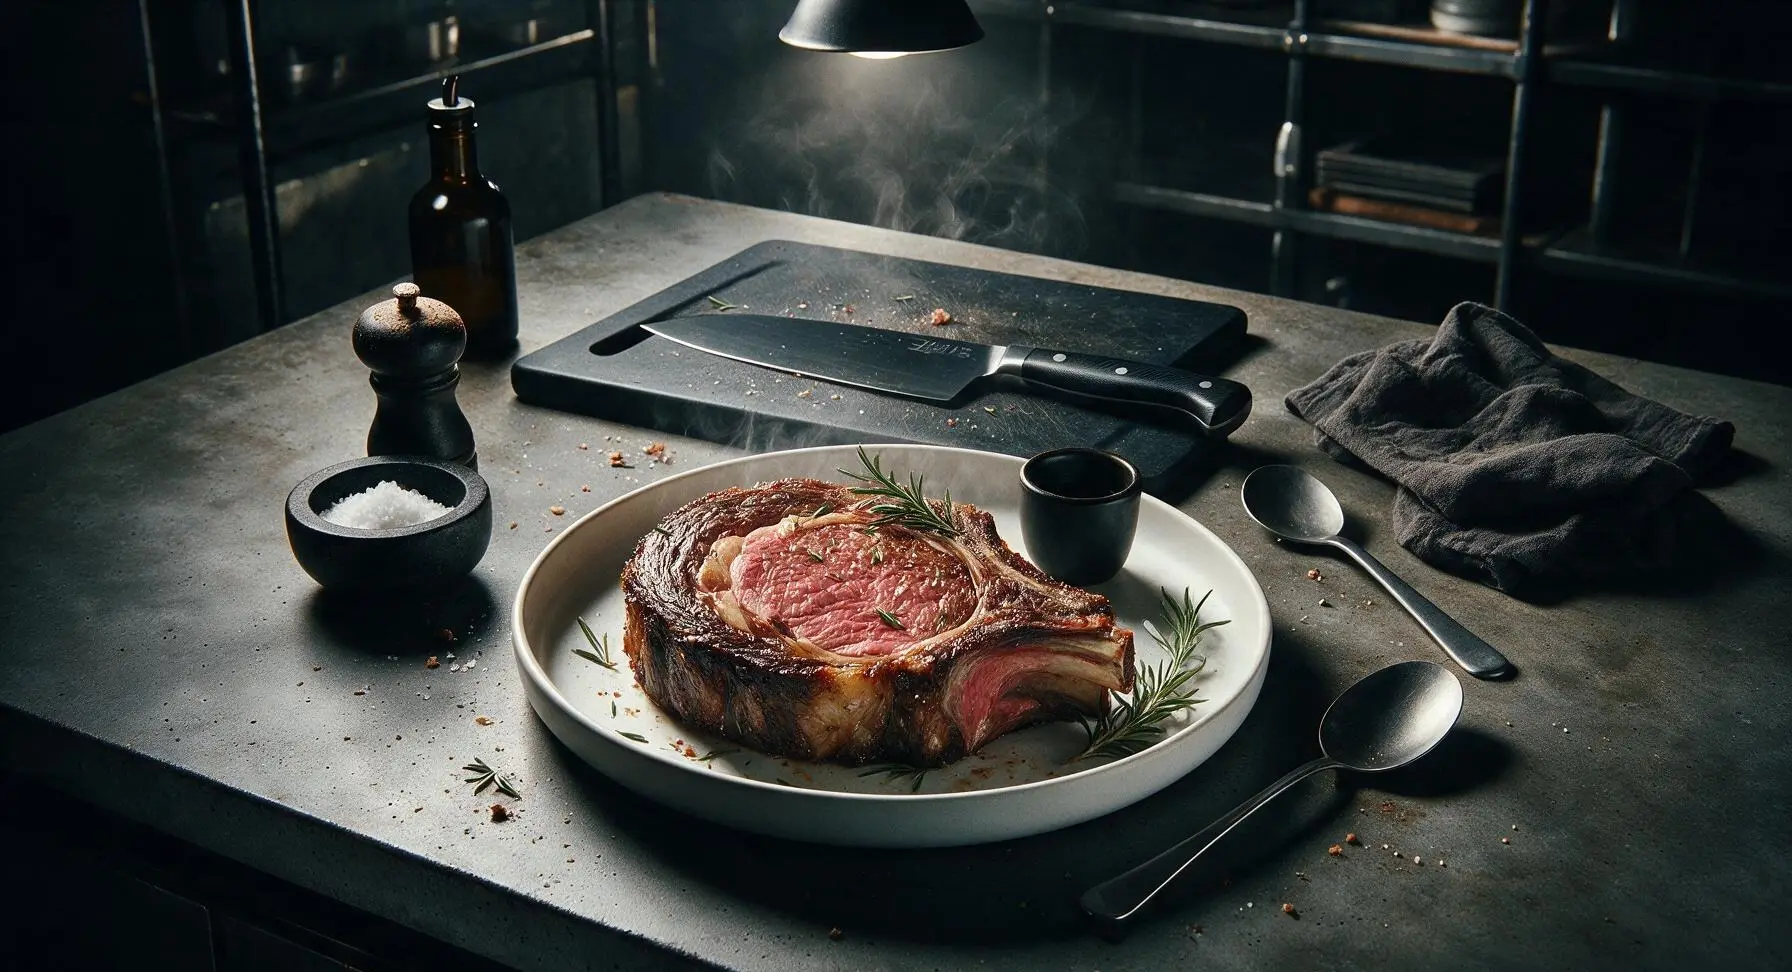
rib eye roast

title 1
rib eye roast
⏱️ cook time 1 hour 20 minutes
🍽️ servings 6
⚡ Difficulty medium

intro

Juicy, deeply marbled rib eye roast with a crisp salty crust, tender pink medium-rare center, and rich beefy flavor—made for gathering loved ones around the Sunday table.

Ingredients
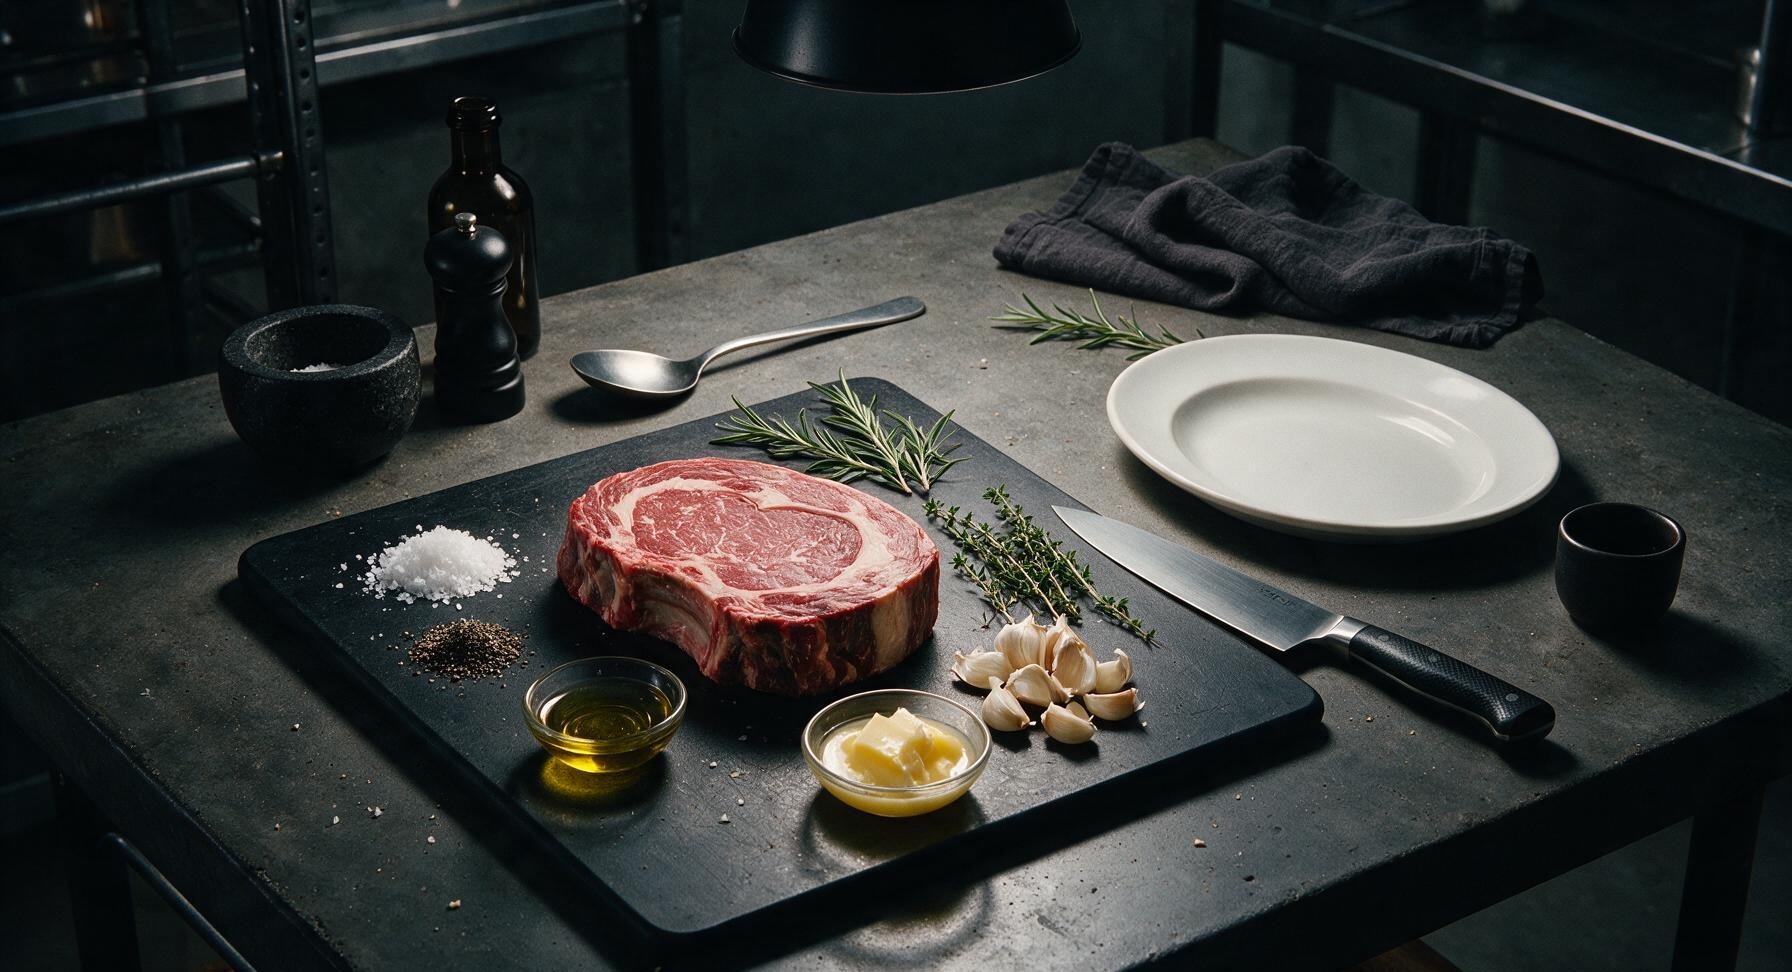
Bone-in rib eye roast 2kg (4.5lb)
Flaky sea salt 2 tbsp
Coarsely ground black pepper 1 tbsp
Extra-virgin olive oil 1 tbsp
Unsalted butter 4 tbsp (55g)
Fresh rosemary 3 sprigs
Fresh thyme 5 sprigs
Garlic 1 head (cloves separated, crushed)

Steps

1

Pat Roast Fully Dry

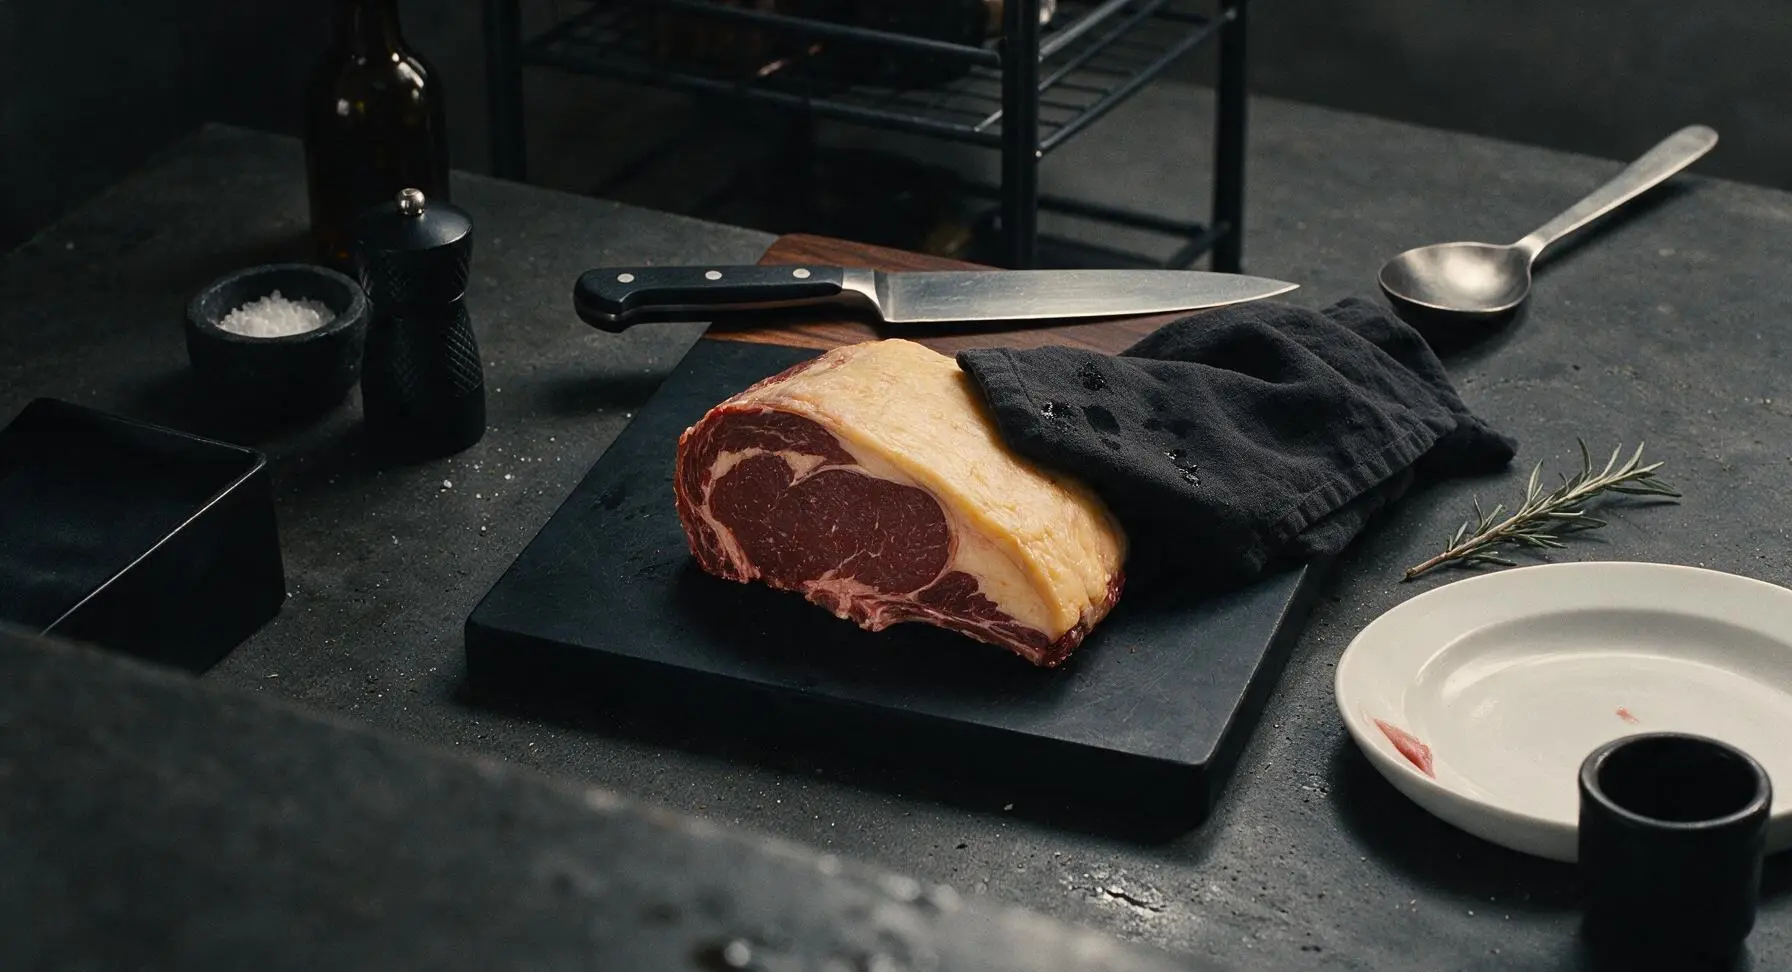
Remove the 2kg bone-in rib eye roast from packaging 1 hour before cooking to bring it to room temperature (this passive step ensures even cooking, and is not counted in active prep time). Set the roast on the walnut end-grain cutting board, and pat every surface thoroughly dry with the striped cream linen towel, paying extra attention to the thick fat cap, until no surface moisture remains. Discard any small lint bits left by the towel.
Step 1
step1:Pat Roast Fully Dry
2

Season All Surfaces

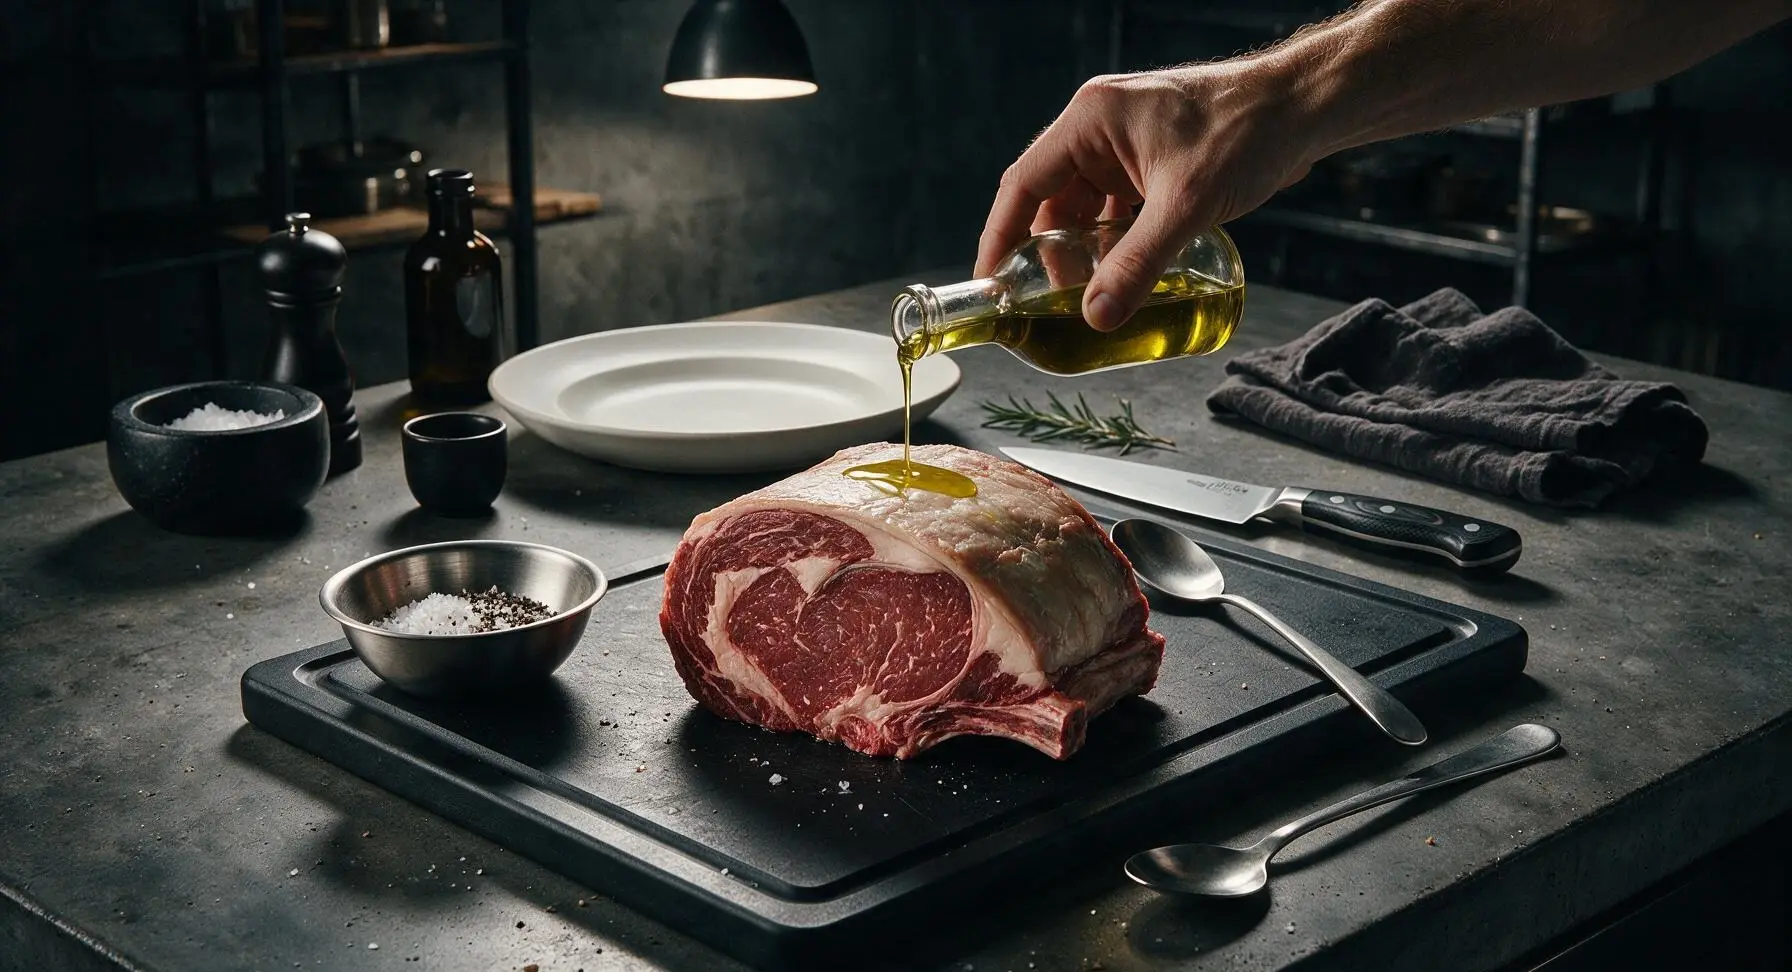
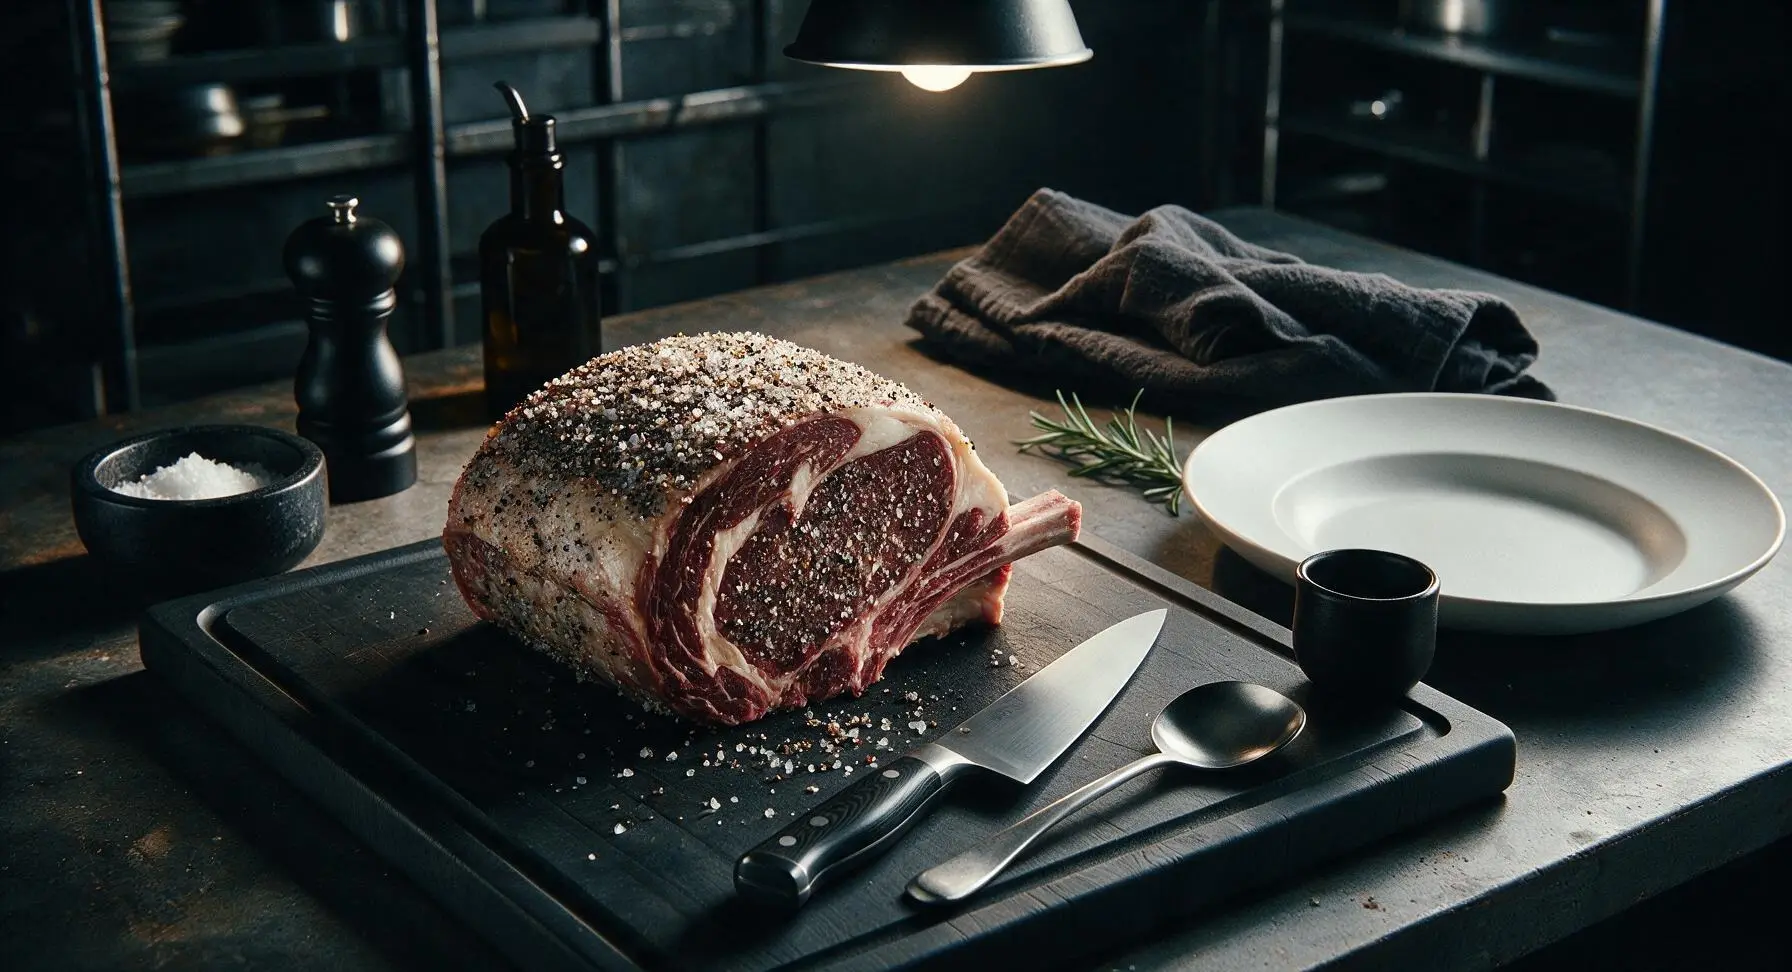
Drizzle 1 tablespoon of extra-virgin olive oil over the entire roast, rubbing it into every side with clean hands to help seasoning adhere. Combine 2 tablespoons flaky sea salt and 1 tablespoon coarsely ground black pepper in the small brushed stainless steel mixing bowl, then sprinkle the mixture evenly across the fat cap, cut sides, and outer edges of the roast, pressing the seasoning gently into the meat so no loose bits fall off. The entire surface should be evenly coated with a thin layer of salt and pepper, with no bare red meat visible.
Step 2
step2:Season All Surfaces
Step 2
step2:Season All Surfaces
3

Prep Roasting Pan

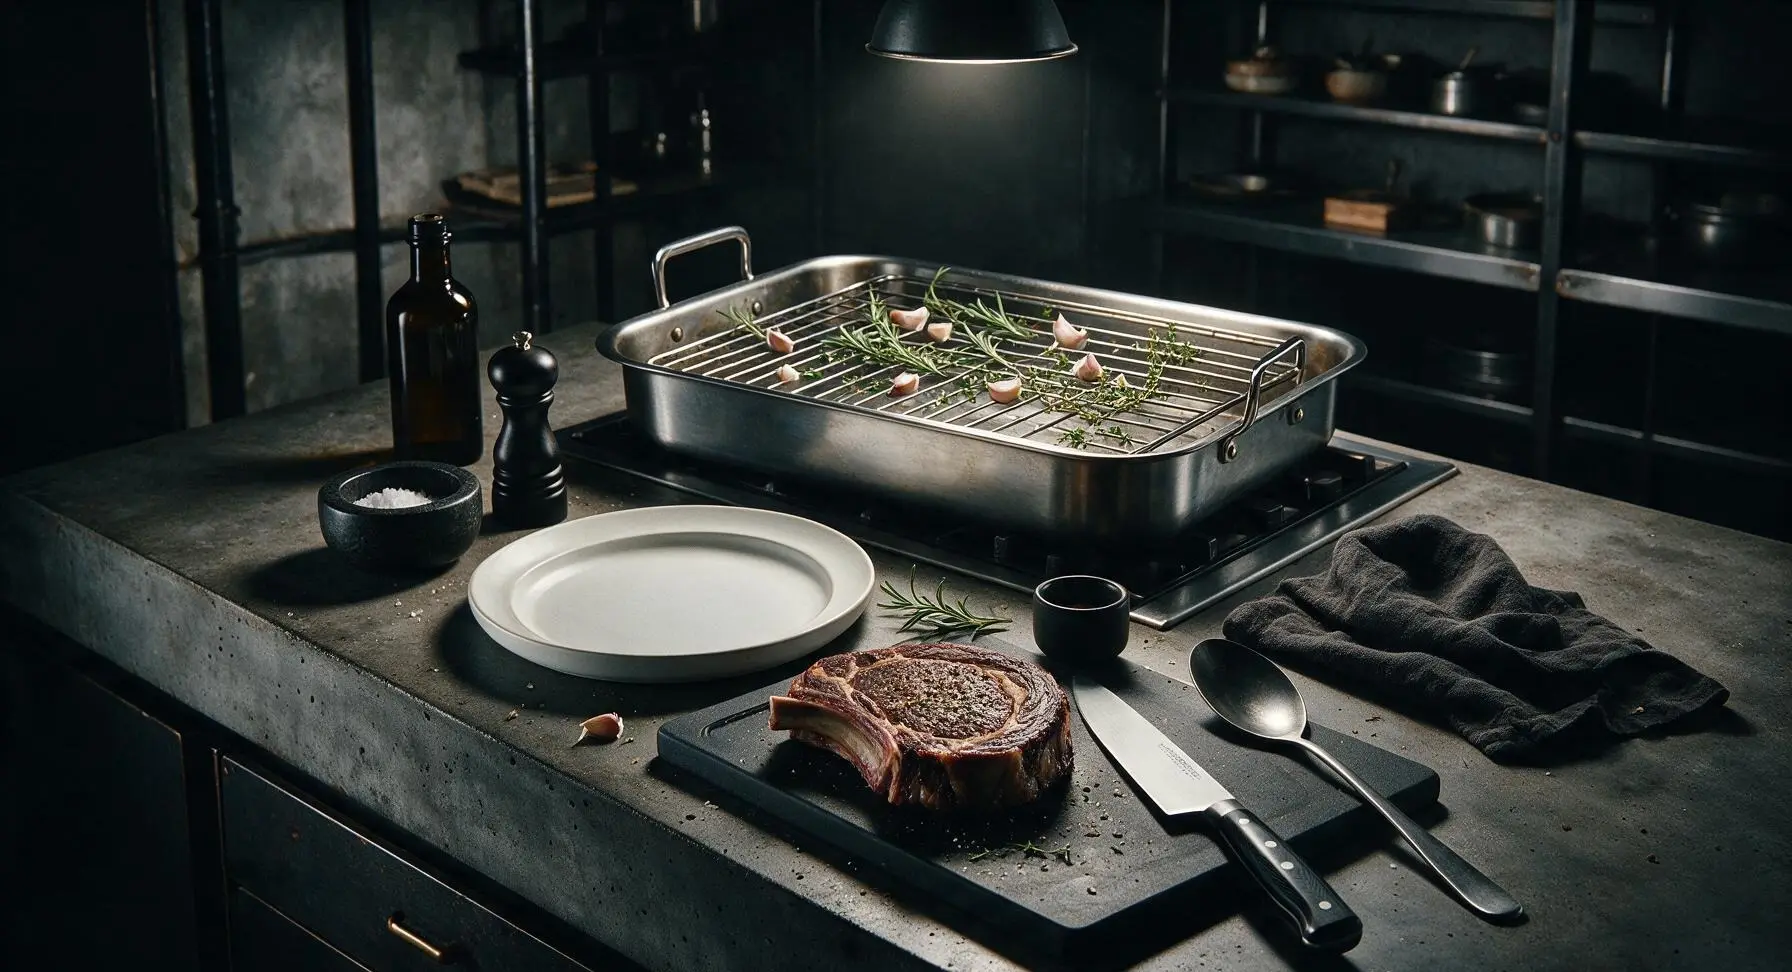
Adjust the oven rack to the middle position, and preheat the oven to 230°C (450°F). Set the stainless steel flat rack inside the heavy-gauge stainless steel roasting pan, then scatter half the crushed garlic cloves, 2 rosemary sprigs, and 3 thyme sprigs across the rack slats. The elevated rack allows hot air to circulate under the roast for a crisp, evenly browned crust on all sides, rather than steaming the meat in its own juices.
Step 3
step3:Prep Roasting Pan
4

Sear at High Heat

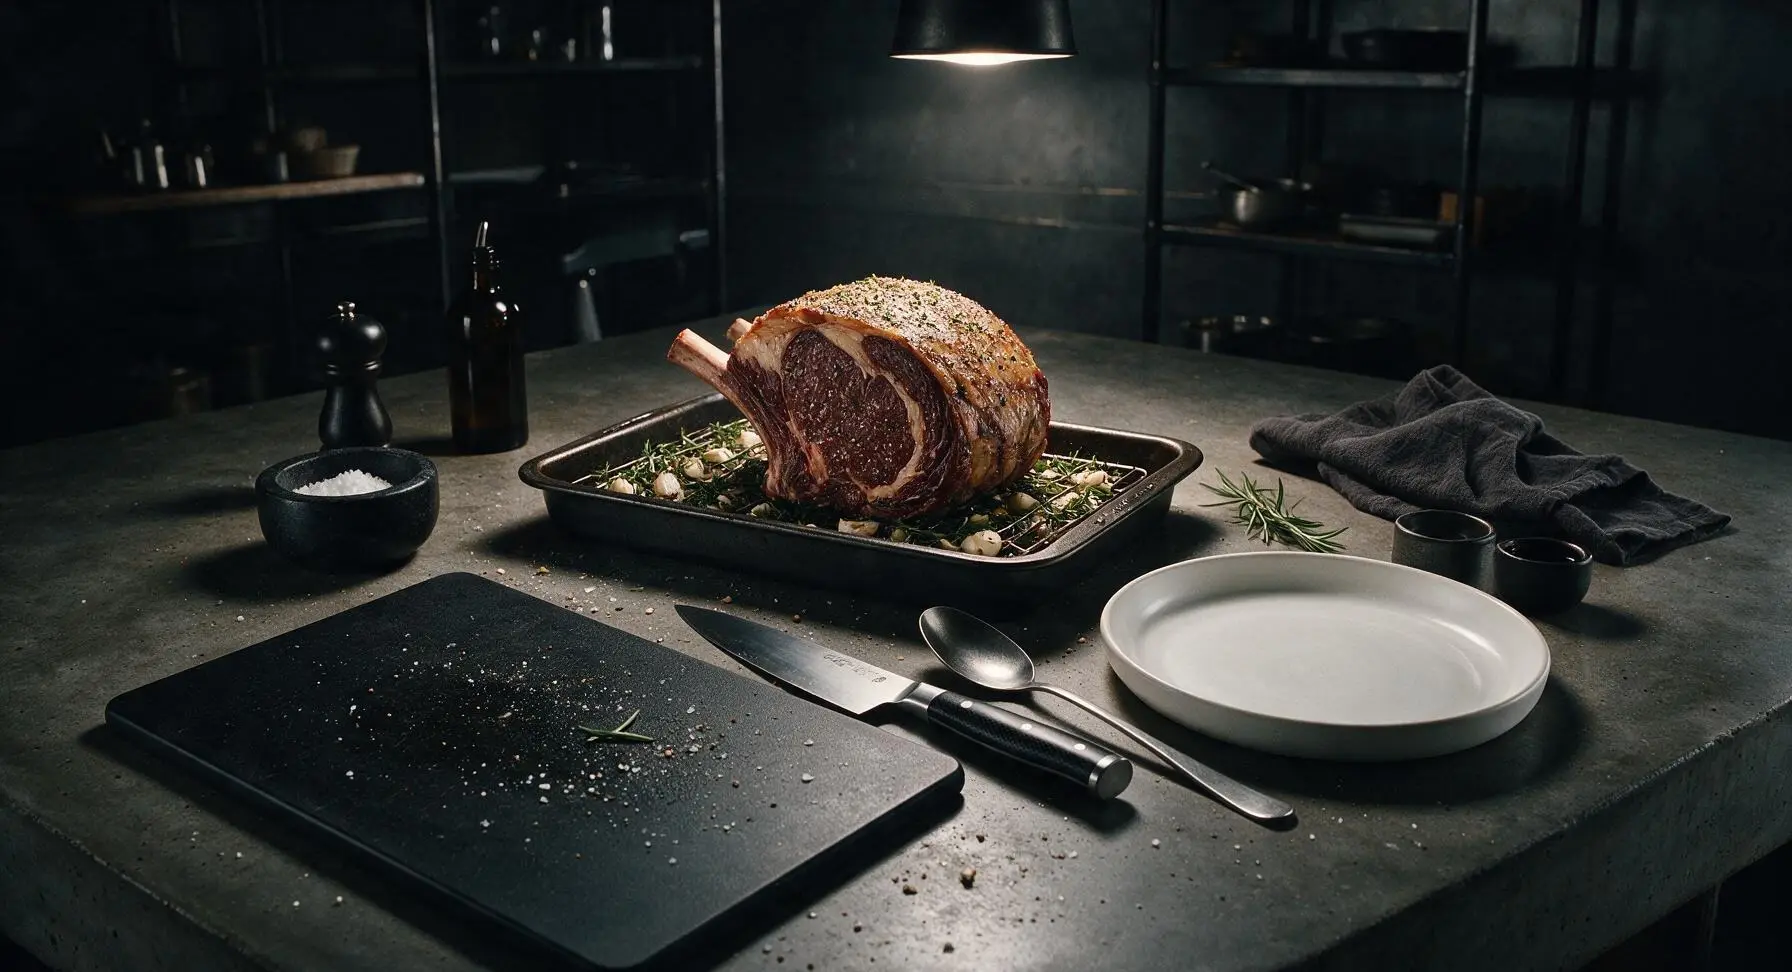
Set the seasoned rib eye roast fat-side up on the herb and garlic-lined rack in the roasting pan. Place the pan in the preheated 230°C (450°F) oven, and cook for 20 minutes to develop a deep golden-brown crisp crust on the exterior. Do not open the oven door during this initial searing phase, as dropping the oven temperature will prevent a proper crust from forming.
Step 4
step4:Sear at High Heat
5

Roast to Target Temp

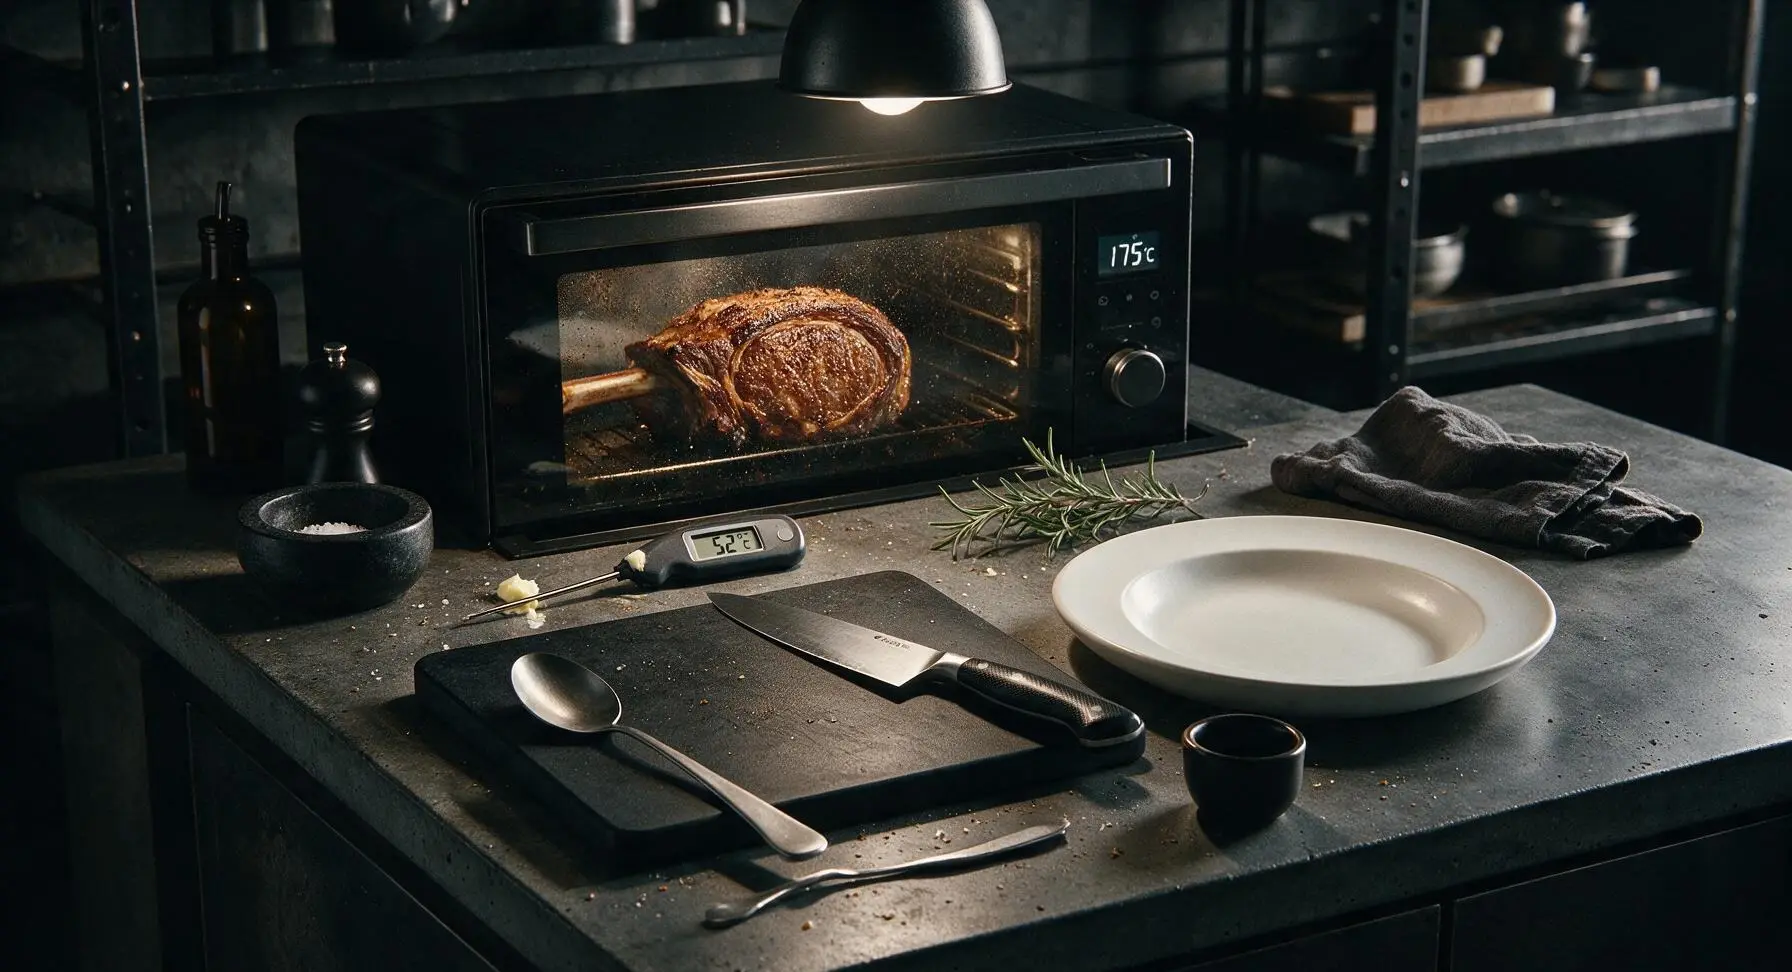
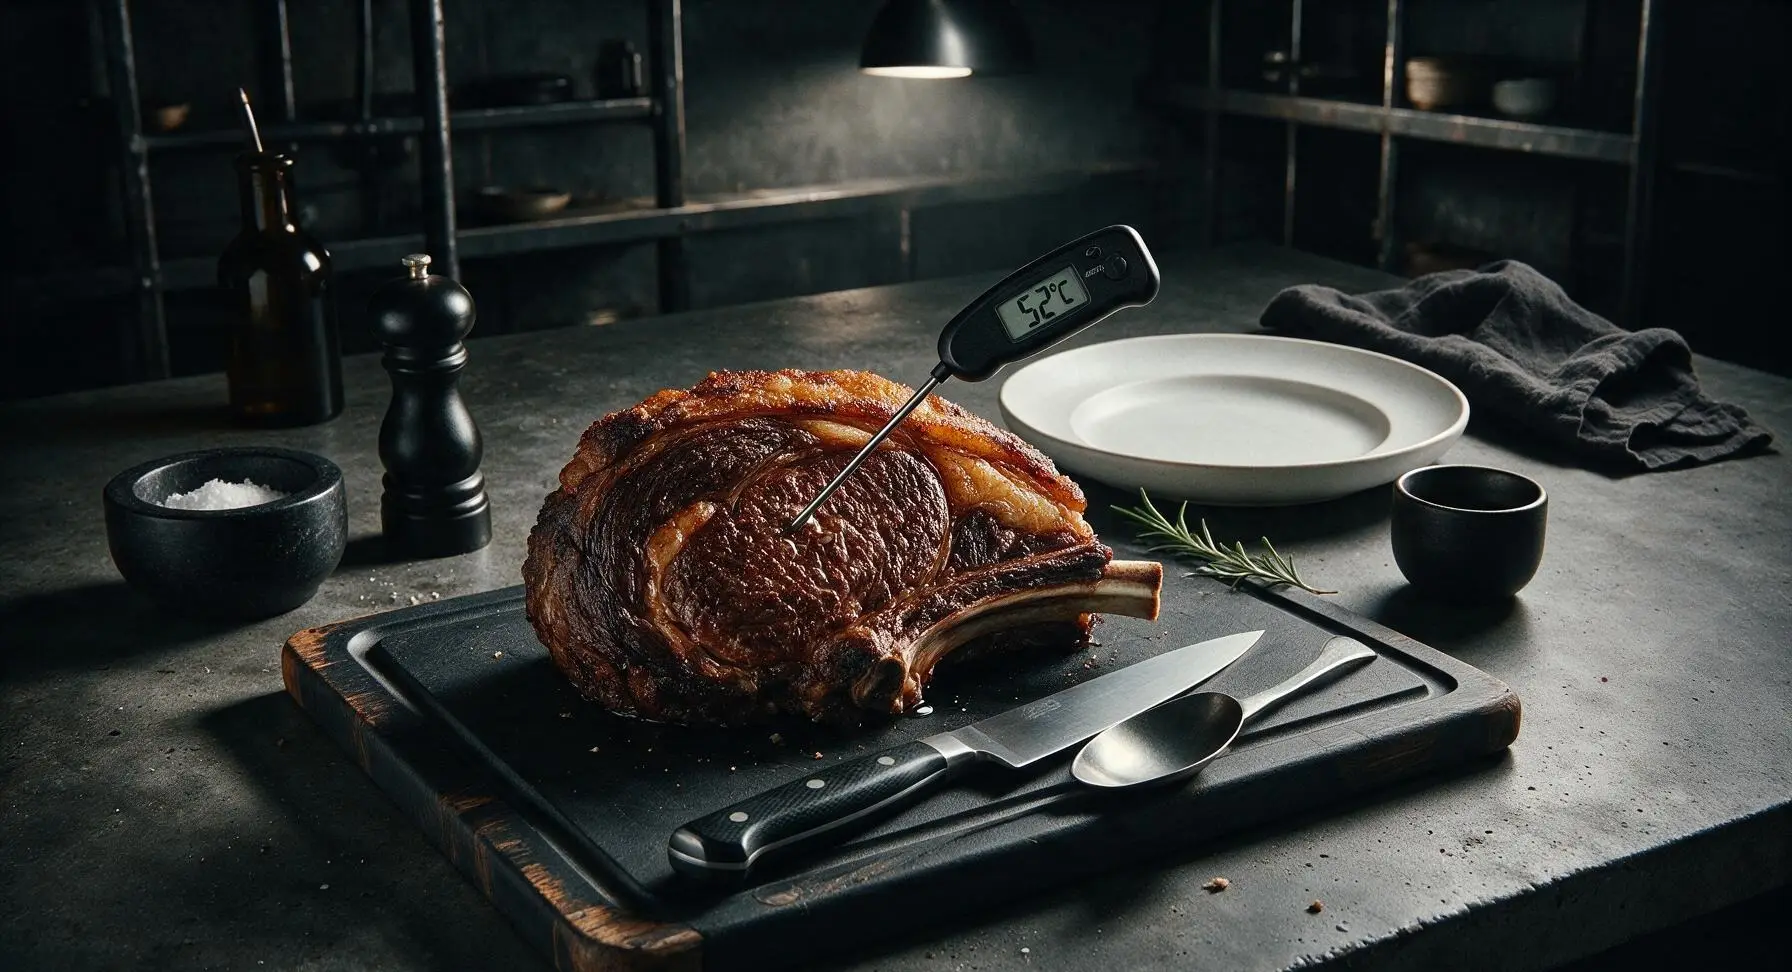
After 20 minutes of high-heat searing, reduce the oven temperature to 175°C (350°F) without opening the door if possible. Continue roasting for 50-60 minutes, until the instant-read digital meat thermometer inserted into the thickest part of the roast (not touching the rib bone) reads 52°C (125°F) for medium-rare. The crust will deepen to a rich mahogany brown, and the fat cap will be fully rendered and crisp to the touch.
Step 5
step5:Roast to Target Temp
Step 5
step5:Roast to Target Temp
6

Baste with Herb Butter

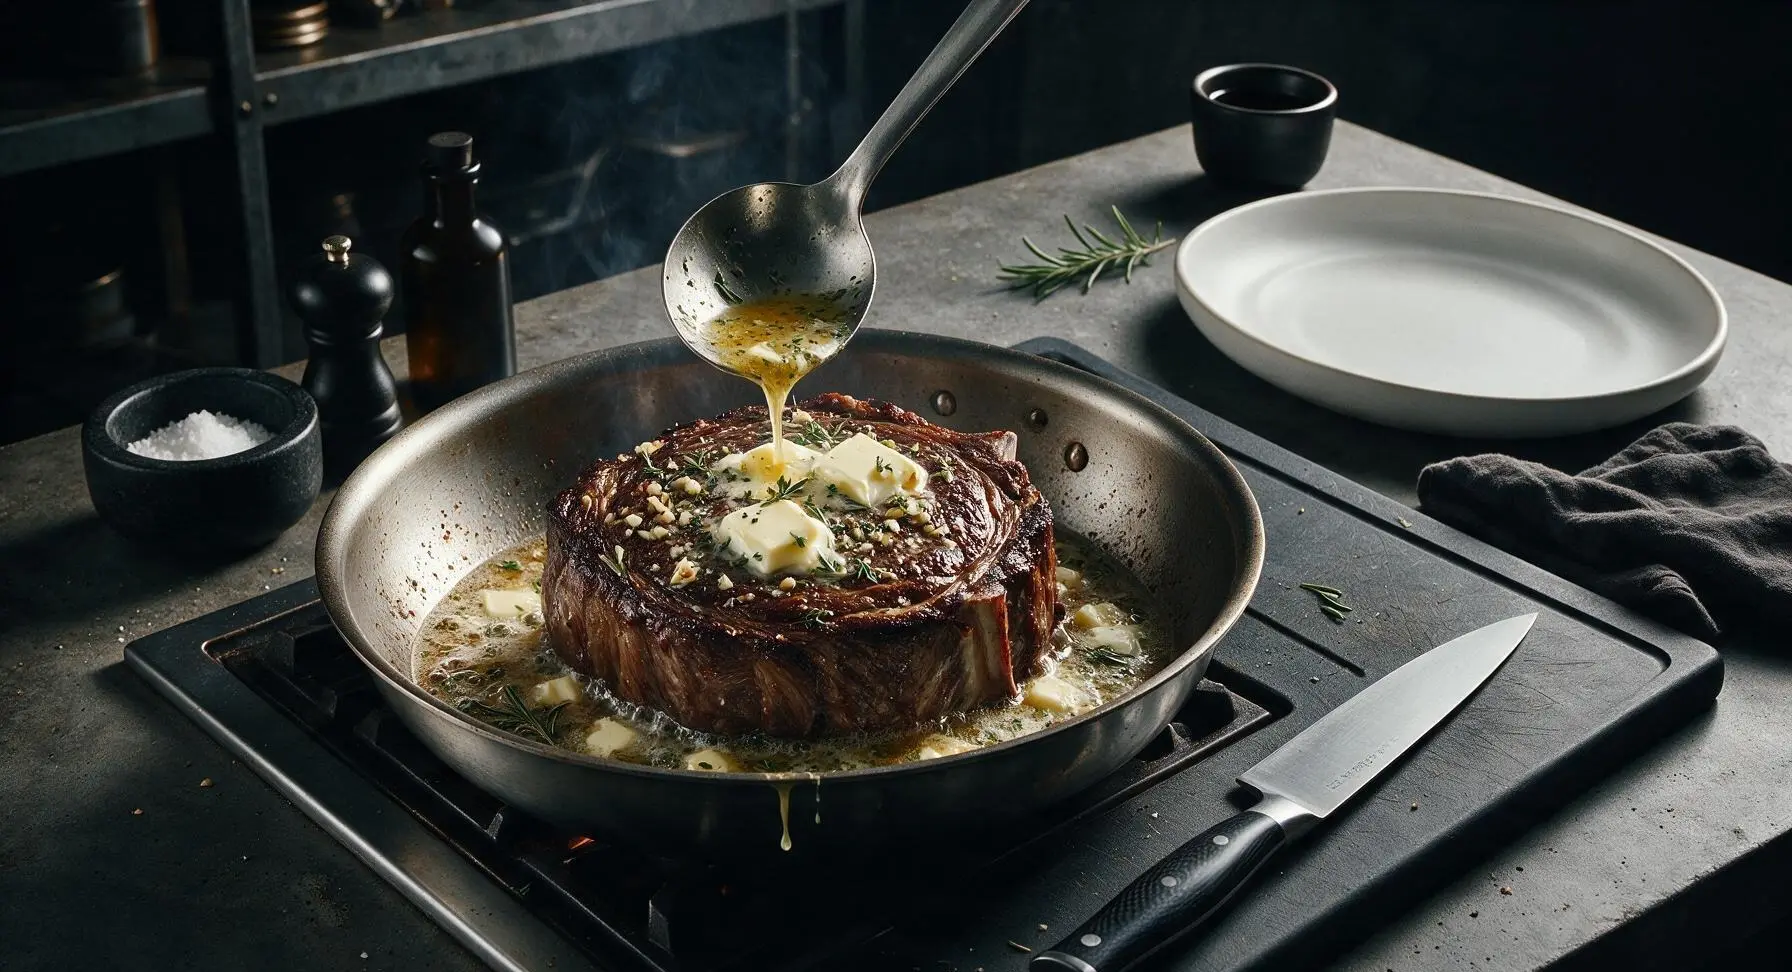
When the roast reaches 52°C (125°F), carefully pull the roasting pan out of the oven. Dot the top of the roast with 4 tablespoons of cold unsalted butter, cut into small pats, and scatter the remaining crushed garlic, rosemary, and thyme over the melting butter. Tilt the pan slightly, and use a large metal spoon to ladle the melted butter and herb-infused pan juices over the top of the roast 3-4 times to coat the crust and add rich, aromatic flavor.
Step 6
step6:Baste with Herb Butter
7

Rest Before Slicing

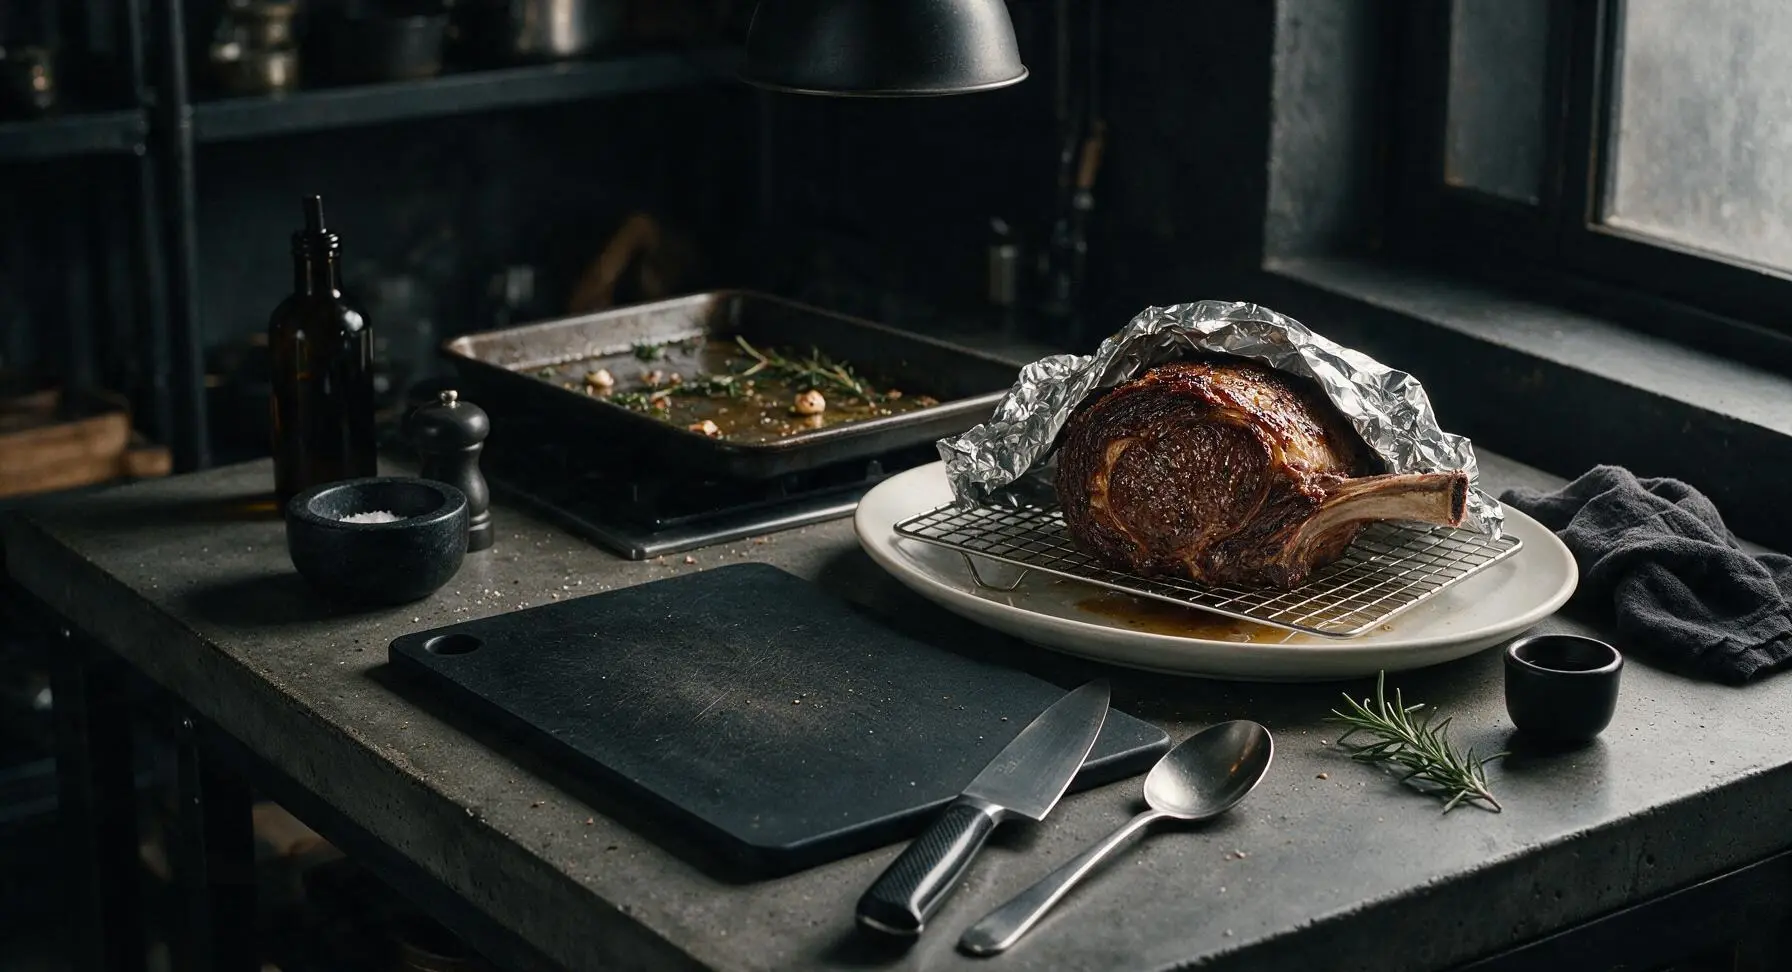
Carefully lift the roast from the rack using tongs, and transfer it to the stainless steel wire cooling rack set over a large plate (to catch drippings). Loosely tent the roast with a small sheet of aluminum foil (do not wrap it tightly, as this will steam the crust and make it soggy), and let it rest for 20 full minutes. During resting, the internal temperature will rise 3-5°C (carryover cooking) to reach a perfect 55-57°C (130-135°F) medium-rare, and muscle fibers will relax to redistribute juices so they do not run out when sliced.
Step 7
step7:Rest Before Slicing
8

Slice and Plate

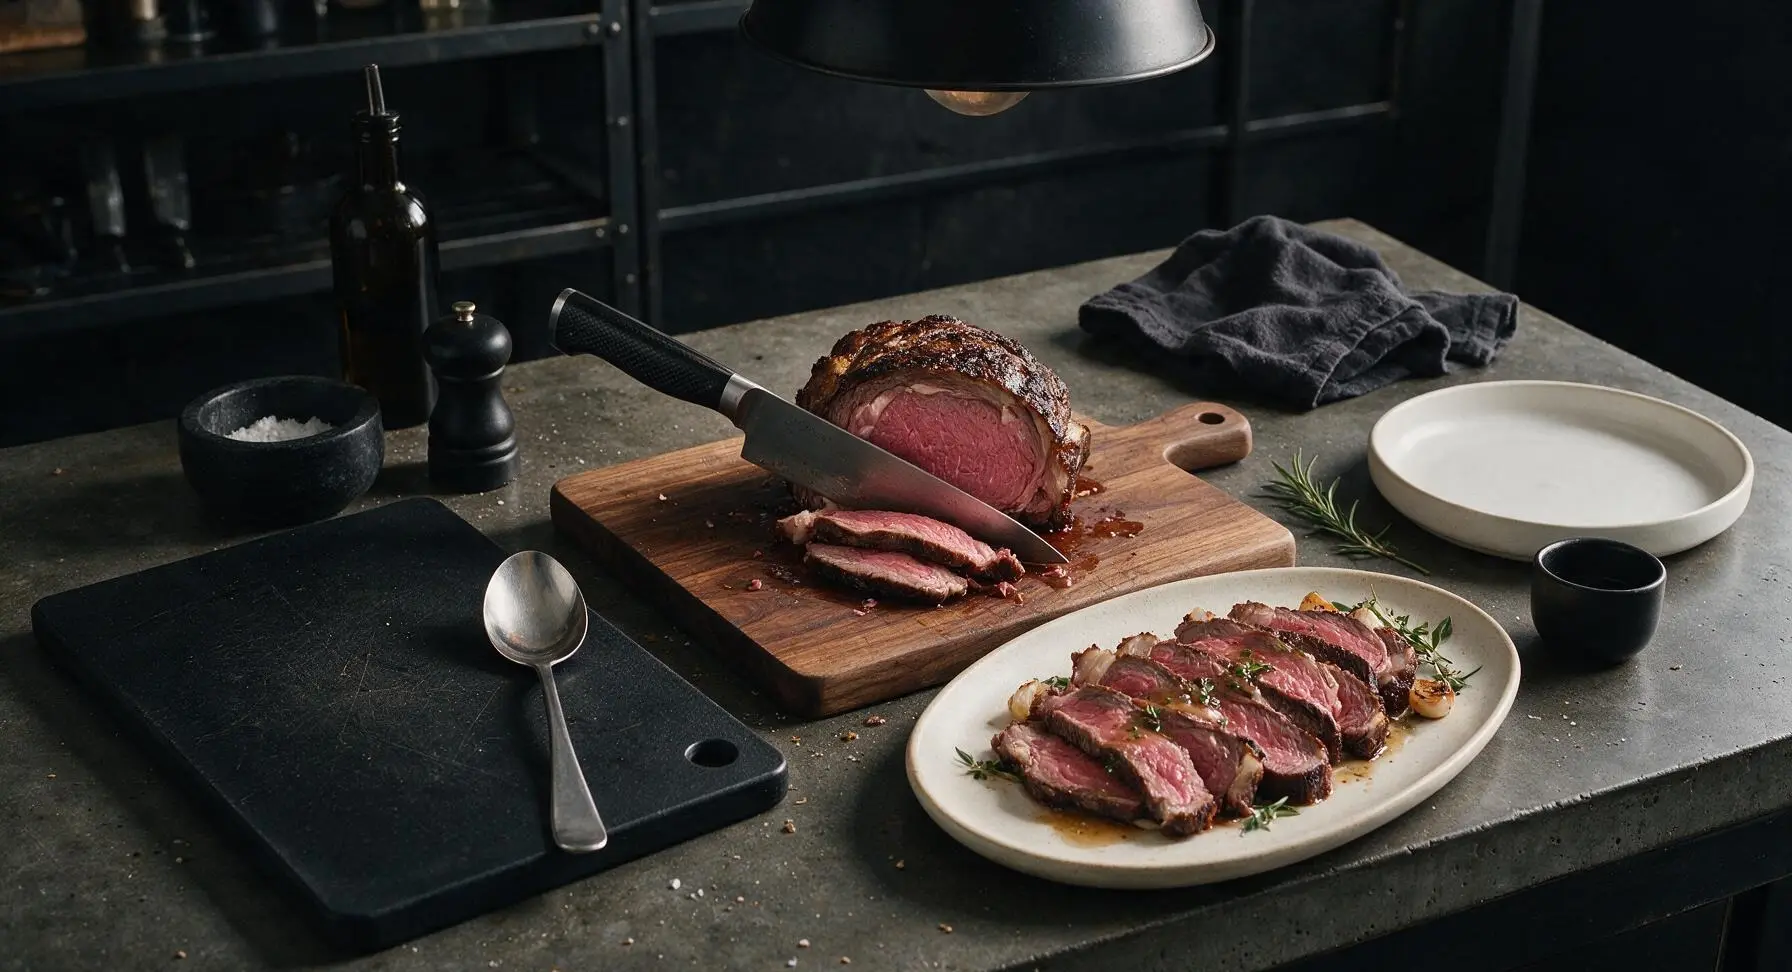
After the full 20-minute rest, transfer the roast back to the walnut cutting board. Use the chef knife to slice the meat against the grain into 1.5cm (1/2 inch) thick slices, cutting cleanly through the crisp crust and tender pink interior in smooth, even strokes. Arrange the slices in an overlapping fan on the cream white oval stoneware platter, spoon a small amount of reserved pan juices over the top, and tuck a few fresh herb sprigs and roasted garlic cloves around the edges for garnish.
Step 8
step8:Slice and Plate

Tips

1.Never skip bringing the roast to room temperature before cooking: a cold roast straight from the fridge will cook unevenly, leading to overcooked, gray edges and an underdone, cold center even with careful temperature monitoring.
2.Always rest the roast for a full 20 minutes before slicing: cutting into hot meat immediately causes all the flavorful, juicy myoglobin to run out onto the platter, leaving the roast dry and tough instead of tender and succulent.
3.Do not trim the thick fat cap before cooking: the layer of fat renders slowly as the roast cooks, basting the meat from above to keep it moist, and creates the shatteringly crisp, salty crust that is the signature of a perfect rib eye roast. You can trim excess fat from individual slices after cooking if preferred.


✨ You May Also Like

Main Course
🍜 United Kingdom

A showstopping classic of tender seared beef, savory mushroom duxelles, and crisp prosciutto wrapped in flaky golden puff pastry, baked to juicy perfection.

⏱️ 2 hours 1Main Course ★ 4.7
Main Course
🍜 India

Tender charred marinated chicken simmered in a rich, spiced creamy tomato sauce, this iconic Anglo-Indian curry pairs perfectly with basmati rice or warm naan.

⏱️ 50 minuteMain Course ★ 4.6
Main Course
🍜 Thailand

Classic tangy, sweet, and savory Thai stir-fried rice noodles with shrimp, tofu, and crunchy garnishes, balancing all five core Thai flavor profiles.

⏱️ 30 minuteMain Course ★ 4.5
Main Course
🍜 United Kingdom

Crispy golden beer-battered cod and fluffy double-fried chips, served with tangy tartar sauce and malt vinegar: the timeless, beloved British pub comfort classic.

⏱️ 45 minuteMain Course ★ 4.7
Main Course
🍜 Mexico

Smoky, chile-marinated pork tacos with caramelized pineapple, fresh cilantro, and lime: a beloved classic Mexican street food perfect for casual summer gatherings.

⏱️ 1 hour 45Main Course ★ 4.8
Main Course
🍜 United States

Crunchy Fritos corn chips layered with savory beef chili and melted cheddar, topped with cool, zesty fixings for a beloved, cozy Tex-Mex comfort food.

⏱️ 35 minuteMain Course ★ 4.8

rib eye roast:Frequently Asked Questions

1.How much bone-in rib eye roast should I plan per person? ▾
Plan for roughly ¾ to 1 pound of bone-in rib eye roast per guest. The bone adds significant inedible weight, so this portion accounts for that, plus a little extra for the seconds people will definitely reach for. If you want leftovers for sandwiches or hash the next day, bump that up to 1 ¼ pounds per person.
2.How far in advance should I salt the roast for the best flavor and texture? ▾
For the juiciest meat and crispest crust, salt the roast with flaky sea salt 24 to 48 hours before cooking, leaving it uncovered on a wire rack in the fridge. This lets salt draw out surface moisture that reabsorbs into the beef, tenderizing it and seasoning every layer instead of just the outer surface.
3.Do I really need to let the roast come to room temperature before cooking? ▾
Yes, let your roast sit out on the counter for 1 to 2 hours before cooking, depending on its size. Taking the chill off ensures it cooks evenly, so you won’t end up with a well-done outer layer before the center hits that perfect medium-rare pink. Pat it completely dry with paper towels first for a better crust.
4.What oven temperature setting works best for this roast? ▾
Start with a high-heat sear at 450°F for the first 15 minutes to kickstart that crisp, salty crust, then drop the oven temp to 325°F for the remaining cook time. The lower, steady heat cooks the beef gently without drying it out, so you get consistent pink doneness instead of a thick gray overcooked band around the edges.
5.How do I know when the roast is perfect medium-rare without cutting into it? ▾
Skip cutting into the roast (that lets all the juicy runoff escape!) and use an instant-read meat thermometer inserted into the thickest part, away from bone. Pull it when the internal temp hits 125°F for medium-rare—remember, it will keep cooking 5 to 10 degrees as it rests, so don’t wait for it to hit 135°F in the oven.
6.How long do I need to rest the roast after taking it out of the oven, and why? ▾
Rest your roast for 20 to 30 minutes tented loosely with foil before slicing. When beef cooks at high heat, its muscle fibers tighten and push juices toward the center; resting lets those fibers relax and reabsorb moisture, so every slice is juicy instead of having liquid run all over your cutting board.
7.Can I add garlic or fresh herbs to the roast without ruining its classic beefy flavor? ▾
You absolutely can, but add them strategically so they don’t burn and turn bitter during the high-heat sear. Tuck whole garlic cloves and sprigs of rosemary or thyme under kitchen twine holding the roast together, and baste with them in melted butter during the last 20 minutes of cook time, rather than rubbing them on the raw surface upfront.
8.Why use extra-virgin olive oil for searing if it has a lower smoke point? ▾
A thin coat of extra-virgin olive oil helps the salt and coarsely ground black pepper adhere evenly to the roast’s surface, and encourages even browning for that crisp crust. Since the 450°F sear only lasts 15 minutes, you won’t get harsh burnt oil flavors—just use a light 1-teaspoon rub, not a heavy douse of oil.
9.What’s the secret to getting that ultra-crispy, salty crust everyone loves? ▾
Three key steps get you that perfect crust: First, pat the roast completely dry with paper towels after it comes to room temp so surface moisture doesn’t steam instead of sear. Second, salt it early in the fridge to dry the outer layer. Third, don’t cover the roast while it cooks, and give it that initial 15-minute high-heat blast.
10.Should I cook the roast fat side up or fat side down? ▾
Cook your bone-in rib eye roast fat side up for the entire cook time. As the fat renders down during roasting, it bastes the top and sides of the beef naturally, adding richness and helping the crust crisp evenly. If you cook it fat side down, that rendered fat just drips away into the pan instead of flavoring the meat.
11.What kind of pan should I use to cook this roast? ▾
Use a heavy-bottomed roasting pan fitted with a wire rack that sits inside it. The rack lifts the roast off the pan bottom so hot air circulates all the way around for even cooking, and the heavy pan prevents burnt drippings you get with thin, flimsy disposable pans. Save those drippings for quick au jus if you’d like!
12.When is the right time to add the unsalted butter to the roast? ▾
Add the unsalted butter during the last 15 to 20 minutes of cook time, once you’ve dropped the oven down to 325°F. Melt it and spoon it over the top of the roast every few minutes to baste it—this adds a rich, nutty depth to the crust. Adding it too early will make butter’s milk solids burn and leave a bitter, off flavor.
13.How thick should I slice the finished roast for serving? ▾
Slice the roast against the grain into ½-inch to ¾-inch thick slices for the most tender bite. If you slice it too thin, it will fall apart easily, and if you cut it thicker than 1 inch, portions feel overly heavy. Don’t forget to set aside a roasted bone for any guest who wants to gnaw on it—it’s always a fan favorite.
14.Can I make this roast ahead of time for a holiday dinner without it drying out? ▾
You can prep the salted, seasoned roast in the fridge up to 48 hours ahead, but for the juiciest result, cook it the day you plan to serve it. If you need to hold it for an hour or two before dinner, wrap it loosely in foil and keep it in a 200°F oven—avoid refrigerating and reheating, which almost always leads to dry beef.
15.What’s the difference between a bone-in rib eye roast and prime rib? ▾
Great question! A bone-in rib eye roast is cut from the same primal rib section as prime rib, but the difference comes down to USDA grading. Prime rib is graded USDA Prime (the highest marbling grade), while rib eye roast is often Choice grade, which is still beautifully marbled. This recipe works perfectly for either cut.
16.Why does my roast always have a thick gray overcooked layer under the crust? ▾
That thick gray overcooked layer almost always stems from one of two issues: either you didn’t let the roast come to room temp before cooking, so outer layers overcooked before the center warmed up, or your oven was running too hot. Double check your oven temp with a standalone thermometer, and never cook a roast straight from the fridge.
17.What’s the easiest, least wasteful way to carve the finished roast? ▾
First, run a sharp thin knife along the contour of the rib bones to separate the whole large piece of meat from the bone rack in one go. Set that boneless piece cut-side down on your cutting board, then slice across the grain to your desired thickness. This gives you clean, even slices without fumbling around individual bones.

Comments (20)

3 days ago

Made this for my son’s high school graduation cookout and everyone was raving. The cook time was spot on for medium rare, no guesswork needed. SO good, already saved this to my go-to holiday recipe folder.

1 week ago

Game changer for my weekly meal prep! I sliced the leftovers thin for steak sandwiches and salads all week, held up perfectly even after reheating. Way better than grabbing takeout on busy work nights.

5 days ago

Cooked this after a long day hike last weekend with my partner, paired it with roasted garlic mashed potatoes. Total comfort food, the seasoning blend doesn’t overpower the natural beef flavor which I loved.

2 weeks ago

Brought this to my neighborhood potluck last week and people were asking for the recipe before I even set the platter down. Worth every penny for a good quality rib eye, this recipe does it justice.

yesterday

My grandkids said this was the best roast I’ve ever made! Used the leftover bones to make beef stock the next day, zero waste. Perfect Sunday supper staple.

30 minutes ago

Took a little longer to get the crust right than I expected for a medium difficulty recipe, but the end result was totally worth the extra 10 minutes. Will make again for sure.

2 hours ago

Help! I’m making this for my in-laws for Christmas dinner and I’m nervous I’ll overcook it — the recipe looks so straightforward so I’m giving it 5 stars already, but do I really need to let it rest the full 20 minutes after pulling it out of the oven?

30 minutes ago

Great question! The full 20 minute rest is non-negotiable for juicy meat — it lets all the juices redistribute so they don’t run all over your cutting board when you slice. I recommend using a meat thermometer to pull it at 130°F for perfect medium rare, it will rise 5-10 degrees while resting!

1 week ago

Made this for our Florida Gators tailgate watch party and it was a home run. Only tweak I added was a little extra garlic powder to the rub, went perfect with cold beer and coleslaw.

5 days ago

Oh the extra garlic powder is such a good call! I’m making this for our next tailgate and I’m definitely stealing that tip, thanks!

2 days ago

Looks like an amazing recipe, 4 stars because I wish the weight of the roast was listed up front! Wait, the cook time says 1 hour 20 minutes — what weight roast is that for? I have a 6 pound bone-in rib eye I’m making for New Years, trying to adjust the timing.

yesterday

That cook time is calibrated for a 4-5 pound roast at 350°F! For a 6 pound roast, add 15-20 minutes, and always rely on a meat thermometer over strict clock time for the most accurate results.

5 days ago

My kids loved it! They usually complain about “fancy steak” but they ate every bite and asked if we could have it for their birthday dinners next month. Win for this tired mom.

3 days ago

Same here! My kids turn their nose up at most roasts but this one was gone in 10 minutes. The crispy salty crust is the secret kid hook I swear!

2 weeks ago

I usually do my rib eyes on the charcoal grill but it was pouring rain last weekend so I tried this oven method. Blown away by how good the crust was, even without live fire.

1 week ago

I was skeptical of oven roast too after years of grilling! That high heat sear at the start is key for that crust, right? So good.

2 weeks ago

Made this for our end of summer pool party and it was perfect even served slightly warm (we got caught up swimming and forgot to pull it out right on time oops). Still juicy and flavorful!

1 week ago

So glad it turned out even with the slightly delayed serving! That’s the mark of a forgiving, well-tested roast recipe — it can handle a little chaos and still taste amazing.

1 week ago

Used a wild harvested rib eye from the deer I got last hunting season with this rub and cook method and it worked perfectly. Didn’t taste gamey at all, even my wife who hates venison loved it.

5 days ago

Whoa, venison rib eye? That’s next level! Gonna try this rub on the wild hog I got last month, bet it slaps.

yesterday

I messed up the first time and forgot to bring the roast to room temp before putting it in the oven, so the center was a little rarer than I wanted. Still tasted amazing though!

2 hours ago

Don’t stress, that’s such a common mistake! Letting the roast sit out for 45-60 minutes before cooking helps it cook evenly edge to edge, but I’m glad it still tasted great even with that misstep.

2 weeks ago

I cannot sing this recipe’s praises enough! Made it for our Friendsgiving last month and OMG every single person asked for the recipe. The herb butter rub is absolute perfection, I want to put it on everything.

1 week ago

RIGHT?! I made that herb butter for corn on the cob last week too and it was insane. Who knew a simple mix of rosemary, thyme, garlic and butter could be so versatile?

5 days ago

Love that you repurposed the herb butter! It works great on roasted veggies, chicken, even crusty bread — so many ways to use it up if you make extra.

30 minutes ago

Okay total newbie here — I’ve never cooked a big cut of beef before, this is my first time making a roast for my wife’s birthday, and the recipe steps are so easy to follow I’m giving it 5 stars already! How do I get that crispy, golden crust everyone is talking about? Mine always looks pale and sad.

5 minutes ago

Bro the trick is patting the roast completely dry with paper towels before you add the rub, then searing it on high heat on all sides in a cast iron skillet before you put it in the oven. Game changer for that crust!

just now

Couldn’t have said it better! Dry surface = crispy crust, no exceptions. Don’t be afraid to get your skillet smoking hot before searing, that’s how you get that beautiful golden, flavorful outside without overcooking the inside.

2 days ago

This recipe looks incredible, 4 stars because I don’t see an air fryer option! Is there a way to make this in an air fryer? I don’t have a working oven right now (long story, new apartment reno gone wrong) and I’m craving this roast so bad.

yesterday

I did a smaller 3lb rib eye in my 8qt air fryer last month! 400°F for about 45 minutes, flipping halfway, check temp with a thermometer and it came out great. Crust was extra crispy actually!

2 hours ago

That’s a great hack! Just make sure your air fryer is big enough to fit the roast without touching the heating element, and pull it when it hits 125-130°F internal for medium rare, same as the oven method. Hope your reno wraps up soon!

3 days ago

Really solid recipe, 4 stars because I had a little doneness mishap! I followed the recipe exactly but my roast came out a little more done than I wanted (closer to medium than medium rare) — I think my oven runs hot! Any tips for adjusting for that next time?

2 days ago

Oh I feel you, my old oven ran 25 degrees hot! I bought a cheap oven thermometer to hang on the rack so I know the actual temp, it was a total game changer for all my baking and roasting now.

yesterday

That’s such a common issue! Most home ovens are off by 25-50 degrees, so an inexpensive oven thermometer is one of the best kitchen investments you can make. If you know your oven runs hot, knock 25 degrees off the recipe temp and start checking internal temp 15 minutes earlier than the recipe says to avoid overcooking.

1 week ago

Made this after a long ski day with my crew last weekend, paired it with horseradish cream sauce and roasted Brussels sprouts. Absolute mountain comfort food, everyone went back for thirds. Only note is I wish the recipe mentioned how long to let it sit out before cooking!

5 days ago

Honey I always let my roasts sit on the counter for an hour before cooking, learned that from my mom 50 years ago! Cooks so much more even if you don’t put a cold roast in a hot oven.

3 days ago

That’s such a great call from grandma! We usually note that in our roast recipes, so I’ll go in and add a line about letting the roast come to room temp for 45-60 minutes before cooking to make it clearer for everyone. Thanks for the feedback!

3 days ago

Paired this roast with a bold cabernet sauvignon for my book club dinner last week and *chefs kiss*. The richness of the beef cuts through the wine perfectly, everyone was so impressed they thought I ordered it from a steakhouse!

2 days ago

Cab is such a good call! I paired mine with a zinfandel last time I made it and that worked great too, but I bet cab is better with the herb butter crust.

yesterday

Love the wine pairing tip! A bold red is absolutely perfect with this rich, fatty roast — I’ll have to add that pairing suggestion to the recipe notes for other folks planning dinner parties!



