
Rice Krispie Christmas Trees
intro
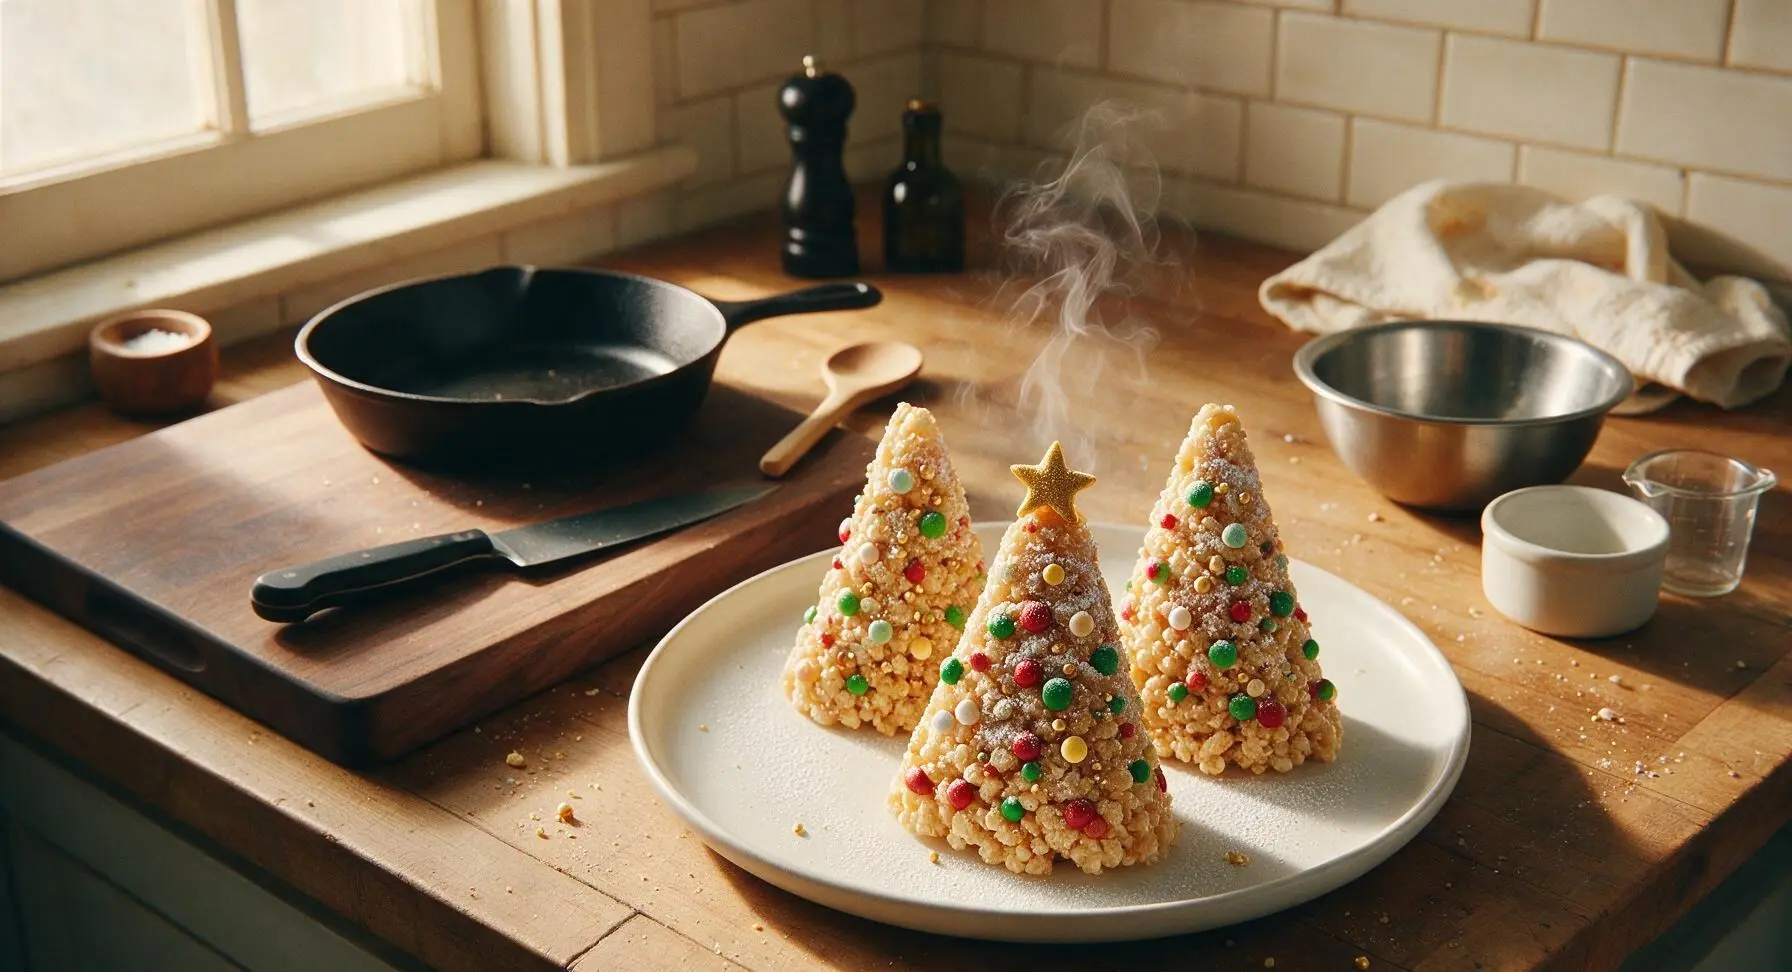
Chewy, buttery marshmallow cereal treats shaped into festive evergreen trees, decorated with colorful candies for a nostalgic, kid-friendly Christmas dessert.
Ingredients
Steps
Line Baking Pan
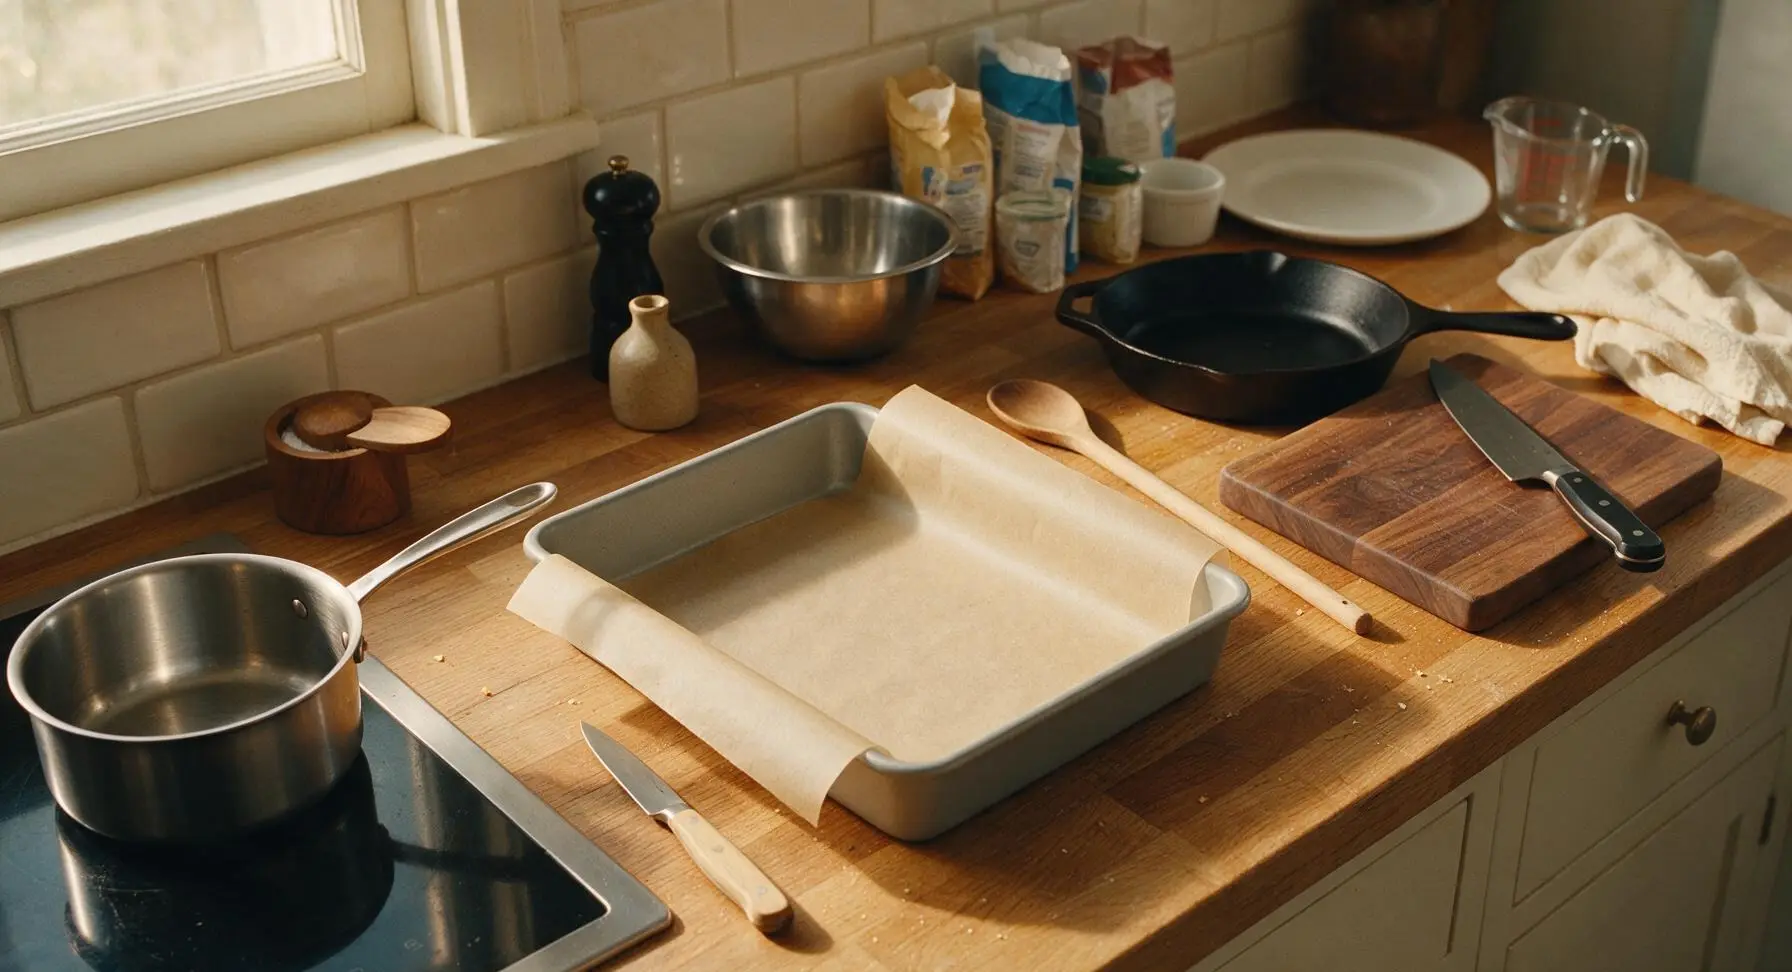
First, line the 23x33cm light grey non-stick baking pan with the cut parchment paper, leaving 5cm overhang on the two long edges to act as handles for lifting the set treat slab later. Lightly coat the parchment with a thin swipe of extra butter (not included in measured ingredients) to prevent sticking, and set the pan on the center of the counter within arm’s reach of the stovetop.
Melt Butter and Marshmallows
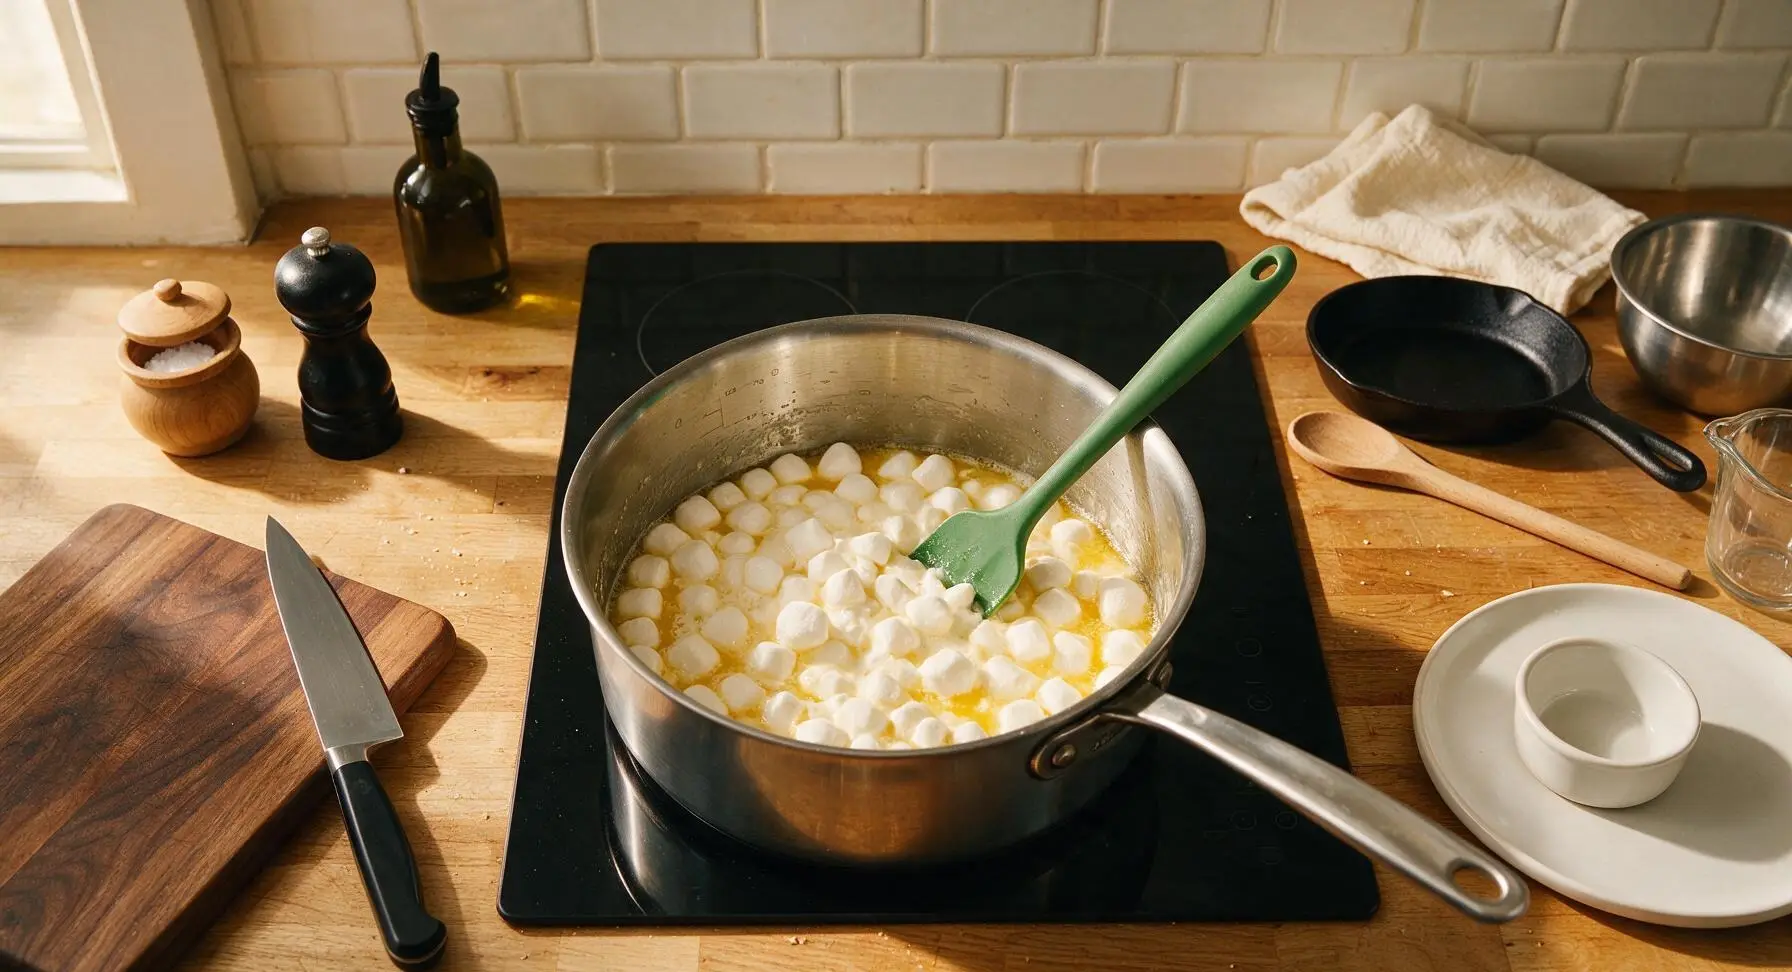
Place the stainless steel saucepan on the induction cooktop over low heat (3/10 power). Add the 4 tablespoons of unsalted butter, and stir slowly with the green-handled silicone spatula until fully melted, about 2 minutes. Add all 4 cups of mini marshmallows, stirring constantly, until they melt completely into a smooth, glossy, lump-free mixture, about 3-4 minutes. Do not turn heat above low, as high heat will cause the marshmallow sugar to caramelize and create tough, hard treats once set. Remove the pan from heat immediately once the mixture is fully smooth.
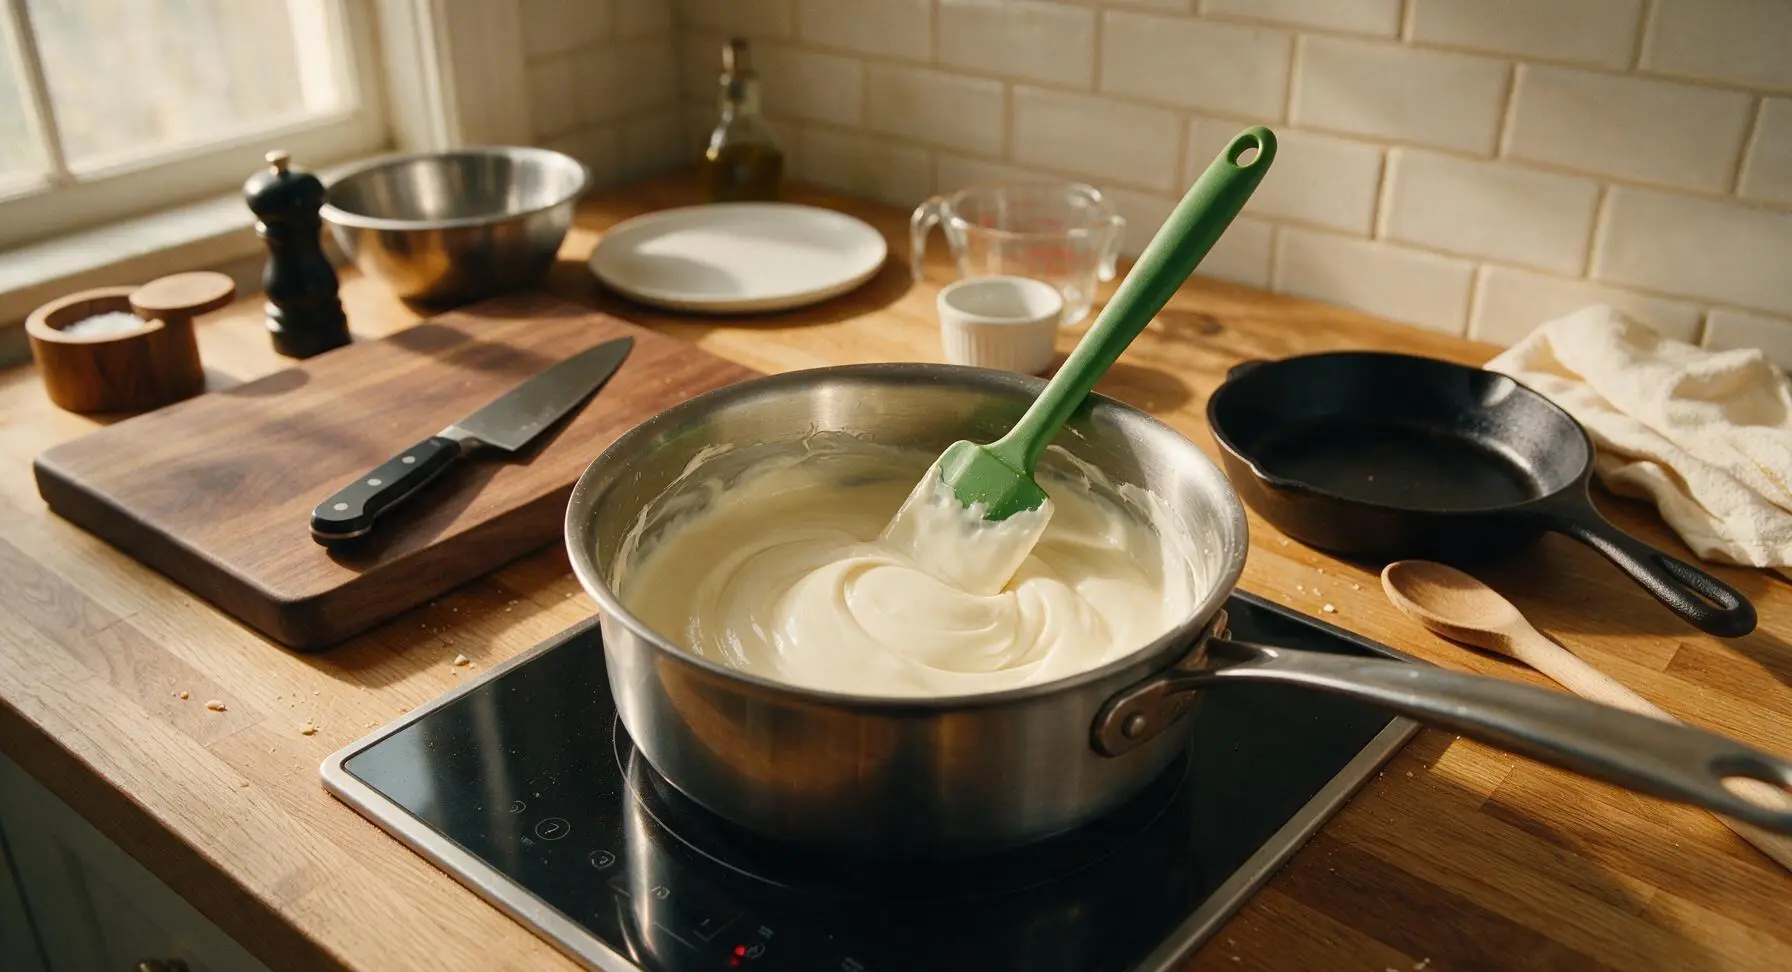
Fold in Rice Cereal
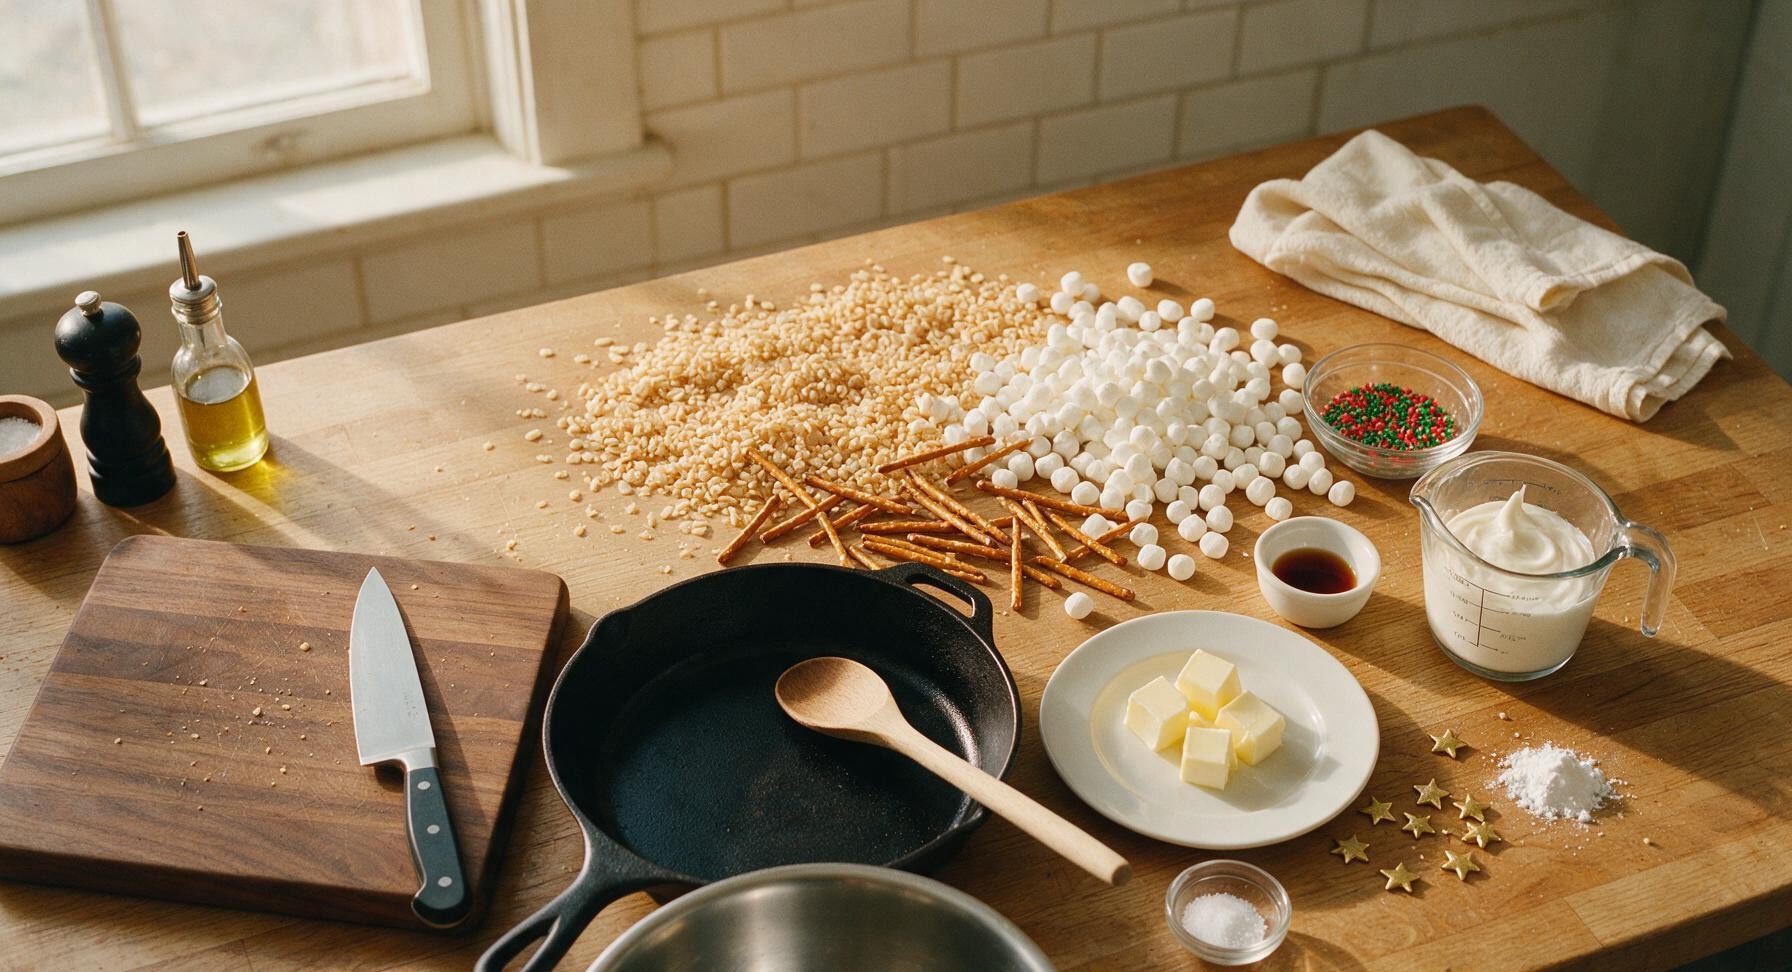
Stir the 1 teaspoon of vanilla extract and 1/4 teaspoon fine salt into the melted marshmallow mixture until fully incorporated. Add all 6 cups of Rice Krispies cereal to the saucepan, folding gently with the silicone spatula to coat every piece of cereal evenly in the marshmallow mixture, about 1 minute. Avoid crushing the cereal pieces while folding, as this will create dense, tough treats instead of light, chewy ones.
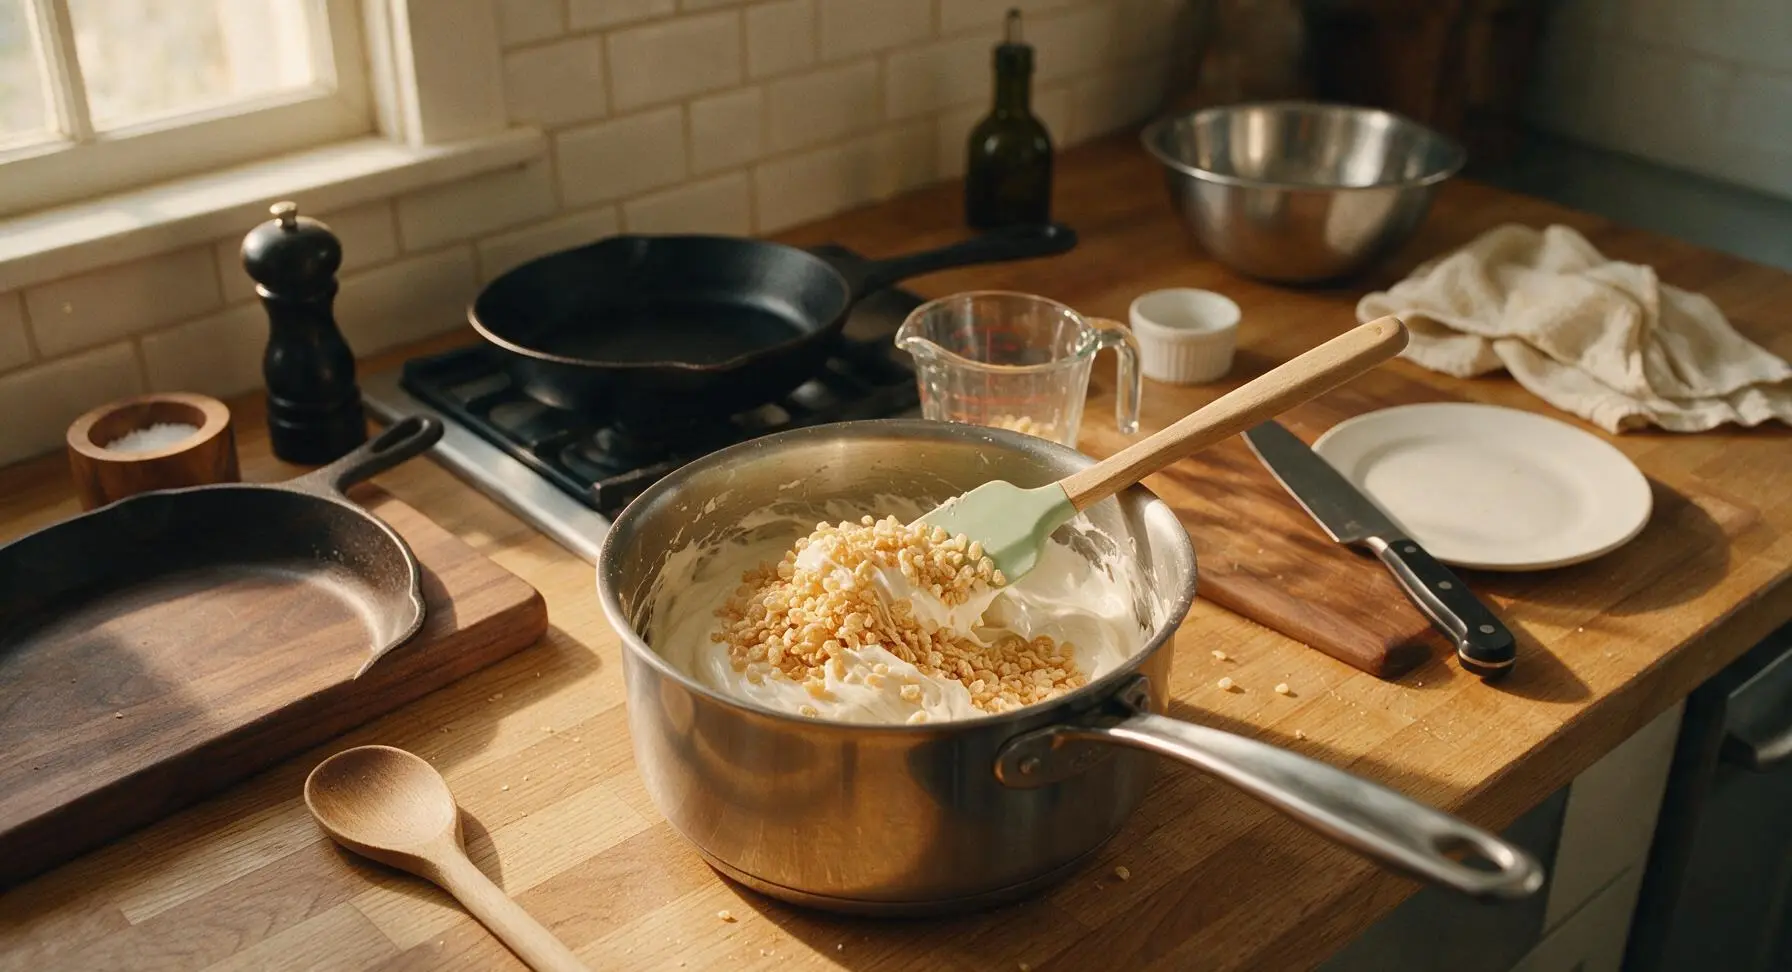
Press Mixture Evenly
Immediately transfer the coated cereal mixture from the saucepan into the parchment-lined baking pan. Use the lightly buttered flat side of the silicone spatula to press the mixture firmly into an even, flat layer across the entire pan, spreading it all the way to the corners to create a uniform 2.5cm (1 inch) thick slab. Do not press overly hard, as this will compress the cereal and create dense treats.
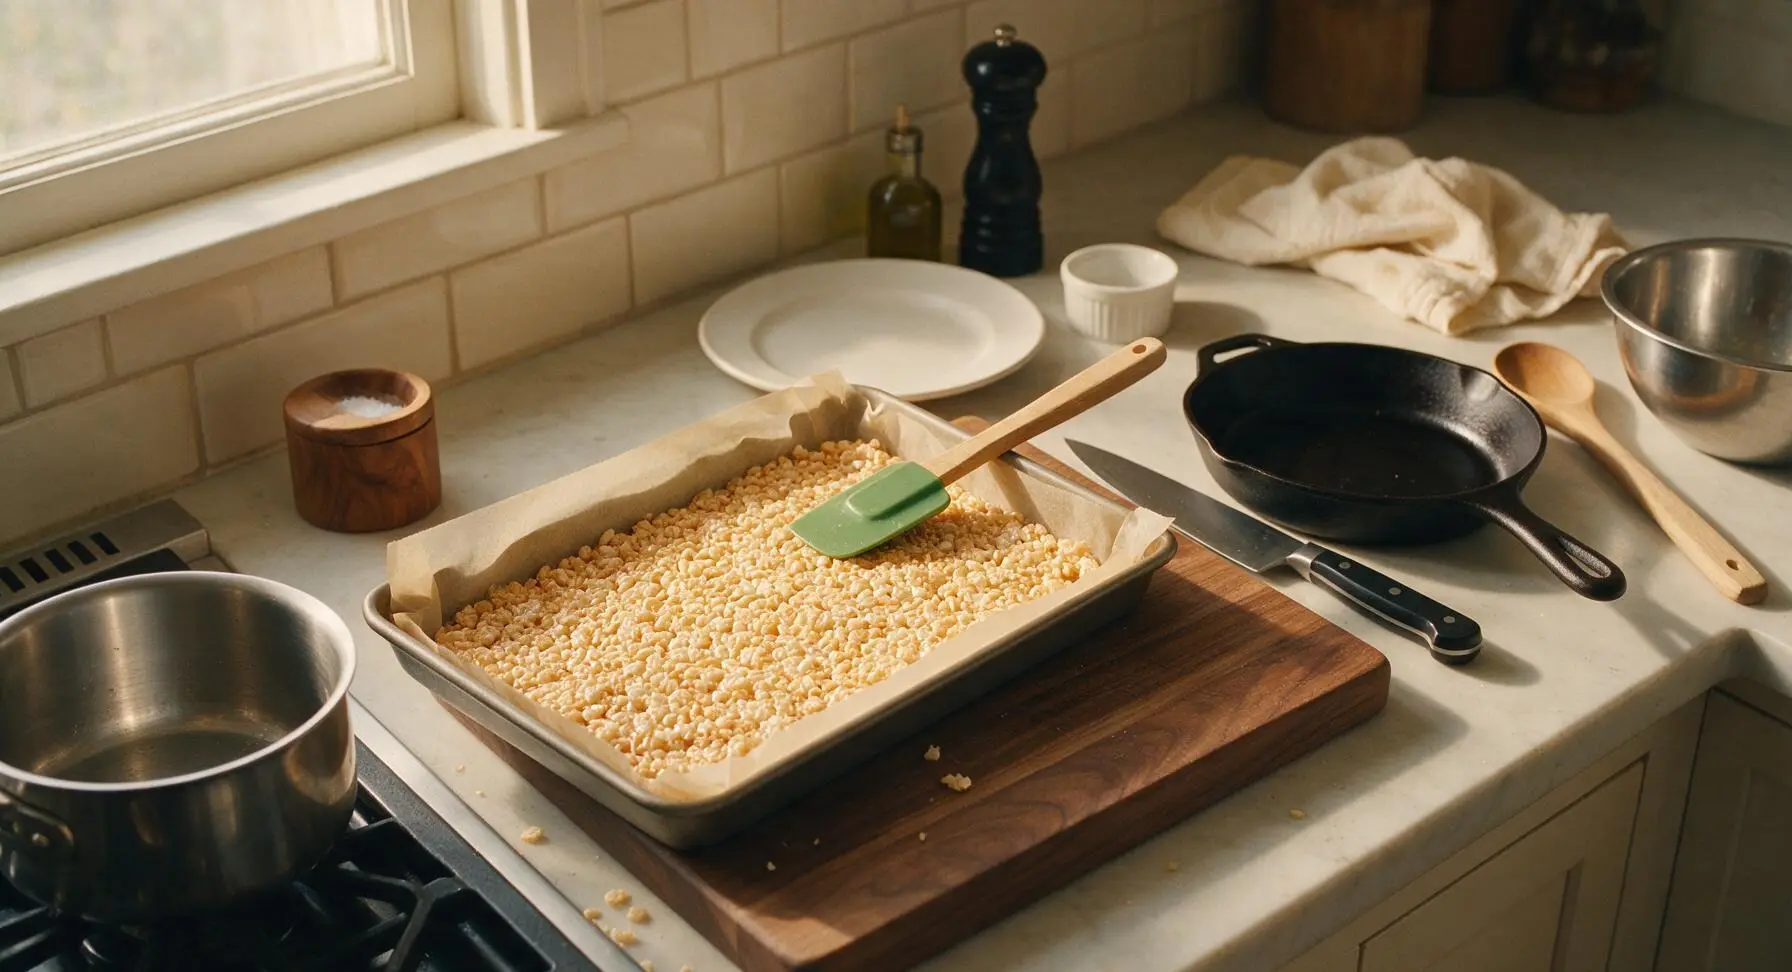
Cut Tree Shapes
Let the cereal mixture set at room temperature for 20 minutes, until firm to the touch and no longer sticky on the surface. Use the parchment overhang to lift the entire slab out of the pan and place it flat on the counter. Use the small paring knife to cut the slab into 12 equal isosceles triangles, each 10cm tall and 6cm wide at the base, to form the classic Christmas tree shape. Set small trimmed edge pieces aside for snacking.
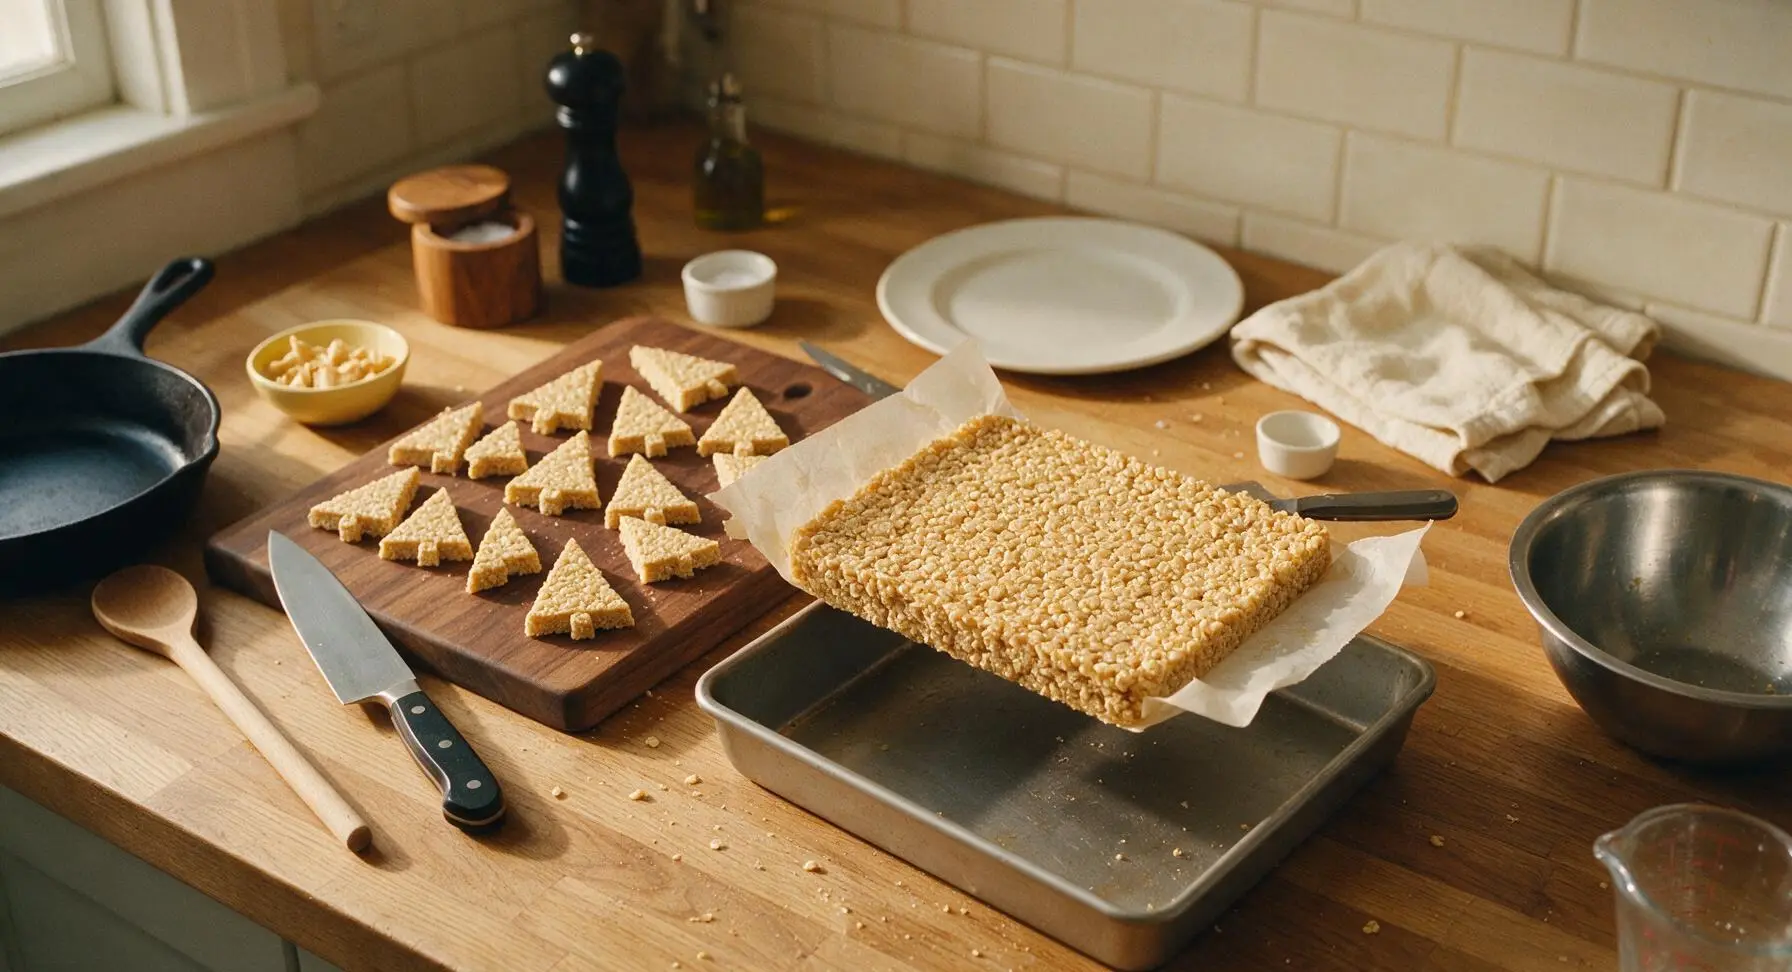
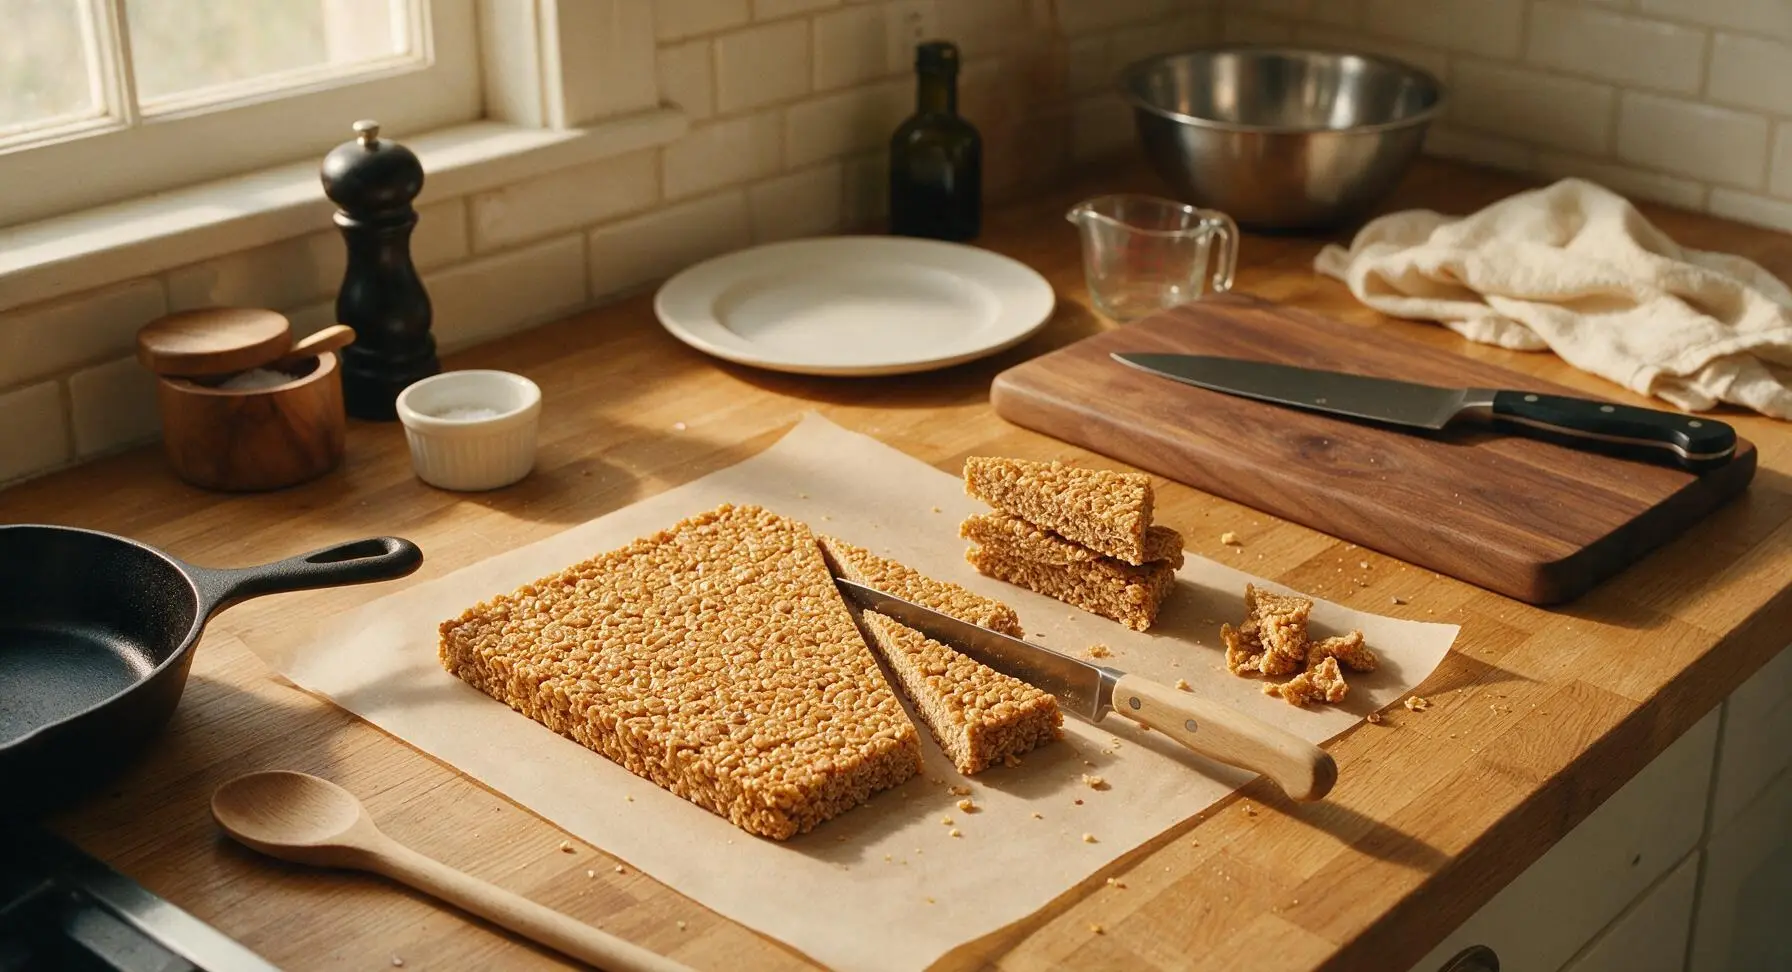
Attach Pretzel Trunks
Take one thin pretzel stick for each tree triangle, and press 2cm of the end of the pretzel into the center of the wide base edge of each triangle, leaving 3cm of the pretzel sticking out to form the tree trunk. Press the cereal around the base of the pretzel gently to secure it, so the tree stands upright when placed on its trunk base.
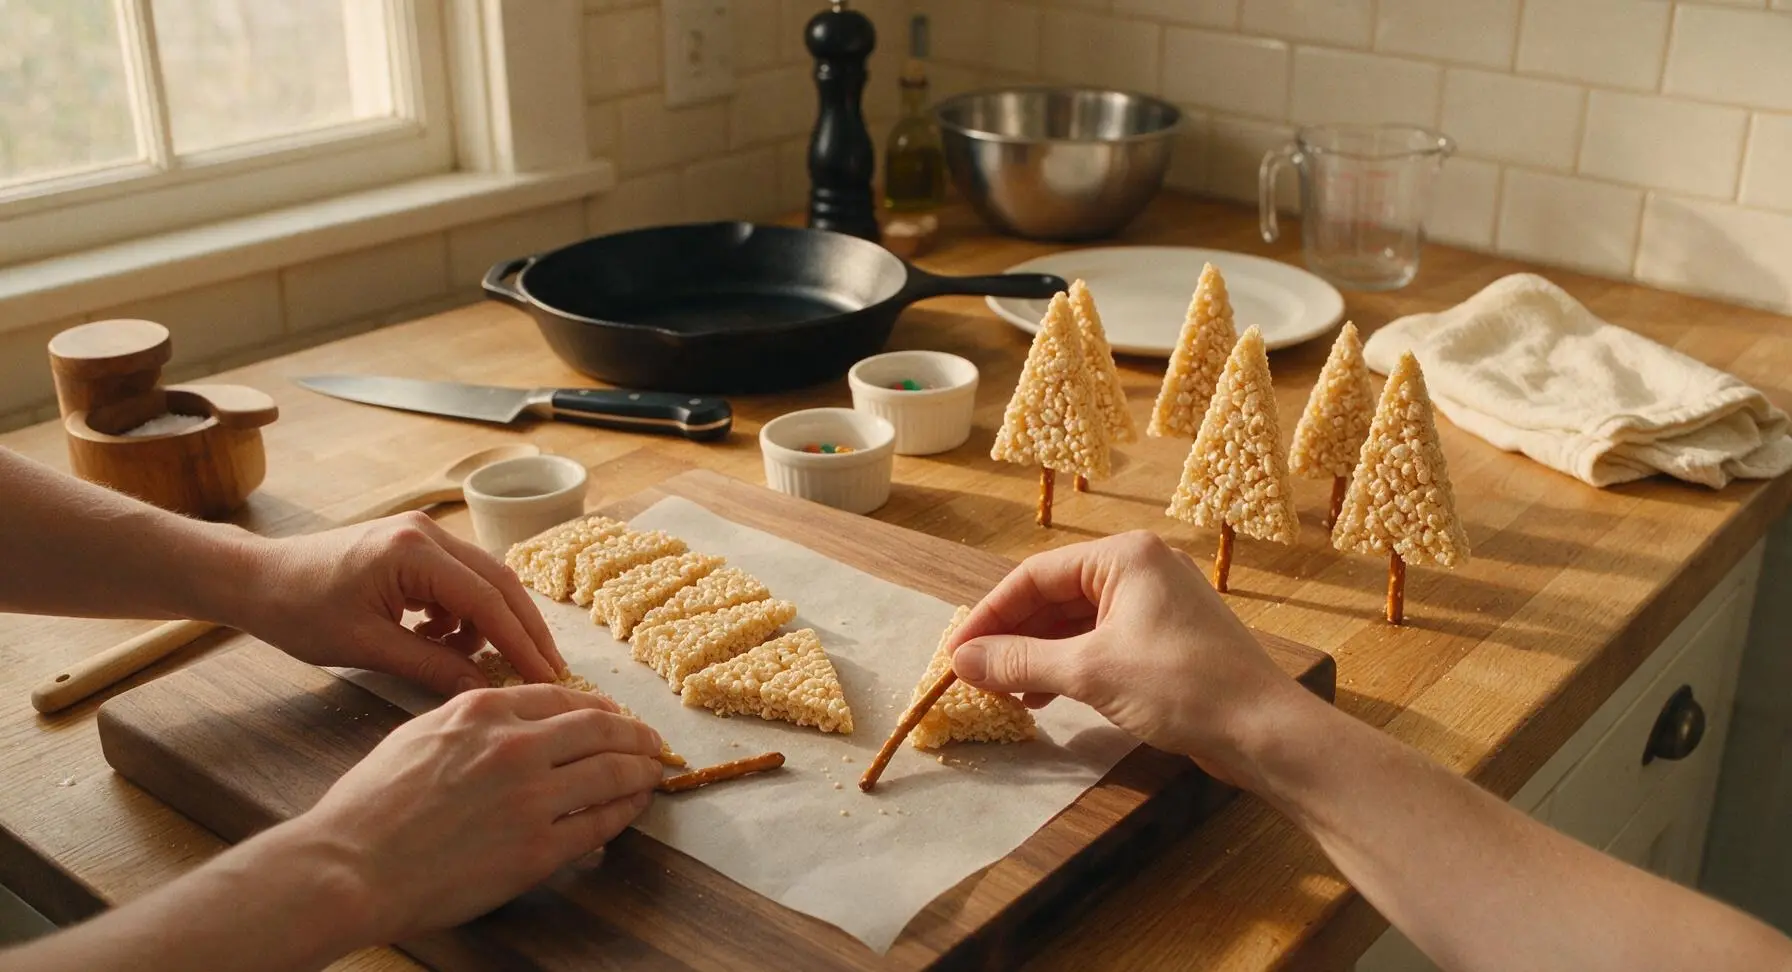
Decorate Trees with Candies
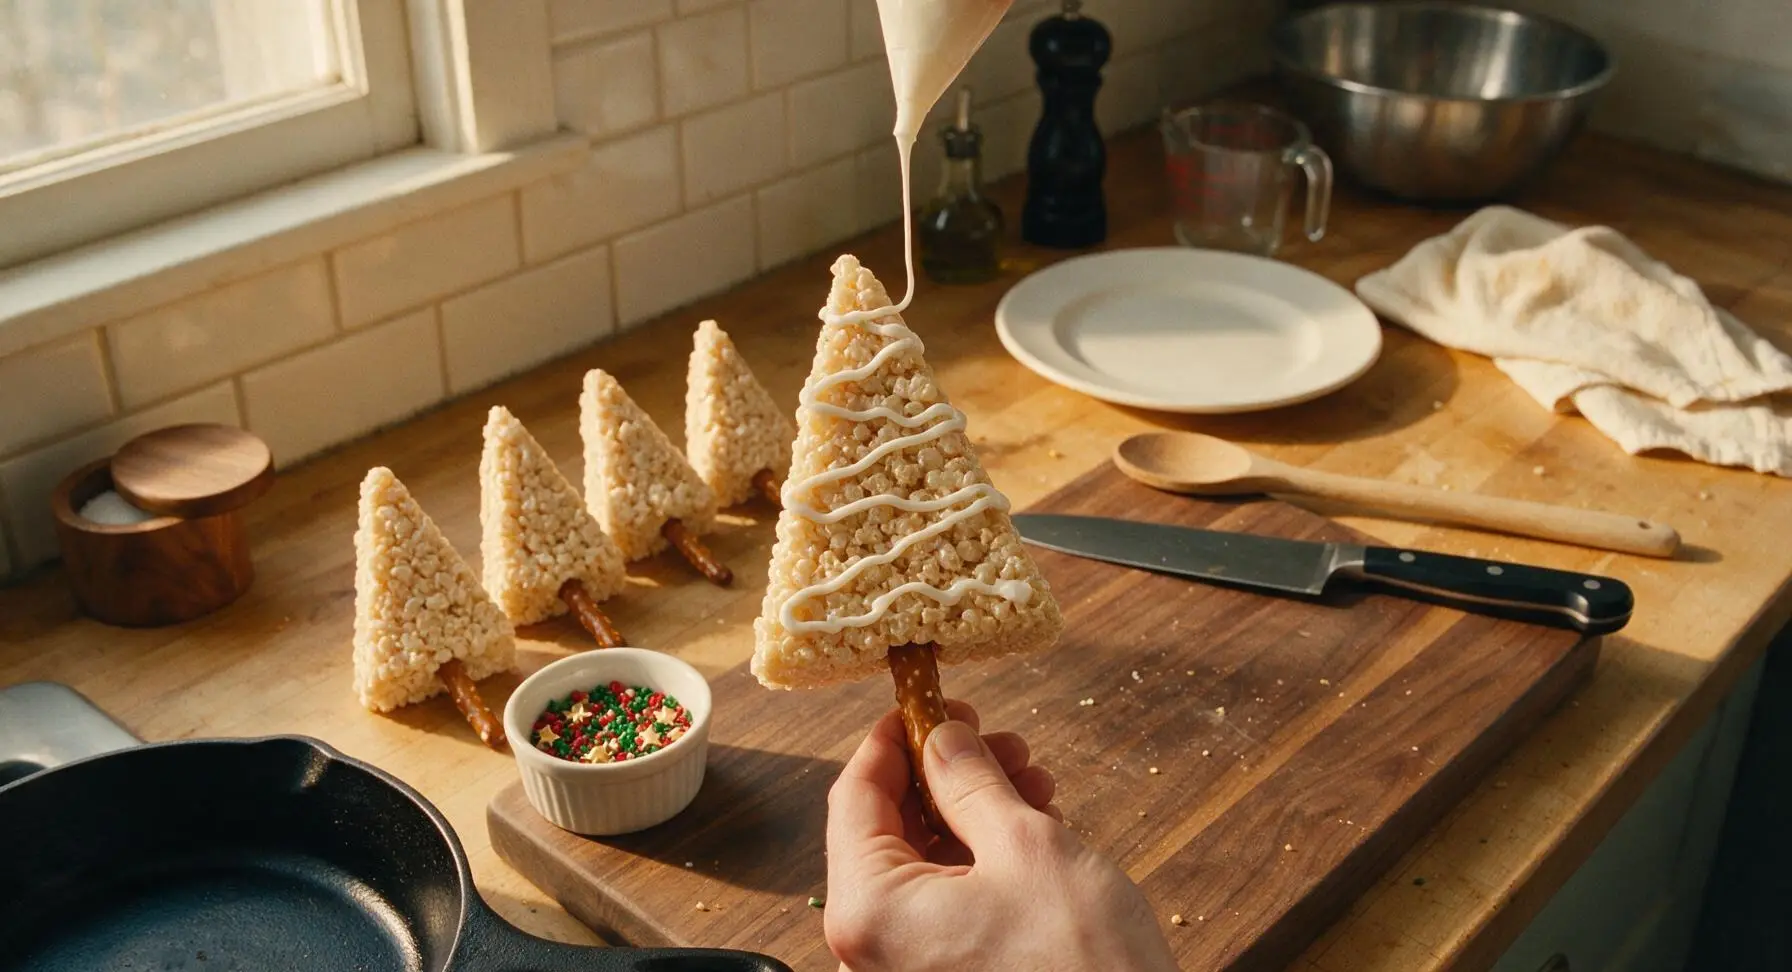
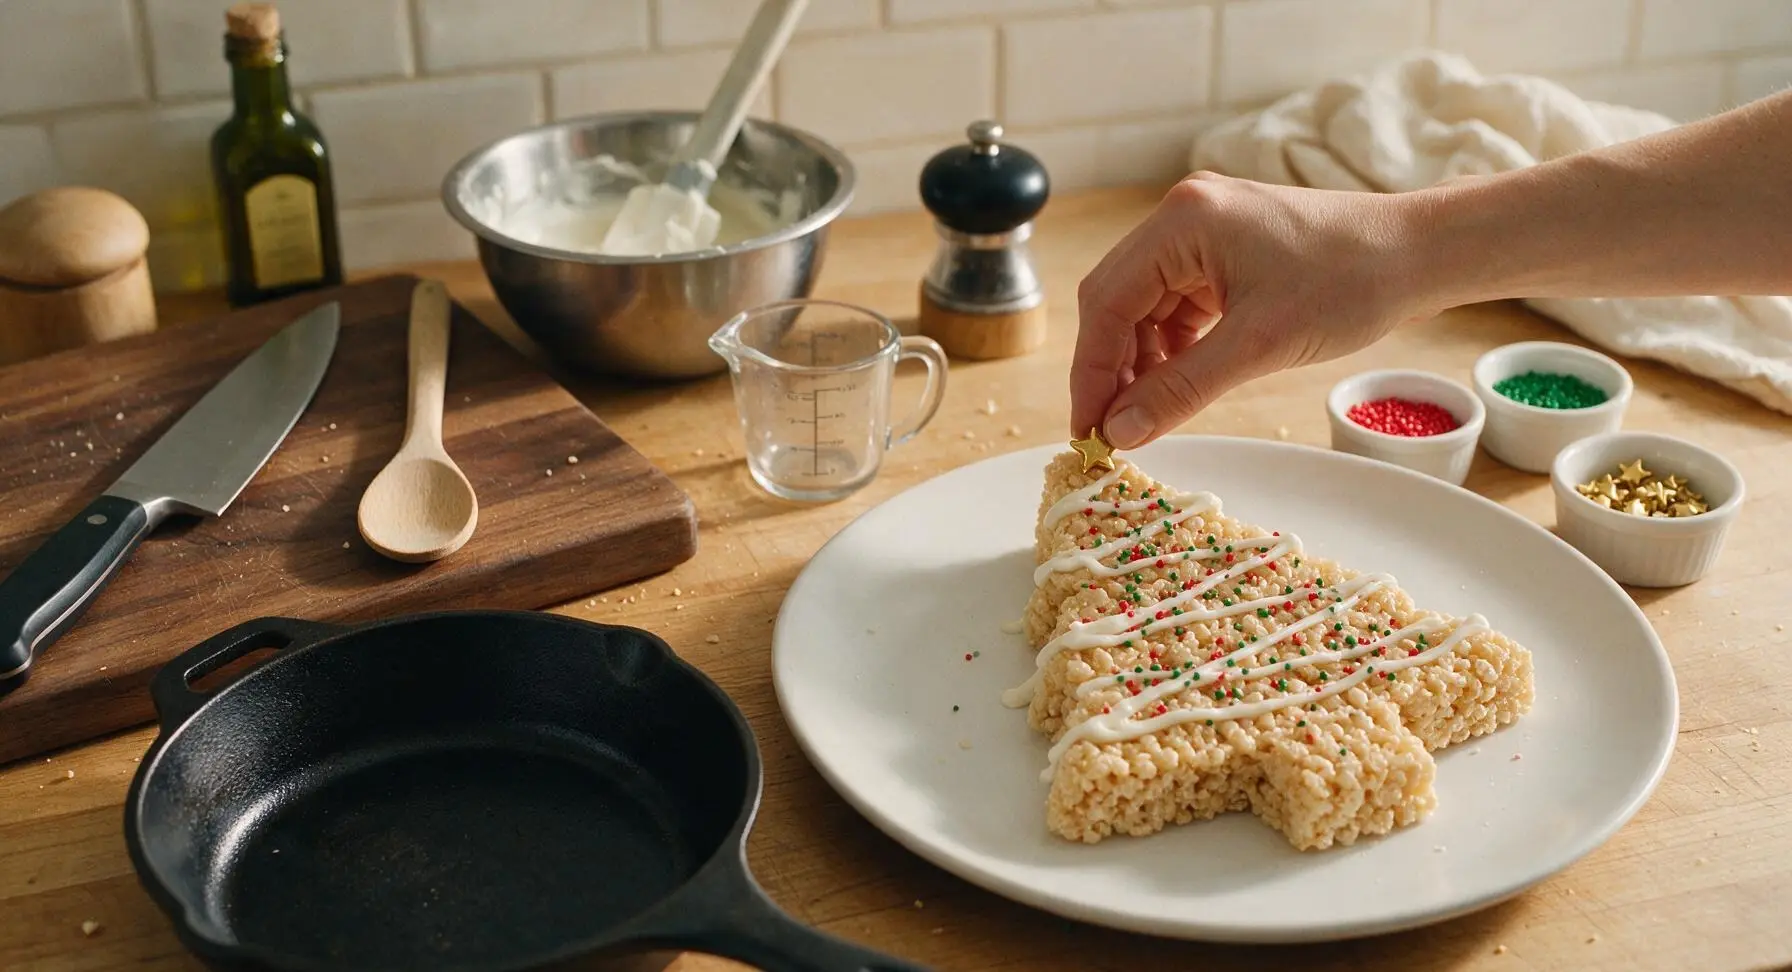
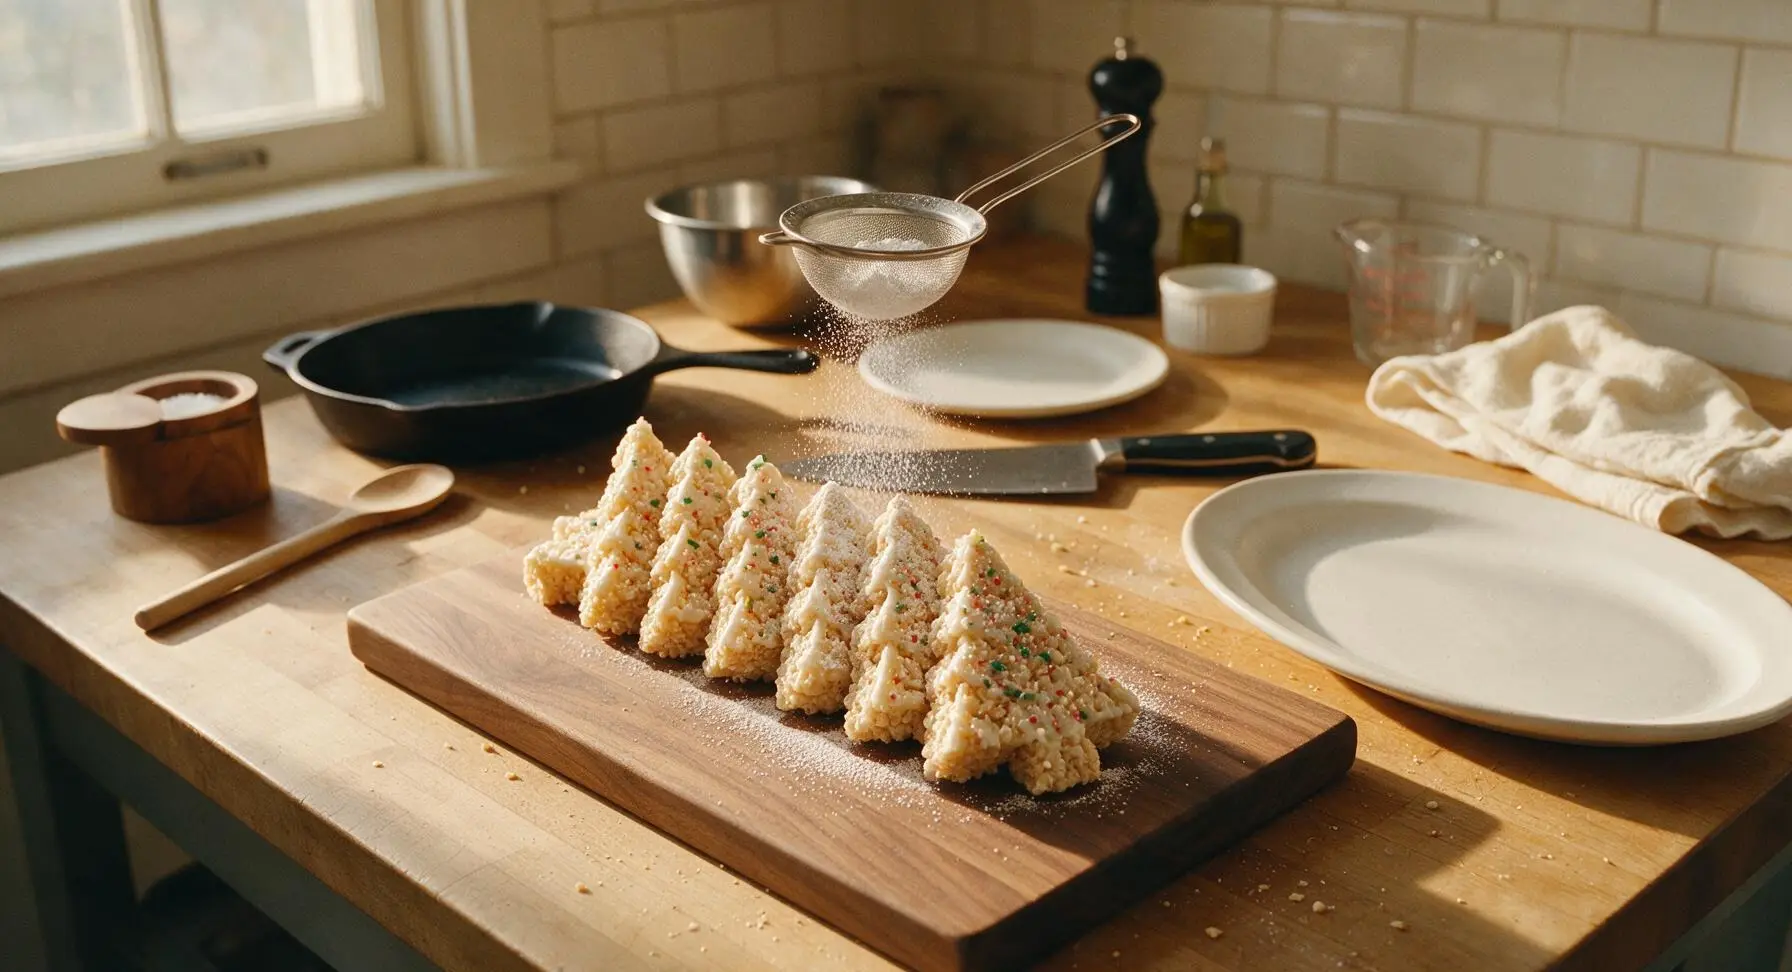
Transfer the red and green non-pareil sprinkles and gold star candies into the three small ramekins for easy access. Drizzle thin, wavy lines of white vanilla icing across the surface of each tree to mimic holiday garland. While the icing is still tacky, scatter sprinkles over the icing, then press one small gold star candy firmly onto the pointed top of each tree. Let the icing set for 10 minutes at room temperature before moving.
Dust with Powdered Sugar
Right before serving, place the 1 teaspoon of powdered sugar in the small fine-mesh stainless steel sieve, and tap it lightly over the tops of all the trees to dust a fine, snowy layer of sugar over the tips, mimicking fresh winter snow. Arrange the finished trees on the large matte white ceramic serving platter.
Tips
2.Lightly butter your spatula and fingertips before pressing the cereal mixture into the pan: this prevents the sticky marshmallow coating from clinging to your tools and hands, which can tear the treat surface and create uneven layers.
3.Wait to dust with powdered sugar until immediately before serving: if added too early, the fine sugar will absorb moisture from the treats and icing, dissolving into a transparent, sticky film instead of creating the desired light, powdery fresh-snow effect.






SO good! I made these for our neighborhood potluck last weekend and everyone was asking for the recipe. I was worried they’d be too messy to shape into trees but the no-fuss instructions made it totally doable even for someone who burns microwave popcorn half the time lmao. Drizzled a little white chocolate on the edges for fake snow and *chef’s kiss*.
OMG my kids loved it! I was looking for a quick Christmas Eve activity we could do together after work and these were perfect. The 5 minute cook time meant we didn’t have to wait forever to get to the decorating part, which is a lifesaver with two 6 year olds who have zero patience. Only note: make sure you grease your hands a little when pressing the treats into the tree shapes so they don’t stick!
Total game changer for quick holiday treats. I made a big batch on Sunday to keep in the fridge for when my extended family drops by unannounced this month, and they hold up so well. Super easy, no fancy ingredients, zero stress. I skipped the fancy decorations just to keep it simple and they still taste exactly like the classic Rice Krispie treats I loved as a kid, just festive shaped.