
Rice Krispie Ornaments

intro
Chewy, buttery no-bake Rice Krispie treats shaped like festive Christmas ornaments, decorated with colorful icing and sprinkles for kid-friendly holiday fun.
Ingredients
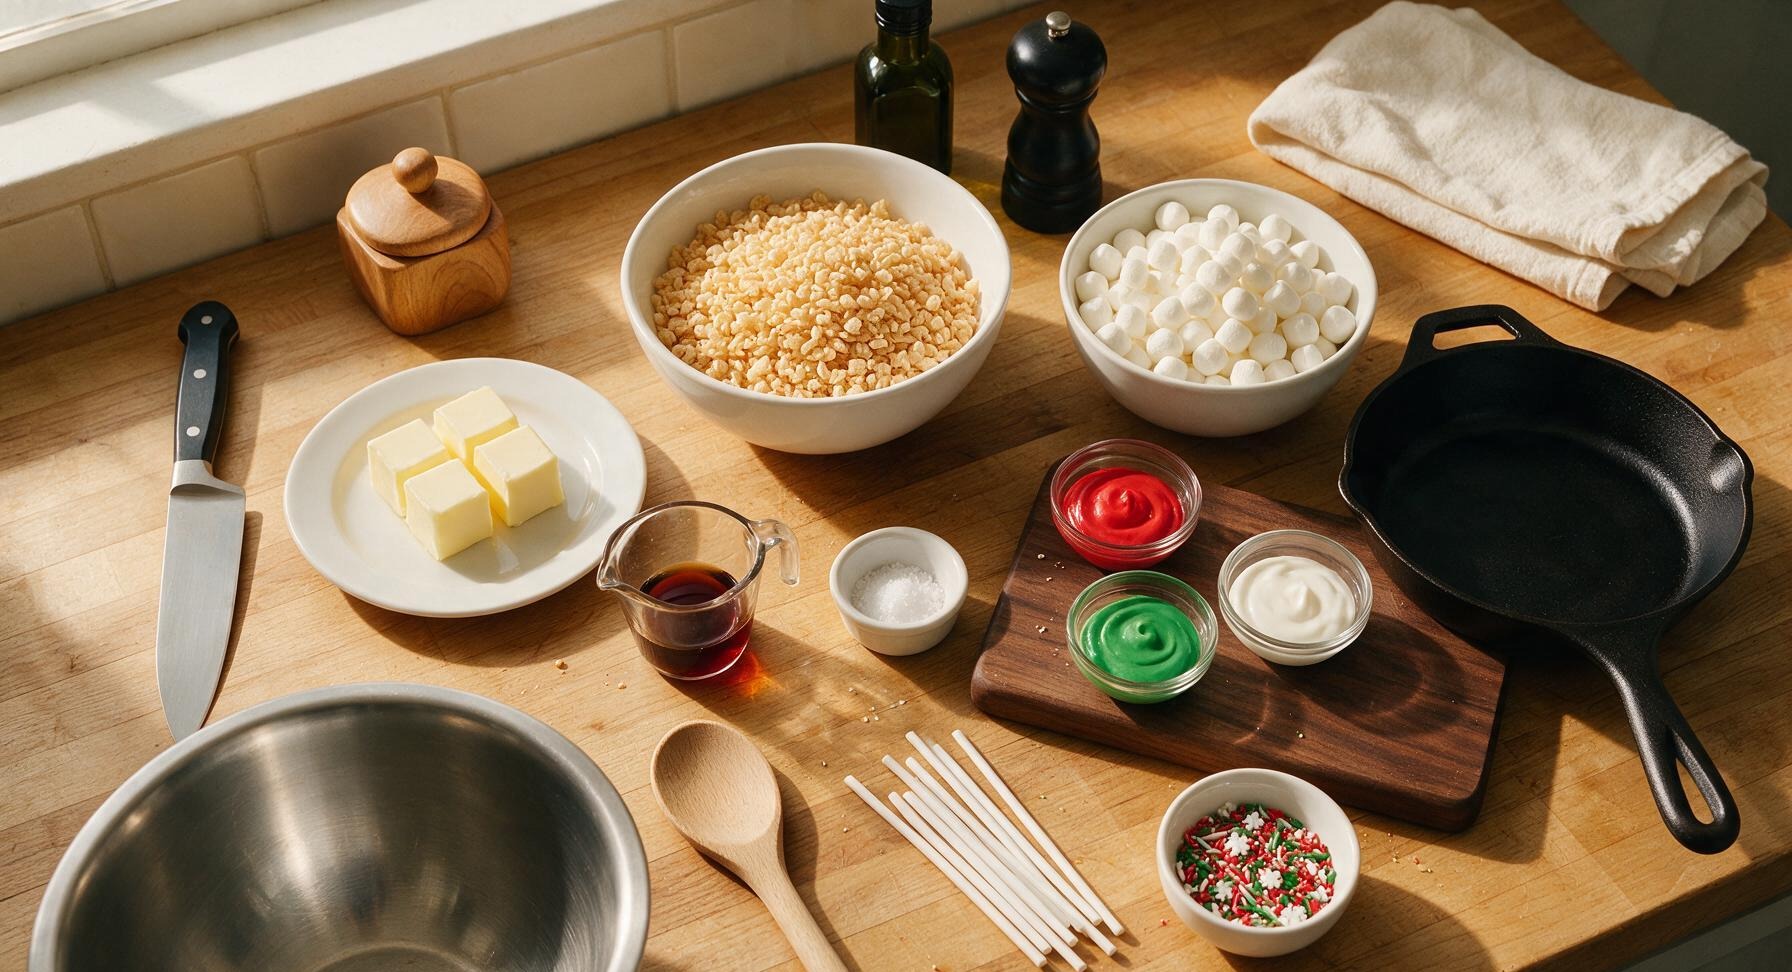
Steps
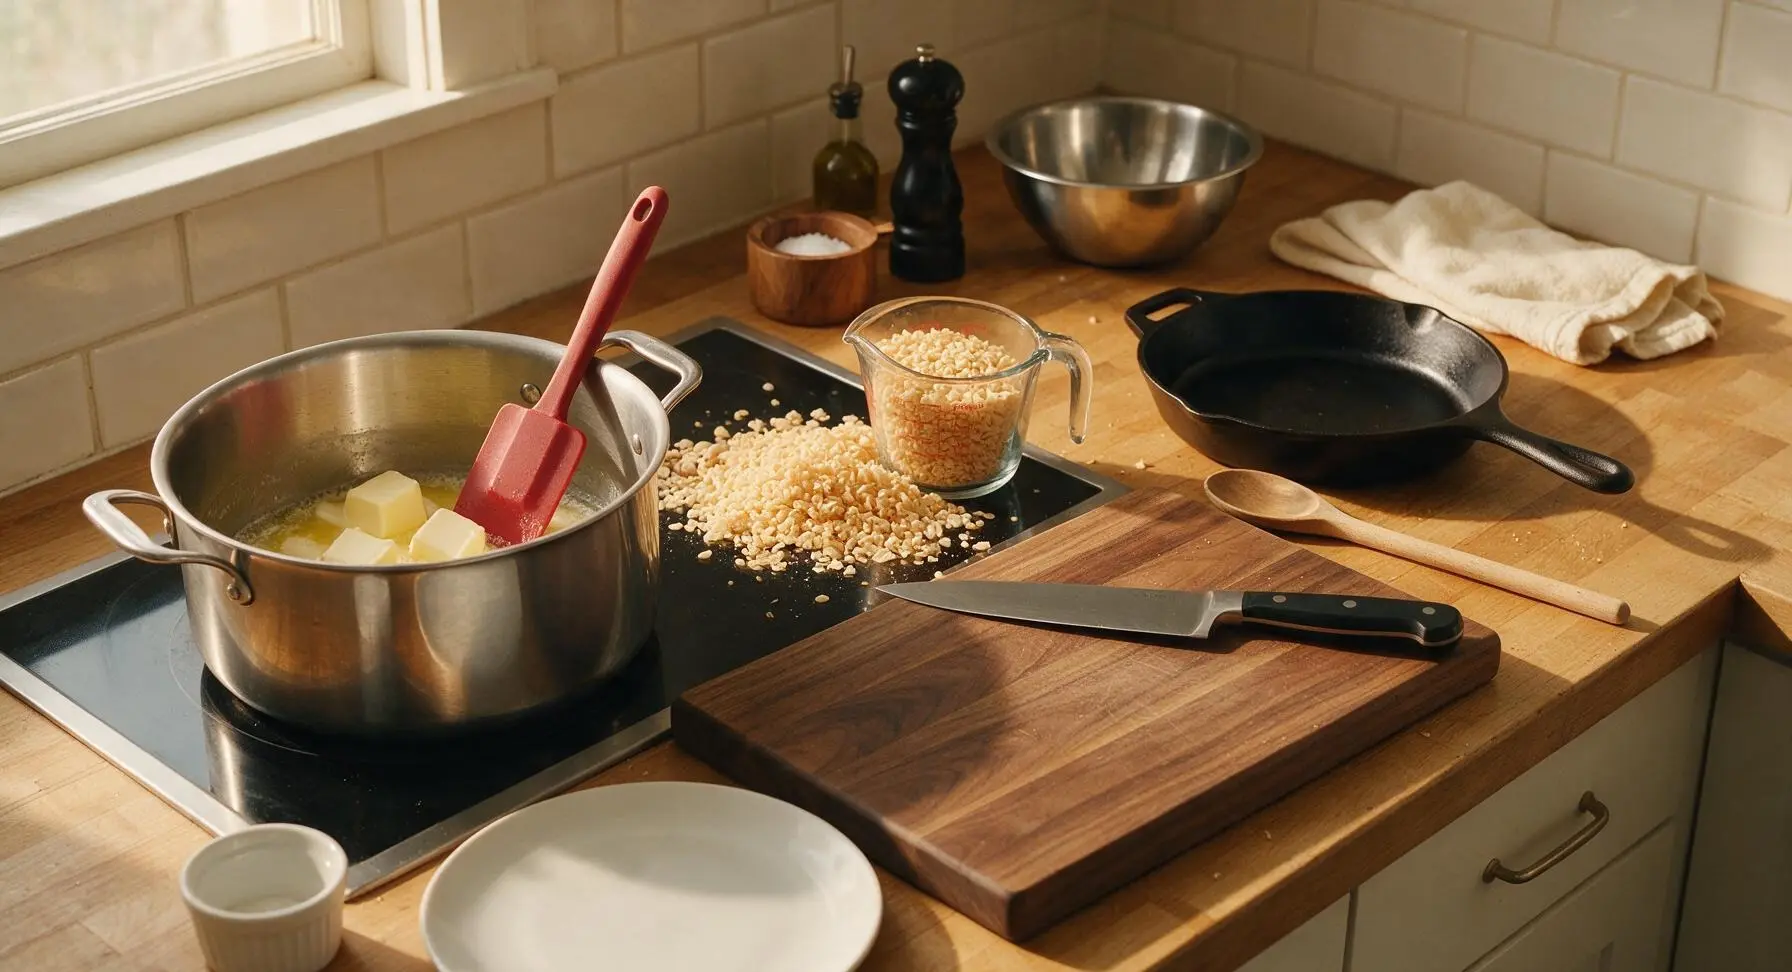
Melt Butter and Marshmallows
Place the large stainless steel stock pot on the left induction cooktop zone over low heat. Add the measured unsalted butter, stirring with the matte red silicone spatula until fully melted, about 2 minutes. Add the mini marshmallows, stirring continuously until completely smooth and lump-free, 3-4 minutes. Do not raise heat above low, as high heat will caramelize marshmallow sugar and result in hard, non-chewy treats. Stir in vanilla extract and fine sea salt until fully incorporated into the glossy golden mixture.

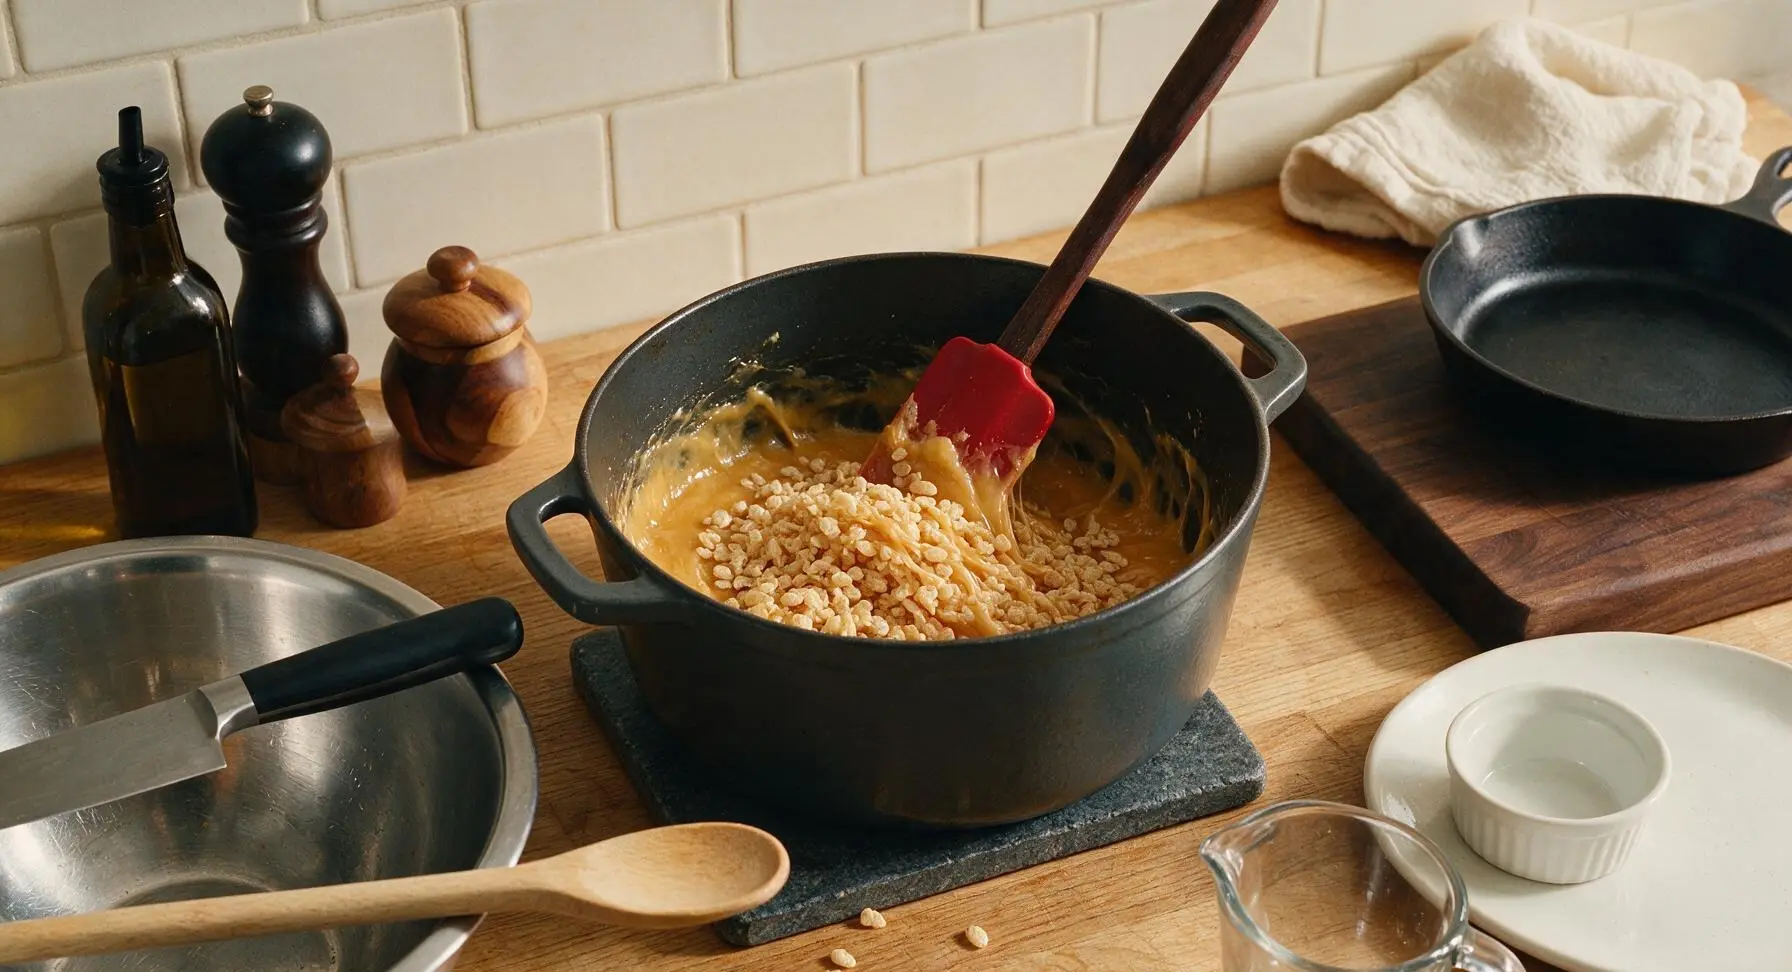
Mix in Cereal Evenly
Remove the pot from heat. Immediately pour the measured Rice Krispies cereal into the melted marshmallow mixture, folding gently with the red silicone spatula until every cereal piece is evenly coated in glossy marshmallow. Avoid crushing cereal as you stir by folding from the bottom of the pot upward, about 1 minute of gentle mixing.
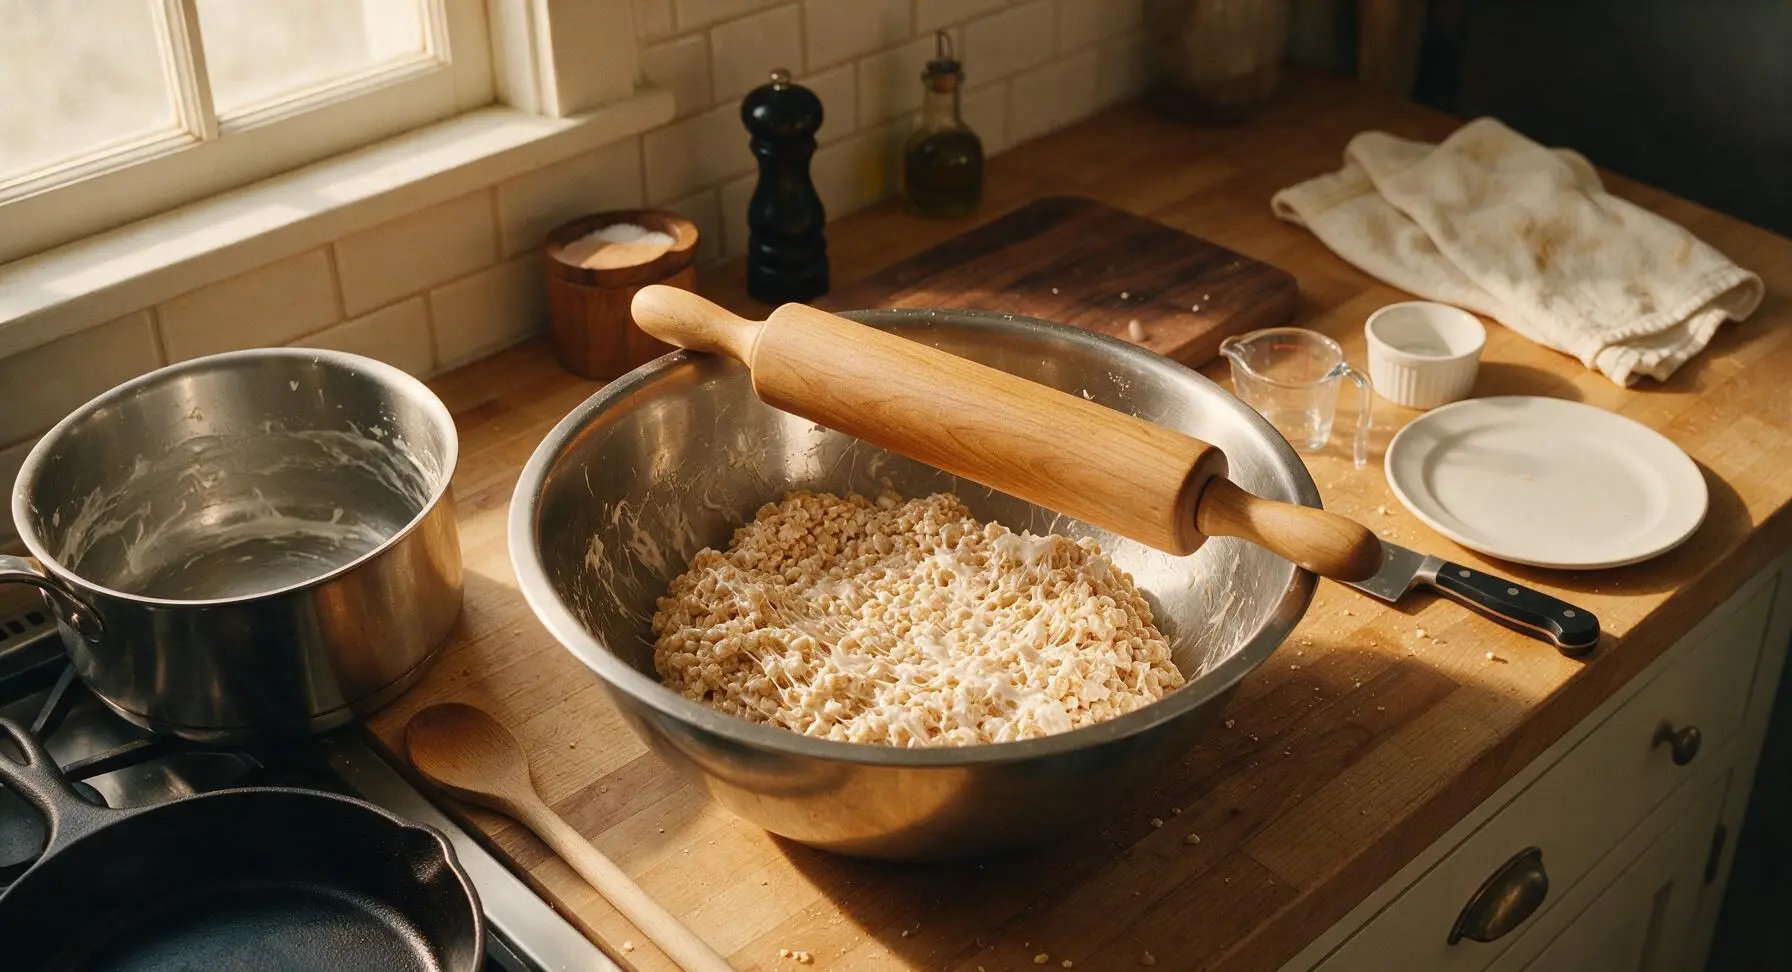
Press Mixture to Set
Lightly grease the inside of the large stainless steel mixing bowl with a tiny pat of butter to prevent sticking. Scrape all coated cereal mixture into the bowl, then use the butter-greased maple rolling pin to press the mixture into a firm, even 1-inch thick flat layer across the bowl bottom. Let the mixture cool for 5 minutes at room temperature until firm enough to cut without sticking, but still slightly pliable.
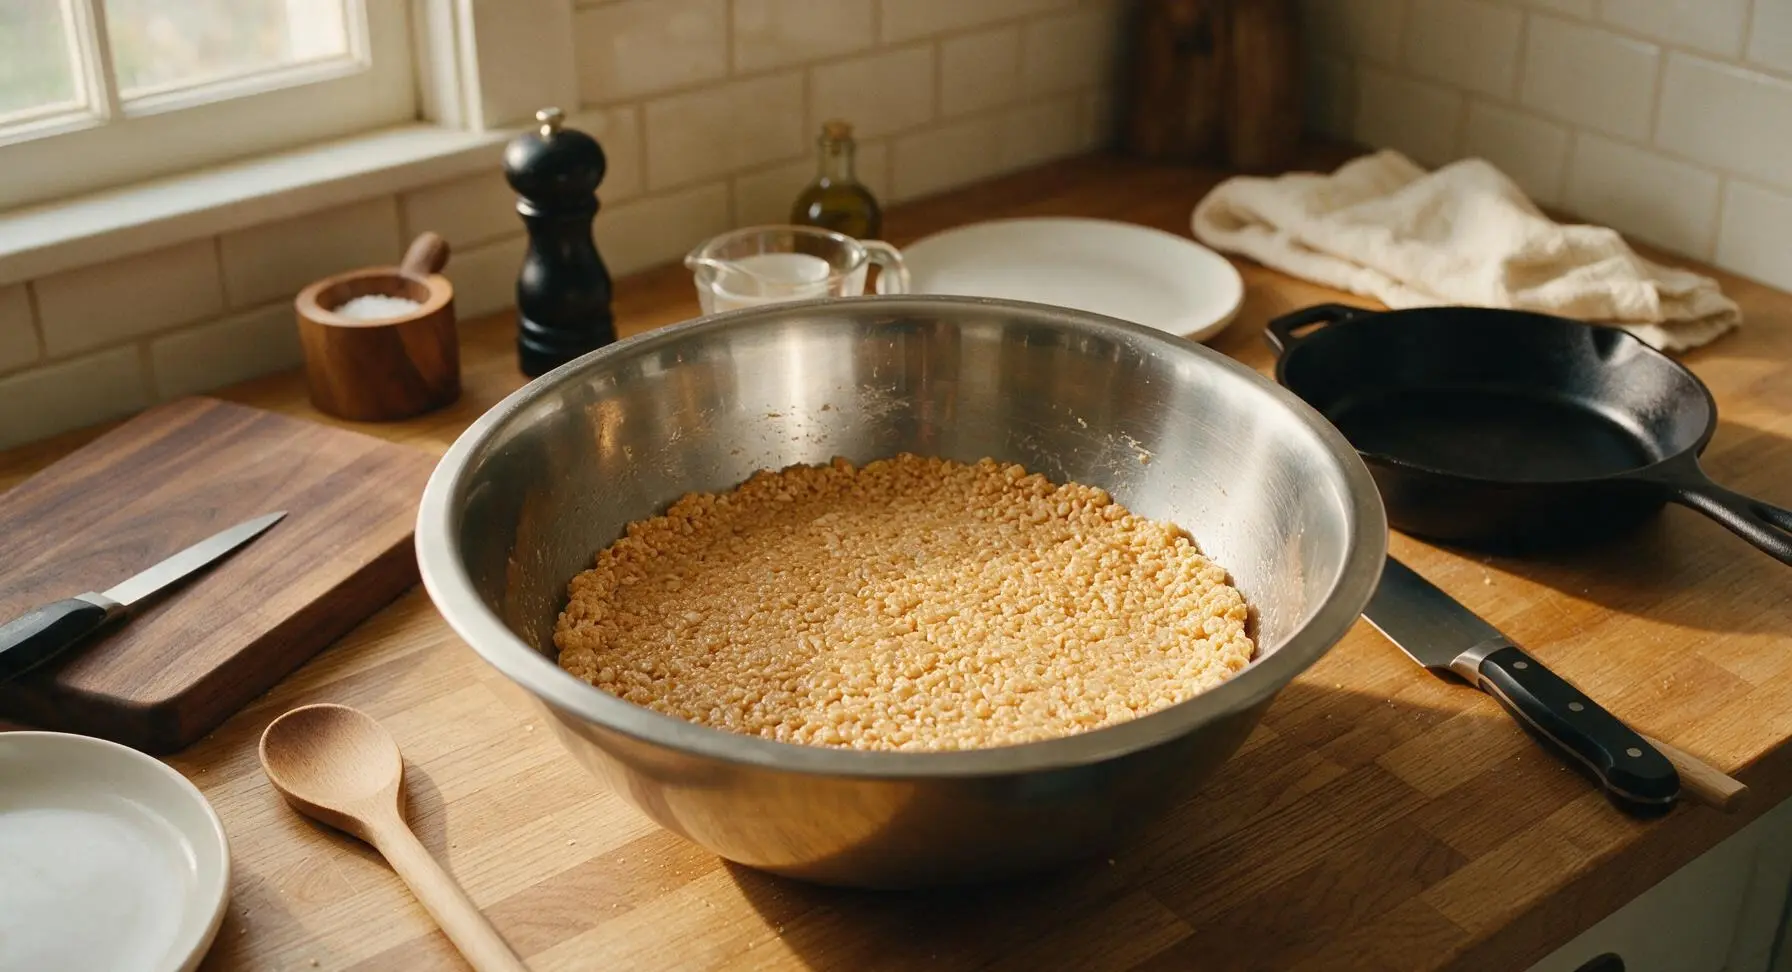
Cut Ornament Shapes
Lightly grease the edges of the 3-inch round polished metal cookie cutters with butter to prevent sticking. Press cutters straight down through the cooled cereal layer to cut clean round ornament shapes, twisting slightly to release each shape. Gather leftover mixture scraps, press back into a 1-inch layer, and cut additional shapes until you have 12 total round ornaments.
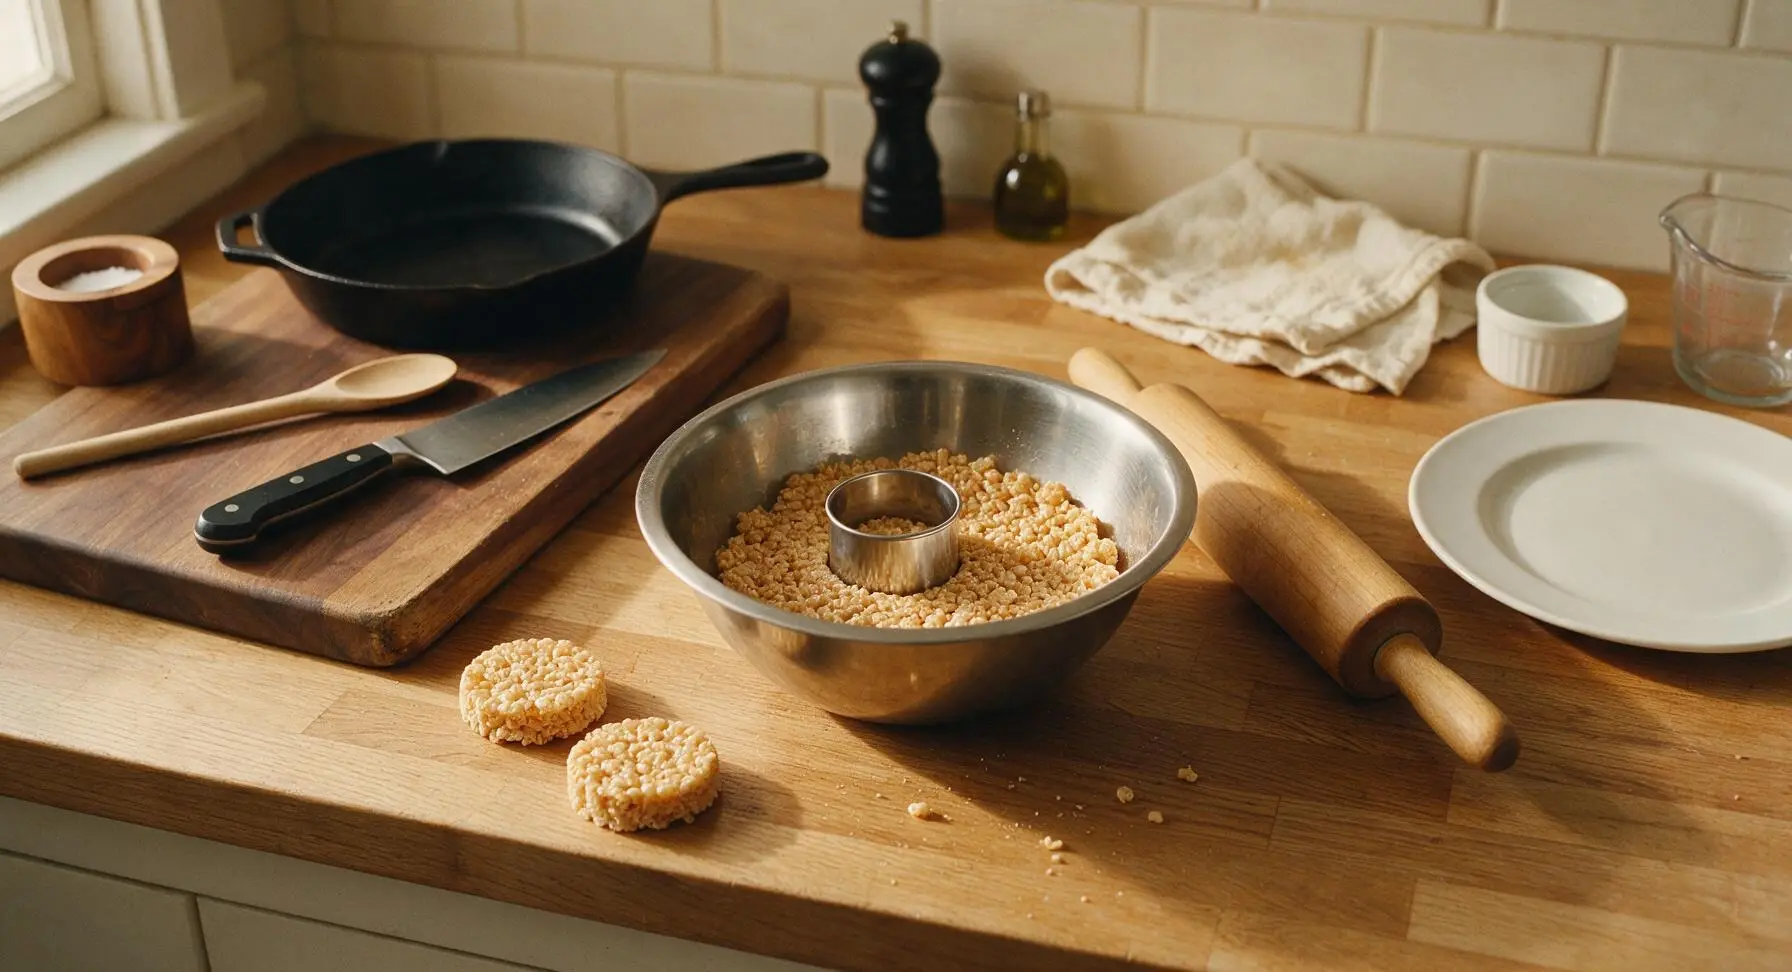
Add Lollipop Sticks
Carefully insert one white lollipop stick 1 inch into the bottom edge of each cut round treat, pressing the cereal mixture gently around the stick to hold it firmly in place. If desired, press a tiny twisted pretzel piece into the top edge of each ornament to act as a hanging loop for tree display. Let treats set for another 5 minutes until sticks are fully secure.
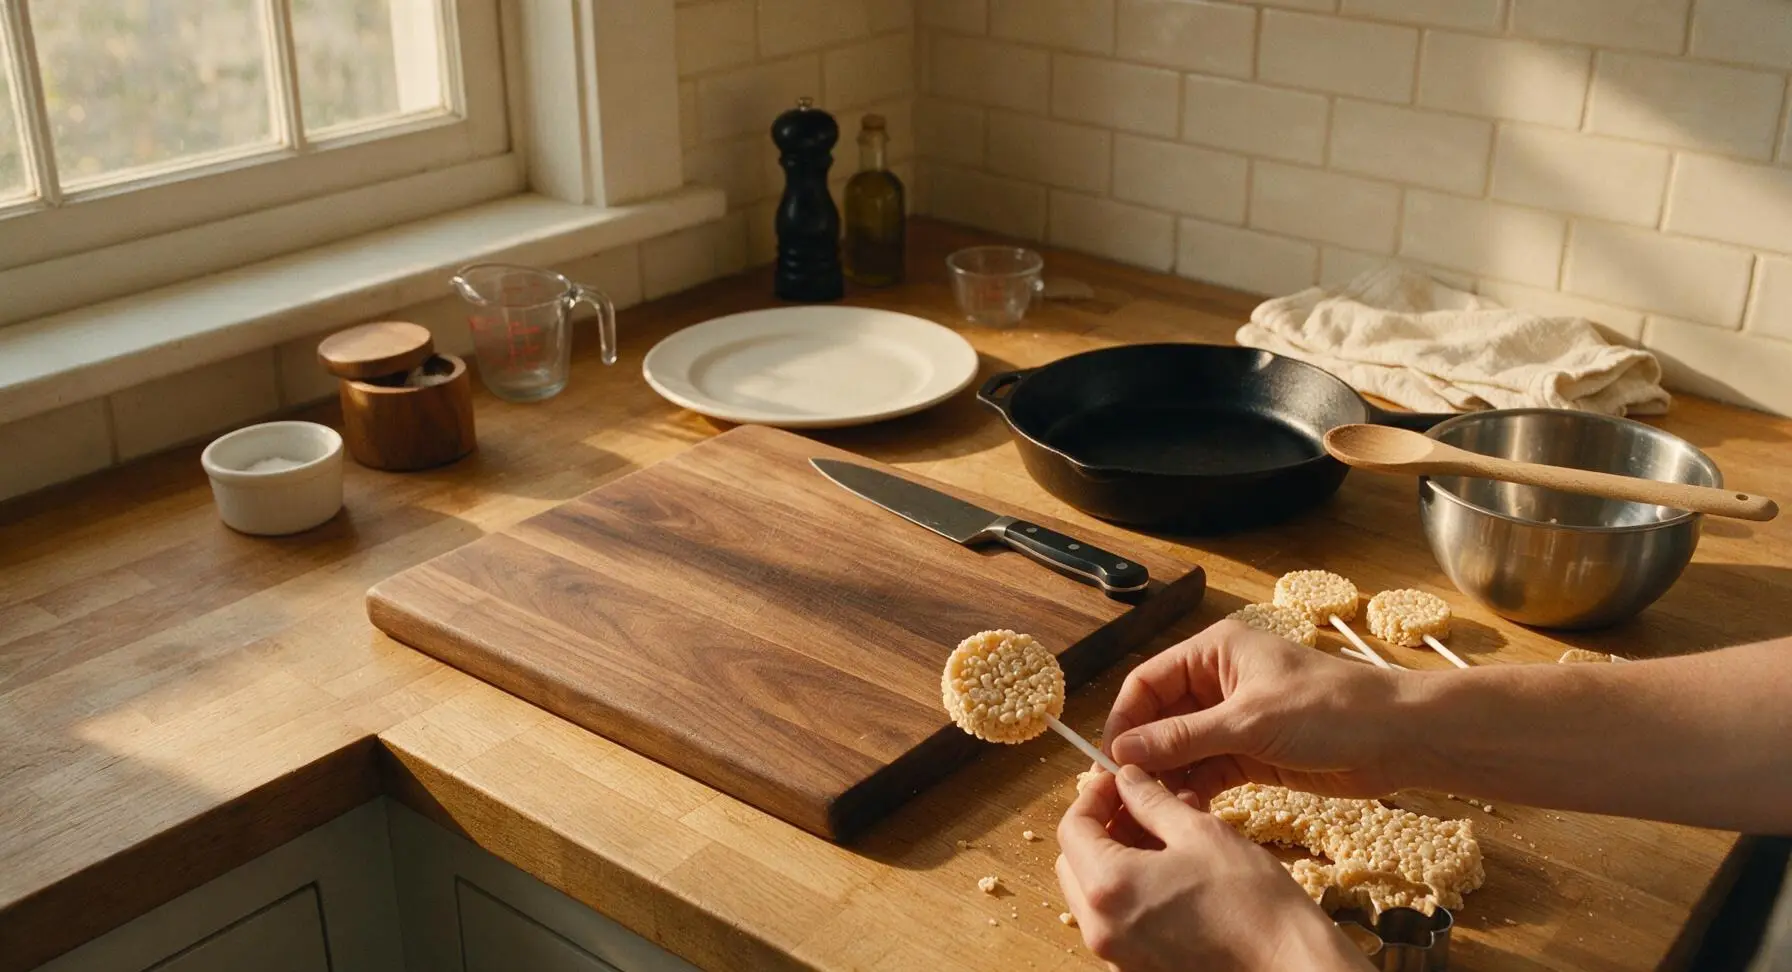
Decorate Ornament Surfaces
Scoop tinted red, green, and white royal icing into the three clear plastic piping bags fitted with small round writing tips. Pipe decorative lines, dots, swirls, and wavy borders across the surface of each ornament. Sprinkle with assorted holiday sprinkles and a light dusting of edible glitter while icing is still wet, so decorations adhere fully. Let icing set for 10 minutes at room temperature until hard to the touch.
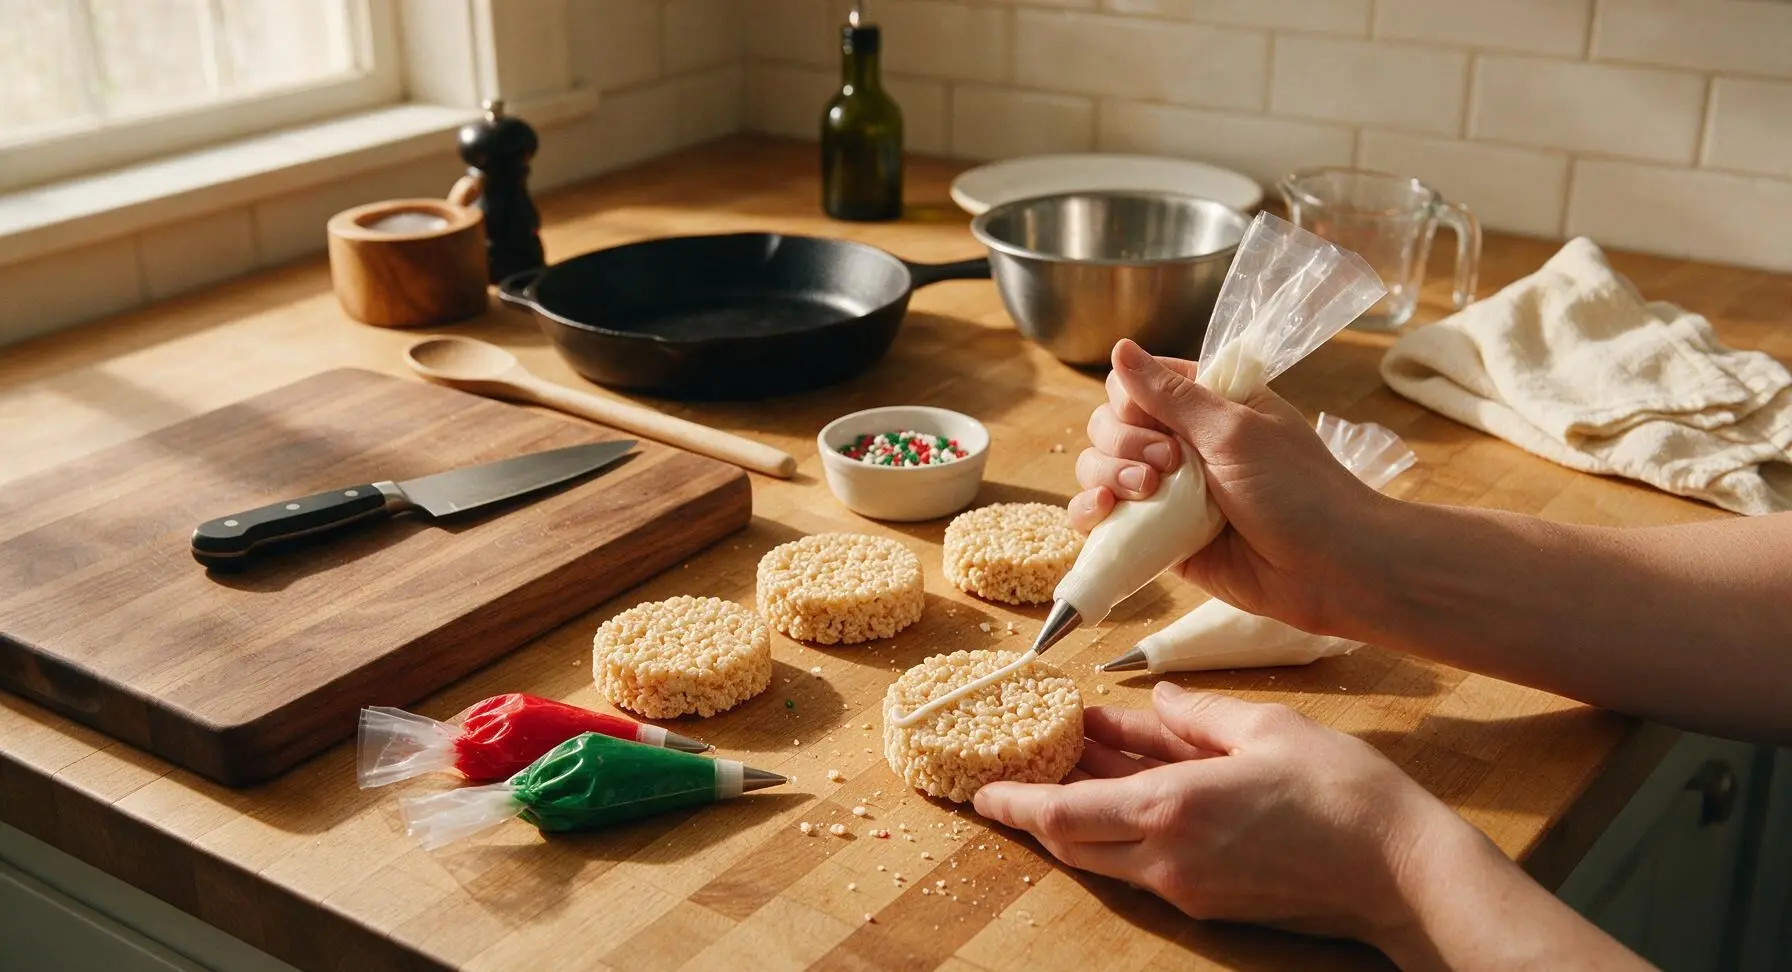
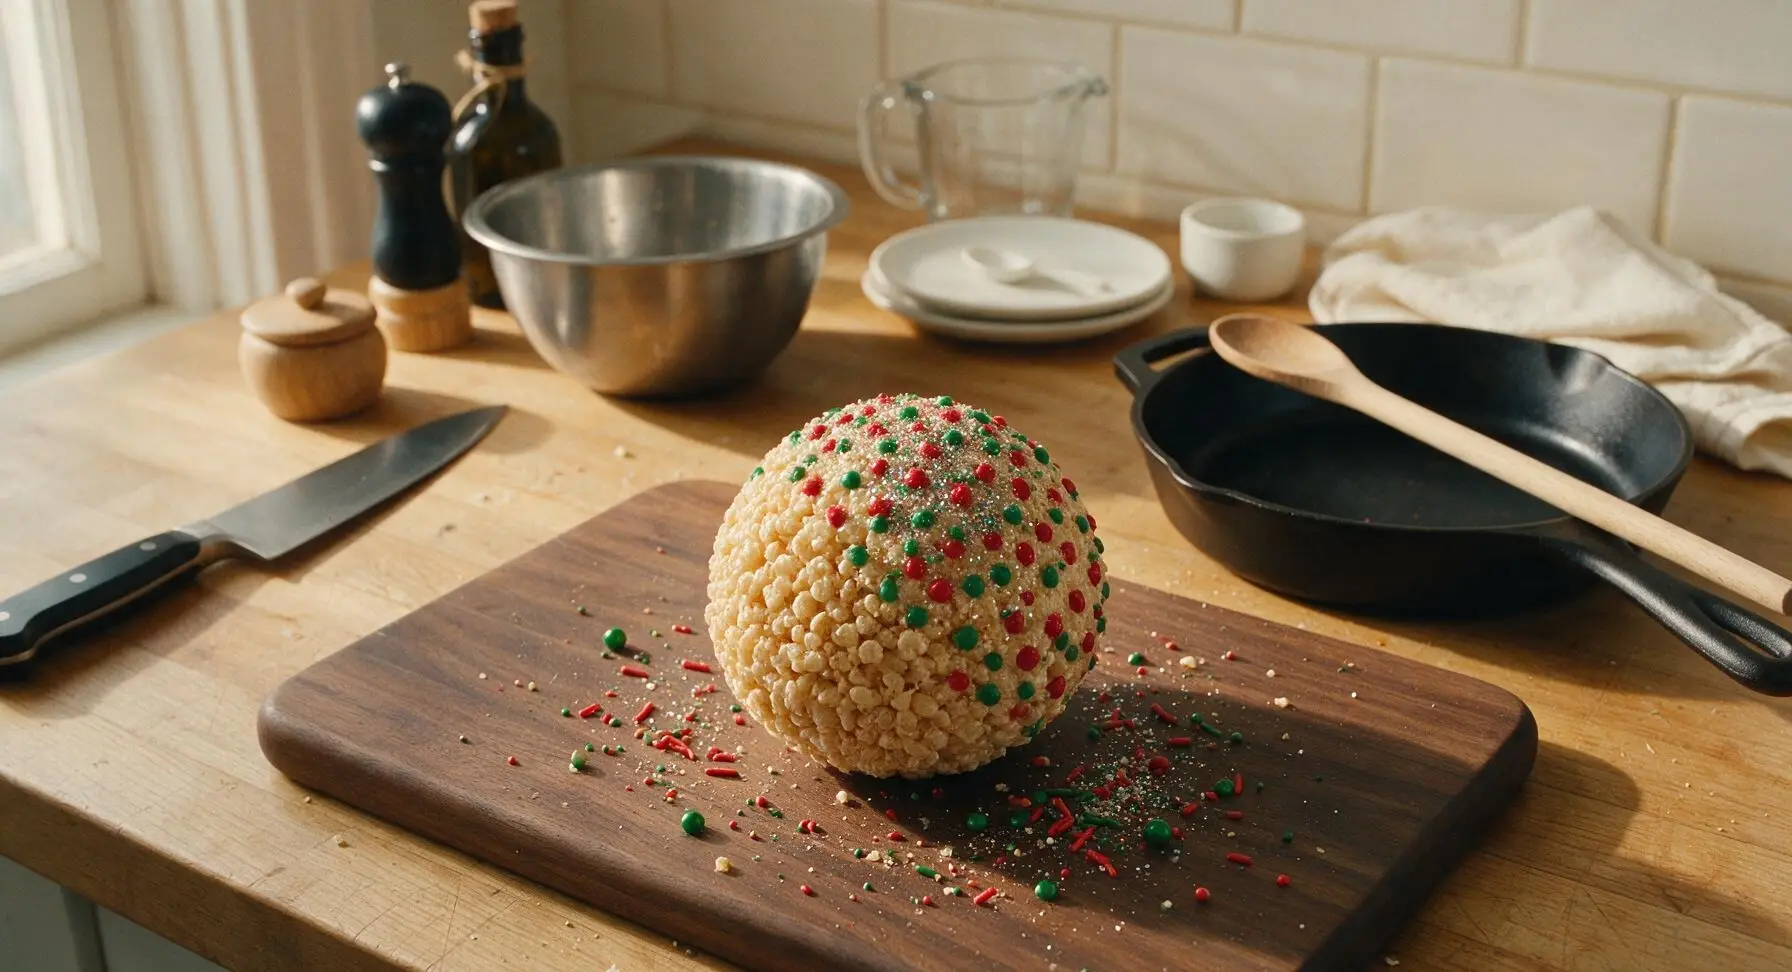
Plate for Serving
Arrange the fully decorated, set ornaments in a loose circular display on the large matte white ceramic serving platter. Serve immediately, or store in an airtight container at room temperature for up to 3 days for gifting or holiday snacking.

Tips
2.Grease cookie cutters, rolling pins, and spatulas with a thin layer of butter instead of nonstick cooking spray: cooking spray leaves an unpleasant oily aftertaste on treat surfaces, while butter adds subtle richness without residual greasiness.
3.Let the pressed cereal mixture cool for exactly 5 minutes before cutting: if too warm, shapes will sag and lose their crisp round ornament form; if cooled longer than 15 minutes, the mixture will harden and crack when you insert lollipop sticks.






OMG these were such a hit at my son’s 2nd grade class holiday party! I was running late and forgot we signed up to bring a treat, and these came together in literally 5 minutes like the recipe says. I let the kids add little candy cane sprinkles and red/green M&Ms before we hung them with ribbon on the class tree — every single kid asked for seconds. SO good, 10/10 will make again every year!
Total game changer for my annual cookie swap! I’ve made regular Rice Krispie treats a million times but never thought to shape them into ornaments and add a little string for hanging. I even dusted a few with edible gold glitter and they looked so fancy, people thought I bought them from a bakery. Easy, quick, and everyone went crazy for them.
Made these with my 6 year old last night for our neighborhood tree lighting get together. Super easy, no fancy ingredients, and she had a blast pressing the cereal mixture into the cookie cutters. Pro tip: spray your cookie cutters with a little nonstick spray first so the mixture doesn’t stick when you pop them out! Turned out perfect.
These are so fun to make with my grandkids when they visit for Christmas! I’ve been making the classic treats for 40+ years and this twist is my new favorite. Only note: make sure you let them cool completely before you try to put the string through, otherwise the hole closes up and they fall apart. Learned that the hard way on the first batch!
Brought these to my office holiday potluck yesterday and they were gone in 10 minutes flat! I did half with milk chocolate drizzle and half with white chocolate drizzle, and people were fighting over the last one. So easy even someone who burns toast like me can pull them off, no joke.
Made these for my dorm floor holiday hang and they were perfect! No oven needed, only 5 minutes of cook time, and I didn’t even have to run to the fancy grocery store for supplies — I grabbed everything from the campus convenience store. My friends kept asking for the recipe, so I sent them the link. 10/10, zero stress, maximum fun.