
Rice Krispy Treats
intro
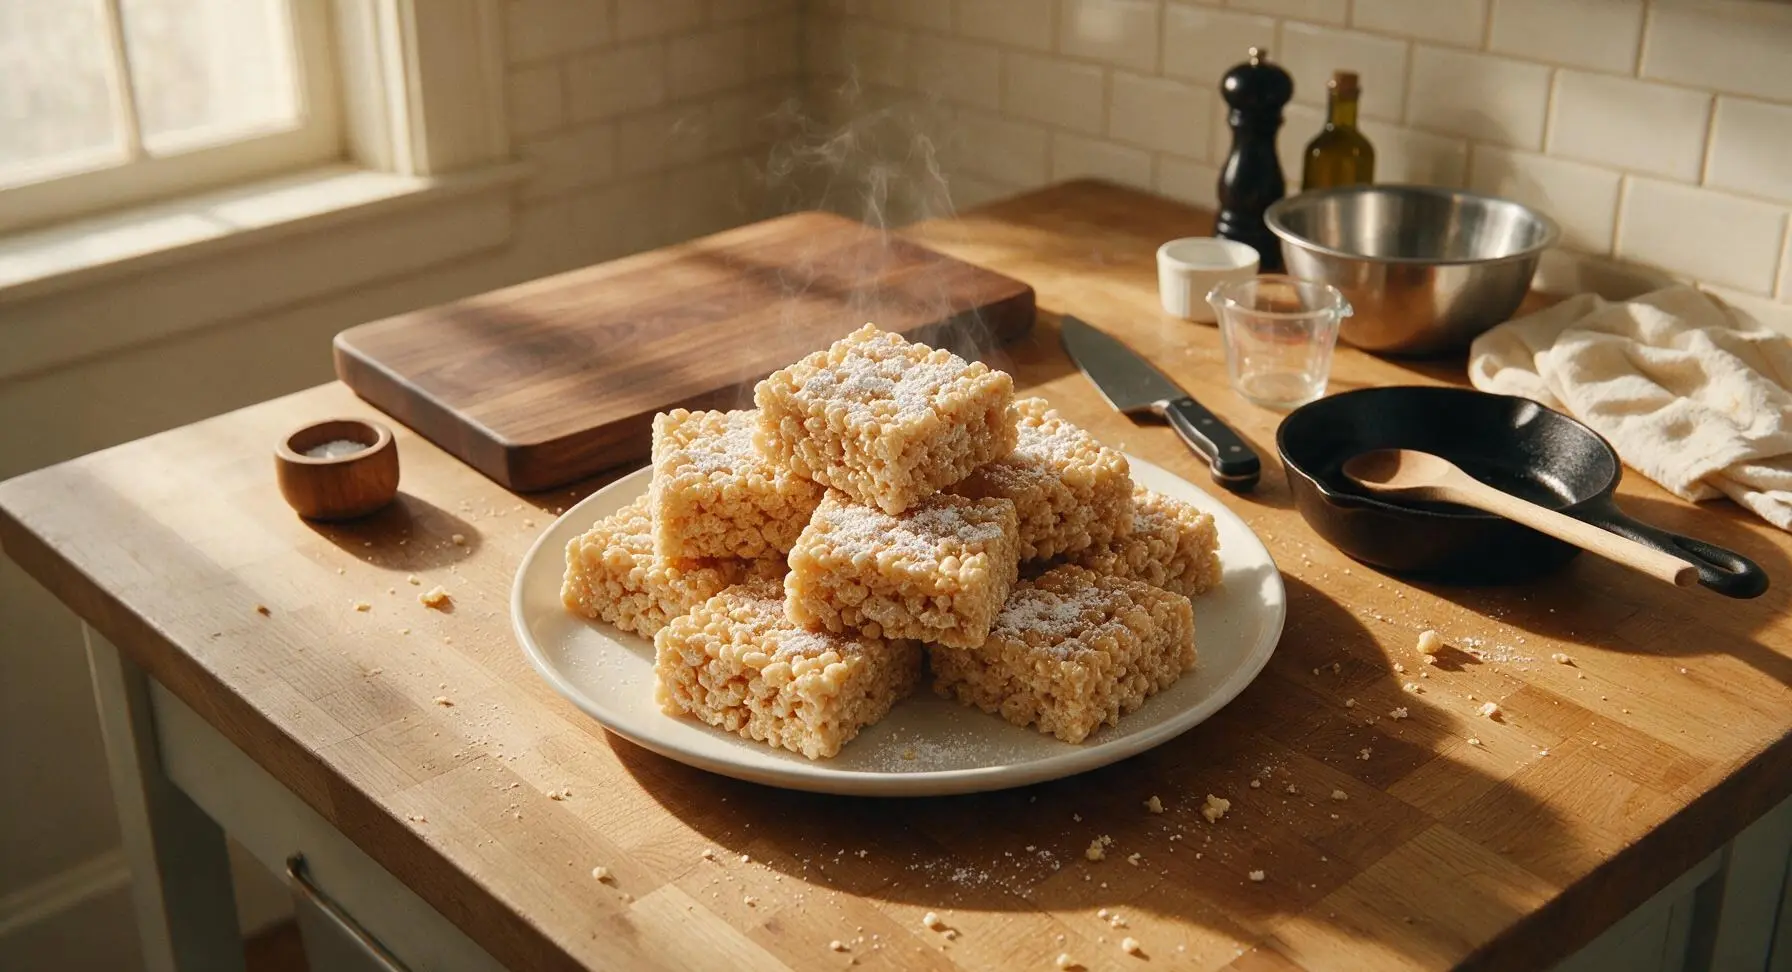
Chewy, buttery, marshmallow-kissed cereal treats with the perfect crisp-snap texture, a nostalgic no-bake favorite ready in under 30 minutes for casual gatherings.
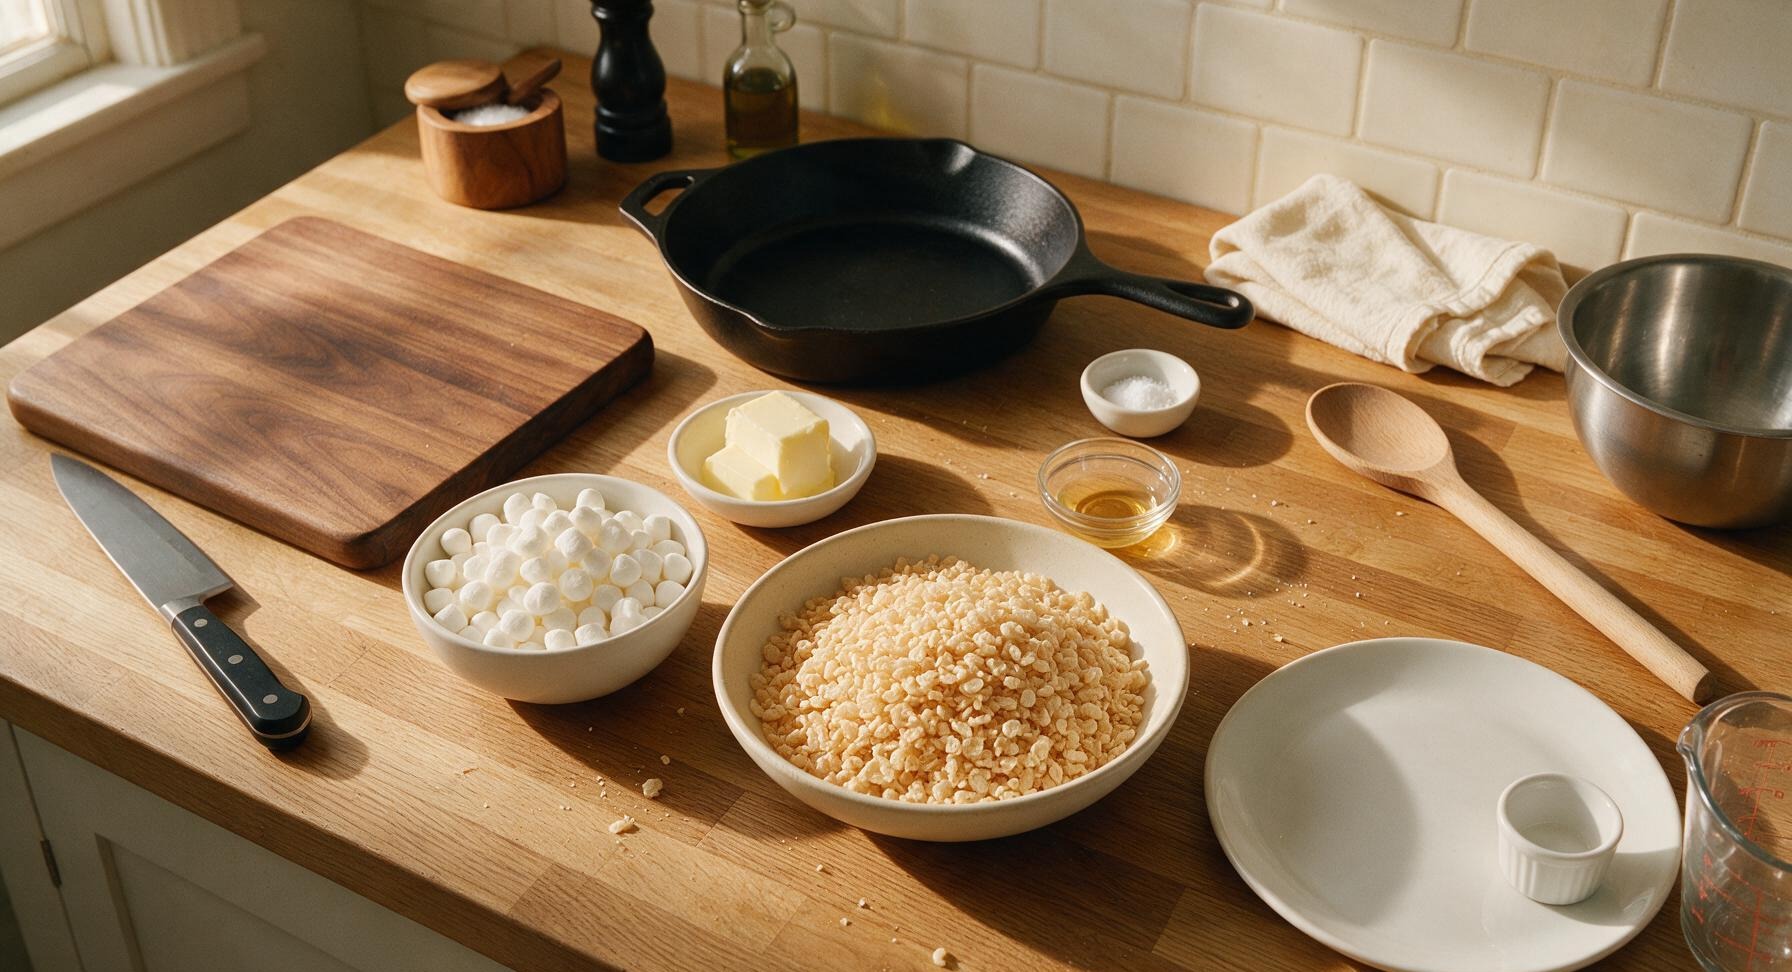
Ingredients
Steps
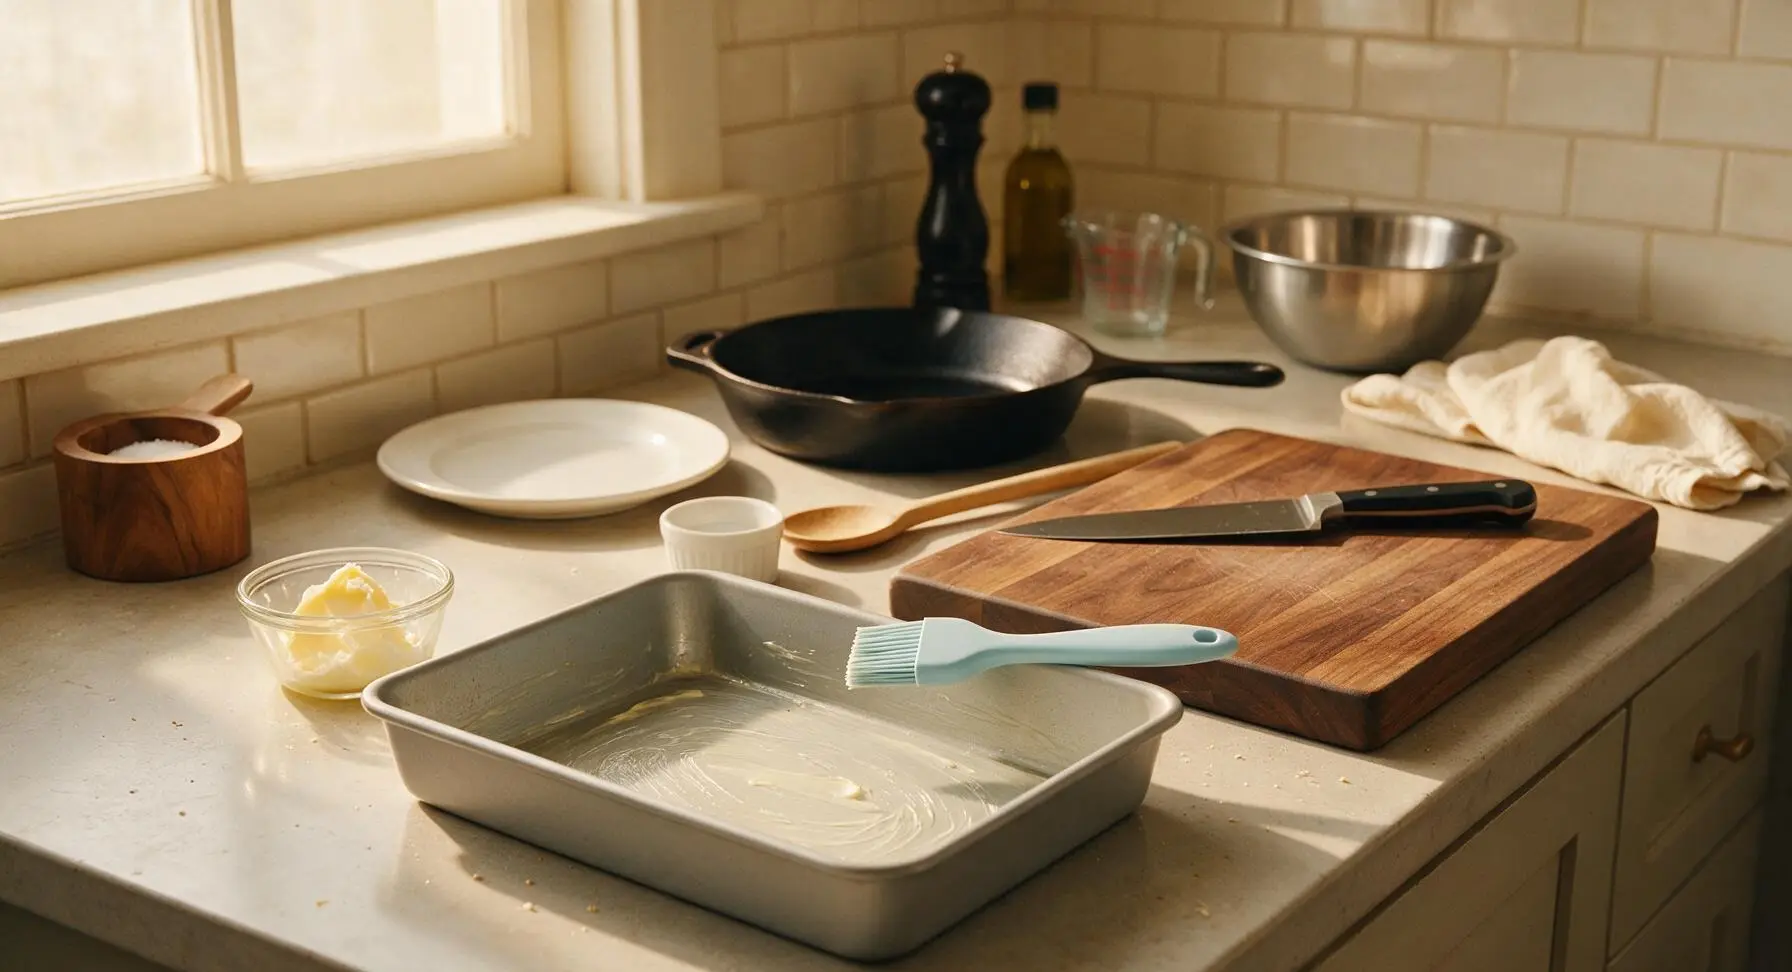
Grease Baking Pan
Use the silicone pastry brush to lightly coat the entire interior surface of the 9x13 inch light gray metal baking pan with 1/2 teaspoon of softened unsalted butter, covering the bottom, straight sides, and rounded corners completely. This creates a non-stick barrier so the marshmallow mixture does not adhere as it sets. Set the prepared pan on the front center of the counter within easy reach.
Measure All Ingredients
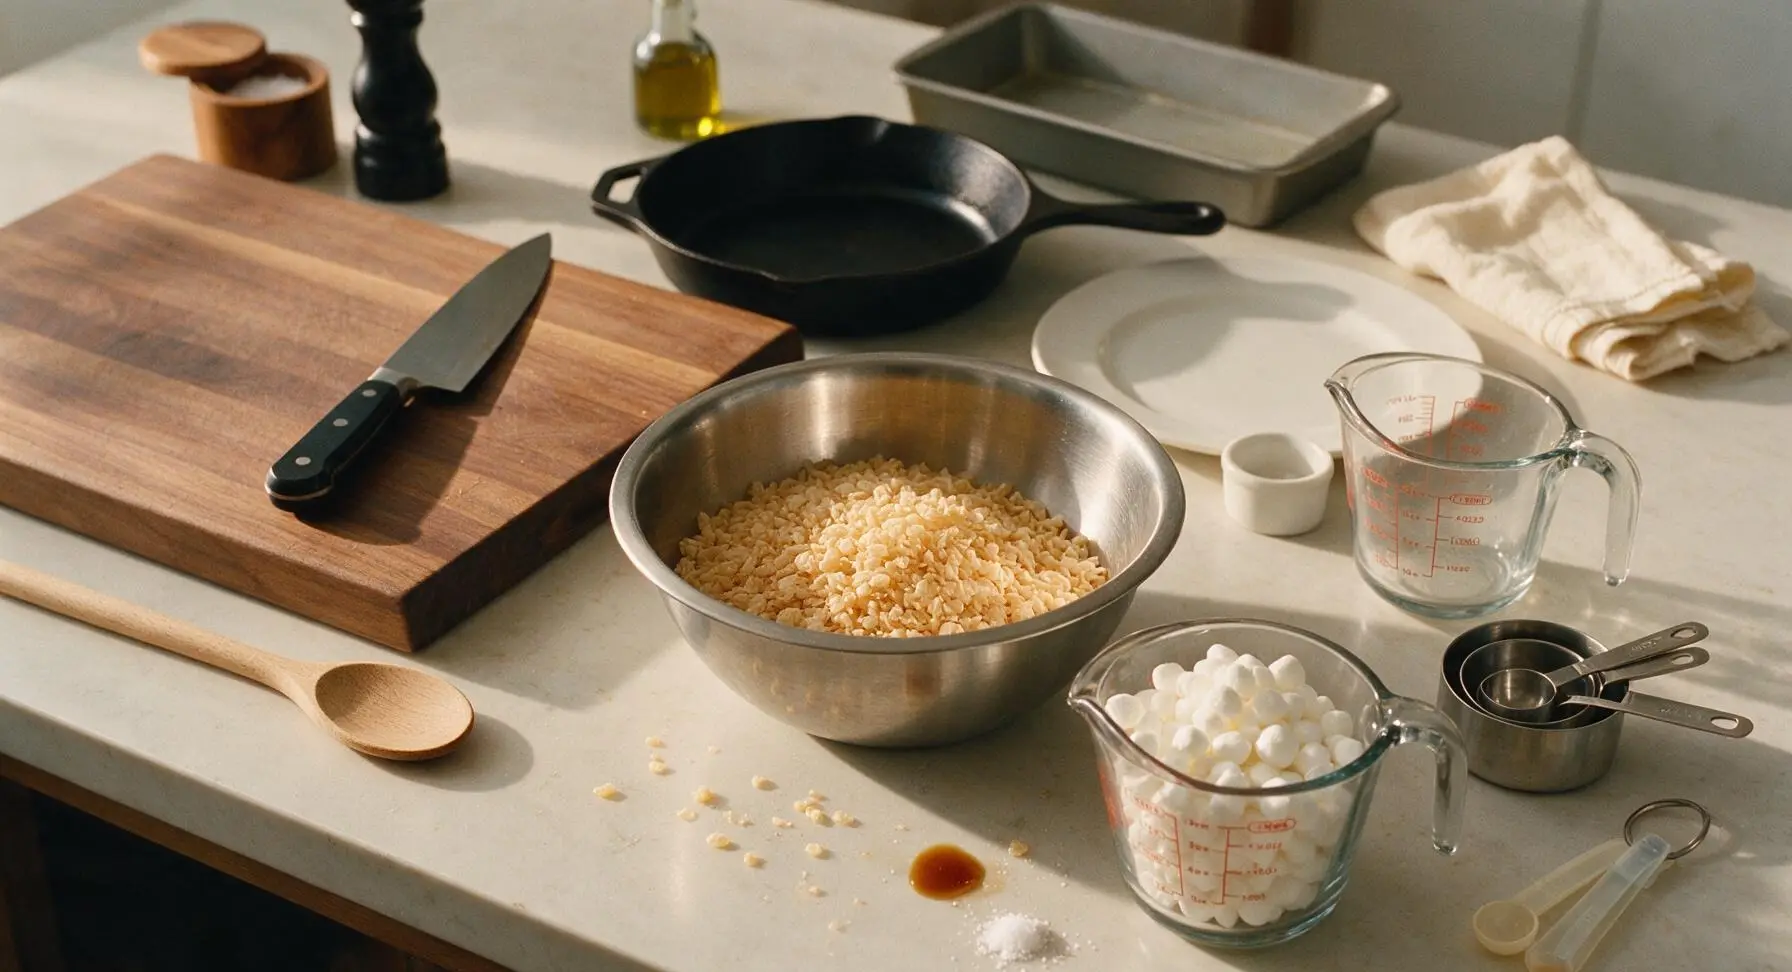
Use the stainless steel measuring cups to portion 6 cups of crisp rice cereal into the 3-quart stainless steel mixing bowl. Measure 4 cups of mini marshmallows into the clear tempered glass 4-cup measuring cup. Portion 1 teaspoon of pure vanilla extract and 1/4 teaspoon of fine sea salt into small separate pinches, ready to add. Pre-measuring (mise en place) is critical here, as melted marshmallow sets quickly once removed from heat, leaving no time to grab missing ingredients.
Melt Butter Gently
Place the 4-quart brushed stainless steel stockpot on the flush-mounted matte black induction burner in the back right corner, set to the lowest possible heat. Add the remaining 3.5 tablespoons of unsalted butter to the pot, stirring slowly with the pale sky blue silicone spatula until fully melted and bubbling very gently, about 2 minutes. Do not increase the heat, as high heat will brown the butter and create tough, off-flavored treats.
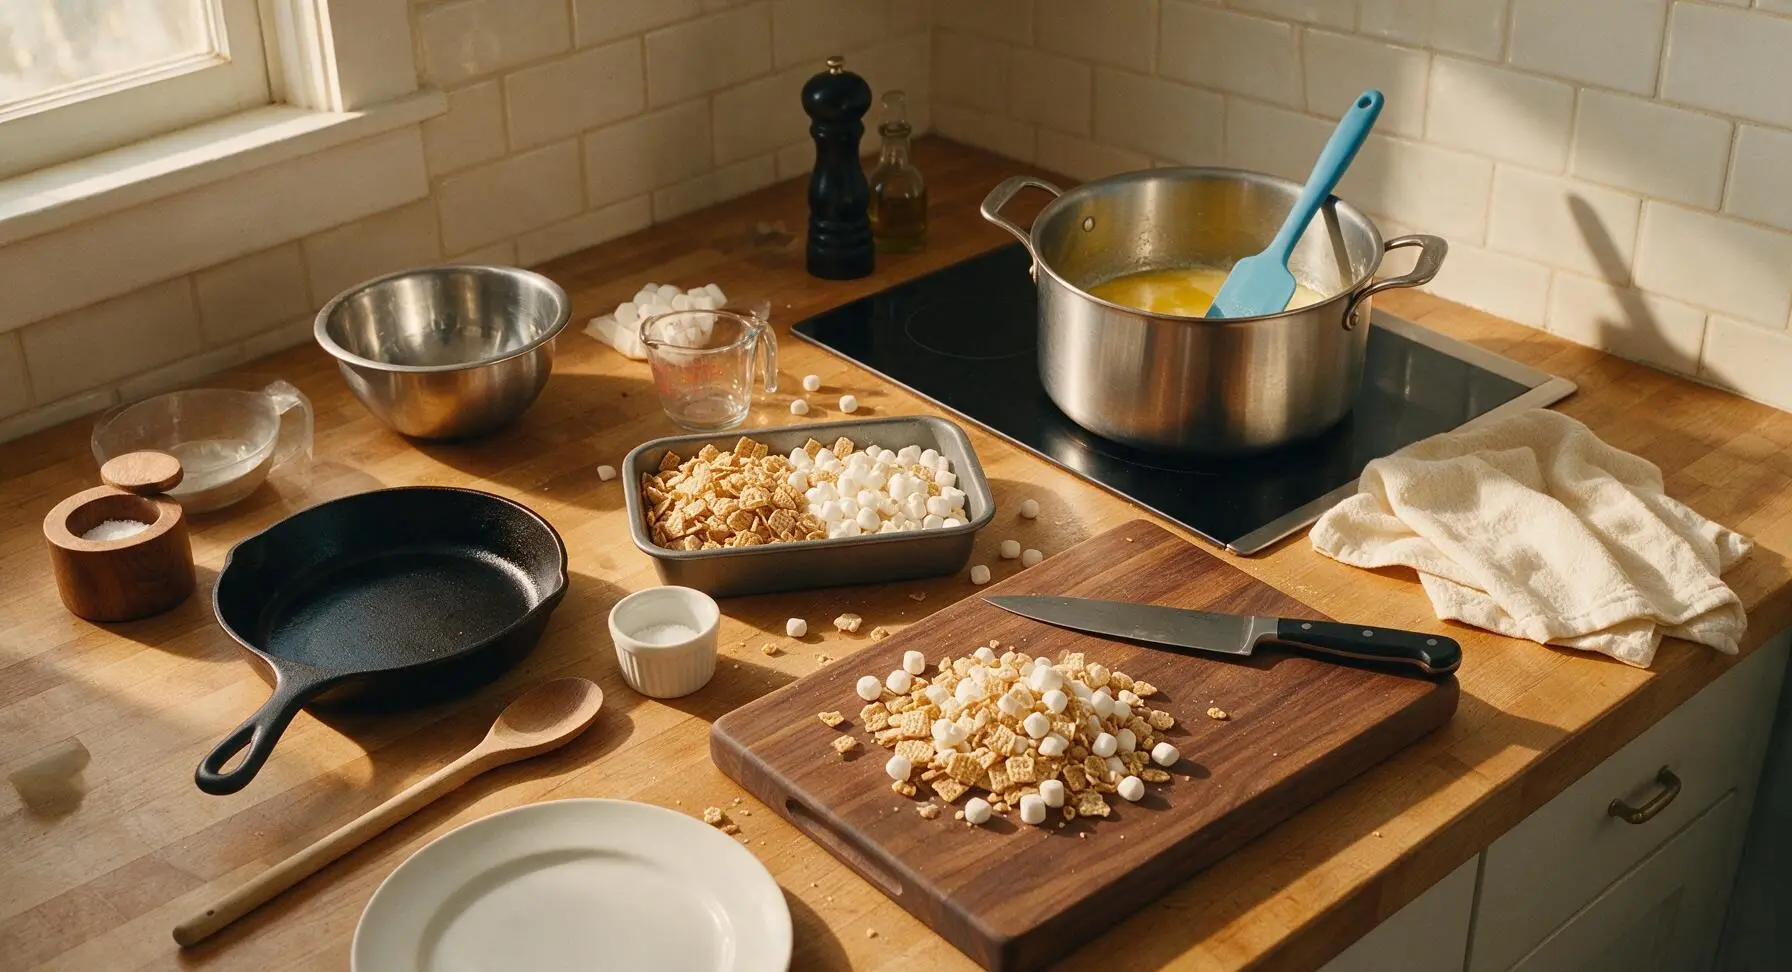
Melt Marshmallows Smooth
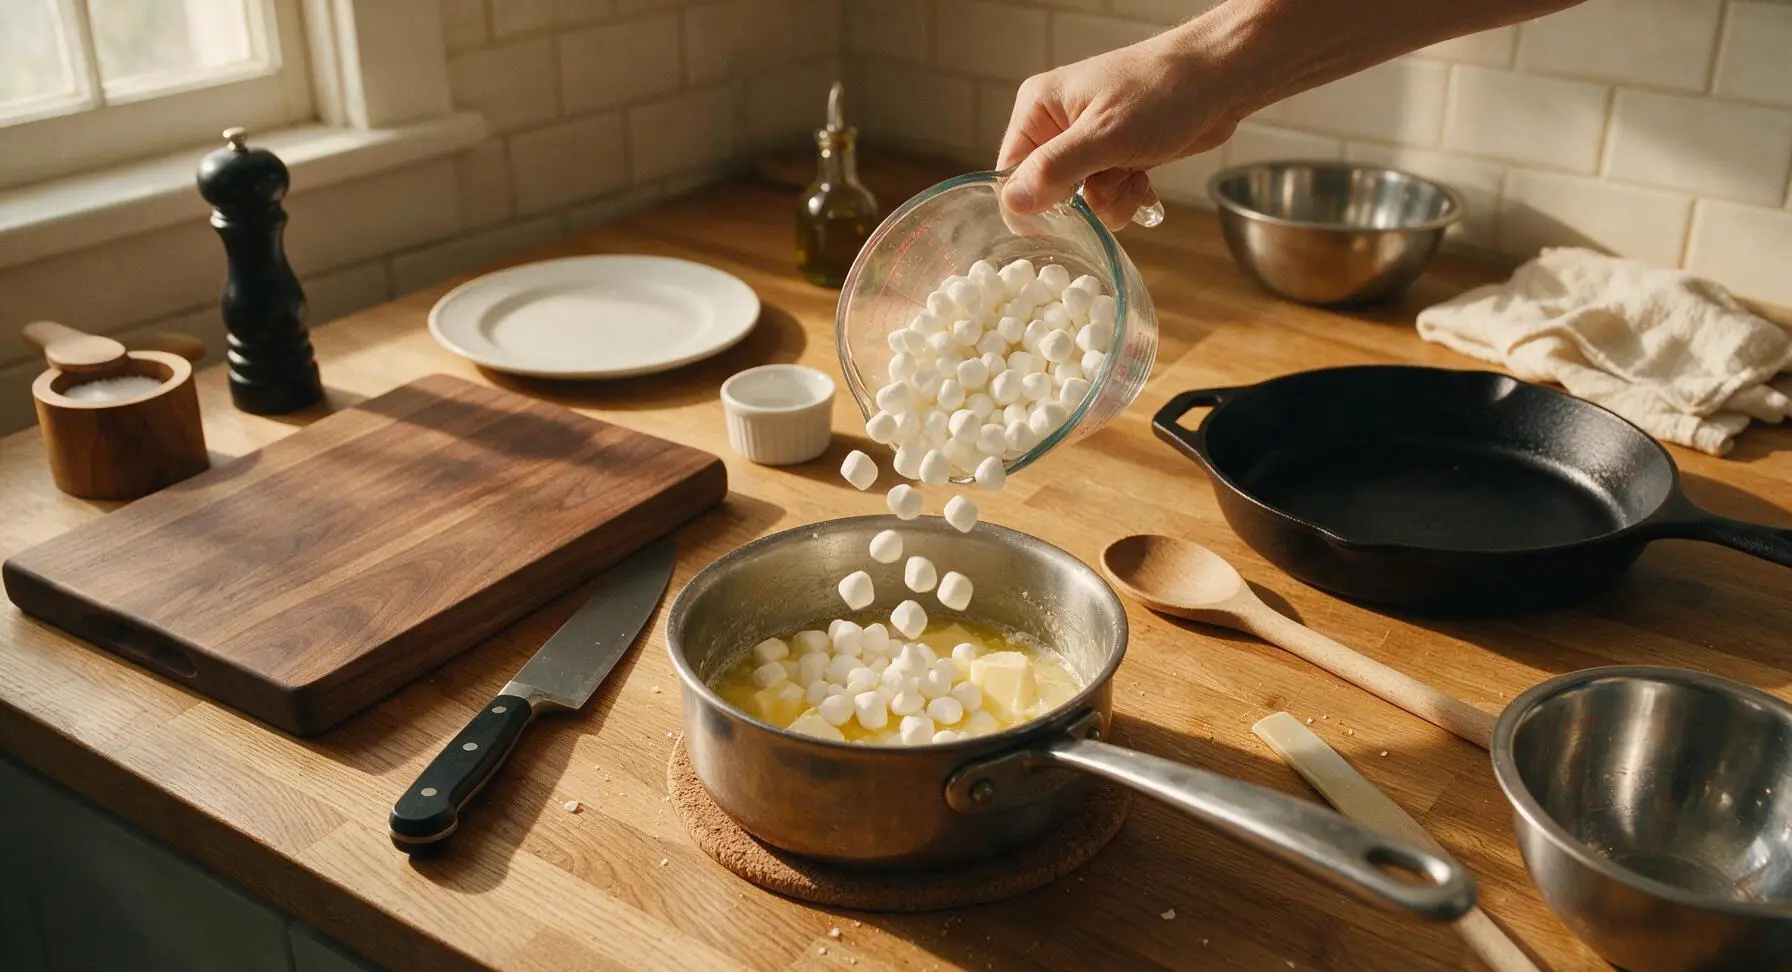
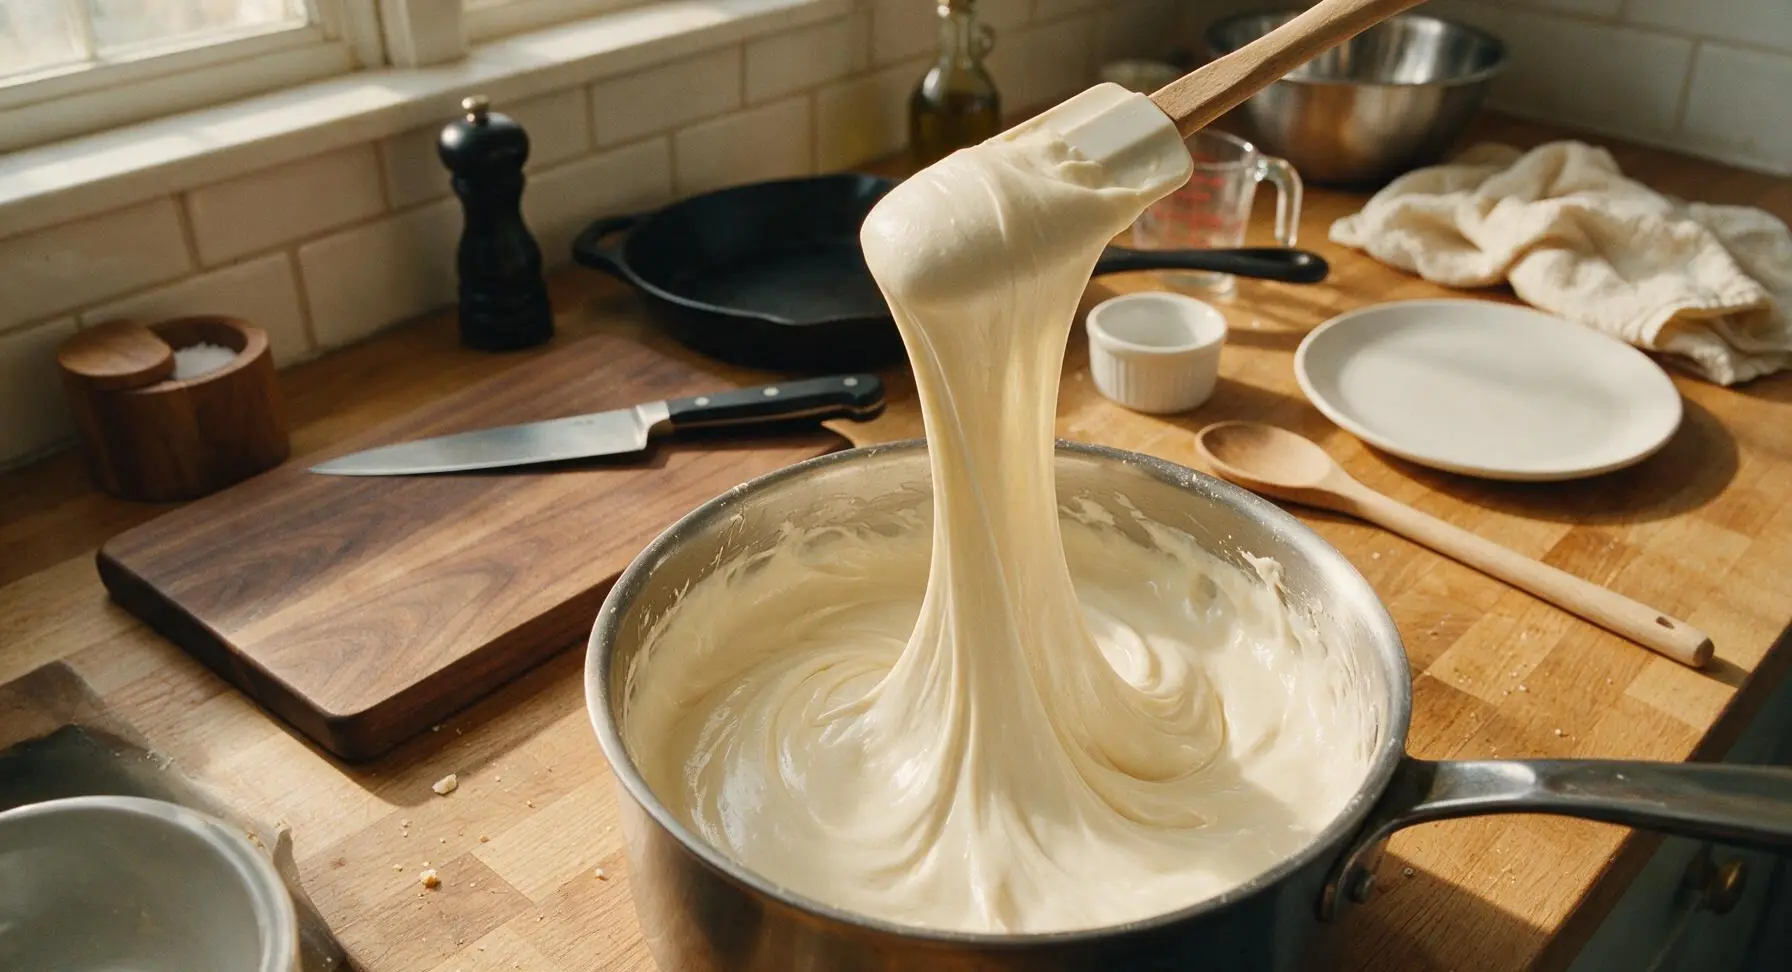
Add all measured mini marshmallows to the pot with melted butter, stirring constantly with the silicone spatula over low heat. Scrape the bottom and sides of the pot continuously to prevent burning, until the marshmallows are fully melted into a smooth, glossy, lump-free pale creamy white mixture, about 3 minutes. Immediately remove the pot from the heat once smooth, as overcooking marshmallows creates a hard, candy-like texture when cooled.
Fold in Cereal Evenly
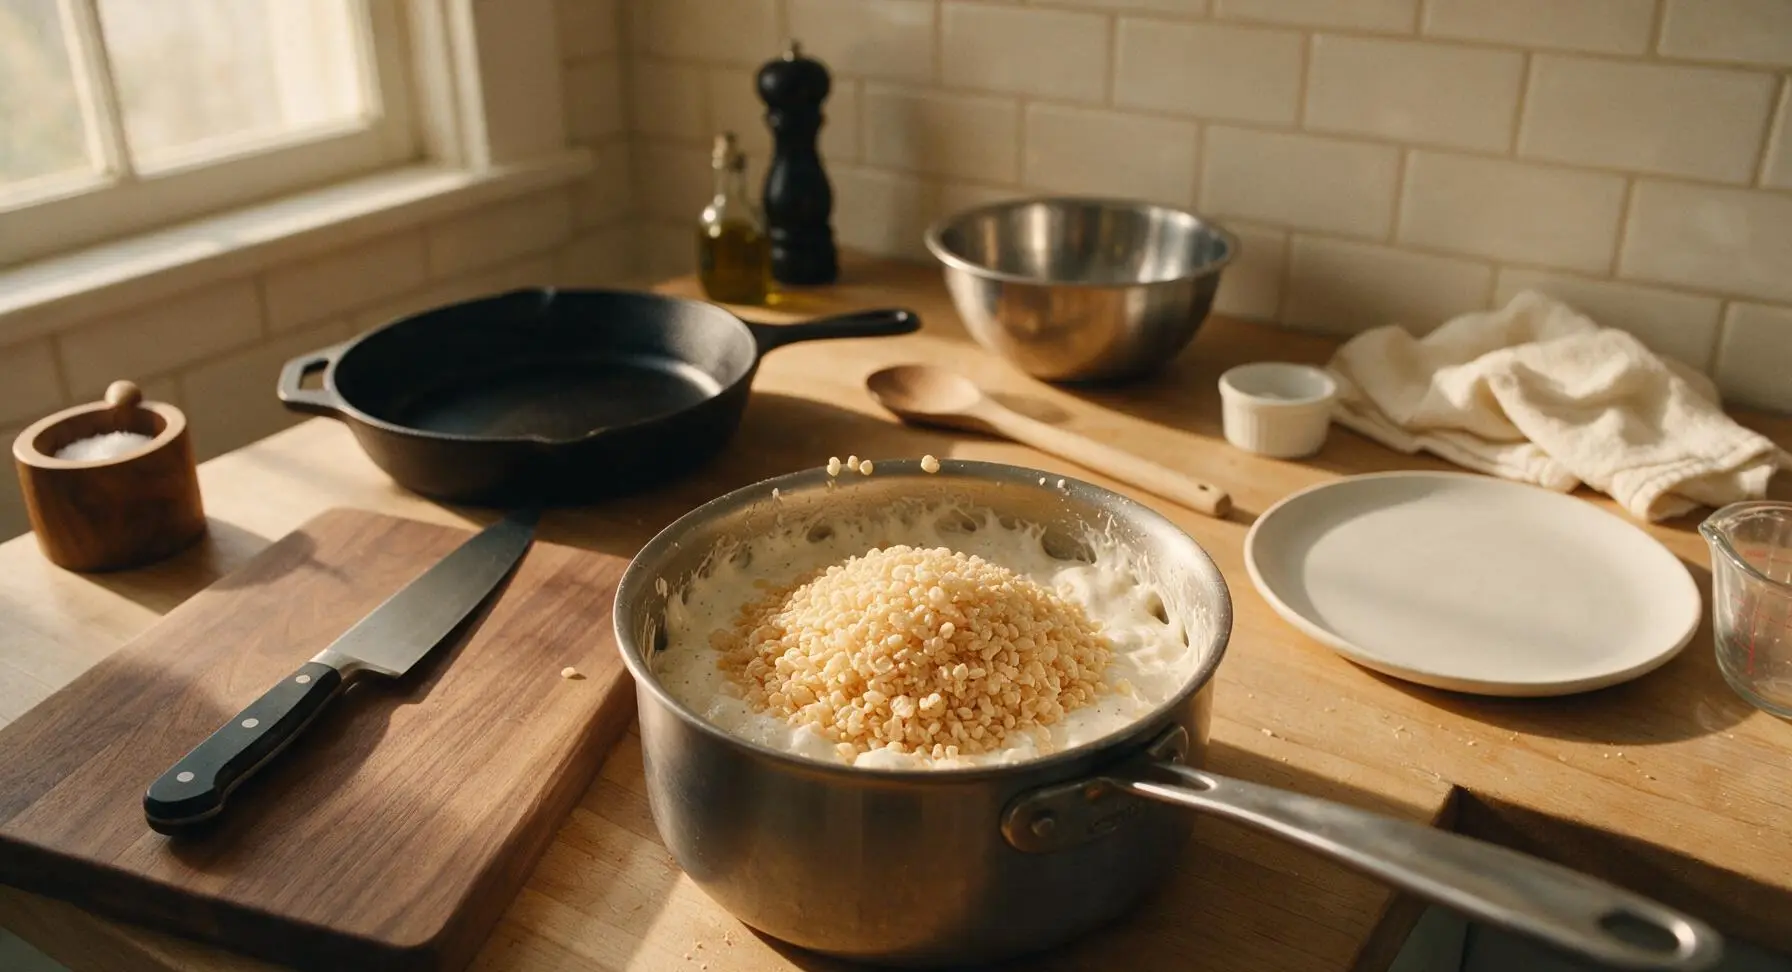
Stir the measured vanilla extract and fine sea salt into the melted marshmallow mixture until fully incorporated, creating tiny faint vanilla specks throughout. Immediately add all measured crisp rice cereal to the pot, folding gently with the silicone spatula to coat every cereal piece evenly in the marshmallow mixture. Do not stir aggressively, as this crushes the cereal and leads to dense, less crisp treats. Stop folding as soon as no dry, uncoated cereal patches remain.
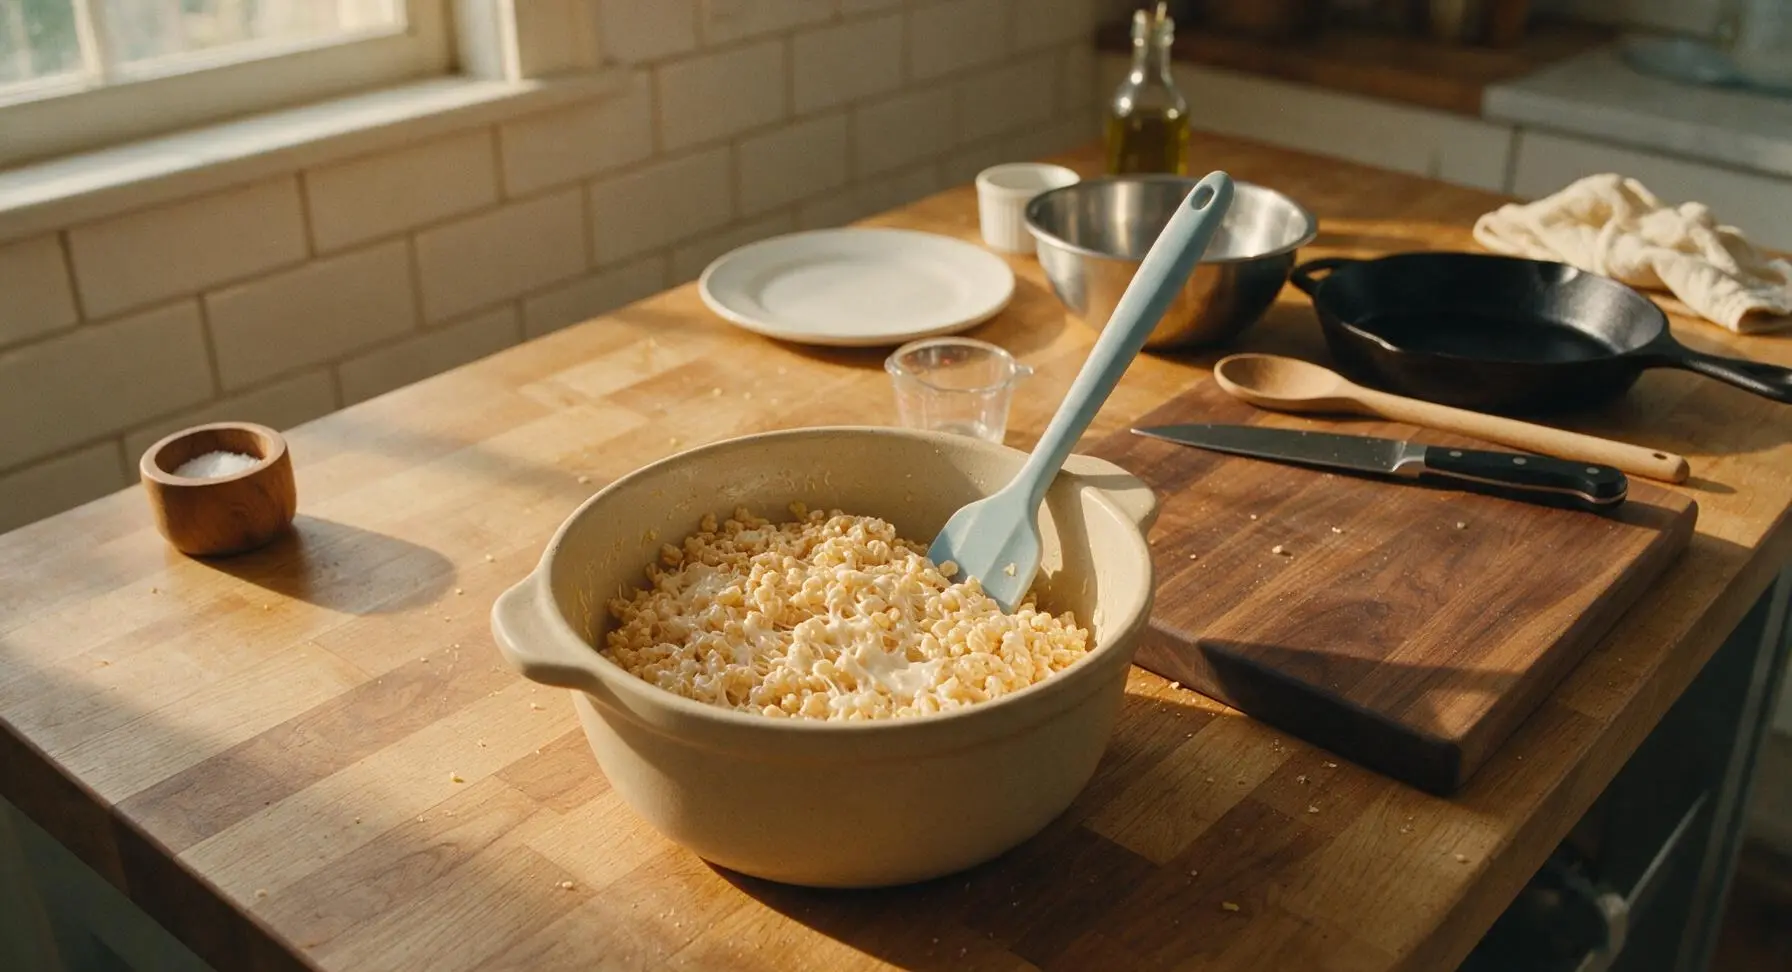
Press Mixture into Pan
Immediately scrape all coated cereal mixture from the pot into the prepared greased 9x13 inch baking pan. Lightly grease your fingertips with a tiny bit of leftover butter, then press the mixture firmly but gently into an even, flat layer across the entire pan, including the corners. Do not over-compact the mixture, as pressing too hard creates dense, hard treats. Let treats cool completely at room temperature for 20 minutes, until fully firm and set.
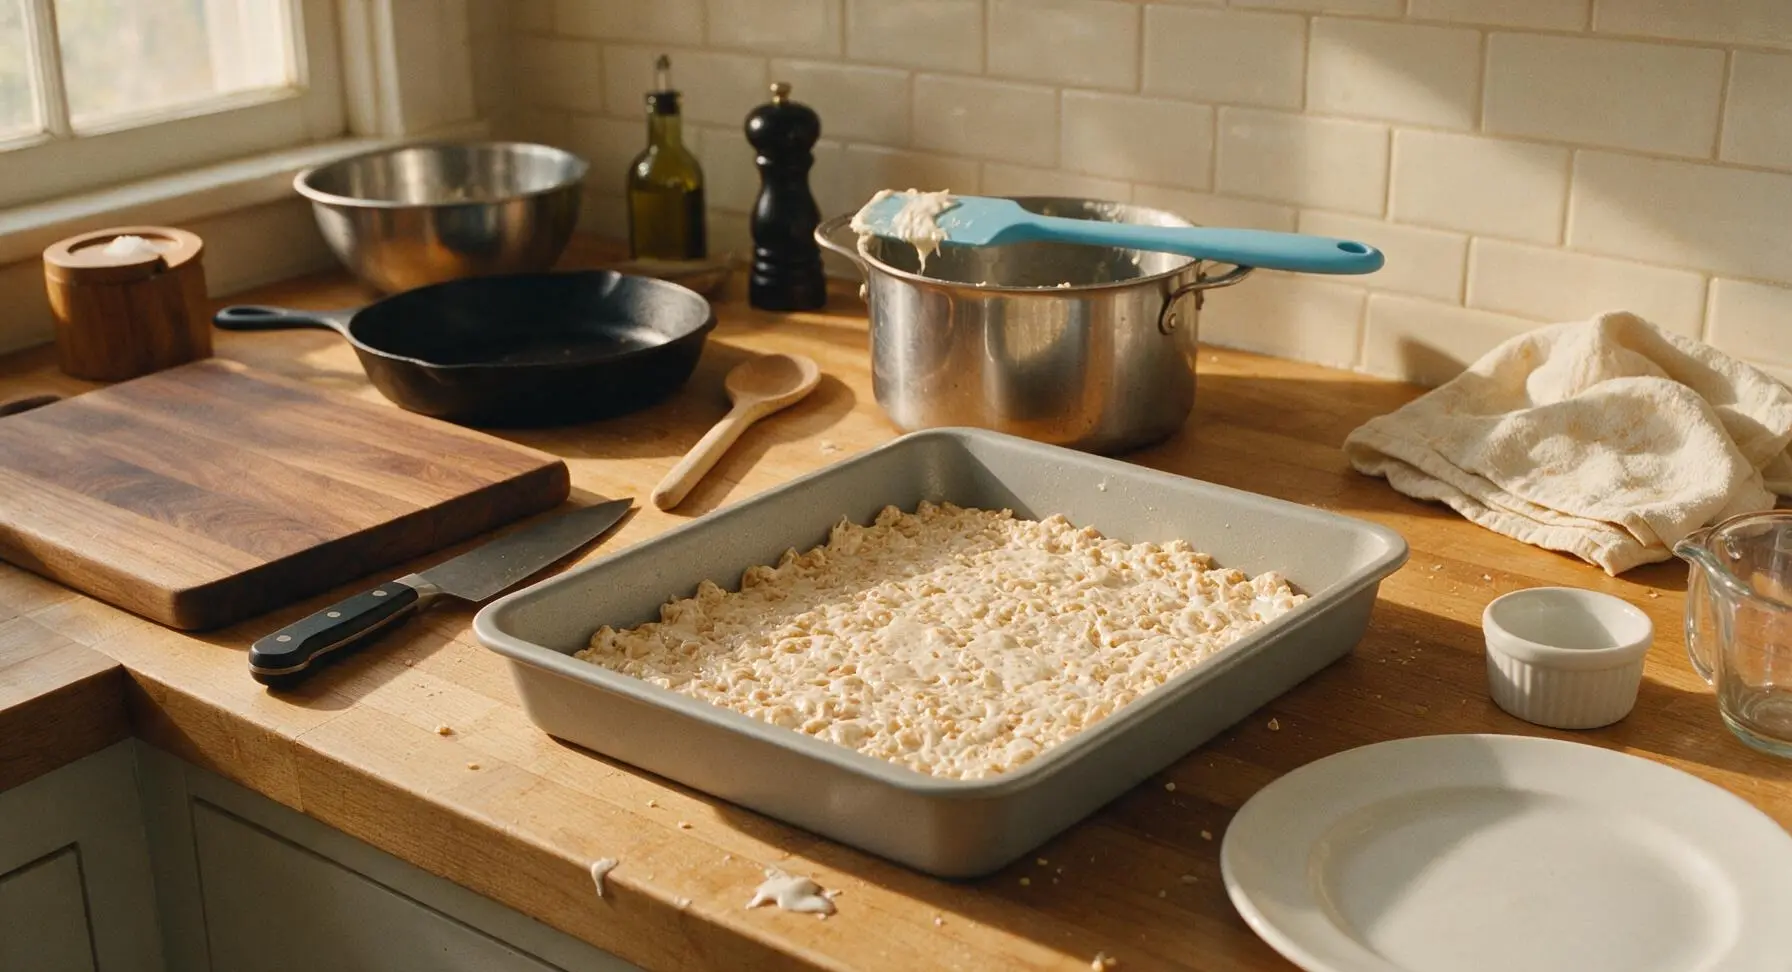
Cut into Even Squares
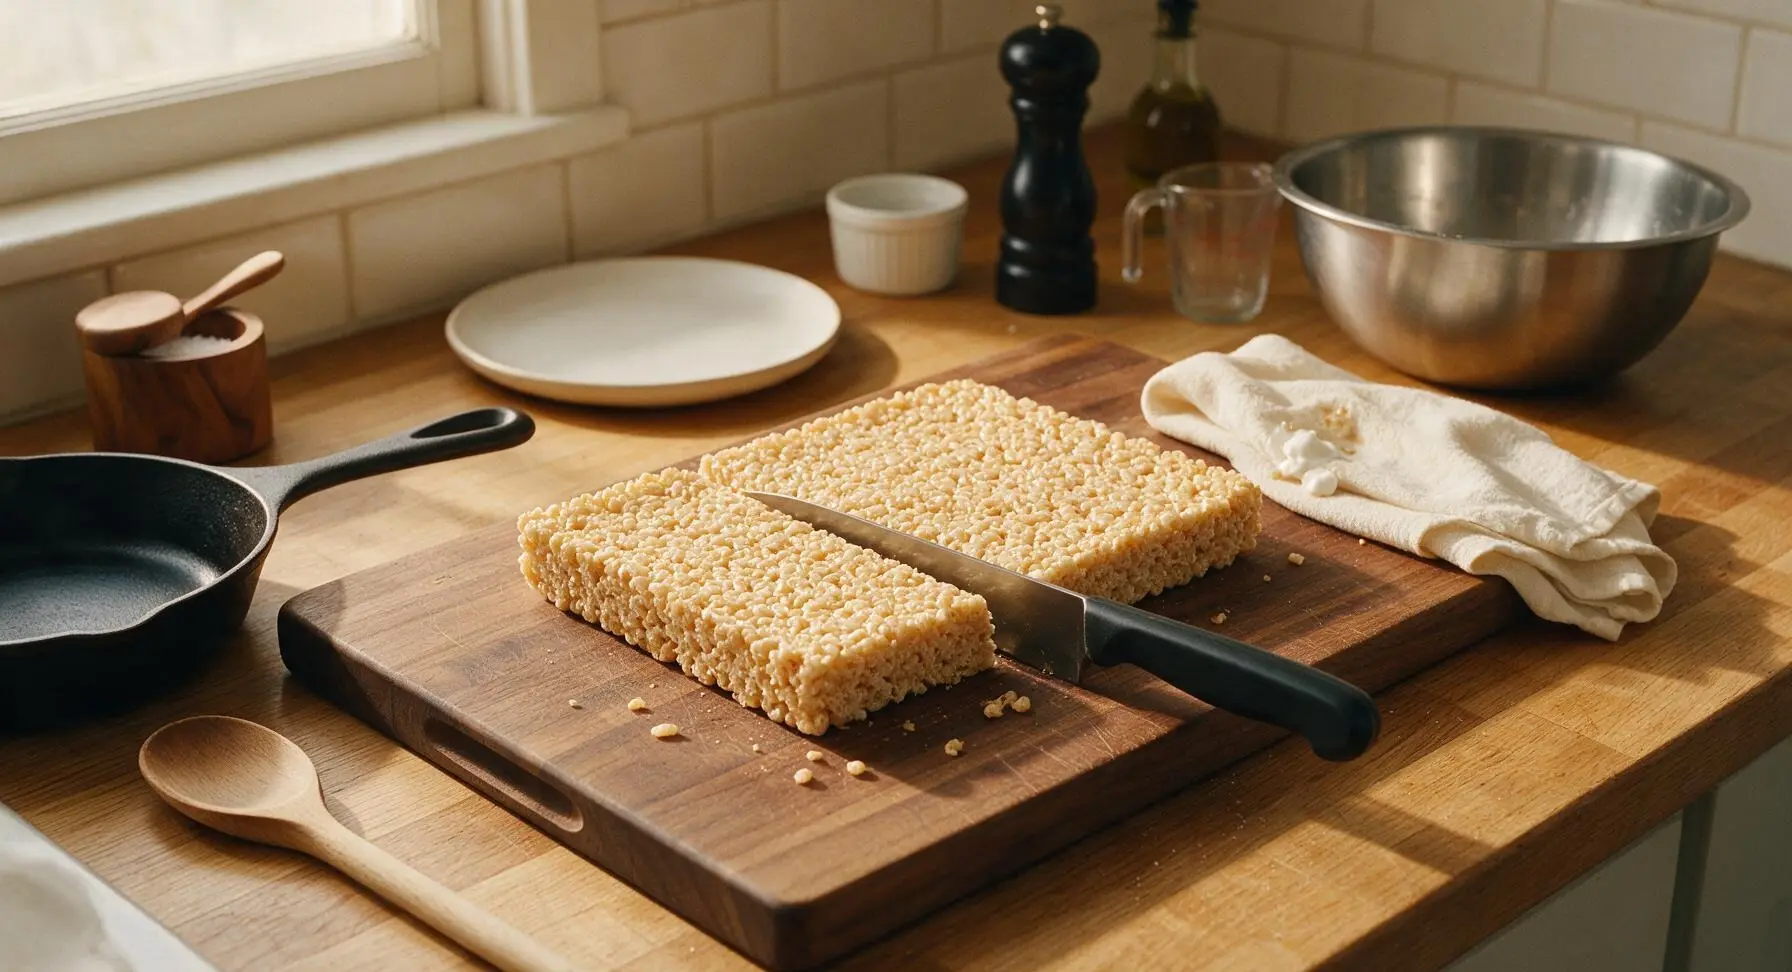
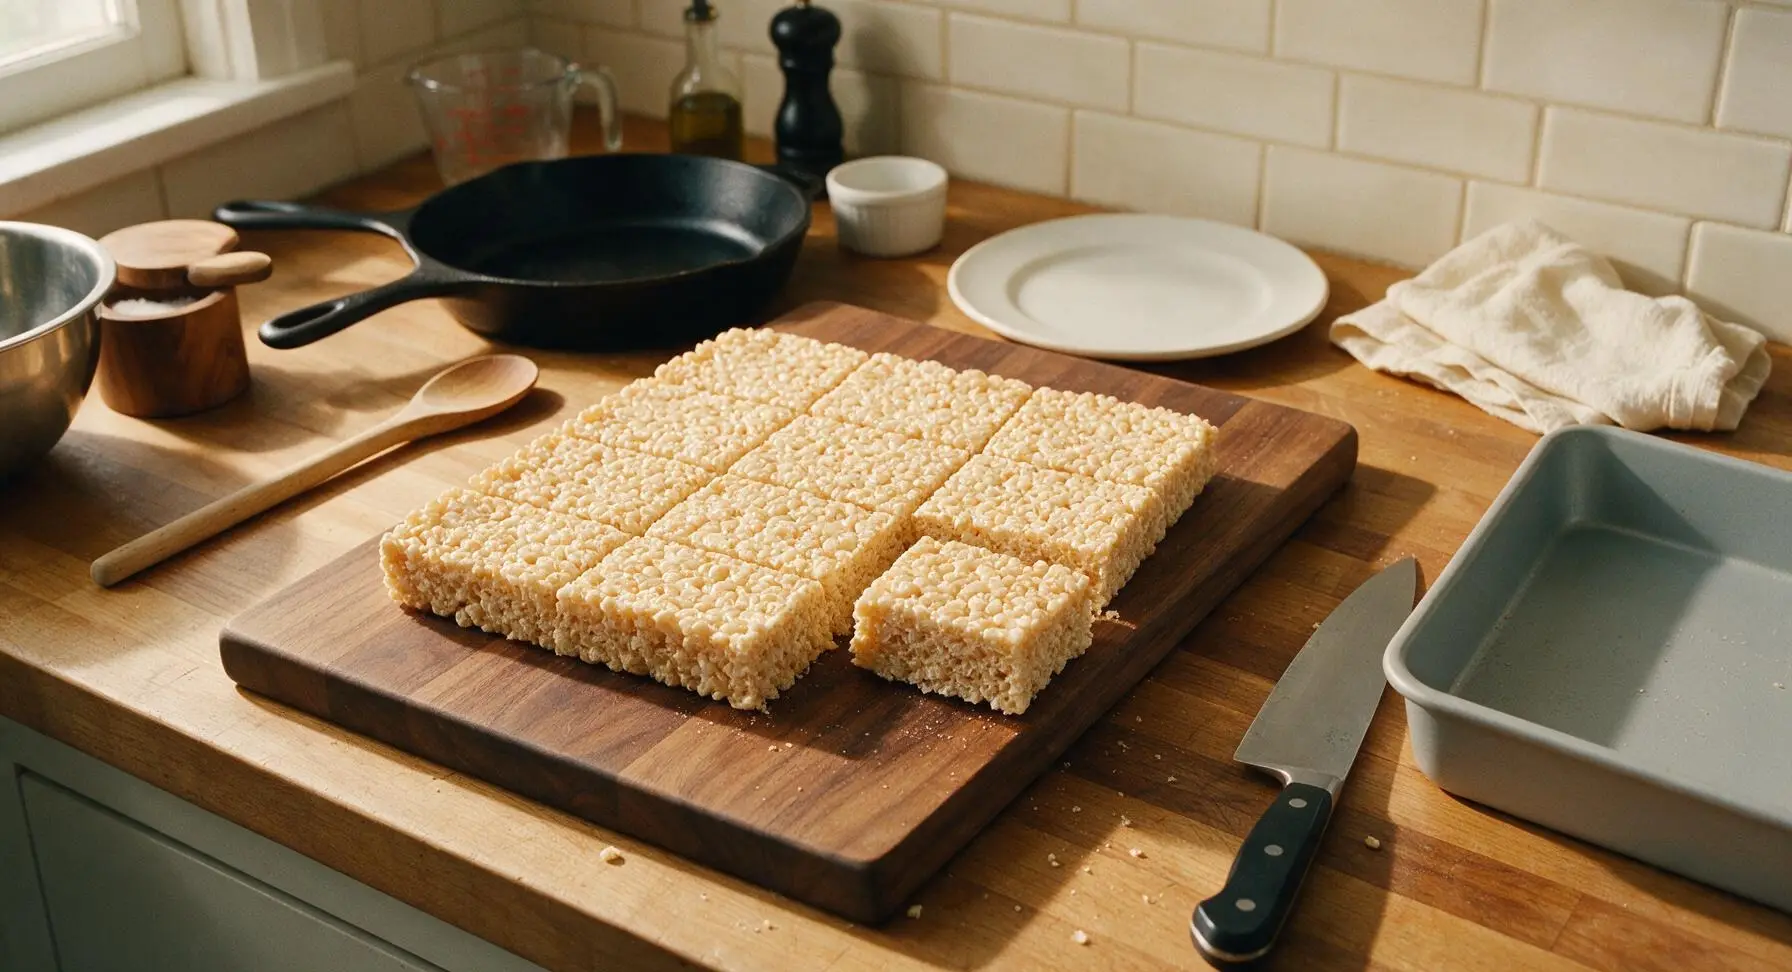
Once treats are fully set and firm to the touch, run the tip of the chef knife along the inner edge of the pan to loosen the sides. Invert the pan onto the honey-toned maple wood cutting board, letting the full slab of treats slide out in one unbroken piece. Cut the slab into 12 even 2x3 inch squares, wiping the knife blade with the linen towel between cuts to create clean, smooth edges. Transfer cut squares to the matte white ceramic serving platter.
Tips
2.Avoid pressing the mixture too firmly into the pan: over-compacting crushes the airy rice cereal and squeezes out soft marshmallow, resulting in dense, tough treats that lack the classic light crispness.
3.Let treats set at room temperature instead of chilling them in the refrigerator: cold fridge air creates condensation that sogs out the crisp cereal, while room temperature cooling keeps texture perfect for up to 3 days when stored in an airtight container.






OMG these are SO much better than the ones I made as a kid! I brought a batch to my son’s soccer potluck last weekend and every single square was gone in 10 minutes. I added a tiny extra splash of vanilla and it was chef’s kiss. 10/10, will make again for our next game day.
Bro this recipe is so easy even I didn’t mess it up. 5 minute cook time? Perfect for when my roommates and I get the munchies at 1am. Only thing I had to run to the corner store for was the marshmallows, lmao.
I’ve been making these treats for my grandkids for 40 years, and this recipe is exactly the ratio I’ve used forever! Perfectly chewy, not too crunchy, not so sticky that it glues your teeth together. Saved this to send to my oldest granddaughter who’s off at college this year.
Wait a second—are regular Rice Krispies actually gluten free? I’ve been avoiding making these forever because I thought the cereal had wheat in it, but if this works I can make these for my daughter’s birthday party next week!
Game changer! I’ve been overcooking my marshmallows for YEARS and ending up with rock hard treats the next day. The 5 minute cook time note reminded me to pull them off the heat right when they’re melted, and they stayed chewy for three whole days (what was left of them, anyway).
I make a slightly “healthier” version of these for my post-workout snack groups, but I tested this classic recipe for my niece’s sleepover and the girls went absolutely wild. Sometimes you just can’t beat the no-frills original, man.
Made these with my 4 year old last night and it was the perfect easy activity. No complicated steps, no weird ingredients, he got to help stir and add sprinkles on top. He was so proud to tell his mom he “made dessert all by himself” when she got home from work.
Wait, help! I made these last night and they turned out super greasy? Did I use too much butter? I think I might have grabbed the salted butter instead of unsalted by accident?
Made a double batch for our college football tailgate last weekend, added a layer of melted peanut butter on top and some chocolate drizzle, and people were asking me for the recipe before we even hit halftime. 10/10, so easy to customize.
Swapped the butter for vegan butter and used vegan marshmallows, and these turned out exactly like the classic ones I grew up eating! Even my non-vegan roommate ate three squares and said he couldn’t tell the difference. Game. Changer.
Wait how long do these actually stay fresh for? I want to make a batch on Sunday to pack in my kids’ school lunches for the week, but I don’t want them to get hard before Friday.
Y’all. I added a handful of mini M&Ms to the mix right before pressing them into the pan, and it took these from great to I-could-eat-the-whole-pan good. My little cousin said they’re better than the ones they sell at the school bake sale.
I know these are super basic, but I always have a batch of these on my dessert table for casual events. They’re nostalgic, everyone loves them, they cost almost nothing to make in bulk, and I never have leftovers. Total crowd pleaser across every age group.
Super embarrassed to admit this is the first thing I’ve ever baked that didn’t come out burnt or totally wrong. The instructions are so straightforward! I even pressed them into the pan correctly without making a huge sticky mess, thanks for the tip to butter the spatula.
I thought all Rice Krispy treat recipes were the same, but the ratio here is perfect. Not too much marshmallow where it’s just a sticky glob, not too much cereal where it’s dry. Perfect balance, no notes.
Made these over the campfire with my camp group last week! We melted the butter and marshmallows in a cast iron dutch oven over the coals, stirred in the cereal, and it was the easiest camp dessert ever. The kids were begging for s’mores but ended up liking these more, wild.
Quick question—can I add sea salt on top of these? I love that salted marshmallow vibe but I don’t want to ruin the texture or anything.
I make these every year for our neighborhood Christmas cookie exchange, and I always cut them into cute holiday shapes with cookie cutters after they set. This recipe holds its shape so much better than the last one I used, no crumbly edges at all!