1.Can I use pre-crushed graham cracker crumbs instead of crushing whole crackers for the base?
▾
Absolutely! Pre-crushed graham cracker crumbs work perfectly here, just double-check there are no large, hard clumps before mixing with melted butter. For the best texture, aim for a fine, even crumb—if store-bought crumbs feel coarse, give them a quick 10-second blitz in a food processor before pressing into your pan.
2.Why is my graham cracker crumb base falling apart when I slice the finished Ripple?
▾
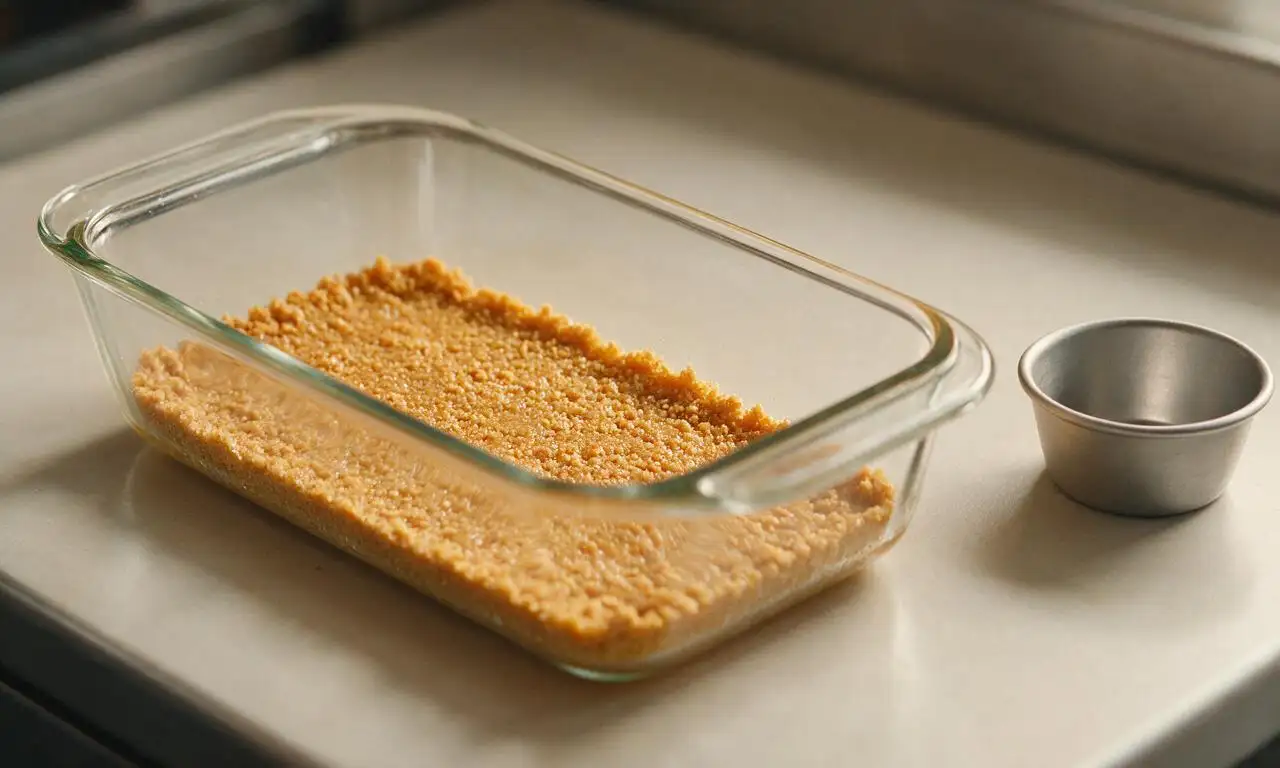
This almost always traces back to two issues: not pressing the crumbs firmly enough into the pan, or using too little melted butter to bind them. Press the crumb mixture tightly across the pan bottom and ¼-inch up the sides with the flat bottom of a measuring cup, then chill for 10 minutes before adding custard to set the base.
3.Can I substitute low-fat or skim milk for whole milk in the custard?
▾
I don’t recommend it for that signature silky, rich custard texture. Skim or low-fat milk has far less milk fat, which will leave your custard thin, watery, and prone to developing a grainy texture as it chills. If you only have 2% on hand, stir in 2 tablespoons of heavy cream per cup of milk to bump up fat content for a closer result.
4.How do I prevent lumps from forming in my cornstarch-thickened custard?
▾
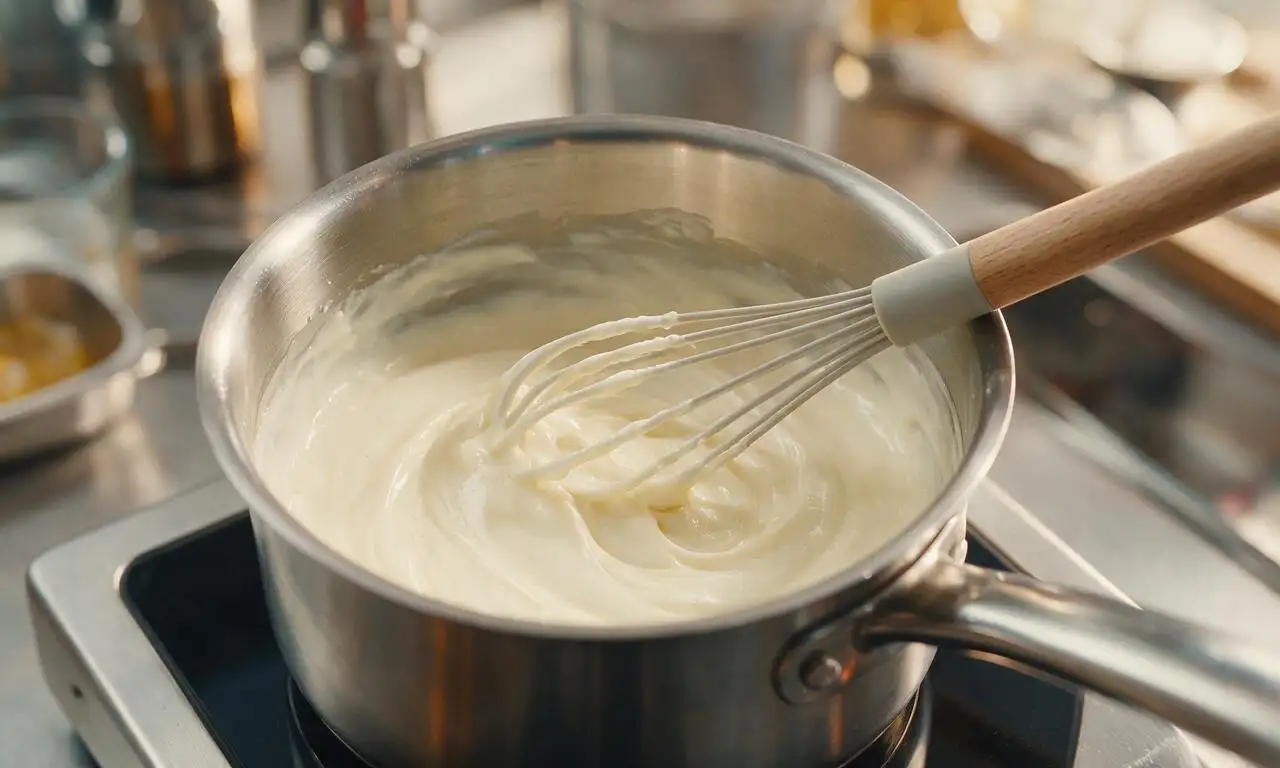
The trick is to make a smooth slurry first: whisk your cornstarch with an equal amount of cold milk until it’s completely lump-free before stirring it into the warm, sugared milk on the stovetop. As the custard heats, whisk constantly at moderate speed, and don’t let it hit a hard rolling boil, which can cause cornstarch to clump up.
5.How do I get clean, distinct vanilla and chocolate swirls without the colors muddling together?
▾
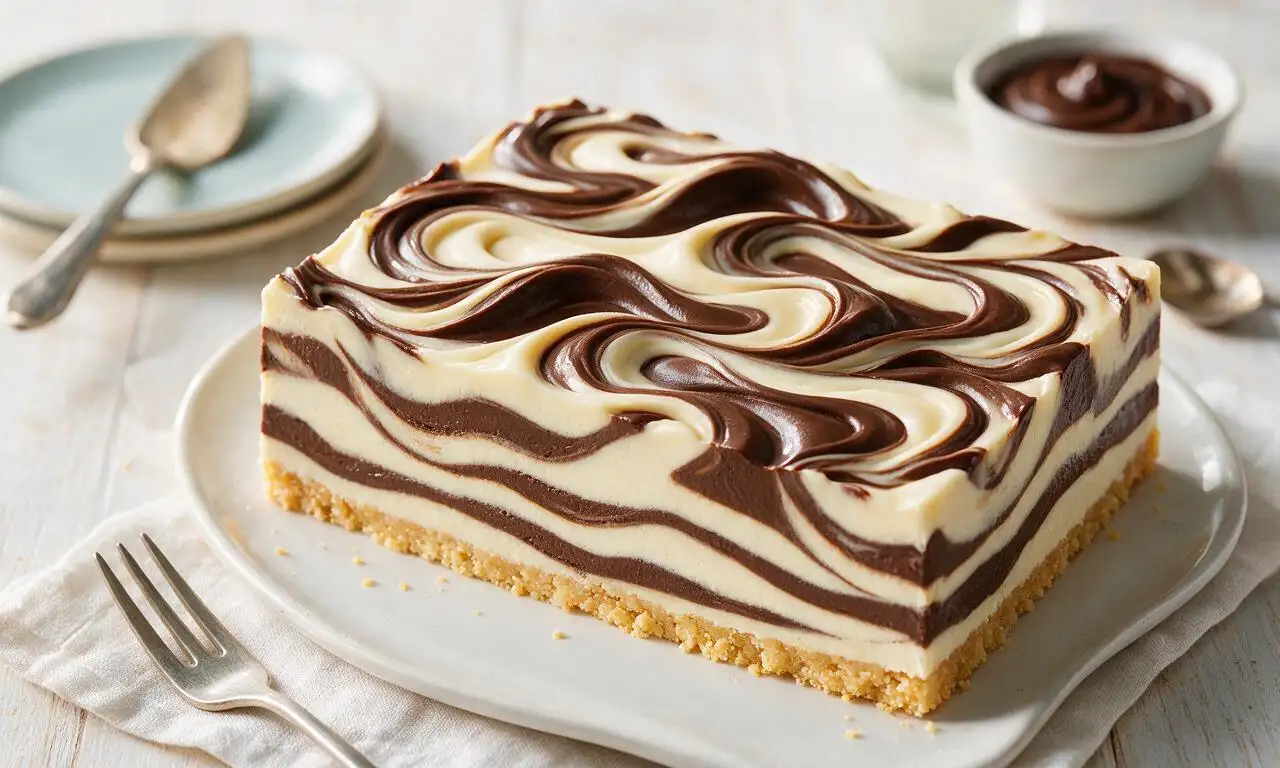
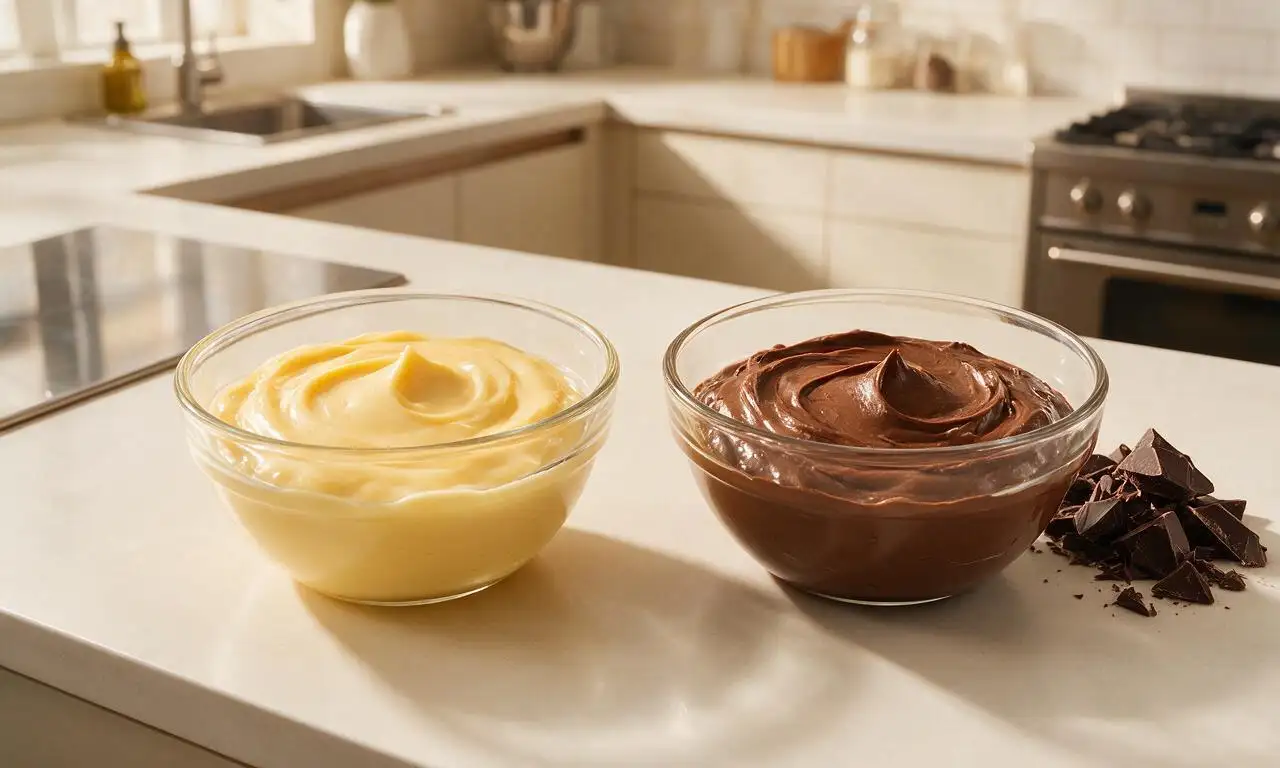
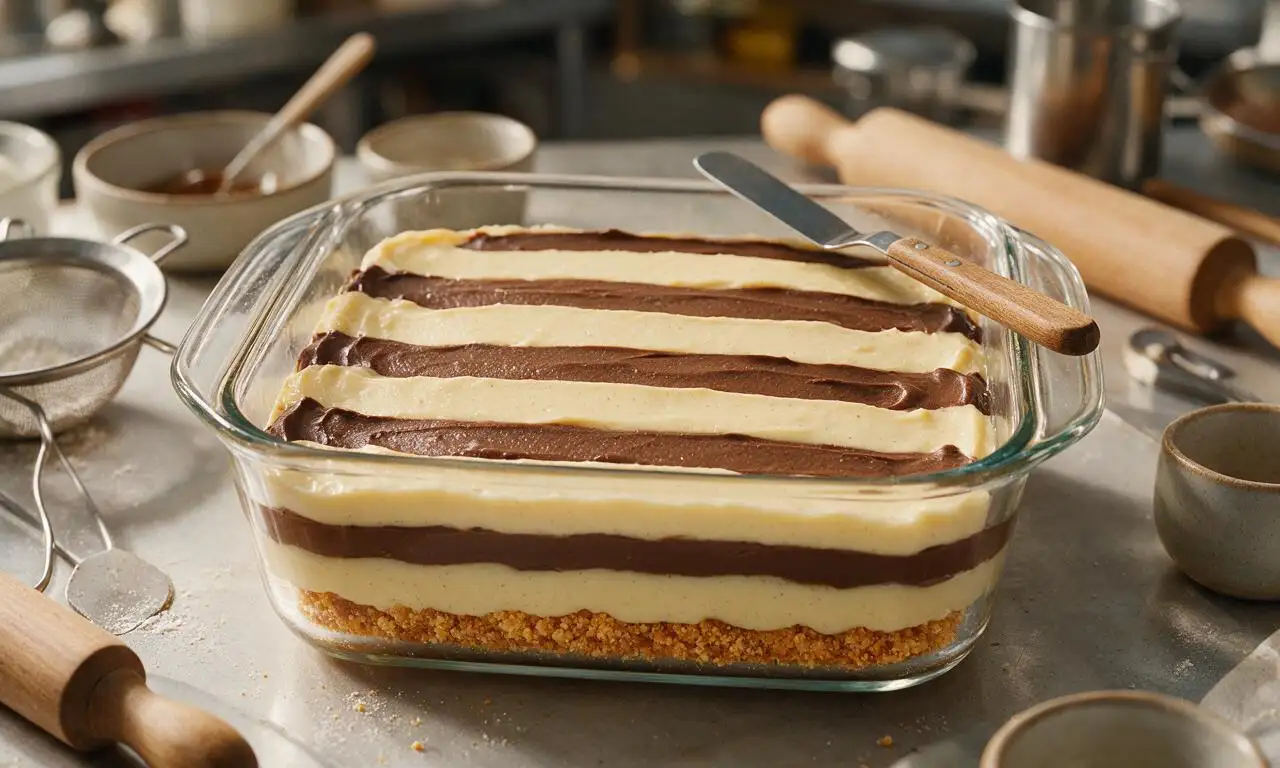
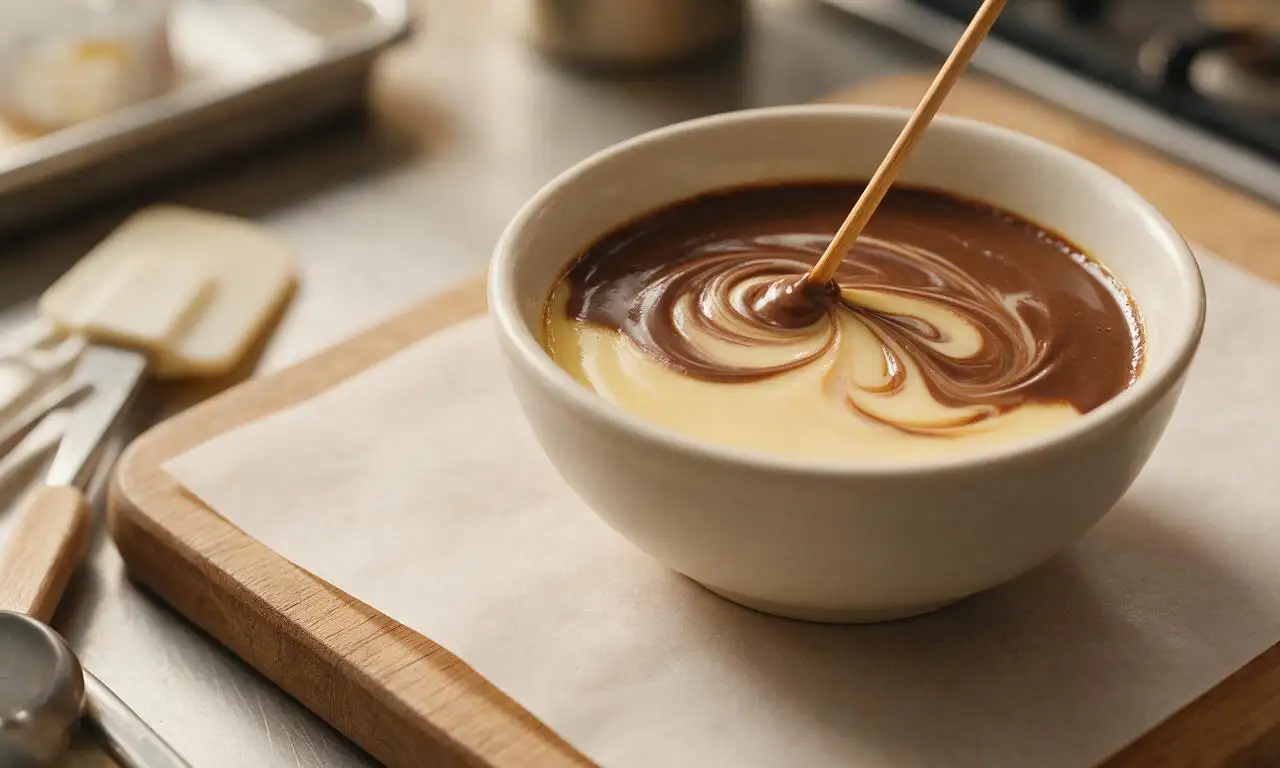
Timing is everything here! Let both the vanilla and chocolate custard bases cool for 8 to 10 minutes after cooking, so they’re thick enough to hold their shape instead of running together. Dollop alternating spoonfuls of each custard on the chilled base, then drag a toothpick through in gentle S-curves—don’t over-stir, or you’ll lose the ripple effect.
6.Do I really need to chill the Ripple for the full recommended time before serving?
▾
Yes, that chill time is non-negotiable for clean, sliceable servings. The custard needs 4 to 6 hours (or ideally overnight) in the fridge to fully set, as cornstarch continues to firm up as it cools. Cutting into it early will result in runny, oozing layers that won’t hold their shape, no matter how thick the custard felt on the stovetop.
7.What type of chocolate works best for the dark chocolate custard layer?
▾
Reach for a high-quality 60-70% cacao dark chocolate bar, chopped finely, instead of chocolate chips. Chocolate chips have added stabilizers that hold their shape when baked, which can make the chocolate custard grainy instead of silky. Chopped bar chocolate melts smoothly into warm custard for a perfectly rich, even chocolate layer.
8.Can I make this Ripple dessert nut-free for guests with allergies?
▾
Absolutely! The base recipe is naturally nut-free as written, as long as you use plain graham cracker crumbs that don’t list nut cross-contamination warnings on the packaging. Skip nutty garnishes like toasted pecans, and make sure all your equipment is thoroughly washed before prep to avoid cross-contact with nut residues.
9.Why does my custard have a thin, rubbery skin on top after chilling?
▾
That skin forms when the top layer of custard is exposed to air as it cools. To prevent it, press a piece of plastic wrap directly onto the surface of both custards as they cool slightly, and again directly on the swirled Ripple before chilling. This eliminates air contact entirely, so no tough, rubbery skin will form as it sets.
10.Can I freeze Ripple to make it last longer?
▾
Freezing works, but you’ll get the best texture if you eat it within 2 weeks of freezing. Wrap the uncut, fully set Ripple tightly in two layers of plastic wrap and a layer of aluminum foil before freezing. Thaw it in the fridge overnight before serving—don’t thaw at room temperature, as that can cause custard to separate and turn watery.
11.What pan size is ideal for making this Ripple recipe?
▾
A standard 9x9-inch square baking pan works perfectly for this recipe, yielding 9 generous, evenly sized slices. If you want more, thinner servings, you can use a 9x13-inch pan, but note you’ll only need 3 to 4 hours of chill time for the thinner layers to set. Line the pan with parchment paper overhang for easy, mess-free removal of the whole dessert before slicing.
12.My custard tasted starchy and chalky—what went wrong?
▾
That starchy flavor happens when cornstarch isn’t fully cooked out during the custard-making process. Once your custard thickens on the stovetop, keep it at a gentle simmer (not a rolling boil) for 1 full minute, whisking constantly, to cook off the raw cornstarch taste. Don’t add extra cornstarch beyond the recipe measurement, as that will also create a chalky texture.
13.Can I add mix-ins like cookie pieces or fruit to the Ripple layers?
▾
You can, but add them strategically to avoid making the custard runny. Fold small, dry mix-ins like mini chocolate chips or crushed shortbread bits into the slightly cooled custard right before pouring. Skip very wet mix-ins like fresh berry puree unless you strain out excess juice, as extra liquid will break down the cornstarch thickener and leave layers soft.
14.How do I get clean, neat slices without the custard sticking to my knife?
▾
The trick is to use a sharp, thin-bladed knife that you run under hot water and wipe dry between every single slice. The warm knife glides cleanly through the chilled custard and crumb base without dragging or smudging the chocolate and vanilla swirls. Pull up on the parchment overhang to lift the whole Ripple out of the pan before slicing for easiest cuts.
15.Is there a way to make this Ripple recipe dairy-free?
▾
You can swap the whole milk for full-fat, unsweetened barista-blend oat milk, which has a thicker, creamier texture closer to dairy milk, and use plant-based unsalted butter for the crumb base. Note you may need 1 extra teaspoon of cornstarch to account for non-dairy milk’s thinner consistency, and use dairy-free dark chocolate for the chocolate layer.
16.How long will a finished Ripple stay fresh in the refrigerator?
▾
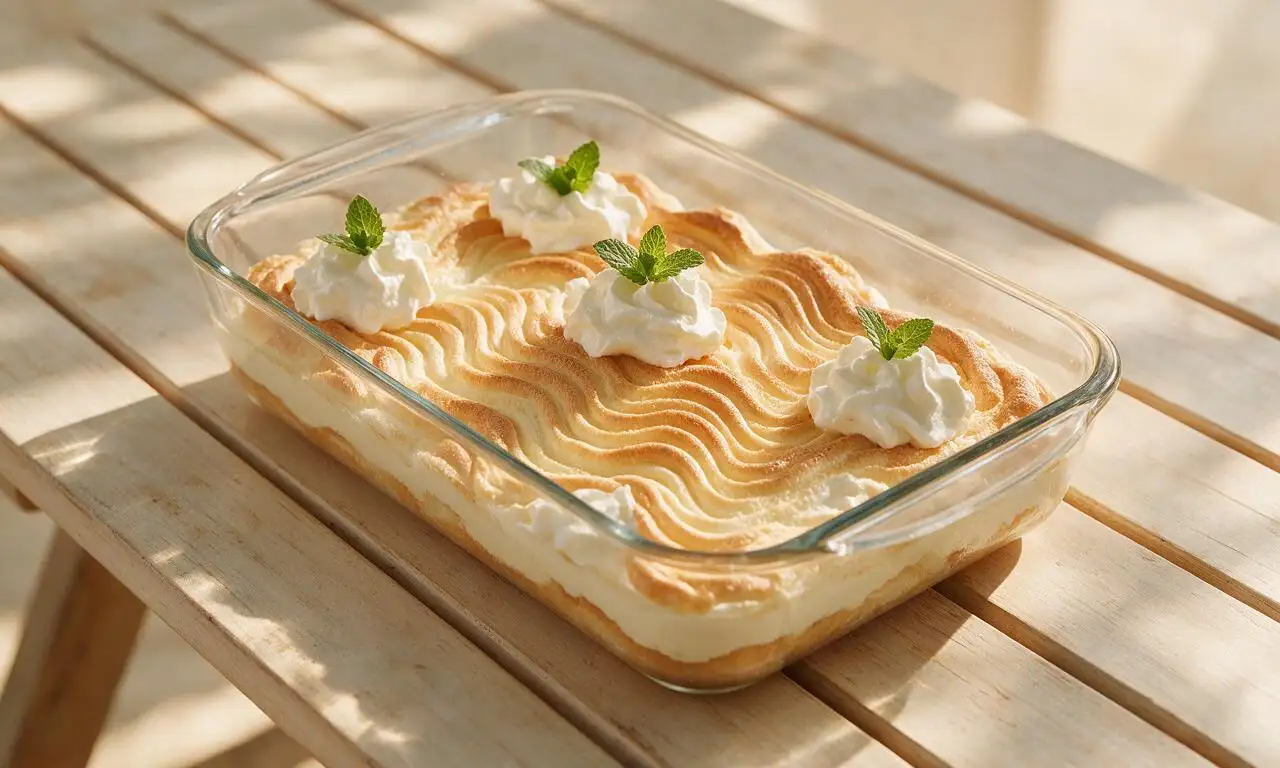
Properly stored, your finished Ripple will stay fresh and creamy for up to 4 days in the fridge. Keep it covered tightly with plastic wrap pressed right to the surface to prevent skin formation and block out fridge odors, and don’t add whipped cream or fresh garnishes until right before serving, as those toppings break down much faster.
17.Can I use salted butter instead of unsalted butter for the graham cracker base?
▾
You can, but you’ll want to adjust for added salt to keep the base from tasting too salty. If using salted butter, skip any extra pinch of salt the recipe calls for in the crumb base, and cut the butter amount by 1 teaspoon per 4 tablespoons to account for the slightly higher water content in most salted butter brands. Unsalted butter is still my top pick for full flavor control.
18.My chocolate custard layer seized up and turned grainy when I added the chocolate—how do I fix that?
▾
Seizing happens when chocolate is exposed to too much sudden heat or even a tiny drop of water. If this happens, pull the custard off the heat immediately, whisk in 1 tablespoon of warm whole milk a teaspoon at a time, stirring vigorously, until the custard smooths out again. Finely chopping your chocolate before adding it to warm custard prevents this issue entirely.
19.Can I make this Ripple recipe ahead of time for a party or potluck?
▾
Absolutely—this is one of the best make-ahead party desserts, since it actually tastes better after a full overnight chill as the vanilla and chocolate flavors meld. Make it up to 2 days before your event, keep it tightly covered in the fridge, and hold off on slicing or adding garnishes until 10 to 15 minutes before serving. It travels well if kept chilled in a cooler.







OMG my kids loved it! I added a little extra chocolate ripple per my oldest’s request and they devoured half the pan before dinner even hit the table. So easy to throw together while the kids were doing homework, no fancy ingredients required.
Great meal prep option! I made a batch on Sunday and it held up perfectly all week for quick post-hike snacks. The ripple texture didn’t get soggy at all, which I was worried about. Will be making this monthly for sure.
Made this for our weekly book club meetup and everyone raved about how SO good it is. I used a vanilla bean base instead of plain and the ripple popped so nicely against it. 10/10, will be a regular rotation recipe.
Solid easy recipe, no weird complicated steps. I messed up the first ripple layer a little but you couldn’t even tell once it set. Tasted way fancier than the effort put in, which is my favorite kind of recipe.
Made this for a Sunday family brunch and it was the star of the table! The sweet ripple paired so well with our savory egg casserole, everyone went back for seconds. No leftovers to bring home, that’s how you know it’s a hit.
Wait, is it normal for the ripple to take the full 4 hours to set? I checked it at 3 hours and it was still pretty jiggly in the middle, I got nervous I messed up the ratios!
Game changer! I’ve been making a similar ripple recipe for years for work potlucks but this method for layering is so much simpler, no more messy uneven ripples. Who knew a tiny technique tweak would make such a big difference?
Super easy to make in my tiny dorm fridge! I didn’t have a fancy pan so I used a regular glass baking dish and it still turned out great. The ripple flavor is perfect, not too sweet which I love.
Has anyone tried making this with dairy-free milk? My kid has a milk allergy and I want to make this for his birthday treat next week!
Made this for our weekly Sunday family dinner and my 82 year old grandma said it was the best ripple dessert she’s ever had. High praise coming from someone who’s been baking for 70+ years!
I added a scoop of vanilla protein powder to the base to bump up the protein for my post-workout meals and it worked so well! The chocolate ripple hides any protein powder aftertaste completely.
Help! I think I overmixed the ripple layer and now it’s fully blended into the base instead of having those pretty wavy lines. Does it still taste okay even if it’s not rippled? 😅
Wait a second, is this the same ripple fudge my grandma used to make? The texture looks exactly like the old recipe she lost in a move 15 years ago! I’m so excited to test this this weekend.
I was skeptical about the long total cook time but realized 90% of it is just inactive chill time! That’s perfect for me because I can throw it together after school drop off and it’s ready by dinner time. Total win for busy weeknights.
I’m making this for a big graduation party next weekend, can I double the recipe and make it in a 9x13 pan? I need enough for 20 people!
I doubled the chocolate ripple amount because I’m a total chocolate fiend and it was *chef’s kiss*. No regrets, the extra chocolate didn’t mess up the set time at all, it was extra rich and fudgy.