
Rocky Road
intro
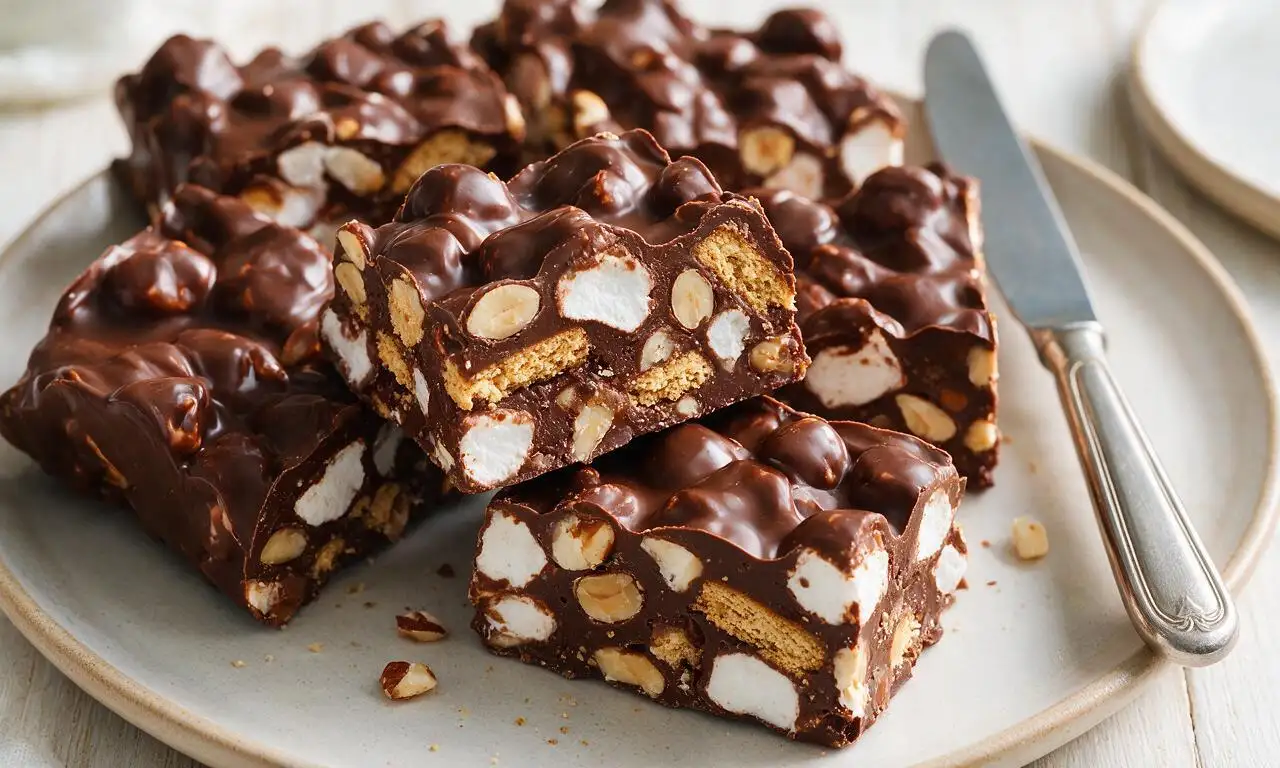
Rich, fudgy no-bake treat loaded with crunchy nuts, soft marshmallows, and chewy graham crackers, coated in smooth chocolate for a crowd-pleasing sweet bite.
Ingredients
Steps
Line Baking Pan with Parchment
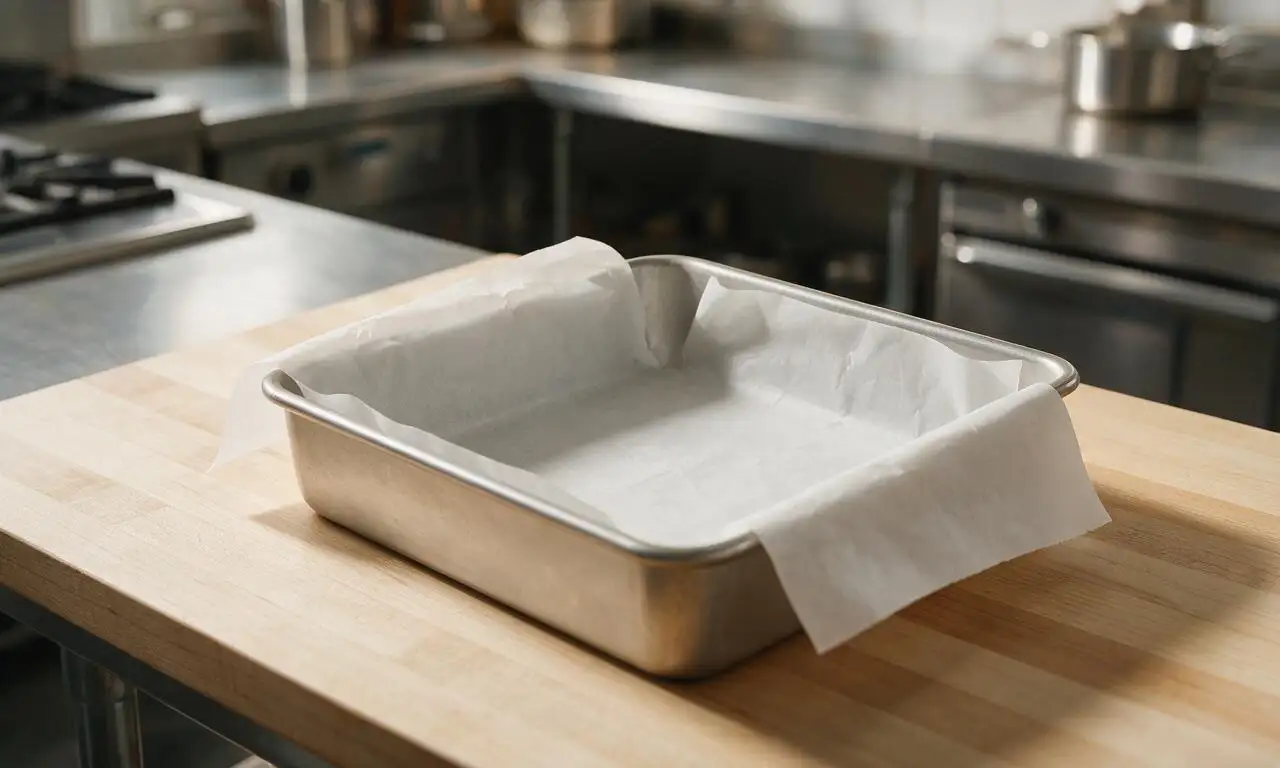
Line a 20cm (8-inch) square baking pan with parchment paper, leaving a 5cm (2-inch) overhang on two opposite sides for easy removal once set; set the prepared pan aside at room temperature.
Set Up Double Boiler
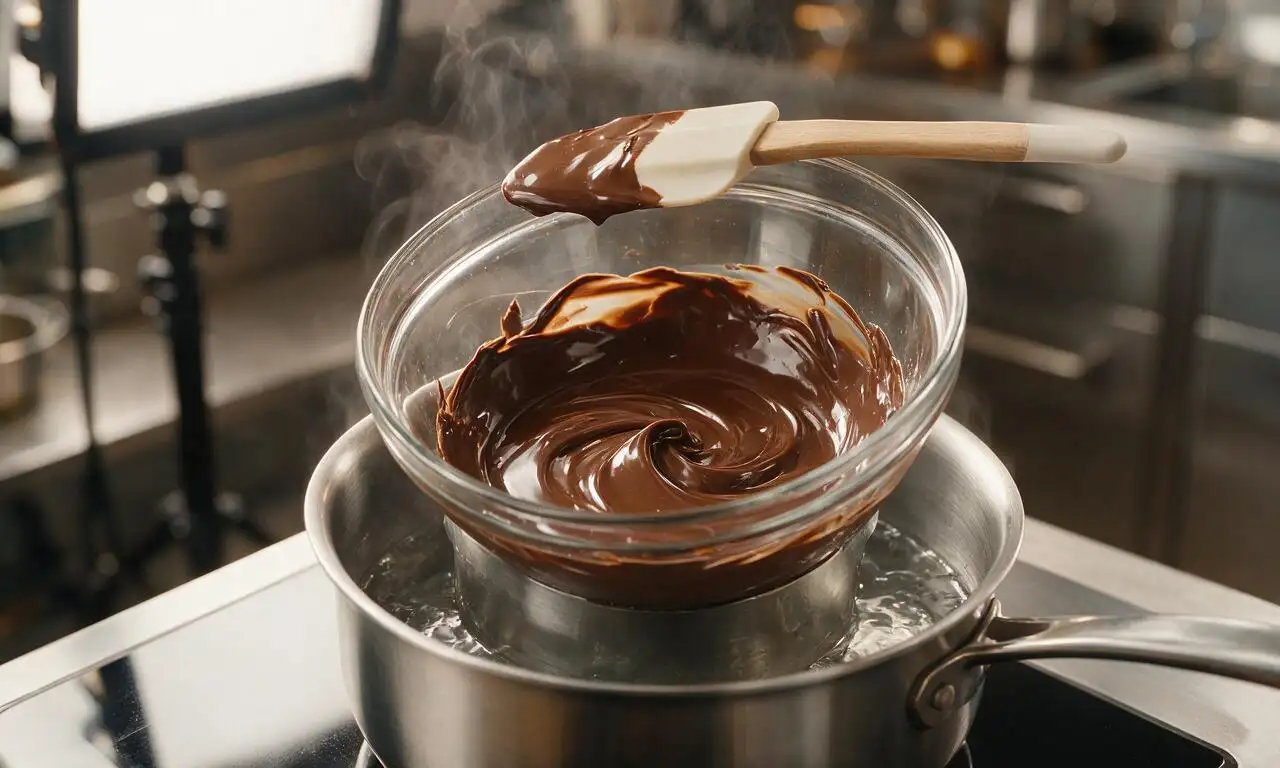
Set up a double boiler by filling a small saucepan with 5cm (2 inches) of water, and bring it to a gentle simmer over low heat (no rolling boil). Place a heatproof glass bowl over the pan, ensuring the bowl’s bottom does not touch the water. Add the chopped chocolate, butter, and golden syrup to the bowl, stirring constantly with a silicone spatula for 3-4 minutes until fully melted and completely smooth. Remove the bowl from heat immediately, then stir in the vanilla extract.
Cool Melted Chocolate Mixture
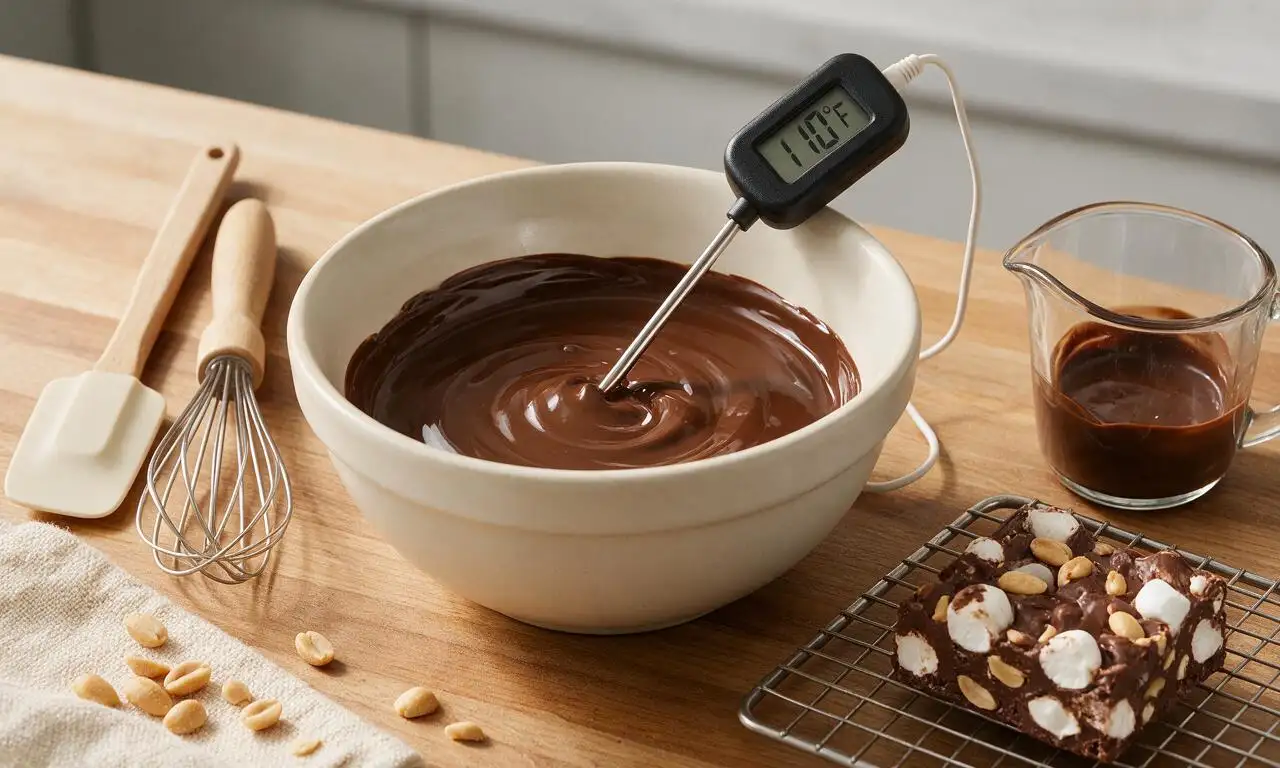
Let the melted chocolate mixture cool for 5 minutes at room temperature, stirring once halfway through, until it reaches 43°C (110°F). It should feel warm, not hot, to the touch to prevent melting the marshmallows added in later steps.
Stir in Rocky Road Mix-Ins
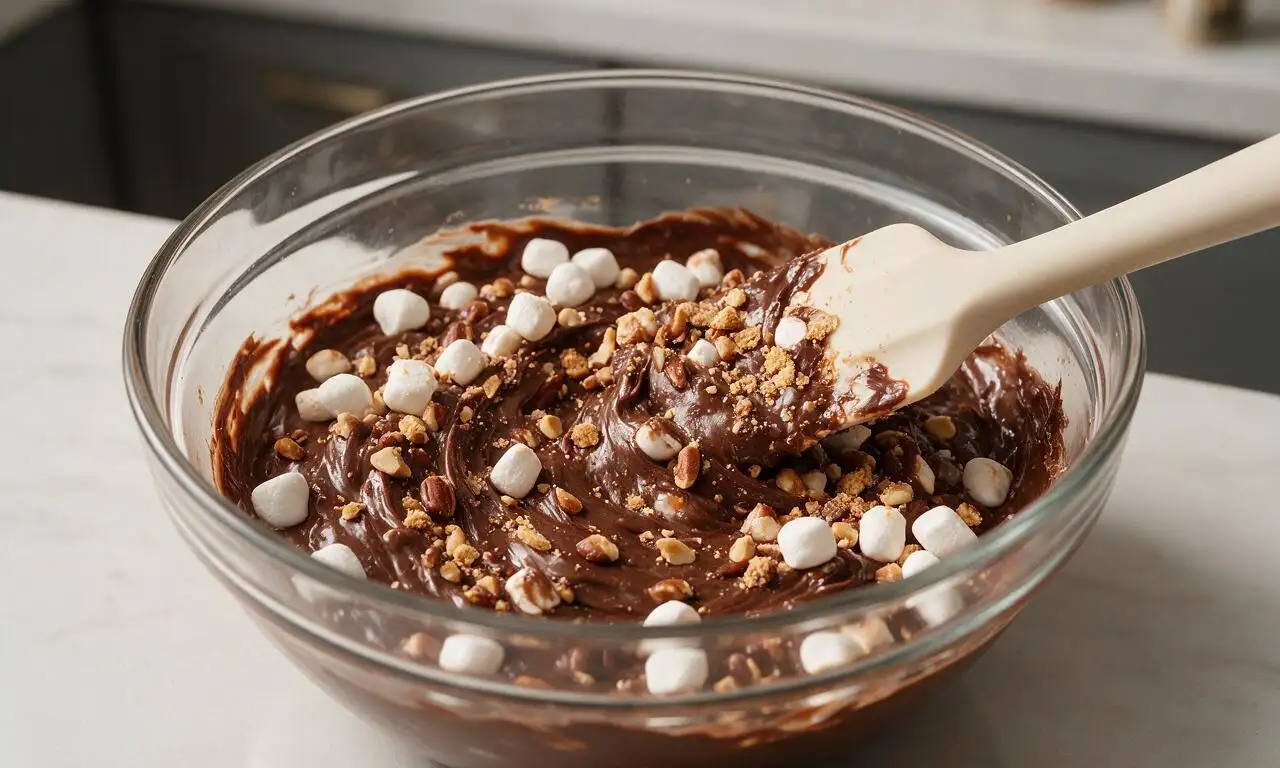
Add the mini marshmallows, chopped roasted peanuts, and broken graham cracker chunks to the cooled chocolate. Stir thoroughly with a silicone spatula for 1-2 minutes until every marshmallow, nut piece, and cracker chunk is fully and evenly coated in chocolate, with no dry patches remaining.
Press Mixture into Prepared Pan
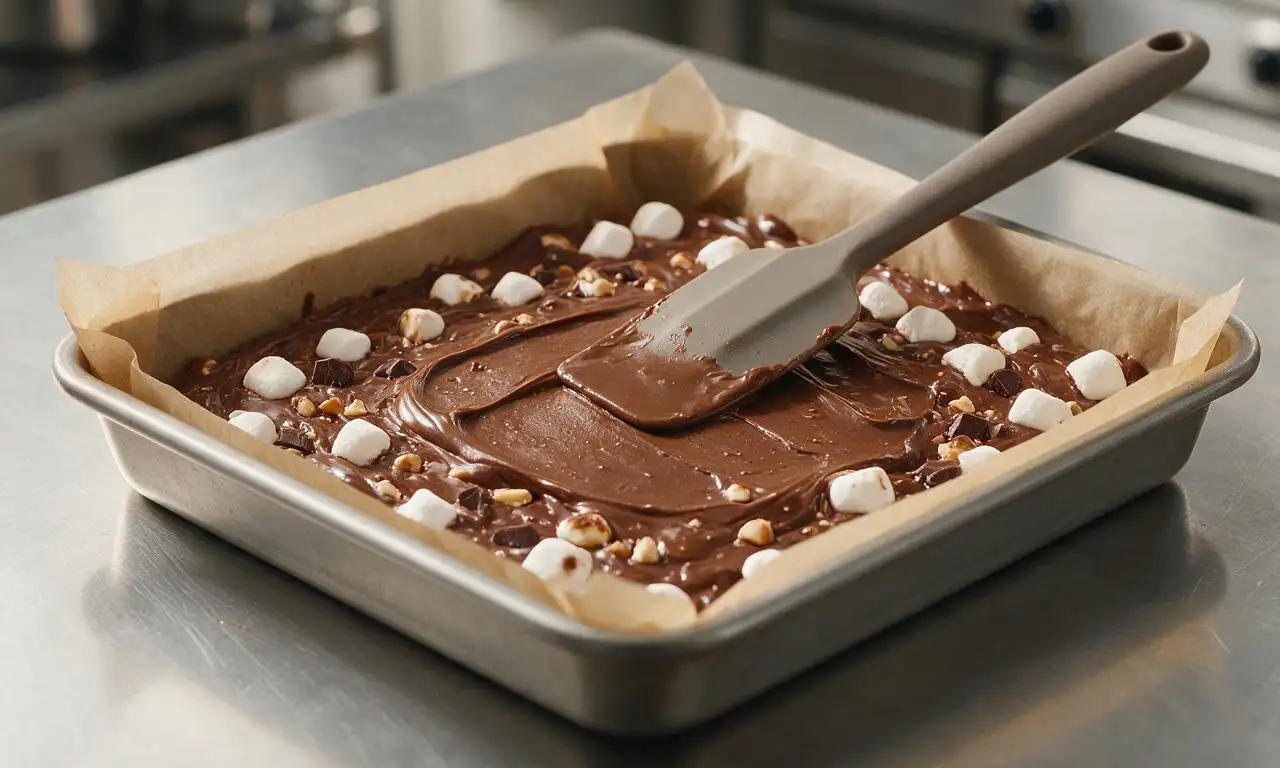
Scrape the entire rocky road mixture into the prepared parchment-lined pan. Use the back of a clean silicone spatula to press the mixture firmly and evenly into the pan, creating a flat, compact 2.5cm (1-inch) thick slab with no large air gaps. Take care not to press so hard that marshmallows are squished out of shape.
Chill Until Firmly Set
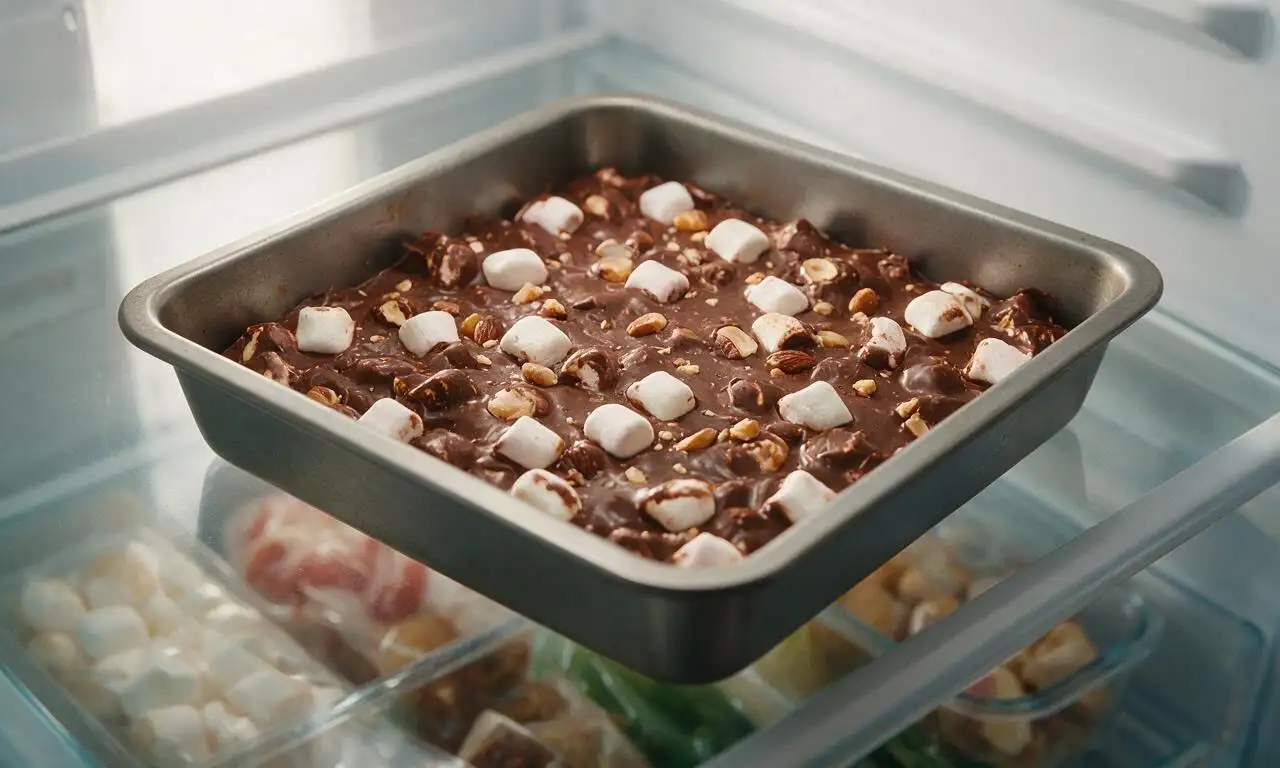
Place the uncovered pan in the refrigerator for 2 full hours, until the chocolate is completely firm to the touch with no give when you press the center lightly. Do not chill in the freezer, as rapid temperature change can cause chocolate bloom (white powdery streaks on the surface).
Lift and Cut Rocky Road
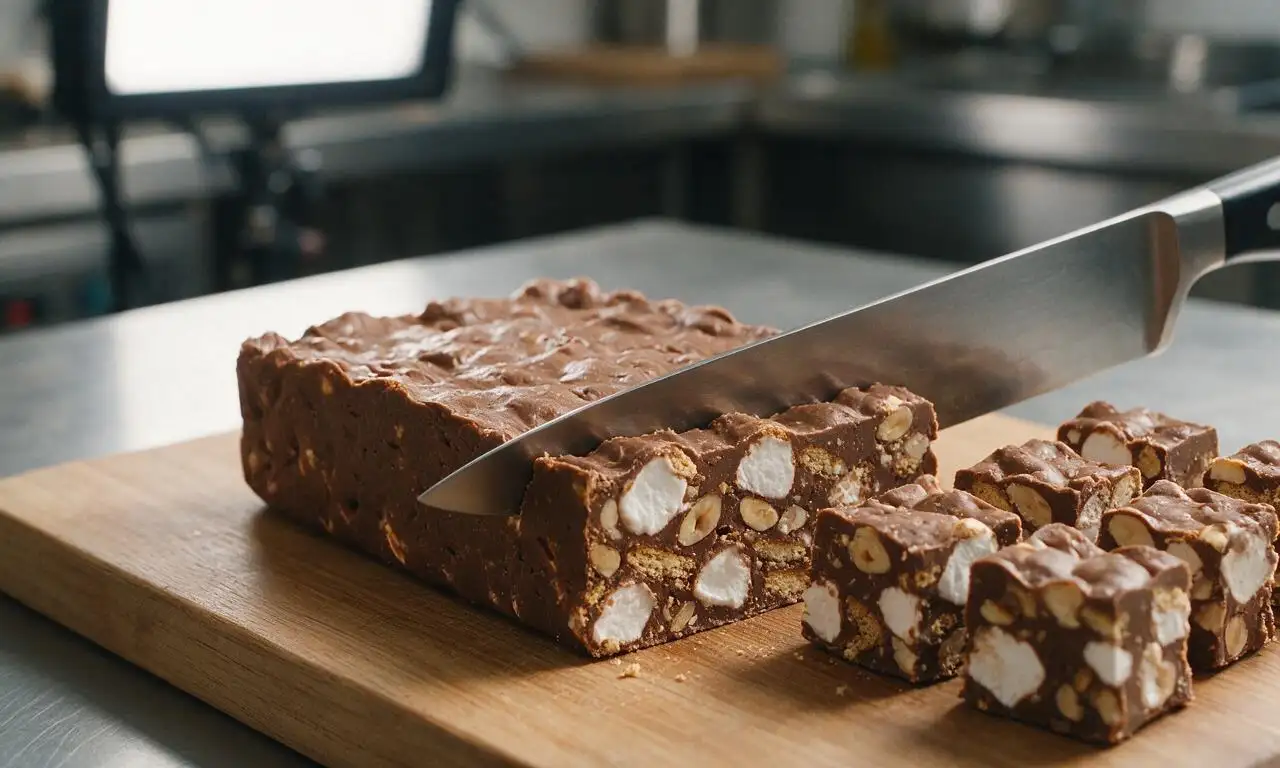
Use the parchment paper overhang to lift the entire set rocky road slab out of the pan and transfer it to a wooden cutting board. Peel the parchment away from the slab edges, then use a sharp knife (warmed by running under hot water and wiped dry between cuts) to slice the slab into 12 even 5cm (2-inch) square pieces.
Tips
2.Skip the freezer to speed up setting time: freezing causes chocolate to develop unappetizing white, powdery cocoa butter bloom on the surface, and can make marshmallows tough.
3.Swap add-ins to match your taste: replace peanuts with toasted almonds or walnuts, add 50g dried cranberries for a tangy pop, or mix in 50g chopped soft caramel pieces for extra richness.






OMG this rocky road is SO good! I threw this together last minute for my kid’s soccer team potluck and every single kid (and parent!) begged for the recipe. I used extra mini marshmallows and a handful of salted peanuts like my grandma used to, and it came out perfect even without baking. 10/10 will make again for our next family game night!
Game changer for lazy weekends! I was worried no-bake treats would have that weird, waxy texture or taste overly sweet, but this is perfectly chewy, chocolatey, and has that ideal crunch from the graham crackers and toasted almonds. I let mine chill a little extra because my apartment fridge runs warm, and it turned out chef’s kiss. My roommate already ate half the pan in one sitting lmao
Made this for our neighborhood block party last week and it was the first dessert gone! I swapped the regular marshmallows for the colorful mini fruit ones to make it more festive, and added some crushed pretzels for extra crunch. So easy to throw together even when I was running around getting the house ready for guests. Zero regrets!
Total lifesaver for weeknight treat prep! I have three kids under 7 and I don’t have time for fancy baked desserts that require a million steps and oven time. This came together in literally 18 minutes while the kids were finishing their homework, and they went crazy for it. We added some M&Ms on top for a fun pop of color, 10/10
First dessert I’ve ever made that didn’t turn into a total disaster! The instructions were so straightforward, no weird specialty ingredients I had to run to three grocery stores to track down. I was nervous I’d mess up the chocolate melting part (last time I tried melting chocolate it seized up into a crumbly mess!) but it went totally smooth. My boyfriend said it tastes better than the rocky road we get at the local candy shop downtown. Only reason I’m not giving 5 stars is I wish it had a little more guidance on how to cut it cleanly without it smushing everywhere, but that’s probably just me being clumsy
This recipe looks perfect for my weekly meal prep! I love having a little sweet bite to look forward to at lunch instead of grabbing a candy bar from the vending machine, and no-bake recipes are ideal for low-effort Sunday prep. Quick question though: does it hold up okay in the fridge for 4-5 days, or does it get soggy or rock hard after day 1? I don’t want to waste ingredients if it won’t last!
Has anyone tried making this with dairy-free chocolate chips and vegan marshmallows? My daughter is dairy intolerant and I’ve been hunting for an easy rocky road recipe I can adapt for her without it tasting like sad “diet” dessert, you know?
SO good. I made this for our movie night last night and we ate the whole pan while watching that new Netflix rom-com. The ratio of marshmallow to chocolate to crunchy bits is absolutely perfect, not too sweet, not too rich where you can only eat one tiny bite. Will be making this every movie night from now on, no question.
I’ve been making rocky road for over 40 years and I have to say, this no-bake version is just as good as the baked recipe I used to make for my kids when they were little. I added a splash of pure vanilla extract to the melted chocolate like I always do, and it brought back so many fun family memories. Easy, delicious, no fuss – what more could you ask for in a dessert?
Perfect trail snack hack! I cut this into tiny little bite-sized pieces, wrapped them individually in small squares of parchment paper, and tossed them in my hiking pack for my weekend backpacking trip in the Rockies. They held up great even when it was a little warm out during the day, and gave me the perfect chocolatey sugar boost to get up those steep inclines. 10/10, will be a trail staple from now on.