1.Do I really need an ice cream maker to make this rocky road ice cream?
▾
Nope, that’s the best part of this no-churn recipe—no special frozen appliance required! The combination of stiffly whipped, well-chilled heavy cream and thick sweetened condensed milk creates that rich, creamy, scoopable texture you love, no constant churning needed to stop large, gritty ice crystals from forming as it freezes.
2.Why does the heavy whipping cream need to be well-chilled before I start?
▾
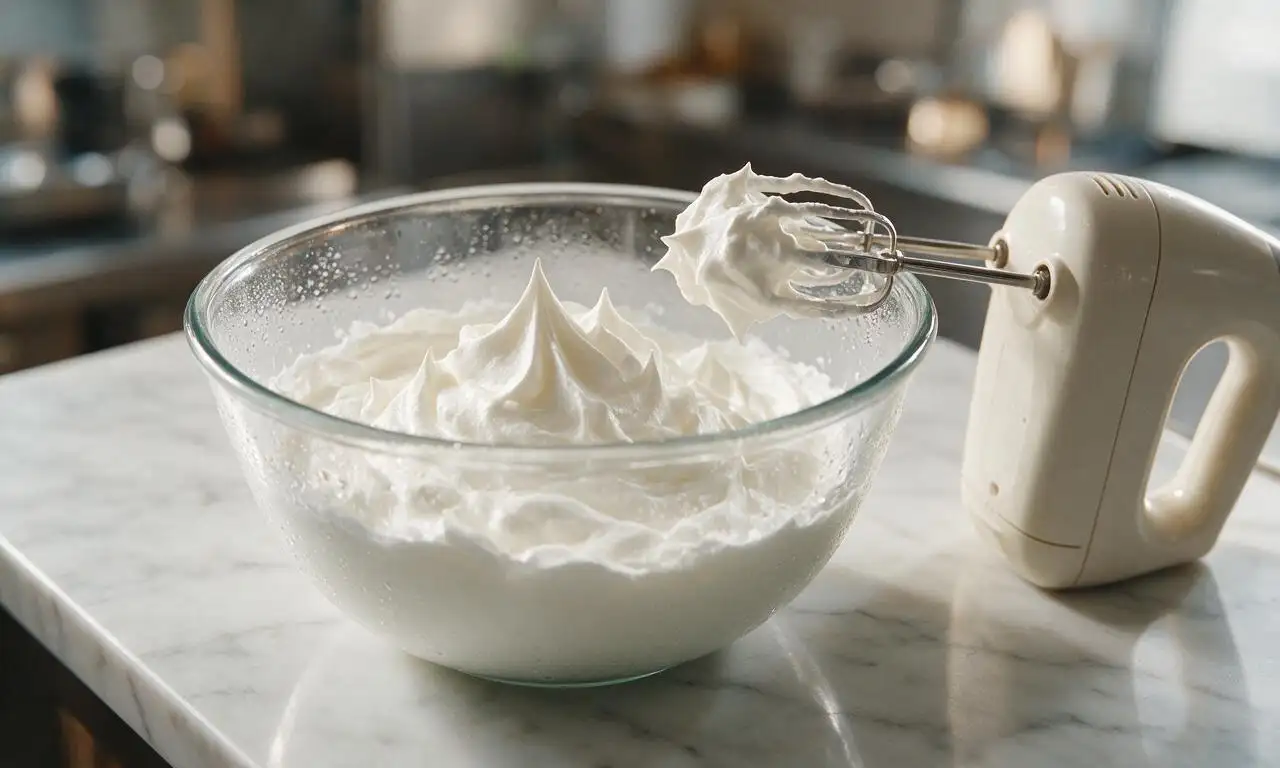
Warm or room-temperature heavy cream won’t whip to the stiff, billowy peaks you need for a light, non-icy final texture. I recommend chilling your mixing bowl and beaters in the freezer for 10 minutes too, to help the cream whip faster and hold its structure better when folded with the cocoa, vanilla, salt, and condensed milk base.
3.Can I use regular unsweetened cocoa powder instead of Dutch-process?
▾
You can, just note the small flavor difference! Dutch-process cocoa has a smoother, deeper, less sharp chocolate taste that pairs perfectly with the sweet marshmallows and chocolate chunks, but natural unsweetened cocoa works as a 1:1 swap if that’s what you have. Just be sure to sift it first to avoid dry clumps.
4.Do I really need to sift the cocoa powder for the base?
▾
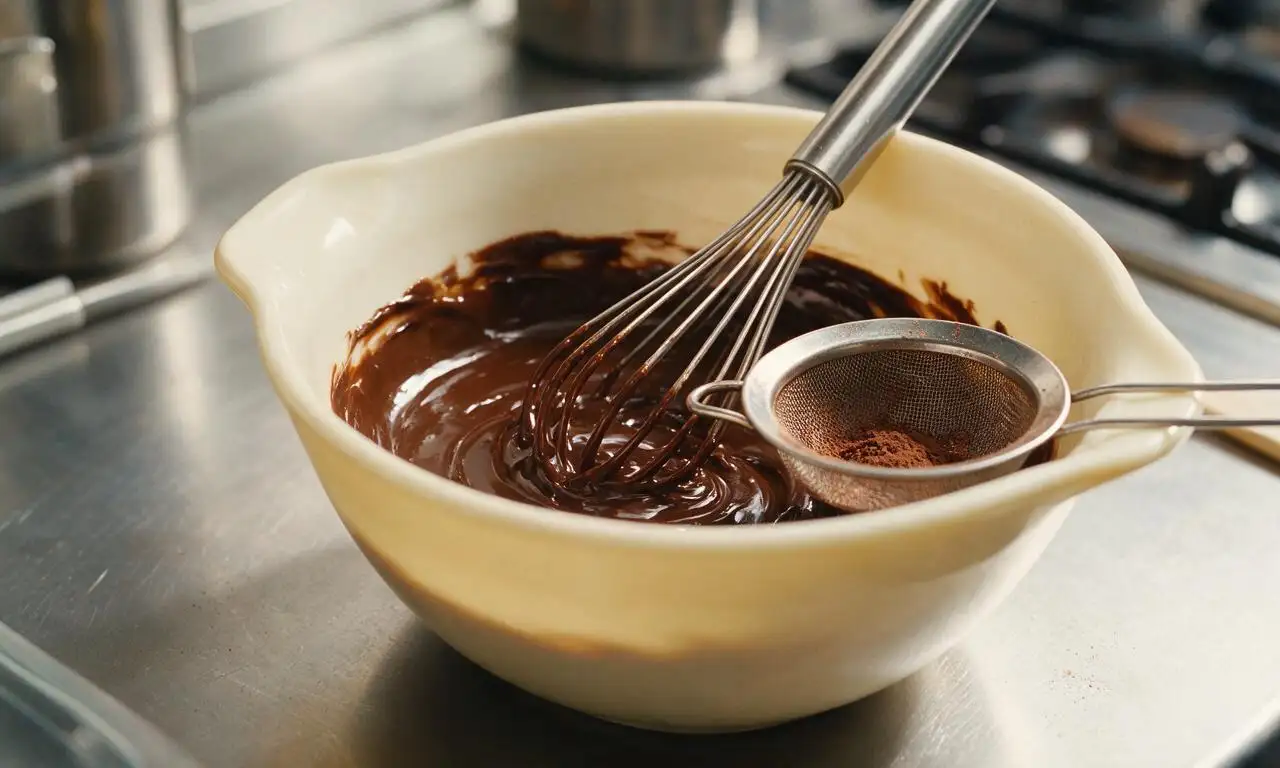
I highly recommend it! Cocoa powder is prone to forming tight, dry clumps that won’t break up fully when folded into the delicate whipped cream, leaving unpleasantly bitter, powdery pockets in your finished ice cream. A quick pass through a fine-mesh sieve takes 30 seconds and guarantees a perfectly smooth, evenly chocolatey base every time.
5.What kind of marshmallows work best for this rocky road?
▾
Mini marshmallows are my top pick, since they distribute evenly without leaving big, gummy air pockets as the ice cream freezes. If you only have large marshmallows, snip them into quarter-sized pieces with lightly oiled kitchen scissors first. You can even use mini chocolate-covered marshmallows for an extra fudgy, fun twist.
6.Do I have to toast the almonds before adding them to the ice cream?
▾
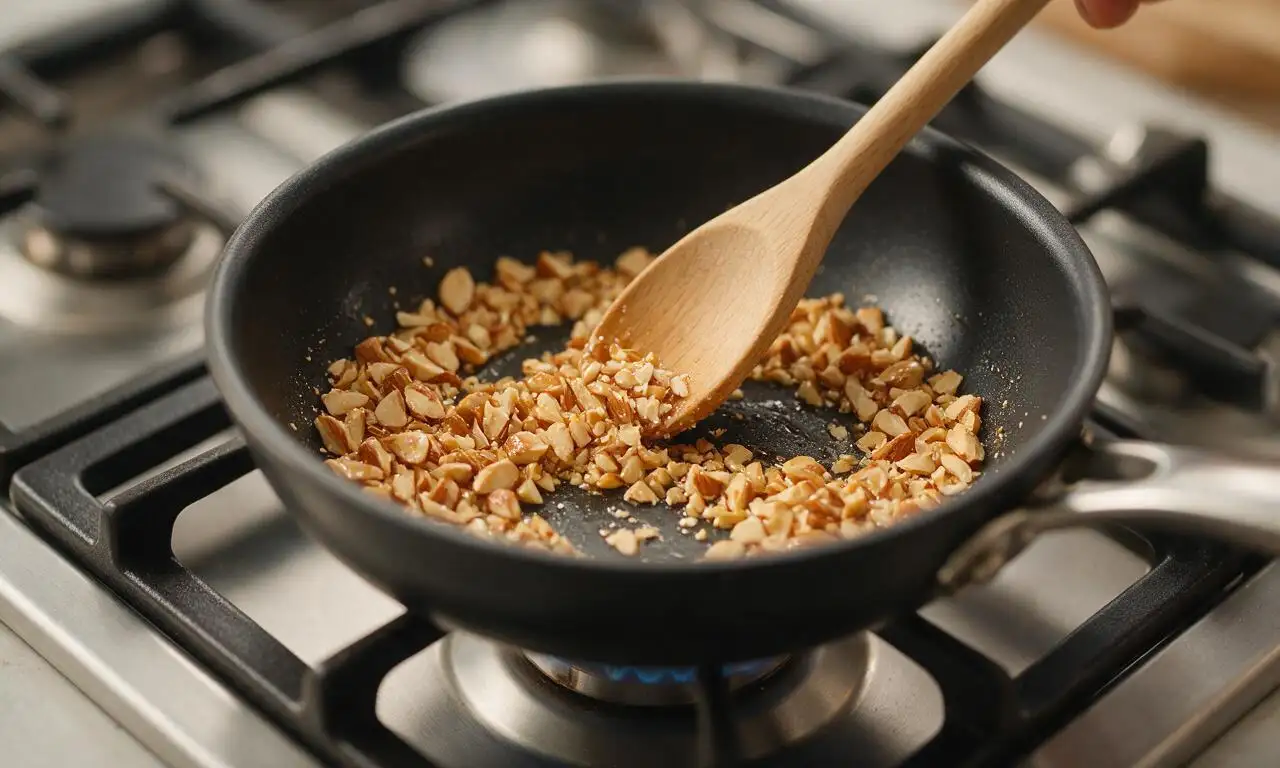
You don’t have to, but toasting makes a massive flavor difference! Spread raw almonds on a baking sheet and toast at 350°F for 6-8 minutes until fragrant, then let them cool fully before chopping. Toasting brings out their nutty, buttery flavor and keeps them crisp instead of tasting bland and soggy in the frozen base.
7.Why is there fine sea salt in a sweet ice cream recipe?
▾
That small pinch of fine sea salt is non-negotiable for balanced, well-rounded flavor! It cuts through the richness of the heavy cream and the bright sweetness of the condensed milk, amplifies the deep chocolate notes from the cocoa and chunks, and keeps every bite from tasting flat or cloyingly sweet.
8.How do I keep my finished ice cream from getting icy and grainy?
▾
The two biggest tricks are whipping your cream to proper stiff peaks, and not over-mixing when folding in the condensed milk and mix-ins. Once it’s in your storage container, press a piece of plastic wrap directly against the ice cream surface before sealing the lid to block out air that causes freezer burn and gritty crystals.
9.Can I swap the almonds for a different mix-in if I have a nut allergy?
▾
Absolutely! Chopped toasted walnuts, pecans, or roasted peanuts are classic rocky road swaps if you just don’t like almonds, but for a nut-free version, swap in crushed salted pretzels for that same salty, crunchy contrast, or extra chocolate chunks and toasted coconut. Just make sure add-ins are fully cooled before folding in.
10.What kind of chocolate chunks work best for that fudgy texture?
▾
I recommend chopping a bar of semi-sweet or dark chocolate (60-70% cacao) into rough, ½-inch chunks instead of using pre-made chocolate chips. Chopped bar chocolate melts a little softer in frozen ice cream, creating those gooey fudgy pockets, whereas chips are formulated to stay firm and can taste hard and waxy when frozen.
11.How long does this ice cream need to freeze before it’s ready to eat?
▾
For the perfect scoopable, hold-its-shape texture, let it freeze for a full 6 hours, ideally overnight, in a covered, freezer-safe loaf pan or container. If you prefer a softer, soft-serve consistency, you can scoop it after 4 hours, but it will be quite melty. Resist stirring it while it freezes, as that causes ice crystals.
12.Can I add extra mix-ins like fudge swirls or peanut butter?
▾
Go for it! Just make sure any thick swirls (like hot fudge or creamy peanut butter) are cooled to room temperature first, so they don’t melt the delicate whipped cream and cause icy spots. Dollop them over the base once it’s in the pan, then drag a knife through a few times to create swirls—don’t overmix, or you’ll muddy the chocolate base.
13.How long will this no-churn ice cream stay fresh in the freezer?
▾
Stored properly in an airtight container with plastic wrap pressed directly to the surface to block air, it will stay creamy and delicious for up to 2 weeks. After that, it will start to develop icy freezer burn spots and lose that fresh, rich, homemade texture. For what it’s worth, it rarely lasts that long in my house!
14.Why won’t my heavy cream form stiff peaks when I whip it?
▾
The most common culprit is warm cream! If your heavy cream isn’t thoroughly chilled, or if your bowl or beaters have any trace of grease or leftover soap residue, the cream won’t whip to the right consistency. Pop the cream, bowl, and beaters back in the fridge for 15 minutes, then try again—stiff peaks will stand straight up when you lift the beater.
15.Should I fold all my mix-ins into the base, or layer them?
▾
I recommend folding about ¾ of your marshmallows, almonds, and chocolate chunks into the base gently right before pouring it into your freezer container, then sprinkling the remaining ¼ over the top. That guarantees you get a little bit of every mix-in in every scoop, and the top garnish looks extra inviting when you pull it out to serve.
16.Can I adapt this recipe to be dairy-free?
▾
You can, with a few easy swaps! Use well-chilled full-fat coconut cream (scooped from a chilled can, leaving the watery liquid behind) in place of heavy cream, and dairy-free sweetened condensed coconut milk instead of regular condensed milk. Swap in dairy-free chocolate chunks and vegan marshmallows if needed, and it will turn out rich and creamy.
17.Why is my ice cream rock-hard and impossible to scoop straight from the freezer?
▾
No-churn ice cream is denser than store-bought ice cream, which is pumped with extra air and stabilizers to stay soft at freezer temperatures. Let it sit on the counter for 5 to 7 minutes before scooping, and run your ice cream scoop under hot water between scoops for perfect, smooth, round scoops that don’t get crushed as you dig in.

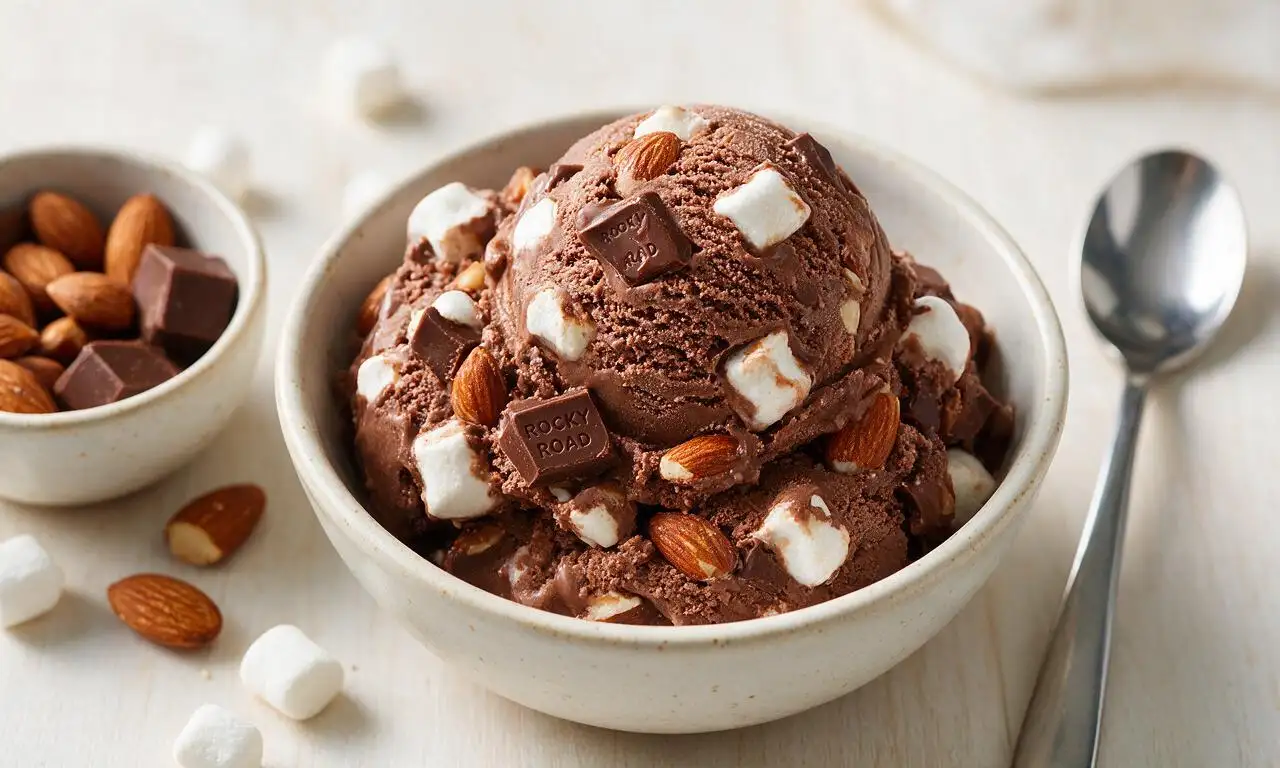
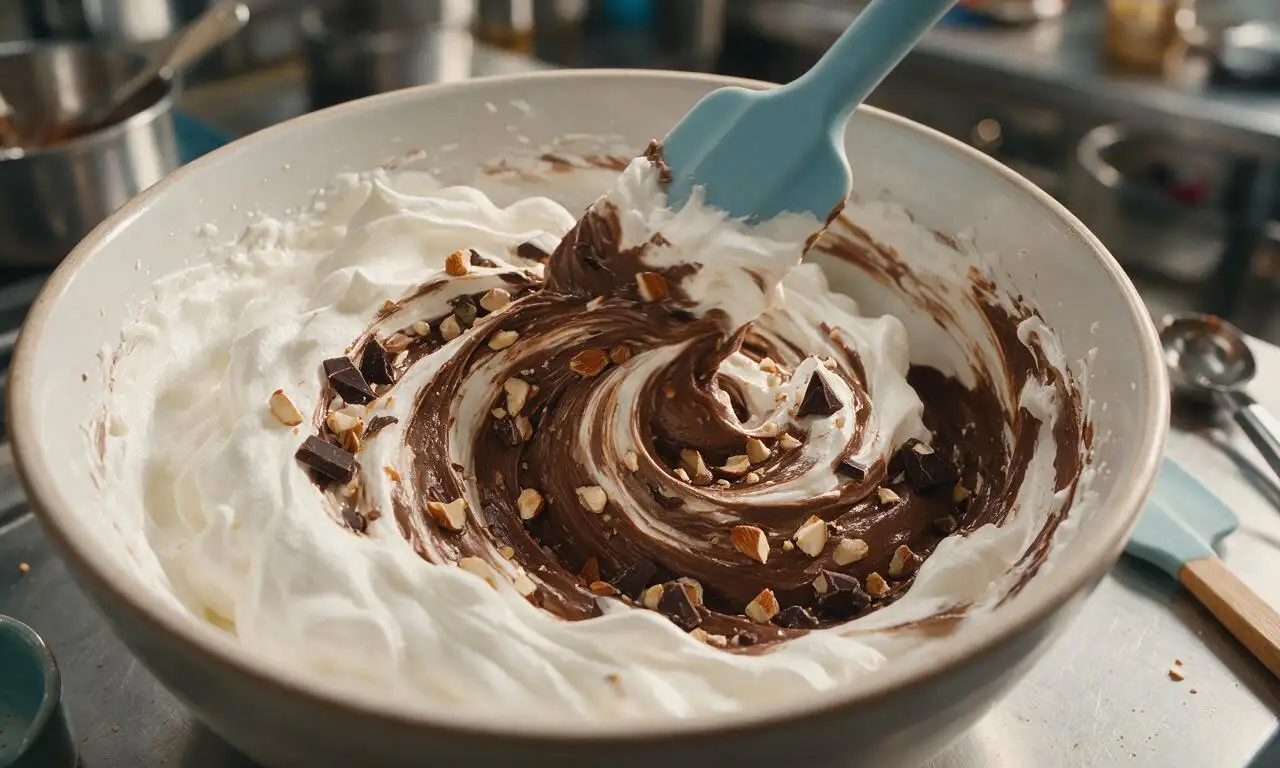
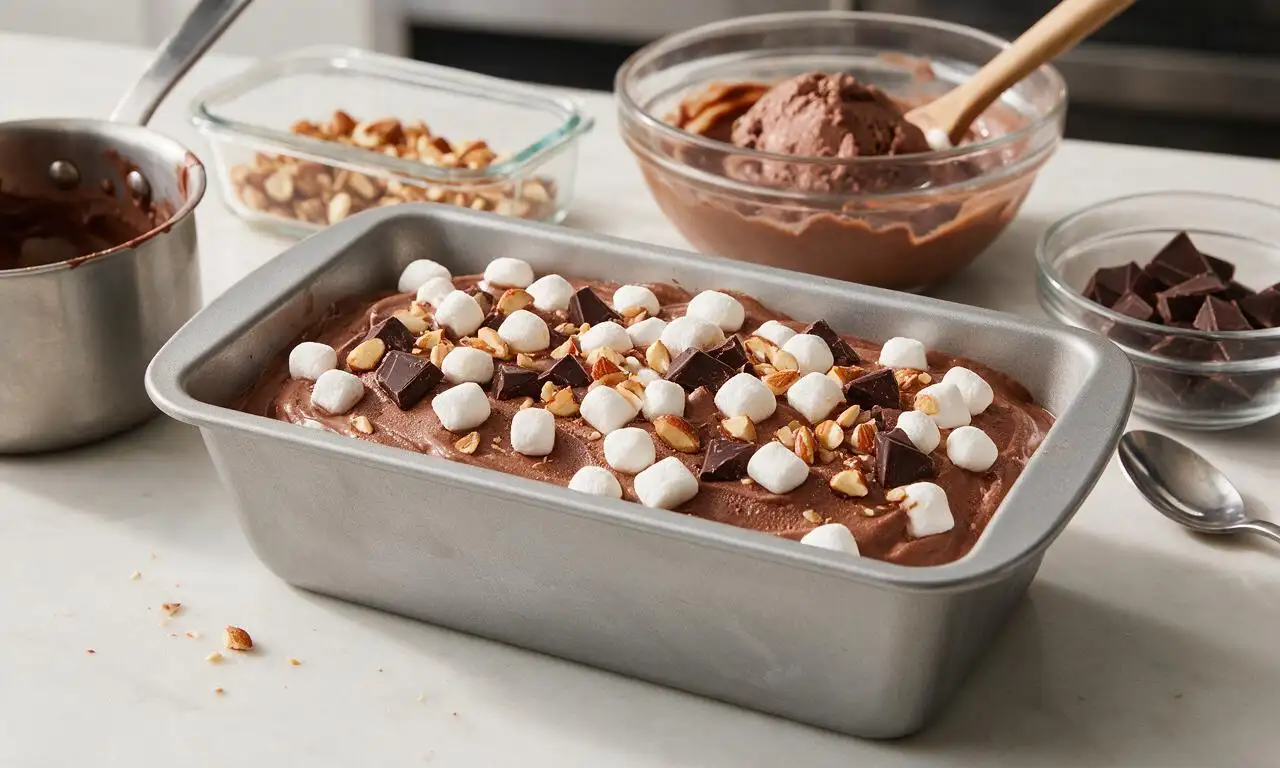
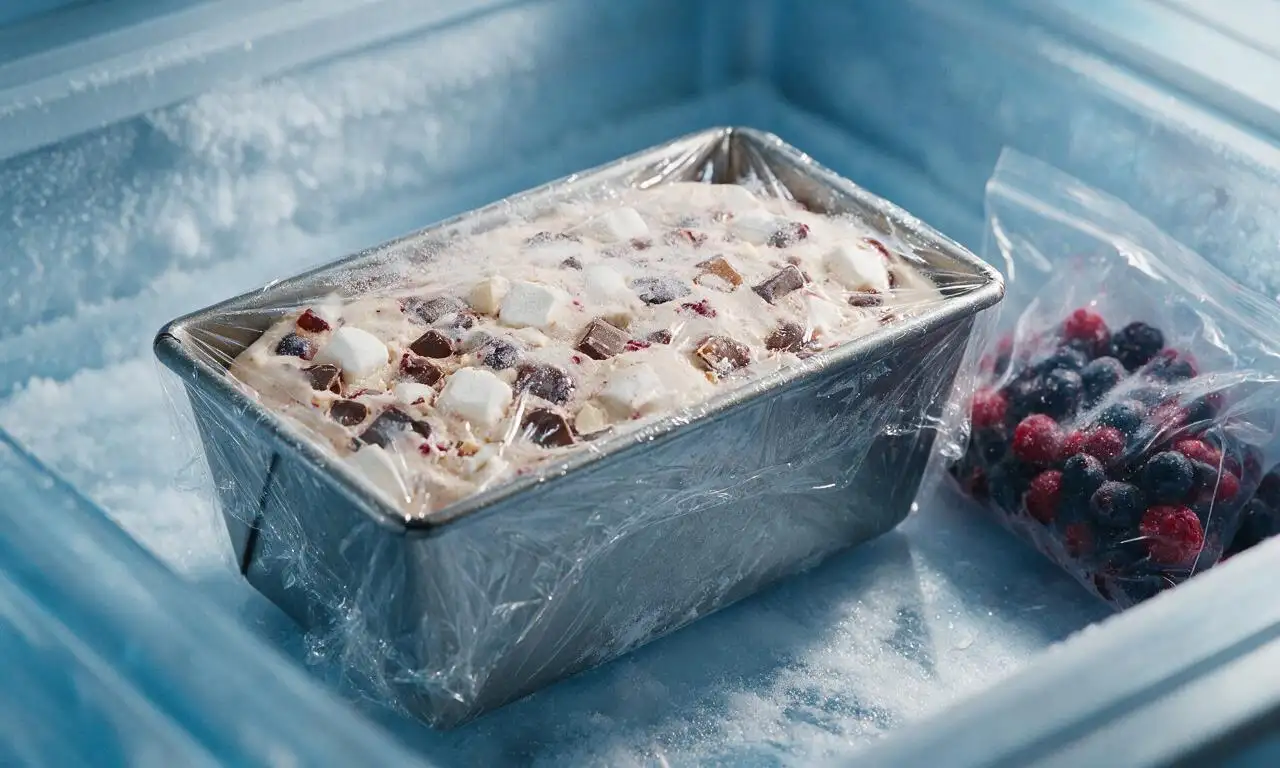






OMG, this no-churn rocky road is a total game changer! I’ve messed up homemade ice cream so many times before because I don’t have a fancy ice cream machine, but this came together in literally 15 minutes of prep. The texture is so creamy, no weird icy bits at all, and the ratio of chocolate chunks, mini marshmallows, and toasted almonds is perfect. My kids loved it so much they asked for seconds after our family taco night, and I brought the leftovers to our office potluck today where everyone was begging for the link. Already added this to my weekly meal prep list for summer treats!
Made this for my son’s birthday cookout over the weekend and it was a massive hit. I swapped the regular mini marshmallows for the rainbow colored ones just to make it more fun for the kids, and threw in a handful of crushed pretzels for extra salty crunch. The whole pan was gone in less than 10 minutes once we set it out on the dessert table. 10/10, zero notes, will be making this for every backyard get together from now on.
This looks so good! Quick question before I dive in — can I adapt this to be dairy free? My youngest daughter is lactose intolerant and I’ve been hunting for easy, no-fuss ice cream recipes she can enjoy with the rest of the family.
I was so skeptical of no-churn ice cream because every batch I’ve made before turned out weirdly icy and grainy? But this was SO smooth and rich, I couldn’t believe it! I followed the directions exactly, beat the cream until it had stiff peaks, folded everything super gently so I didn’t deflate the cream, and after 6 hours in the freezer it was perfect scoopable consistency. My roommate and I ate half the loaf pan in one sitting while we watched our favorite show, oops.
The flavor was really good, don’t get me wrong, but my batch came out a little softer than I expected even after leaving it in the freezer for 7 hours undisturbed. I think my fridge freezer just runs a little warmer than it should, honestly. It was still tasty, just too soft to scoop into cones like I planned, so we had to eat it in bowls. Next time I might cut back a little on the marshmallows too, they were a bit too sweet and overwhelming for my taste.
Pro tip for anyone making this: line your metal loaf pan with parchment paper with a couple inches of overhang on the long sides before you pour the ice cream base in! It makes lifting the whole frozen block out so much easier to cut clean scoops, no messy scraping the sides of the pan for 10 minutes. I’ve made this three times in the last two weeks, it’s my new go-to last minute dessert when friends pop over unannounced.
Quick question — do I have to use almonds in this? My wife has a tree nut allergy so I’m wondering if I can leave them out entirely or swap them for something else that still has that nice crunch. I’d love to make this for our anniversary dessert this weekend!
SO good!!! I made this with my 10 year old daughter for our family movie night last night and she had the best time helping measure the cream and dump in all the mix-ins. We didn’t have any almonds in the pantry so we used chopped walnuts we had left over from holiday baking, and it was perfect. Tastes exactly like the rocky road I used to get at the local ice cream shop when I was a kid, but way cheaper and so simple to throw together. Will be making this nonstop all summer long!