
rosemary parmesan bread

title 1
rosemary parmesan bread
⏱️ cook time 45 minutes
🍽️ servings 8
⚡ Difficulty medium

intro

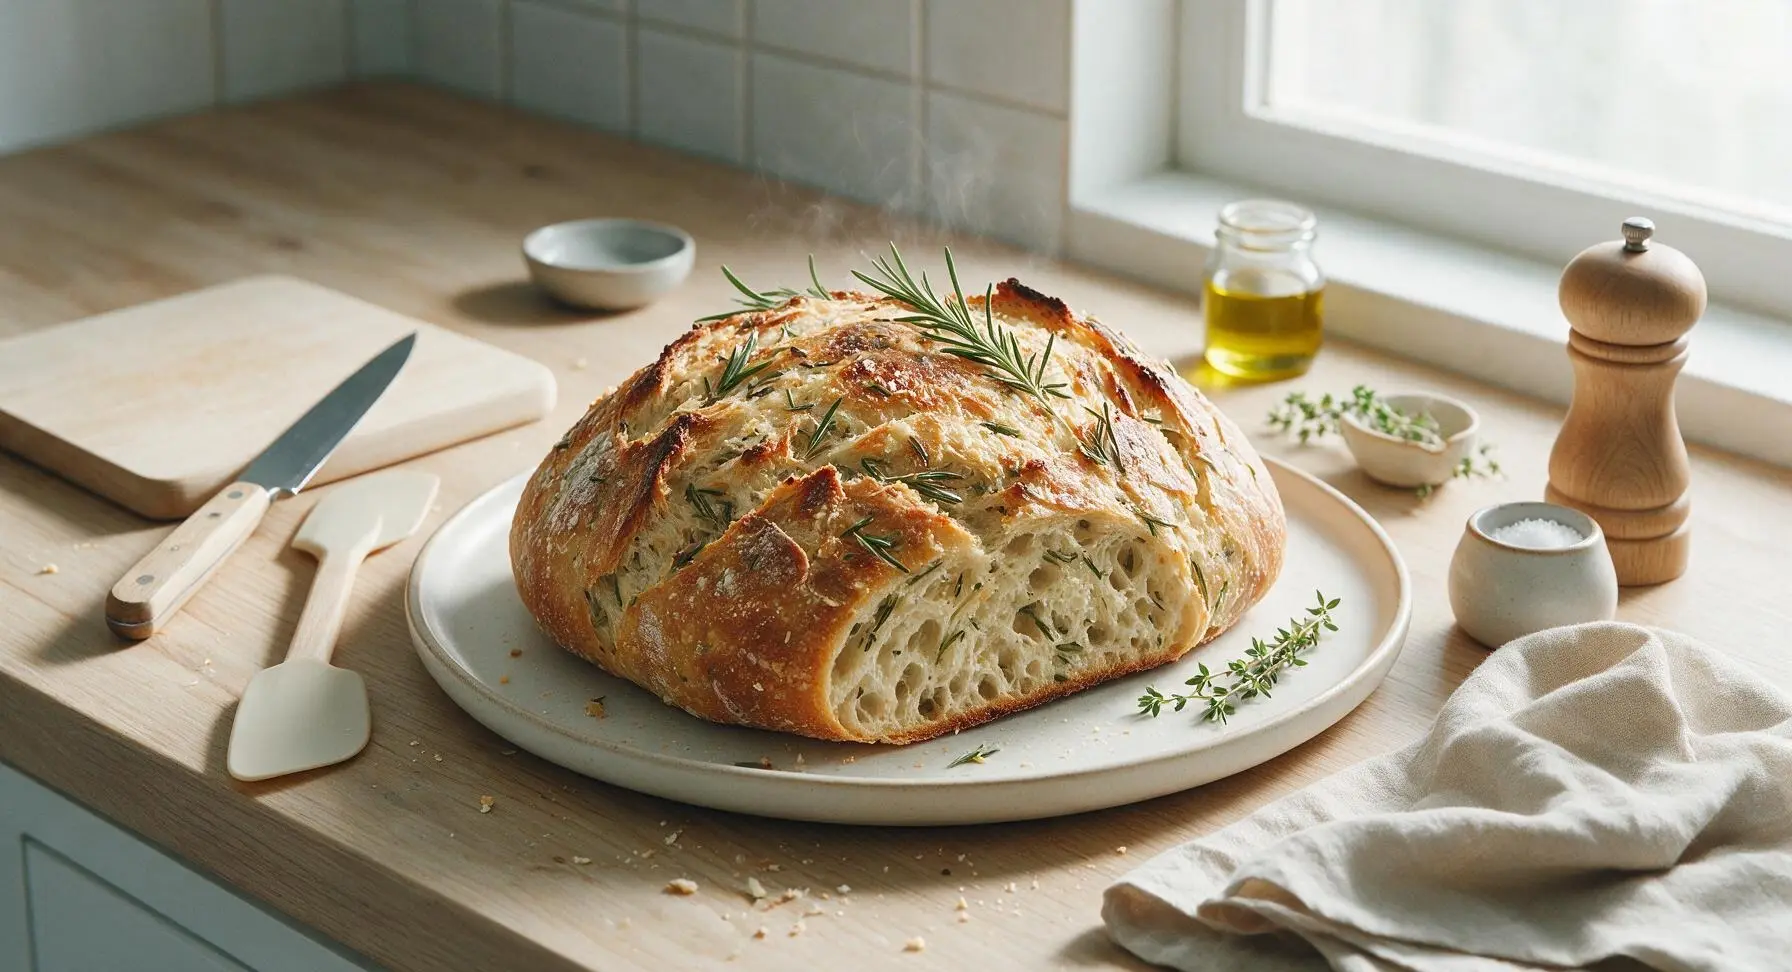
Crusty, aromatic no-knead loaf laced with woody fresh rosemary and nutty aged parmesan, with a shatteringly crisp crust and soft, holey crumb made for sharing.

Ingredients
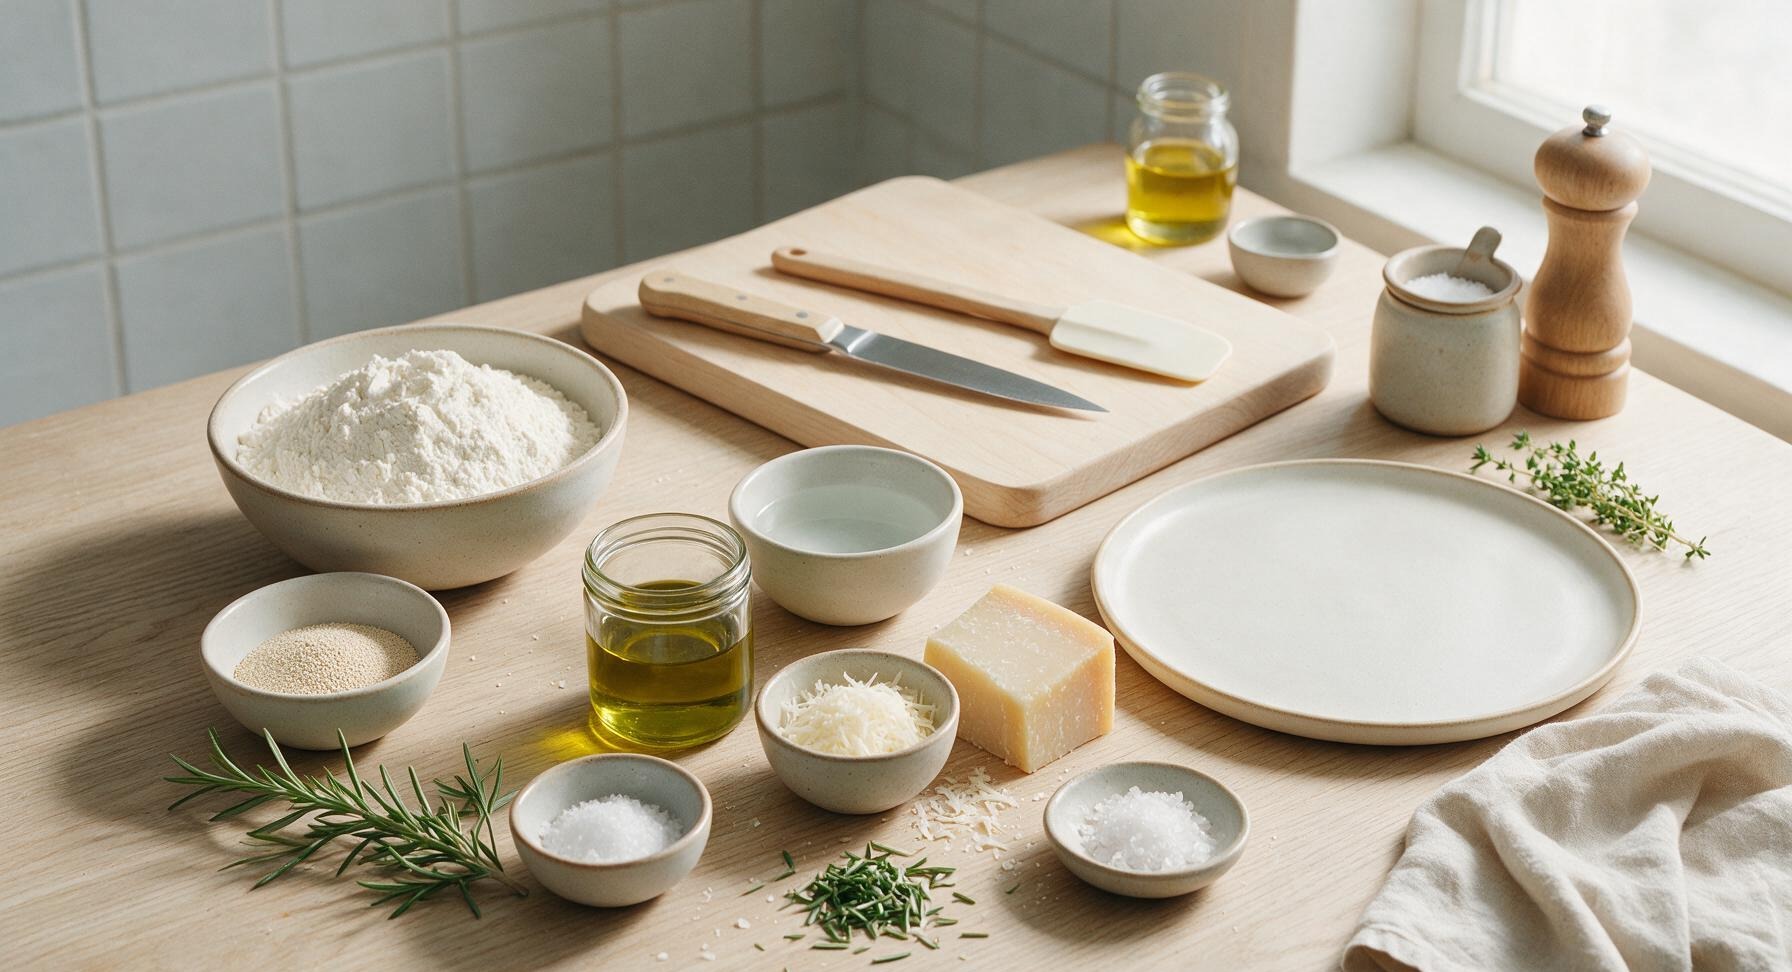
Bread flour 420g (3 ½ cups)
Instant dry yeast 4g (1 ¼ tsp)
Kosher salt 10g (2 tsp)
Warm filtered water 360ml (1 ½ cups, 40°C/105°F)
Extra-virgin olive oil 30ml (2 tbsp, plus extra for greasing)
Fresh rosemary 2 tbsp finely chopped, plus 2 whole sprigs for garnish
Aged parmesan cheese 115g (1 cup freshly grated, plus 2 tbsp reserved for topping)
Flaky sea salt 1 tsp (for topping)

Steps

1

Combine Dry Ingredients

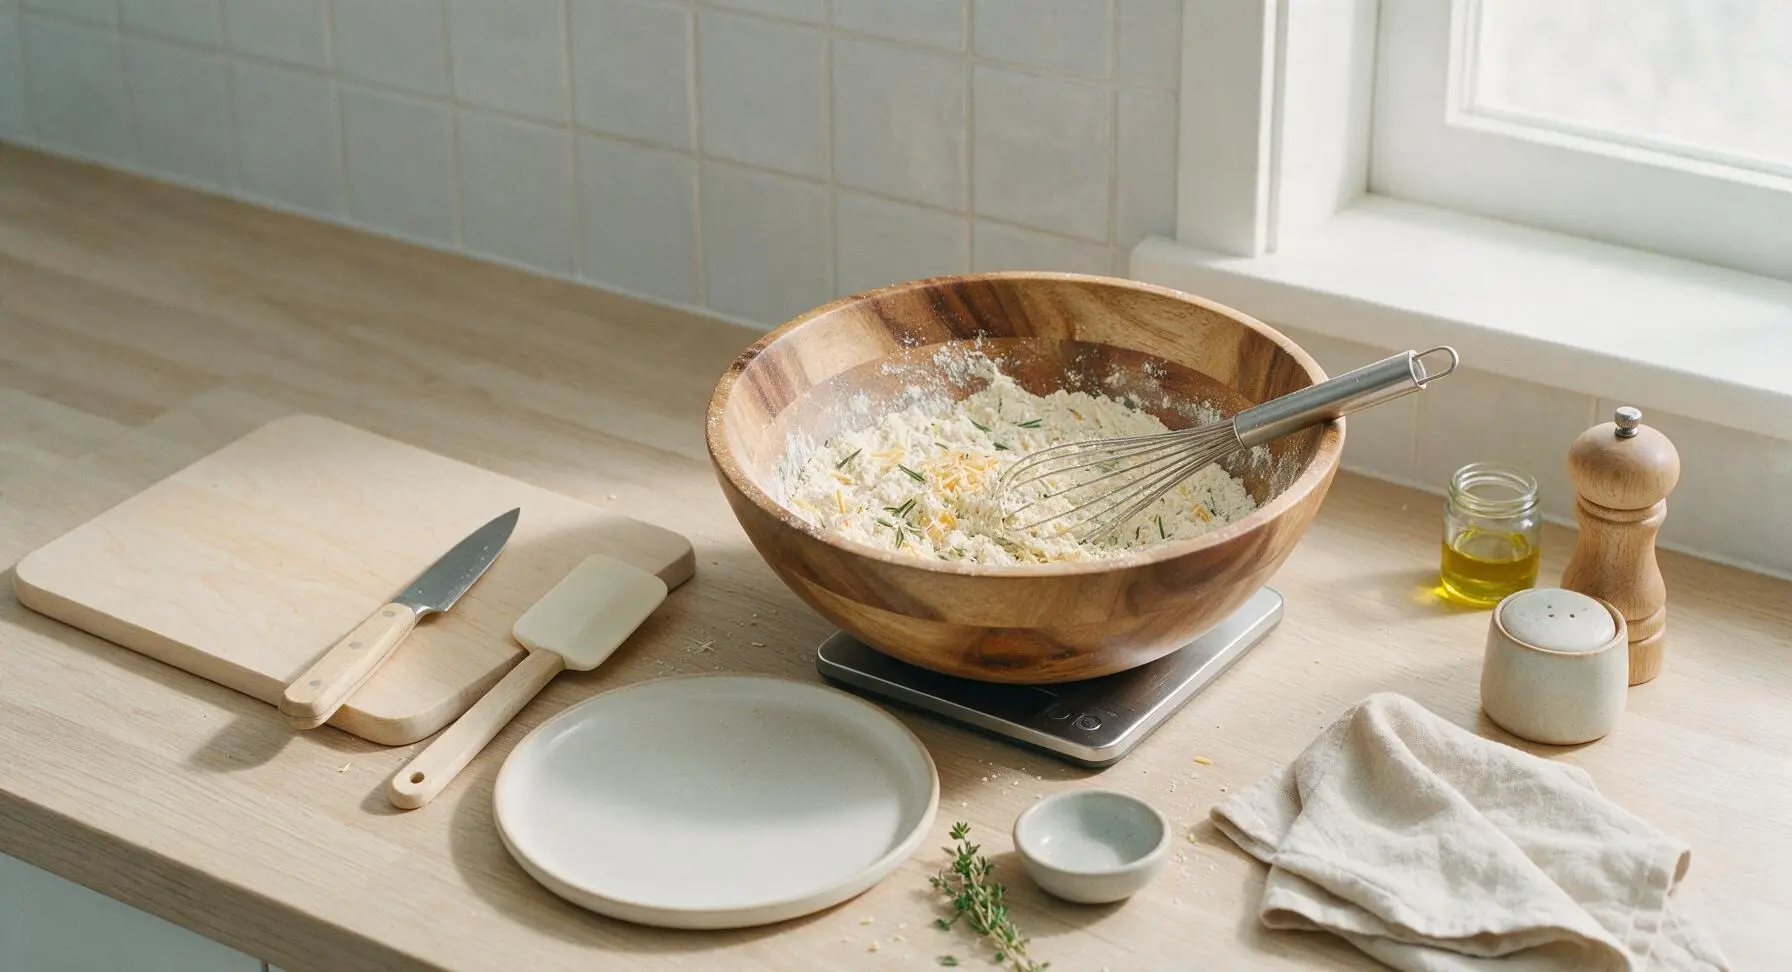
Set the acacia wood mixing bowl on the digital kitchen scale, tare to zero, and measure in 420g bread flour, 4g instant yeast, and 10g kosher salt. Use the stainless steel whisk to gently mix the dry ingredients until yeast and salt are evenly distributed, with no concentrated clumps. Stir in 1 cup of freshly grated parmesan and 2 tablespoons finely chopped rosemary, tossing until the cheese and herbs are evenly coated in flour.
Step 1
step1:Combine Dry Ingredients
2

Mix Shaggy Dough

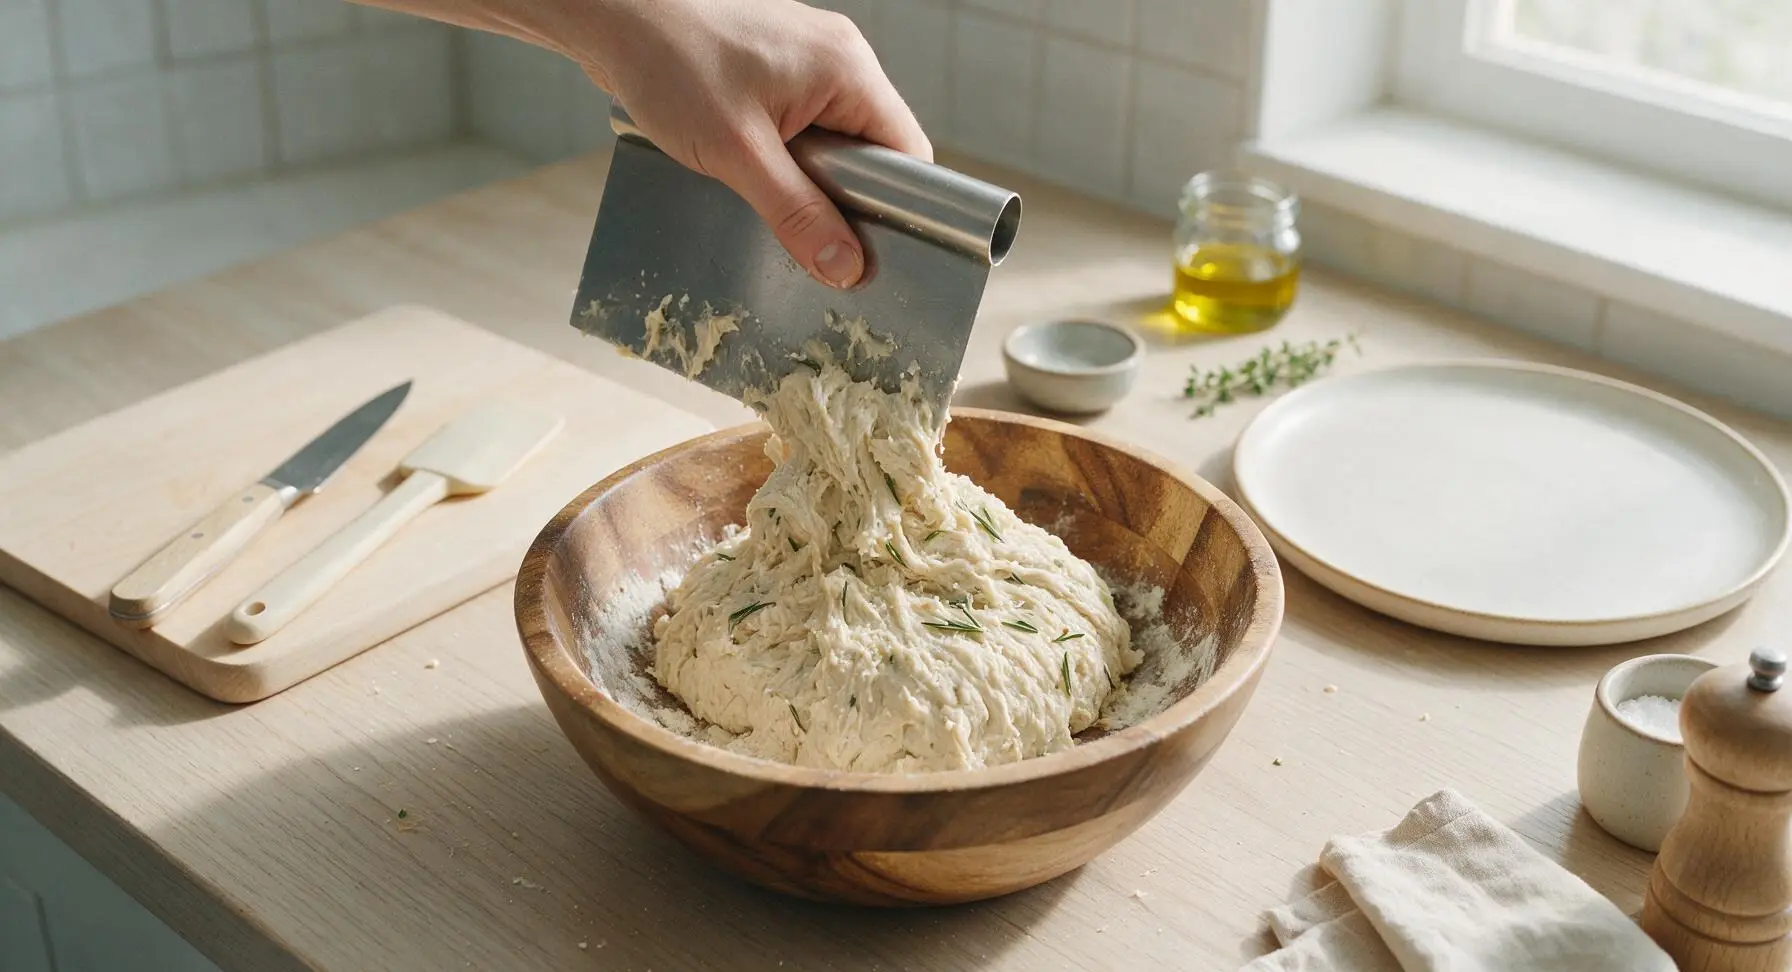
Pour 360ml warm (40°C/105°F, not hot to the touch) water and 30ml extra-virgin olive oil into the dry ingredient mixture. Use the stainless steel dough scraper to stir until every trace of dry flour is incorporated, forming a sticky, rough, shaggy dough that pulls away from the bowl sides. Do not knead the dough at this stage—it will look lumpy and uneven, which is normal.
Step 2
step2:Mix Shaggy Dough
3

Let Dough Rise

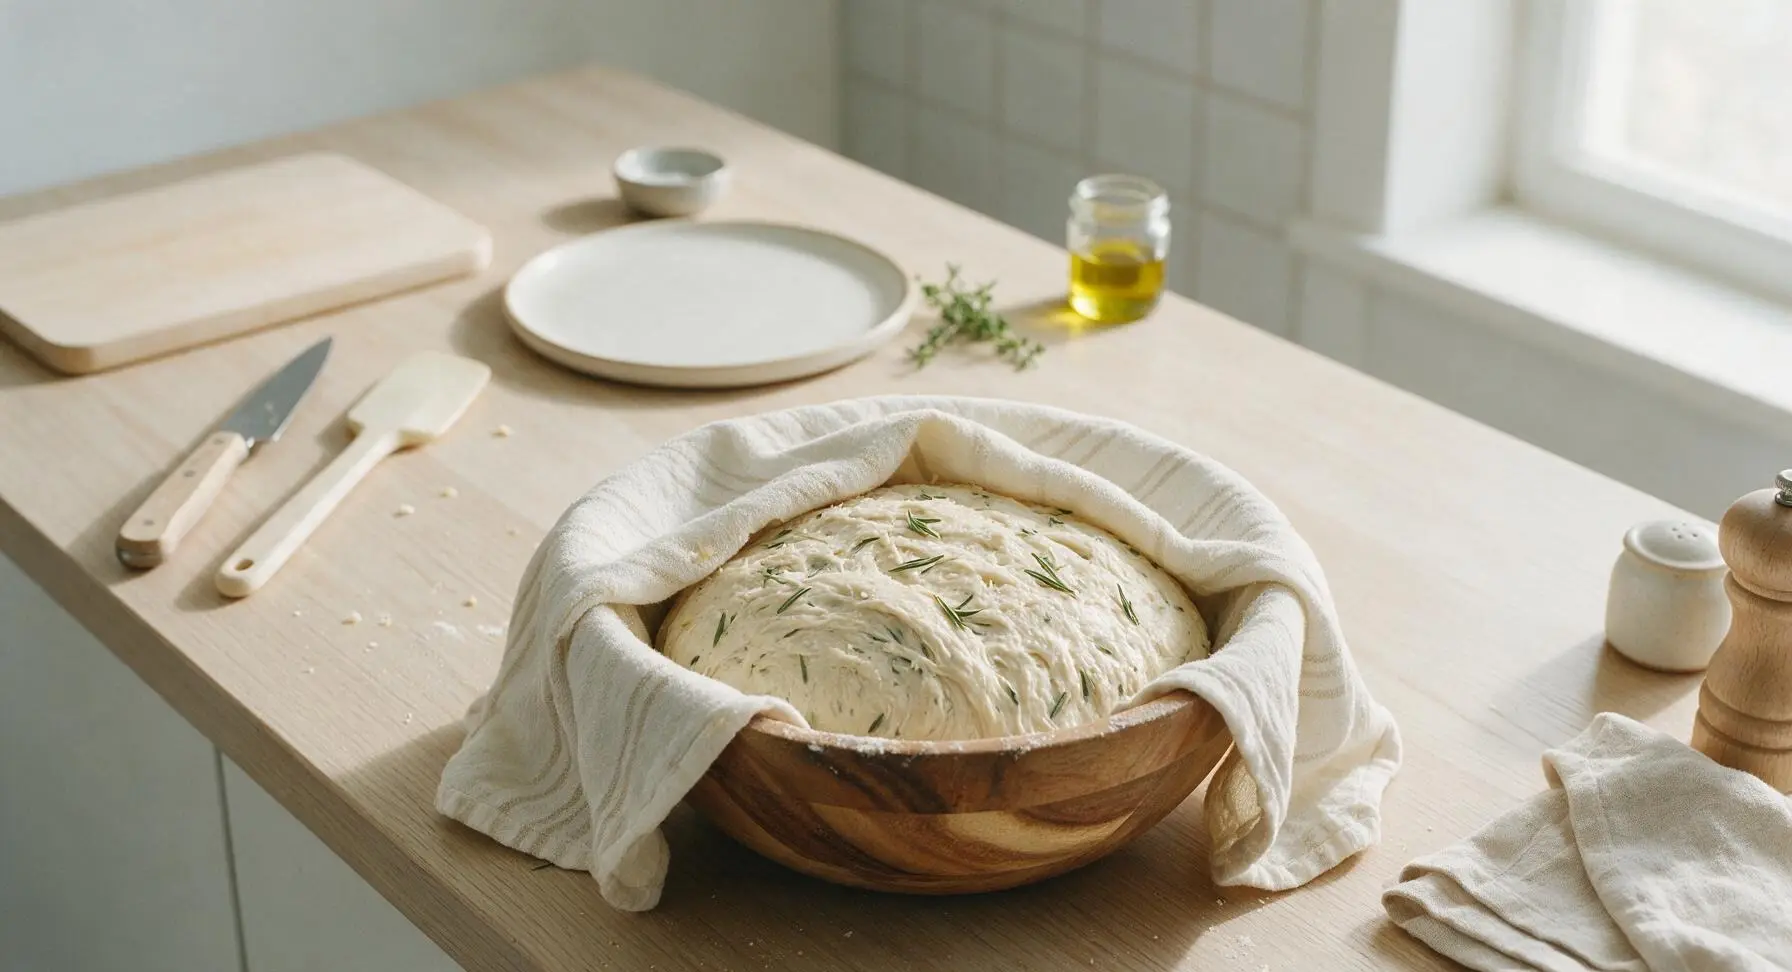
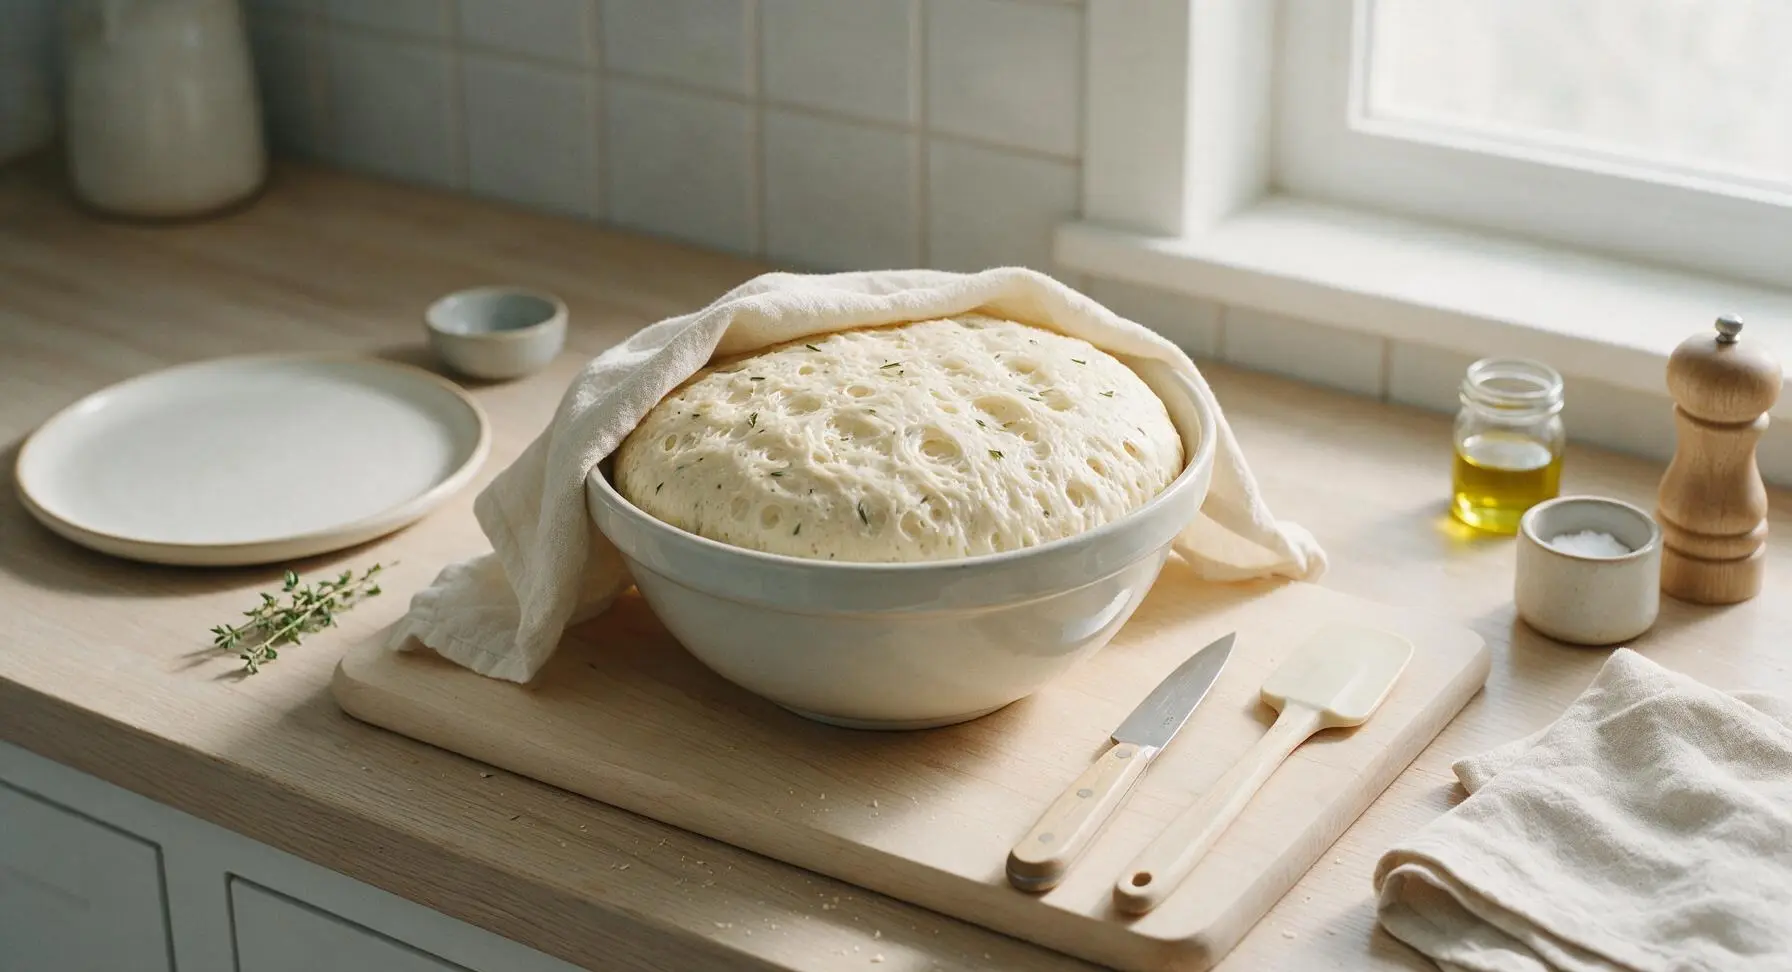
Drape the cream linen towel from the counter edge tightly over the mixing bowl to cover it completely. Let the dough rest in a warm, draft-free spot for 1.5 to 2 hours, until it doubles in volume, has a bubbly, puffy surface, and jiggles slightly when the bowl is gently tapped. For deeper, nuttier flavor, you can refrigerate the covered dough for 12-18 hours for a slow cold rise instead.
Step 3
step3:Let Dough Rise
Step 3
step3:Let Dough Rise
4

Preheat Dutch Oven

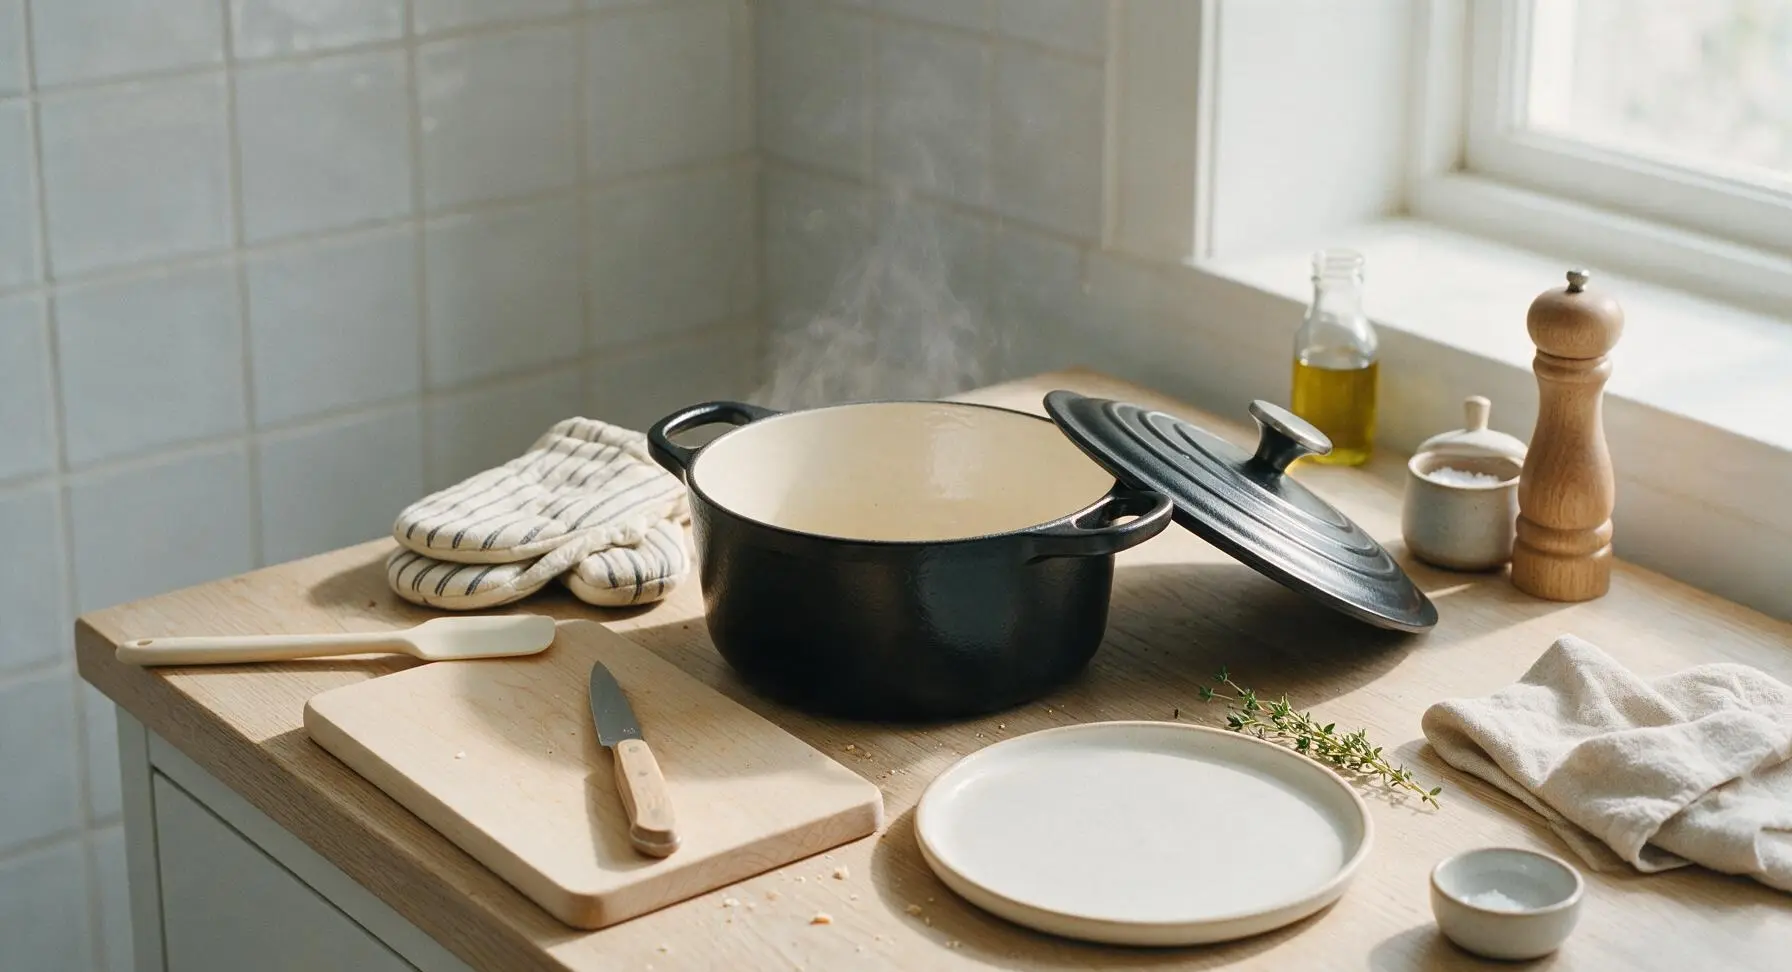
When the dough is 15 minutes from finishing its rise, place the lidded matte black enamel Dutch oven on the middle rack of your oven, and preheat to 230°C/450°F for a full 30 minutes. A thoroughly preheated pot creates trapped steam that gives the loaf its signature shatteringly crisp, golden crust.
Step 4
step4:Preheat Dutch Oven
5

Shape and Score Loaf

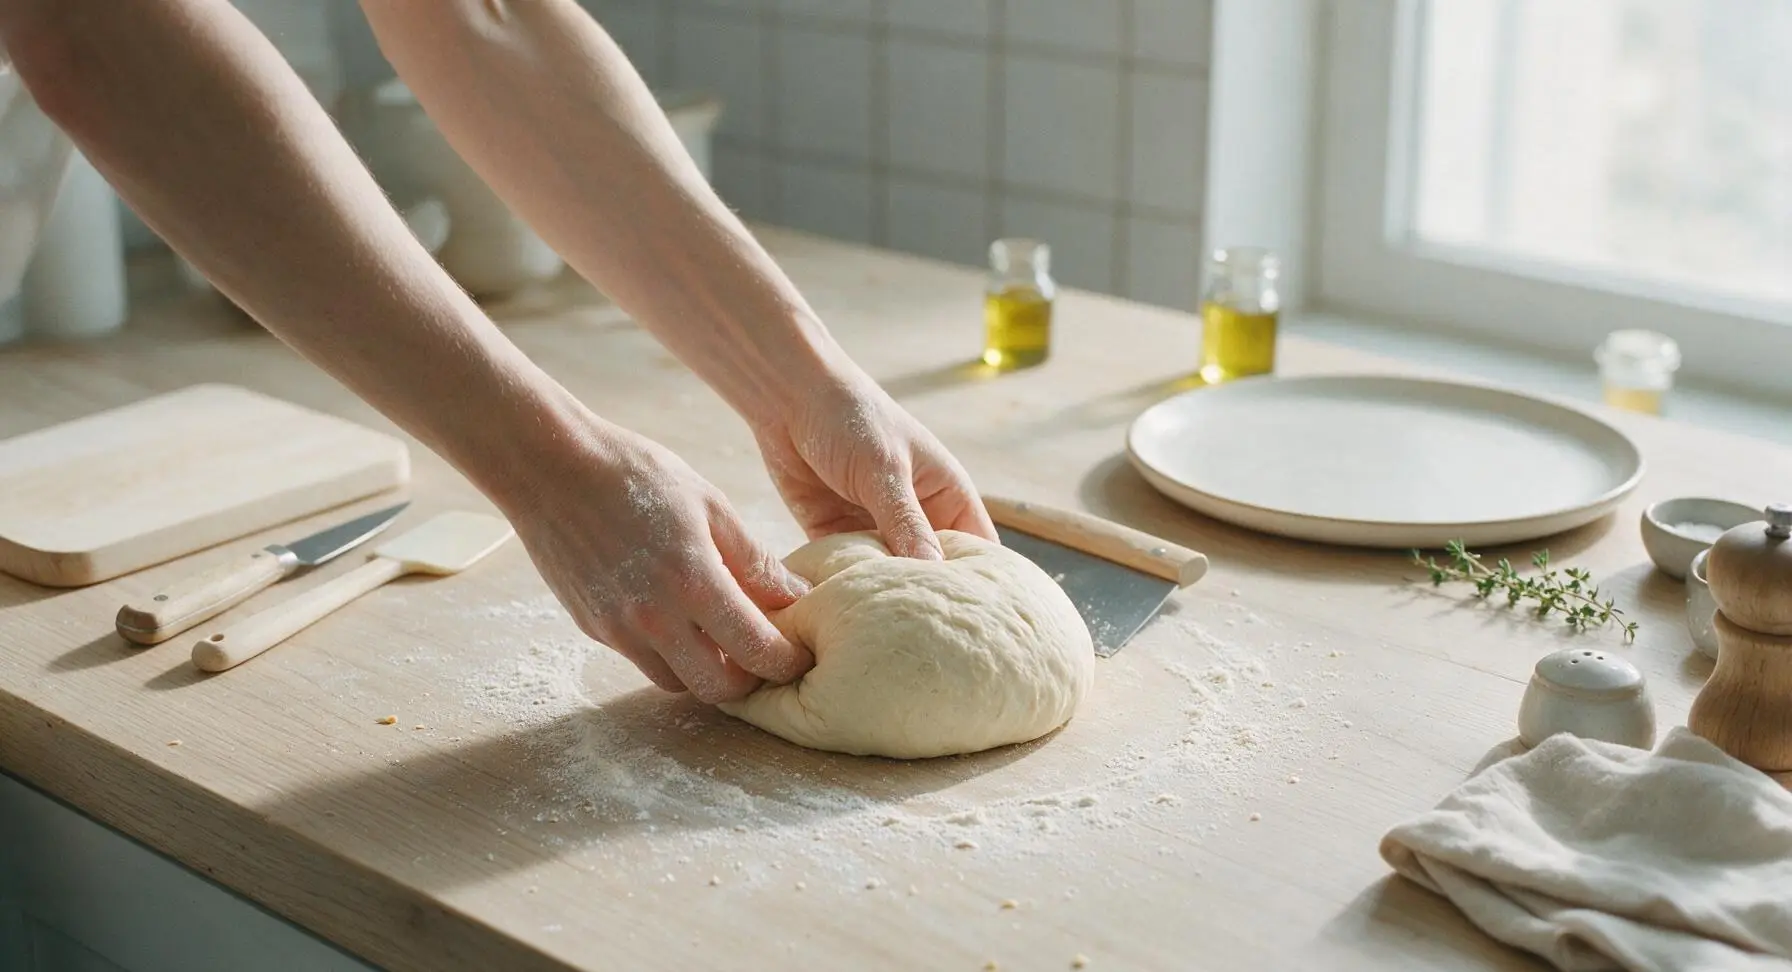
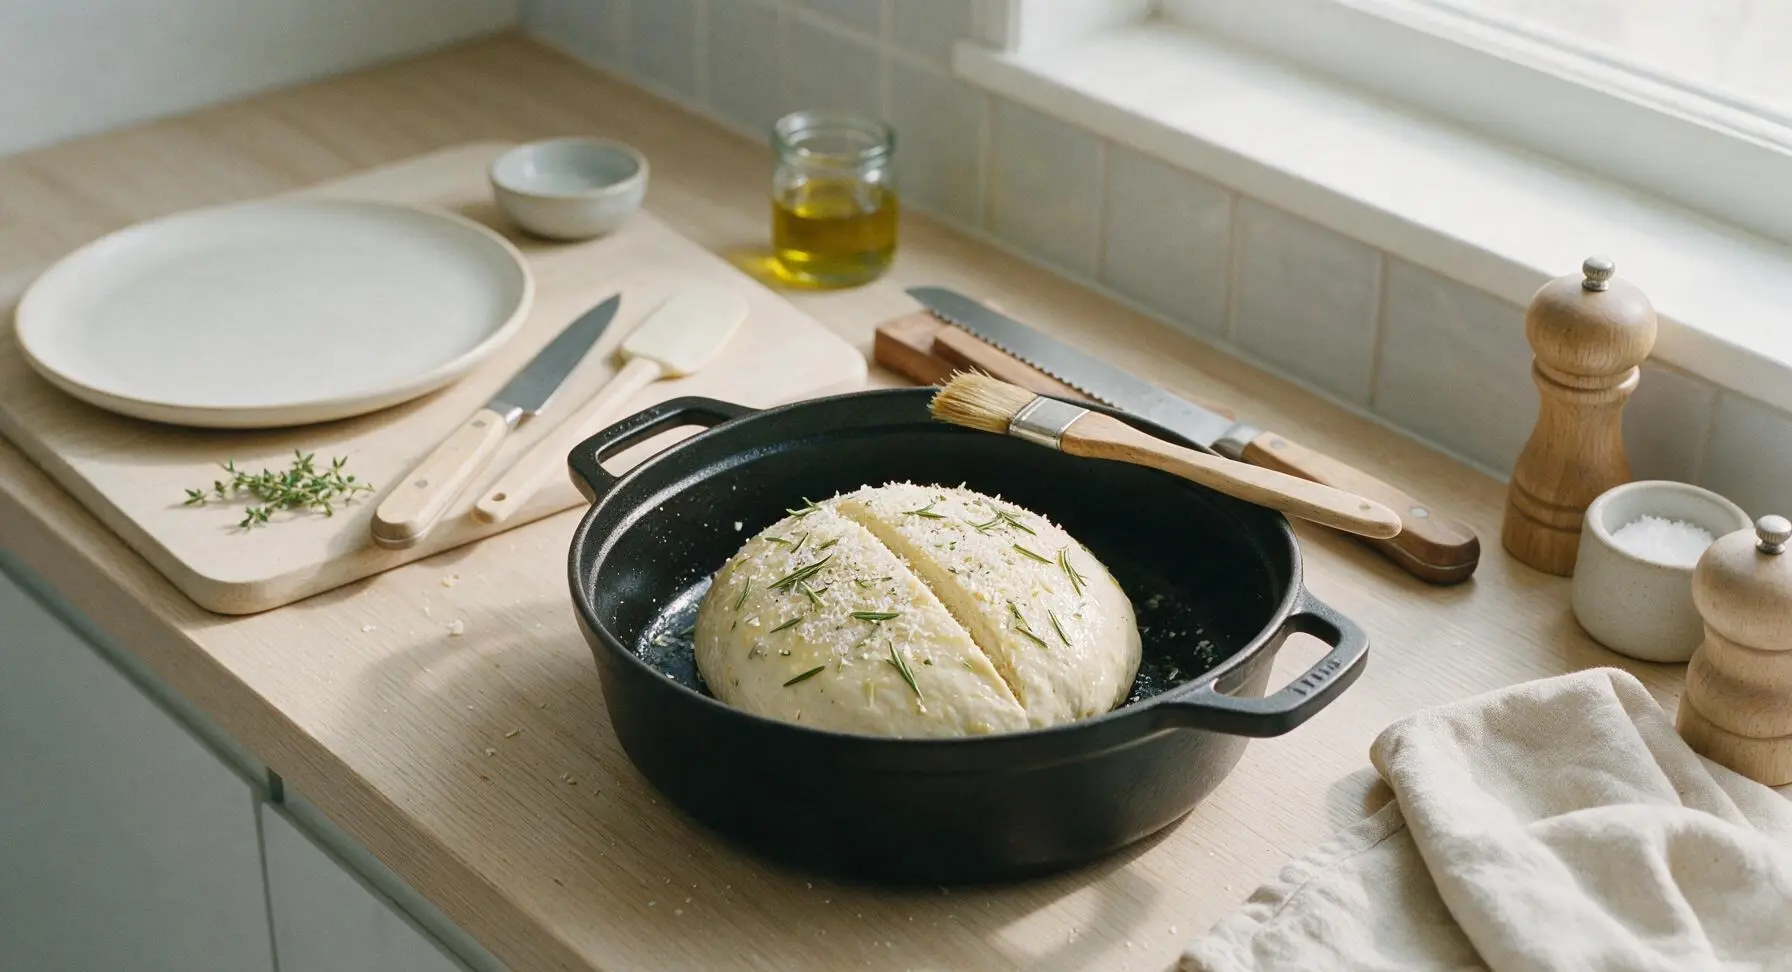
Use oven mitts to carefully pull the hot Dutch oven out, setting it on the counter. Scrape the risen dough out of the bowl onto a lightly floured patch of counter, tucking the edges under to form a tight, smooth round ball. Gently lower the dough into the hot pot. Use the serrated bread knife to make one ½-inch deep diagonal slash across the dough top to allow for even expansion. Brush the top lightly with olive oil using the pastry brush, then sprinkle with the reserved 2 tablespoons grated parmesan, a few fresh rosemary needles, and 1 teaspoon flaky sea salt.
Step 5
step5:Shape and Score Loaf
Step 5
step5:Shape and Score Loaf
6

Bake the Loaf

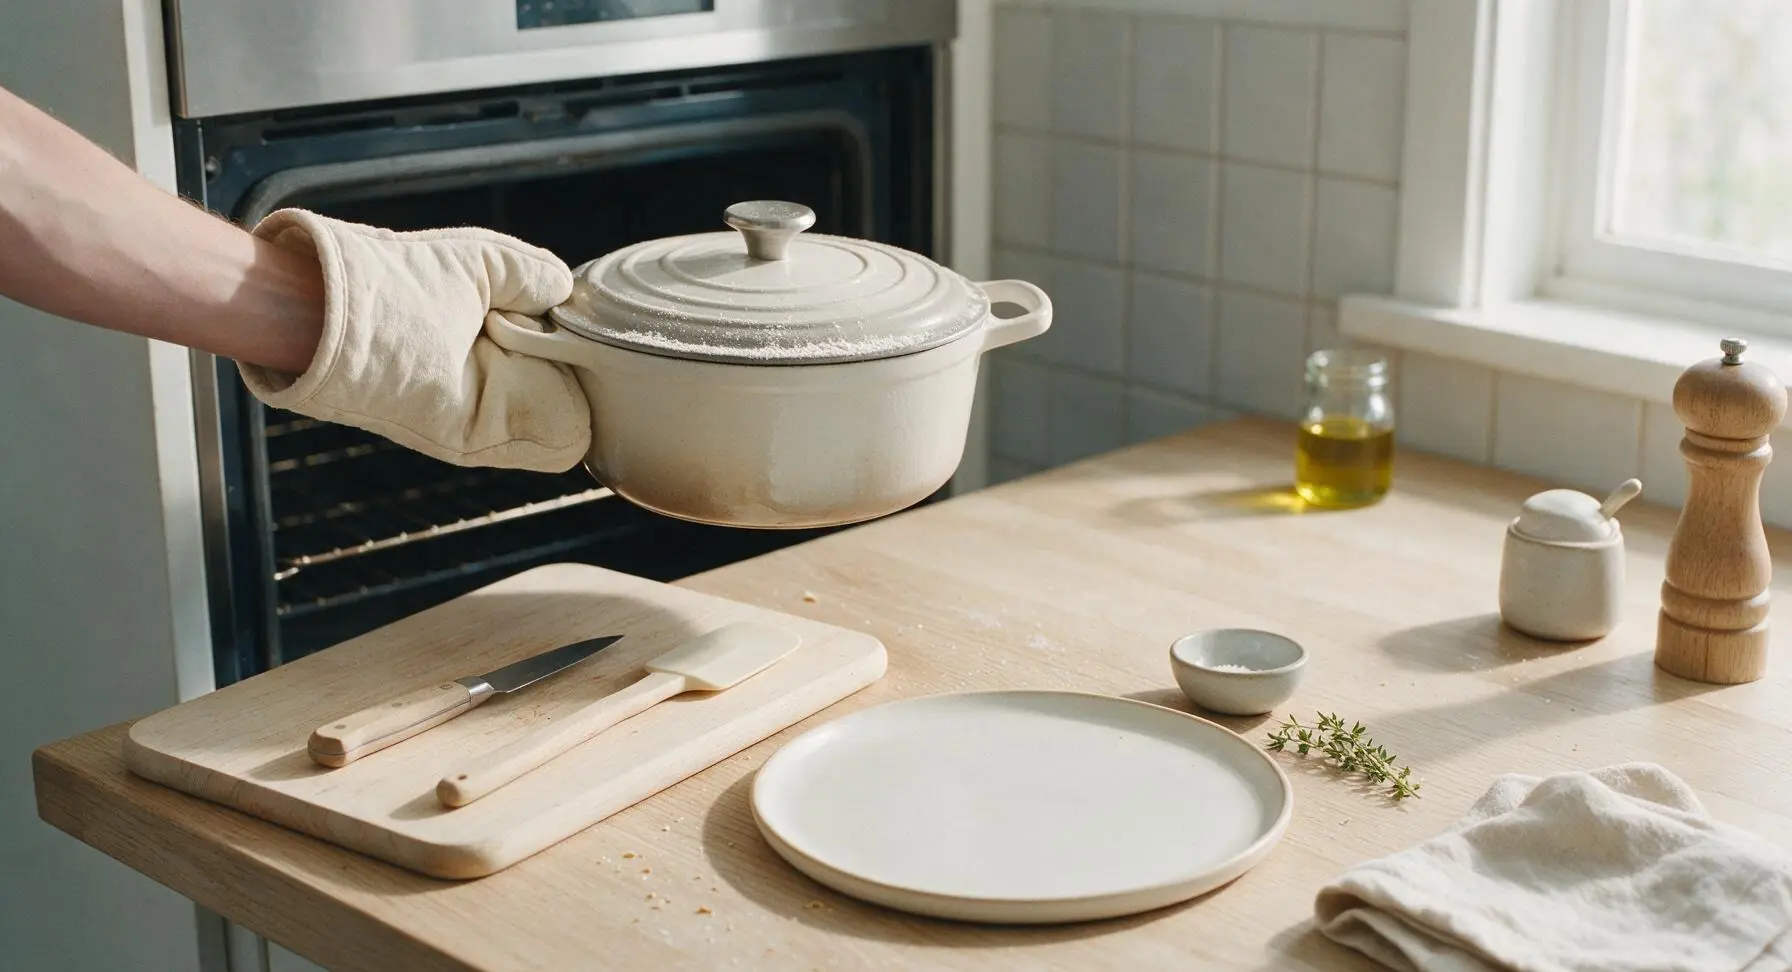
Place the lid securely on the Dutch oven, return it to the 230°C/450°F oven, and bake covered for 30 minutes. After 30 minutes, carefully remove the lid (watch for hot steam), reduce the oven temperature to 220°C/425°F, and bake uncovered for 12-15 more minutes. The loaf is done when the crust is deep golden brown, the top parmesan is crispy and slightly caramelized, and the internal temperature reads 93°C/200°F on a food thermometer.
Step 6
step6:Bake the Loaf
7

Cool Before Slicing

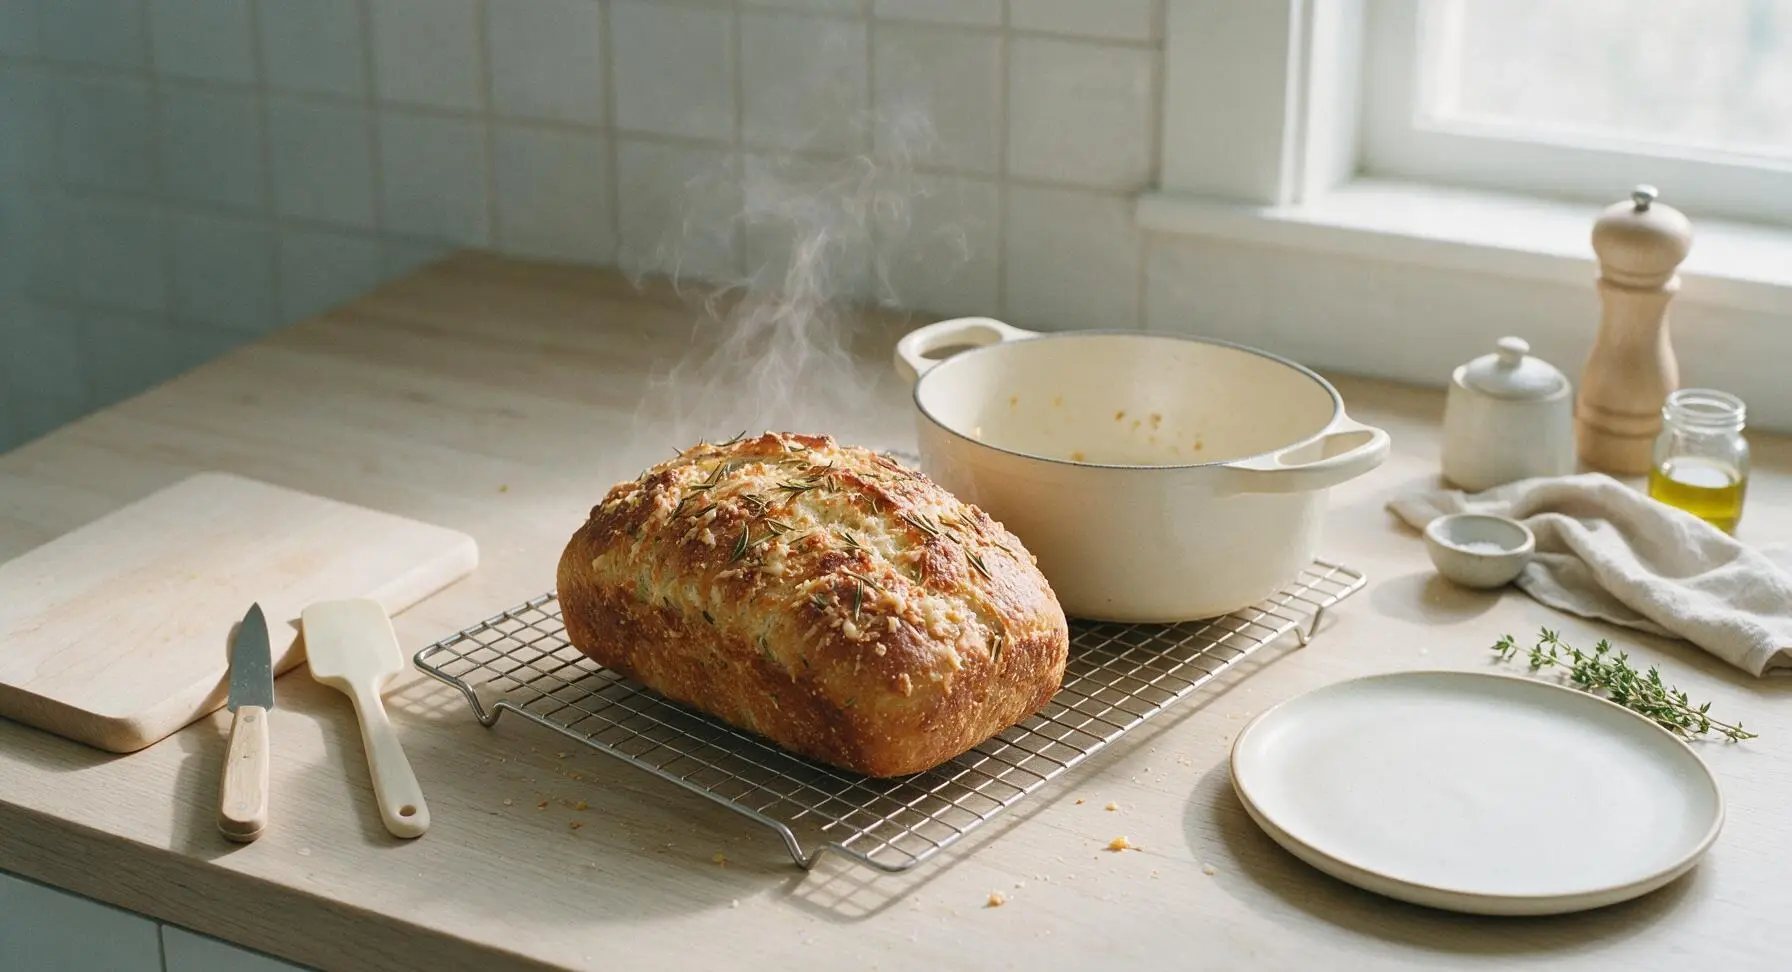
Once baked, carefully tip the hot loaf out of the Dutch oven onto the stainless steel wire cooling rack. Let the loaf rest for a full 20 minutes before slicing—this allows the internal crumb to set, so slices hold their shape instead of turning gummy. Do not skip this resting step, even if the warm bread smell is tempting.
Step 7
step7:Cool Before Slicing

Tips

1.Do not use water warmer than 43°C/110°F when mixing dough: water that is too hot will kill the instant yeast, leading to a dense, flat loaf that fails to rise properly.
2.For an extra-crispy crust, toss 2-3 ice cubes into the Dutch oven right before securing the lid for baking: melting ice creates an extra burst of steam that puffs the crust and creates a deeper, shatteringly crisp texture without making the crumb soggy.
3.Wait the full 20 minutes to cool the loaf before slicing: cutting hot bread causes the soft, unset starch molecules to compress, resulting in a gummy, dense texture instead of the light, holey crumb the recipe is designed to create.


✨ You May Also Like

Desserts & Baking
🍜 Italy

Creamy, coffee-kissed classic Northern Italian no-bake dessert, with layers of rum-spiked mascarpone cream, soft ladyfingers, and a rich cocoa dusting.

⏱️ 4 hours 3Desserts & Baking ★ 4.7
Desserts & Baking
🍜 France

Flaky, shatteringly crisp, buttery French croissants with golden exteriors and soft, airy layered interiors, perfect for pairing with coffee for a special morning treat.

⏱️ 12 hours Desserts & Baking ★ 4.5
Desserts & Baking
🍜 United States

Warm, spiced baked apples topped with a fluffy golden biscuit crust, this cozy dessert pairs perfectly with vanilla ice cream for cool-weather comfort.

⏱️ 55 minuteDesserts & Baking ★ 4.6
Desserts & Baking
🍜 United States

A star-spangled classic American blueberry pie with buttery flaky crust and bright sweet-tart filling, perfect for summer patriotic gatherings.

⏱️ 1 hour 25Desserts & Baking ★ 4.7
Desserts & Baking
🍜 United States

A beloved no-bake regional Maine candy with a chewy coconut-potato center coated in rich dark chocolate, a New England holiday staple since the 1870s.

⏱️ 2 hours 3Desserts & Baking ★ 4.8
Desserts & Baking
🍜 France

Luxuriously creamy, floral frozen custard made with aromatic Tahitian vanilla beans, boasting a smooth, rich texture that melts slowly on the tongue.

⏱️ 3 hours 3Desserts & Baking ★ 4.5

rosemary parmesan bread:Frequently Asked Questions

1.Do I really not need to knead this rosemary parmesan bread at all? ▾
Yep, no kneading required at all! The long, slow 12–18 hour cold ferment develops strong gluten strands all on its own, so you only need to mix flour, yeast, salt, warm water, a splash of extra-virgin olive oil, and add-ins until no dry flour remains. No folding, stretching, or tiring arm workout is needed for that perfect soft, holey crumb.
2.Can I use regular all-purpose flour instead of bread flour for this recipe? ▾
You can, but bread flour’s higher 12–14% protein content creates that chewy, open crumb and shatteringly crisp crust this loaf is known for. If you swap for all-purpose flour, expect a slightly softer, denser loaf; add 2 extra tablespoons of flour to reduce excess spread during baking for the best results.
3.How much rosemary and parmesan should I add, and when do I mix them in? ▾
Aim for 2 tablespoons of finely chopped fresh rosemary and ¾ cup of grated aged parmesan—skip pre-grated shaker parmesan, as its anti-caking agents ruin crumb texture. Fold both in right after mixing the base dough, before the first long rise, so they distribute evenly through the loaf.
4.Why does the recipe call for instant dry yeast instead of active dry yeast? ▾
Instant yeast mixes directly into dry ingredients with no pre-activation step, which cuts down on prep work. If you only have active dry yeast, use the same amount, just dissolve it in the recipe’s warm water for 5 minutes until foamy before mixing in to confirm it’s active and ready to leaven the dough.
5.What’s the best way to get that super crisp, shattery crust on this loaf? ▾
Two simple tricks make all the difference. First, bake the loaf in a preheated covered Dutch oven for the first 20 minutes to trap steam, which lets the loaf rise fully and sets a crisp crust. Second, spritz the dough top lightly with water right before lidding the pot to boost that initial steam.
6.Can I let the dough rise on the counter instead of doing a cold ferment in the fridge? ▾
You can do a 2–3 hour counter rise at 70–75°F until the dough doubles and looks bubbly, but the 12–18 hour cold fridge ferment develops far deeper, nuttier rosemary and parmesan flavor, creates a more open crumb, and makes dough much easier to handle and score before baking.
7.Do I need to score the top of the loaf before baking, and what’s the easiest way to do it? ▾
Scoring lets the loaf expand evenly in the oven instead of splitting randomly along weak spots. You don’t need a fancy baker’s lame—use a very sharp serrated knife to make one quick, 3-inch long, ¼-inch deep slash across the dough top right before placing it in the preheated Dutch oven. Don’t overthink it!
8.My parmesan sank to the bottom of the loaf last time I made this—what did I do wrong? ▾
That usually happens if your parmesan is cut into too-large chunks, or if your dough was over-hydrated and too slack to hold cheese in place. Toss your grated parmesan with a tiny pinch of flour before folding it into dough, and avoid adding extra water beyond the recipe measurement to keep cheese evenly suspended.
9.Can I use table salt instead of kosher salt for this recipe? ▾
You can, but you’ll need to cut the measurement in half, since table salt is far denser and more concentrated than flaky kosher salt. Using the full kosher salt measurement with table salt will result in an overly salty loaf that overpowers the nutty parmesan and woody, aromatic rosemary flavors.
10.How should I store leftover rosemary parmesan bread to keep it crisp? ▾
Skip the plastic bag—it will turn that perfect crisp crust soft and gummy in just a few hours. Store fully cooled leftover loaf cut-side down on a wooden cutting board at room temperature for up to 3 days, loosely tented with a clean tea towel. Re-crisp slices in a 350°F oven for 3–4 minutes before serving.
11.Why do I need to use warm filtered water instead of hot or cold tap water for the dough? ▾
Unfiltered tap water often has added chlorine or chloramine that can kill yeast and slow fermentation, leading to a dense, flat loaf. Use water warmed to 105–110°F (warm to the touch, not hot) so yeast activates steadily without being shocked or killed by overly high temperatures.

Comments (15)

2 days ago

OMG this rosemary parmesan bread is SO good! I made it last night to go with our spaghetti family dinner and everyone went back for seconds. The crust is perfectly crispy, the parmesan gets all melty and nutty, and the fresh rosemary hits just right. Even my super picky 7 year old asked for a second slice! Total game changer for weeknight sides.

1 week ago

Took this to a neighborhood potluck over the weekend and the whole loaf was gone in 10 minutes flat! People kept asking me for the recipe, I felt like a fancy baker lol. Cook time was exactly 45 minutes like the recipe said, no surprises. The rosemary flavor isn’t overpowering at all, which I was worried about. 10/10, will make again for sure.

3 days ago

I added a little extra parmesan on top the last 5 minutes of baking and *chef’s kiss*. This is perfect for meal prep too — I slice it up and keep it in the freezer to toast with eggs in the morning. Way better than the store-bought garlic bread I used to buy. So worth the little extra effort!

5 days ago

Okay, full transparency: I’m a total beginner baker and this was a little trickier than I expected (def a medium difficulty like listed, don’t go into this thinking it’s no-knead 2 ingredient bread lol) but the end result was so worth it. My roommate said it tasted like the bread we get at our favorite Italian spot downtown. I’ll definitely be practicing this one to get the rise perfect next time.

30 minutes ago

Quick question — can I use dried rosemary instead of fresh? I don’t have any fresh on hand and I’m supposed to make this for my book club tonight! Sounds amazing otherwise, can’t wait to try it.

5 minutes ago

Hi Lila! You absolutely can use dried rosemary — just use 1/3 the amount called for (since dried is more concentrated than fresh!) and it will turn out great. Hope your book club loves it!

yesterday

Made this last night to pair with tomato soup and it was *chefs kiss*. Only note is I wished I’d let my butter soften a little more before mixing in the rosemary, that made spreading a little messy lol. Still turned out incredible though, the parmesan crust on the edge is unreal.

2 hours ago

Oh thanks for the tip about the butter! I’m making this tomorrow and would’ve definitely tried to use cold straight-from-the-fridge butter, that would’ve been a disaster. Saved me a headache!

2 days ago

Wait, how long does this stay fresh for? I want to make it on Sunday for a work lunch on Tuesday, will it still be good if I keep it in an airtight bag?

yesterday

Great question, Tina! If stored in an airtight container or sealed bag at room temp, it will stay fresh for 2-3 days. If you want to keep it longer, you can slice it and freeze for up to 3 months, just toast it up when you’re ready to eat!

1 week ago

My kids loved it! I was worried the rosemary would be too “fancy” for their picky little palates but they devoured half the loaf before dinner even started. I added a tiny bit of garlic powder to the topping per my son’s request and it was a great addition.

5 days ago

Garlic powder is such a good call! I’m gonna try that next time I make this, my kids are also anti-“fancy green stuff” so mixing in a little garlic might win them over even faster. Thanks for the idea!

3 days ago

Uh oh, I messed up the first rise — I left my dough in too cold of a spot and it barely doubled in size. It still tasted good but was denser than I wanted. Any tips for getting a better rise next time?

2 days ago

So sorry the first rise didn’t go as planned, Chloe! For the best rise, set your dough in a warm, draft-free spot — like inside your turned-off oven with the light on, that creates the perfect cozy temp for yeast to do its thing. Give that a try next time and you’ll get that light, fluffy crumb you’re looking for!

2 weeks ago

Made this for our Sunday family dinner and it was the star of the show, even next to my famous lasagna! The nuttiness from the parmesan paired with the earthy rosemary is such a perfect combo. I will say, don’t skip the flaky sea salt on top right before baking — it takes it to a whole new level.

1 week ago

YES to the flaky sea salt! I almost skipped that step because I thought the parmesan was salty enough but I’m so glad I didn’t. That little crunch of salt on the crust is unreal.

2 hours ago

Is there a good substitute for parmesan here? My husband is dairy-free so I’m trying to adapt all our favorite sides to work for him, and this looks too good to pass up!

30 minutes ago

I made this last week with dairy-free parmesan (the Violife brand) and it worked perfectly! It got all melty and had that same salty, nutty flavor, no one could tell the difference.

5 minutes ago

Great tip from Sam! I’ve also tested this with nutritional yeast mixed with a little olive oil for a dairy-free version, and it’s delicious. Just make sure whatever substitute you use has a nice salty, savory flavor to match the parmesan!

30 minutes ago

Just pulled my first loaf out of the oven and OMG the whole house smells like an Italian bakery! I was nervous because I’m not great with yeast breads but the instructions were super easy to follow even for a medium skill level recipe. Can’t wait to slice into it once it cools a little!

5 minutes ago

Wait how is it once it cools?! I’m mid-knead right now and so excited, your comment is making me even more stoked to try it. Did you do the extra parmesan on top?

just now

Yay, so excited to hear how it turns out for you, Ashley! Pro tip: if you can wait 10 minutes before slicing, the crumb will set perfectly and you won’t get squishy slices. Enjoy!

1 week ago

I’ve made this three times in the last two weeks, no joke. It’s become my go-to for every get-together. Last time I added a little chopped prosciutto to the dough and oh my god, next level. 10/10, no notes.

5 days ago

Prosciutto?! That sounds insane, I’m definitely trying that this weekend. Did you chop it up really fine and mix it right into the dough, or put it on top?

3 days ago

I chopped it super fine and folded it in during the last set of kneads! It gets all crispy and salty in every bite, you’re gonna love it.

yesterday

Wait, do I need a stand mixer for this? I only have a big bowl and my own two hands to mix and knead, and I really don’t want to buy extra equipment just for one bread recipe.

2 hours ago

I made mine totally by hand! No stand mixer needed, just get ready to put a little elbow grease into kneading for about 10 minutes. It’s totally doable, I promise. My arms were a little sore the next day but the bread was worth it lol.

30 minutes ago

Joe is totally right! You don’t need a stand mixer for this recipe at all. Hand kneading works great, and it’s actually a really fun way to get a feel for when the dough is the right texture. Just make sure to flour your surface well so it doesn’t stick!

2 days ago

This was so good but mine turned out a little paler on top than the photo, even after 45 minutes. Any idea what I did wrong? I followed the temp exactly, I thought.

yesterday

I had the same issue the first time I made it! I moved my oven rack up to the middle-top position instead of the dead middle the second time, and the top got perfectly golden and crispy. Turns out my oven runs a little cool on the lower racks!

yesterday

Great call out from Lauren! Oven hot spots can be tricky. If your top is pale after the full cook time, you can also pop it under the broiler for 1-2 minutes (watch it super closely!) to get that golden, cheesy top. Just don’t walk away or it can burn fast!



