
Rosettes
intro
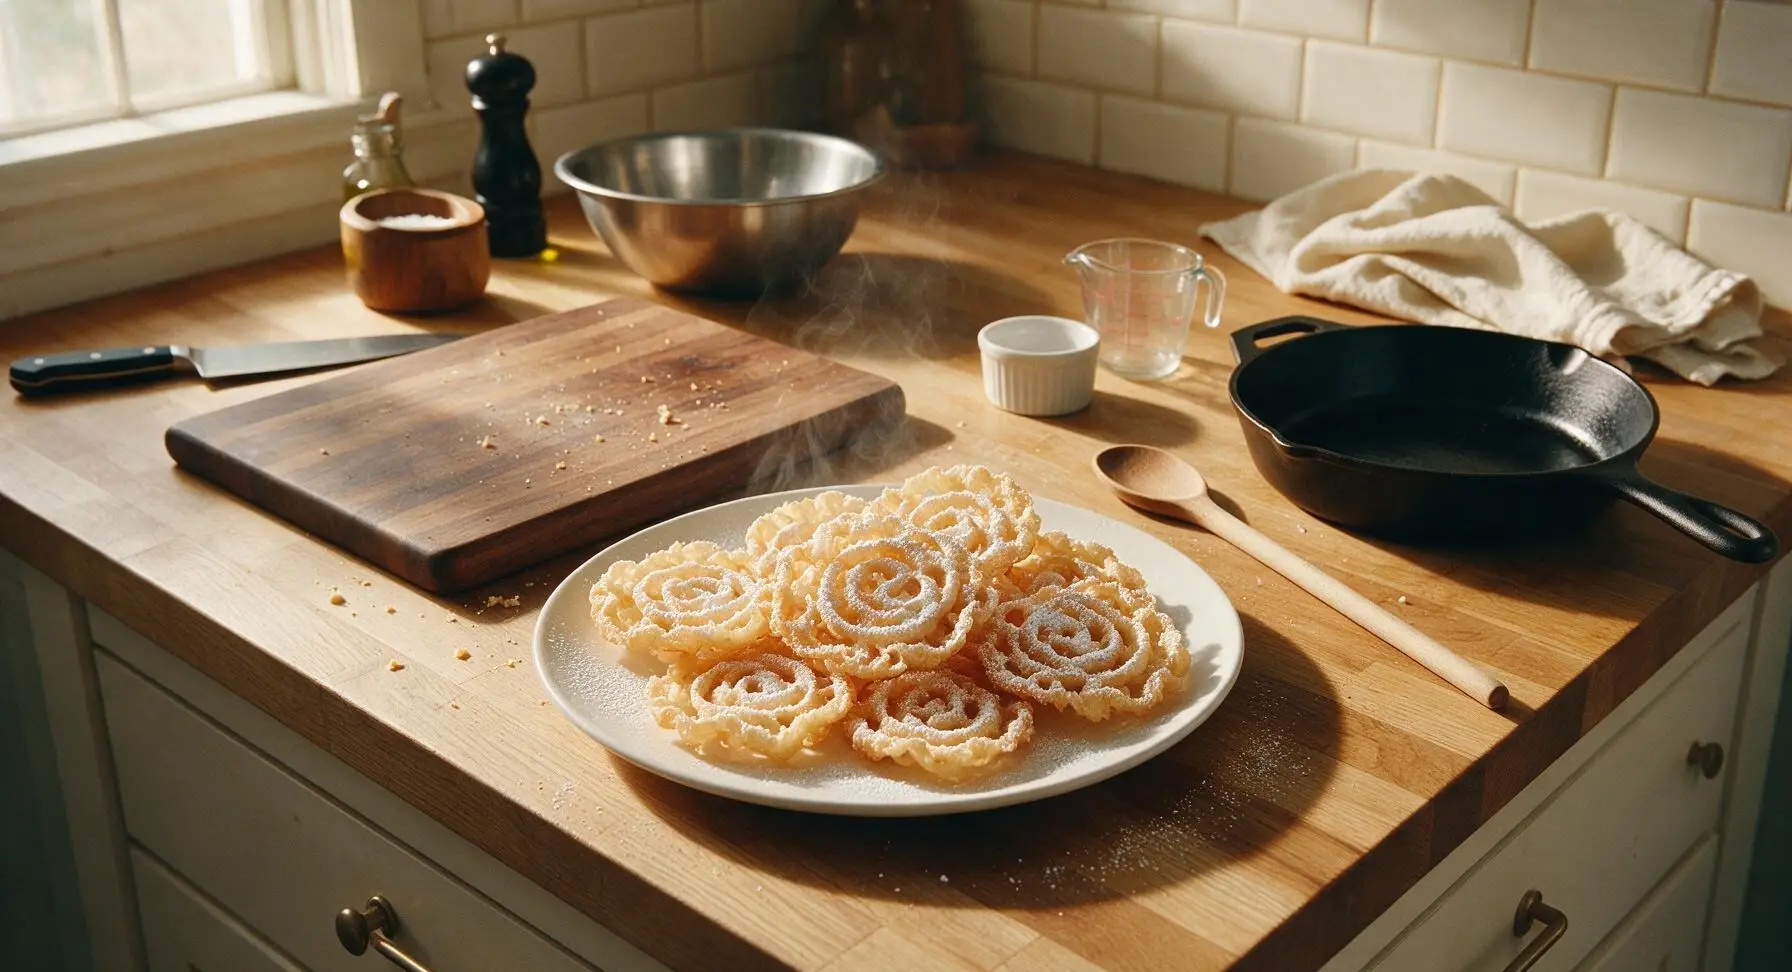
Delicate, lacy, melt-in-your-mouth crisp fried cookies dusted with snowy powdered sugar, made with decorative cast-iron irons. A beloved vintage winter holiday baking classic.
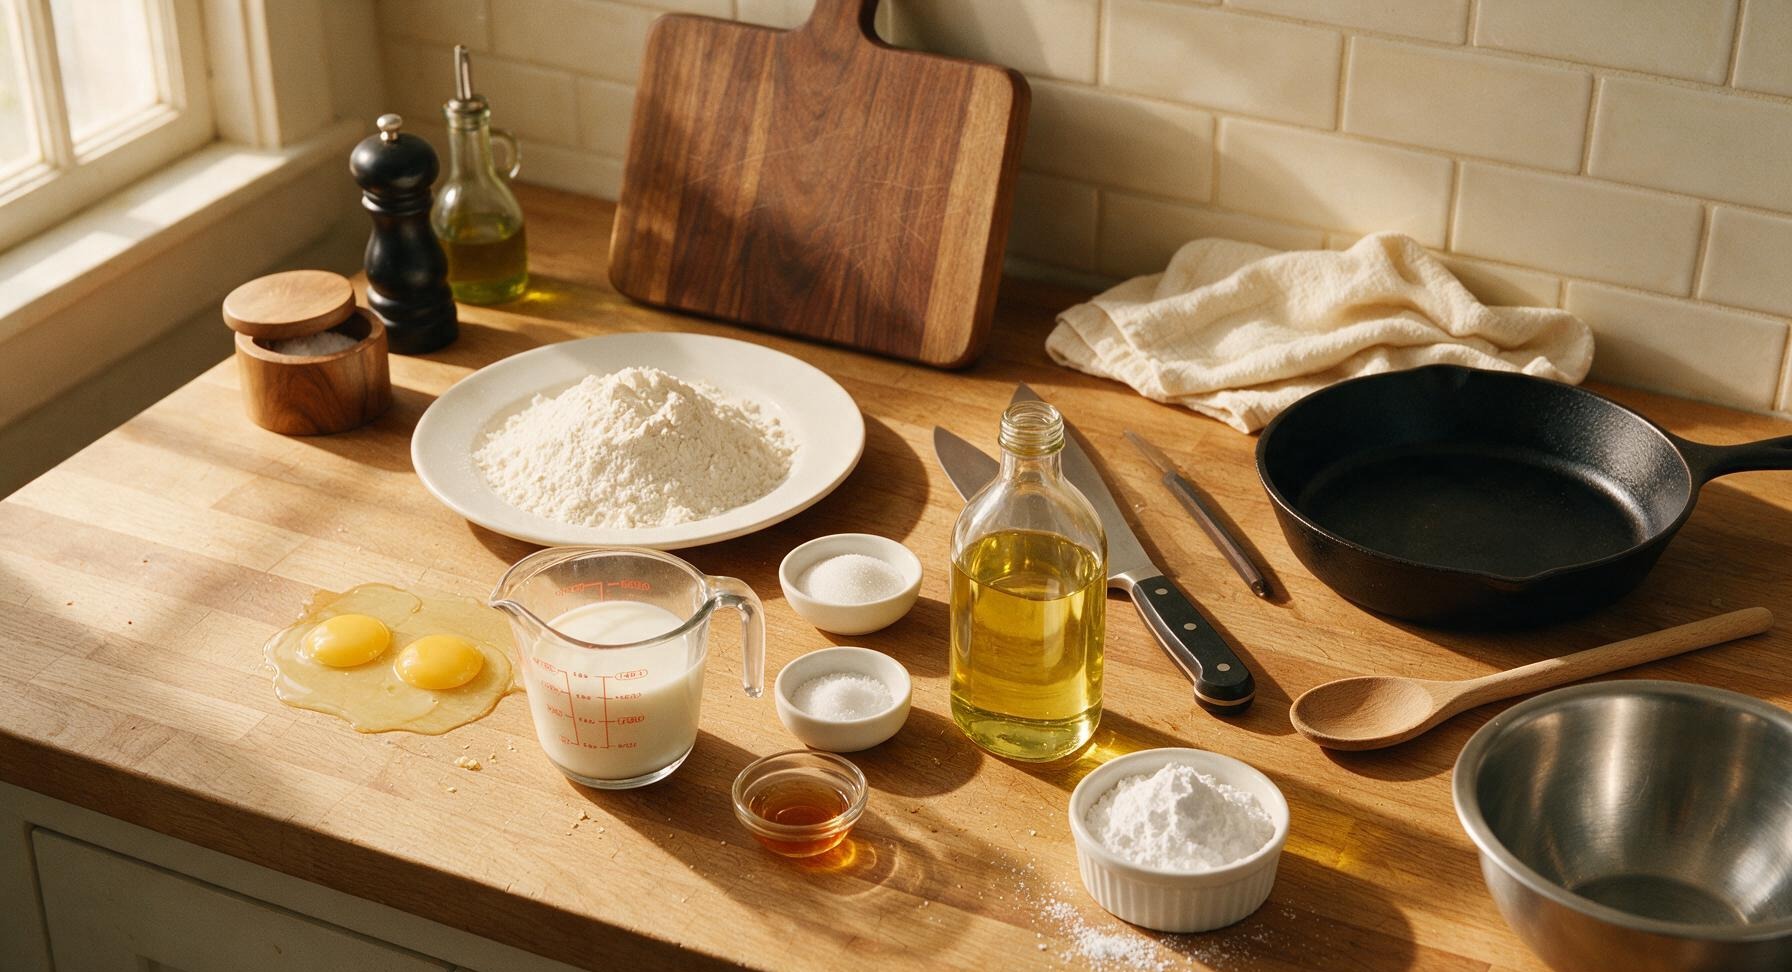
Ingredients
Steps
Whisk Rosette Batter
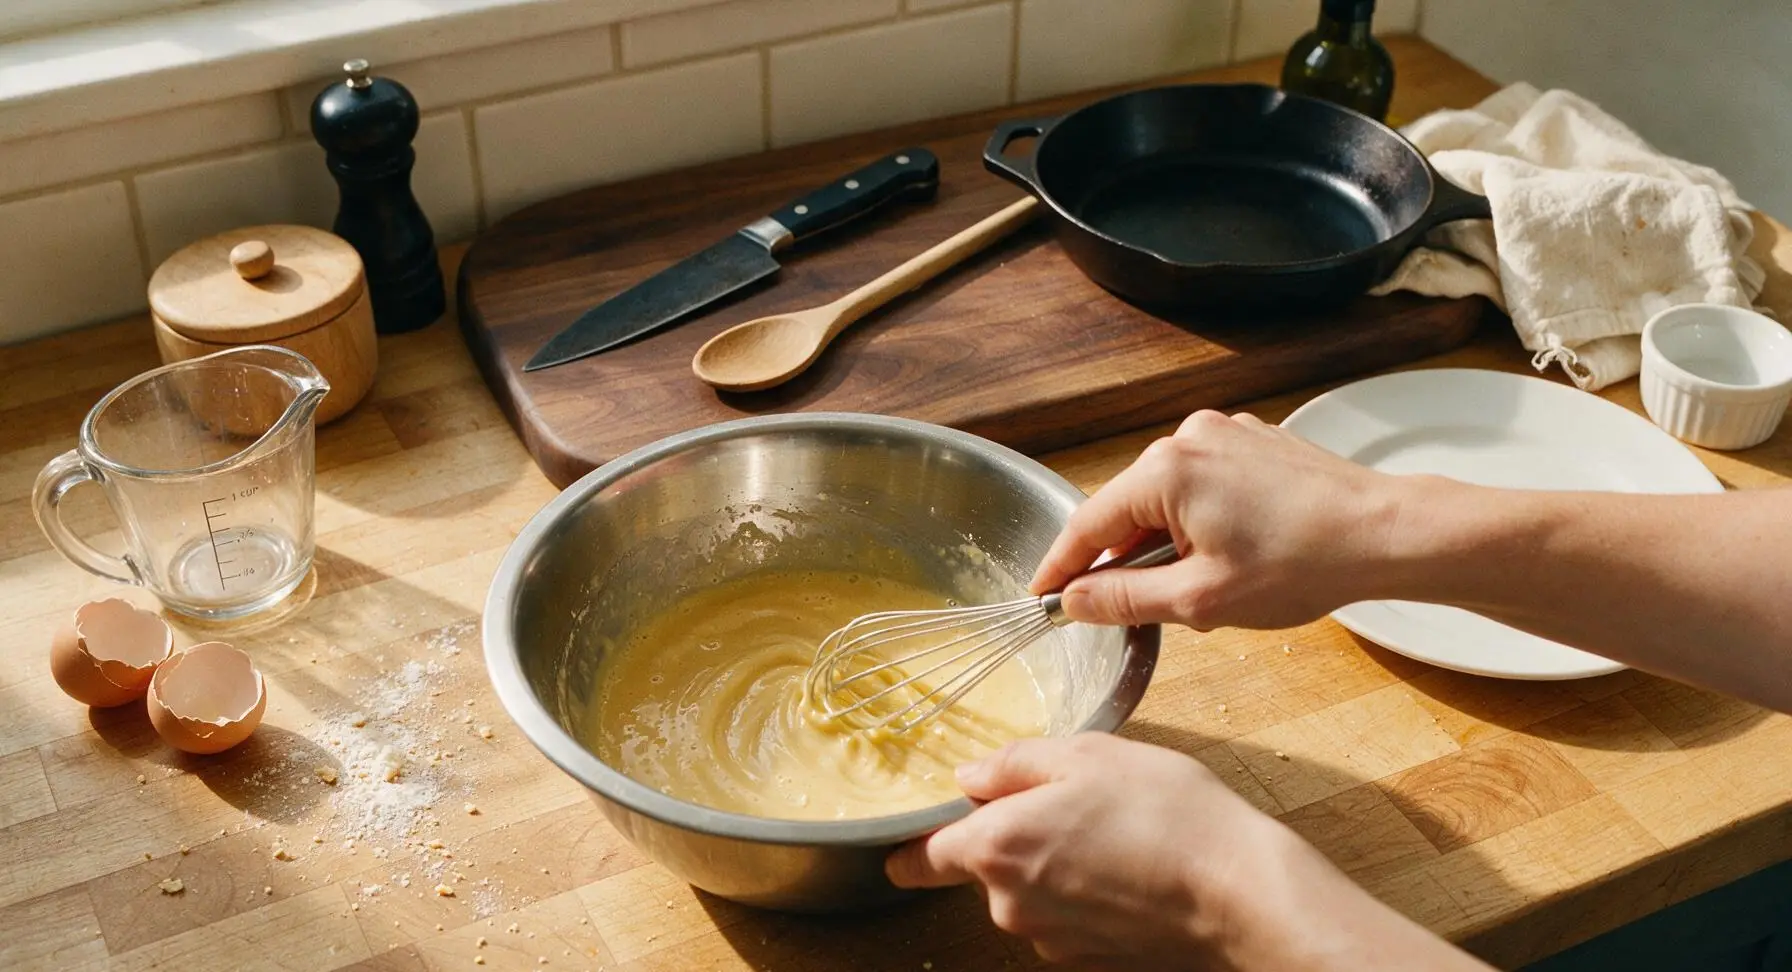
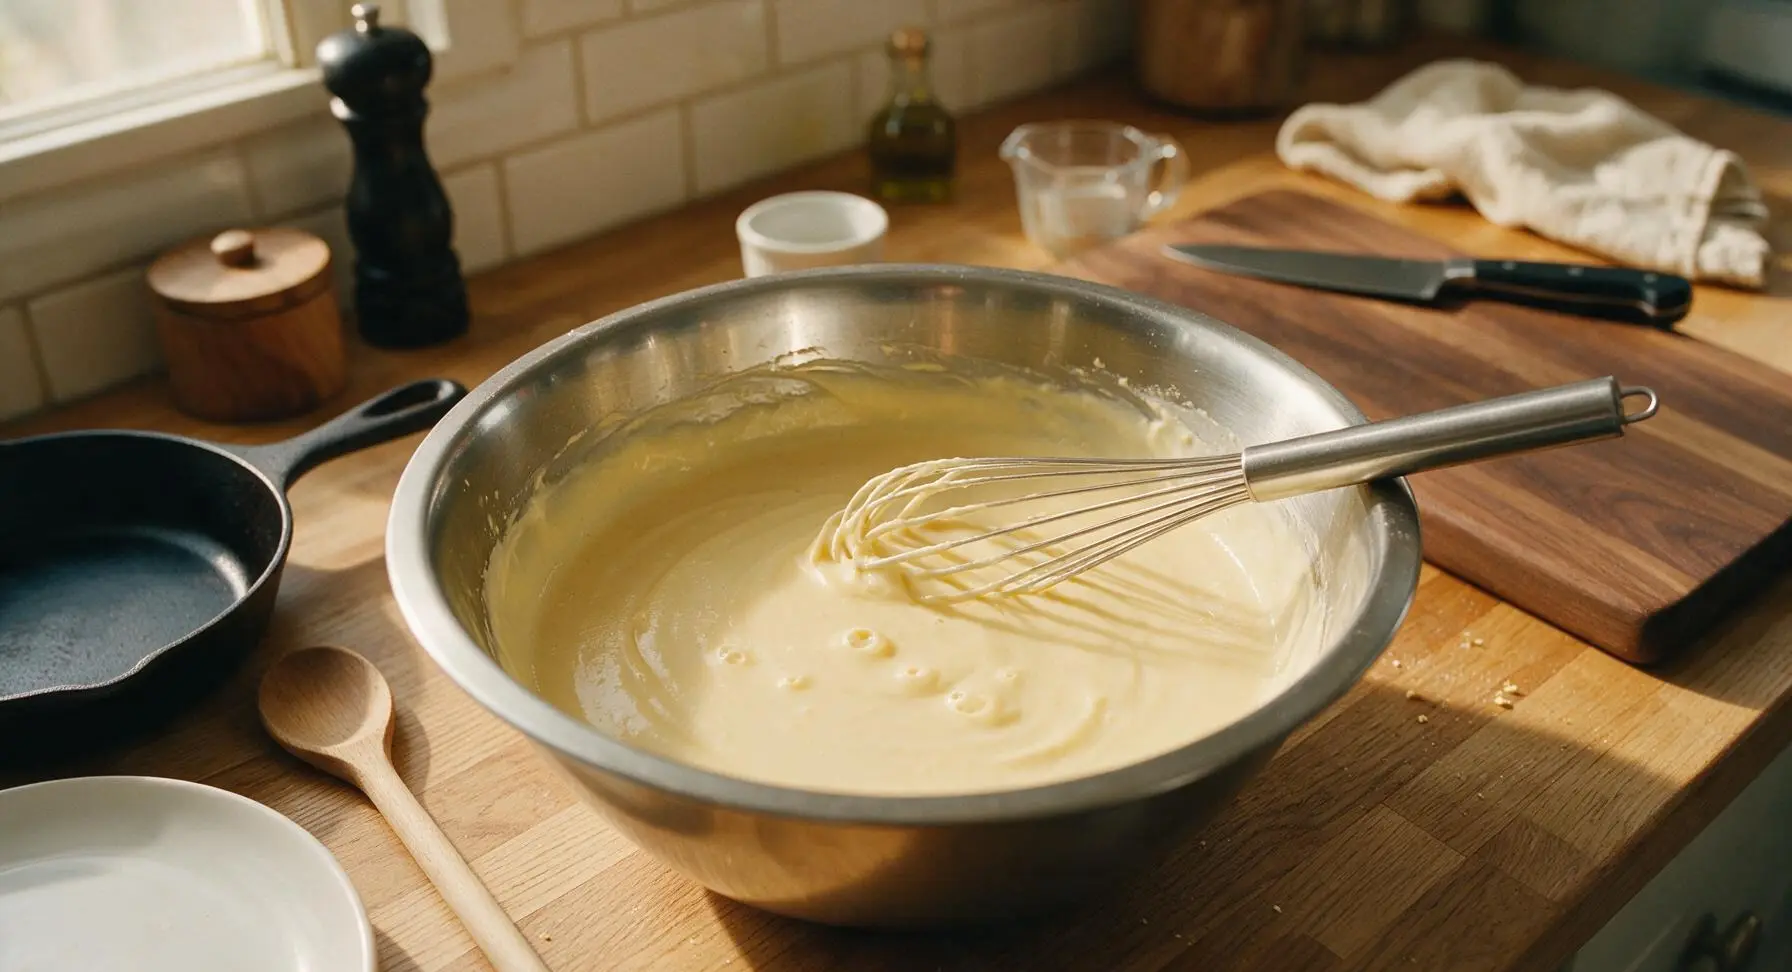
Crack 2 large eggs into the medium stainless steel mixing bowl. Add 1 tablespoon granulated sugar, 1/4 teaspoon fine salt, and 1 teaspoon vanilla extract, then whisk gently with the stainless steel whisk until just combined (do not whip air into the eggs). Slowly pour in 1 cup whole milk, whisking constantly, then gradually sift in 1 cup all-purpose flour, whisking until the batter is completely smooth, with the consistency of heavy cream, no lumps remaining. Let the batter rest for 10 minutes at room temperature to allow air bubbles to dissipate, which prevents holey, uneven cookies.
Heat Oil and Iron
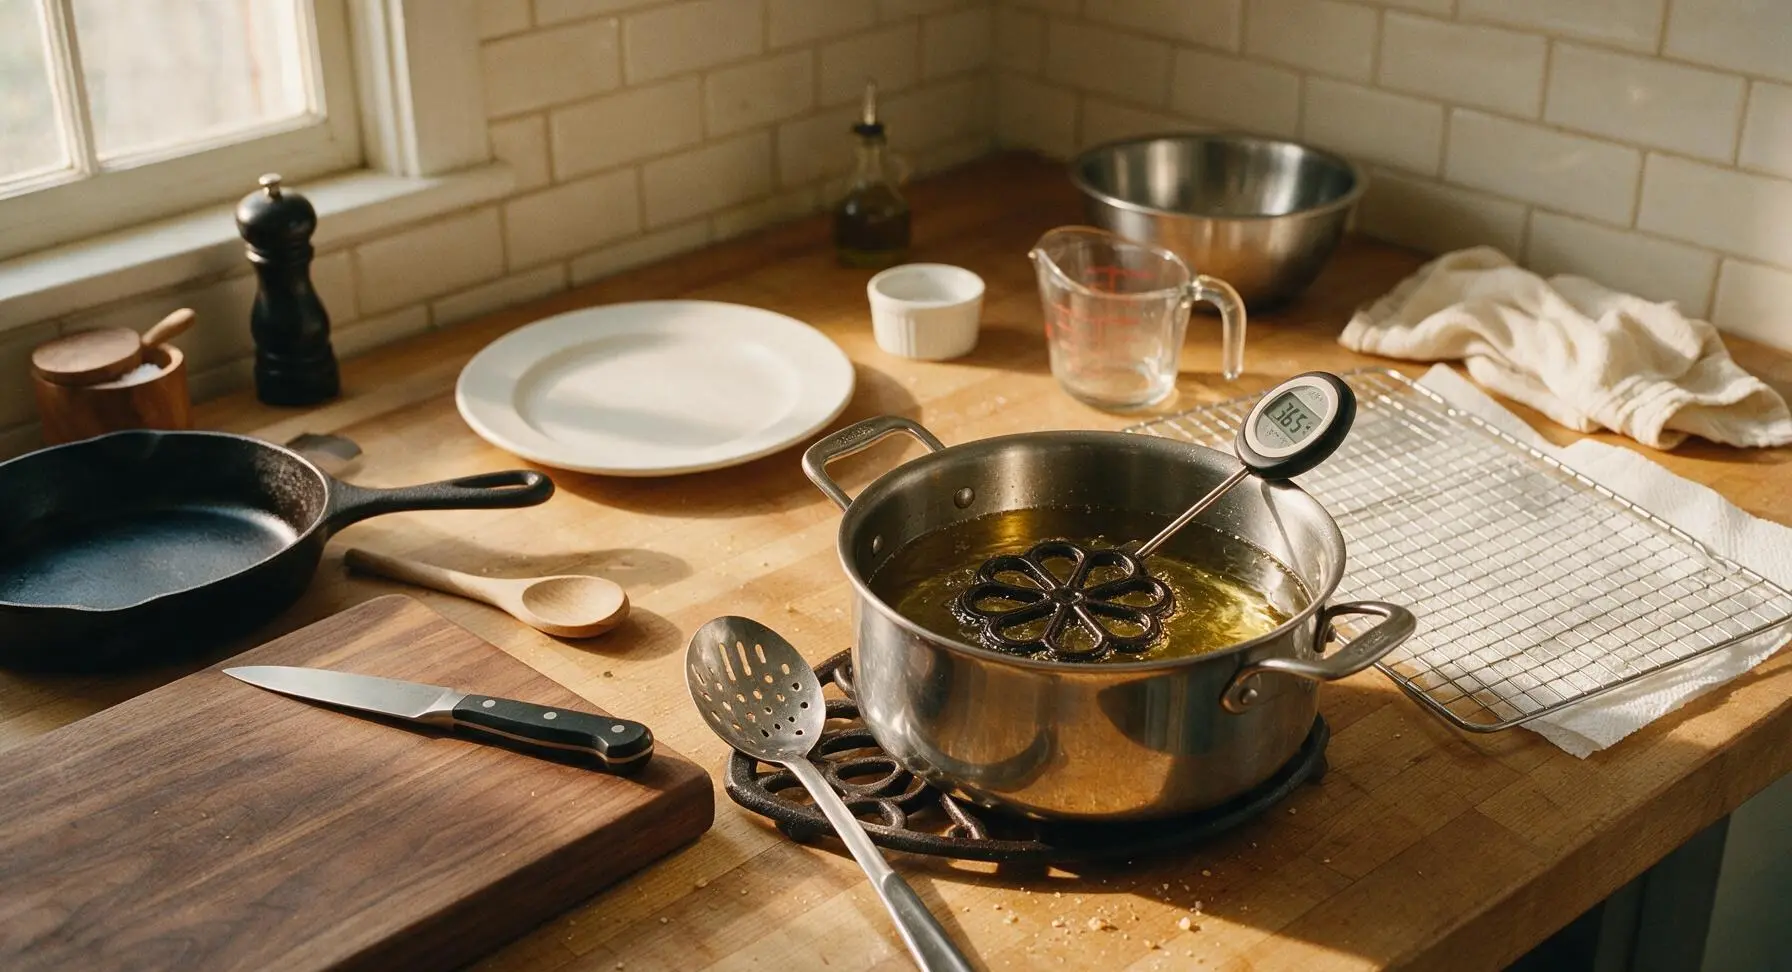
Pour 1 quart neutral vegetable oil into the 4-quart stainless steel Dutch oven, set over medium heat until the oil reaches a steady 365°F (185°C), verified with the instant-read thermometer. Submerge the cast-iron rosette iron fully in the hot oil, and let it heat for 2 full minutes — a properly heated iron prevents batter from sticking and ensures crisp, evenly golden cookies. Maintain the oil temperature between 350-375°F (175-190°C) throughout frying, adjusting heat as needed.
Dip Iron in Batter
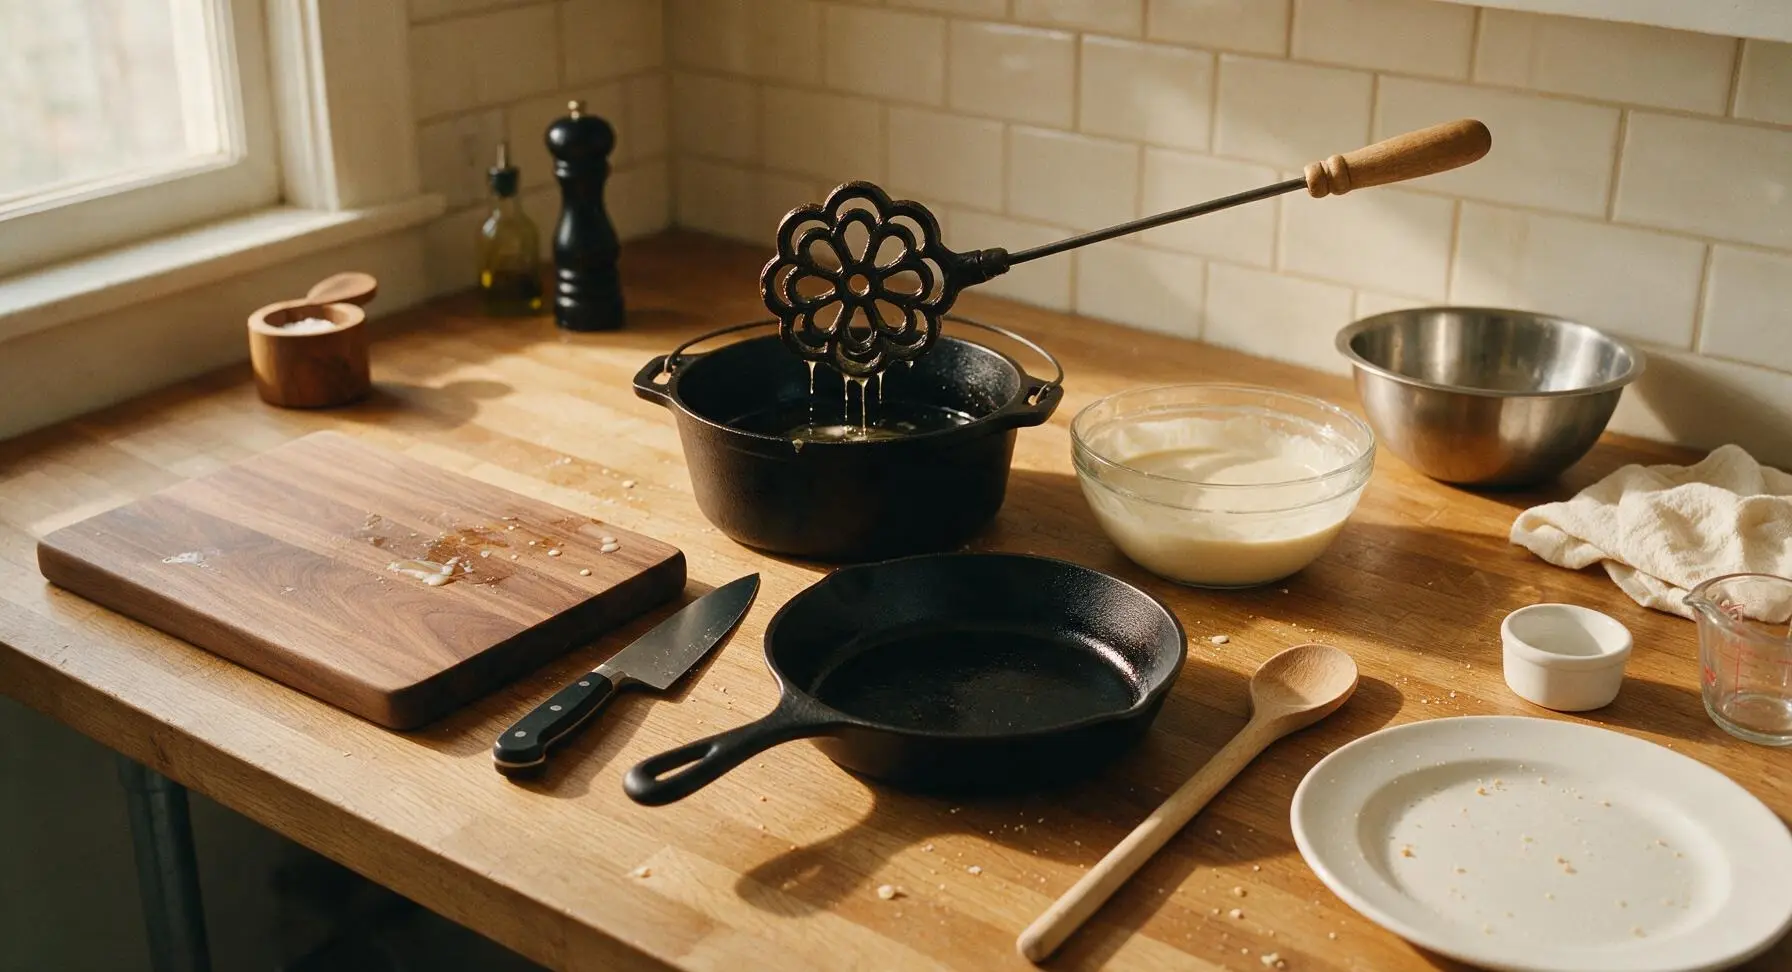
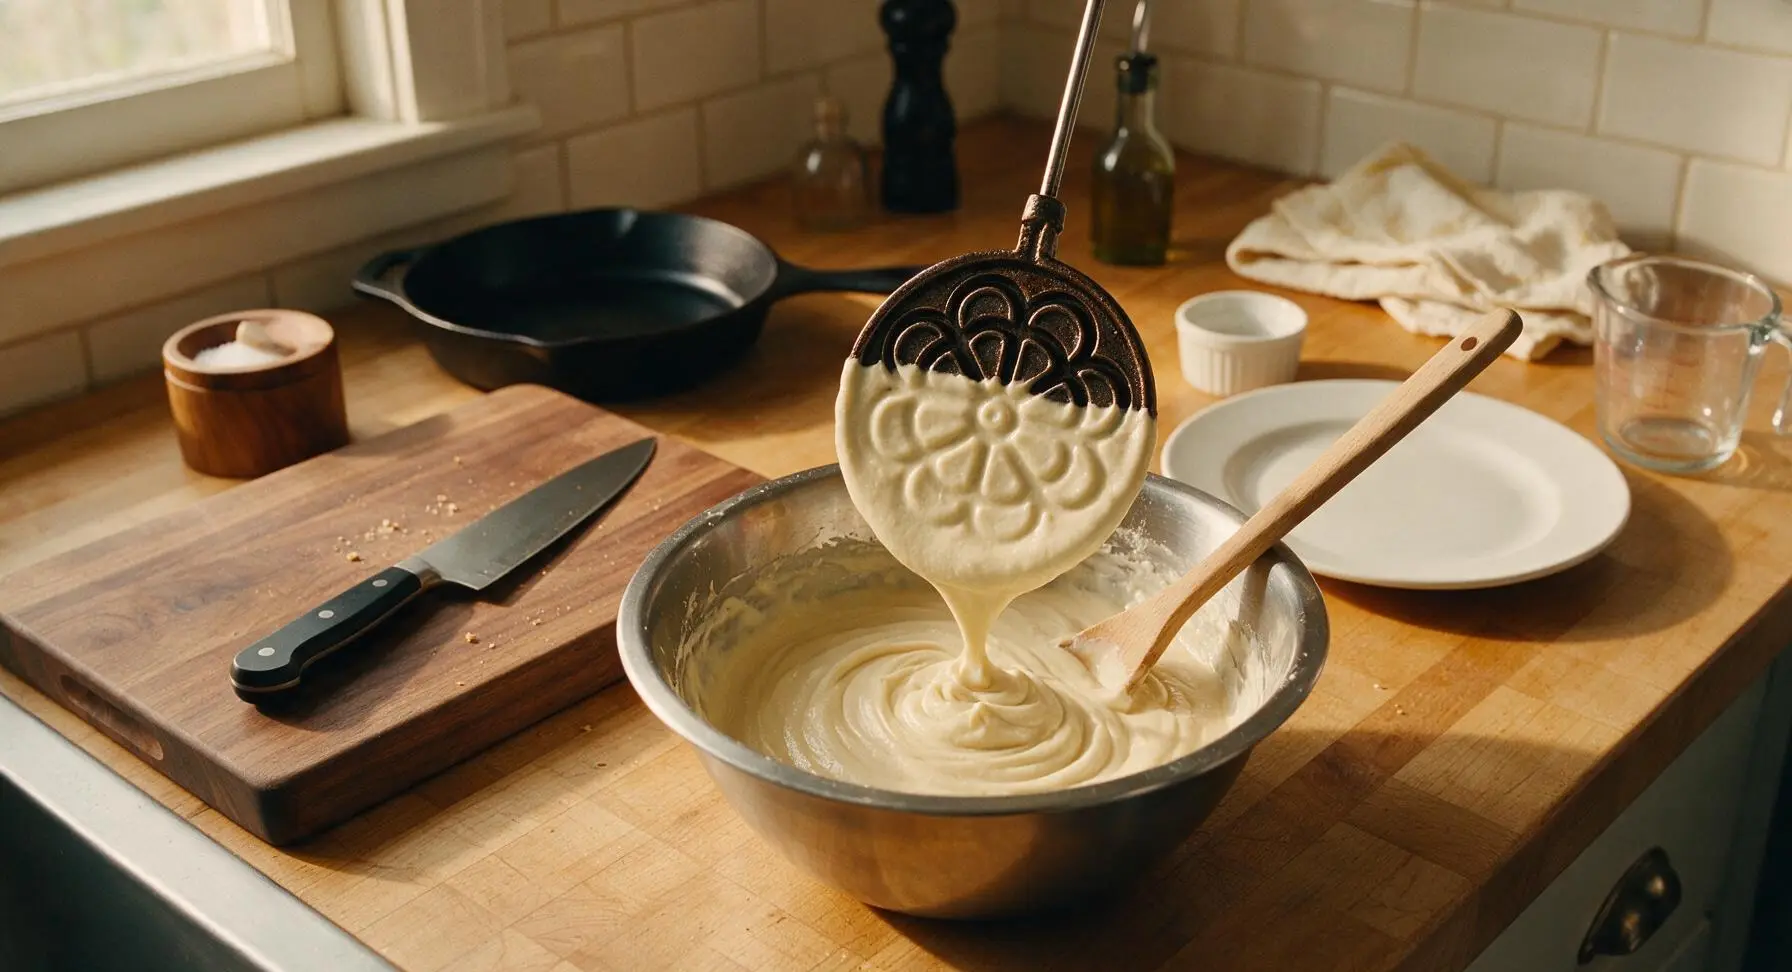
Lift the heated rosette iron from the oil, letting excess oil drip off for 2 seconds (do not wipe the iron). Dip the hot iron 3/4 of the way into the rested batter — do not submerge the iron fully over the top of the decorative mold, as this will make the cookie impossible to remove from the iron. Hold the iron in the batter for exactly 3 seconds, so a thin, even layer of batter adheres to the hot metal surface.
Fry Rosettes Until Crisp
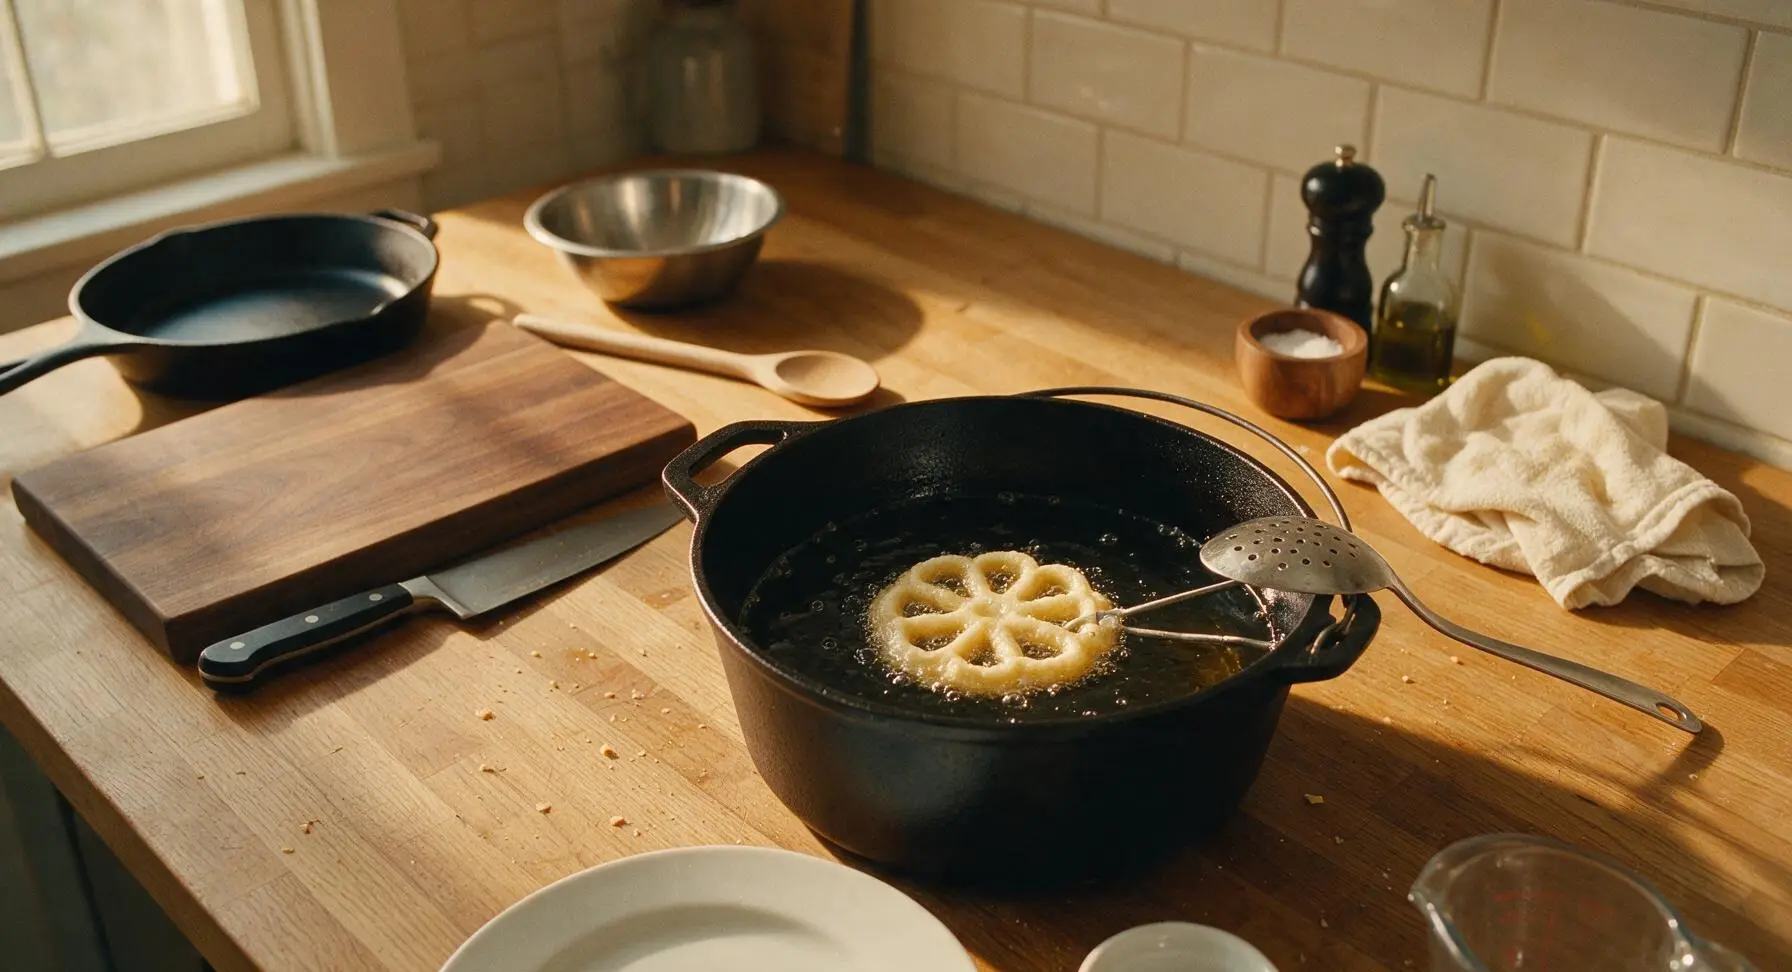
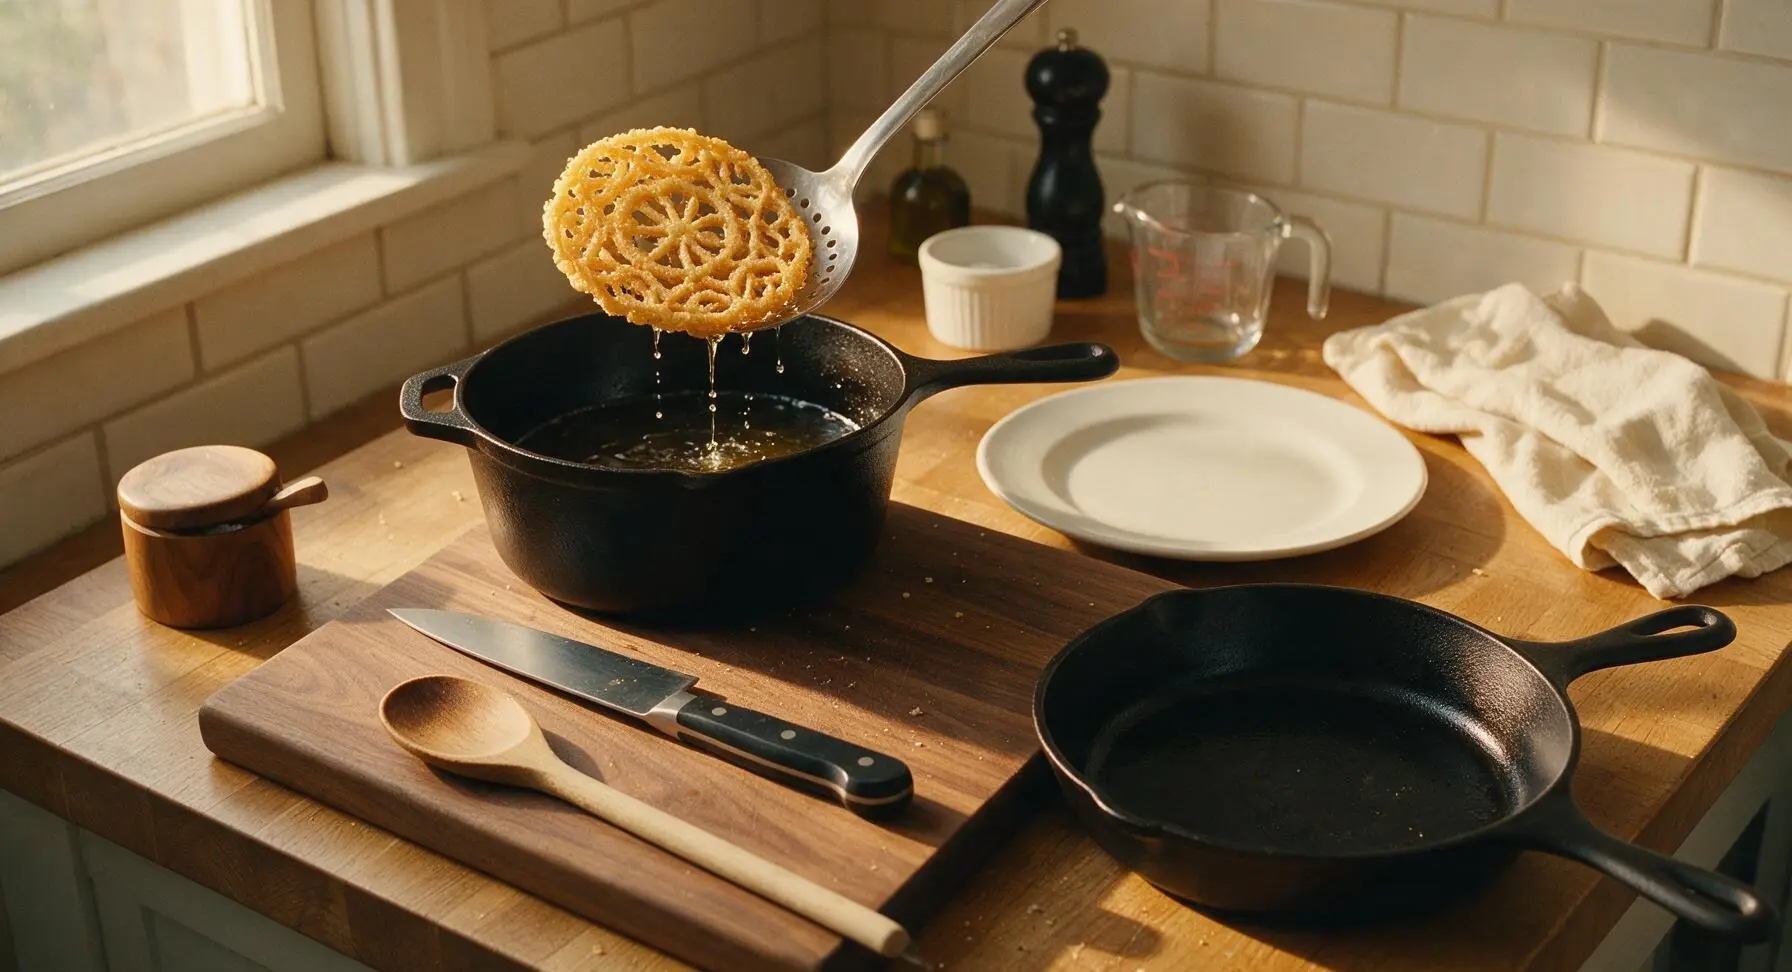
Lift the batter-coated iron out of the batter, letting excess batter drip off for 1 second, then immediately lower it fully back into the hot oil. Fry for 20-30 seconds, until the edges of the cookie turn pale golden and lacy. Gently nudge the cookie off the iron using the tip of the slotted spoon, then let it fry for an additional 10 seconds on the second side until uniformly light golden all over.
Drain Excess Oil
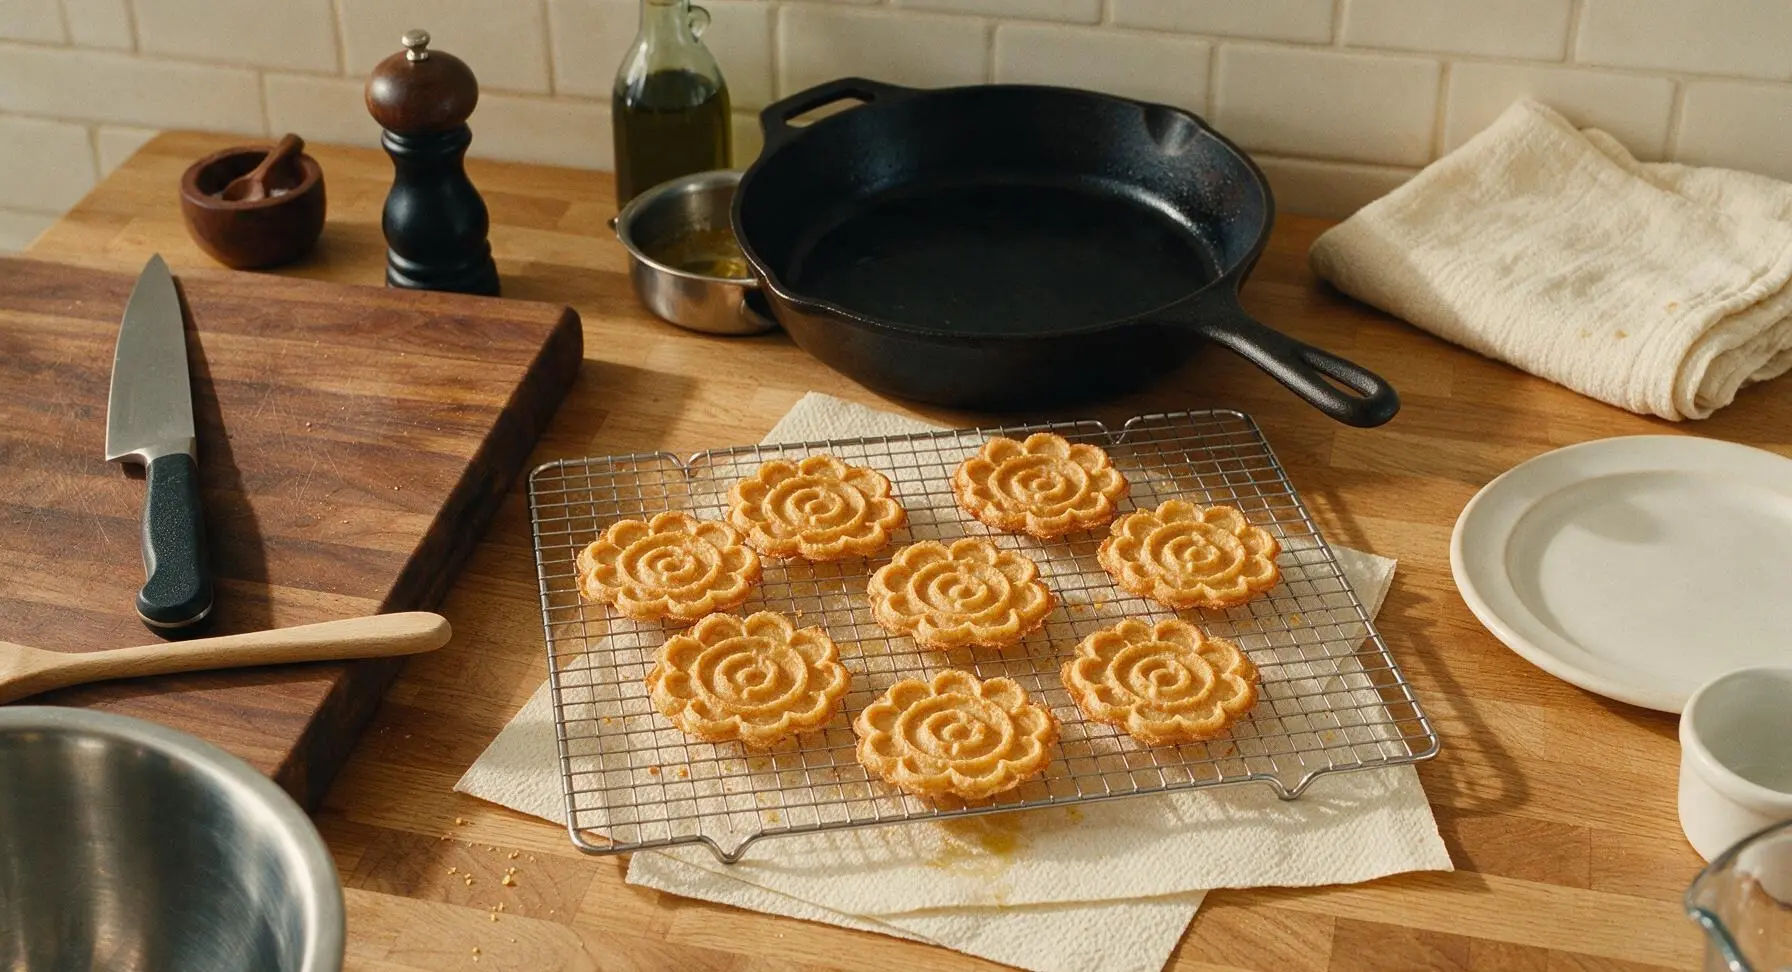
Lift the finished golden rosette from the oil with the slotted spoon, holding it above the pot for 5 seconds to let excess oil drip off. Transfer the cookie to the paper-towel lined wire cooling rack, placing it curved-side down to let any remaining oil drain away. Repeat the dipping and frying process with the remaining batter, returning the iron to the hot oil for 30 seconds between every 2-3 cookies to keep it at the correct temperature.
Dust with Powdered Sugar
Let the rosettes cool completely on the rack for 10 minutes (they will crisp further as they cool — do not dust sugar while they are hot, as the sugar will melt and make the cookies soggy). Place 1/2 cup powdered sugar in the fine-mesh sieve, and tap the side of the sieve gently to dust a light, even layer of powdered sugar over all the cooled rosettes, turning them once to coat both sides.
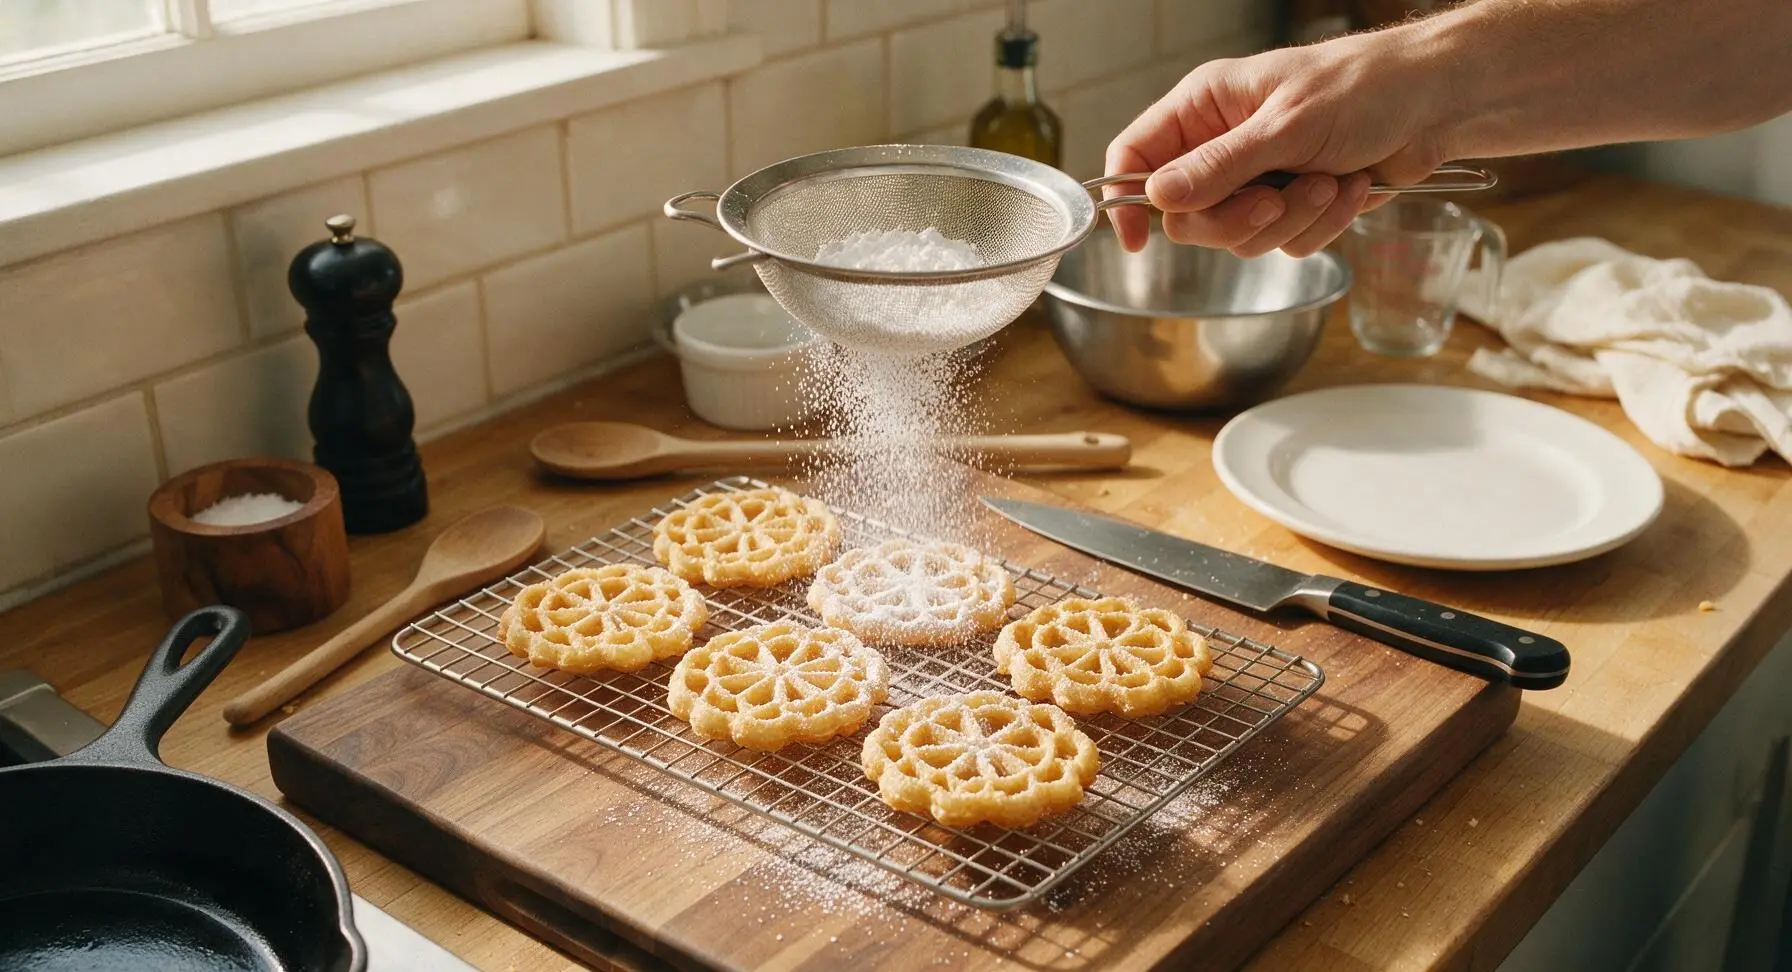
Plate and Serve
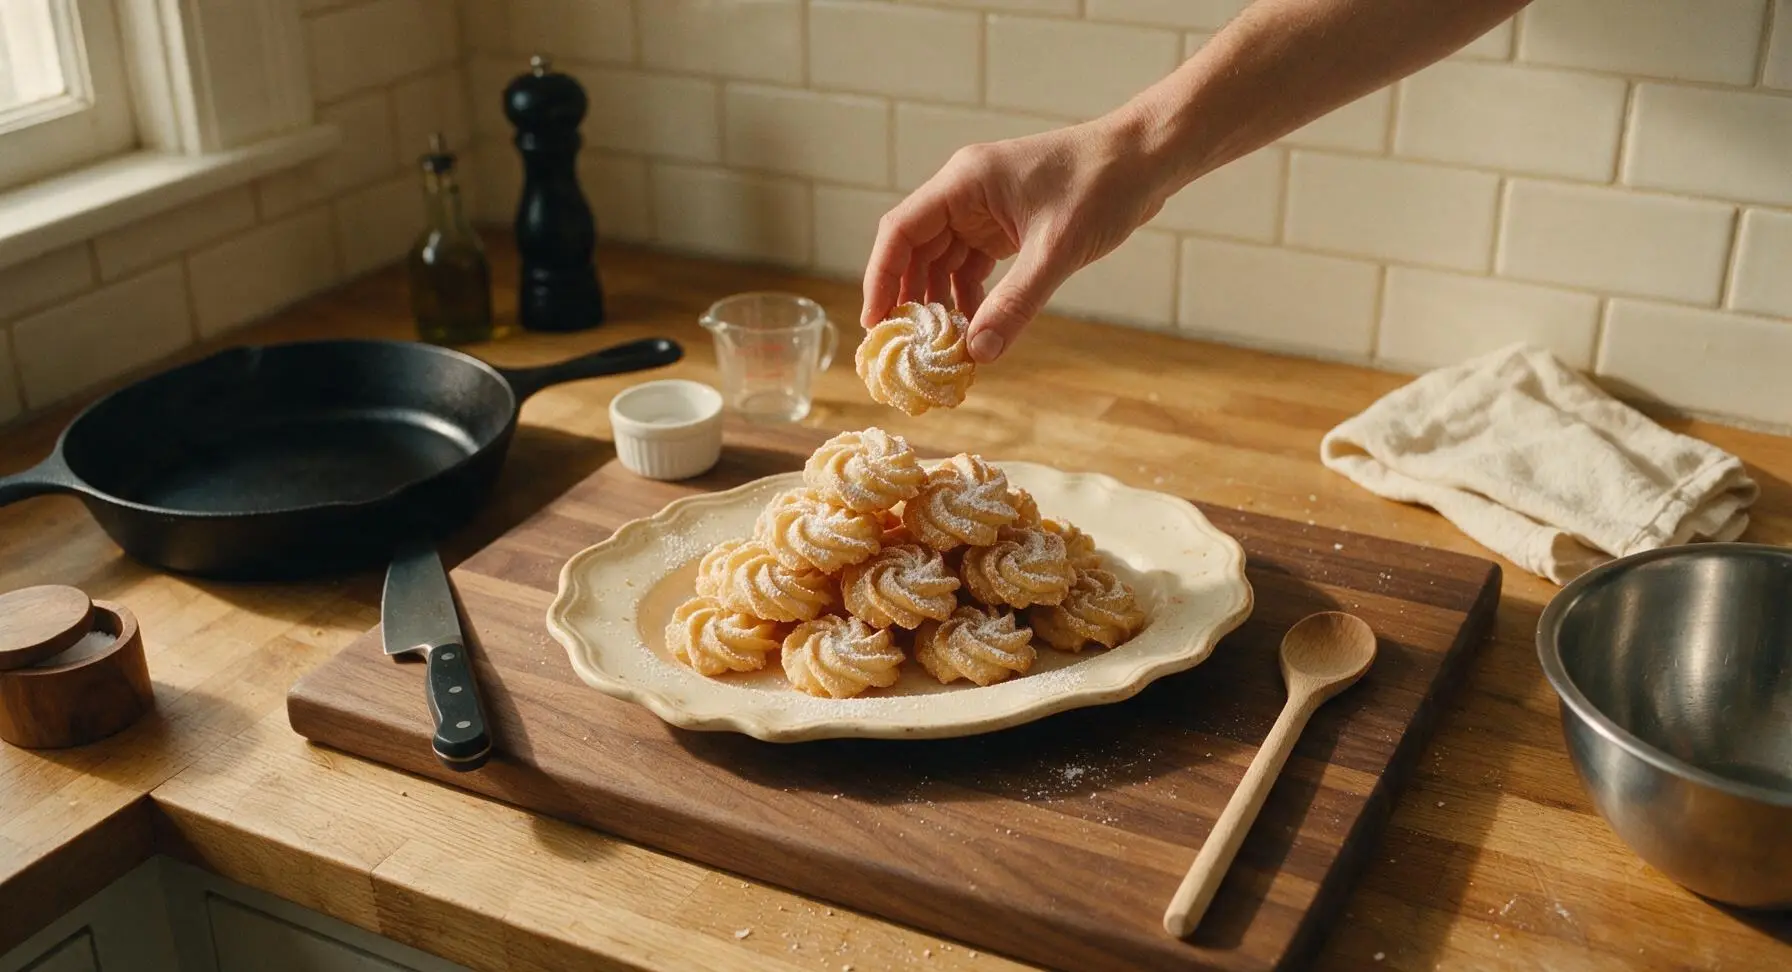
Arrange the powdered sugar-dusted rosettes in a gentle pyramid on the vintage cream ceramic scalloped platter, adding a light extra dusting of powdered sugar just before serving for a snowy, festive look. Store leftover rosettes in an airtight container at room temperature for up to 2 days to retain maximum crispness.
Tips
2.If batter sticks to the iron instead of releasing in the hot oil, your iron is not hot enough. Carefully scrape any residual batter off the iron, return it to the hot oil for a full minute to reheat, then try again — a properly heated iron instantly sets the batter on contact to prevent sticking.
3.Do not overmix the batter or whip air into the eggs: excess trapped air bubbles will create large, uneven holes in the finished cookies, making them overly fragile and less crisp. Letting the batter rest for 10 minutes after mixing allows remaining air bubbles to rise and pop for uniformly lacy, sturdy cookies.






OMG these turned out SO good! I was nervous to use my grandma’s old rosette iron for the first time but the temperature tip in the recipe was a total game changer. My kids devoured half the batch before I even finished dusting them with powdered sugar. Brought the rest to our neighborhood potluck and everyone asked for the recipe! Only note: my first 2 cookies stuck to the iron, but once I got the hang of dipping not too deep, they slid right off. 10/10 will make every Christmas from now on.
I’ve been hunting for a good rosette cookie recipe for literal years! My mom used to make these when I was little but she never wrote her recipe down. These taste exactly like I remember—light, shatteringly crisp, not too sweet. Cook time was spot on for me too, 25 minutes once I got my rhythm going. Only thing I did extra was add a tiny pinch of cardamom to the batter, so good with chai.
Made these for my daughter’s birthday tea party and they were such a hit! I dyed a little bit of the powdered sugar pink to match the decor and they looked so fancy. People thought I bought them from a fancy European bakery, lol. Will definitely be making these again for future gatherings.
Tried these for a class potluck and wow, way easier than I thought they’d be for a medium difficulty recipe? Wait no, scratch that—my first batch was a total disaster because I let the oil get too hot, they burned in 2 seconds. Turned the heat down like the recipe said and the rest came out perfect. My roommates are already begging me to make another batch this weekend.
I was so excited for this recipe but I tried swapping in a 1:1 gluten free flour blend and the batter kept sliding off the iron? Has anyone else tried making these gluten free? Flavor was great on the few that actually stayed on, but the texture was a little chewier than I wanted instead of crisp.
Made these with my 7 year old last night for her scout meeting. She loved dipping the iron in the batter and watching the cookies bubble in the oil. We did half with powdered sugar and half dipped in melted dark chocolate with sprinkles. Zero complaints from the troop, all the cookies were gone in 10 minutes flat. Solid recipe.
Quick question—can I make these a day ahead for a holiday dinner? I don’t want them to get soggy before we serve them. I know fried cookies can lose their crunch if they sit too long in an airtight container. I tested half a batch last night and they were insanely good, just trying to plan my cook schedule for next week!
My mother-in-law is coming for dinner this weekend and she’s super picky about traditional Scandinavian cookies, so I’m stressed about making these right. Any tips for making them look perfectly uniform? Mine always come out a little lopsided when I dip them lmao
These are the perfect pairing for my morning latte, not too sweet so they don’t overpower the coffee. I added a little lemon zest to the batter like my abuela used to do and it gave them such a bright, fresh flavor. So crisp they practically melt in your mouth. 10/10
Wait, how do you guys clean your rosette irons after making these? I got batter stuck in all the little crevices last time I made rosettes and it was a nightmare to scrub off. Don’t want to ruin my nice new iron making this recipe!
Y’all. I made these for game night and I didn’t even get to try one? My friends ate the entire plate in like 5 minutes, they were gone before I finished pouring the drinks. Definitely doubling the batch next time I make them, lesson learned. SO good.
Not gonna lie, I was skeptical these would turn out because I’m terrible at fried desserts, but the step-by-step instructions were super easy to follow. Cook time was exactly 25 minutes like the recipe said, no guesswork. Dusted ‘em with cinnamon sugar instead of powdered sugar and they tasted like churro rosettes, chef’s kiss.
I’ve been making rosettes for 60 years and this is hands down the best batter recipe I’ve ever tried. No weird aftertaste from too much vanilla, the texture stays crisp for days, it doesn’t run off the iron half as bad as my old recipe did. I’ll be passing this along to all my grandkids for their recipe boxes.
I was worried these wouldn’t hold up for meal prep dessert for the week but they stayed crisp all 3 days I had them stashed in my lunch bag. Perfect little sweet treat to look forward to after work, no sogginess at all. Will be adding these to my regular rotation.
Help! My cookies are coming out super greasy, like they’re soaking up tons of oil. What am I doing wrong? I followed the recipe exactly but they’re leaving oil stains on my paper towels when I pull them out.