
Rosettes (Minnesota)
intro
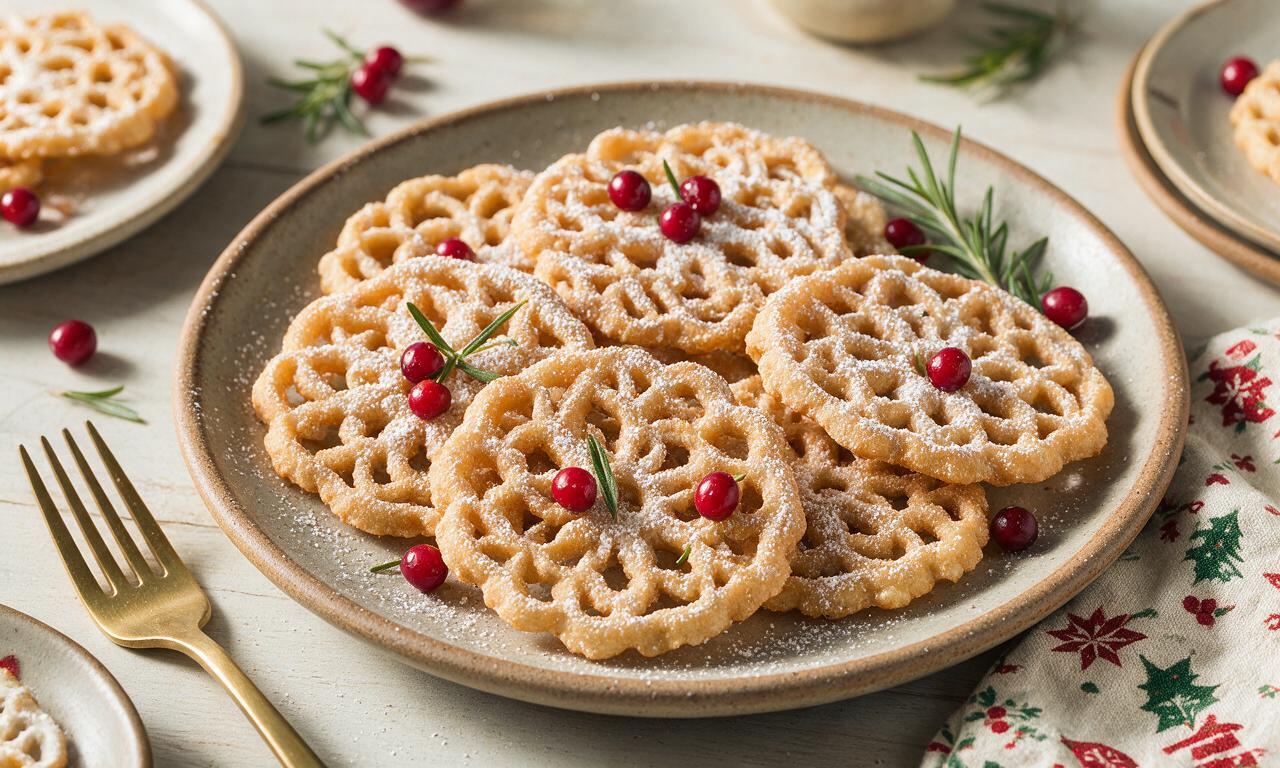
Light, lacy, crisp fried cookies dusted with powdered sugar, a beloved Minnesota Christmas treat with Scandinavian immigrant roots, ideal for festive cookie platters.
Ingredients
Steps
Prepare the rosette batter
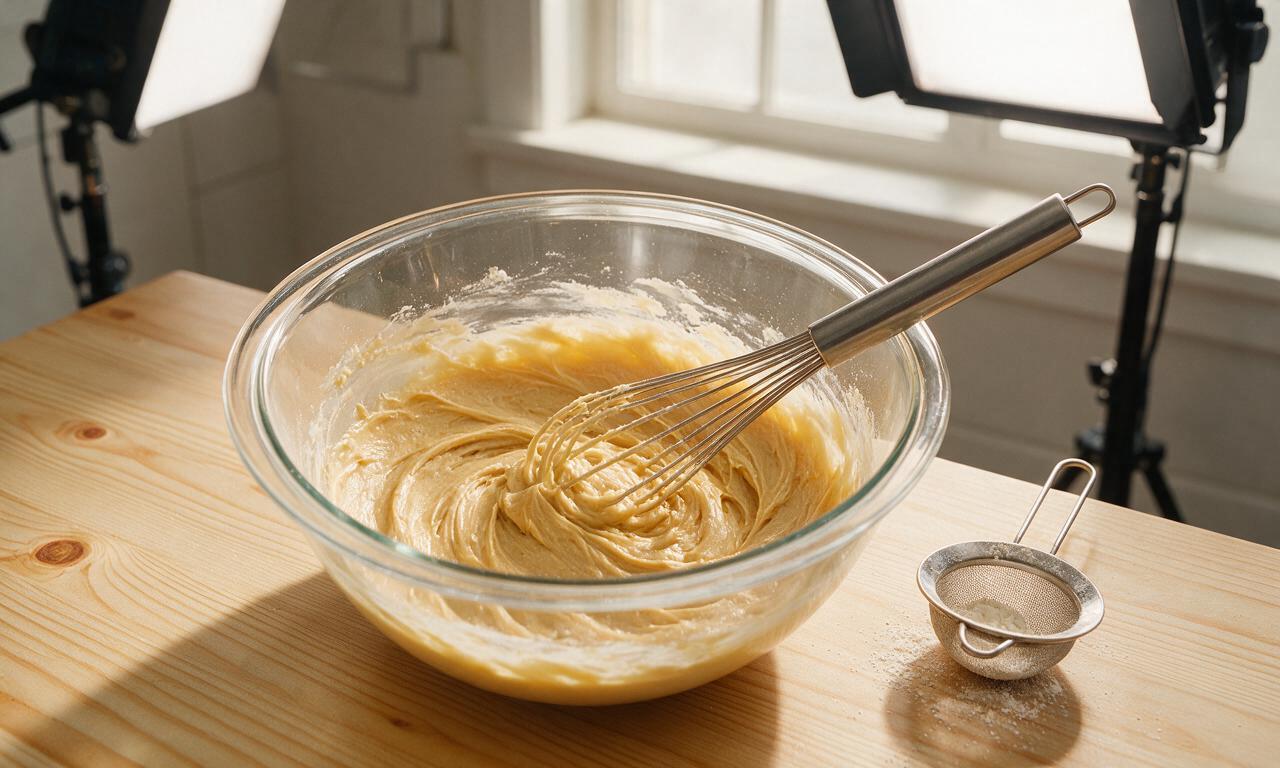
In a medium mixing bowl, whisk 2 room-temperature large eggs until just combined (do not whip to avoid excess air bubbles that cause uneven holes in fried cookies). Stir in 240ml (1 cup) whole milk, 5ml (1 tsp) vanilla extract, 25g (2 tbsp) granulated sugar, and 1.5g (1/4 tsp) fine sea salt. Gradually sift in 120g (1 cup) all-purpose flour, whisking gently until the batter is completely smooth with the consistency of heavy cream, with no lumps remaining. Let the batter rest for 10 minutes at room temperature to let trapped air bubbles dissipate.
Heat oil and rosette iron
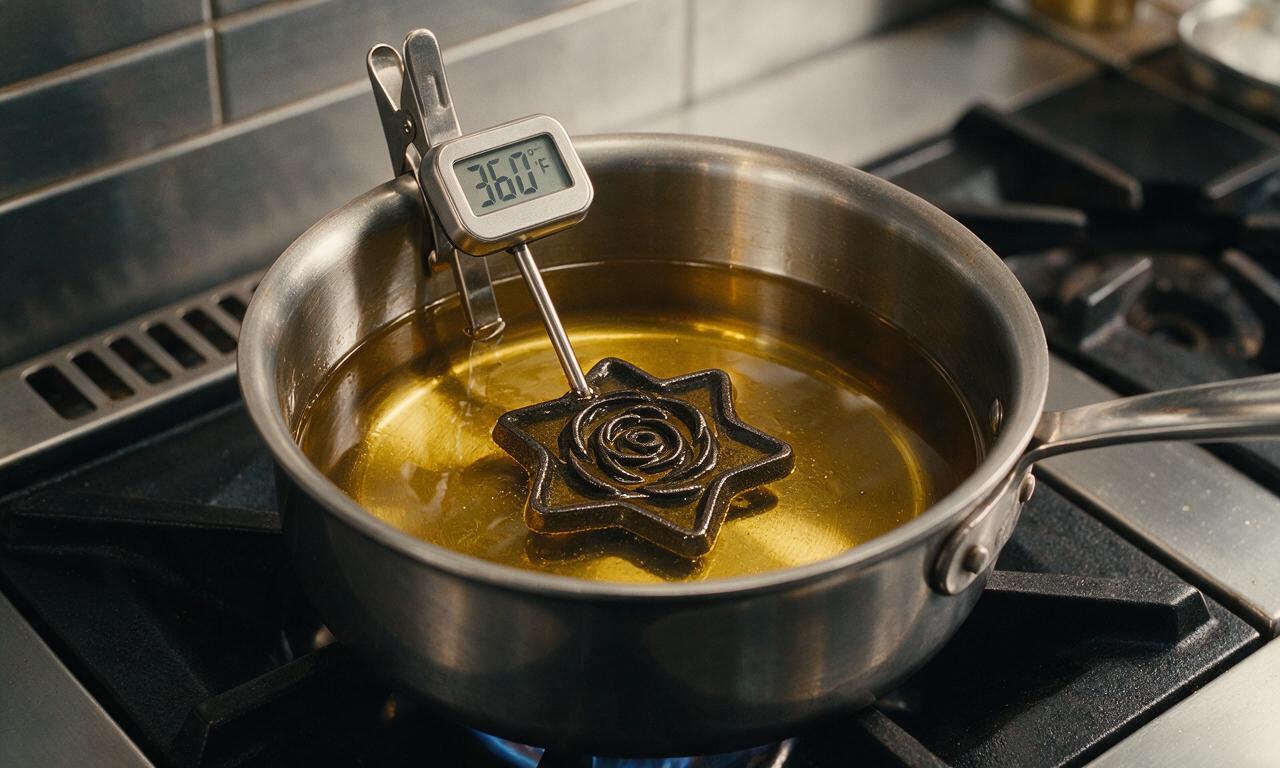
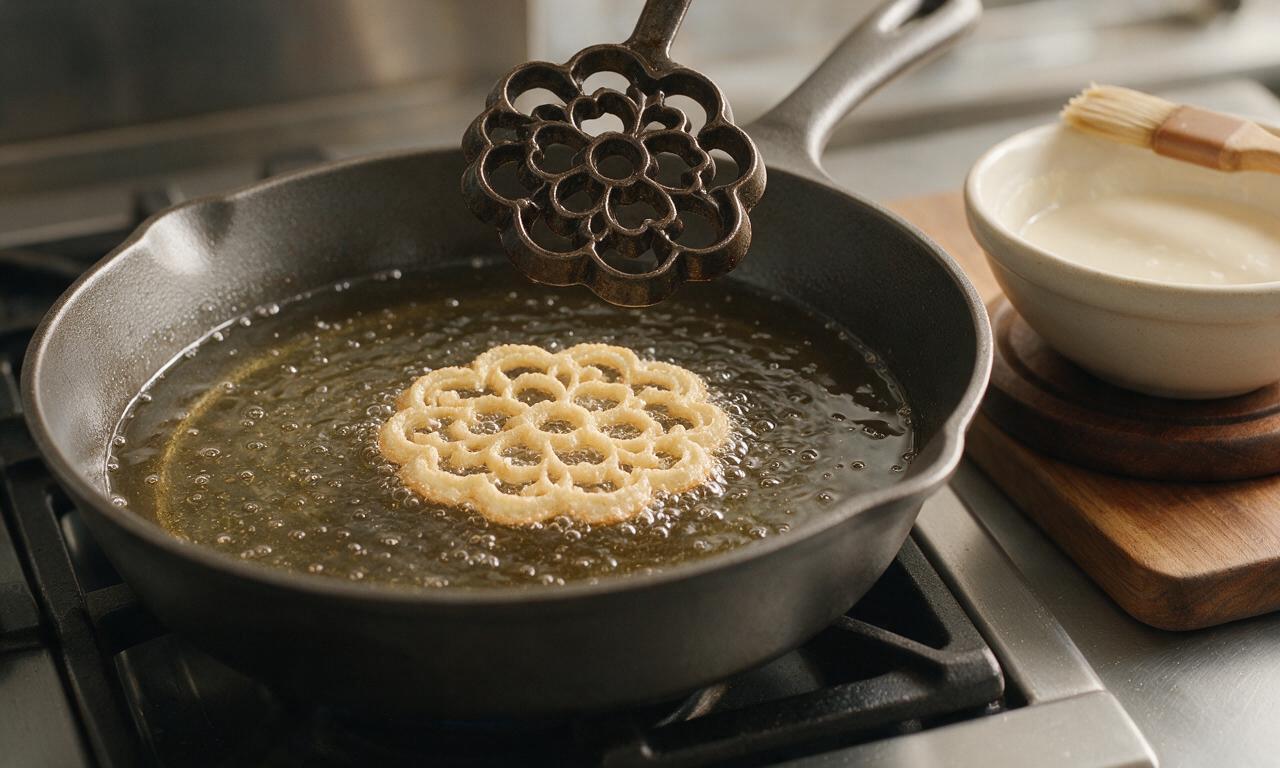
Pour 960ml (4 cups) neutral vegetable oil into a deep, heavy-bottomed pot or countertop deep fryer, and heat to a steady 180°C (360°F) over medium heat, clipping a candy thermometer to the pot edge to monitor temperature consistently. Submerge the cast-iron rosette mold completely in the hot oil, and let it preheat for 2 full minutes—this critical step prevents batter from sticking to a cold iron during frying.
Coat iron with batter
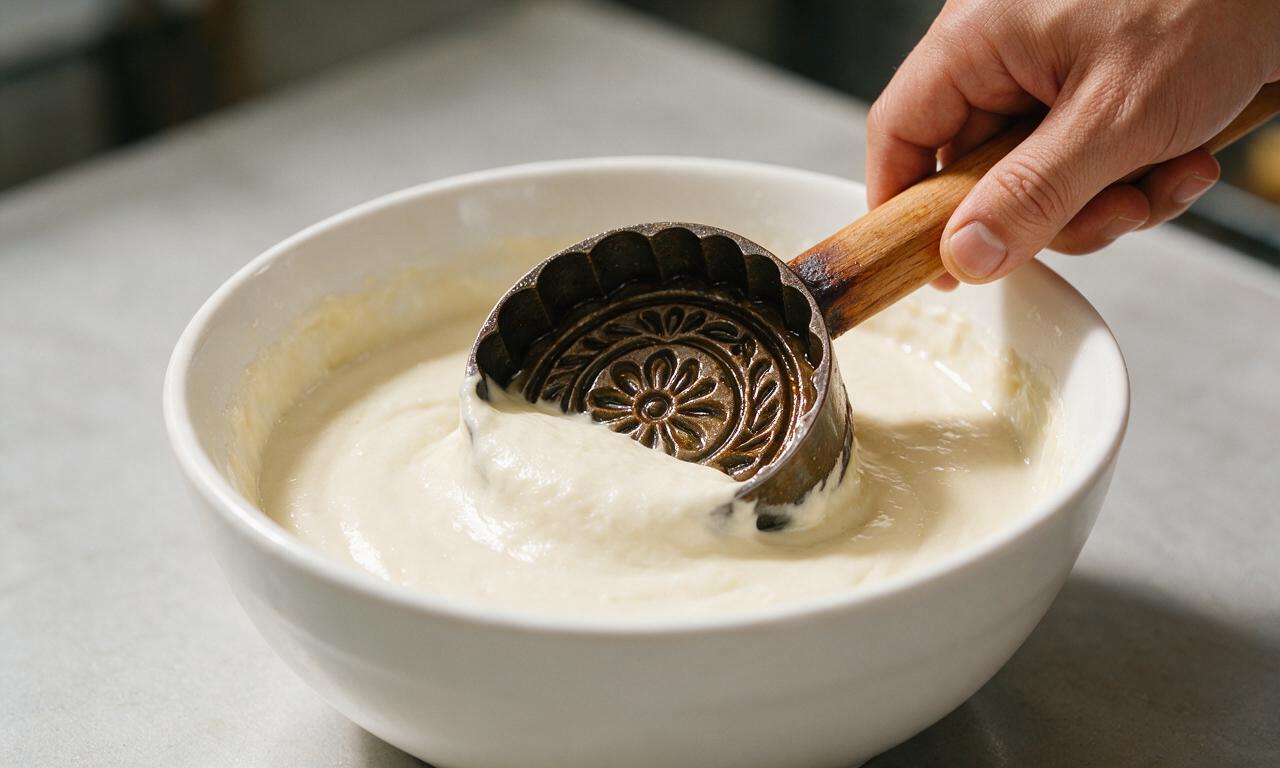
Lift the preheated rosette iron from the oil, letting excess oil drip off for 5 seconds. Dip the hot iron only 3/4 of the way into the rested batter—do not submerge the iron completely over its top edge, as this will trap batter and make the cooked cookie impossible to remove from the mold without breaking. Hold the iron in the batter for 3 seconds to let a thin, even layer cling to the hot metal.
Fry until golden crisp
Immediately lower the batter-coated iron back into the hot 180°C (360°F) oil, submerging it fully. Fry for 20 to 25 seconds, until the rosette turns a pale, even golden brown around the edges. Gently nudge the cookie off the iron using the tip of a wooden skewer, then let it fry for an additional 10 seconds on the reverse side to crisp evenly across its entire surface.
Drain and cool cookies
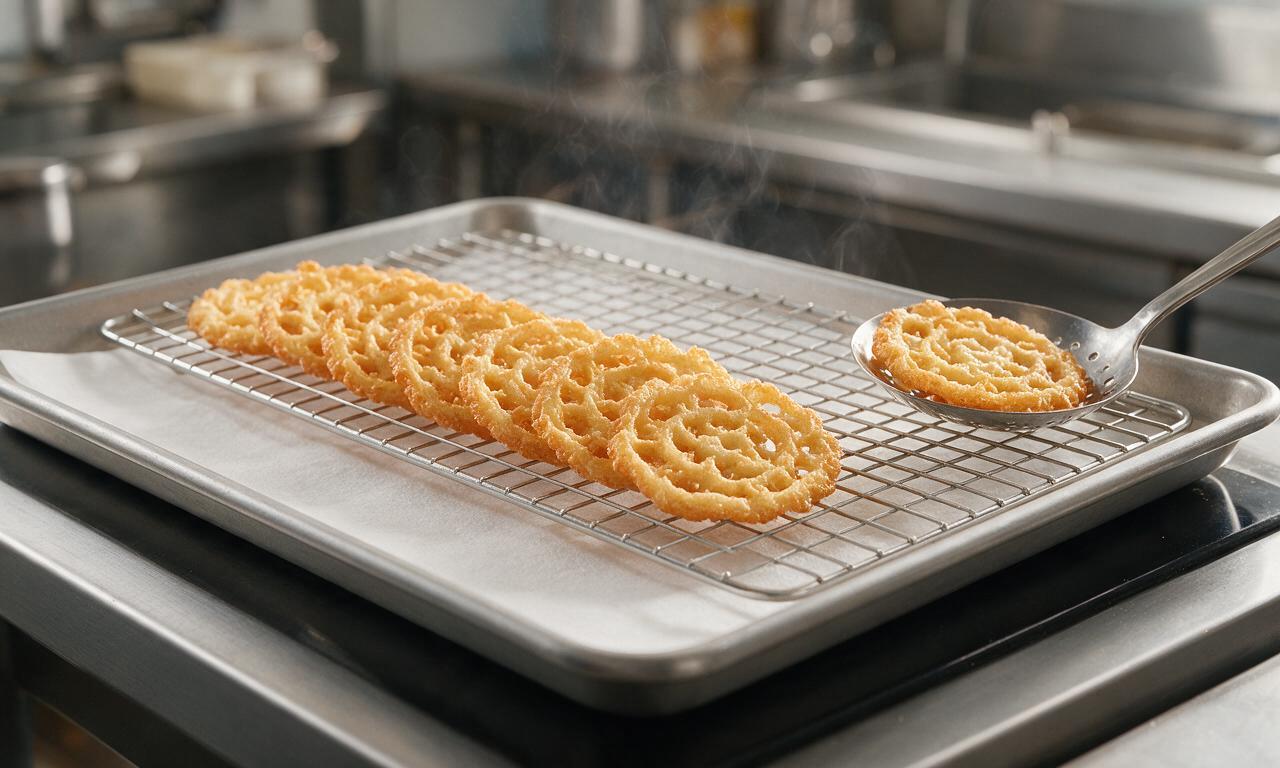
Use a slotted metal spoon to lift the finished rosette from the oil, letting excess oil drain for 10 seconds over the pot, then transfer it to a wire rack lined with paper towels to cool. Repeat the dipping and frying process with remaining batter, remembering to reheat the rosette iron in the oil for 30 seconds between each batch, and adjusting stovetop heat as needed to keep oil at a steady 180°C (360°F). Let all cookies cool for 15 minutes before finishing.
Dust with powdered sugar
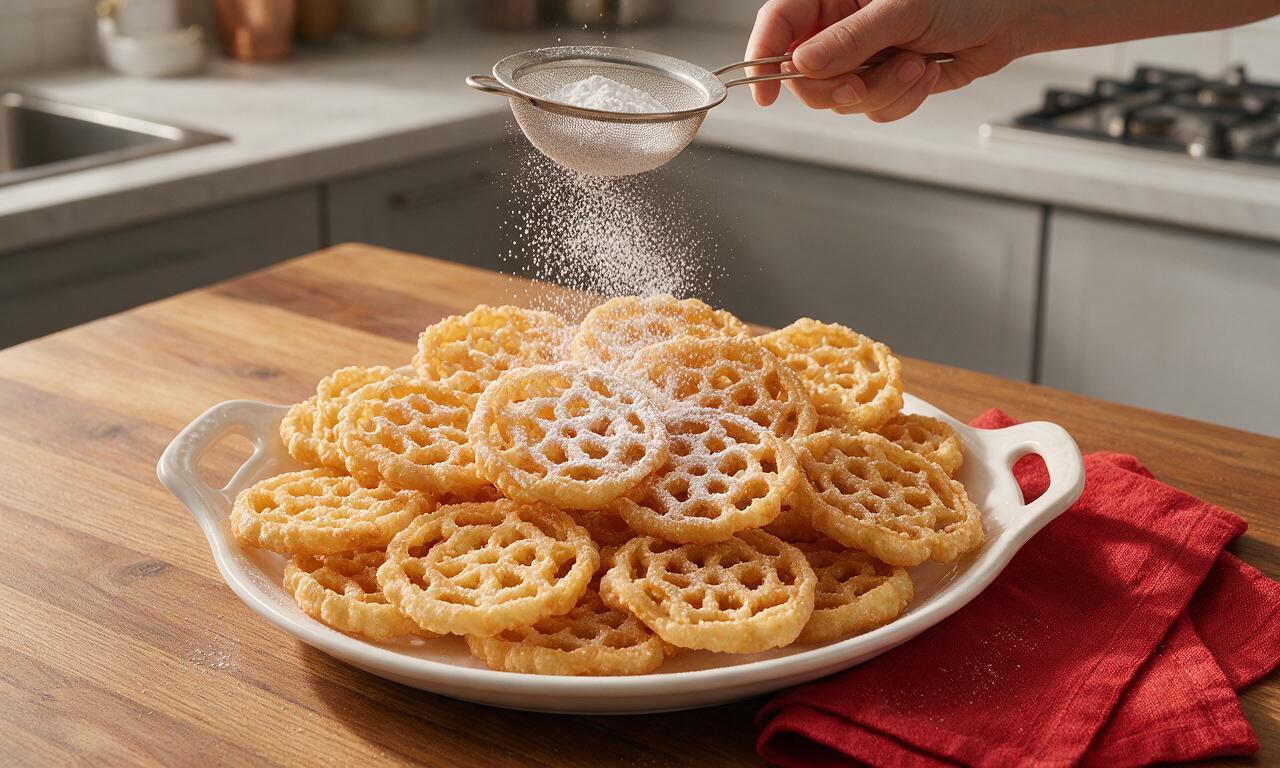
Once all rosettes are fully cooled, place 60g (1/2 cup) powdered sugar in a fine-mesh sieve, and dust a light, even layer over both sides of each cookie. Serve immediately, or store in an airtight container at room temperature for up to 1 week, avoiding humid storage areas to keep cookies crisp.
Tips
2.Monitor oil temperature closely with a candy thermometer: oil that is too cold will produce soggy, greasy rosettes, while oil that is too hot will burn cookies in under 15 seconds. Hold a steady 180°C (360°F) for best results.
3.Wait until rosettes are fully cooled before dusting with powdered sugar—warm cookies will melt the sugar, leaving a sticky, wet coating instead of the classic light, snowy finish.






OMG I made these for our annual neighborhood cookie exchange and people went CRAZY for them! They’re so light and crispy, way better than the heavy sugar cookies everyone else brought. My 7 year old helped dip them in powdered sugar and made a huge mess but said these are his new favorite holiday treat. Only note: make sure your oil is exactly the right temp, my first batch came out super greasy because I had it too low. 10/10 will make every year from now on!
Full disclosure: I’ve never fried anything in my life and I was terrified to try these, but they turned out way easier than I thought! The instructions were super clear, I only messed up one rosette when I didn’t let the iron heat up long enough. Brought them to my office potluck and not a single one was left. My boss asked for the recipe twice lmao
These taste EXACTLY like the rosettes my great grandma used to make every Christmas! I’ve been chasing that flavor for years and this recipe nails it. They’re so delicate and buttery, perfect with a mug of spiced cider after building snowmen with the kids. Pro tip: add a tiny pinch of cardamom to the powdered sugar for a little extra warm spice, it’s chef’s kiss.
Has anyone tried making these with a 1:1 gluten free flour blend? My niece has celiac and I want to make something she can actually eat at our family Christmas dinner this year. I tried a different rosette recipe last year with GF flour and they turned out super dense and chewy, not crispy at all. Fingers crossed this one works better!
Ugh I was so excited to make these but half my batter kept sliding off the iron no matter how long I let it heat up? Did I do something wrong? The ones that did stay on tasted amazing, but I wasted so much batter on the fails. 😭
Brought these to my friend’s ugly sweater party last weekend and people were asking if I bought them from a fancy bakery! They look so impressive but they’re actually so straightforward once you get the hang of the first couple. I stored them in an airtight container for 3 days before the party and they stayed perfectly crispy, no sogginess at all. Will definitely be adding these to my permanent holiday baking rotation.
I called my grandma while I was making these because she’s made rosettes every Christmas since my dad was a kid, and she said this recipe is better than hers?!? Wild. I made them for my dorm floor holiday party and everyone was shocked I didn’t just buy them from the grocery store bakery. The only thing I did different was dust half of them with cinnamon sugar instead of powdered sugar and both versions were gone in 10 minutes. Game changer recipe fr
How long do these stay fresh for? I want to make a big batch a few days before Christmas so I don’t have to bake last minute when all the family is in town, but I don’t want them to go soft before we eat them.
Y’all. My cat jumped on the counter while I was frying these and I almost dropped the whole iron in the oil lmao. Crisis averted, and the cookies turned out SO good. I will say, make sure you wear long sleeves when you’re frying, the oil pops a little bit when you first put the batter in and I got a tiny burn on my wrist. Worth it for the cookies though tbh
I pulled out my mom’s 1970s rosette iron that’s been sitting in the back of my pantry for years to make these, and the snowflake and star shapes came out so cute! I was worried the old iron wouldn’t work as well as a new one, but it heated perfectly and made the prettiest lacy cookies. These are gonna look so good on my holiday cookie platter.
I was worried these would be too plain for my family’s taste (we love super sweet, rich desserts down here) but they were the perfect light, crispy bite after our big Christmas ham dinner! I dipped half the batch in melted dark chocolate and sprinkled crushed pecans on top, and they tasted like something you’d get at a fancy holiday market. SO good, even my super picky teen ate three of them and asked if I could make another batch for his friend’s holiday hangout next week.