
Sake Ribs
intro
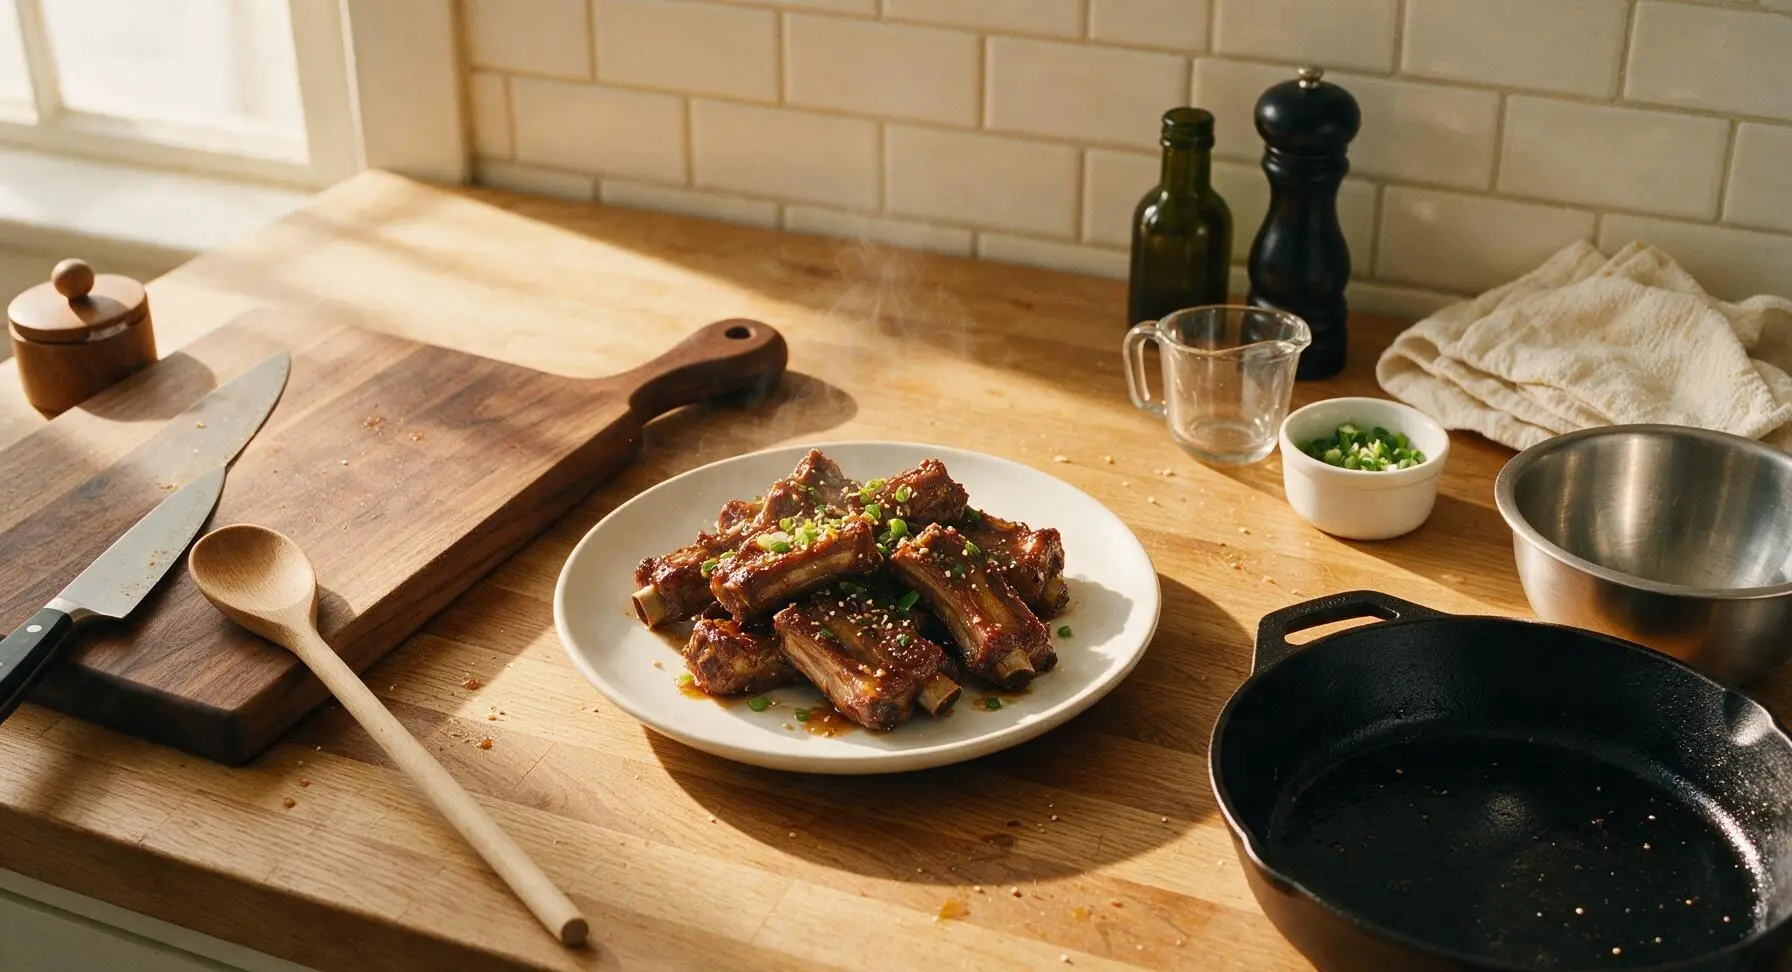
Tender, fall-off-the-bone pork ribs braised in aromatic junmai sake, soy, and ginger, coated in a glossy umami glaze—cozy, satisfying comfort food for shared meals.
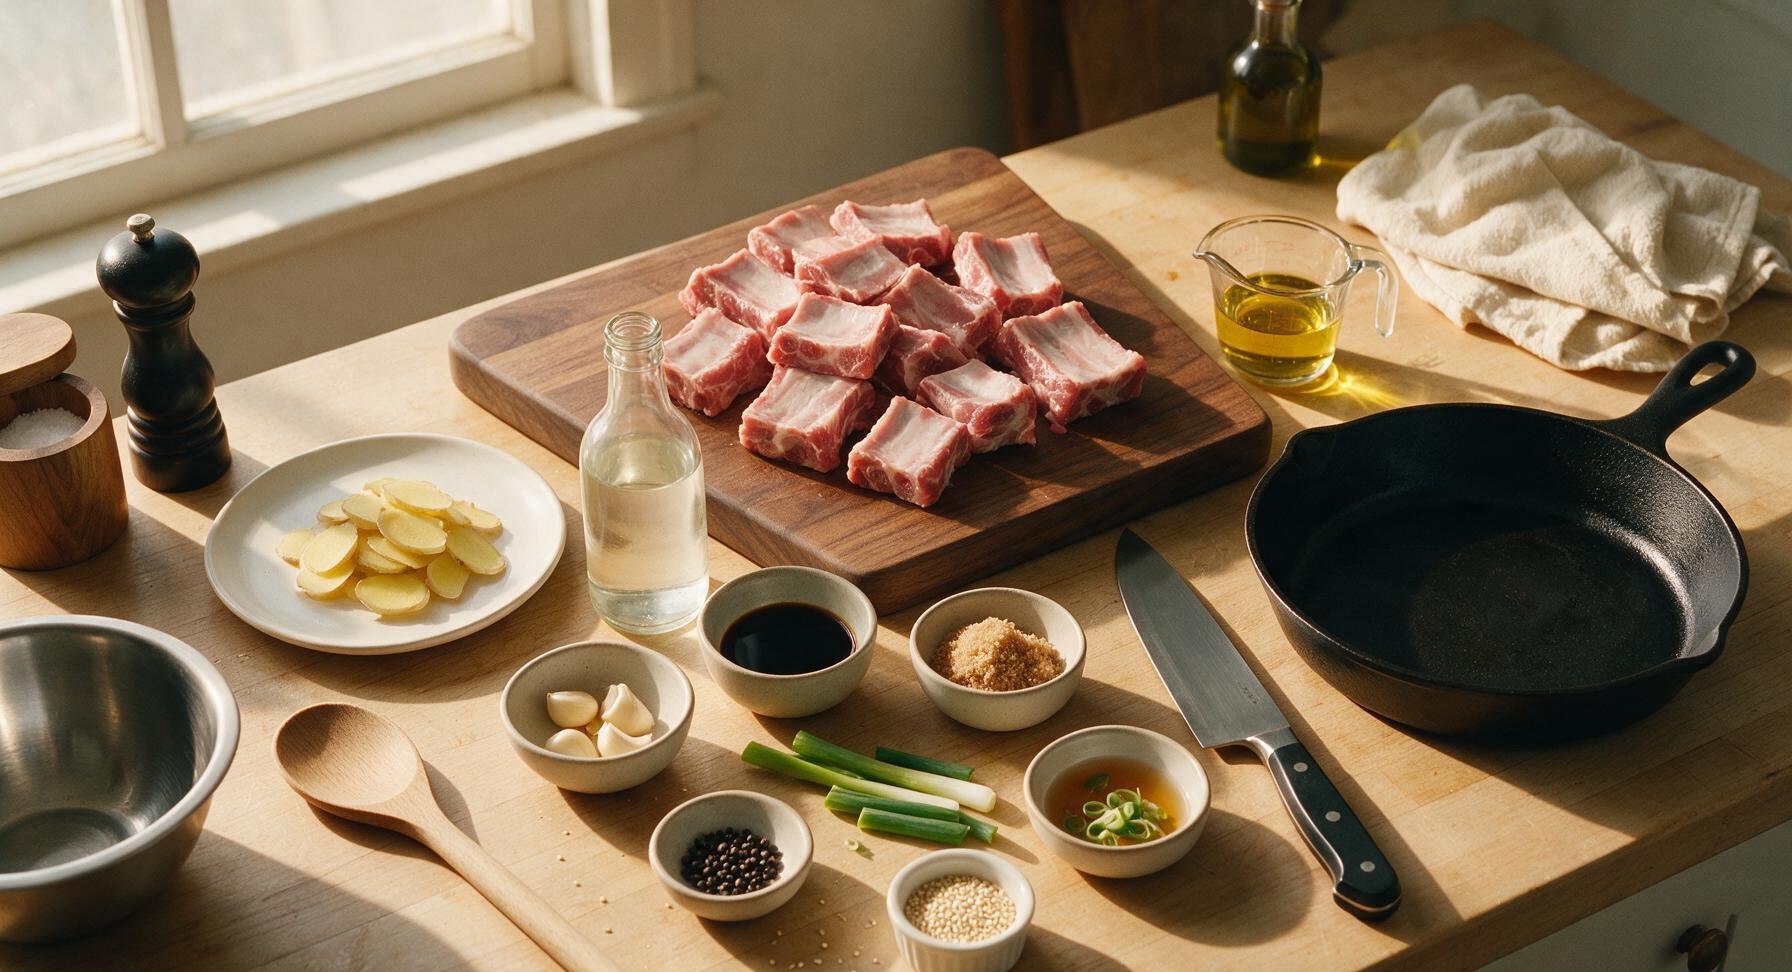
Ingredients
Steps
Trim and Pat Ribs Dry
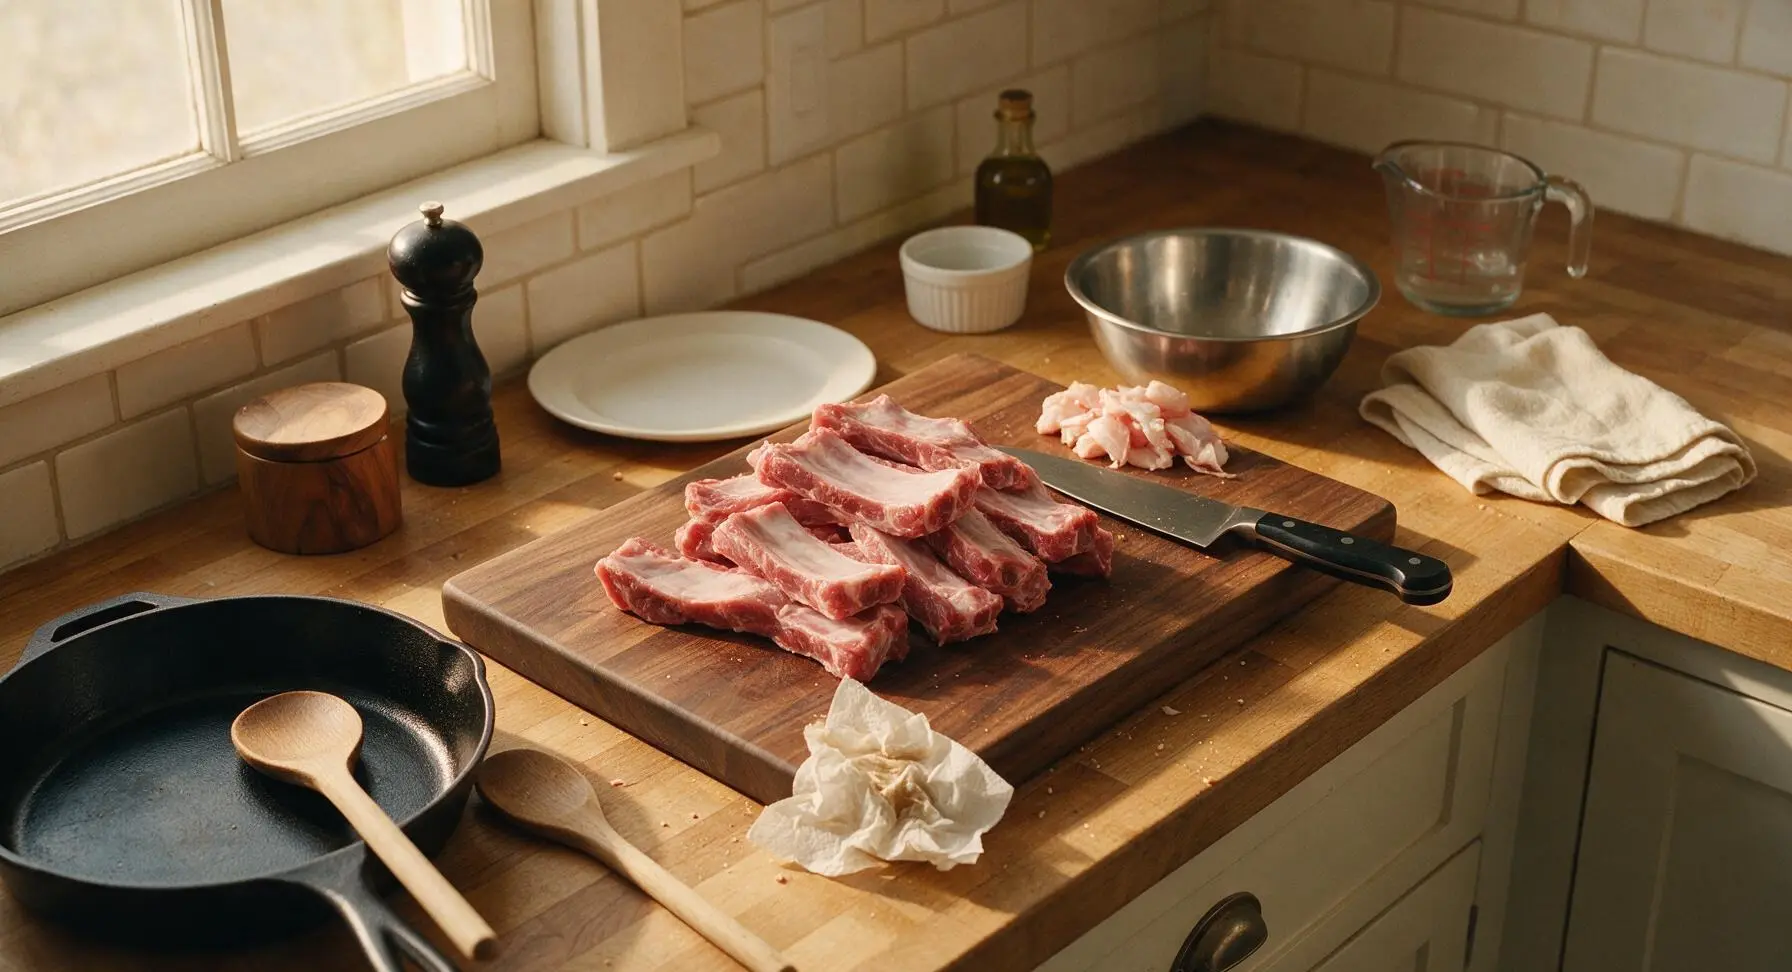
Place the 1kg pork spare ribs on the walnut cutting board. Use the 8-inch chef knife to trim any excess hard fat or loose silver skin from rib surfaces, leaving a thin 3mm layer of fat to add richness during cooking. Tear sheets from the unbleached paper towel roll to pat every rib completely dry on all sides; dry meat will sear evenly instead of steaming. Stop when no surface moisture remains on the rib meat, about 5 minutes of prep time.
Mix Sake Braising Liquid
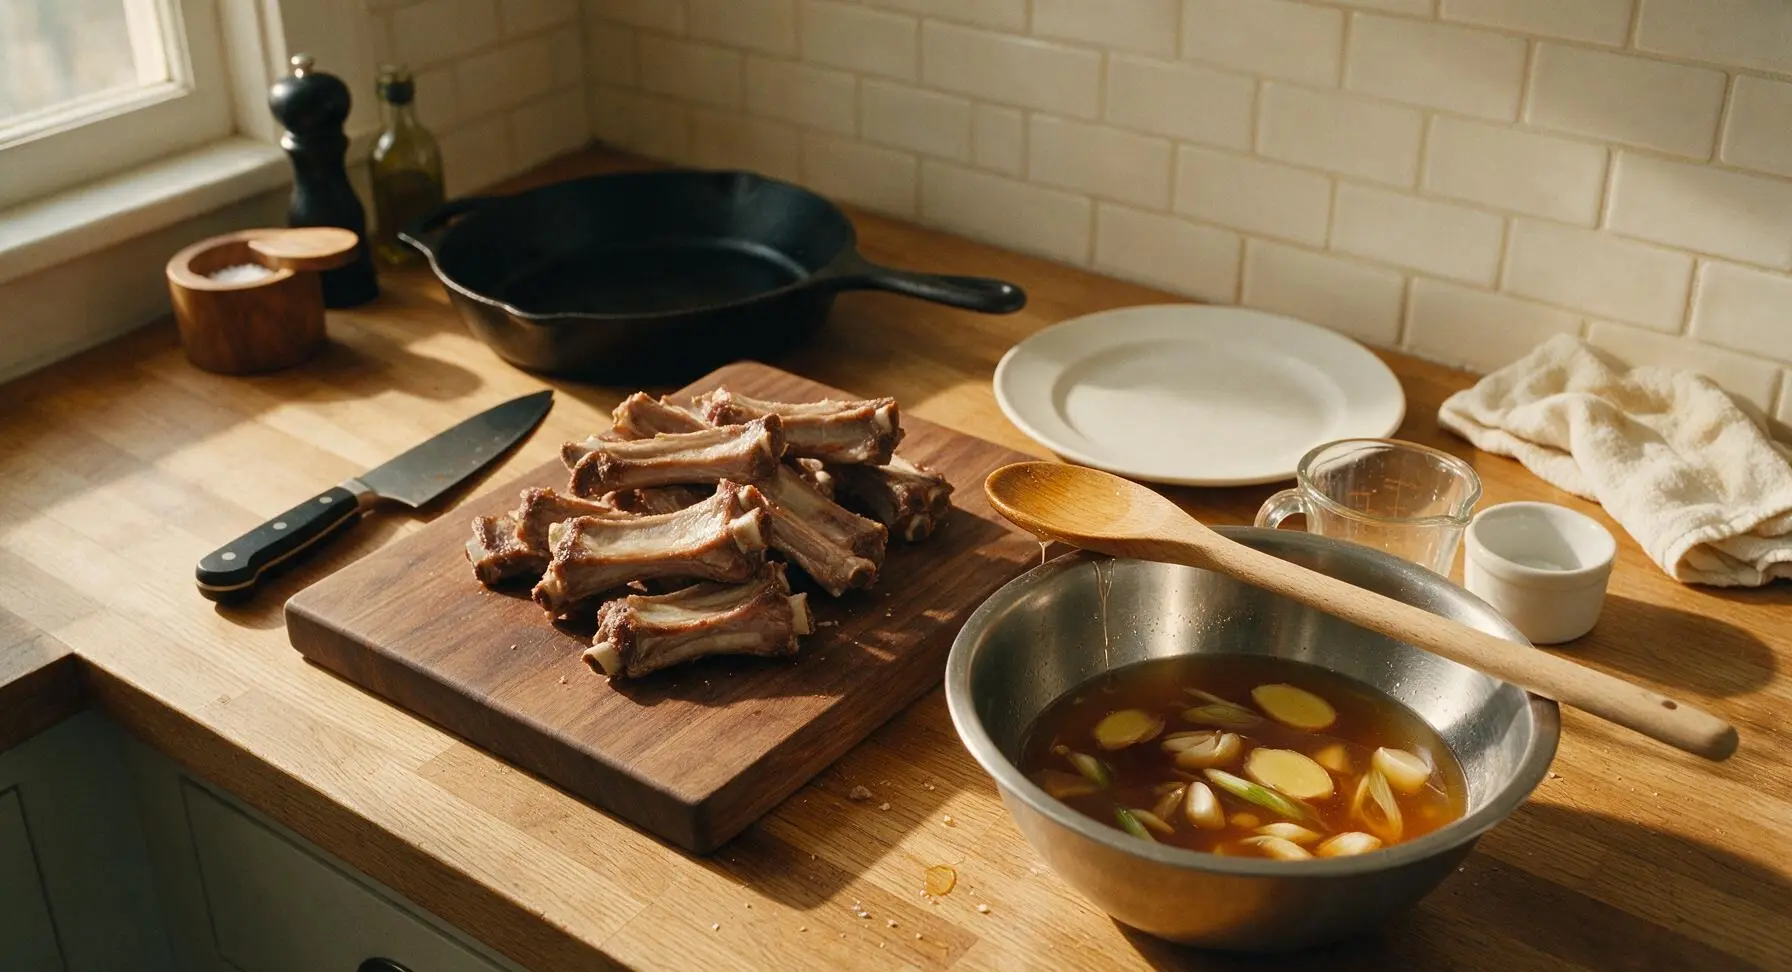
Set the medium brushed stainless steel mixing bowl to the right of the cutting board. Measure and add 200ml junmai sake, 60ml low-sodium soy sauce, 3 tbsp light brown sugar, and 2 tbsp mirin to the bowl. Stir with the long beech wood spoon for about 1 minute until the brown sugar fully dissolves, creating a smooth, translucent amber liquid. Add the 4 lightly crushed garlic cloves, 30g thinly sliced ginger, 5cm scallion segments, and 1 tsp whole black peppercorns, stirring once to distribute the aromatics evenly.
Sear Ribs to Golden Crust
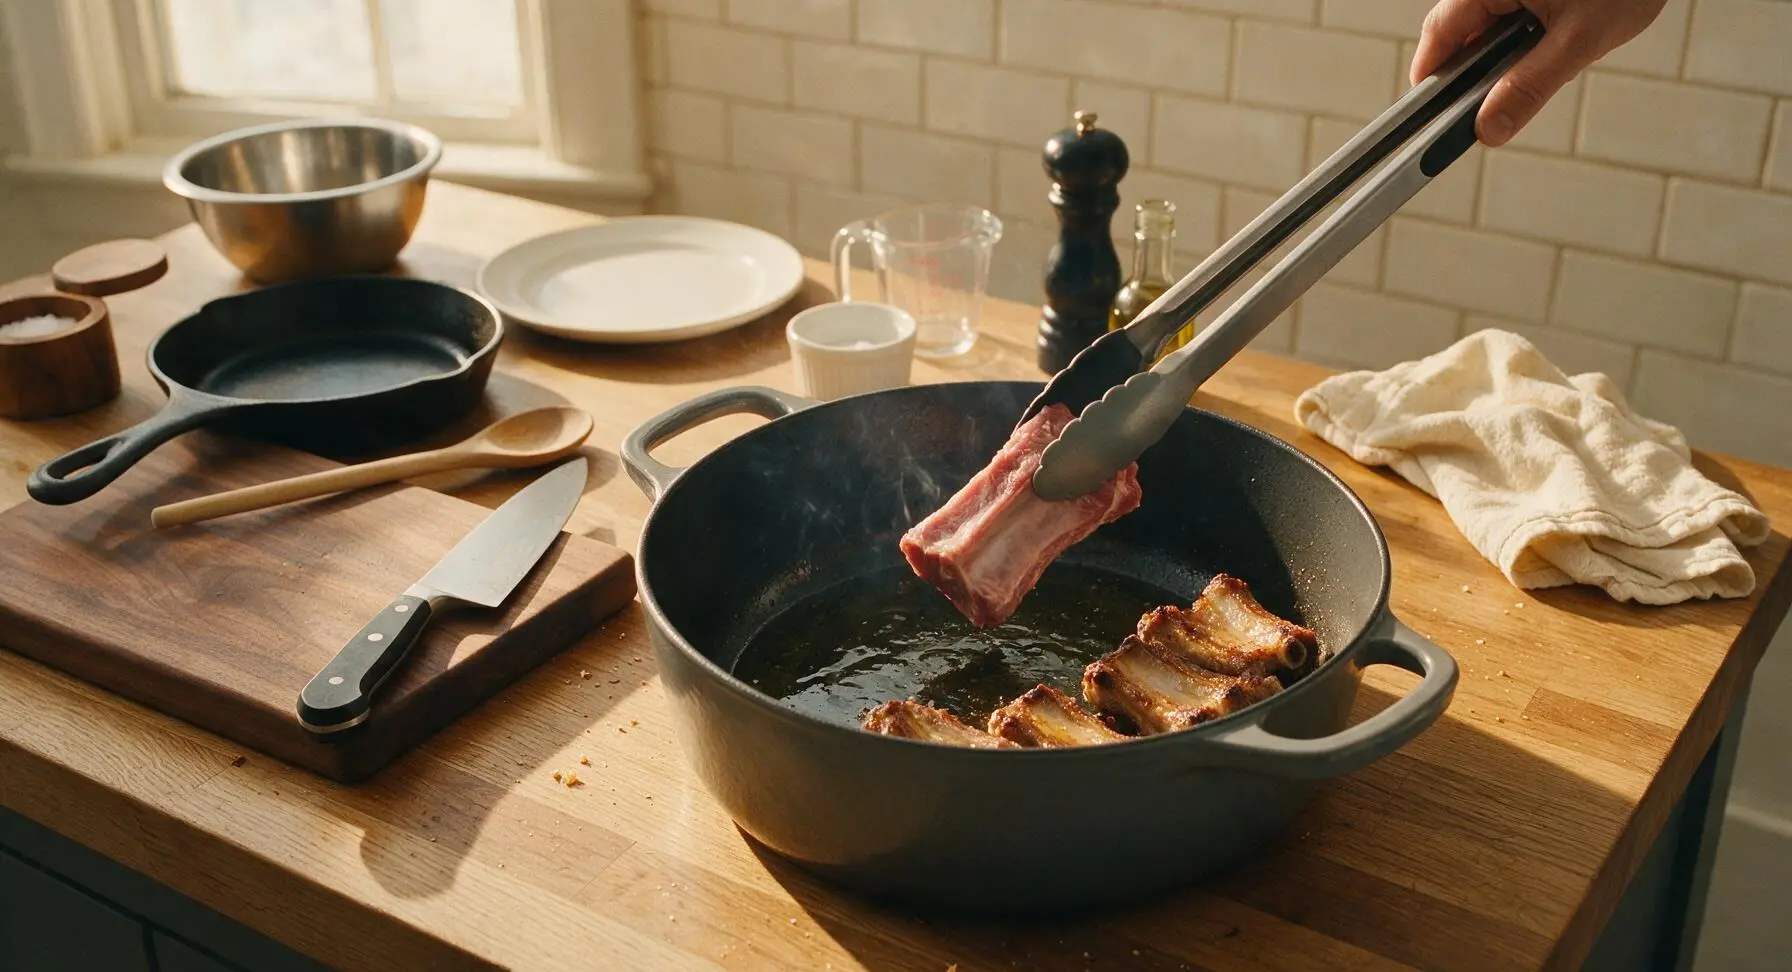
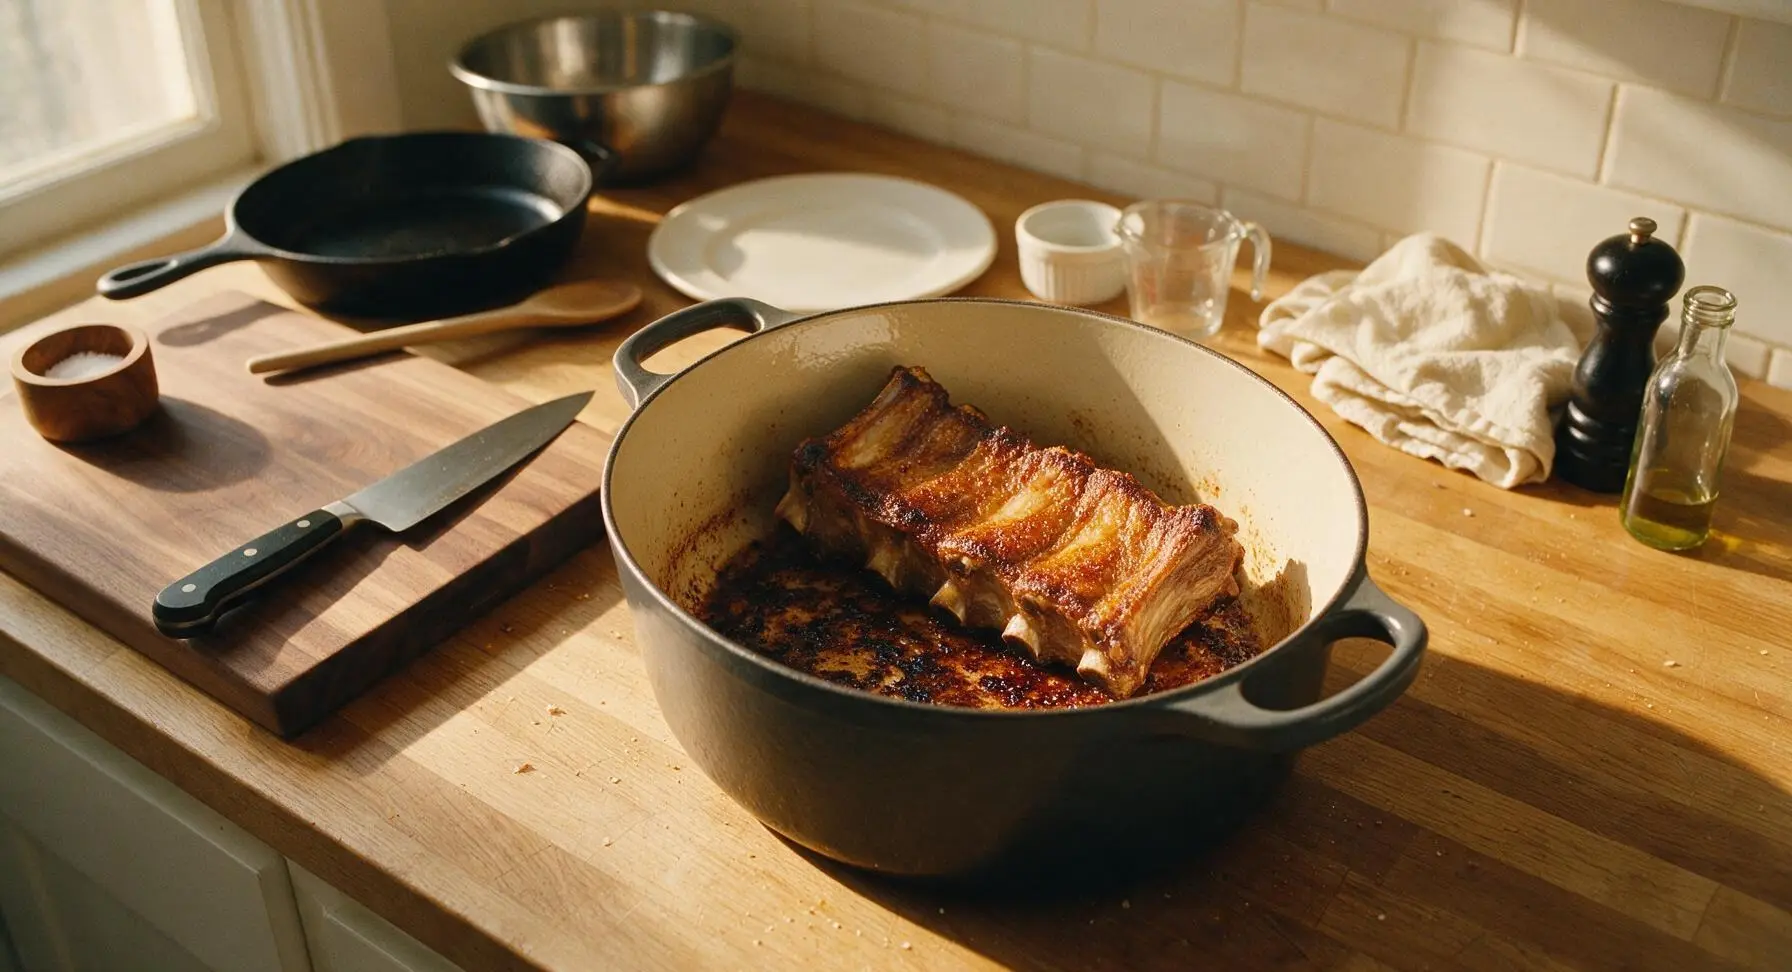
Place the 5.5L matte charcoal enameled Dutch oven on the central work area over medium heat, add 1 tbsp neutral vegetable oil, and heat for 2 minutes until the oil shimmers and moves easily across the pan bottom. Working in 2 equal batches to avoid crowding the pan (crowding causes steaming instead of searing), use the silicone-tipped tongs to place ribs in the Dutch oven, searing 2-3 minutes per side until deep golden brown on all surfaces. Transfer seared ribs to a temporary clean plate as you work; do not wipe the dark caramelized fond (browned bits) from the Dutch oven bottom, as this adds deep savoriness to the braise. Total searing time is approximately 10 minutes.
Braise Ribs Low and Slow
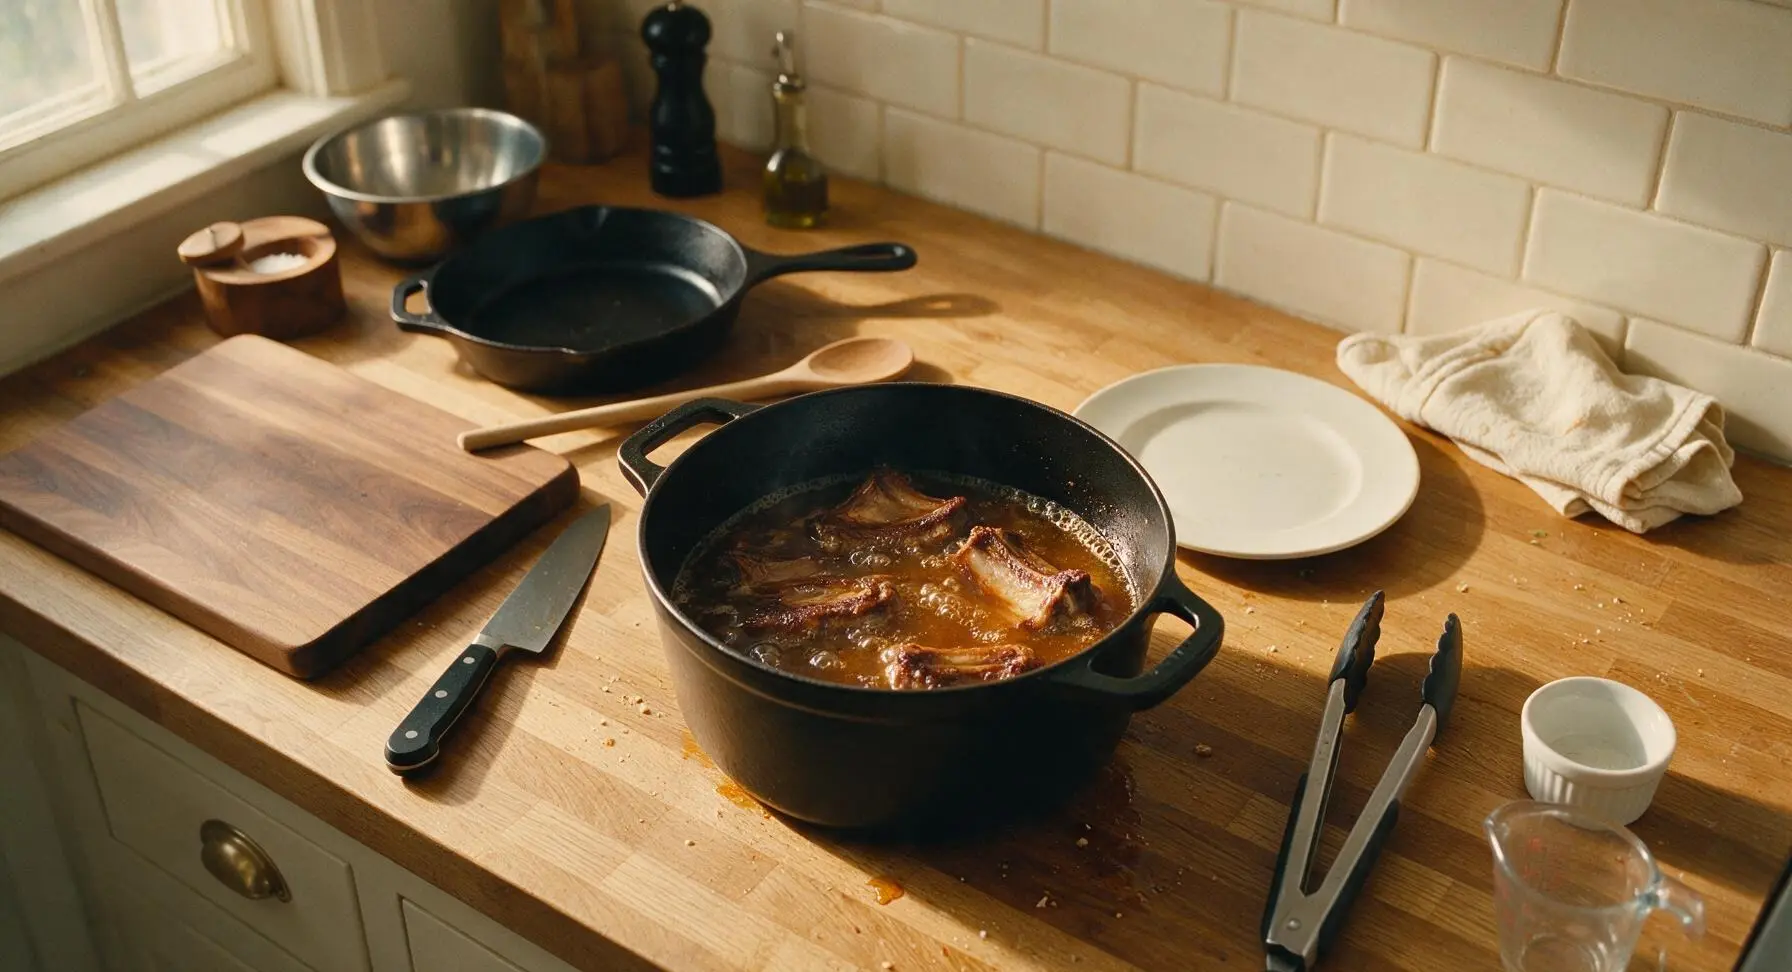
Return all seared ribs to the Dutch oven, pour the pre-mixed sake braising liquid over the ribs—liquid should cover ¾ of the rib height; add 2-3 tbsp of water if needed to reach this level. Bring the liquid to a gentle simmer (small bubbles breaking slowly at the surface, no rapid rolling boil) over medium-low heat, then cover the Dutch oven with its tight-fitting lid. Reduce heat to low to maintain a steady gentle simmer, and cook for 1 hour, turning the ribs once with tongs at the 30-minute mark. Ribs are done braising when a fork pierces the meat easily with light pressure, but the meat does not slide completely off the bone (overcooked ribs will fall apart during glazing).
Reduce Glaze to Glossy Coat
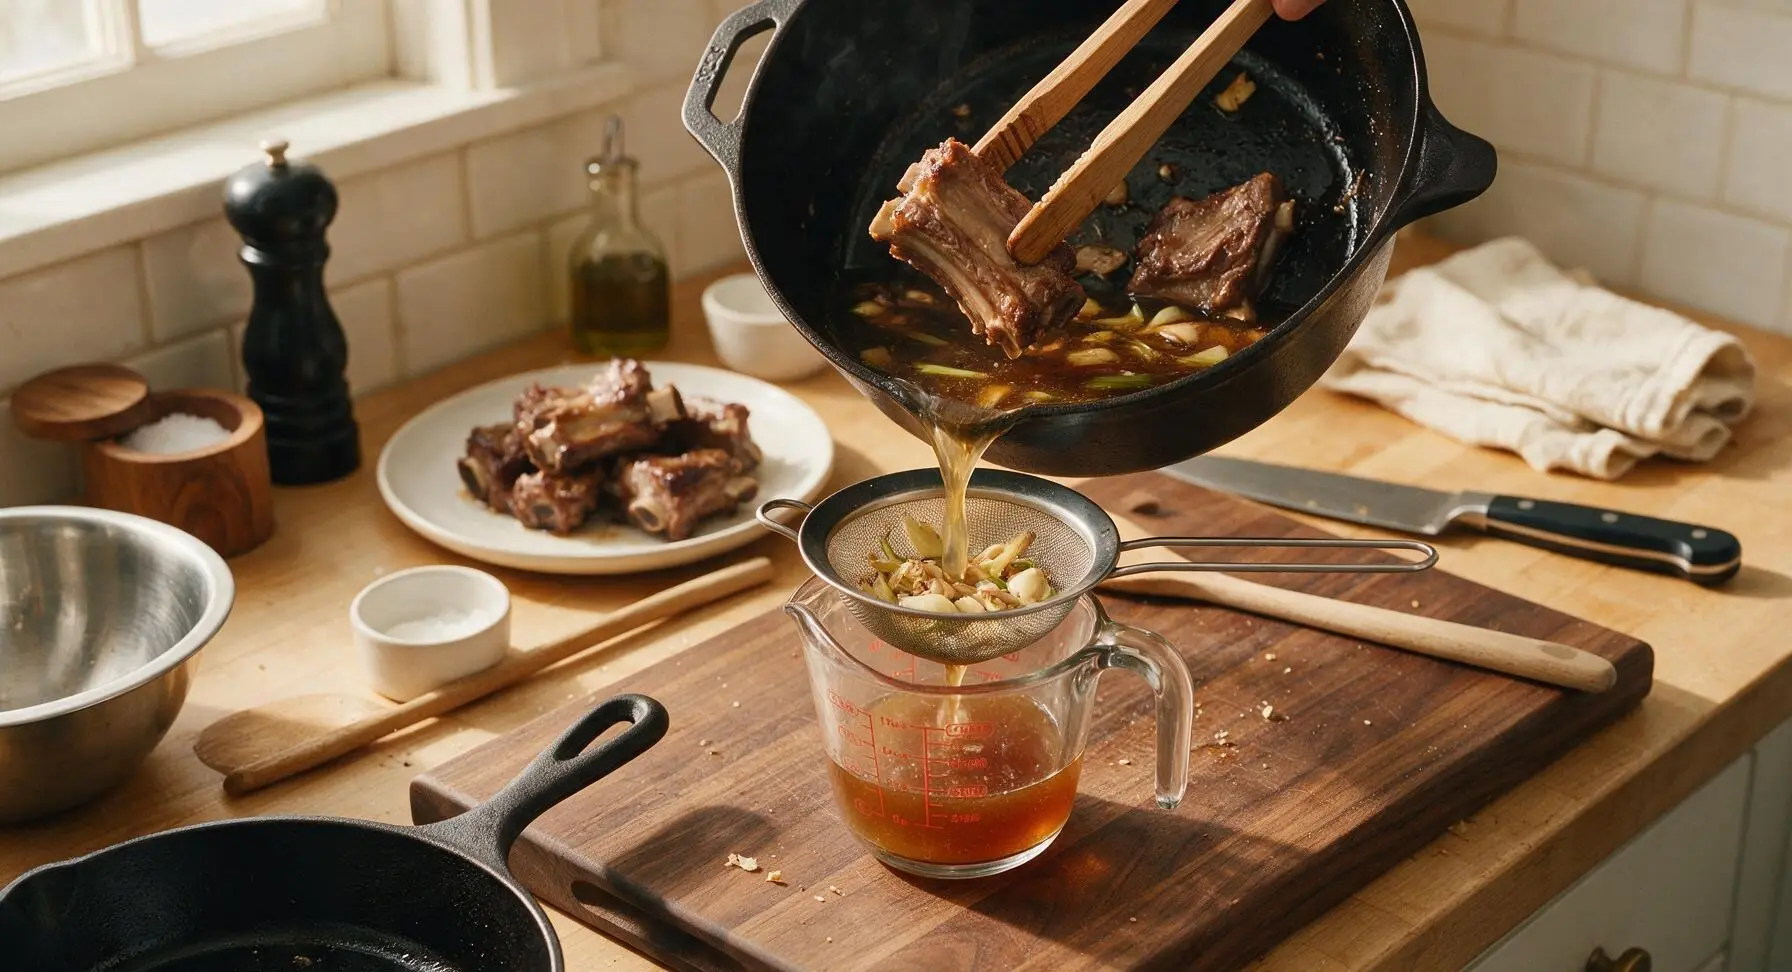
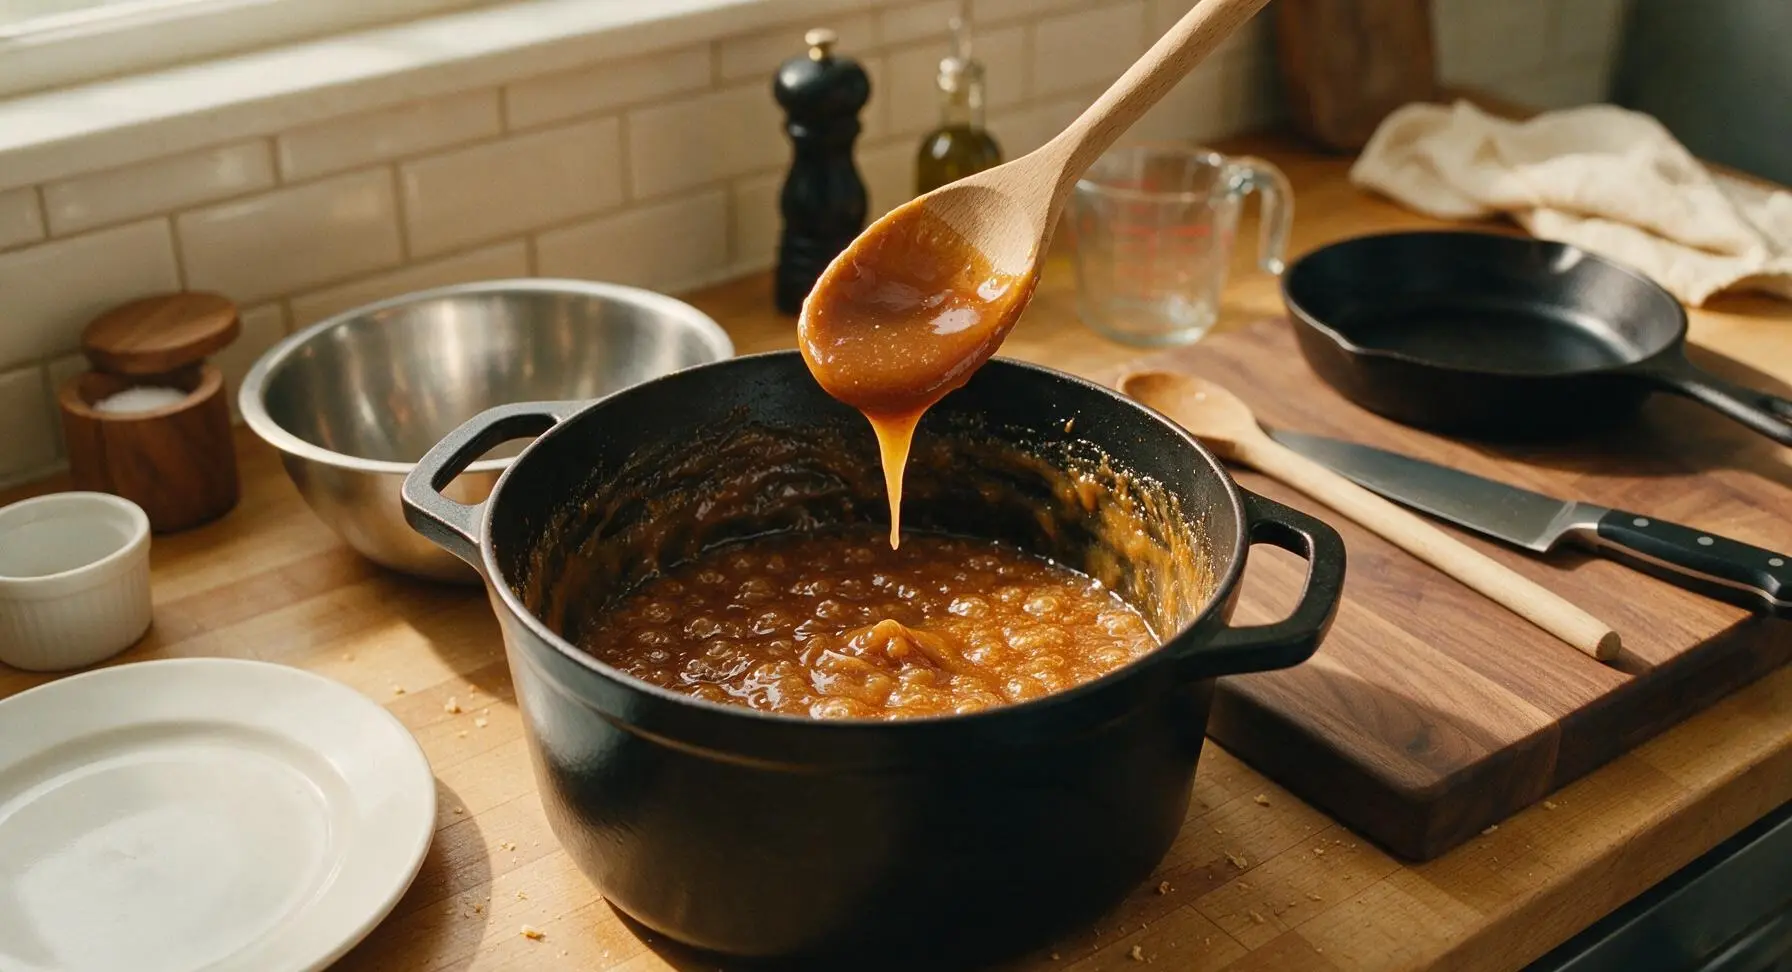
After 1 hour of braising, use tongs to transfer the tender ribs to a clean temporary plate. Set the small fine-mesh stainless steel strainer over the 250ml clear glass measuring cup, pour all remaining braising liquid from the Dutch oven through the strainer to remove ginger, garlic, scallion, and peppercorn solids, then pour the smooth strained liquid back into the Dutch oven. Bring the liquid to a steady simmer over medium heat, cooking uncovered for 8-10 minutes, stirring occasionally with the beech wood spoon, until the liquid reduces by half and forms a thick, syrupy glaze that coats the back of the spoon in an even layer that does not drip off immediately.
Toss Ribs in Glaze
Return the cooked ribs to the Dutch oven with the reduced glaze, turn heat to the lowest setting, and use the silicone-tipped tongs to turn each rib repeatedly for 2-3 minutes, until every rib is evenly coated in the thick, shiny glaze. Watch closely during this step to avoid burning the glaze, which will turn dark and bitter if heated too long; the glaze should cling to the ribs without pooling heavily at the pan bottom.
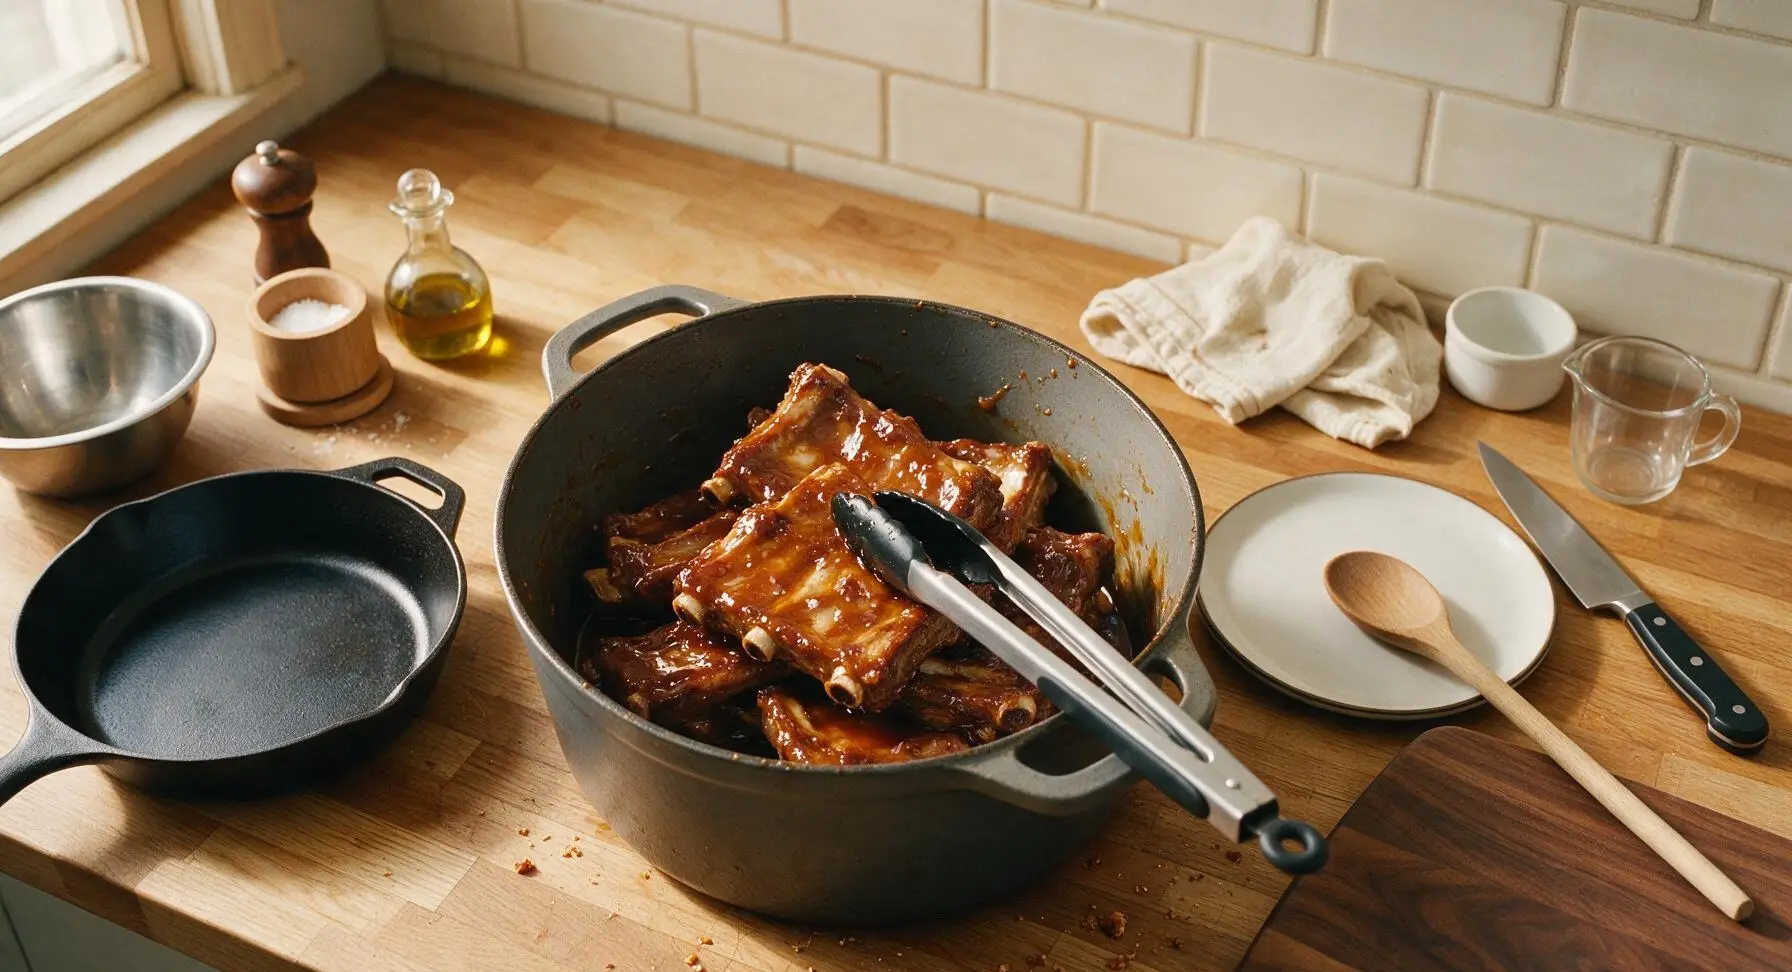
Plate and Garnish Ribs
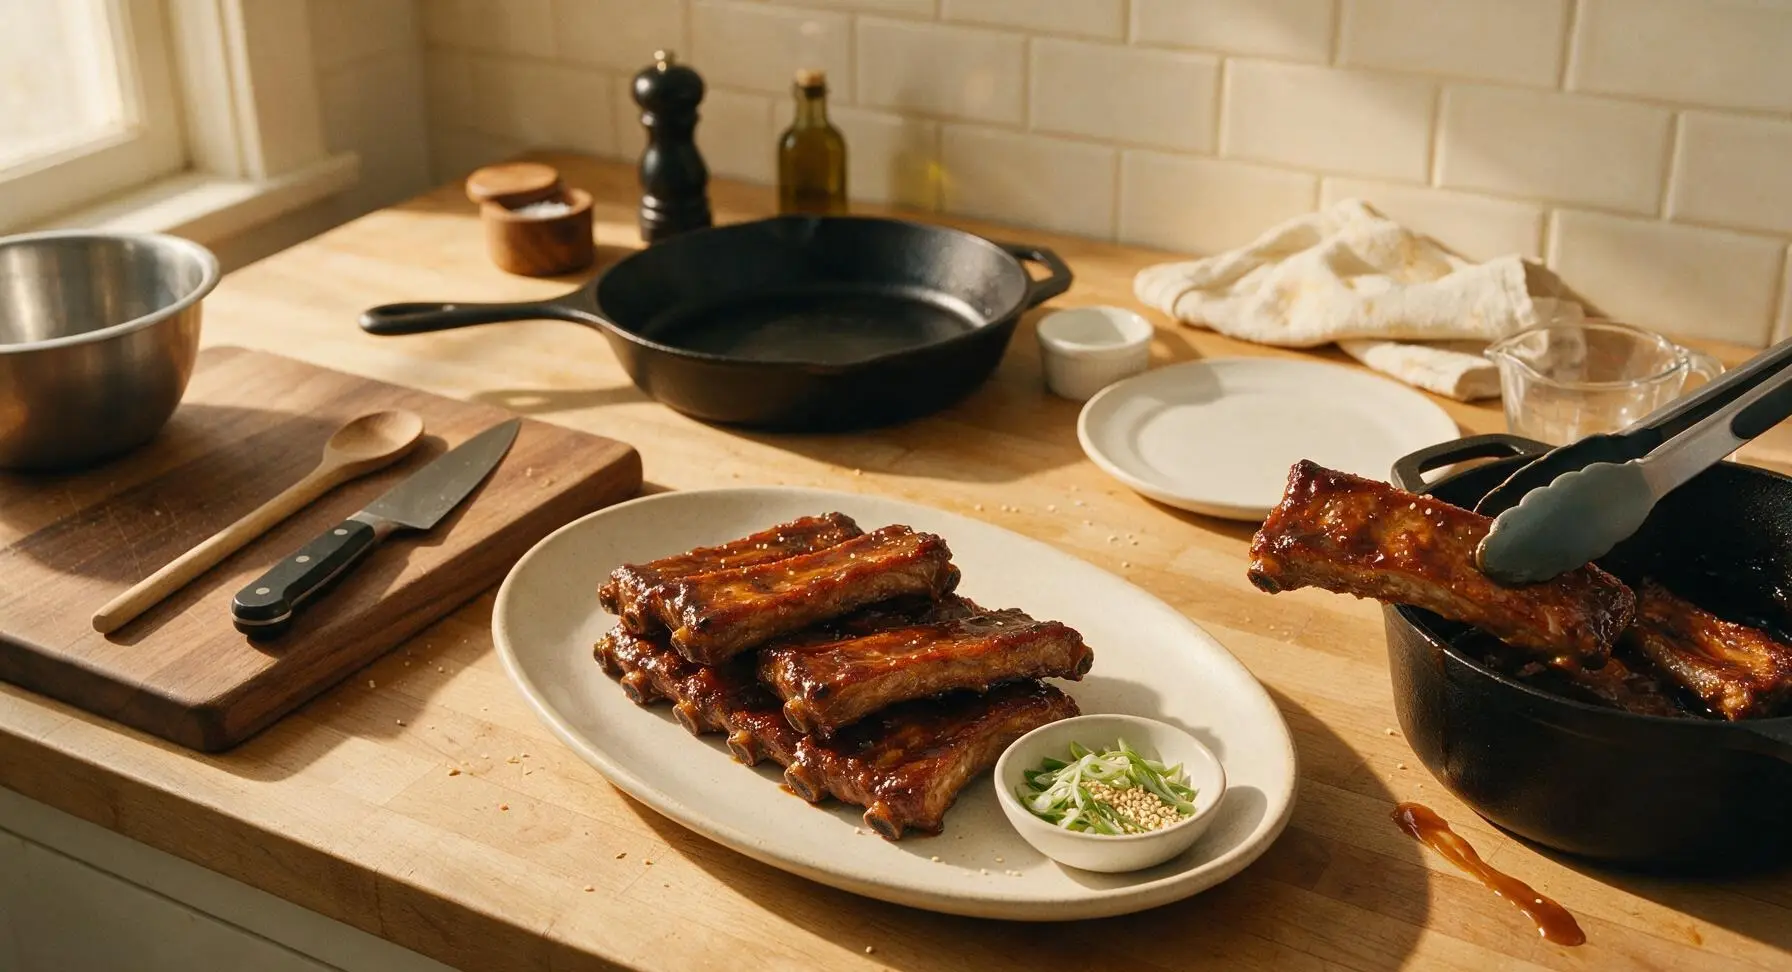
Use tongs to transfer the glazed ribs to the large oval matte off-white ceramic serving platter, arranging them in a neat overlapping stack. Drizzle any remaining glaze from the Dutch oven over the top of the ribs, then sprinkle evenly with 1 tbsp thinly sliced scallion greens and 1 tsp toasted white sesame seeds. Let the ribs rest for 3 minutes before serving to allow the glaze to set slightly, so it does not run off the ribs when served.
Tips
2.Maintain a gentle simmer during braising: A hard, rolling boil will cause the meat proteins to seize up, resulting in tough, stringy ribs instead of the desired tender, fall-off-the-bone texture. Keep heat at the lowest setting needed to produce small, infrequent bubbles in the braising liquid.
3.Strain braising solids before reducing the glaze: Leaving ginger slices, garlic cloves, and whole peppercorns in the liquid as it reduces will create a bitter, gritty glaze; straining produces a smooth, silky, evenly flavored coating that clings perfectly to the ribs.






OMG these sake ribs are a total game changer! I made them for our Sunday family dinner last night and even my super picky 7 year old asked for seconds. The sake gives such a deep, umami flavor that’s way better than the regular BBQ ribs I usually make. Cook time was exactly 1 hour 20 minutes like the recipe said, no surprises!
Brought these to our neighborhood block party potluck this weekend and people were hovering over the platter before I even set it down! I was a little nervous because the difficulty is listed as medium and I’m a pretty basic cook, but the steps were super straightforward. Only note is I added a tiny extra sprinkle of sesame seeds at the end for crunch, 10/10.
These are going into my regular weekly meal prep rotation! I made a big batch on Sunday, portioned them out with rice and roasted broccoli, and they reheated beautifully all week. The only thing I messed up the first time was not letting the sauce reduce long enough, so it was a little runny, but that was totally my bad for rushing.
Tried this last night for date night and my boyfriend literally asked if I ordered takeout from that fancy Japanese spot downtown 😂 I will say I was intimidated at first because I’ve never cooked with sake before, but the instructions were so clear! I paired it with garlic fried rice and pickled cucumbers, chef’s kiss.
SO good! I was worried the sake flavor would be too strong for my kids (they hate anything that tastes “like alcohol”) but I figured all the alcohol cooks out completely, right? The sauce was sticky, sweet, just the right amount of savory. My only complaint is my family ate the entire rack in 10 minutes so I didn’t get leftovers lol.
I’ve made a lot of rib recipes in my day—dry rub, smoked, BBQ, you name it—and these sake ribs are easily top 3 for me. The depth of flavor is insane, and the meat falls right off the bone. I did smoke them for 30 minutes first before braising in the sake sauce, just to add a little smoky note, and it worked so well.
Made this in my tiny dorm kitchen with a cheap bottle of sake from the corner liquor store and it still slapped! I didn’t have a Dutch oven so I used a regular deep baking pan covered tight with foil, worked like a charm. 10/10 would make again even on a student budget.
I’m so excited to make these! Quick question before I shop for ingredients: does this work with gluten free tamari instead of regular soy sauce? I have celiac so I can’t do regular soy, and I’ve had bad luck with gluten free swaps ruining sauce balance before.
I know the total cook time is 1 hour 20 minutes, but has anyone tried making these in an Instant Pot to cut down on time? Weeknights are chaotic with my kids’ soccer practices and I’d love to get this on the table faster if possible.
Okay full transparency I burned the first batch because I got distracted scrolling TikTok while the sauce was reducing 😅 But the second batch? *Chef’s kiss* Even with my terrible attention span these were so good, I’m already planning to make them for my dad’s birthday next month. Only knocking a point because I wish the recipe had a reminder to watch the sauce at the end lmao
I added a teaspoon of gochugaru to the sauce for a little heat and wow, that was the best call I’ve made all month. The subtle spice pairs so well with the sweet sake glaze, I can’t eat them any other way now. If you love a little kick, definitely try it!
Made these after a long day of hiking last weekend and they were the perfect post-adventure meal. Hearty, flavorful, and we had enough leftovers to take for lunch on our hike the next day. The meat was so tender I didn’t even need a knife to cut it, which is a win for camp-adjacent eating.
I was skeptical about ribs made with sake at first, I’m a traditional Texas BBQ guy through and through, but my wife begged me to try this recipe. Color me impressed! The flavor is totally unique but still has that sticky, rib-sticking goodness I love. I’ll be adding these to my weekend cookout rotation for sure.
Pro tip: leftover sake ribs make the BEST breakfast hash the next day! Just shred the leftover meat, toss it with diced potatoes, scrambled eggs, and a little extra glaze, and you’ve got a restaurant-worthy breakfast. Don’t knock it till you try it!
Full disclosure I’m terrible at cooking, like burning water level bad. I decided to try this because the difficulty was listed as medium but I figured I’d give it a shot, and somehow they came out perfect? I followed the steps exactly, didn’t skip anything, and even my roommate who makes fun of my cooking asked for the recipe. Win!
I love that the recipe uses sake to tenderize the ribs! The enzymes in sake break down the connective tissue so well, which is why the meat gets that fall-off-the-bone texture without needing to cook all day. Super cool to see traditional Japanese ingredients used in such an approachable, home-cook friendly way.
Made these for my mom’s birthday dinner since she loves Japanese food, and she said they were better than the ones she had on her trip to Tokyo last year! I will say I doubled the glaze because I’m a total sauce girlie, and I have zero regrets. So much sticky goodness to drizzle over rice.
I used pork spare ribs instead of the baby back ribs the recipe calls for because they were on sale at the grocery store, and it still turned out great! I just added 10 extra minutes of cook time to make sure they were tender, saved me like $8 and no one at my dinner party noticed a difference.
Okay I almost messed these up because I forgot to buy sake and tried to use dry white wine as a substitute first, it was terrible. Ran to the store last minute, grabbed the actual sake, made them correctly, and totally saved date night. Moral of the story: don’t skip the sake, it’s non-negotiable for that signature umami flavor!