
Salt Rising Bread
intro
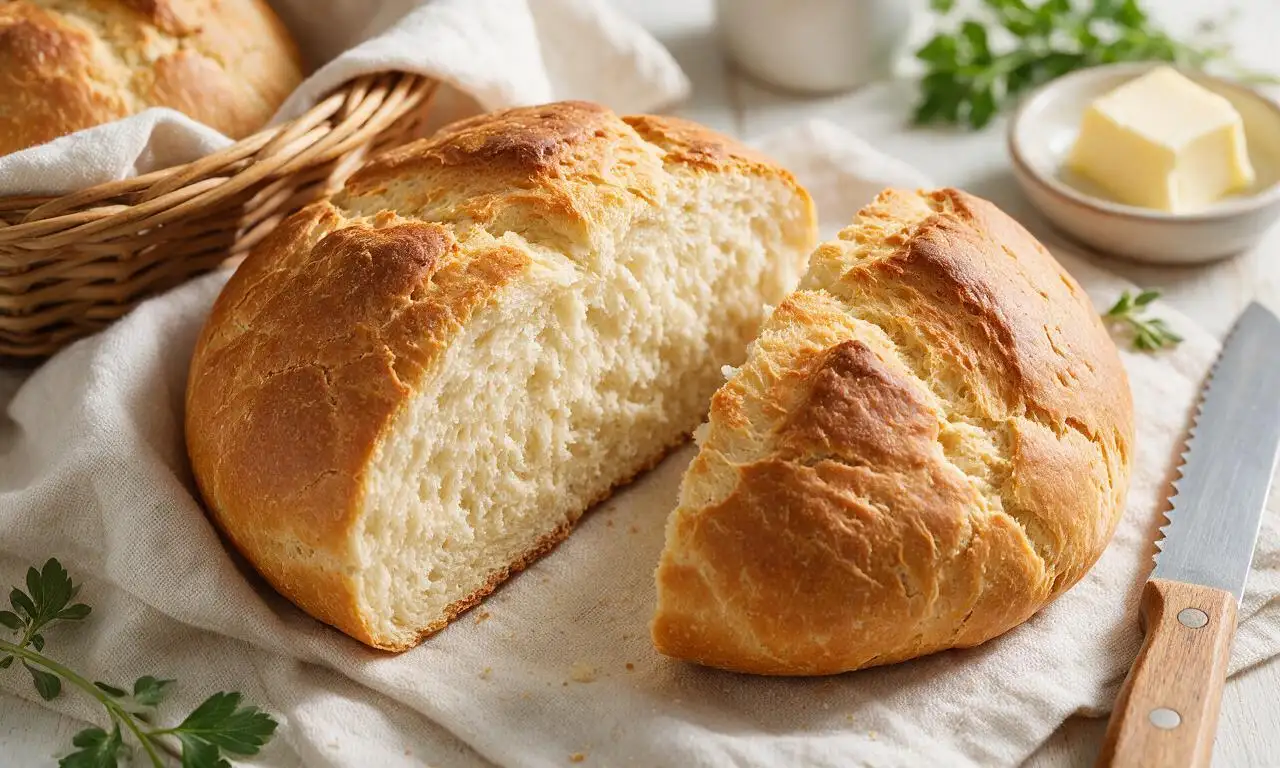
A dense, tangy heritage Appalachian bread leavened by wild cornmeal bacteria instead of commercial yeast, with a signature cheesy aroma and soft, tight crumb.
Ingredients
Steps
Prep fermented starter
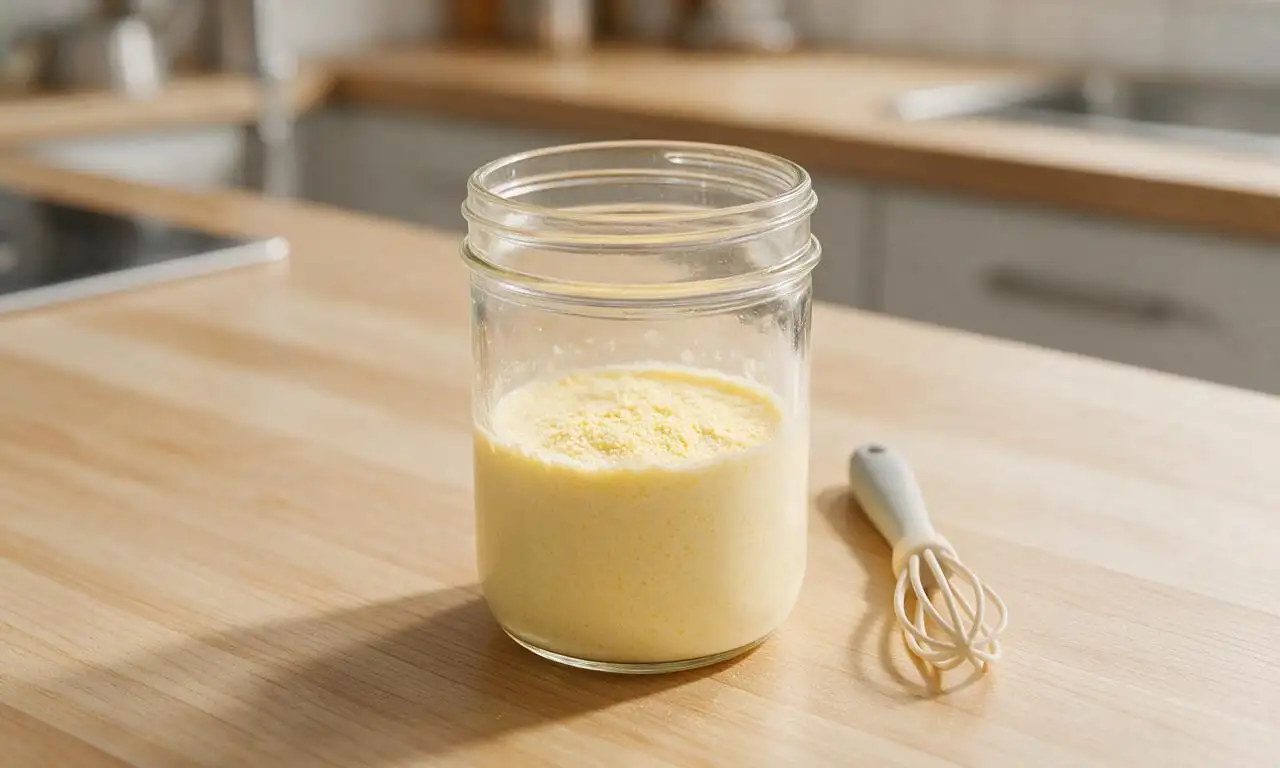
Heat 240ml (1 cup) whole milk to 40C/105F over low heat, then pour into a sterilized 500ml glass jar. Stir in 60g (1/2 cup) fine stone-ground white cornmeal, 4g (1 tsp) granulated sugar, 1.5g (1/4 tsp) baking soda, and 2.5g (1/2 tsp) fine sea salt until fully smooth. Seal the jar loosely, wrap it in a thick kitchen towel, and place it in a warm spot (consistent 38C/100F, such as a turned-off oven with the interior light on) for 8-10 hours, until the mixture is bubbly, foamy, and carries a distinct pungent, cheesy aroma.
Mix base dough batter
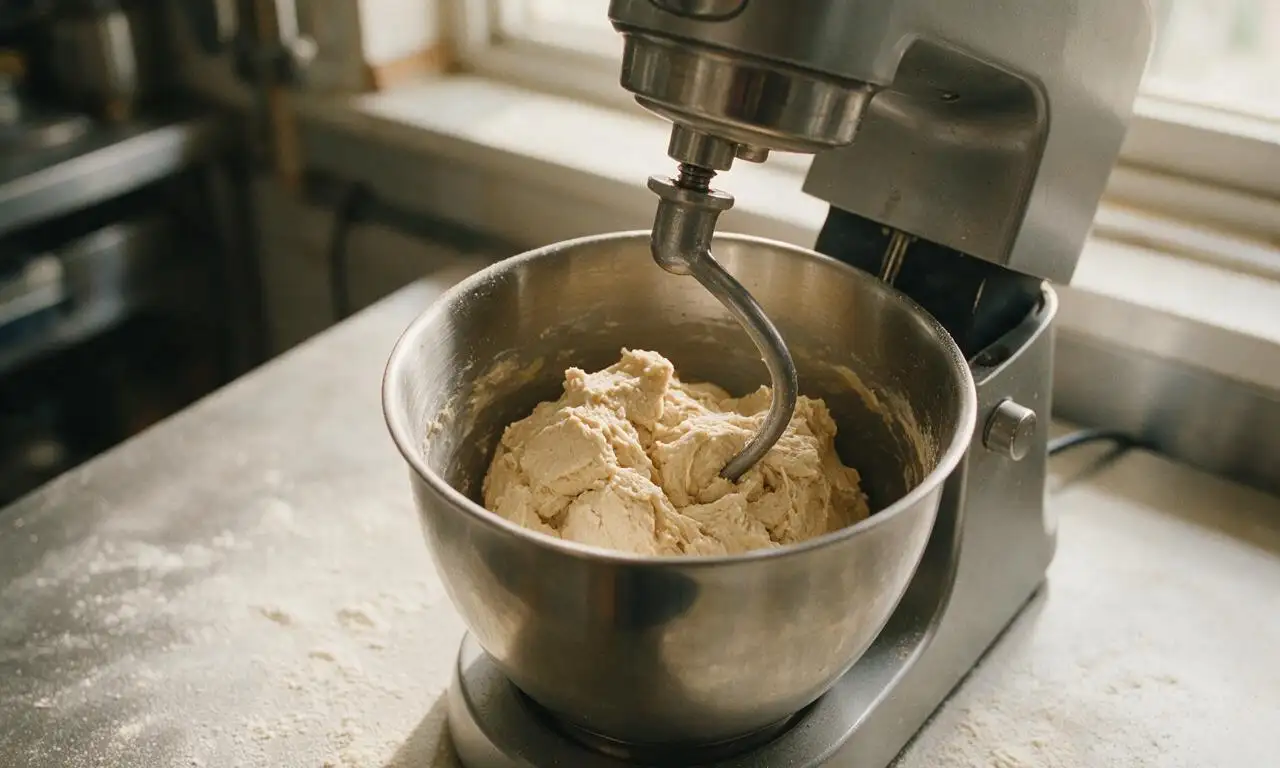
Once the starter is fully active, pour it into the bowl of a stand mixer fitted with a dough hook attachment. Add 180ml (3/4 cup) 40C/105F warm water, 28g (2 tbsp) softened unsalted butter, 5g (1 tsp) fine sea salt, and the first 240g (2 cups) of measured bread flour. Mix on low speed (setting 2 on most standard stand mixers) for 3 minutes, until a thick, lumpy batter forms, scraping down the bowl sides with a spatula once halfway through mixing.
Knead to smooth dough
Add the remaining 240g (2 cups) bread flour 2 tablespoons at a time, mixing on low speed, until the dough pulls away from the bowl sides and forms a soft, slightly tacky ball. Increase mixer speed to medium-low (setting 3) and knead for 7 minutes, until the dough is smooth and elastic. If kneading by hand, turn the dough onto a lightly floured surface and knead for 12 minutes, adding only a pinch of extra flour as needed to prevent sticking.
Complete first warm rise
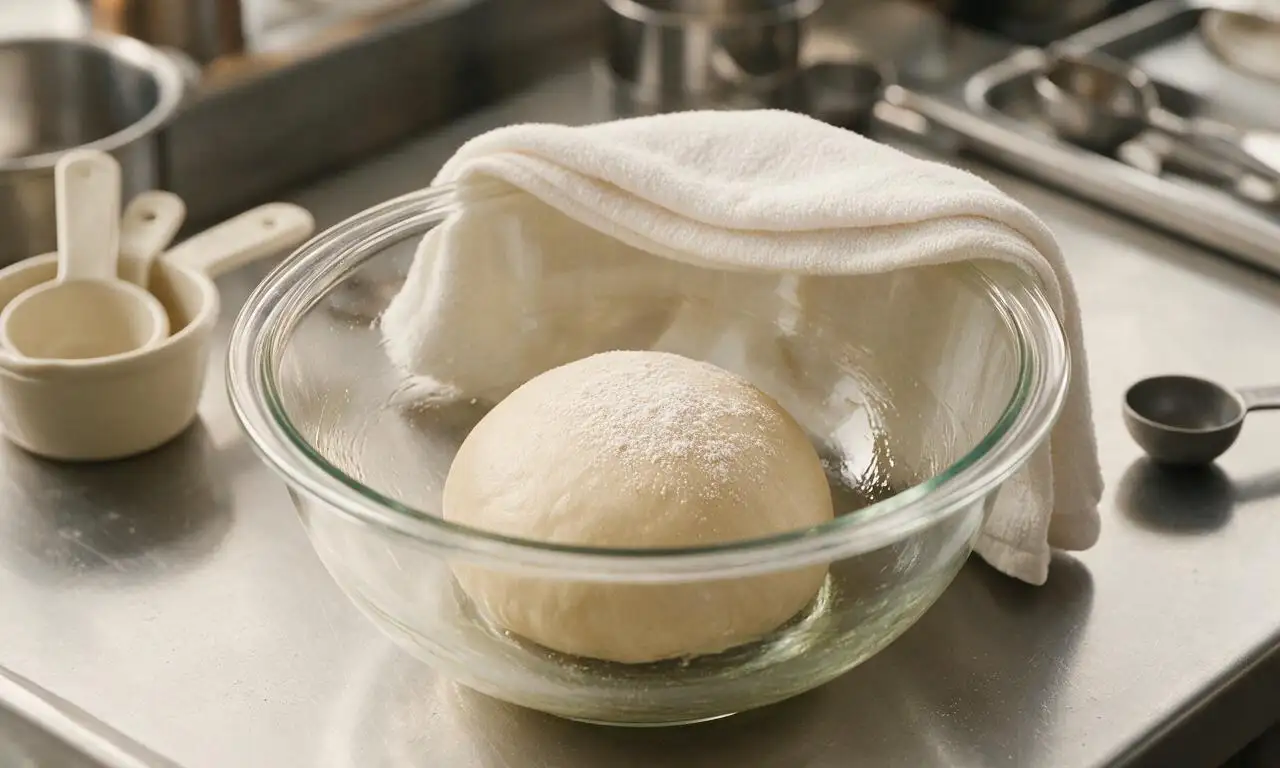
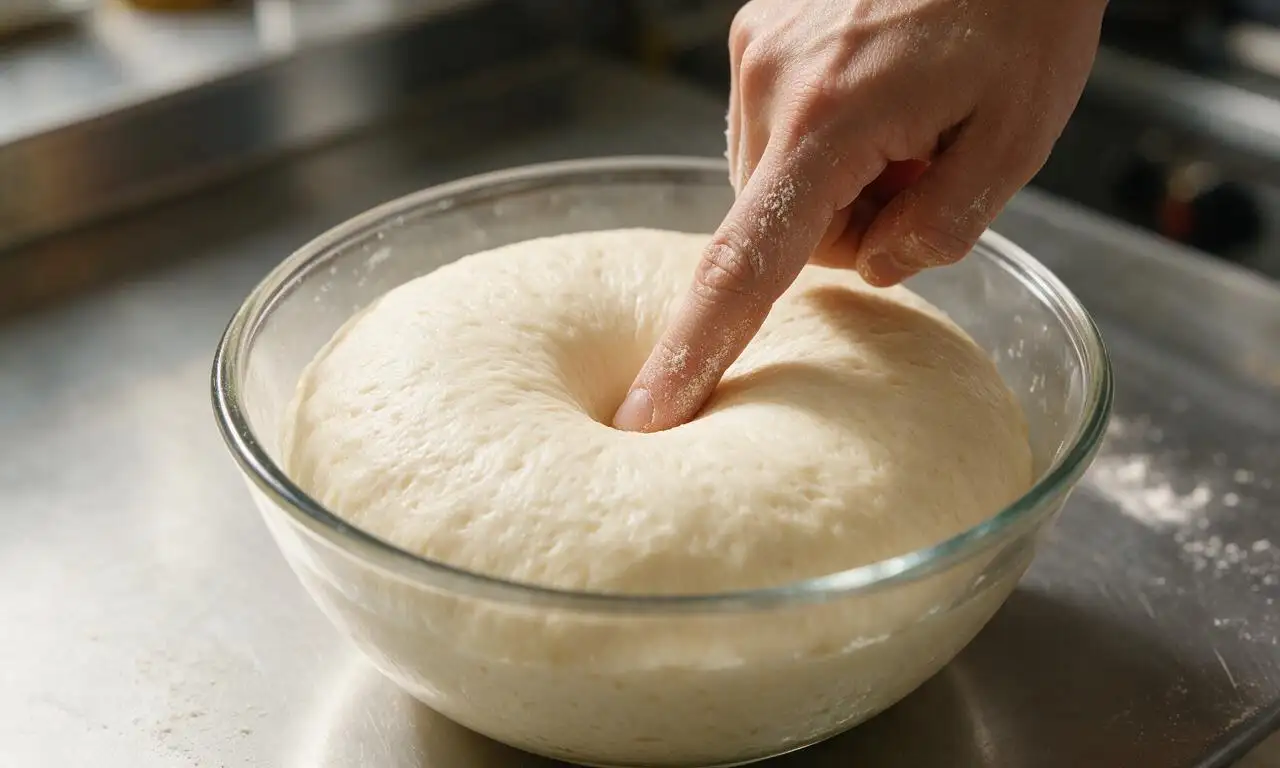
Cover the dough bowl tightly with a damp kitchen towel, and return it to the same consistent 38C/100F warm spot used for the starter. Let the dough rise for 1.5-2 hours, until it doubles in volume and leaves a slow-rebounding indent when pressed 1cm deep with a floured finger. Note that unlike commercial yeast bread, this dough will not feel light and airy, but will hold the indent mark clearly when ready.
Shape loaf and proof
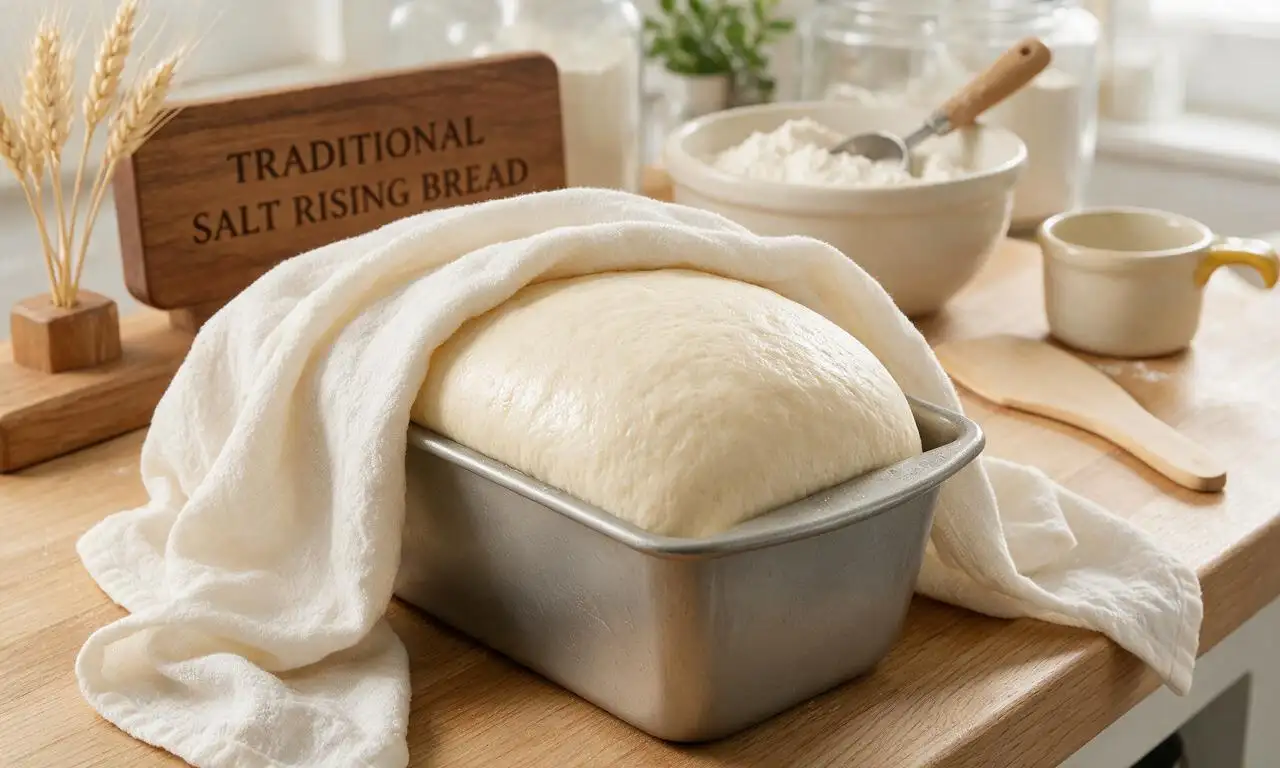
Punch the risen dough down firmly to release all trapped gas, then turn it out onto a lightly floured work surface. Pat it into a 20cm x 15cm (8in x 6in) even rectangle, then roll it tightly from the short end into a smooth log, pinching the seam and tapered ends closed to seal. Place the log seam-side down into a greased 22cm x 12cm (9in x 5in) metal loaf pan, cover loosely with a damp towel, and return to the warm spot for 40-45 minutes, until the dough rises 1cm (1/2in) above the pan’s top edge.
Bake to golden crust
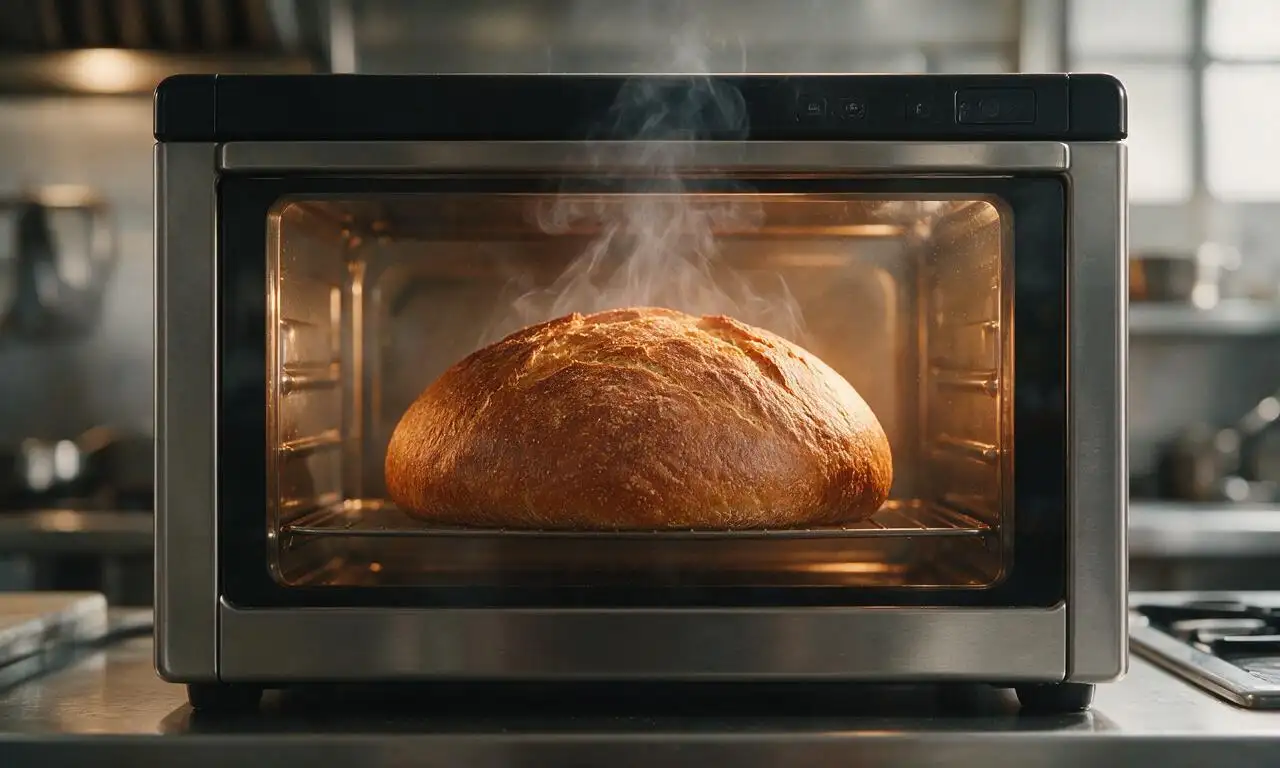
Preheat your oven to 190C/375F while the loaf finishes its second proof. Remove the towel, place the loaf pan on the middle oven rack, and bake for 35-40 minutes, until the top is deep golden brown and the internal temperature of the loaf reaches 93C/200F when measured with an instant-read food thermometer. If the top browns too quickly after the first 20 minutes of baking, tent it loosely with a sheet of aluminum foil to prevent burning.
Cool fully before slicing
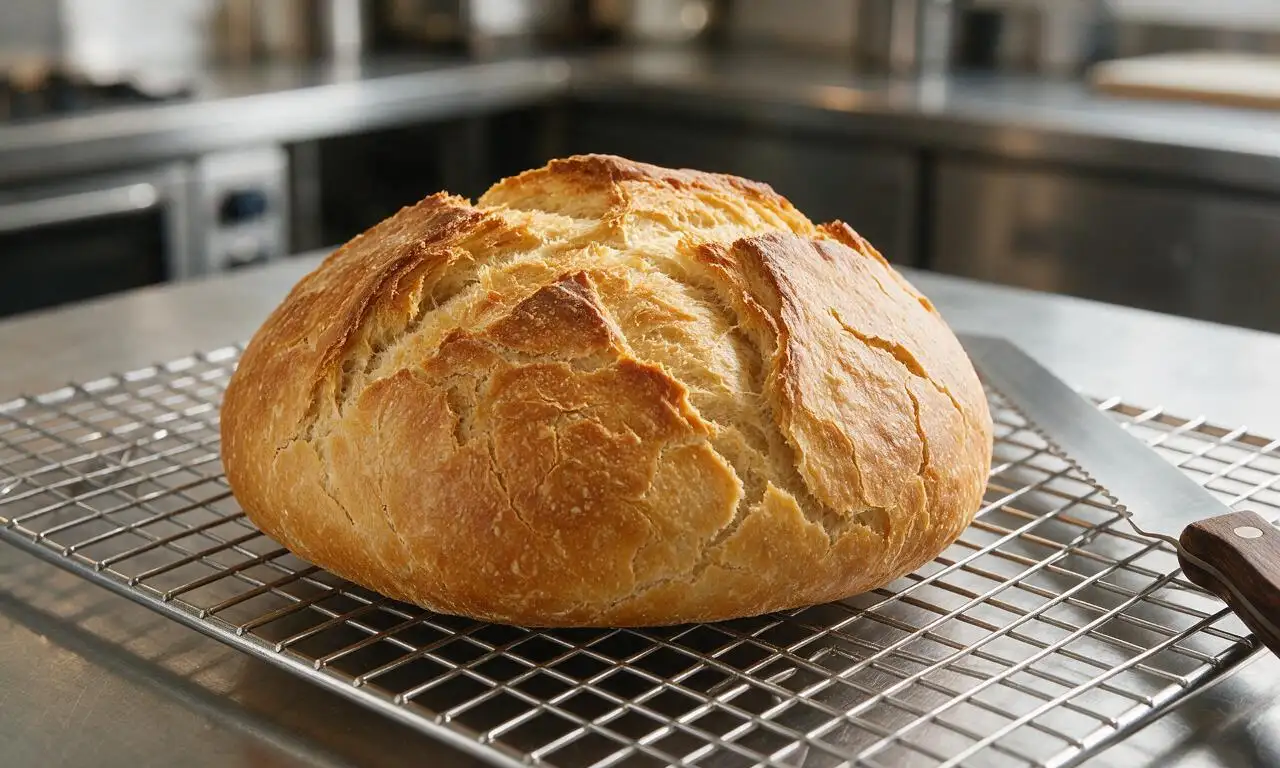
Once baked, immediately turn the loaf out of the pan onto a metal wire cooling rack. Let it cool completely for 1 full hour at room temperature before slicing; cutting into the loaf while warm will cause the soft crumb to turn gummy and dense, ruining the bread’s signature texture.
Tips
2.Consistent warm temperature is non-negotiable for both starter fermentation and dough rises; if your warm spot drops below 35C/95F, the bacterial activity will stall, and the bread will not rise properly, even if you wait extra time.
3.This bread’s signature tangy, slightly cheesy flavor pairs exceptionally well with salted butter, spiced apple butter, or thinly sliced country ham, and will stay fresh wrapped tightly at room temperature for up to 3 days.






OMG, this salt rising bread tastes exactly like the loaf my grandma used to make back in Appalachia when I was a kid! I was so worried I’d never get that distinct, tangy cheesy flavor right, but this recipe nailed it. Sliced thick, slathered with salted butter, and served with my famous bean soup last Sunday for the whole family. Everyone went back for seconds, even my picky teen grandson. SO good, I already have another starter going for next weekend!
Y’all, I was this close to giving up on salt rising bread forever after three failed attempts with other recipes! This one worked on the first try. The starter didn’t get that weird off smell I kept reading about, it rose perfectly, and the crumb was even all the way through. I served it with smoked brisket for our ranch crew dinner last night, and every last slice was gone before we even finished the sides.
Flavor was great, but I ran into an issue where my starter never really got bubbly even after 12 hours, so my loaf barely rose at all. I followed the temperature instructions exactly, kept it around 100 degrees the whole time, but no luck. I ended up baking it anyway and it was edible, just super dense. Any ideas what I did wrong?
Just pulled my first loaf out of the oven and my entire apartment smells insane!!! I can’t wait for it to cool enough to slice. The only thing I changed was adding a tiny pinch of cornmeal to the starter like my abuela used to do, and it bubbled up like a dream. Will update once I taste it, but so far this is 10/10.
Total game changer for my weekly meal prep! I made two loaves on Sunday, sliced them up, and froze half for quick breakfasts all week. Toasted with a little peanut butter and banana? Unbeatable. I was intimidated by the 14 hour cook/rest time at first, but most of that is inactive so it’s way less hands-on than I thought. Perfect for busy mamas who don’t have hours to hover over the oven!
Made this for my family’s camping trip last weekend, and it was the perfect trail bread! It held up great in the cooler, didn’t get squished when I packed it, and toasted perfectly over the campfire with a little sausage and cheese. My kids kept asking for more slices every time we stopped for a snack. 10/10, will be making this for every camping trip from now on.
Game. Changer. I brought this to my neighborhood block party potluck last weekend, and people were literally coming up to me for an hour asking where I got the bread. When I told them I made it from scratch using this recipe, half of them pulled out their phones to save the link on the spot. The tang is so unique, nothing like regular sourdough, and it holds up perfectly for sandwiches too.
Guys, I have literally never baked a successful loaf of bread in my LIFE. I can burn toast half the time, no joke. But I decided to try this on a whim because I had such good memories of my neighbor bringing over salt rising bread when I was a kid. IT WORKED. My loaf rose perfectly, the crust was crispy, the inside was soft, and my roommate said it’s better than the bakery loaves we pay $8 for down the street. I’m so proud of myself right now.
I’ve been making salt rising bread for 10 years using my great aunt’s handwritten recipe, and I decided to give this one a shot to compare. Let me tell you, this is almost identical! The instructions for keeping the starter at the right temp were way clearer than what I’ve been using, which is so helpful for new bakers. My loaves came out with that perfect signature dense but soft crumb, no weird holes or sunken tops. 10/10.
I brought a loaf of this to our church potluck last Wednesday, and I swear half the congregation asked me for the recipe before the meal was even over. The crust is perfectly crisp, the crumb is soft and tender, and that signature salt rising tang is spot on. I’ve been baking bread for 40+ years, and this is one of the best recipes I’ve come across in a long time.
My husband has been begging me to make salt rising bread for years, because it’s what his grandma used to make for him when he was growing up in Kentucky. I kept putting it off because I thought it would be too much work, but this recipe was so doable even with three wild boys running around the house! He teared up a little when he took the first bite, said it tasted exactly like his grandma’s. Winning wife points over here, y’all.
Really great flavor, my only tiny complaint is that my first loaf came out a little denser than I expected. I think my kitchen might have been too cold when I did the final rise, since Seattle is still pretty chilly this time of year even with the heat on. That’s totally on me though! The taste is spot on, I’m going to try again next week and put the rising dough near my oven to keep it warmer.
Really solid recipe, just a note for fellow desert dwellers: my kitchen was almost 80 degrees when I set the starter out, so it rose way faster than the timeline said, by almost 3 hours! Definitely keep an eye on it instead of sticking strictly to the clock if you live somewhere warm. The flavor was still amazing, I just had to adjust my bake time a little. Will make again for sure!
Loved the flavor of this, but I did have to add about an extra half cup of flour to get the dough to the right consistency when I was kneading it. I live in a super humid part of Georgia, so I usually have to adjust flour amounts for bread recipes, but I thought I’d mention it for any other fellow southern bakers in humid climates! Other than that, it was perfect, made amazing tomato sandwiches for lunch all week.
Wait a second, I thought salt rising bread had actual salt as the main rising agent? No wonder my previous attempts were terrible, I was dumping way too much salt in! This recipe’s explanation of how the ferment works made everything click for me. My starter is bubbling away on my counter right now, I’m so excited to bake this tomorrow.
I used this recipe to make loaves for my annual fall hike up Mount Marcy with my friends, and it was the perfect summit snack! Hearty, filling, full of flavor, didn’t get stale even after 3 days in my pack. One of my friends is a professional baker, and he asked me for the recipe before we even made it back down the mountain. Can’t recommend this enough, especially if you need a sturdy, tasty bread for outdoor adventures.
My kids loved this! I grew up eating salt rising bread when we visited family in West Virginia every summer, and I’ve been chasing that taste for decades since I moved down to Florida. This recipe was so straightforward, even with the long ferment time. I served it toasted with eggs and bacon for Saturday breakfast, and my husband said it’s the best bread I’ve ever made. Already texted the recipe to my sister!
As someone who bakes sourdough every single week, I went into this thinking salt rising would be easy, and man was I humbled at first! The starter stage is so different, but once I got the temperature dialed in, it was smooth sailing. The finished loaf has that cheesy, almost funky tang that’s impossible to replicate with sourdough, and I’m already obsessed. This is going into my regular bake rotation for sure.