
Salt Rising Bread
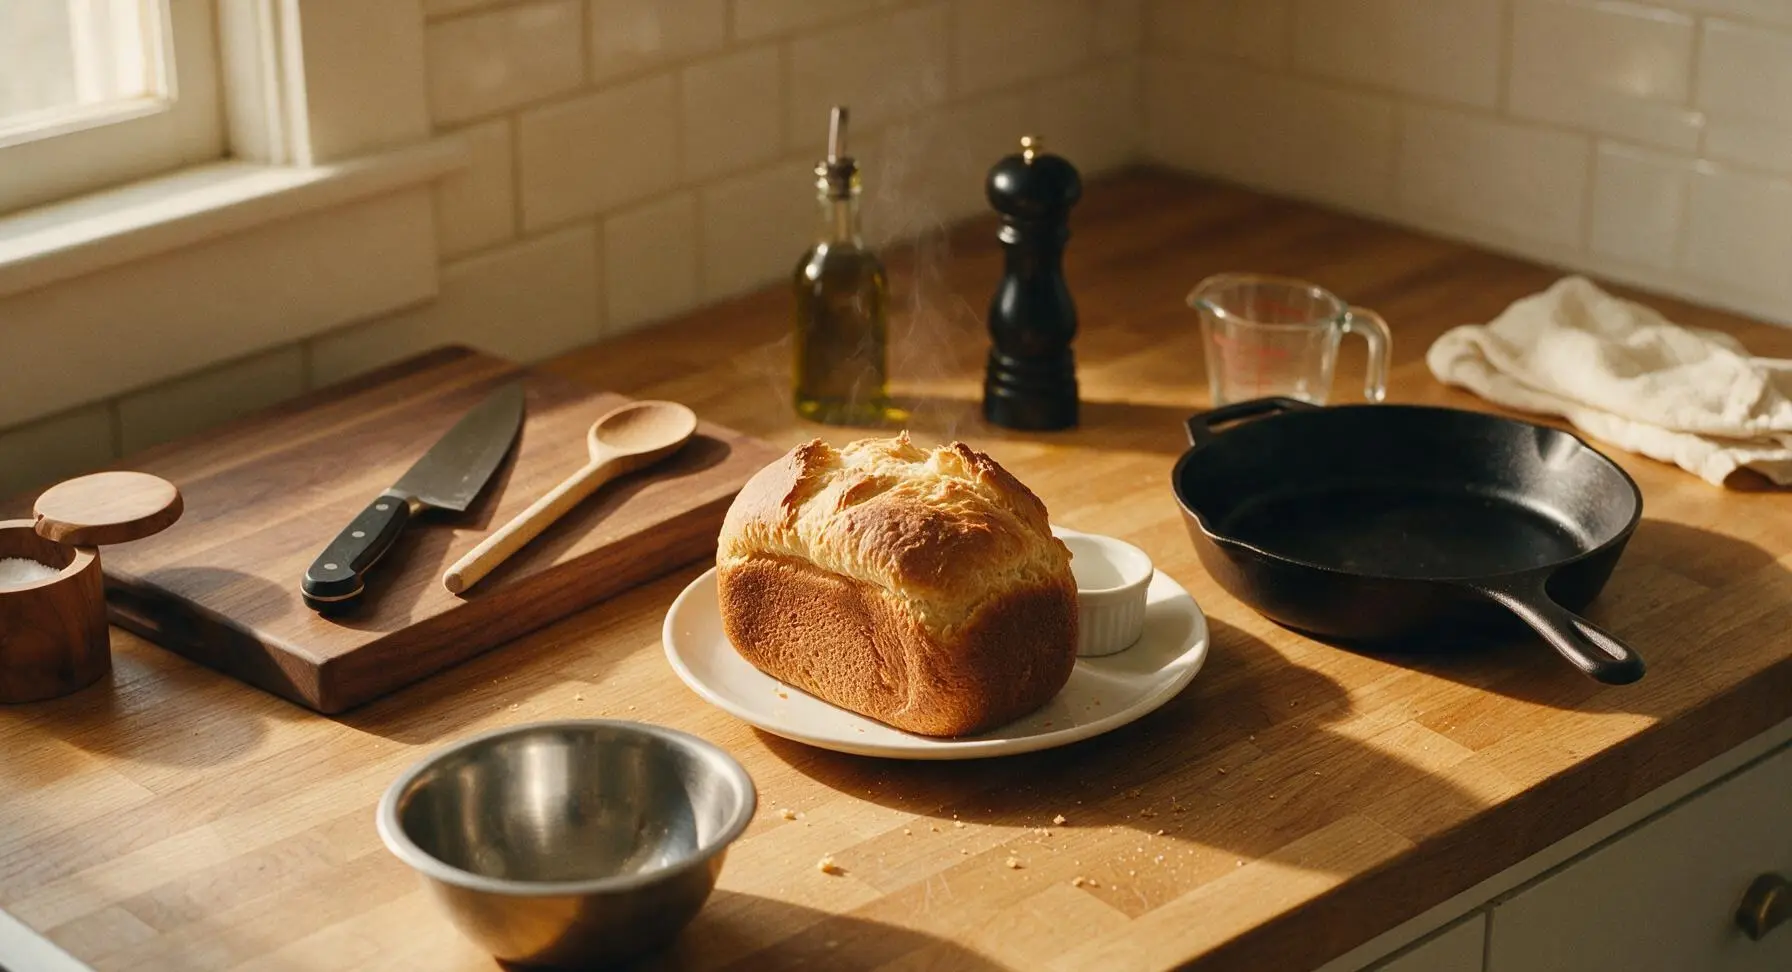
intro
A tangy, uniquely aromatic traditional Appalachian bread with a tight chewy crumb and crisp crust, leavened without commercial yeast for a bold, unforgettable flavor.
Ingredients
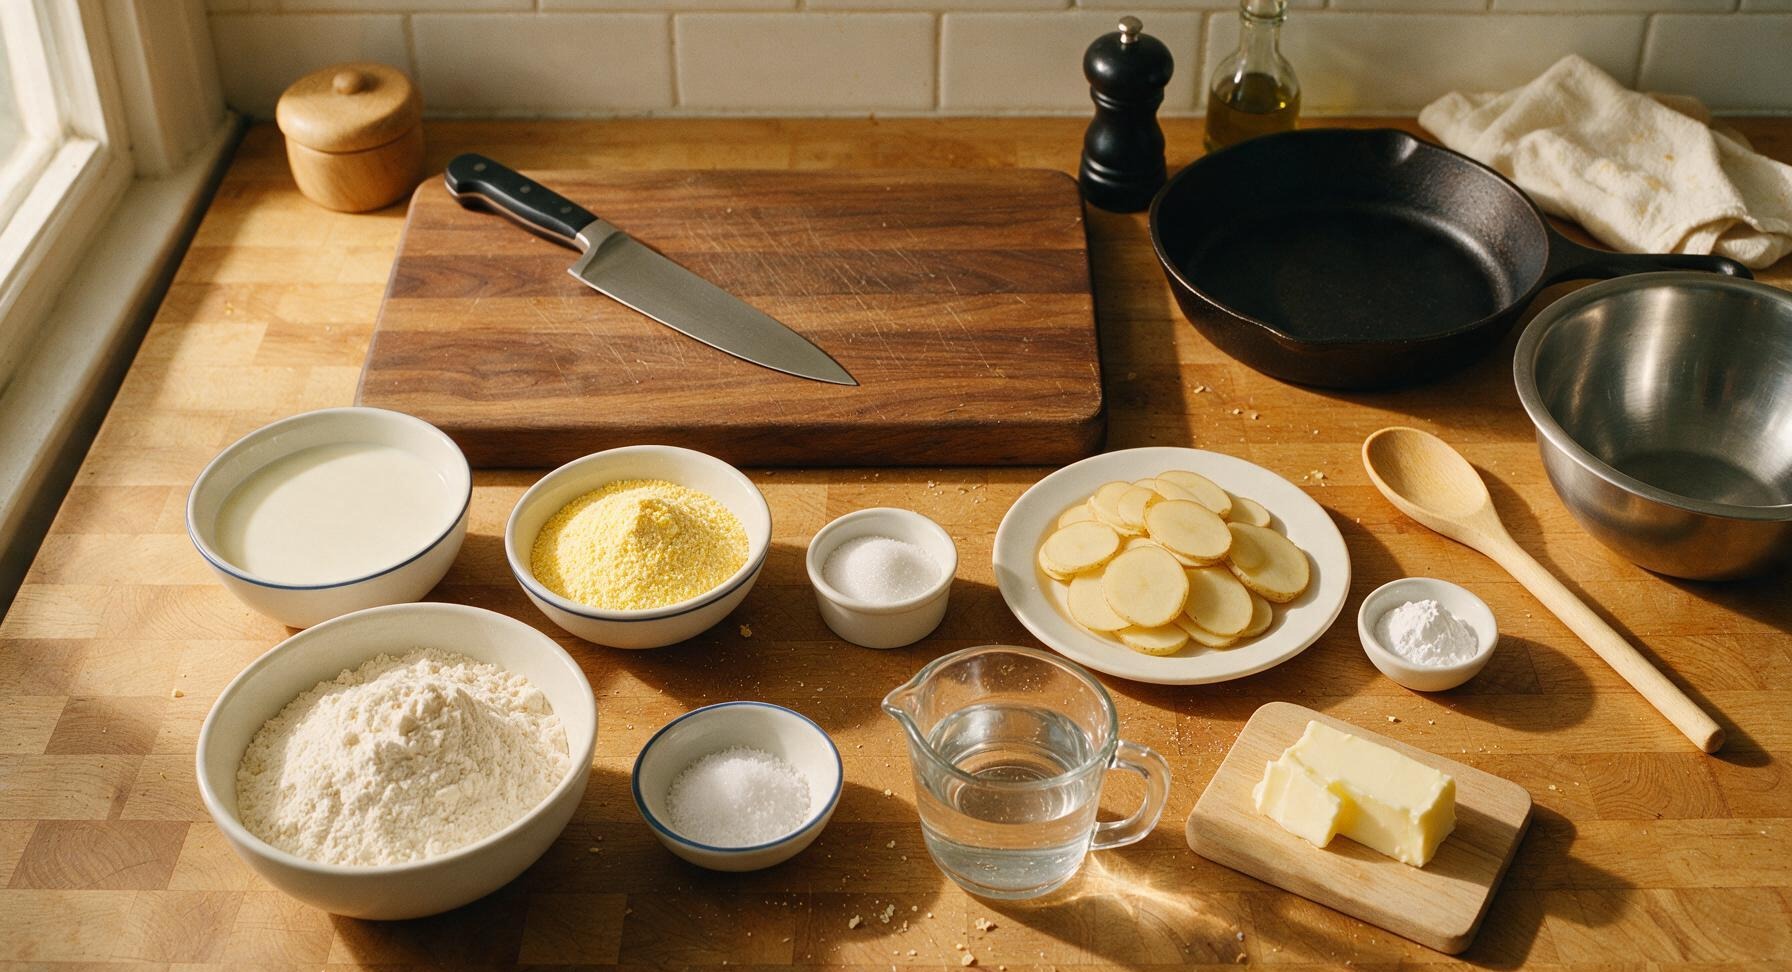
Steps
Mix Starter Base
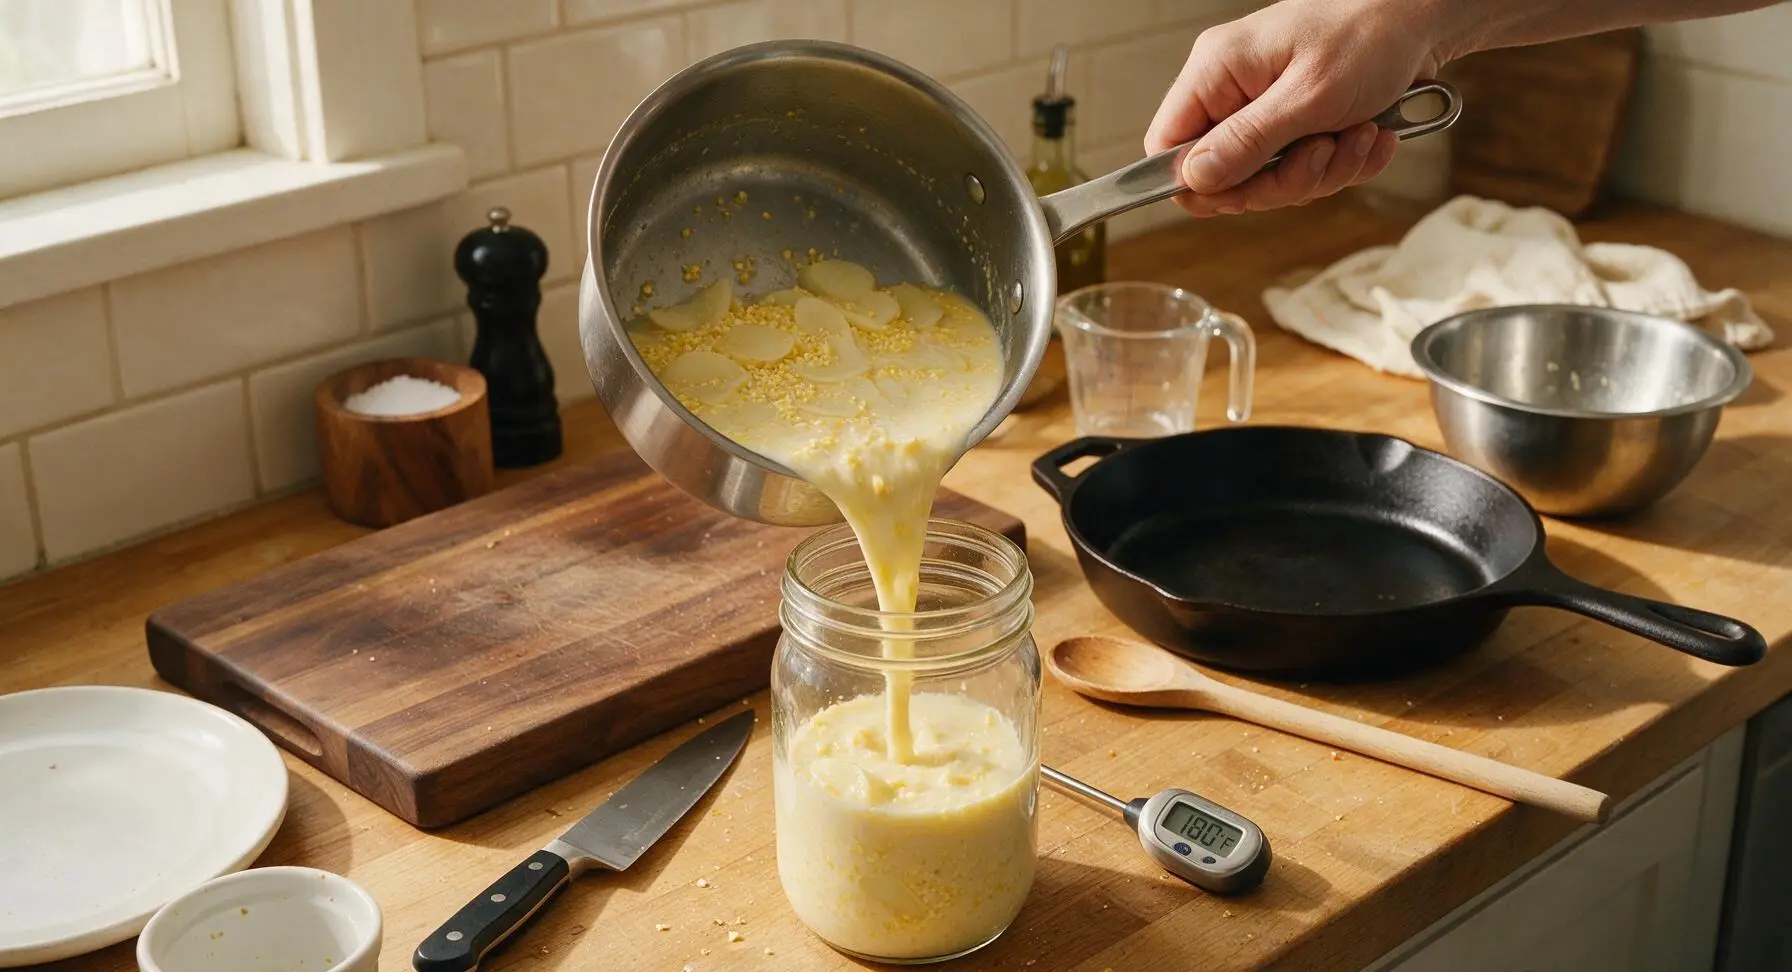
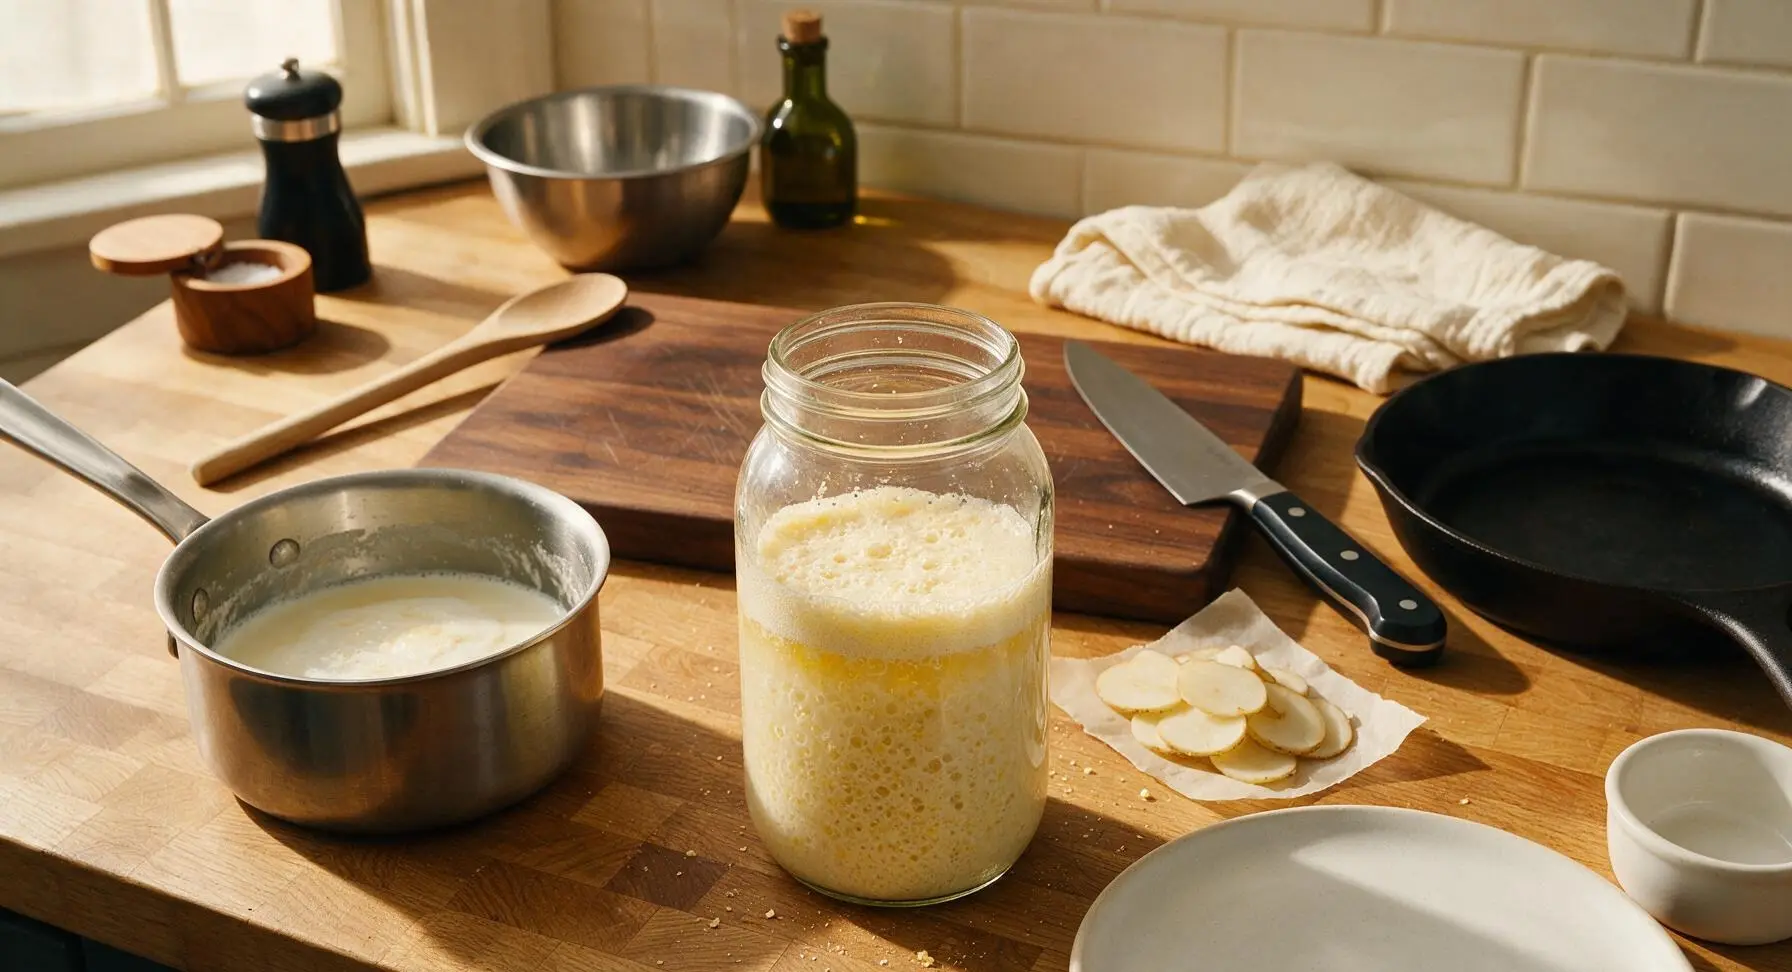
In the small stainless steel saucepan, heat whole milk over medium-low to 180°F (82°C), stirring occasionally to prevent scalding. Remove from heat, stir in cornmeal, 1 teaspoon sugar, and thinly sliced russet potato. Pour the mixture into the wide-mouth glass mason jar, seal loosely, transfer to a 100-110°F (38-43°C) warm spot (wrapped in a separate plain kitchen towel to hold temperature if needed) for 8-12 hours, until the mixture is bubbly, foamy, and carries a distinct pungent, cheese-like aroma. Fish out and discard the potato slices once fermentation is complete.
Build Fermented Sponge
Pour the fermented cornmeal starter (with potato slices removed) into the large glass mixing bowl. Stir in baking soda, remaining 2 teaspoons sugar, 1 cup (120g) all-purpose flour, and 1/2 cup warm (110°F/43°C) water. Mix with the stiff silicone spatula until completely smooth, cover loosely, and return to the 100-110°F warm spot for 1-2 hours, until the sponge doubles in volume, is frothy across the entire surface, and leaves small crater holes when stirred.
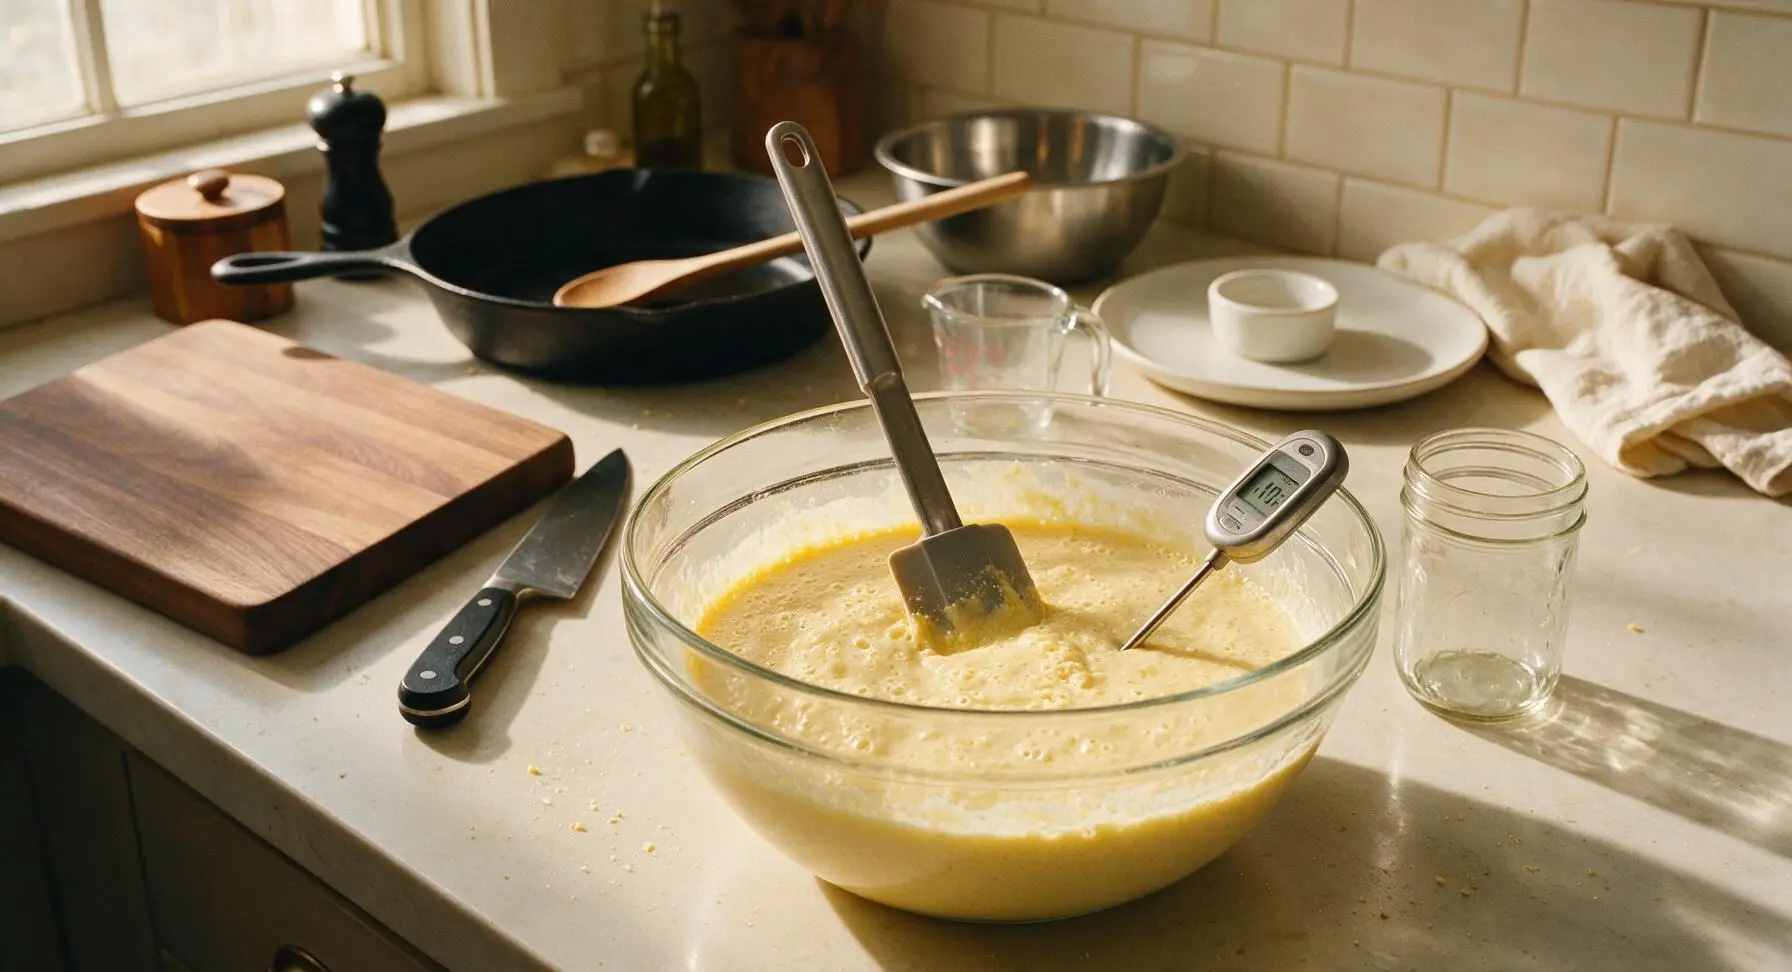
Mix Final Dough
Add the remaining 3 1/2 cups (420g) all-purpose flour, fine sea salt, remaining 3/4 cup warm water, and 1 tablespoon softened unsalted butter to the frothy, doubled sponge in the large mixing bowl. Stir with the silicone spatula until a shaggy, slightly sticky dough forms that pulls away from the bowl sides but clings softly to the bottom. The dough will feel denser than standard yeast bread dough, with a bright, tangy aroma.
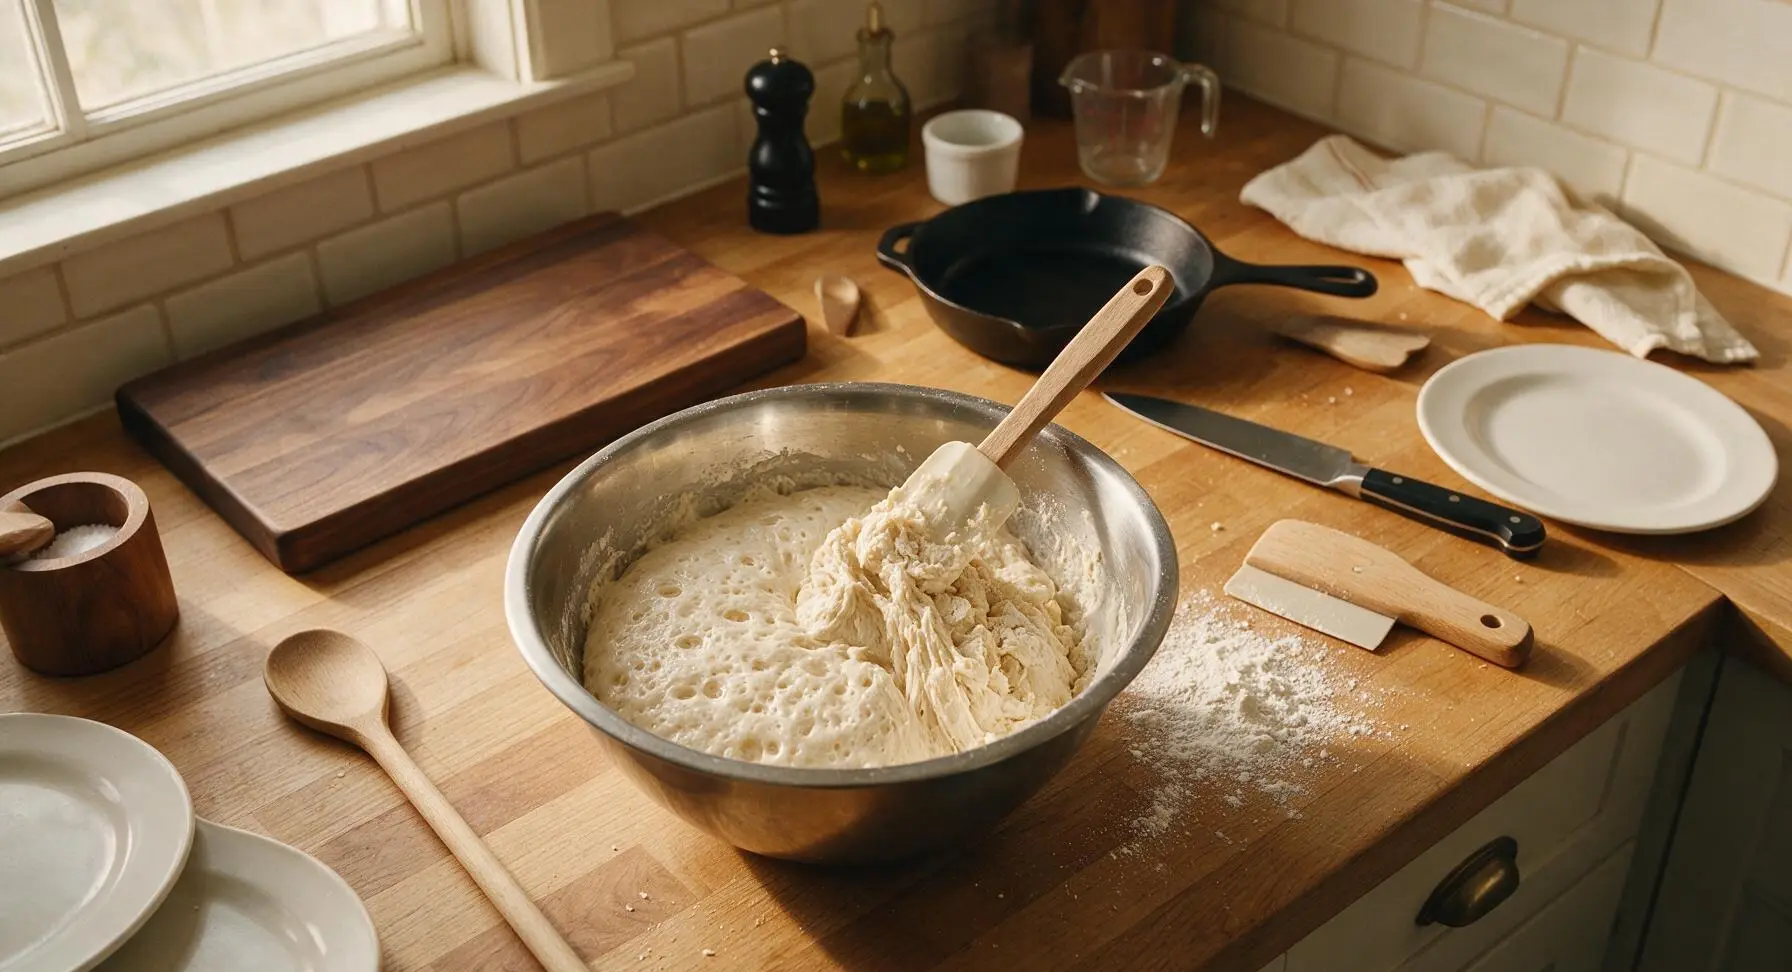
Knead and First Rise
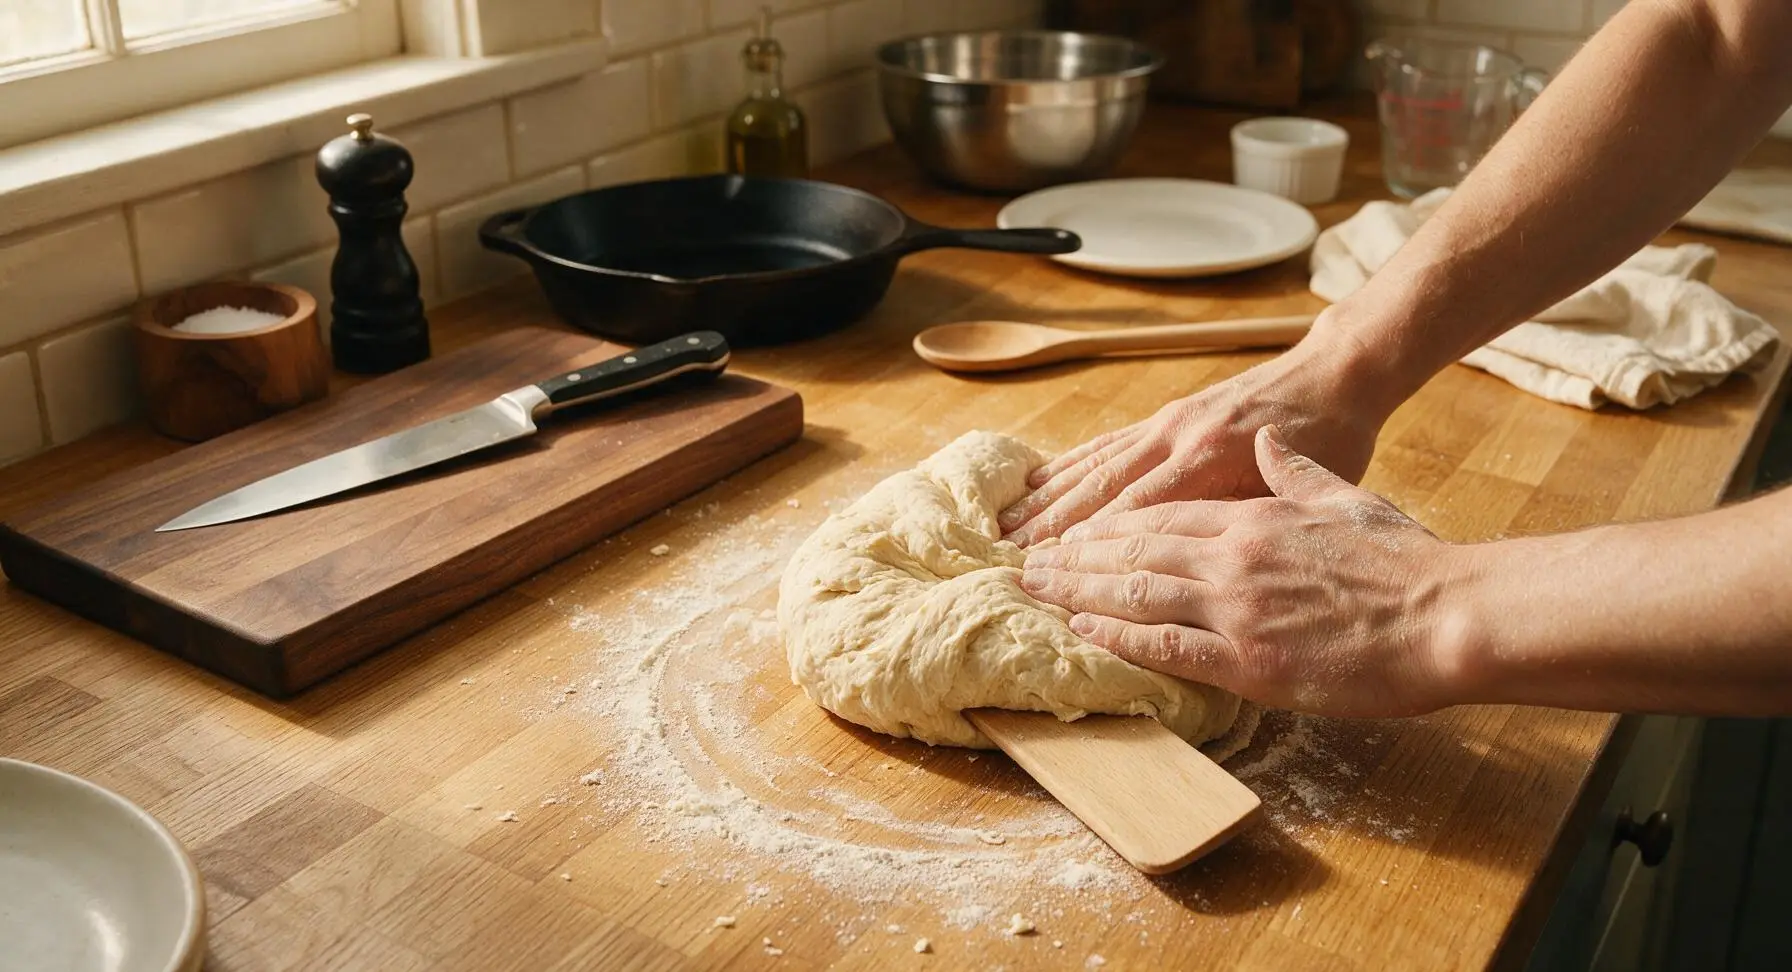
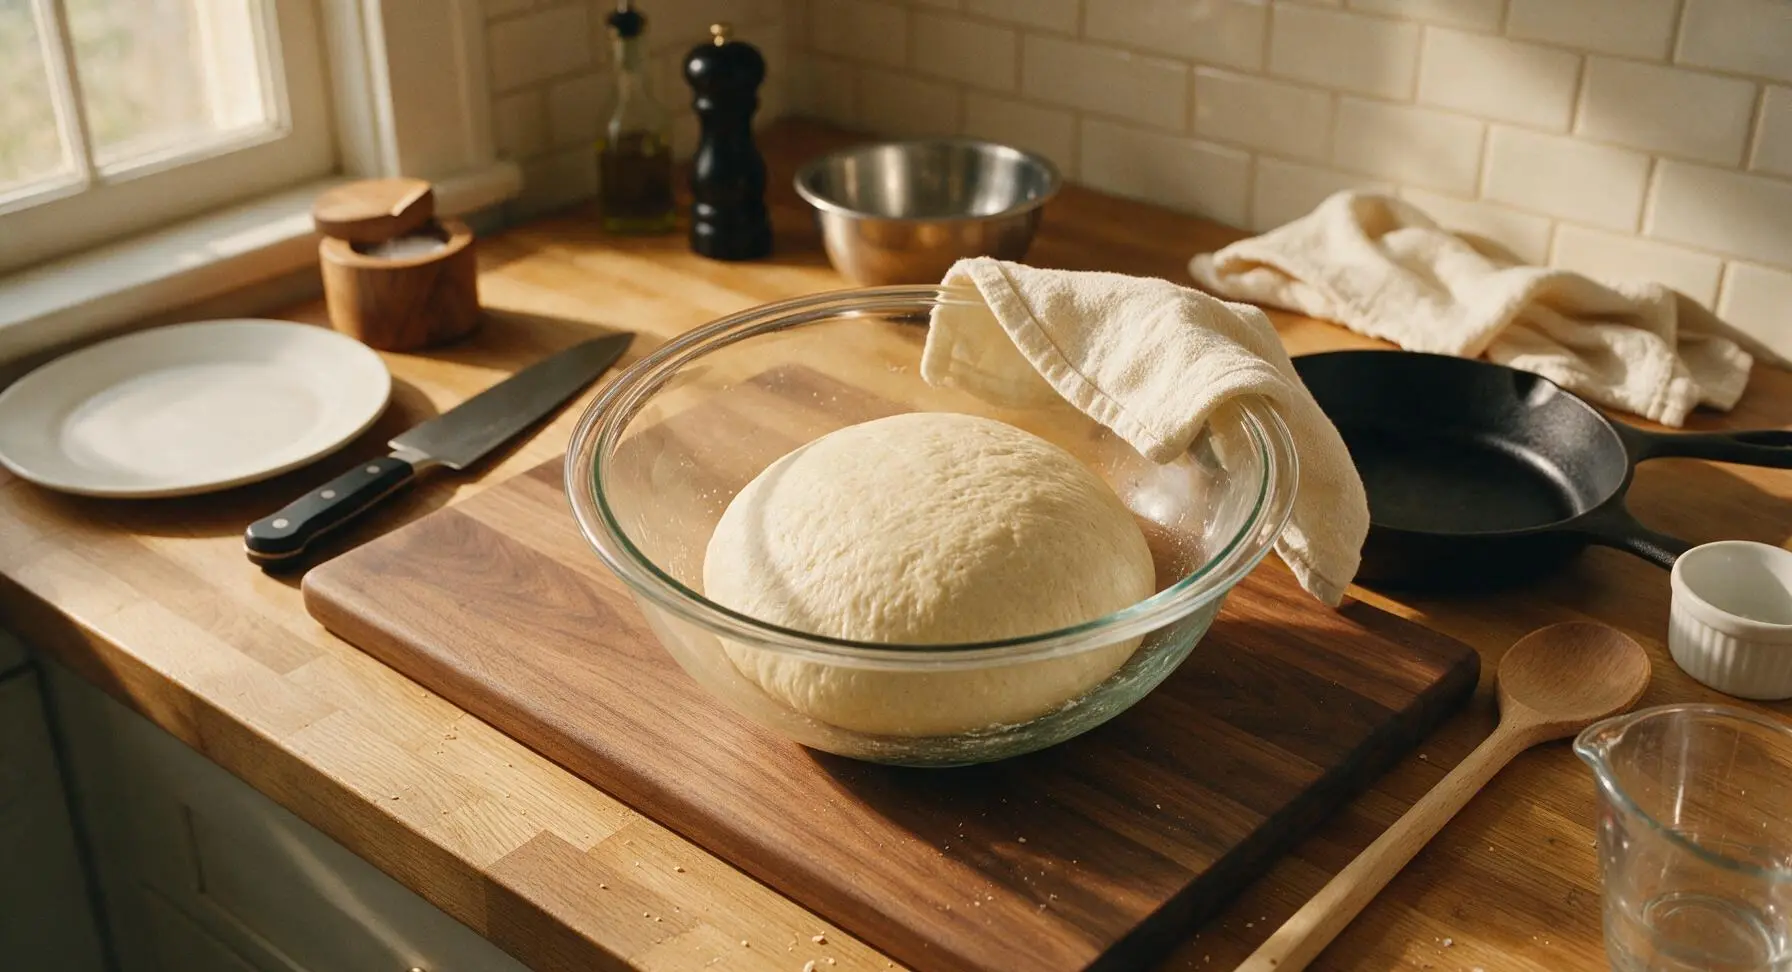
Turn the shaggy dough out onto a lightly floured section of counter. Knead gently with floured hands for 5-7 minutes, using the wooden dough scraper to lift and turn the dough to prevent sticking, until it is smooth, elastic, and holds a tight ball shape. Wipe out the mixing bowl, grease lightly with 1/2 tablespoon softened butter, return the dough ball to the bowl, set the bowl adjacent to the linen tea towel and drape the nearest corner of the towel loosely over the top (keeping the towel folded in its permanent top-right position), then return to the 100°F warm spot for 1.5-2 hours, until the dough increases by 50% in size (note: it will not double like commercial yeast bread).
Shape and Pan Loaf
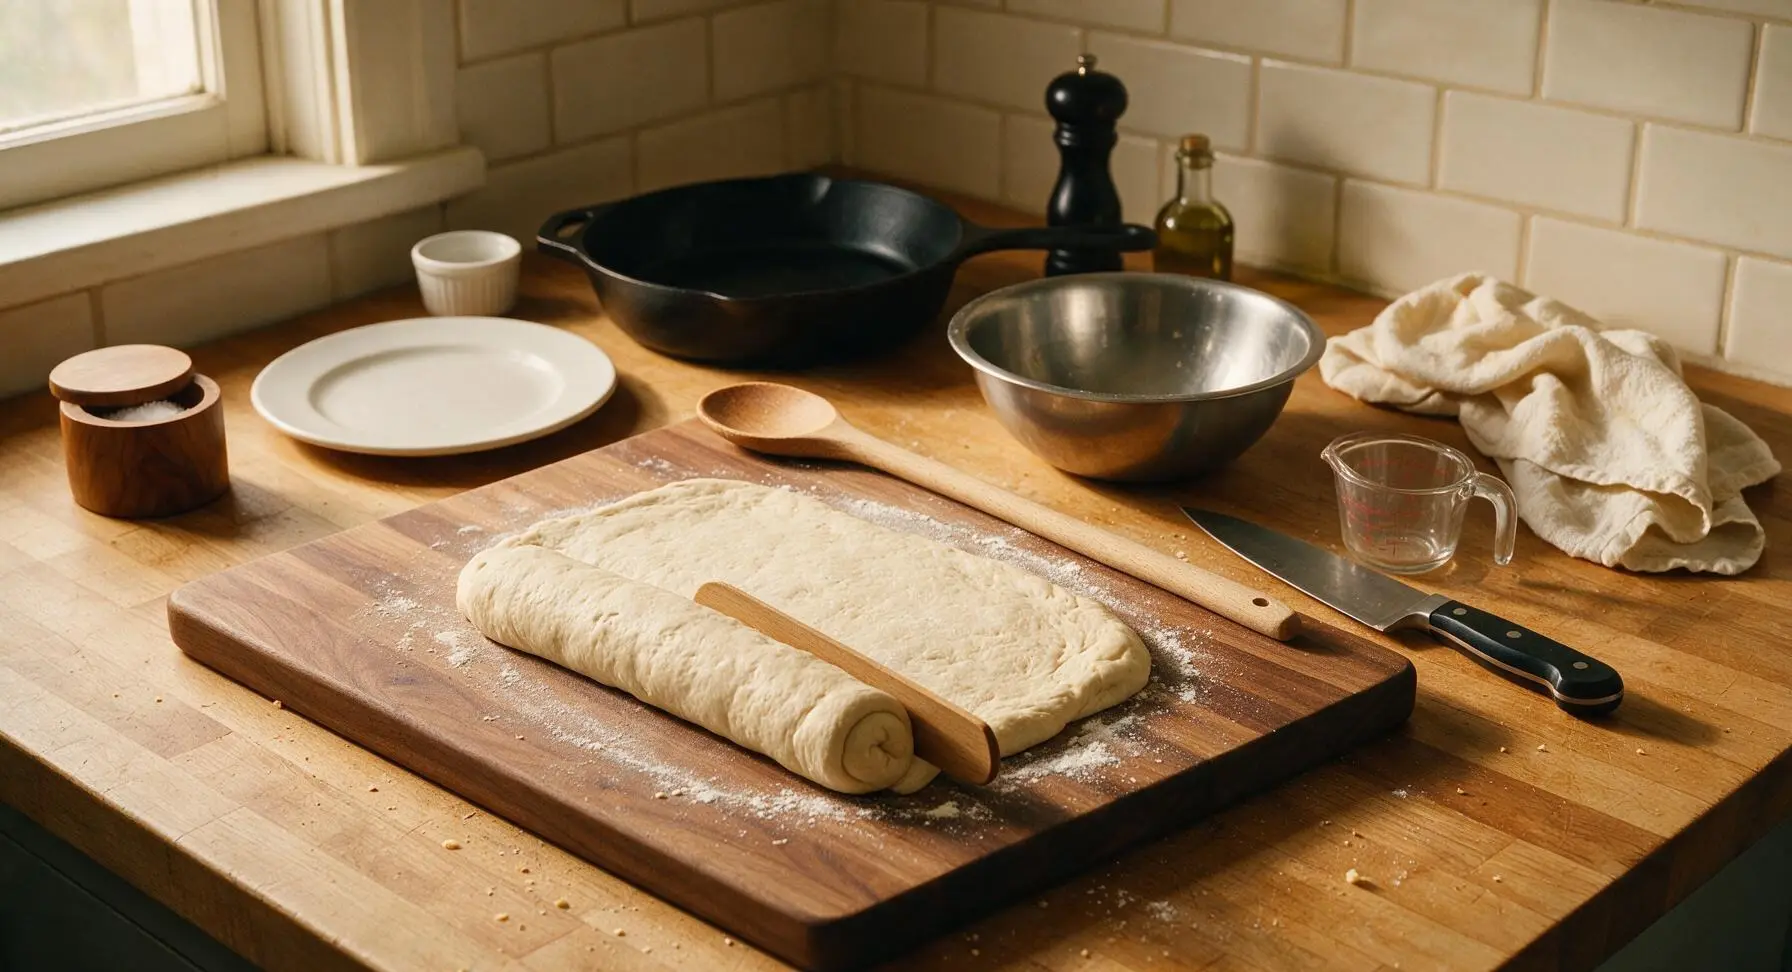
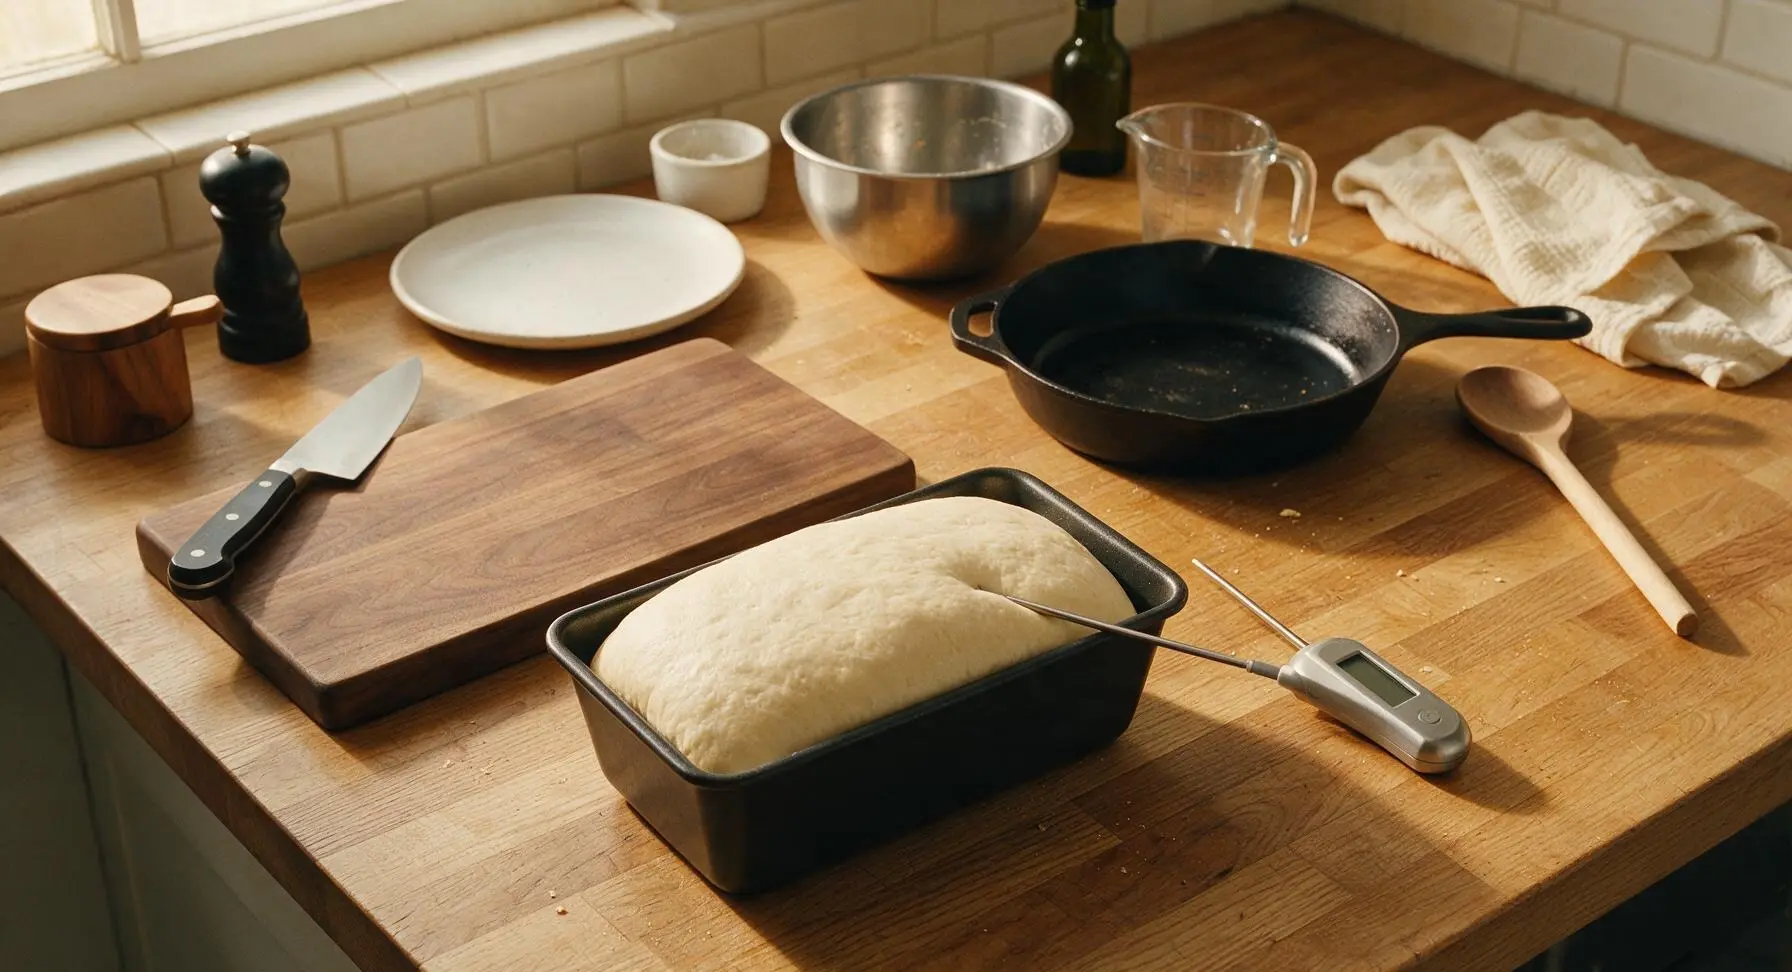
Gently turn the risen dough out onto the lightly floured counter, taking care not to deflate it fully. Press into a 9x12 inch even rectangle, fold the top third down to the center, the bottom third up over the fold, then roll tightly from the short end to form a log matching the length of the loaf pan. Pinch the seam closed, tuck the ends under, and place the log seam-side down in the matte black 9x5 inch loaf pan greased with the remaining 1/2 tablespoon butter. Cover loosely and return to the warm spot for a final 45-60 minute rise, until the dough domes 1/2 inch above the pan rim.
Bake to Golden Crust
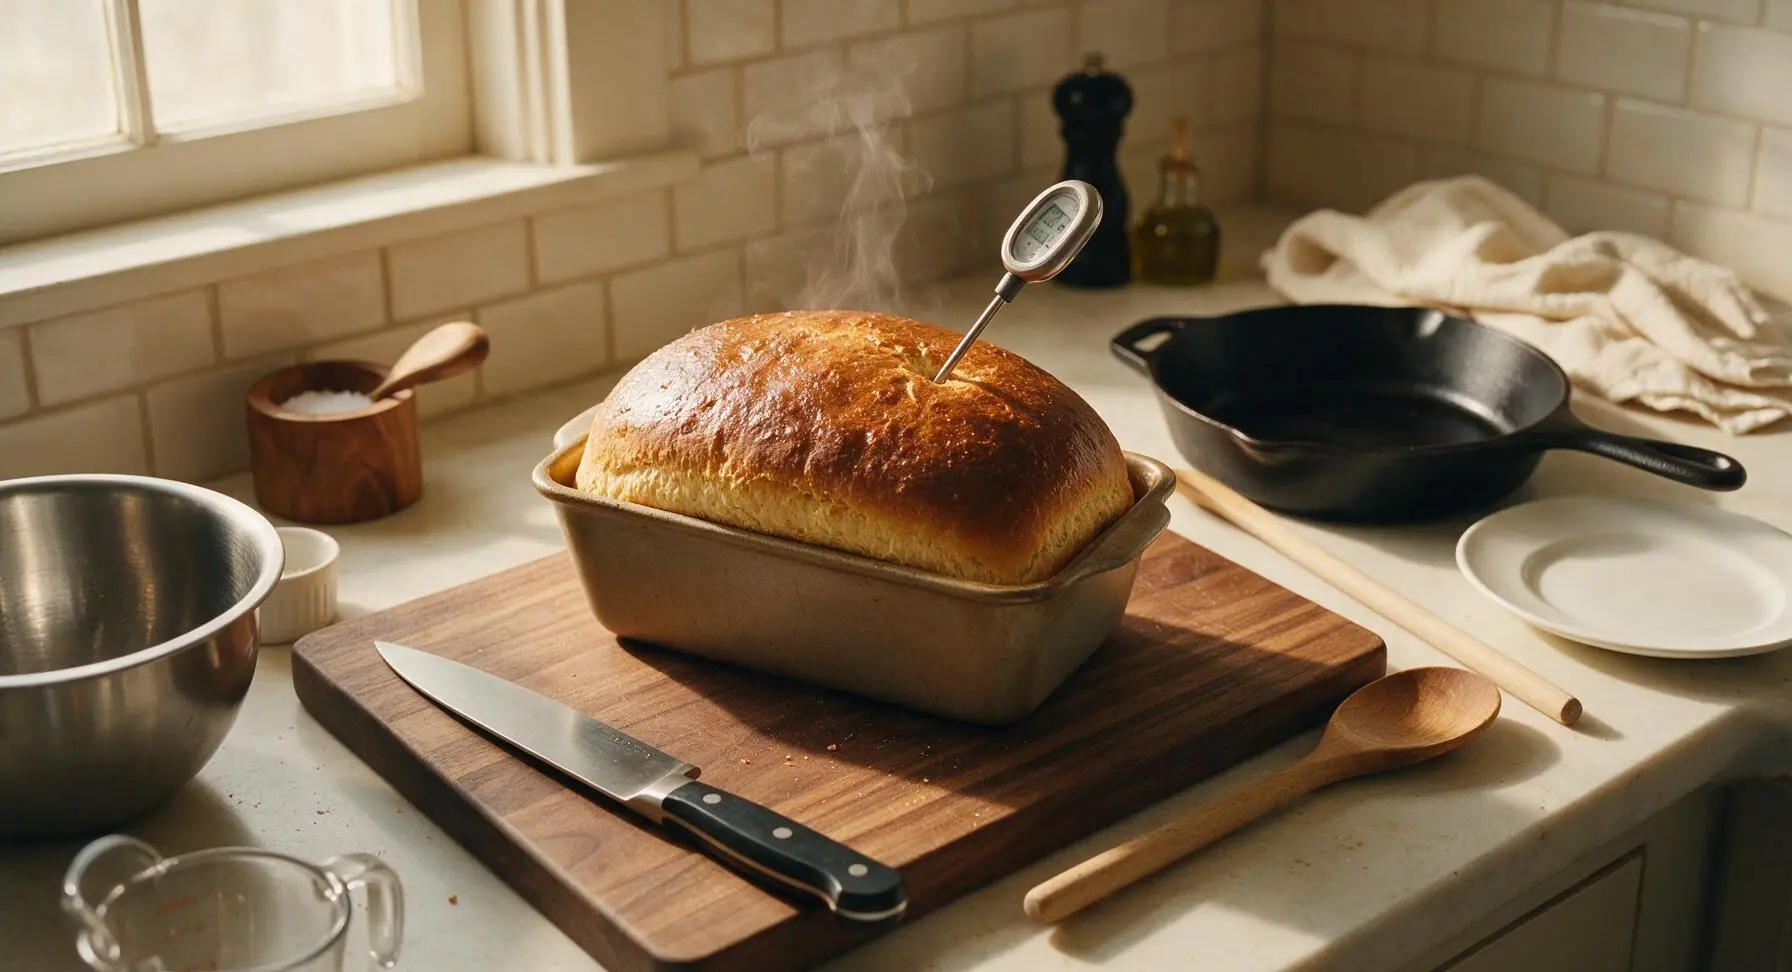
Preheat oven to 375°F (190°C). Once the dough completes its final pan rise, place the loaf pan on the middle oven rack and bake for 35-40 minutes, until the top is deep golden brown, the internal temperature reaches 200°F (93°C) when probed with the instant-read thermometer, and the loaf sounds hollow when tapped on the bottom. Tent loosely with aluminum foil after 25 minutes if the top browns too quickly.
Cool Before Slicing
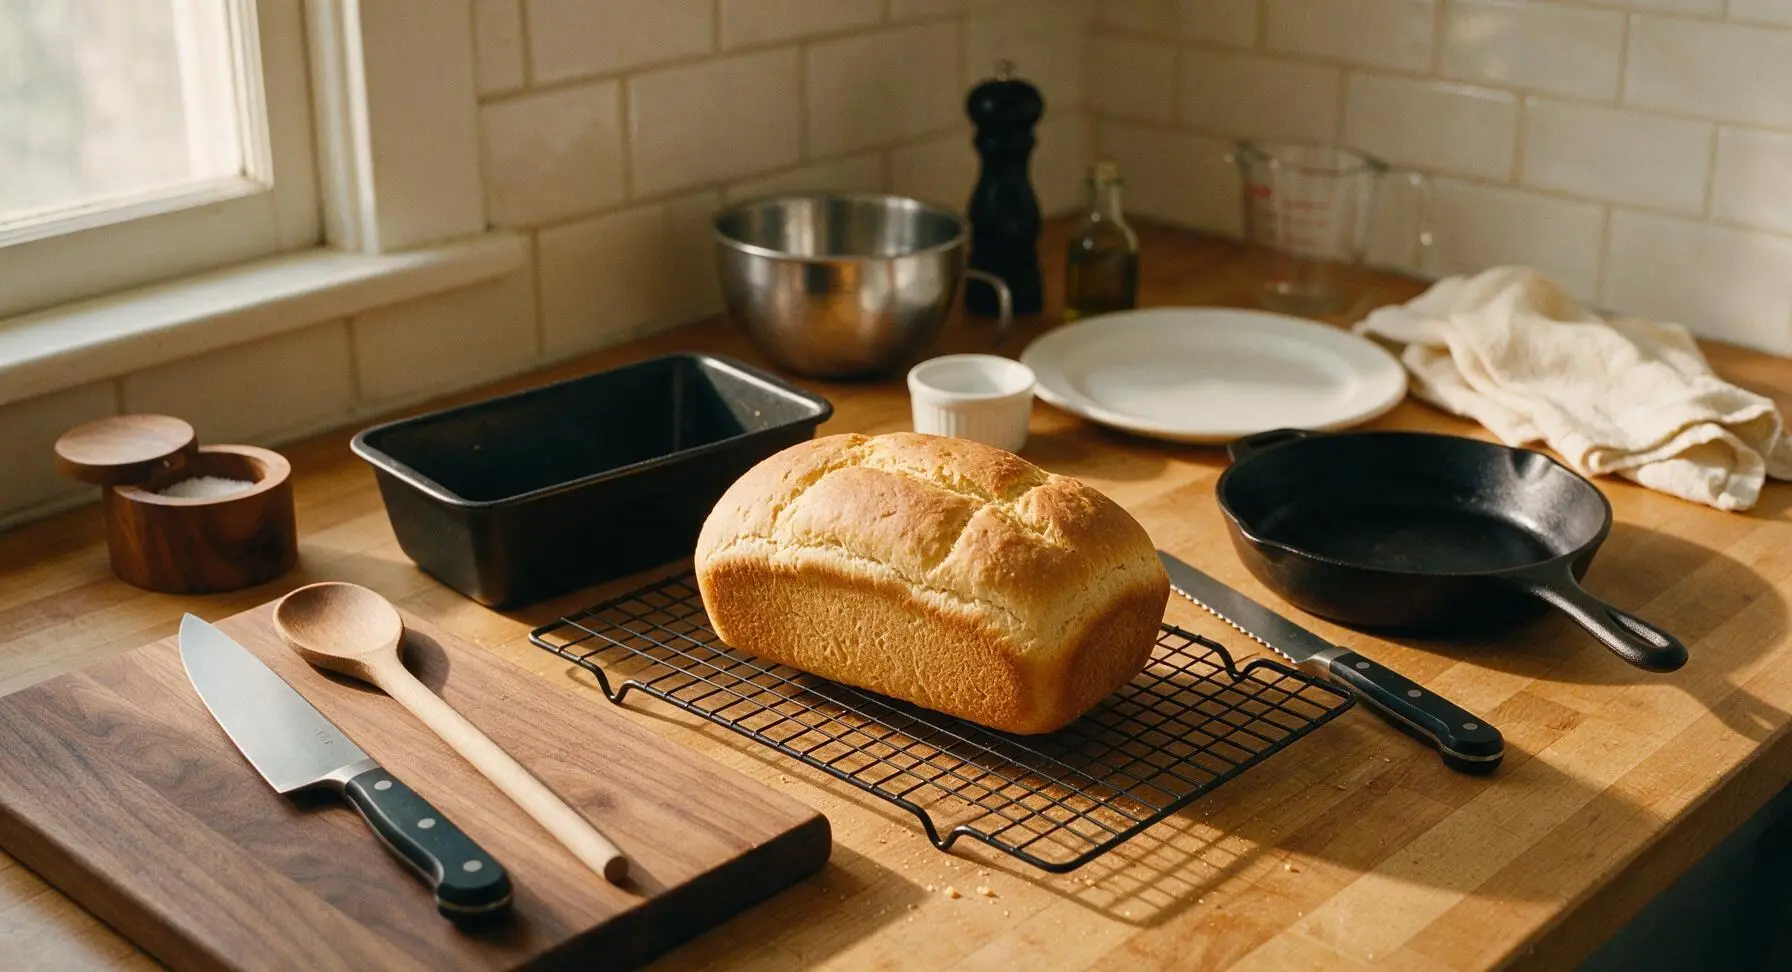
Immediately turn the hot baked loaf out of the pan onto the matte black wire cooling rack. Let cool completely for 2 full hours before slicing—cutting warm salt rising bread causes the tight crumb to compress, resulting in a gummy, dense texture. Once fully cool, transfer to the serving platter, slice with the serrated bread knife, and serve, optionally with butter.
Tips
2.Do not skip the raw potato in the initial starter: the naturally occurring bacteria on the potato skin is what creates salt rising bread’s signature tangy, slightly cheesy flavor and leavening power, as this recipe uses no commercial yeast. Be sure to discard the potato slices after the initial starter fermentation to avoid a mushy texture in the final bread.
3.Wait the full 2 hours for the loaf to cool before slicing: unlike light, airy commercial yeast breads, salt rising bread has a tight, moist crumb that needs time to set as it cools. Slicing early will compress the crumb, leading to gummy, sticky slices that do not hold their shape.






OMG I’ve been trying to nail my great-aunt’s traditional salt rising bread for literal years and this recipe is the first one that actually worked! Got that perfect funky, tangy aroma while it was proofing, the crumb was dense but soft, and the crust had that perfect little crunch. Brought a sliced loaf to our neighborhood potluck last weekend and people went crazy for it—even the folks who said they hated salt rising bread came back for seconds. My kids ate half the loaf toasted with apple butter before I even got to put it in the bread box! Yeah it’s fussy, but so worth the effort.
Tried this for my weekly meal prep thinking it would be a fun weekend project, and wow I underestimated how hard this is! My first starter totally died, I had to restart twice, but when I finally got a loaf in the oven? Game changer. I’ve been eating a slice with eggs every morning this week and it’s so much more filling than regular sandwich bread. Will definitely be making this again once I recover from the starter stress, ha.
I’ve been baking bread for over 40 years and I’ll be honest, I was skeptical an online recipe could get salt rising bread right. Most recipes cut corners on the incubation time and end up with bland, dense doorstops. Followed this exactly, kept my starter at 100°F in my proofing box, and it turned out perfect. That distinct, almost cheesy tang is spot on, just like I remember from the bakeries I worked at in the 70s. Great job on this one.
Y’all. I messed this up so bad. I misread the incubation temp and put my starter on the heating pad on high, and it smelled like rotten potatoes when I checked it 12 hours later. Had to throw the whole thing out and open every window in my apartment. Is there a way to save a starter that gets too hot, or do I just have to start over? I really want to make this for my mom’s birthday, she loves salt rising bread.
Used homegrown potatoes from my garden for the starter and OH MY GOODNESS the flavor is next level. Sliced this thick, toasted it, and topped it with fresh tomato and basil from the patch for lunch all last week. It’s definitely a labor of love, especially if you’re used to no-knead bread that takes 2 hours start to finish, but the depth of flavor is unbeatable. Don’t skip the 40 minute bake time at the temp listed, I almost pulled mine out early and the center would have been gummy!
My grandma used to make salt rising bread every Thanksgiving and I haven’t had it since she passed 10 years ago. I was so nervous to try this because I didn’t want it to not live up to my memory, but y’all—when that starter started smelling like that weird, cheesy, stinky goodness I cried a little. Made two loaves for our family dinner last Sunday and my whole family said it tasted exactly like hers. Thank you so much for sharing this recipe, it means more than I can say.
Third time’s the charm! First two attempts my starter flopped (I kept my kitchen too cold, oops) but I finally nailed it last night. Brought a loaf to my office potluck today and it was gone in 10 minutes flat. People were putting butter on it, jam on it, even making little ham sandwiches with it. So versatile, so flavorful, 10/10 will be making this once a month from now on.
I heard salt rising bread is easier to digest for people with mild gluten sensitivities, so I gave this a shot even though I’m usually terrible at tricky bread recipes. It did upset my stomach a little, but honestly that’s probably because I ate half the loaf in one sitting it was SO good. The crust is perfectly crispy, the crumb is soft, that tang is unreal. Next time I’ll pace myself, ha.
Wait, I have a question—do I *have* to use non-iodized salt for this? I only had regular table salt on hand when I started my starter last night, and now I’m panicking I ruined it. I really don’t want to run to the store again if I don’t have to, but I also don’t want to waste 12 hours waiting for a starter that won’t work. Has anyone tried this with regular table salt?
Made this to take on my fall backpacking trip last weekend and it was perfect! It’s dense, calorie-dense, doesn’t get squished easy in a pack, and tasted amazing with some sharp cheddar and apple slices after a long hike. Way better than the store-bought sandwich bread I usually bring. Yeah it’s a pain to make, but it held up for 4 days in my pack without going bad, total game changer for backcountry meals.
I was so excited for this but man, this is way too much work for a loaf of bread. I don’t have 16+ hours to babysit a starter, I just want something I can whip up after work for dinner. I ended up tossing my starter after 8 hours because it wasn’t doing anything and just making my kitchen smell weird. Probably great if you have all day to bake, but not for someone with a busy schedule.