
sam gyup sal
intro
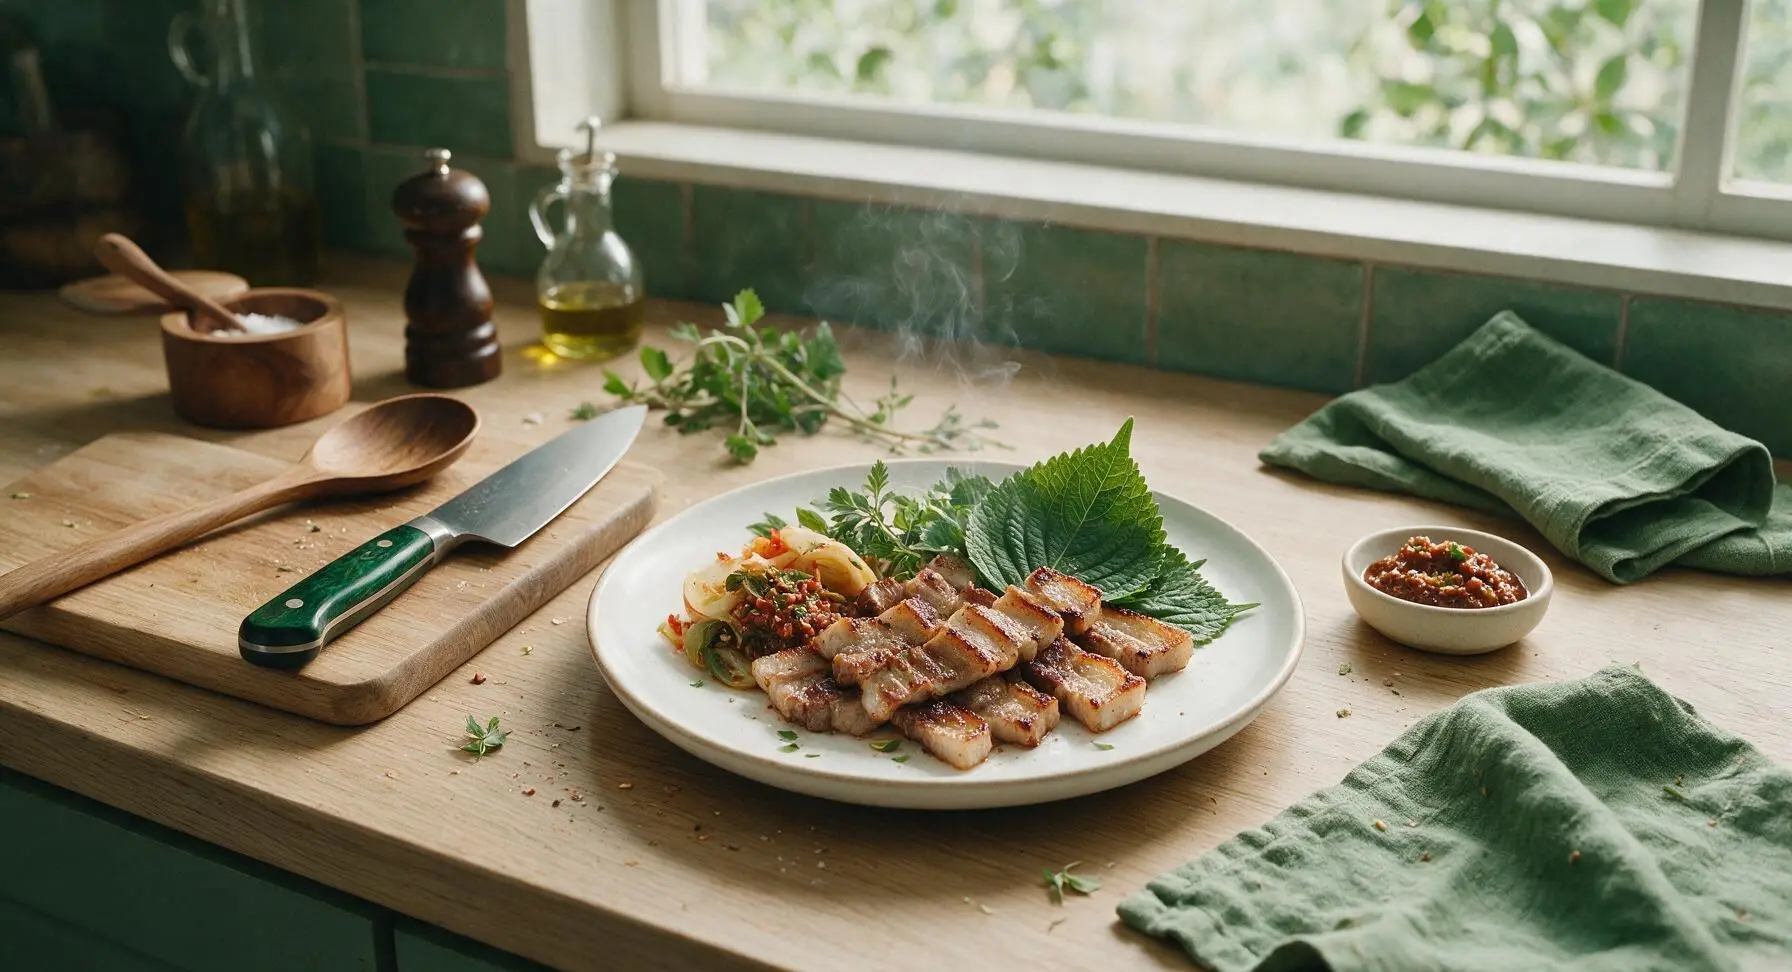
Crispy, juicy Korean grilled pork belly cooked over charcoal, served with savory ssamjang, fresh perilla, and tangy pickles for build-your-own wraps perfect for casual summer gatherings.
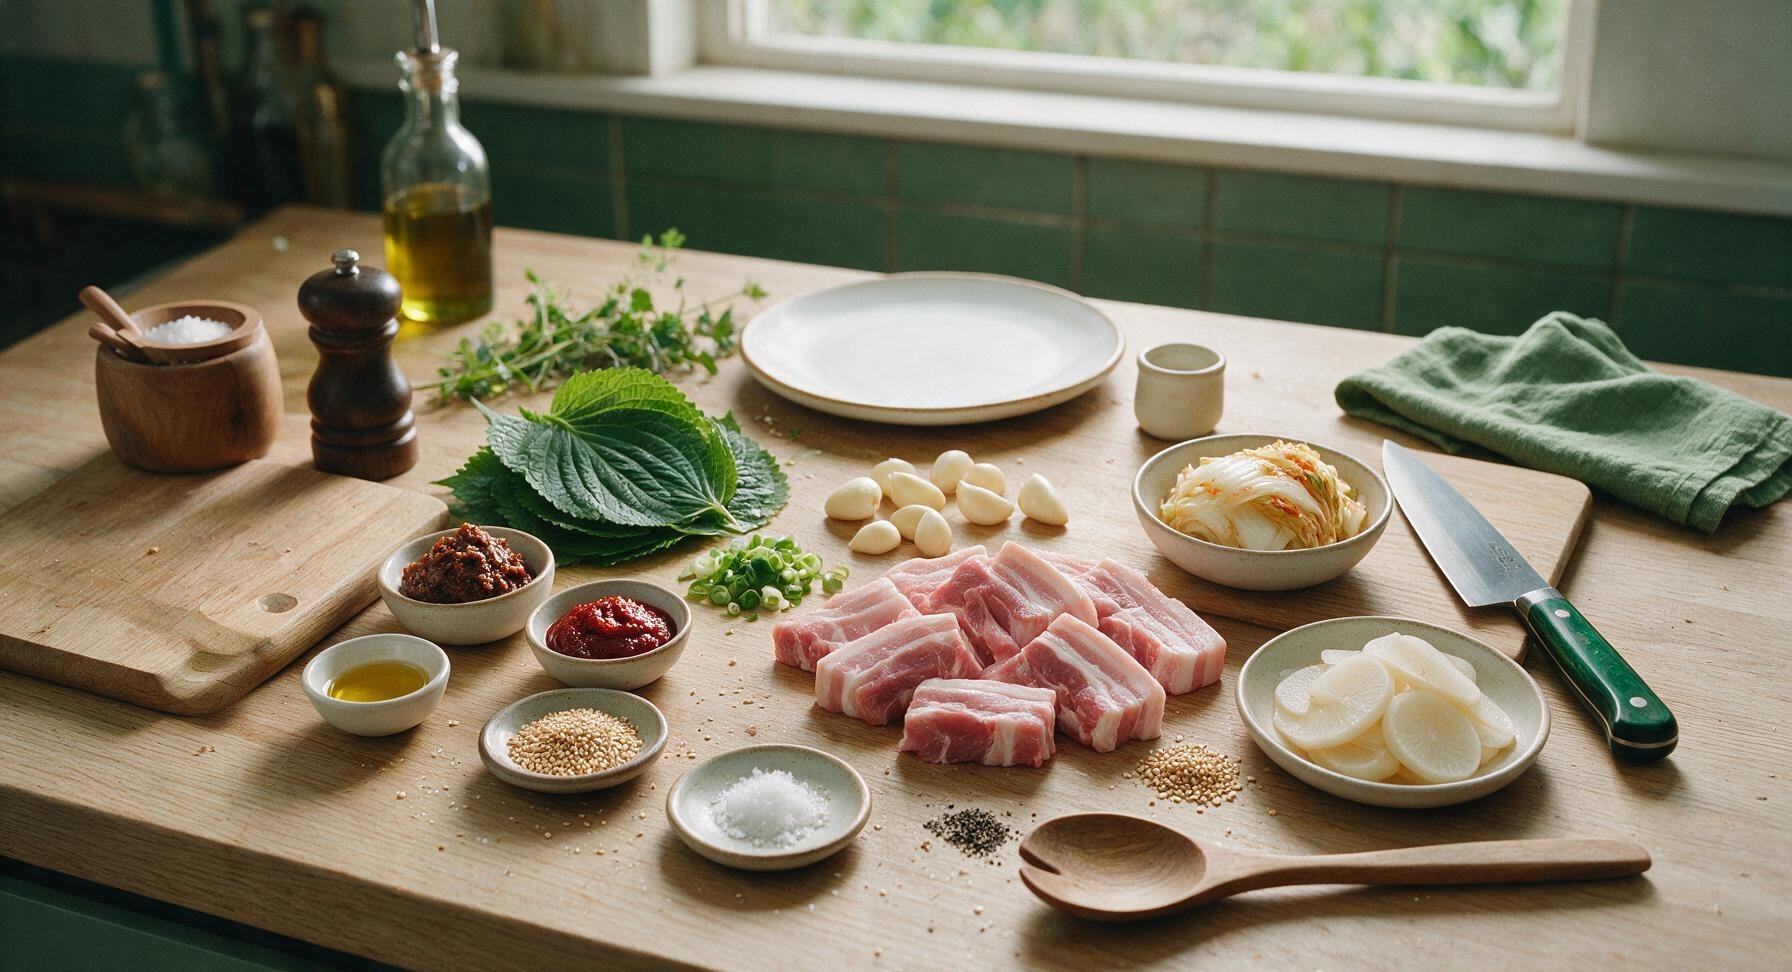
Ingredients
Steps
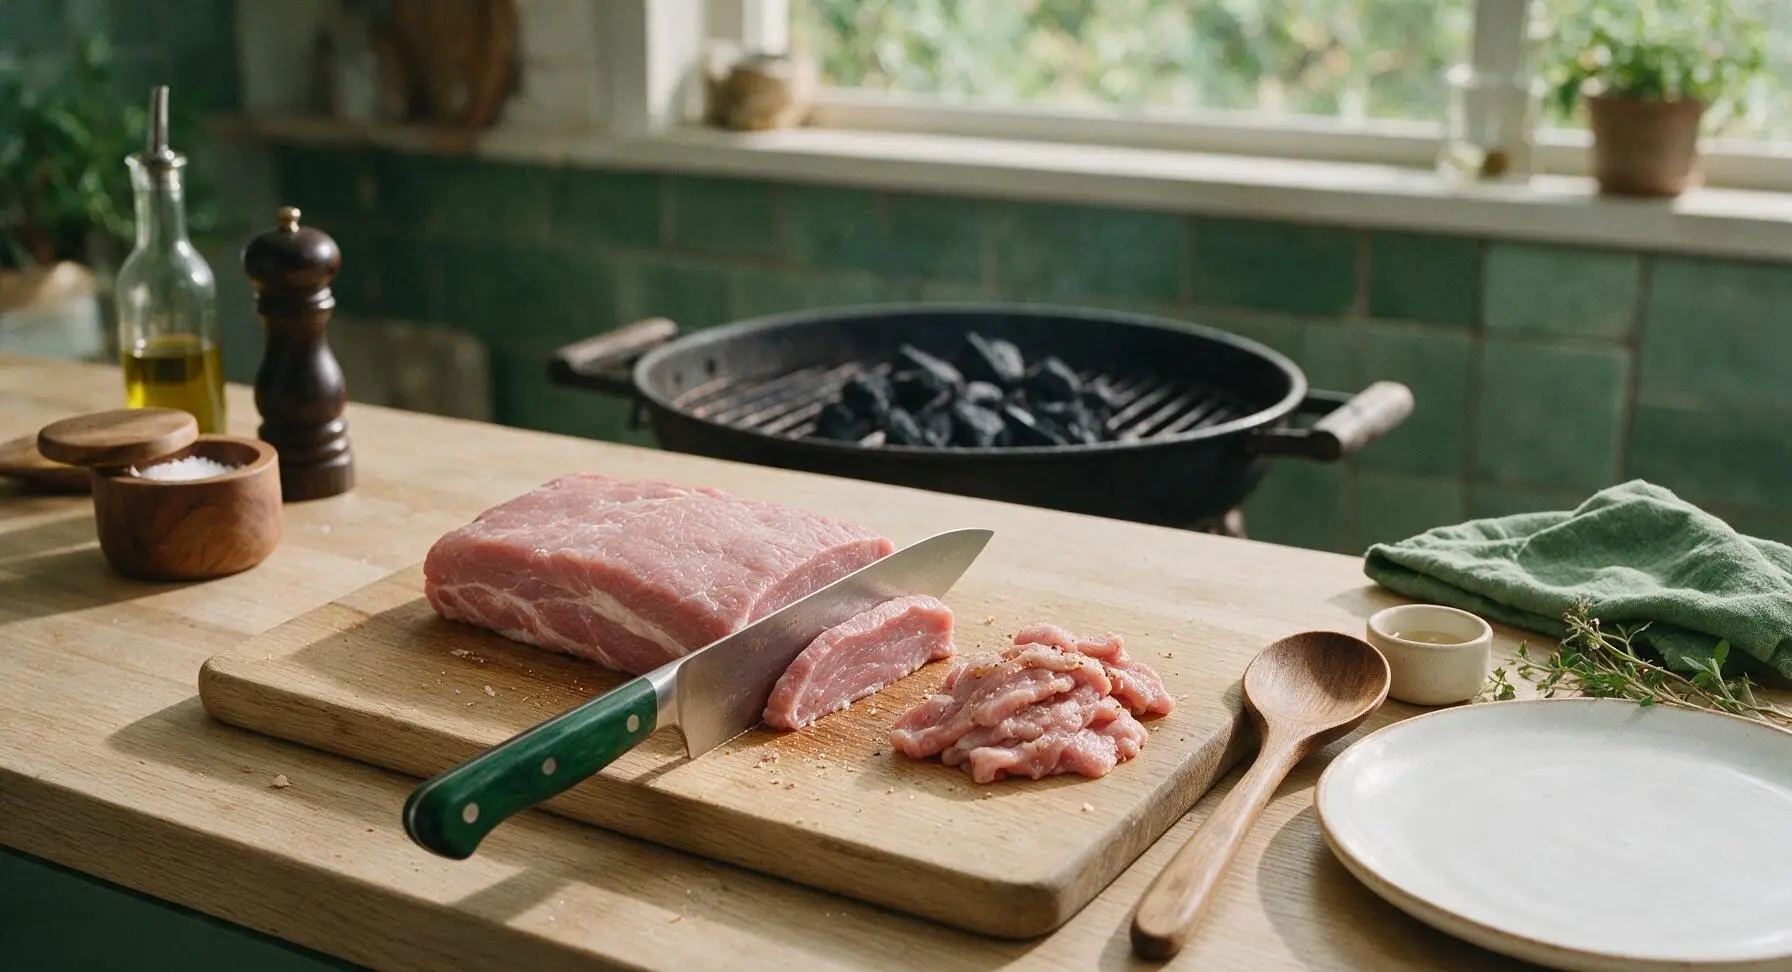
Slice Pork Belly Evenly
Place the whole skinless pork belly on the honey beech cutting board. Using the 8-inch chef's knife, slice against the grain into uniform 1/4-inch thick slices, roughly 3 inches long. Pat each slice completely dry with a corner of the linen kitchen towel to ensure crisping instead of steaming on the grill. Season lightly with 1/4 tsp coarse sea salt and a pinch of black pepper. Slices should be uniform thickness to ensure even cooking, with no ragged edges.
Mix Ssamjang Dipping Sauce
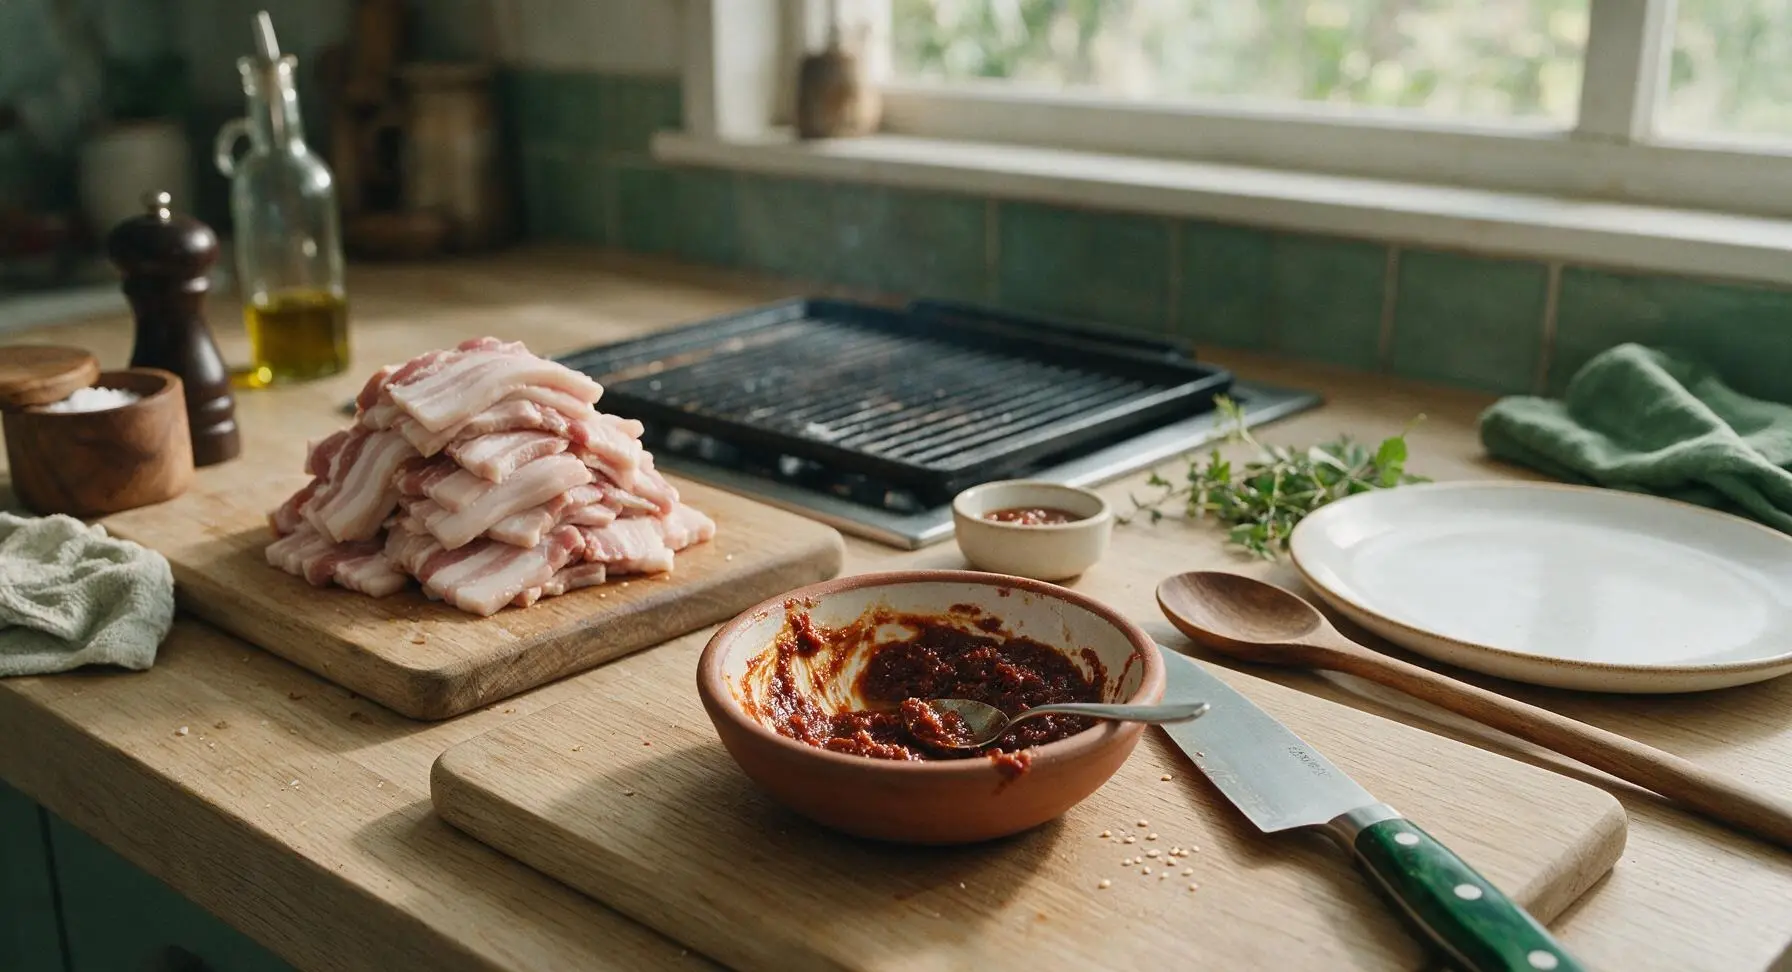
In one of the terracotta sauce bowls, combine 2 tbsp doenjang, 1 tbsp gochujang, 1 tsp toasted sesame oil, 1 finely chopped green onion, 1 tsp toasted sesame seeds, and 1 thinly sliced garlic clove. Stir thoroughly with the small stainless steel mixing spoon until completely smooth, with no streaks of separate paste remaining. Set the bowl back in its fixed position to the right of the grill to let flavors meld while the grill heats. The finished sauce will be a uniform deep reddish-brown, flecked with green onion and sesame seeds.
Preheat Charcoal Grill
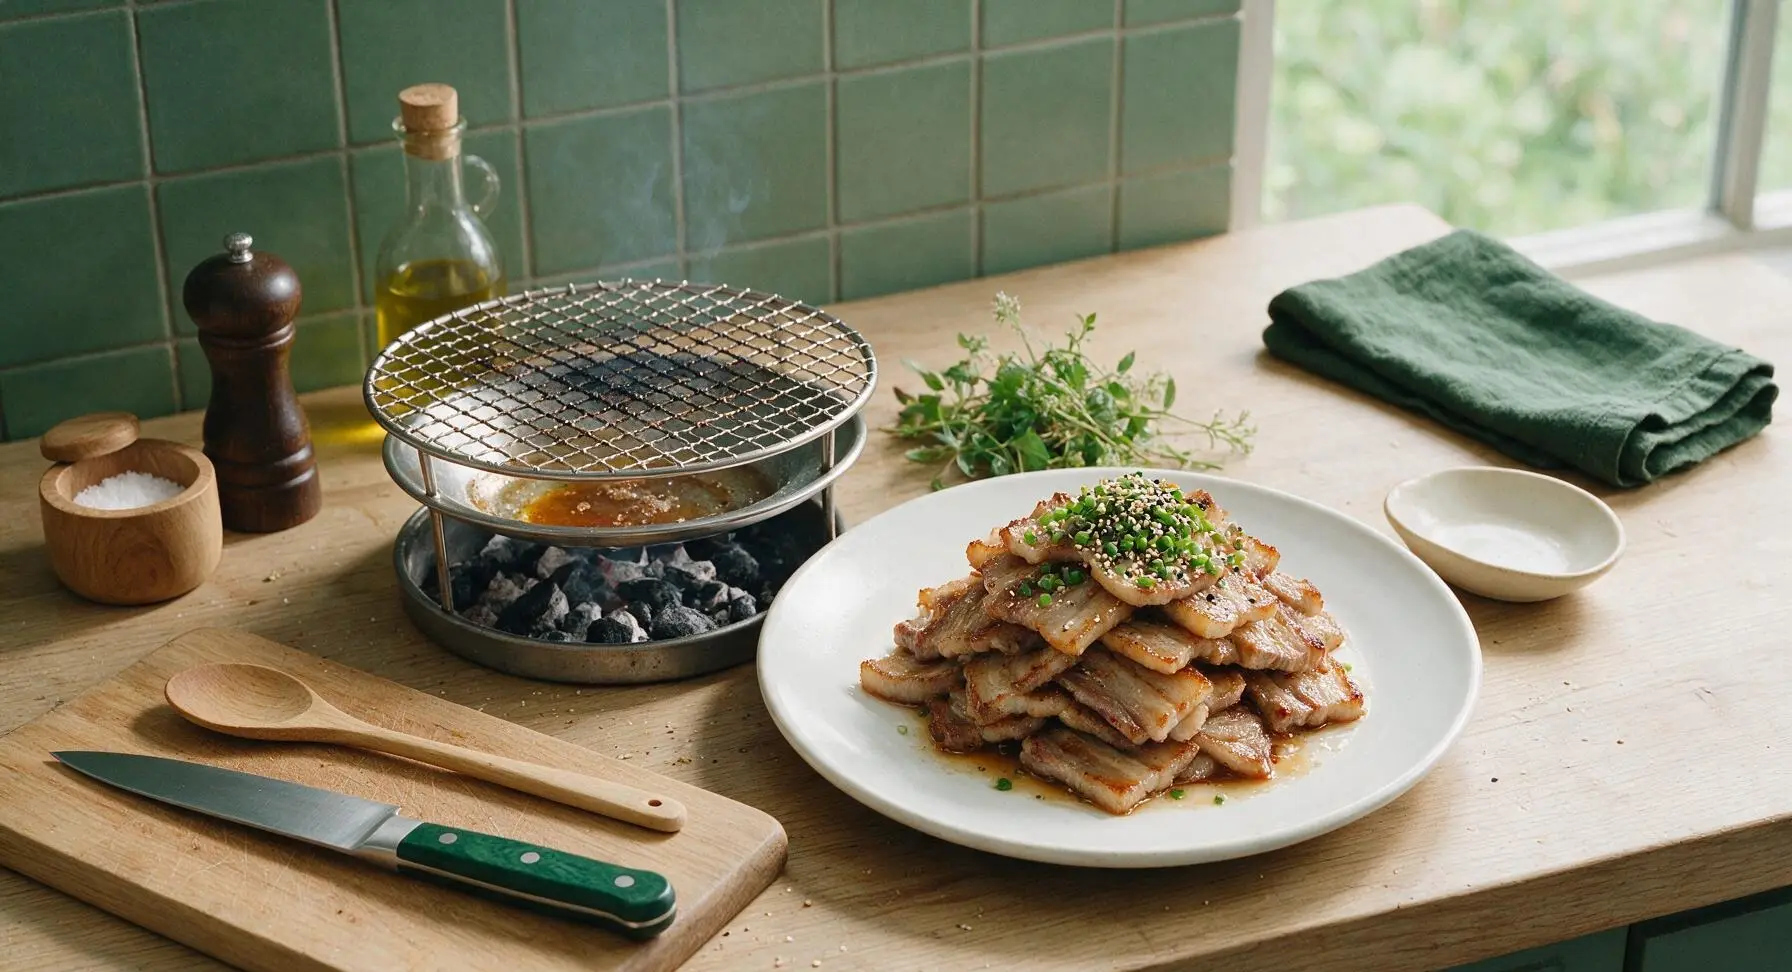
Light the charcoal in the portable cast iron grill and let it burn until the coals are covered in a thin layer of white ash, roughly 10 minutes, reaching a medium-high heat of 400°F (200°C). Test the heat by holding your hand 6 inches above the grill ridges: you should only be able to hold it there for 2-3 seconds when ready. Do not oil the grill ridges, as rendered pork fat will create a natural non-stick surface. Faint heat haze will rise above the grill ridges when fully preheated, with coals glowing soft red under the white ash.
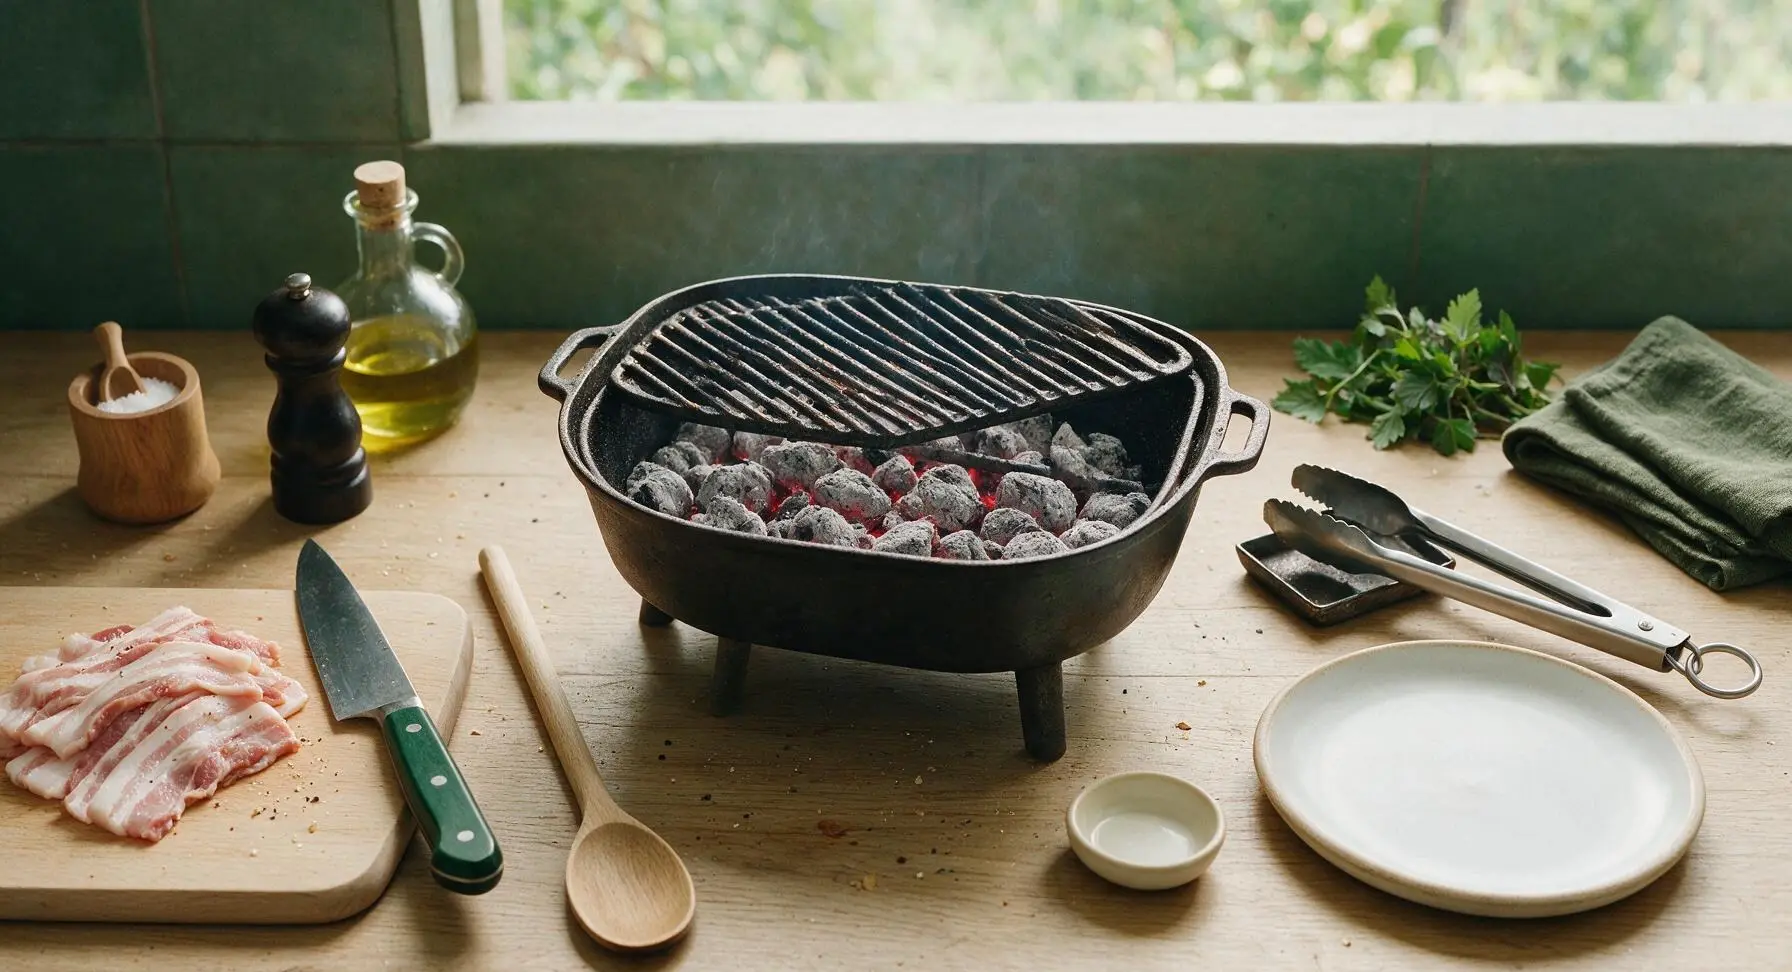
Grill First Pork Batch
Use the stainless steel tongs to arrange half of the pork belly slices in a single layer across the hot grill ridges, leaving 1/2 inch of space between each slice to avoid steaming. Do not move the slices for 3 full minutes to let fat render and a crispy golden crust form on the bottom. If small flare-ups occur from dripping fat, move the pork slice slightly away from the flame to avoid burning. After 3 minutes, edges of the pork will turn opaque white, fat will bubble visibly along the grill ridges, and deep golden brown grill marks will appear on the contact side.
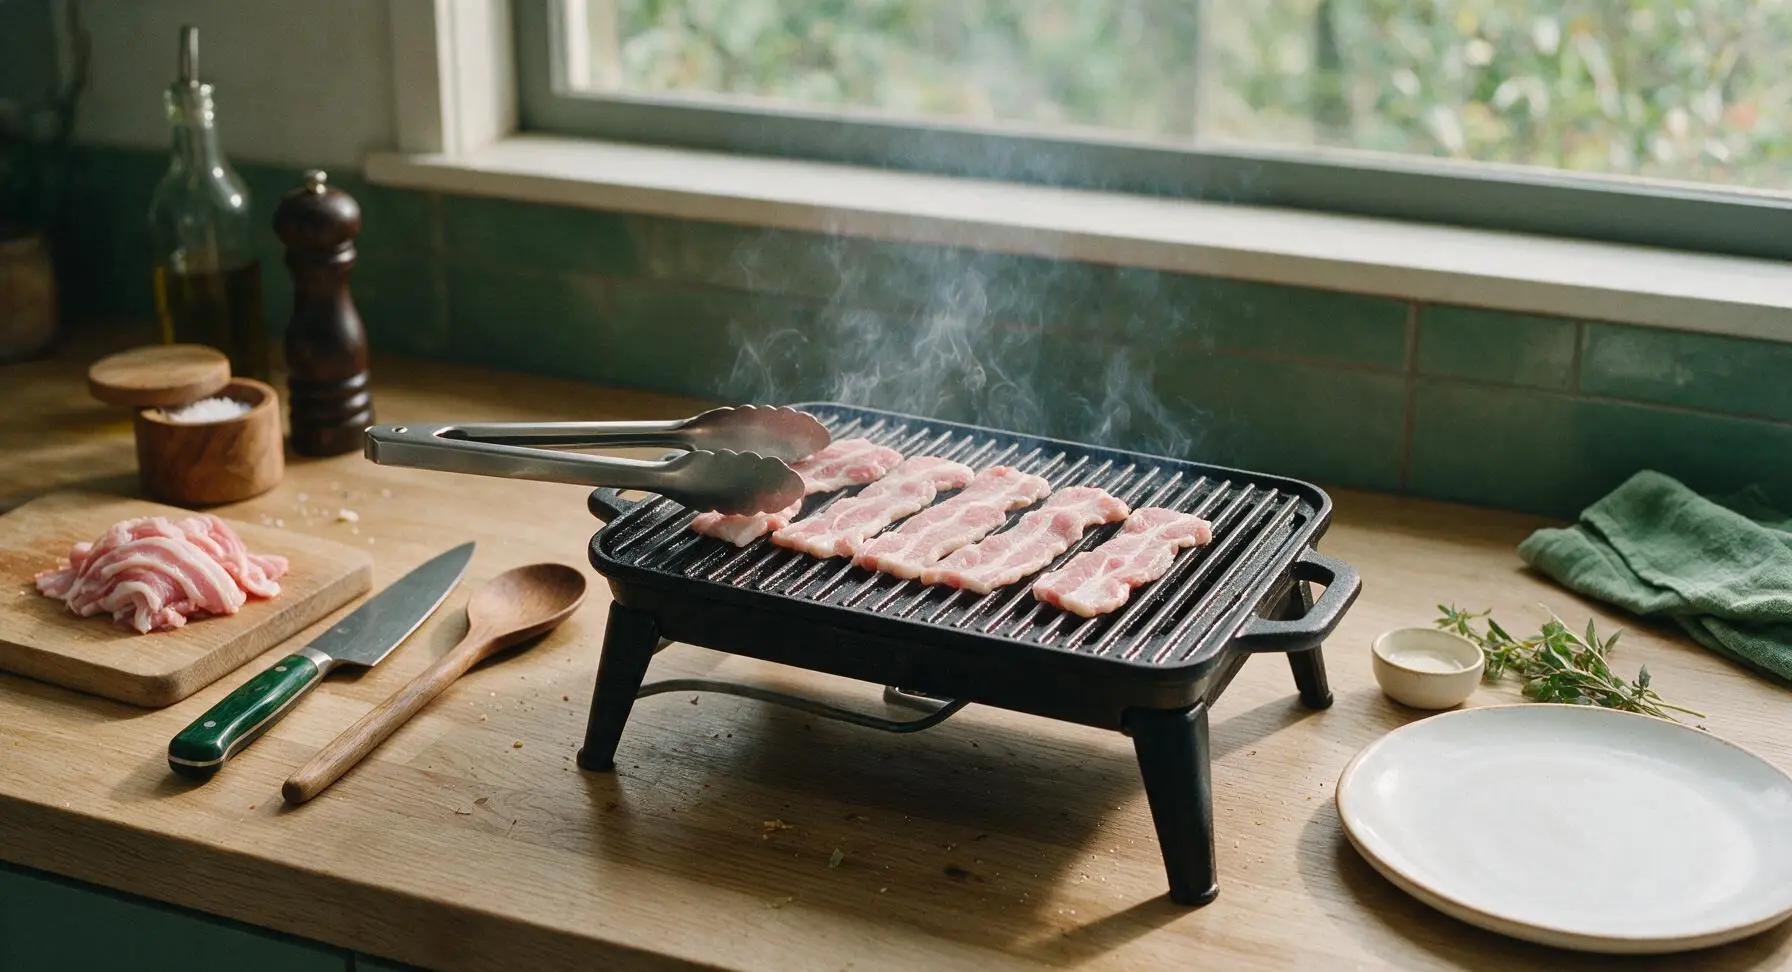
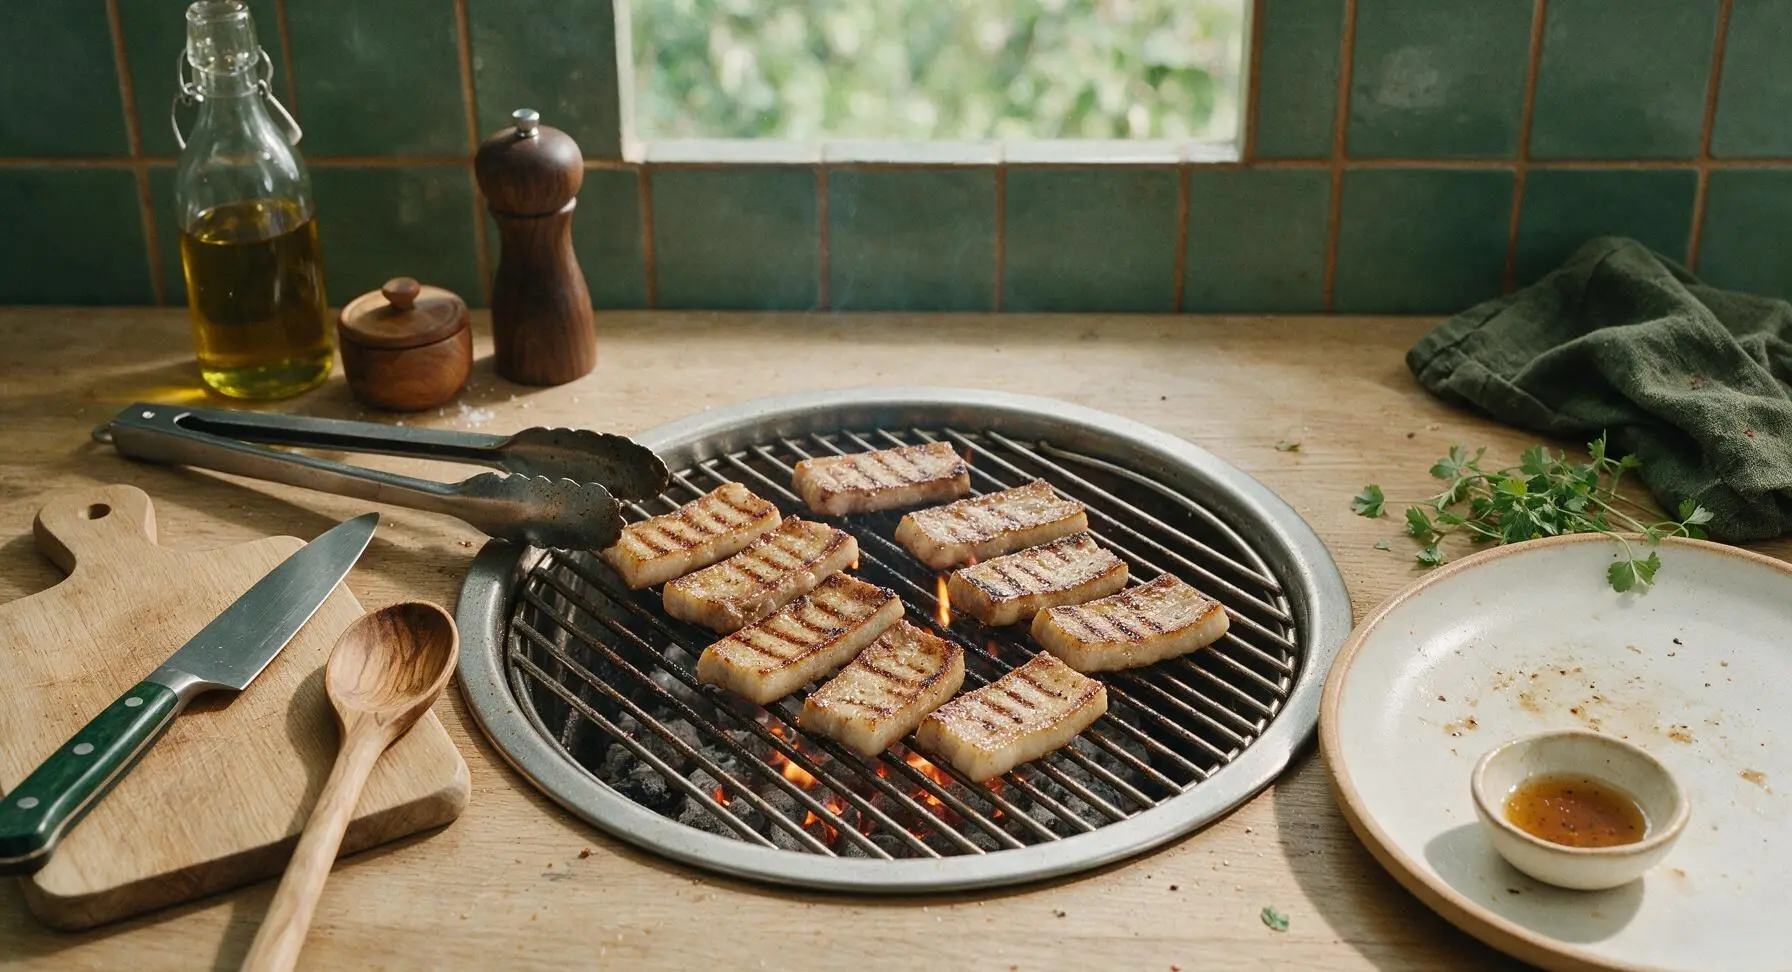
Flip and Cook Through
Use the tongs to flip each pork slice to the second side. Cook for an additional 2-3 minutes, until the second side is deep golden and crispy, and the internal temperature reaches 165°F (74°C). Transfer cooked slices to the large matte white serving platter as they finish, then repeat the grilling process with the remaining raw pork slices. Both sides of finished slices will have crispy, slightly caramelized dark golden edges, with no raw pink meat remaining in the center.
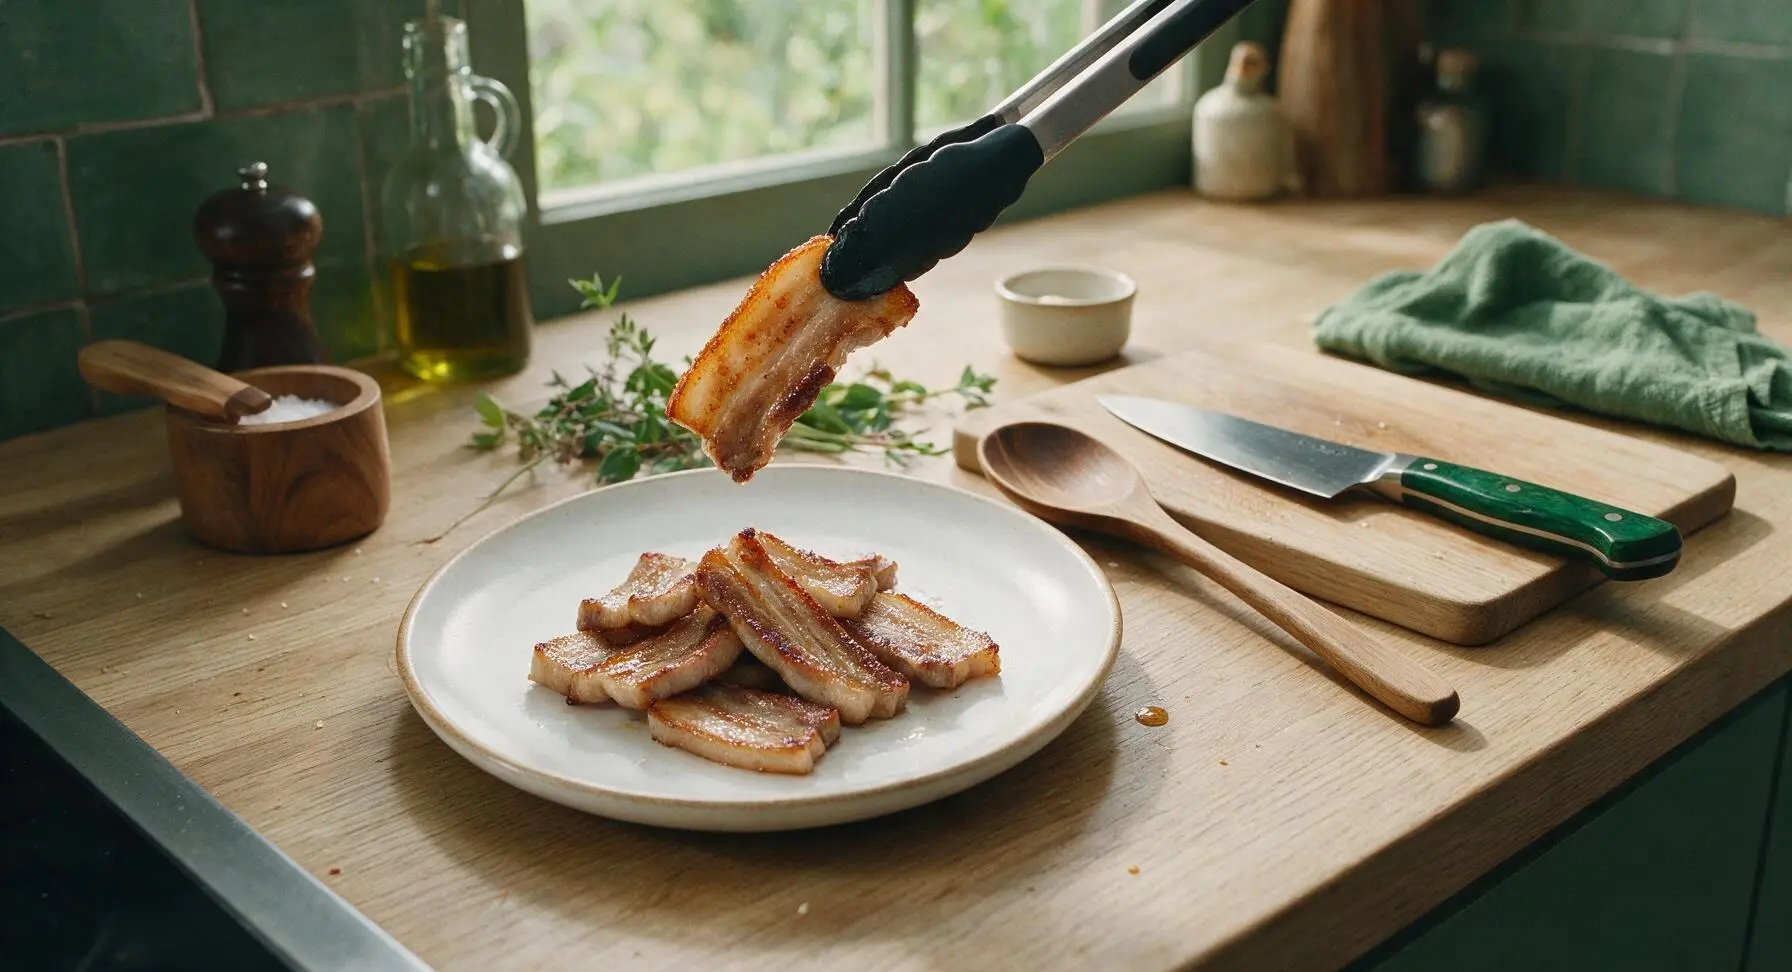
Arrange Serving Sides
While the second batch of pork cooks, fill the second terracotta sauce bowl with drained pickled daikon slices. Arrange the rinsed, dried perilla leaves, drained white kimchi, and remaining thinly sliced raw garlic on the empty section of the large serving platter around the cooked pork. Lightly season the arranged sides with a pinch of toasted sesame seeds for garnish. Arrange sides for easy access when building wraps, and pat dry any excess pickling liquid to avoid it pooling on the platter.
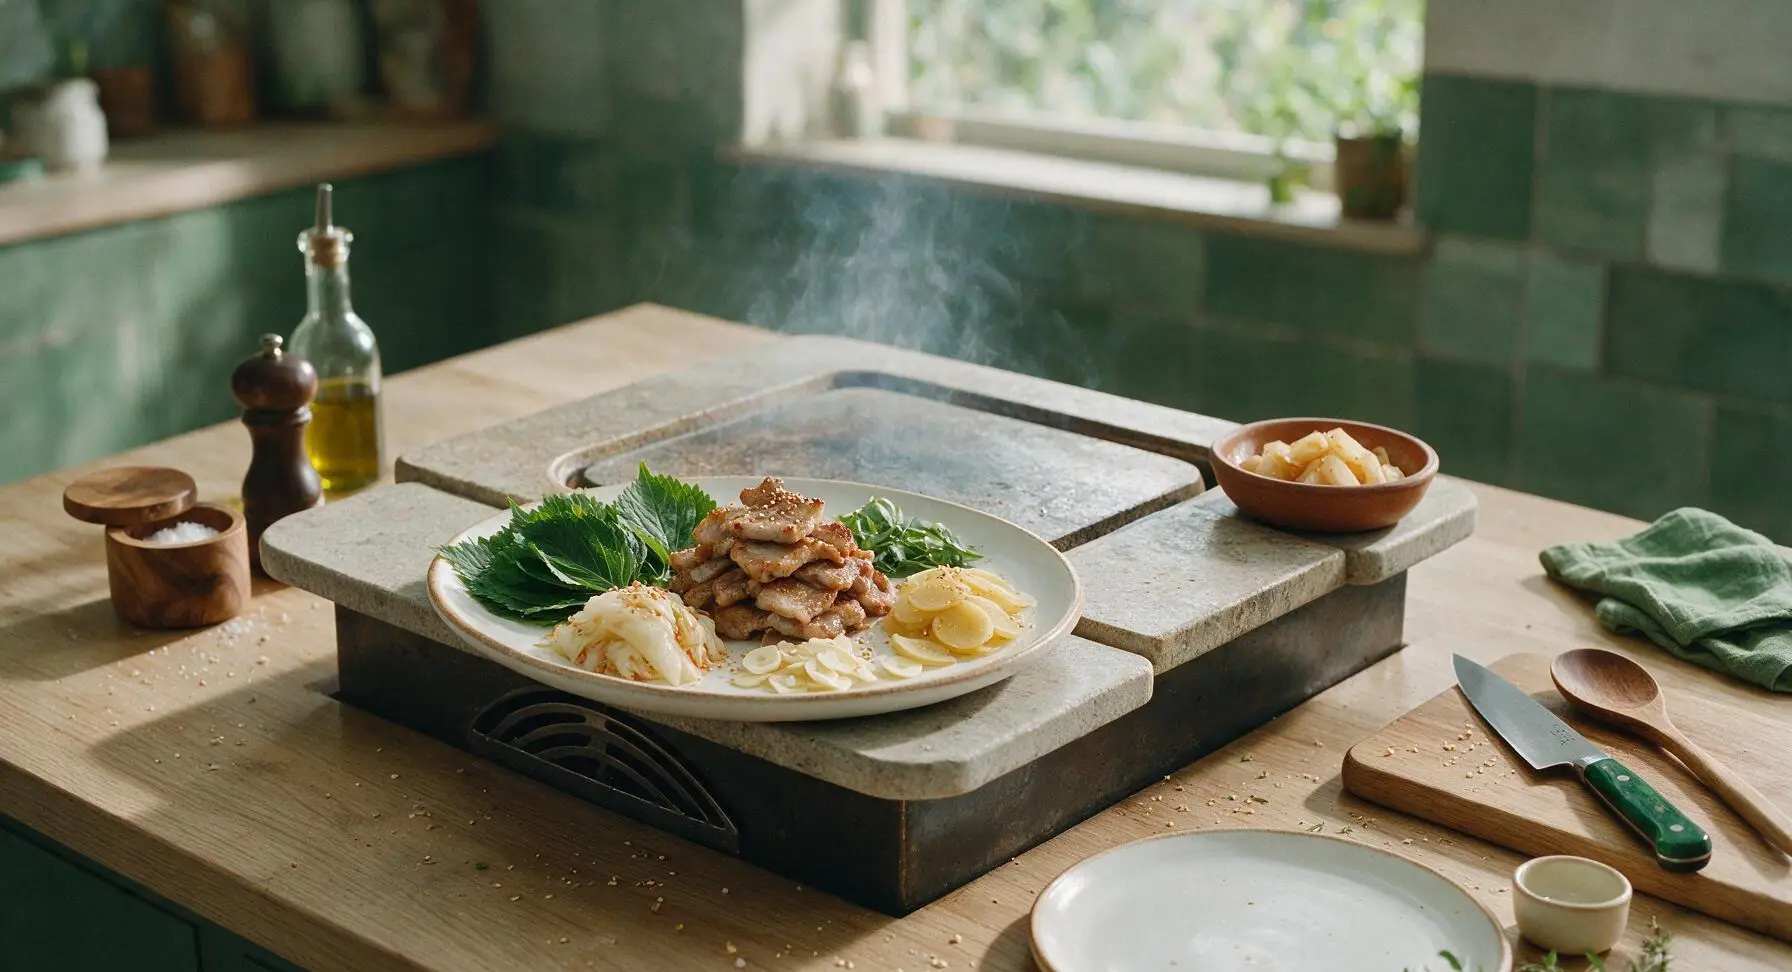
Rest and Garnish Pork
Once all pork slices are cooked and transferred to the serving platter, let them rest for 2 minutes to let juices redistribute, rather than serving immediately when fat is spitting hot. Sprinkle the top of the pork pile with the remaining finely chopped green onion and a pinch of toasted sesame seeds for garnish. The pork will stop sizzling aggressively as it rests, with a tiny amount of clear juice pooling very slightly at the base of the pork stack on the platter.
Tips
2.Never overcrowd the grill surface: too many slices at once drops the cast iron temperature rapidly, causing pork to release excess moisture and steam rather than crisp. Cook in small, evenly spaced batches for best results.
3.Slice raw garlic for serving paper-thin (1/8-inch or less): thick raw garlic has an overpowering, harsh sharp bite, while thin slices add a bright, clean sharpness that cuts through the rich, fatty pork without overwhelming its flavor.






OMG this sam gyup sal recipe is a total game changer!!! I’ve been dropping $$$ at local KBBQ spots for years and never thought I could make it at home that tastes just as good. 25 minute cook time? No way, that’s faster than waiting for a table on a Friday night. Served it with ssamjang, pickled radish, and lettuce wraps for my family dinner last night and even my super picky 10 year old asked for seconds. SO good, will be adding this to our weekly meal rotation for sure!
Took this to a neighborhood potluck last weekend and people were swarming the platter before I even set it down! I added a quick gochujang glaze to half the batch for folks who like a little heat, and both versions were gone in 10 minutes flat. Super easy to prep ahead too, just sliced the pork the night before so I could throw it on the grill right when we got to the park. Will absolutely make this again for our next cookout.
As someone who can barely boil water without messing it up, I was shocked how easy this was! I picked up pre-sliced pork belly from my local Asian market, followed the directions exactly, and it turned out perfect. Ate it with rice and kimchi straight from the pan while binging my show, zero regrets. Only thing is my apartment smelled like pork for two days, worth it though lmao
Tried this last night for my partner’s birthday since he’s obsessed with KBBQ, and he said it was better than the restaurant we went to for our anniversary! I paired it with homemade pickled perilla leaves, garlic slices, and that creamy onion dip most KBBQ spots serve, and it felt like such a fancy date night for a fraction of the cost. 10/10, no notes.
Added this to my Sunday meal prep this week and it’s been perfect for quick lunches! I cook up a big batch, portion it out with rice and roasted broccoli, and it reheats like a dream in the air fryer. The pork gets a little crispy again instead of getting soggy in the microwave, total win. My kids loved it so much they’ve been asking for it in their school lunches too, so I call that a massive success.
Wait hold on, is there a trick to getting the pork belly crispy without it splattering grease all over my stove? Last time I tried making pork belly I had grease burns on my arm and a huge mess to clean up, so I’m nervous to try again even though this looks incredible.
Just made this for the first time and WOW. I was worried it would be too fatty since I don’t usually eat super rich food, but the fresh lettuce wraps and tangy pickled veggies cut through the richness perfectly. I even added a little ssamjang to my rice and it made every bite so flavorful. Don’t sleep on this recipe, it’s so approachable even if you’ve never made Korean food before!
This recipe is so solid! I upped the flavor by marinating the pork belly slices for 30 minutes in a little soy sauce, garlic, and gochugaru before grilling, and it was chef’s kiss. If you love that extra savory, slightly spicy kick, I highly recommend giving that a shot. Even my roommate who hates all Korean food went back for thirds.
I grew up eating my grandma’s sam gyup sal every Chuseok and I’ve been chasing that flavor since I moved out for work. This recipe is so close to hers I almost cried when I took the first bite! The cook time is spot on, the tips about getting the edges crispy are exactly what she used to tell me, and I love that it’s easy enough to make on a random weeknight without a big production. Thank you so much for sharing this!