
samin nosrat buttermilk chicken
intro
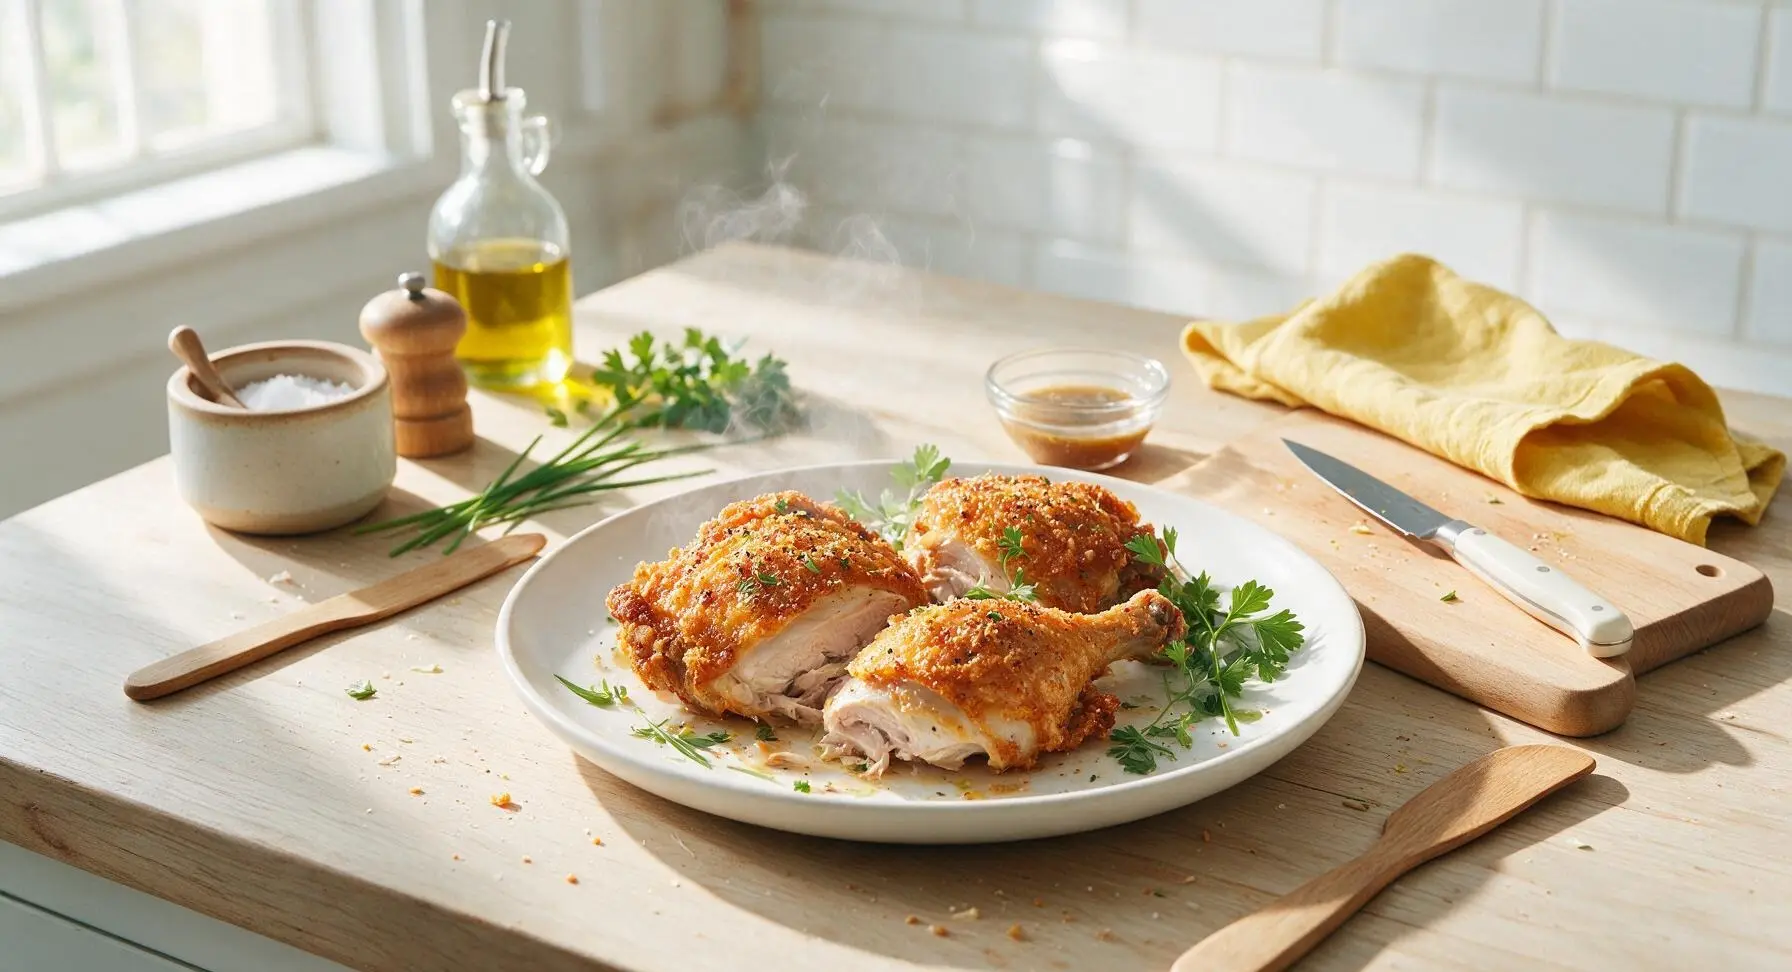
Samin Nosrat’s iconic buttermilk chicken boasts shatteringly crisp seasoned skin, ultra-tender tangy meat, and deep savoriness from a slow lactic acid brine: the ultimate comforting family meal centerpiece.
Ingredients
Steps
Mix Buttermilk Marinade
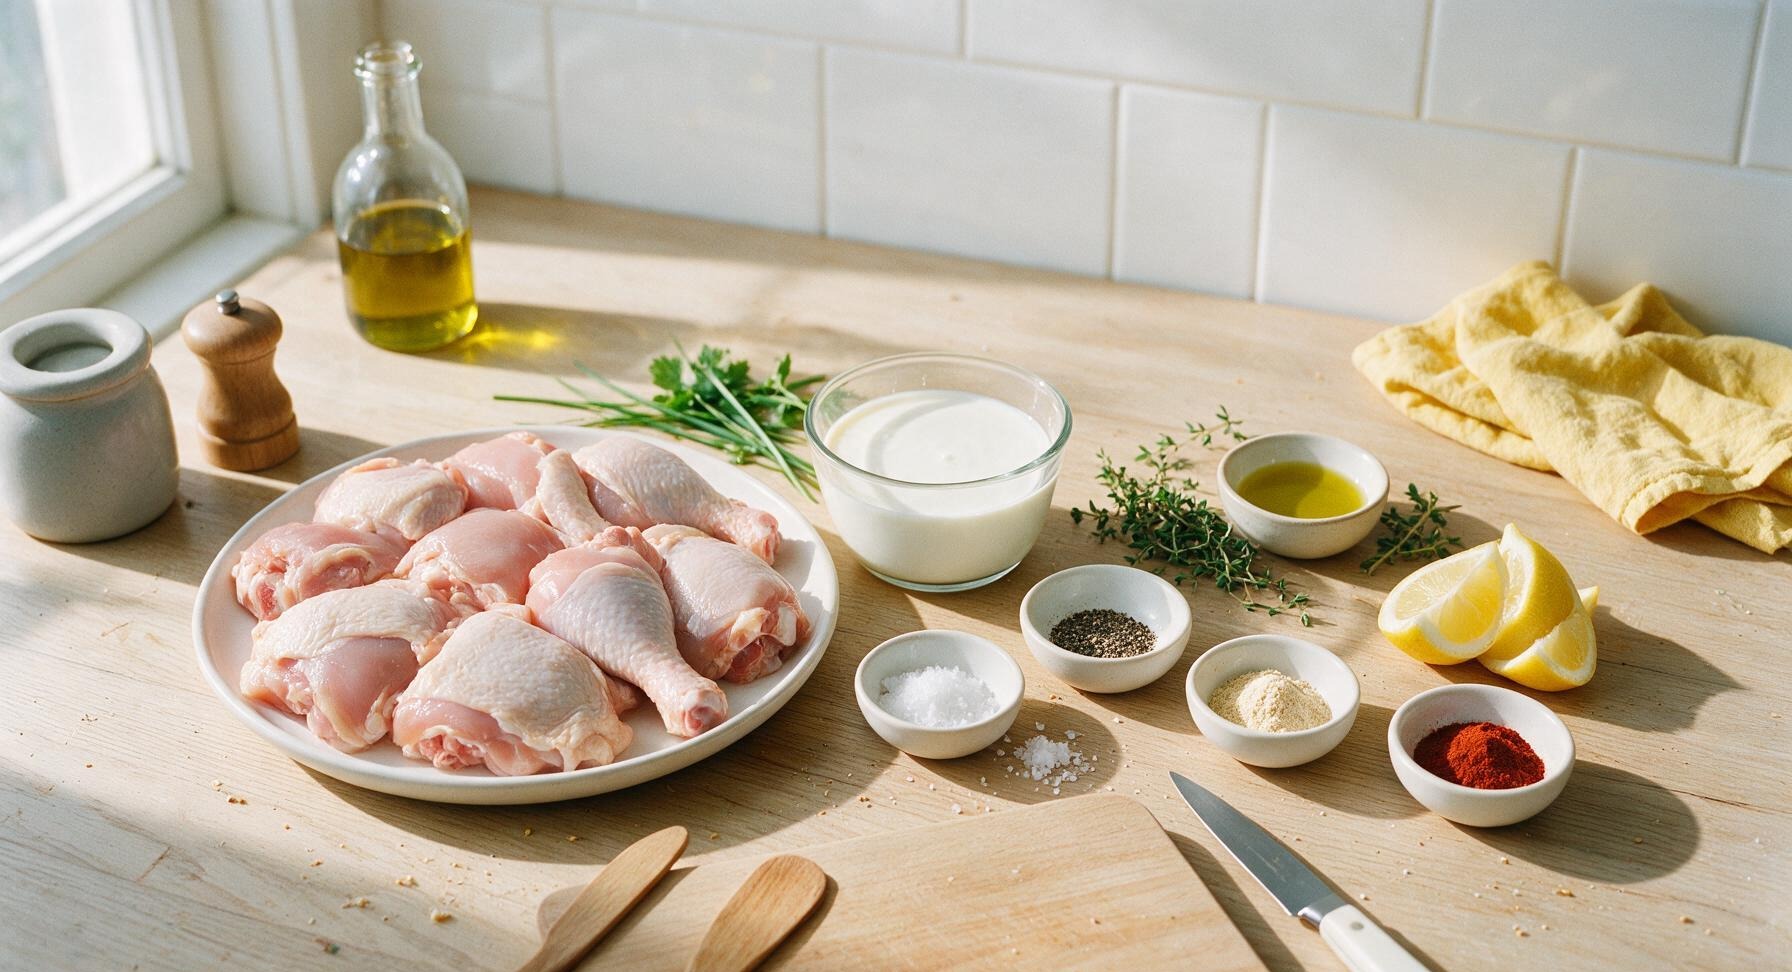
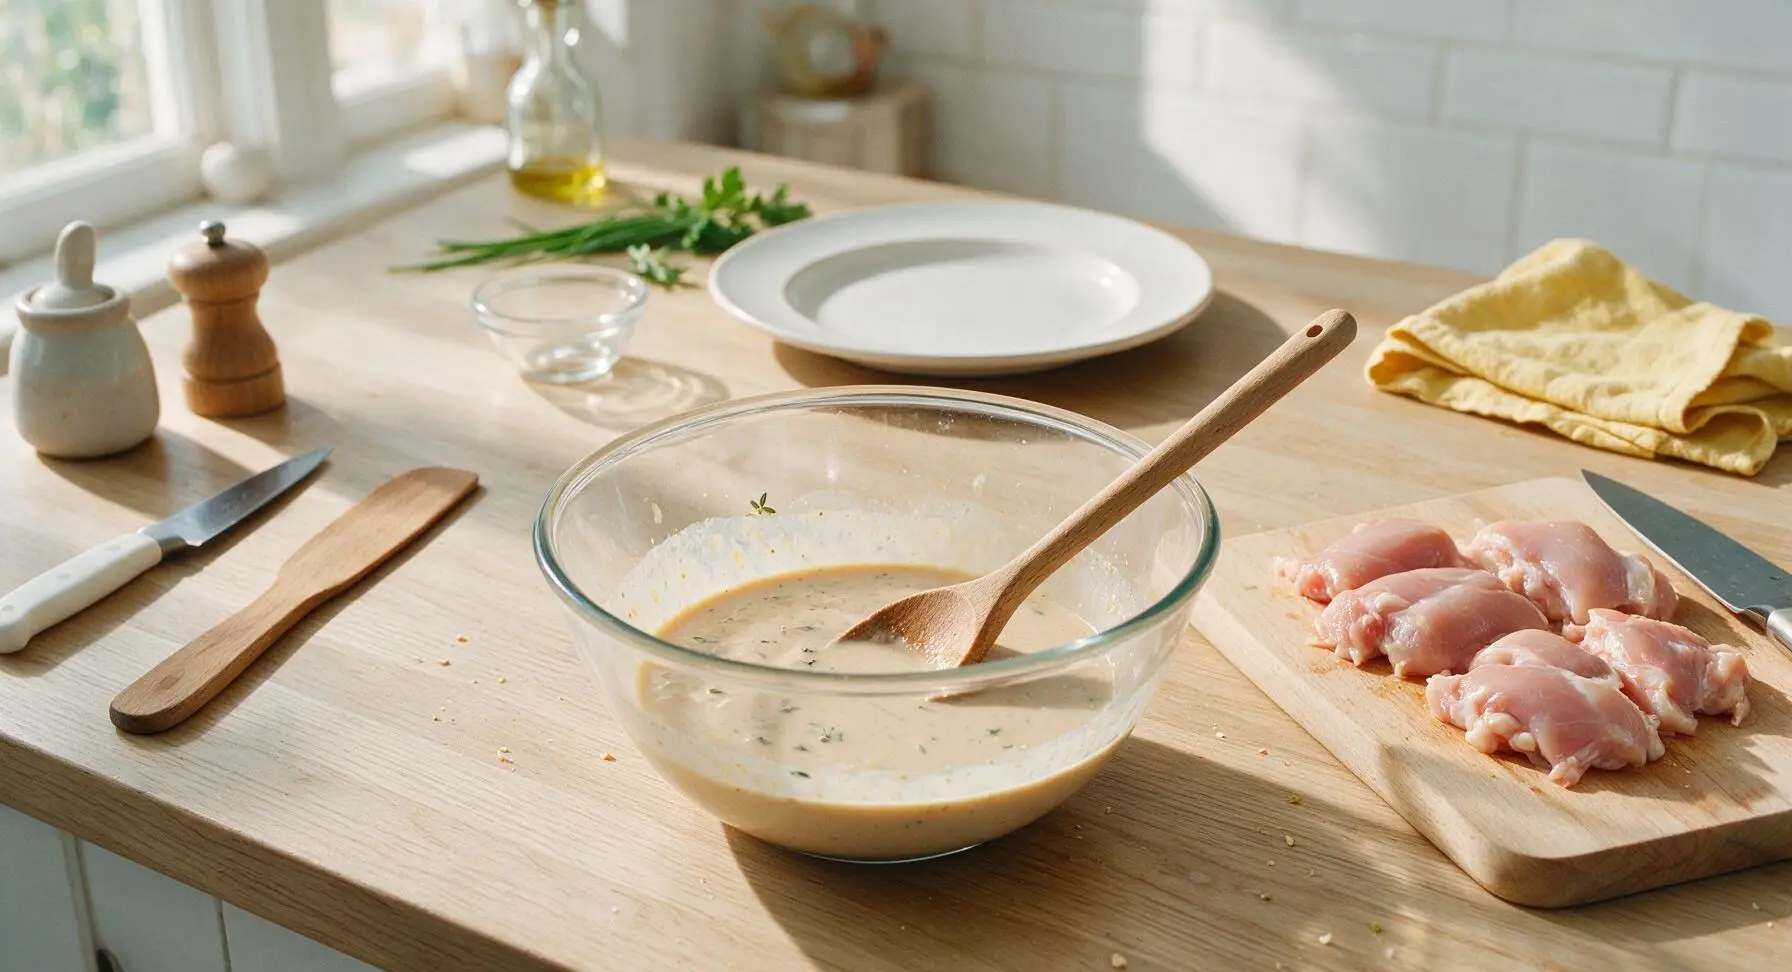
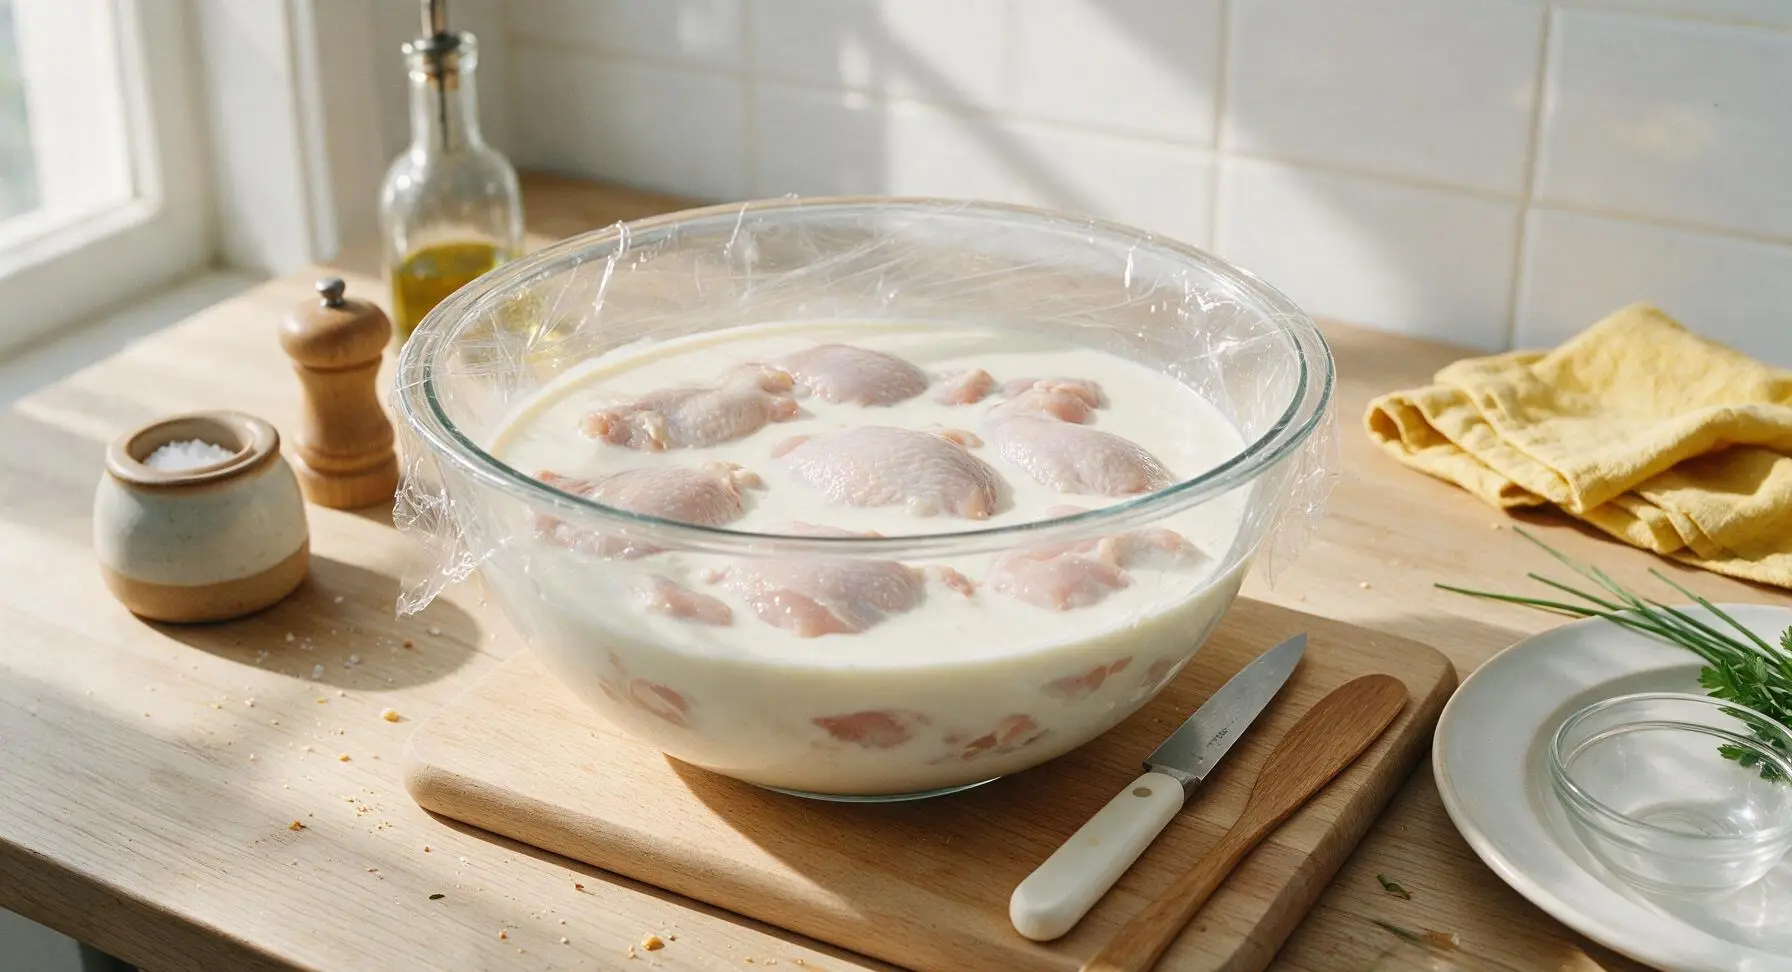
Pat chicken pieces dry with paper towels, then use the chef knife to trim any loose hanging skin or thick hard fat deposits from the pieces, setting trimmed chicken on the maple cutting board. In the 4L clear glass mixing bowl, combine 2 cups full-fat buttermilk, 1 tablespoon kosher salt, 1 teaspoon black pepper, 1 teaspoon garlic powder, 1 teaspoon smoked paprika, and 1 tablespoon picked fresh thyme leaves. Stir with the beechwood mixing spoon until salt fully dissolves and spices are evenly distributed; the finished marinade will be a pale creamy tan with tiny green thyme flecks throughout.
Submerge Chicken in Brine
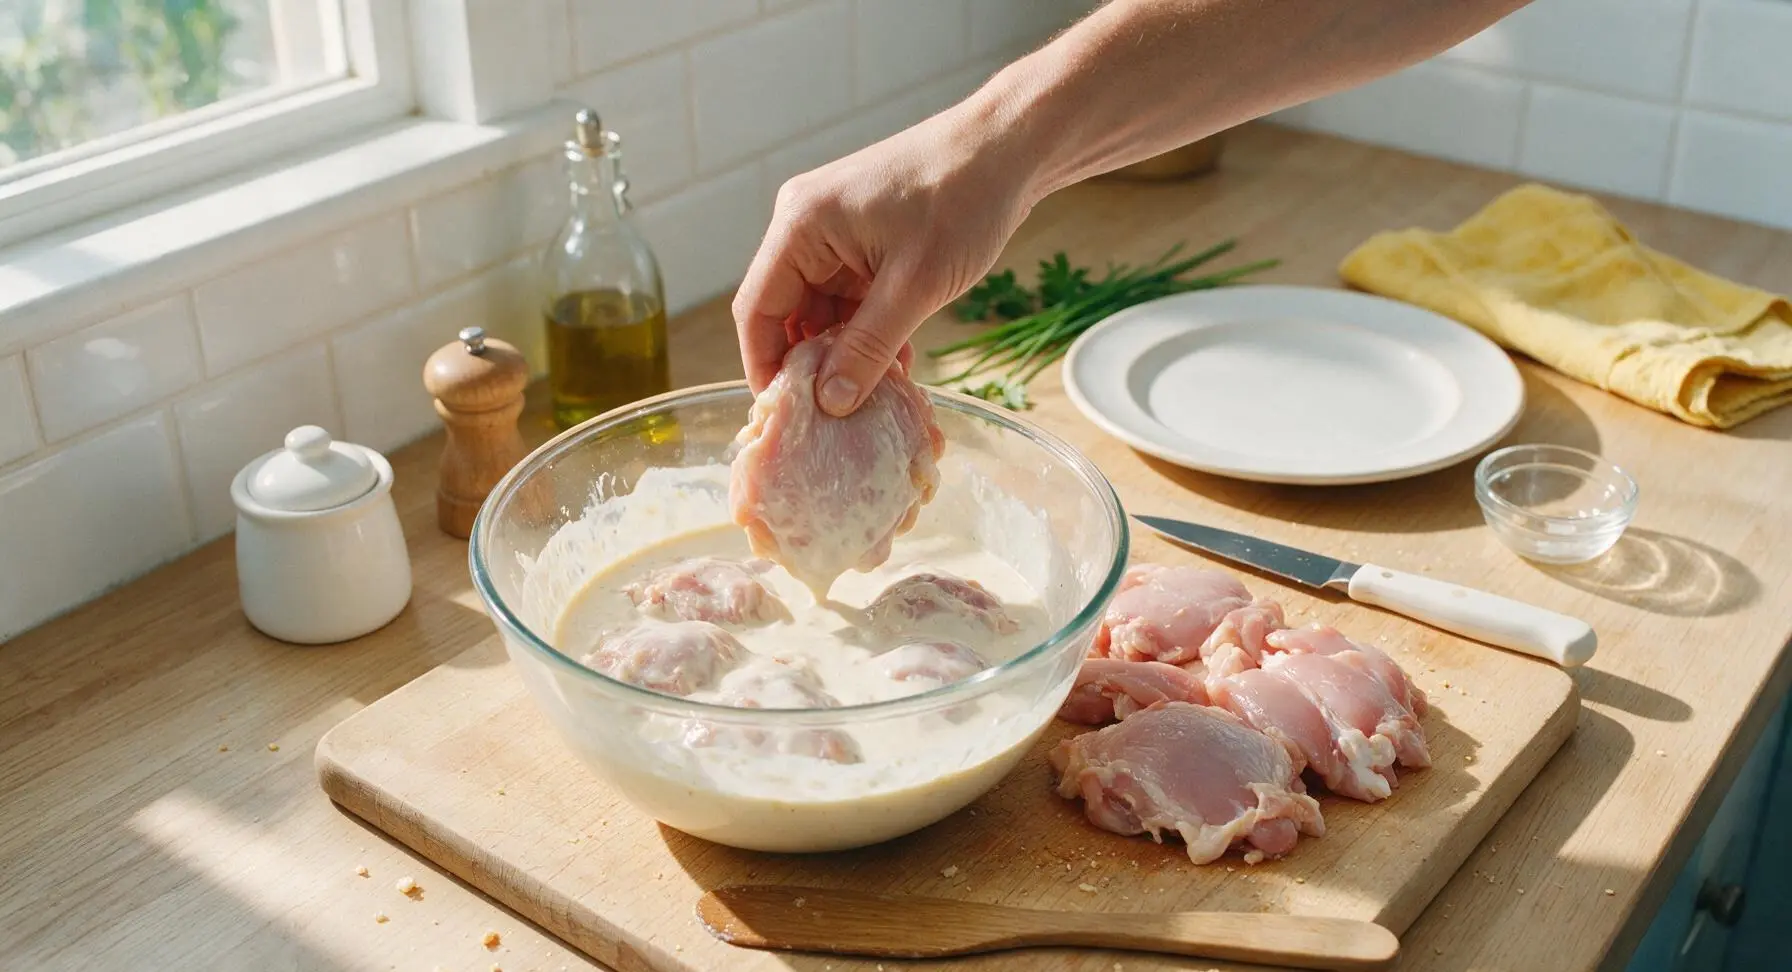
Add trimmed chicken pieces one by one to the marinade bowl, turning each piece with the beechwood spoon to fully coat every surface. Press chicken down so all pieces are completely submerged under the buttermilk. Cover the bowl tightly with plastic wrap and refrigerate for 12 to 24 hours to allow the buttermilk to tenderize the meat and infuse it with tangy flavor; do not marinate for less than 8 hours, as the acid will not have time to penetrate the meat.
Prep Pan and Preheat Oven
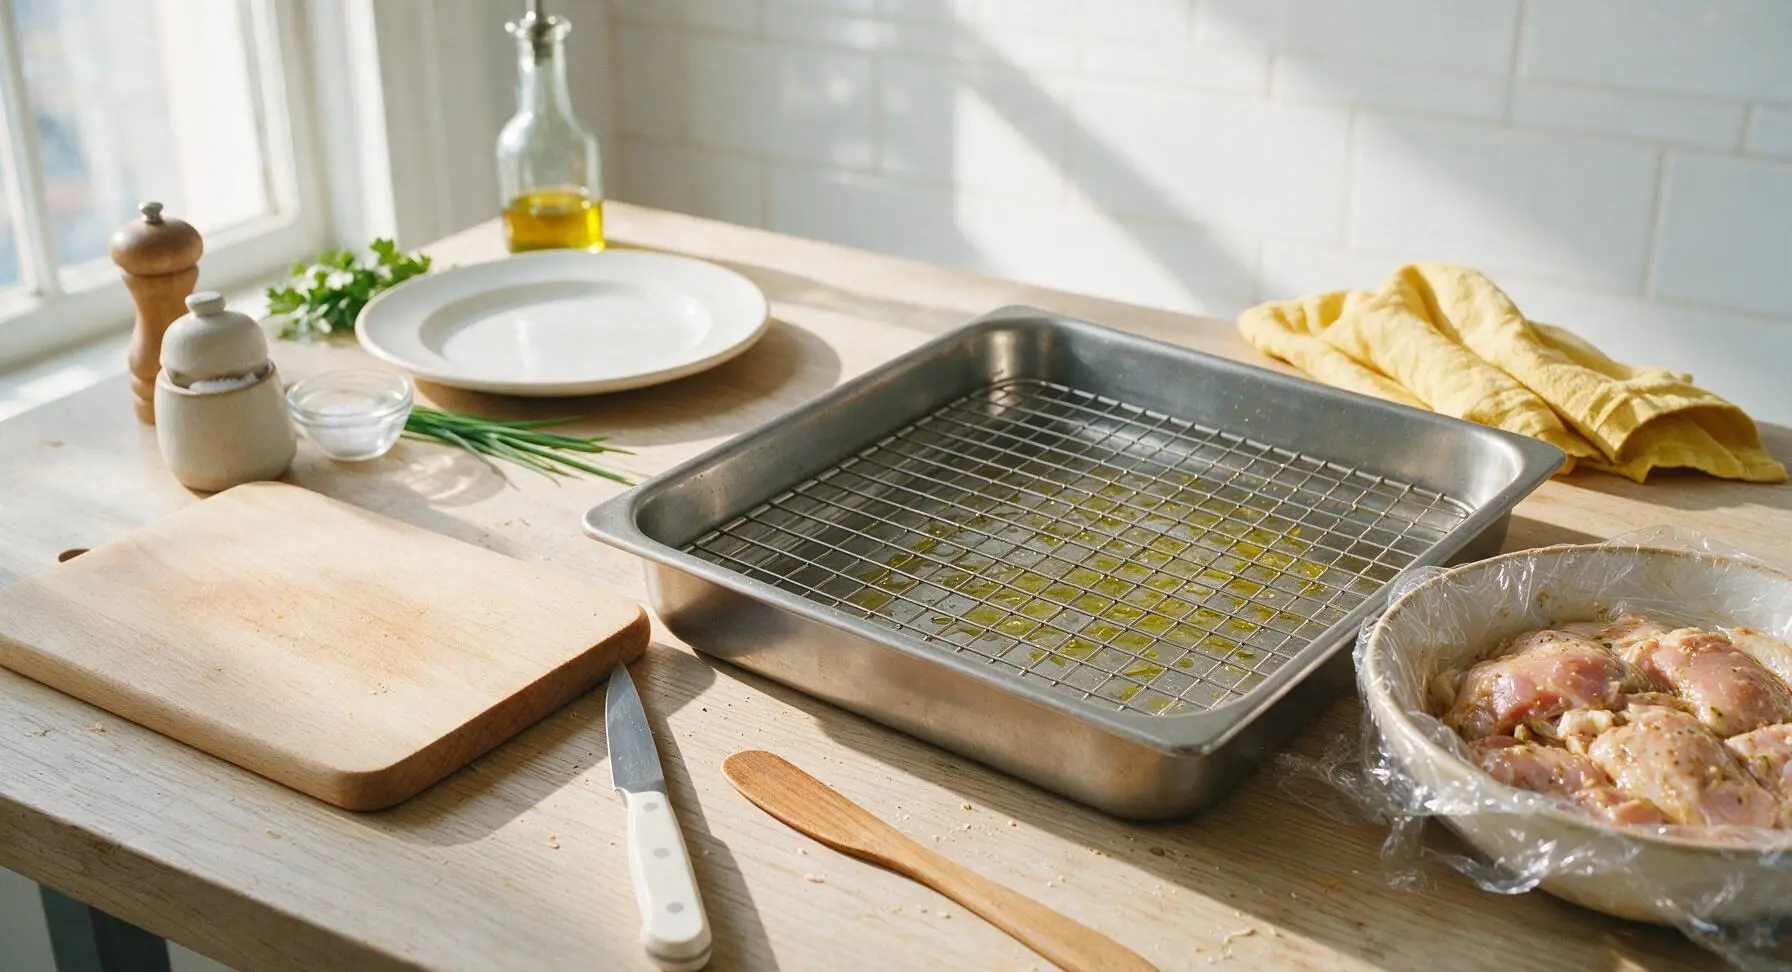
When ready to cook, preheat oven to 220C (425F) with a rack positioned in the middle. Remove marinated chicken from the fridge and let it rest at room temperature for 20 minutes to take the chill off. Retrieve the heavy-gauge stainless steel baking sheet and matching wire rack from under-counter storage, set the rack inside the sheet, and brush the rack lightly with 1 tablespoon olive oil to prevent sticking. Elevating the chicken on the rack allows hot oven air to circulate under every piece for all-around crisp skin.
Arrange Chicken for Roasting
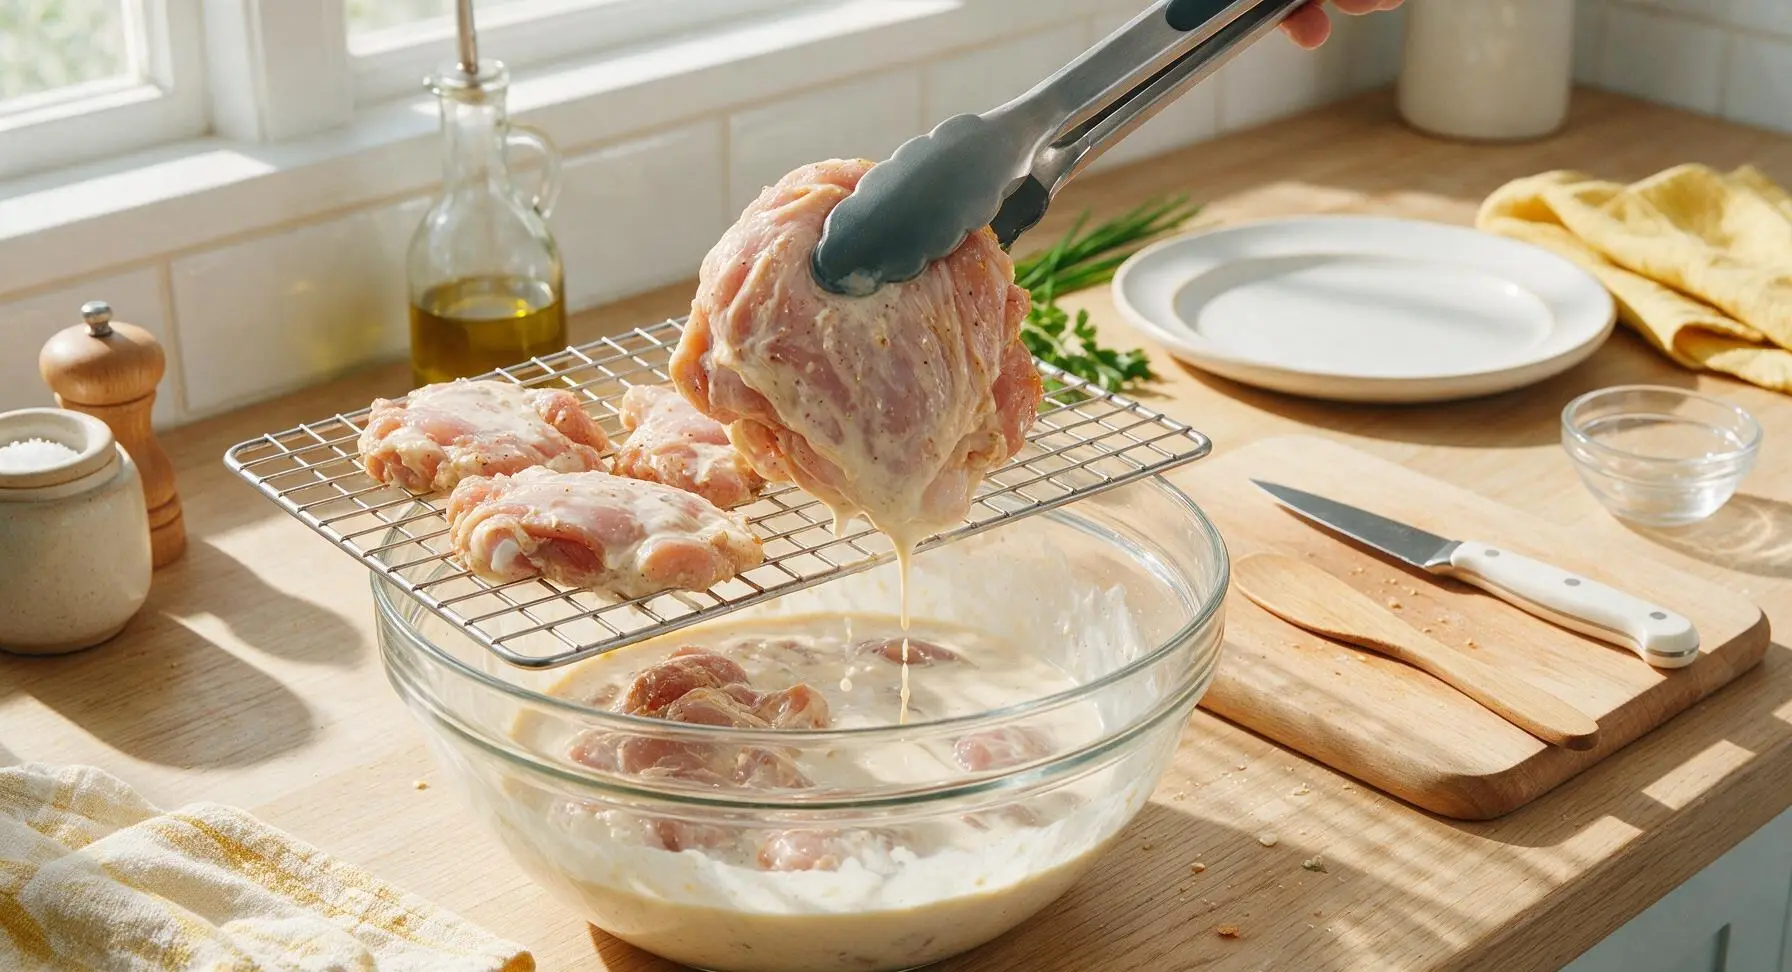
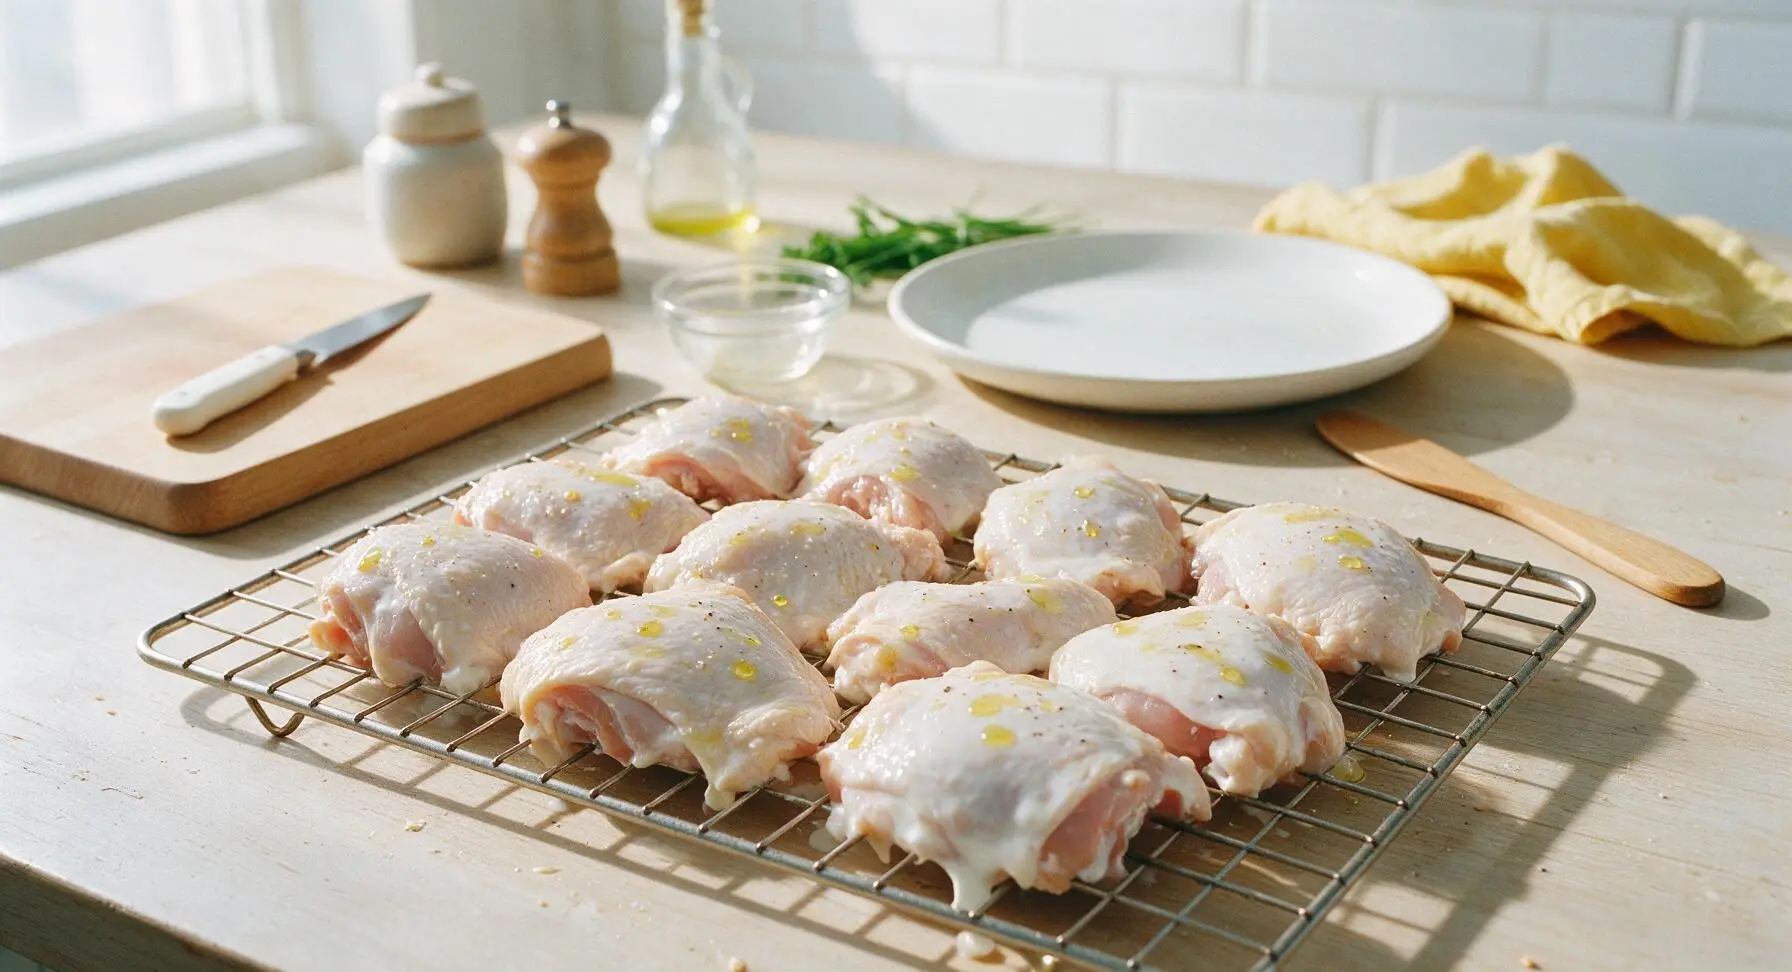
Remove chicken pieces from the marinade one at a time, letting excess buttermilk drip back into the bowl—do not wipe the marinade off, as this thin coating creates the crisp, flavorful crust. Arrange pieces skin-side up on the oiled wire rack, leaving 2cm (1 inch) of space between each piece to allow air flow. Drizzle chicken tops with the remaining 1 tablespoon olive oil and sprinkle with the remaining 1 teaspoon black pepper.
Roast Chicken Until Crisp
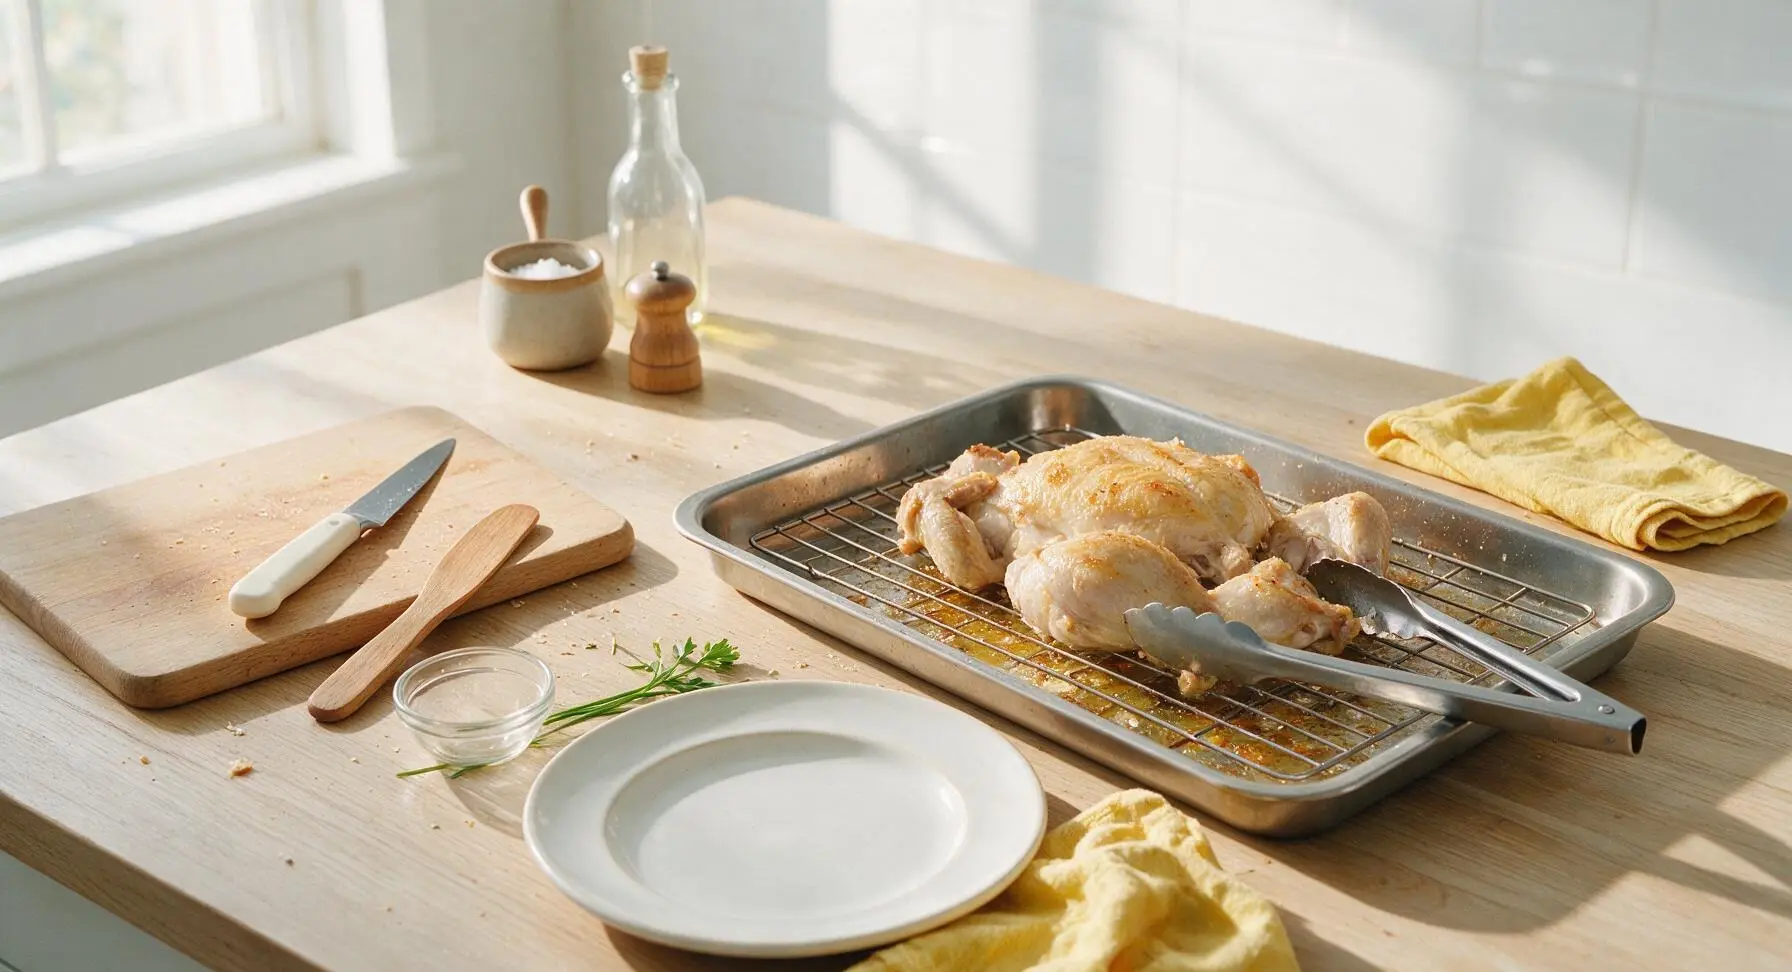
Carefully transfer the baking sheet to the preheated oven. Roast for 45 to 50 minutes total, rotating the pan 180 degrees halfway through cooking to ensure even browning. Keep chicken skin-side up for the entire roast time—flipping will press the skin against the rack and ruin the crisp texture. The skin will slowly turn from pale creamy tan to deep golden amber as fat renders out.
Verify Chicken Doneness
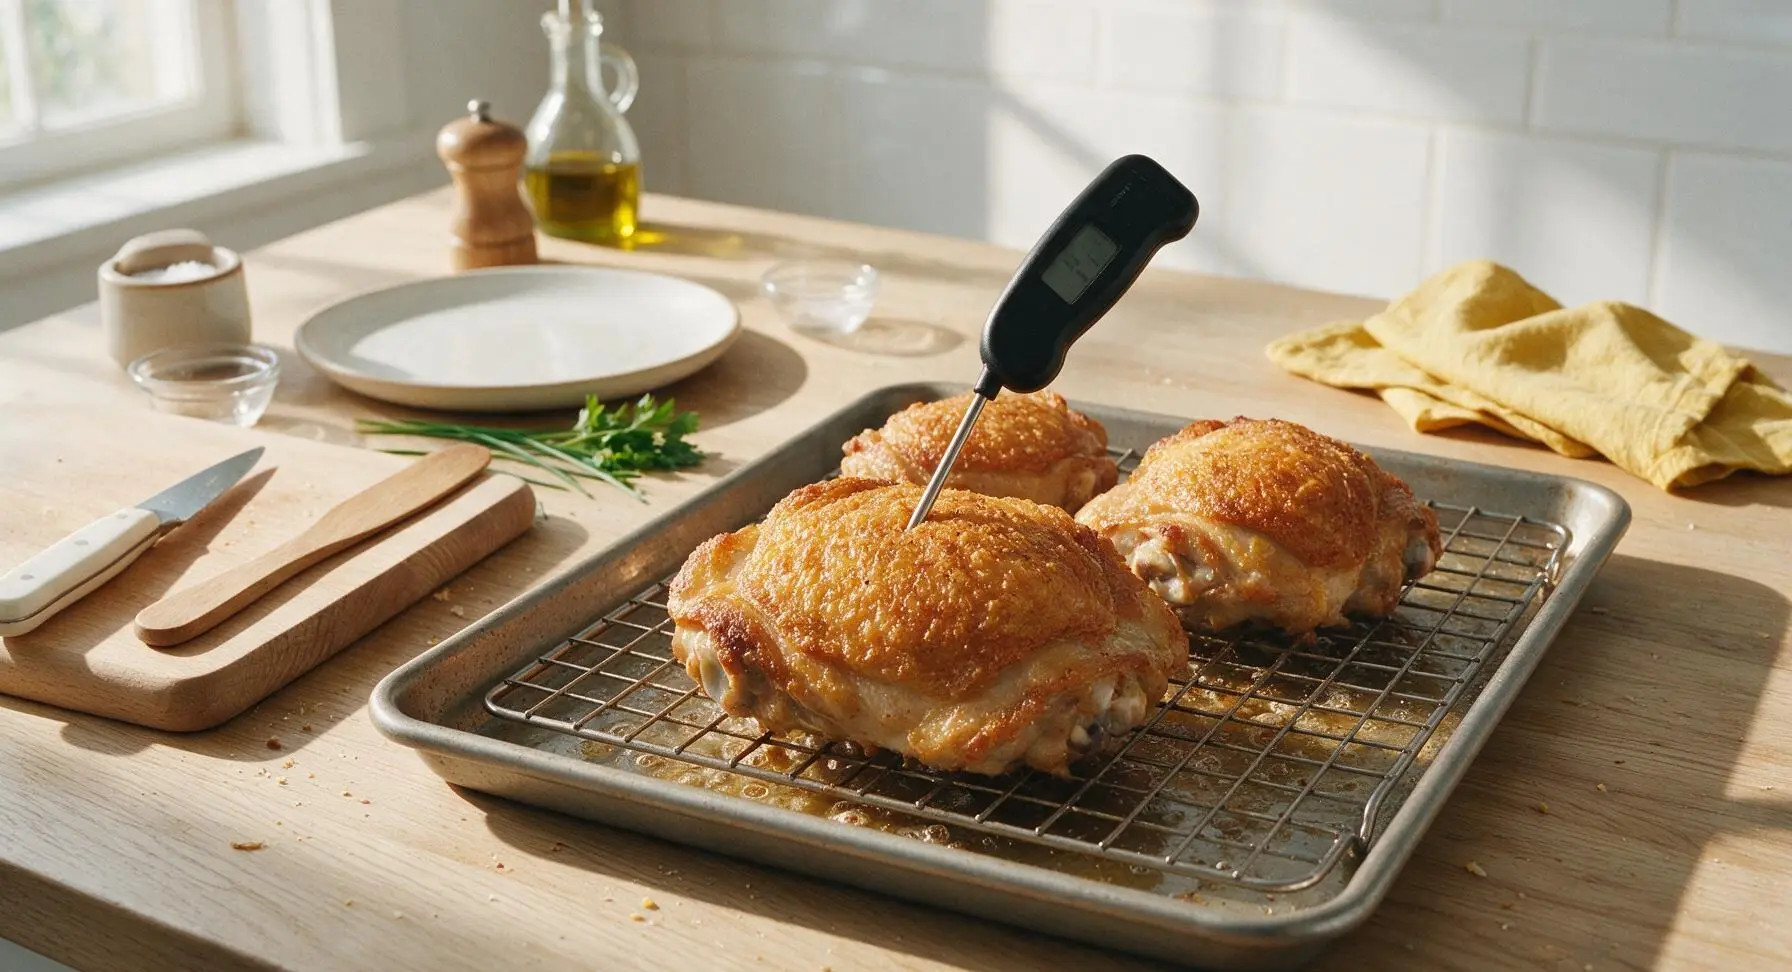
After 45 minutes of roasting, pull the baking sheet from the oven. Retrieve the instant-read thermometer from the top drawer, and insert it into the thickest part of the largest chicken thigh, making sure the probe does not touch bone. Chicken is done when the thermometer reads 75C (165F), juices run clear when pierced, and skin is deep amber and crackled. If underdone, return to the oven for 5-minute increments until temperature is reached.
Rest Chicken Before Serving
Once fully cooked, let chicken rest on the wire rack for 10 minutes at room temperature. Do not cover the chicken while resting, as trapped steam will soften the crisp skin. Resting allows muscle fibers to relax and reabsorb juices, ensuring every bite is moist instead of having juices run out onto the plate when cut.
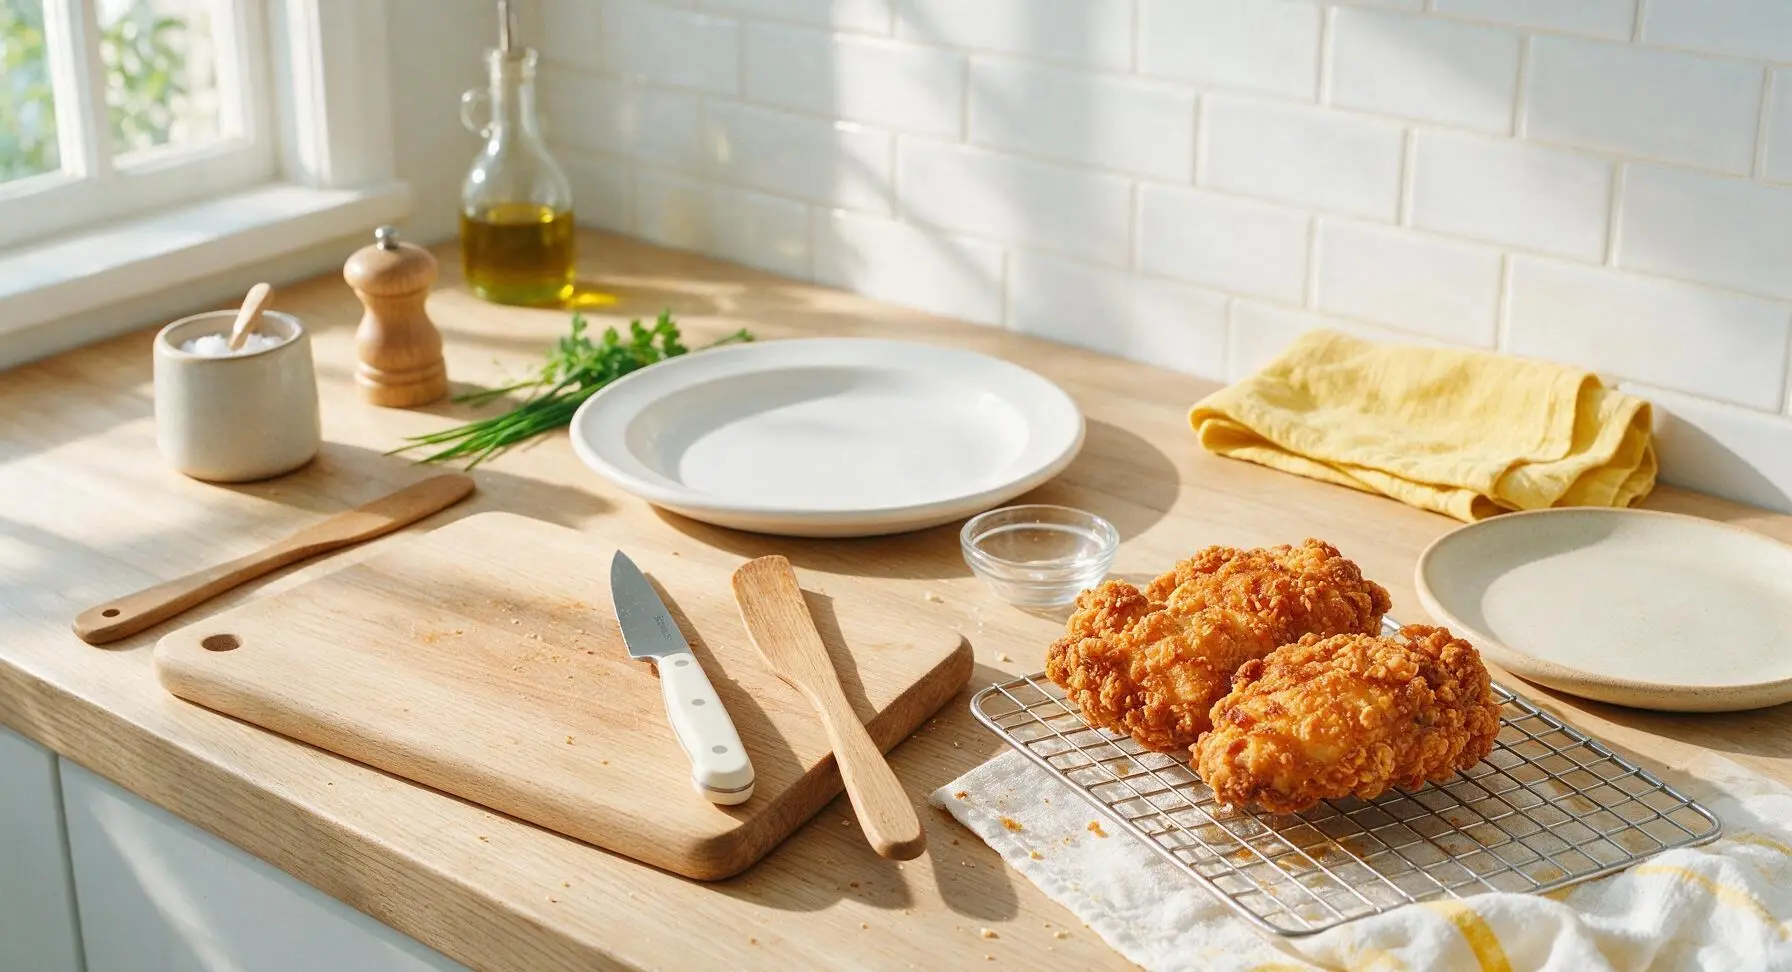
Plate and Garnish to Serve
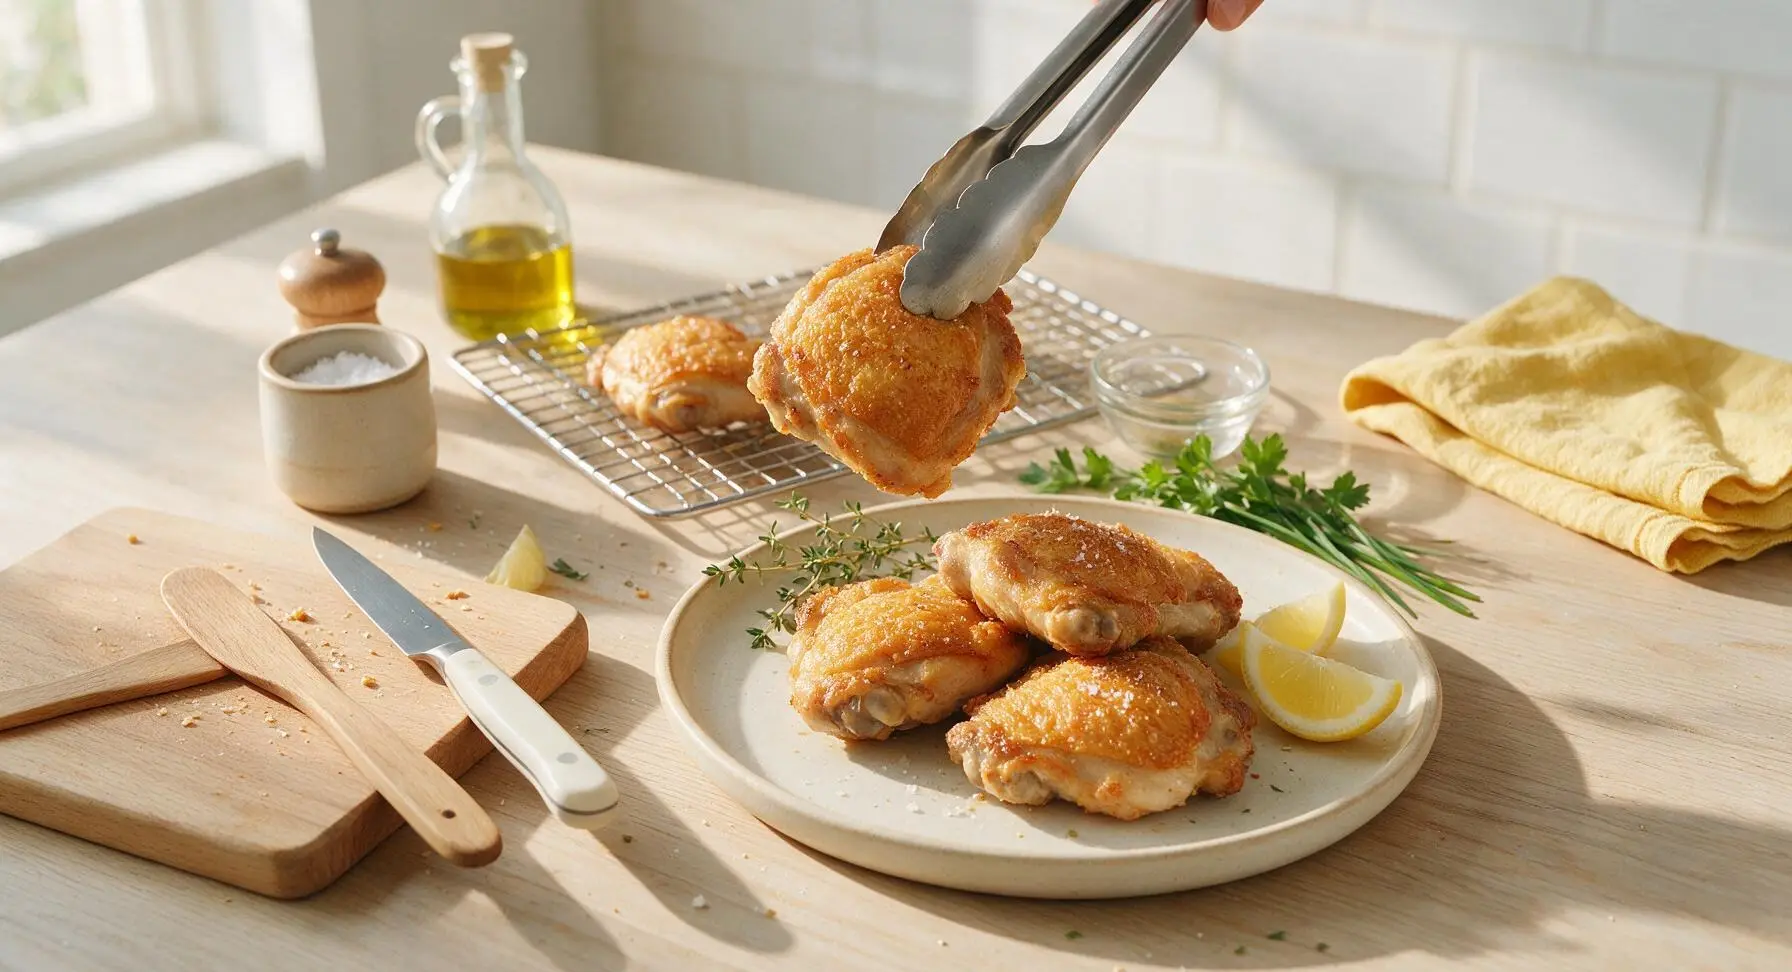
After resting, use tongs to transfer chicken pieces to the matte cream stoneware dinner plate, arranging pieces in a casual overlapping pile. Sprinkle lightly with 1 teaspoon flaky sea salt from the terracotta salt cellar, tuck fresh thyme sprigs between pieces, and arrange lemon wedges around the plate edge for squeezing over top right before eating.
Tips
2.Never skip the wire rack inside the baking sheet. If chicken rests directly on the sheet pan, it will sit in pooled rendered fat and dripped marinade as it cooks, steaming the skin instead of crisping it and leaving you with soggy, rubbery skin on the bottom of every piece.
3.Let marinated chicken rest at room temperature for 20 minutes before roasting. Cold chicken straight from the fridge will cook unevenly, leading to overcooked, dry breast meat and undercooked dark meat near the bone, and will require longer cook time that can burn the delicate crisp skin.






As a huge Samin Nosrat fan I knew I had to try this buttermilk chicken recipe, and it did not disappoint! Made this for our neighborhood potluck last weekend and people were literally begging for the recipe! I was worried the 50 minute cook time would make it too much of a hassle to add to my weeknight meal prep rotation, but it’s totally doable if you brine the chicken in buttermilk the night before. The crust stays perfectly crunchy even when I pack leftovers for lunch the next day, which is a total miracle. SO good, I already added it to our monthly family dinner rotation. Only quick tip: make sure you pat the chicken dry a little before coating if you don’t want the breading to slide off — learned that the hard way on my first test run a couple weeks ago!
I’d seen Samin Nosrat talk about this buttermilk chicken on her show forever, so I finally decided to give it a shot. It’s pretty solid, though I will say the medium difficulty rating is totally fair — I messed up the oven temperature on my first go and ended up with slightly burnt edges on the drumsticks. Flavor was still spot on though, that tang from the buttermilk is unbeatable. I served it with mashed potatoes and collard greens for Sunday dinner and my wife said it’s better than the fried chicken we get at our local diner down the street. Will definitely be making it again, just gonna set two timers next time so I don’t zone out watching the football game while it cooks.
I made this Samin Nosrat buttermilk chicken last night for my family and it was incredible! Quick question before I make it again for my toddler’s playgroup next week: has anyone tried making this with boneless skinless thighs instead of the bone-in cut the recipe calls for? I’m feeding a crew of toddlers who refuse to eat anything with bones in it right now, and I don’t want to dry the chicken out by adjusting the cook time wrong. I’ve loved every Samin recipe I’ve tried, so I had high expectations, and this totally delivered — the bone-in version was SO juicy and flavorful, that classic buttermilk tang is unreal. I know the boneless version would be a hit with the kids if I can nail the cook time!