
Sandbakelse
intro
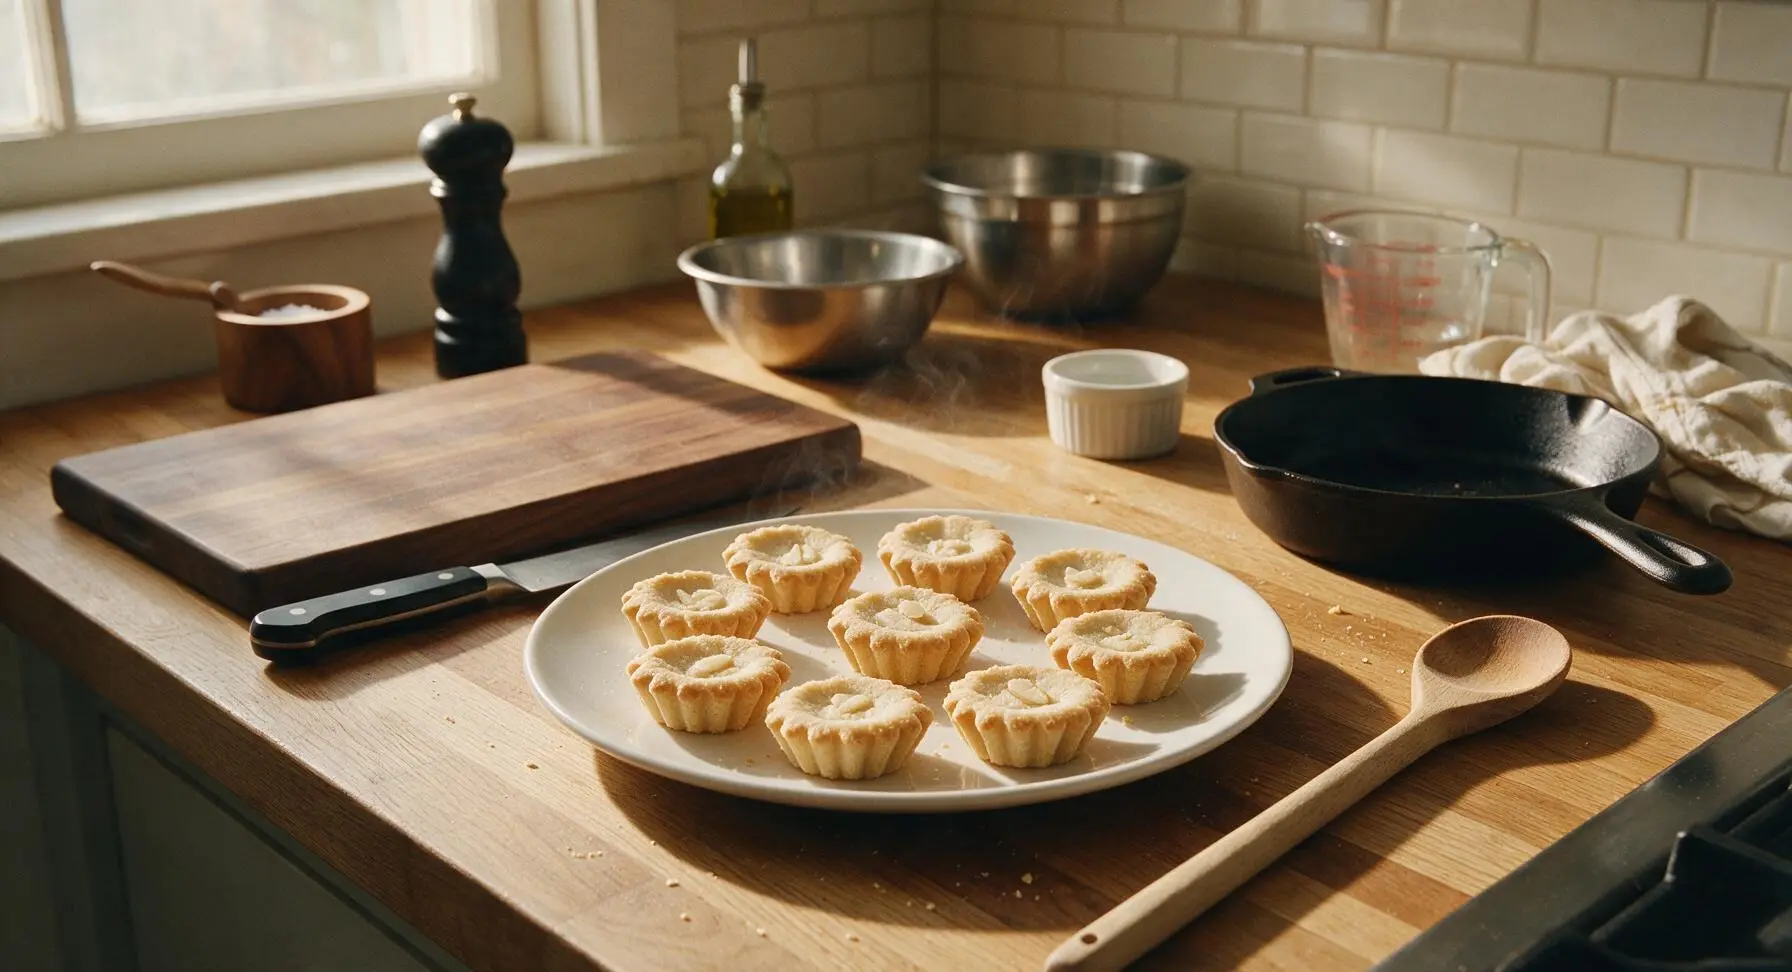
Delicate, melt-in-your-mouth buttery shortbread tarts pressed into fluted tins, Sandbakelse are a beloved Nordic-American holiday tradition with a crisp, sandy texture and subtle almond aroma.
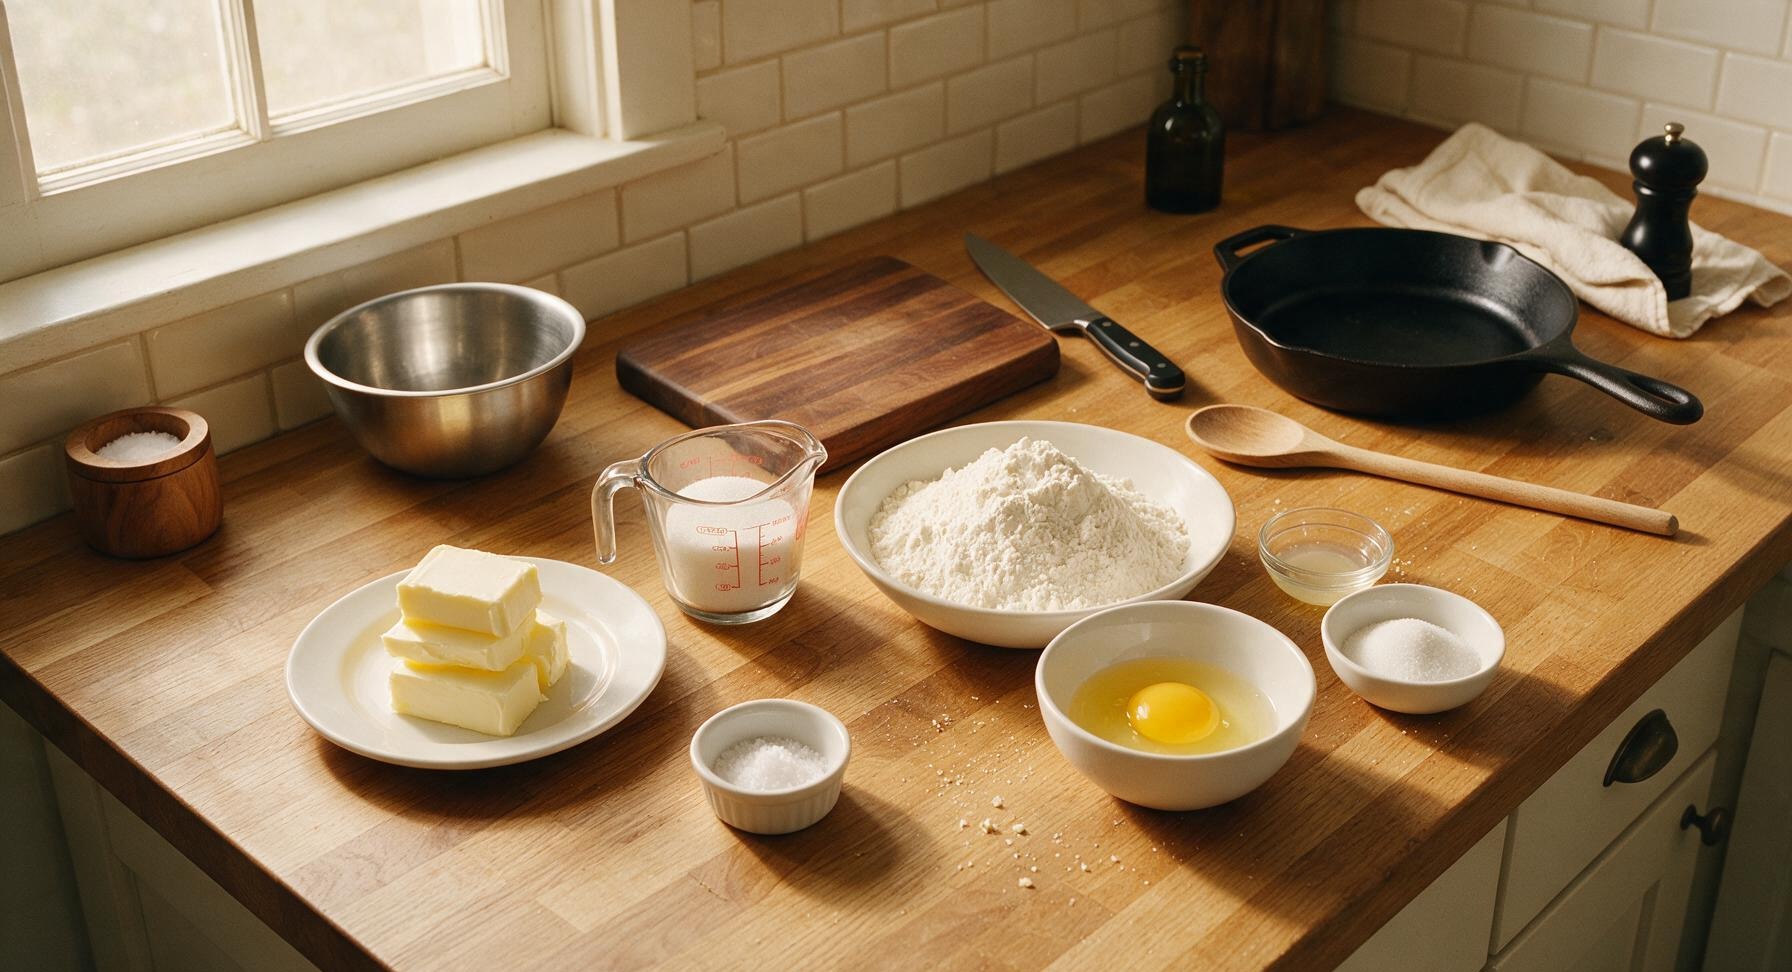
Ingredients
Steps
Cream Butter and Sugar
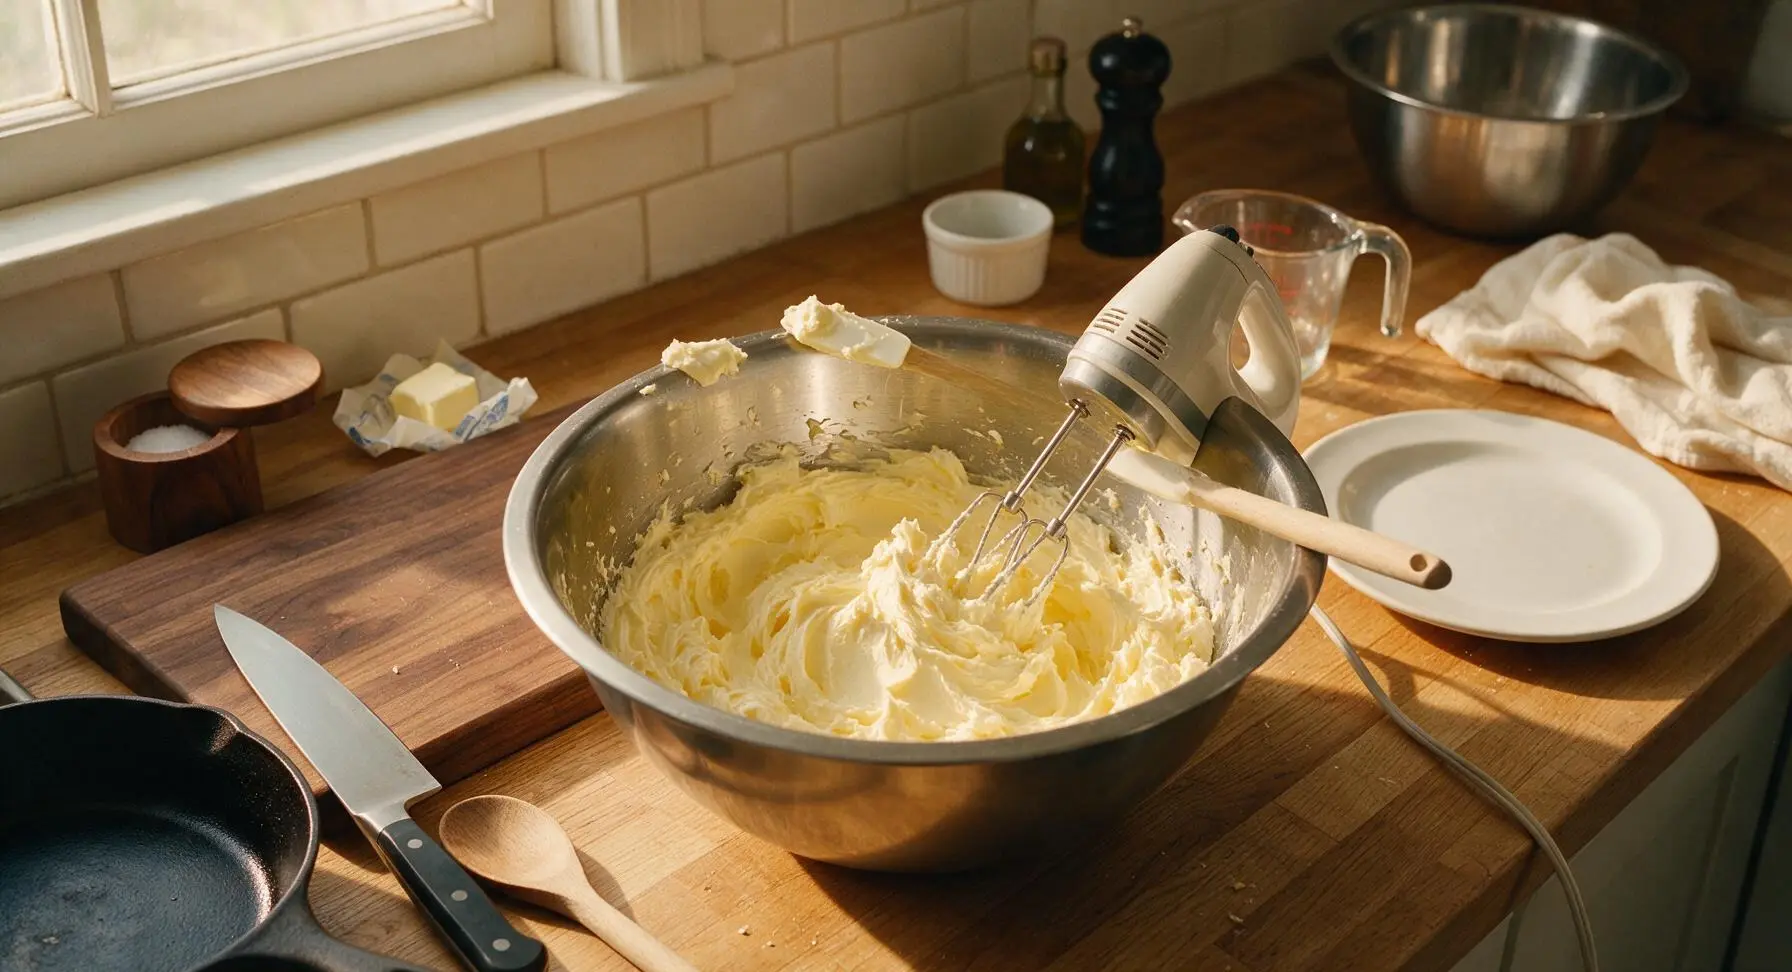
Place 226g softened room-temperature unsalted butter and 200g granulated sugar in the large stainless steel mixing bowl. Using the handheld electric mixer on medium speed, beat for 3–4 minutes until the mixture is pale lemon-yellow, light, and fluffy. Pause halfway to scrape down the bowl sides and beater with the silicone spatula to incorporate any un-mixed butter lumps. The finished creamed base will hold soft, rounded peaks when the beater is lifted straight out of the bowl.
Add Egg and Extract
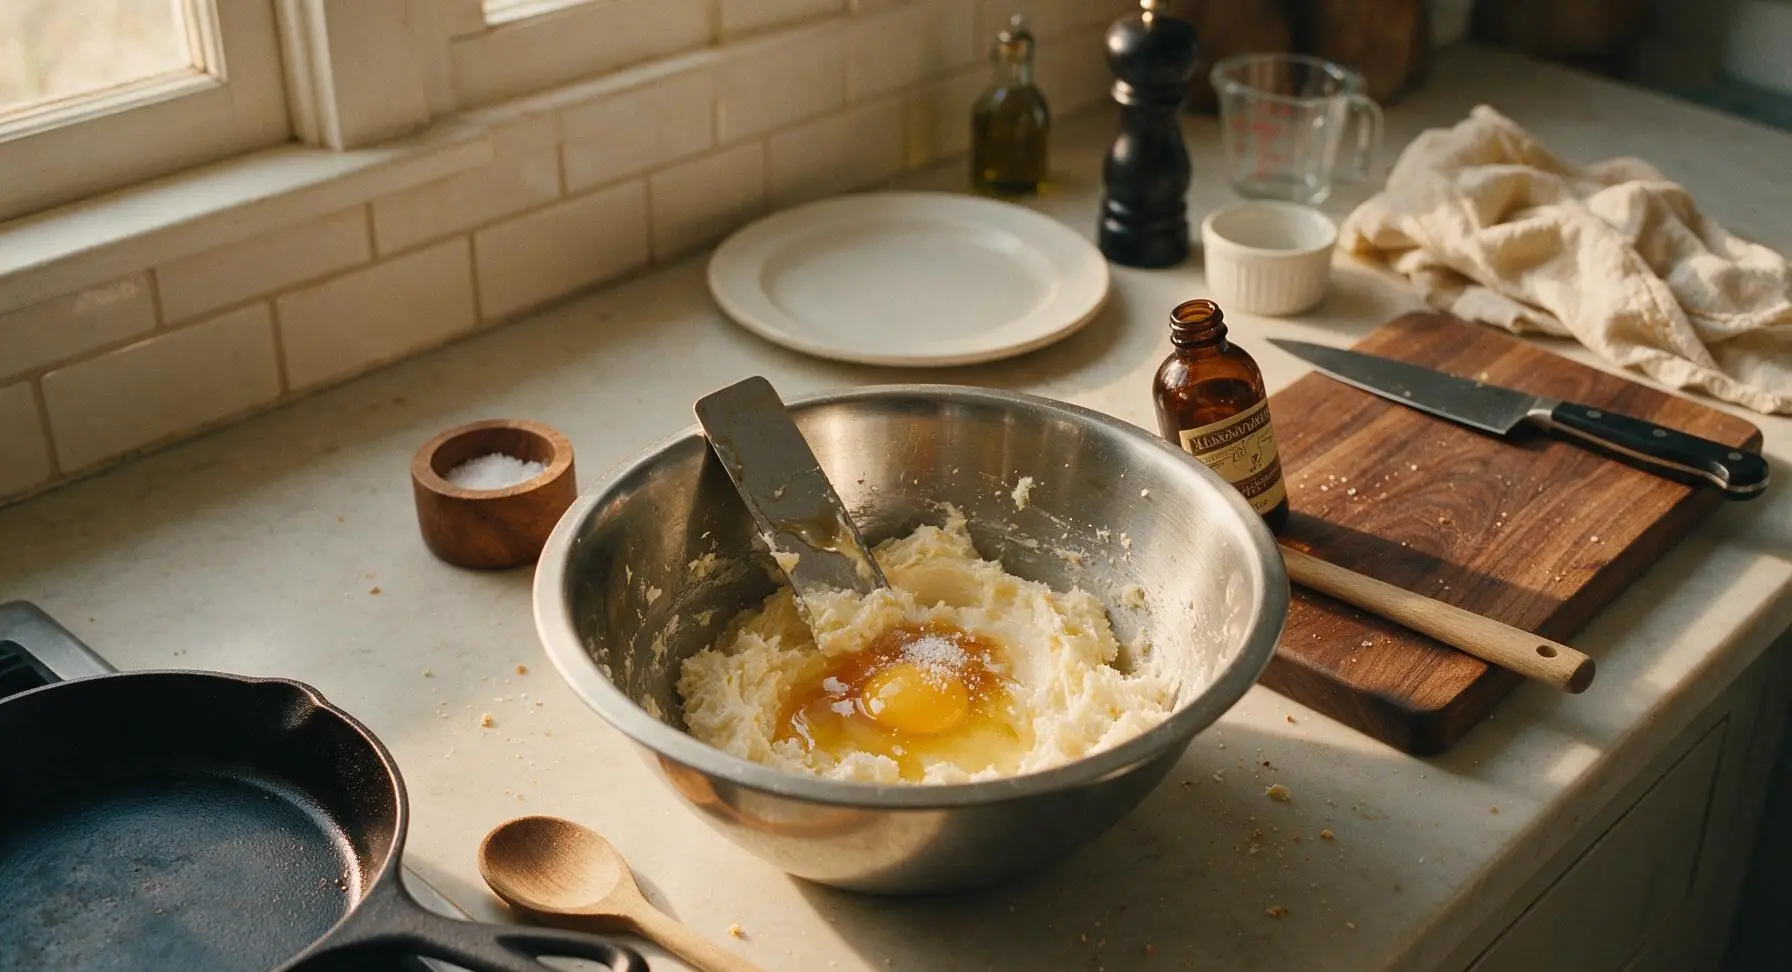
Crack the room-temperature large egg into the creamed butter mixture, then add 1 teaspoon pure almond extract and 1/4 teaspoon fine sea salt. Mix on low speed for 30 seconds to combine, then increase to medium speed for 1 full minute until the mixture is completely smooth and homogenous, with no visible streaks of egg. Scrape down the bowl sides once more with the spatula to ensure even mixing.
Incorporate All-Purpose Flour
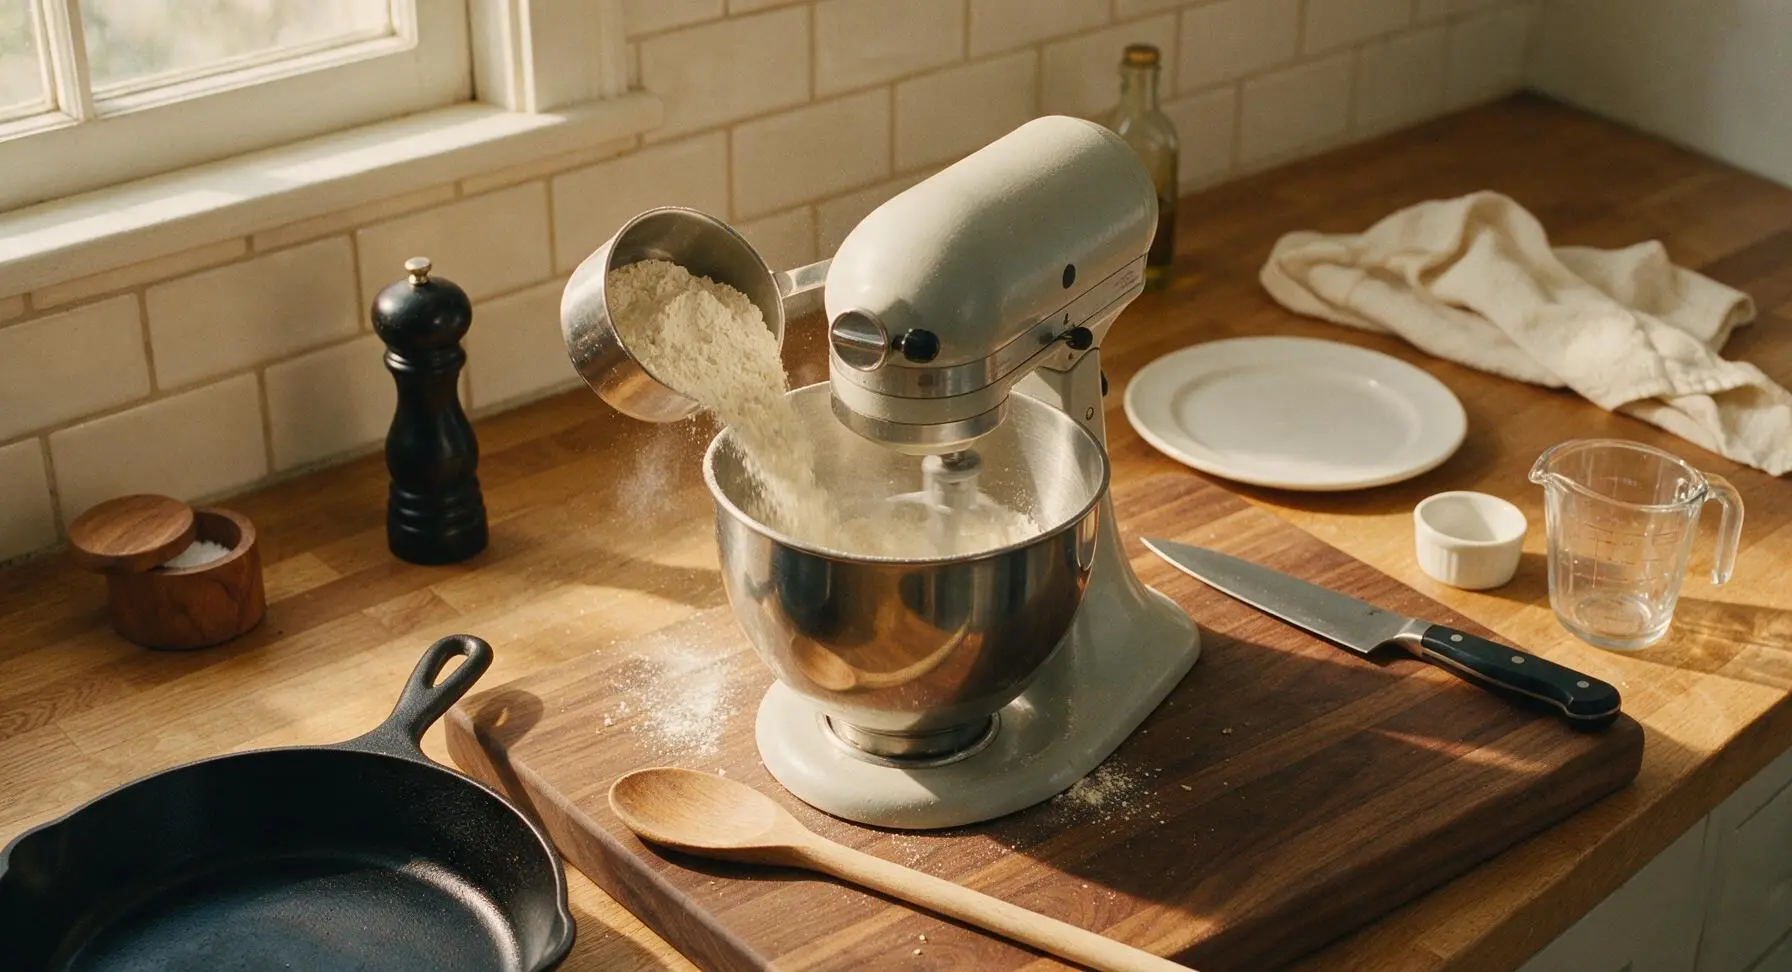
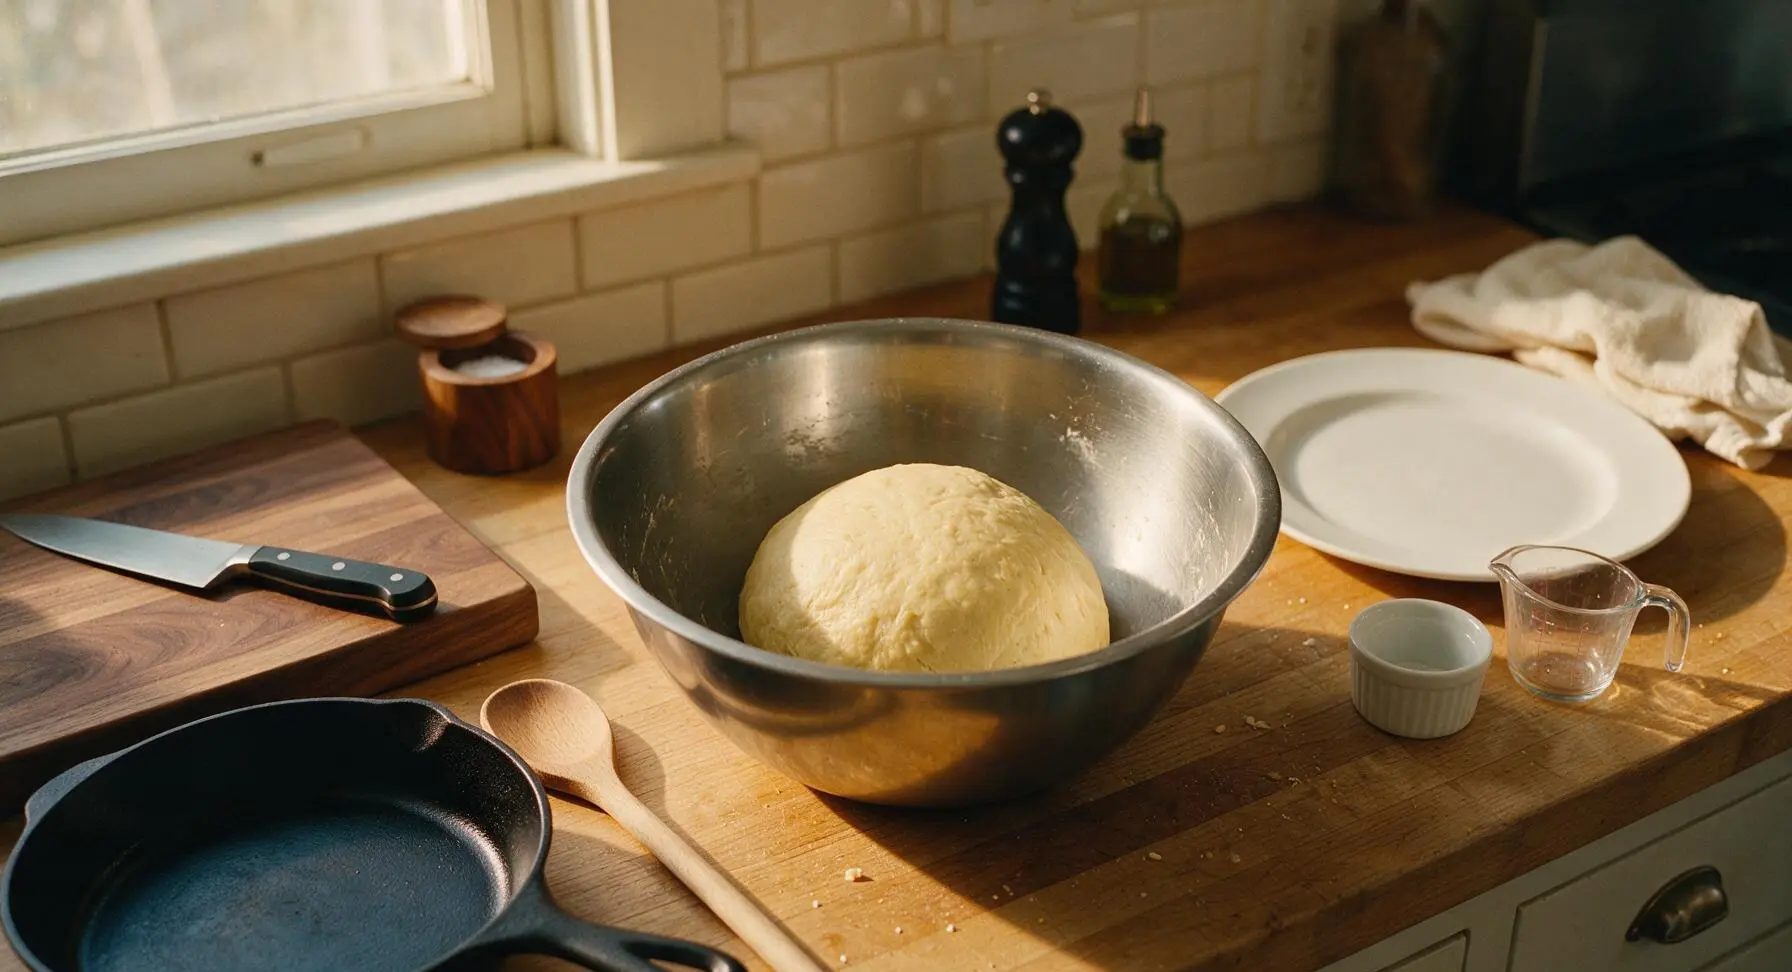
Gradually add the 340g all-purpose flour to the wet mixture, 1/2 cup at a time, mixing on the lowest mixer speed only until the flour disappears into the dough. Stop mixing as soon as no dry flour streaks remain—overmixing will develop gluten and make the cookies tough instead of melt-in-your-mouth tender. The finished dough will be soft, smooth, and similar in consistency to playdough, not sticky to the touch.
Chill Dough Thoroughly
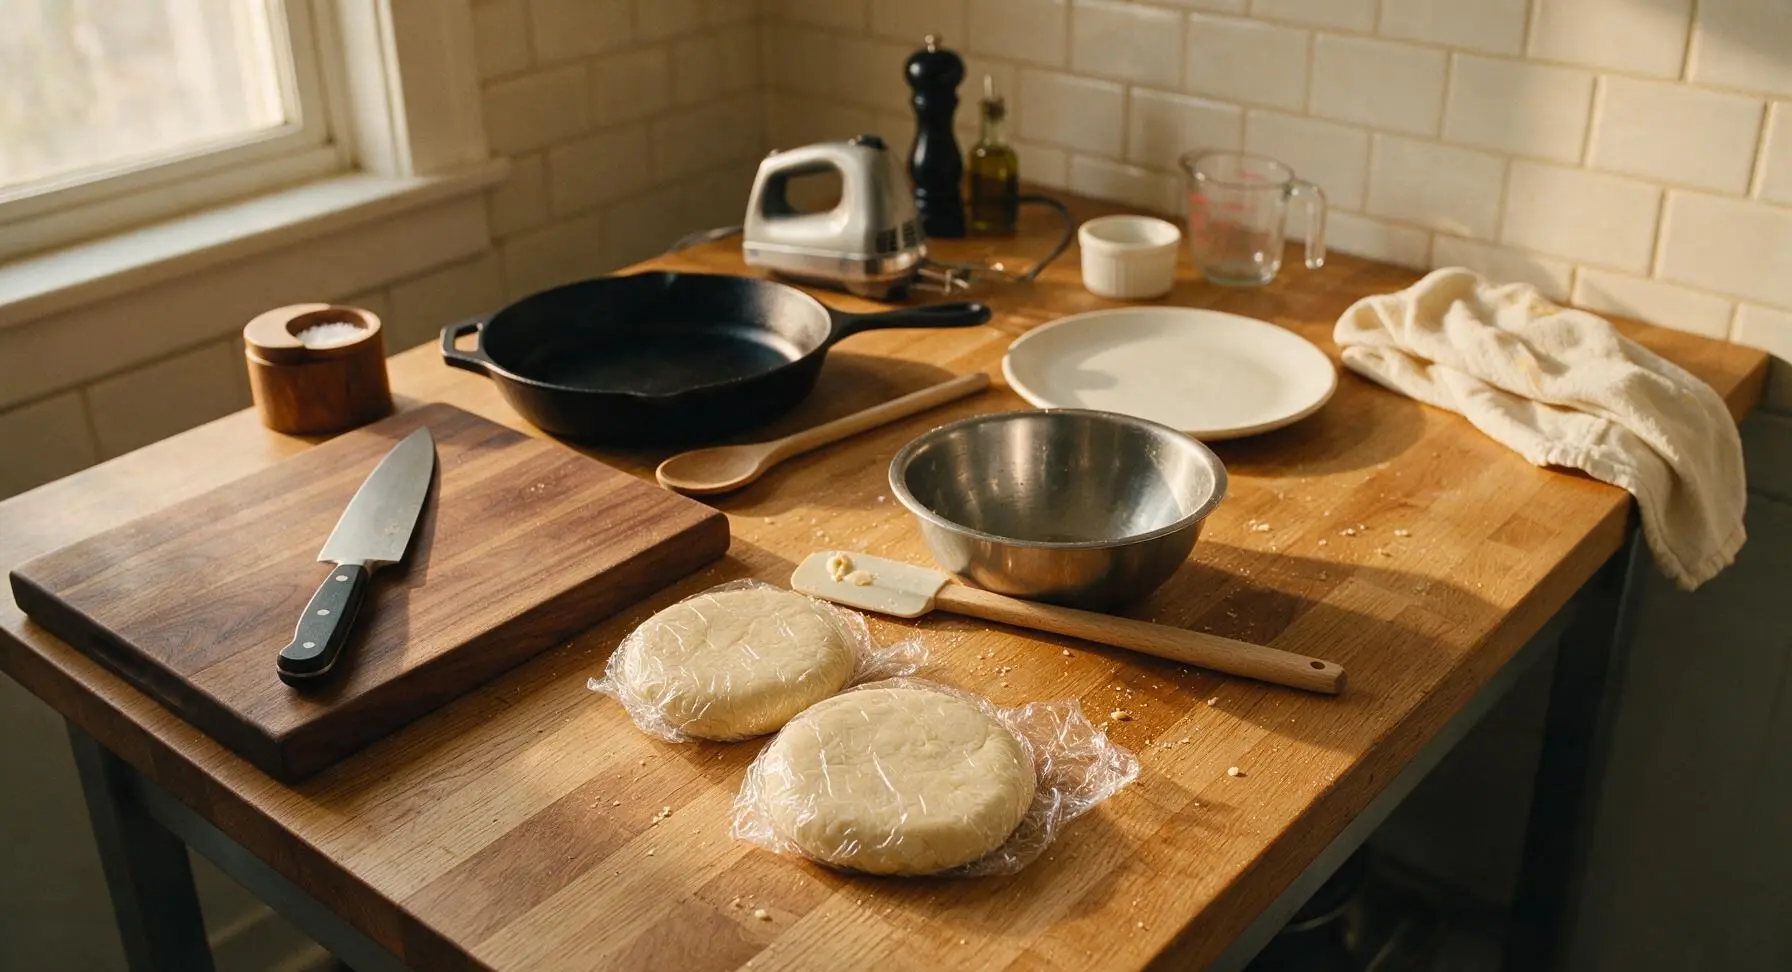
Turn the dough out onto a clean patch of counter, divide it into two equal 5cm thick disks, and wrap each disk tightly in clear plastic wrap. Place the wrapped disks in the refrigerator to chill for a full 1 hour, until the dough is firm and holds its shape when pressed. Chilling relaxes the gluten and prevents the cookies from spreading and losing their sharp fluted shape during baking; dough can be chilled for up to 3 days for advance prep.
Prep Oven and Molds
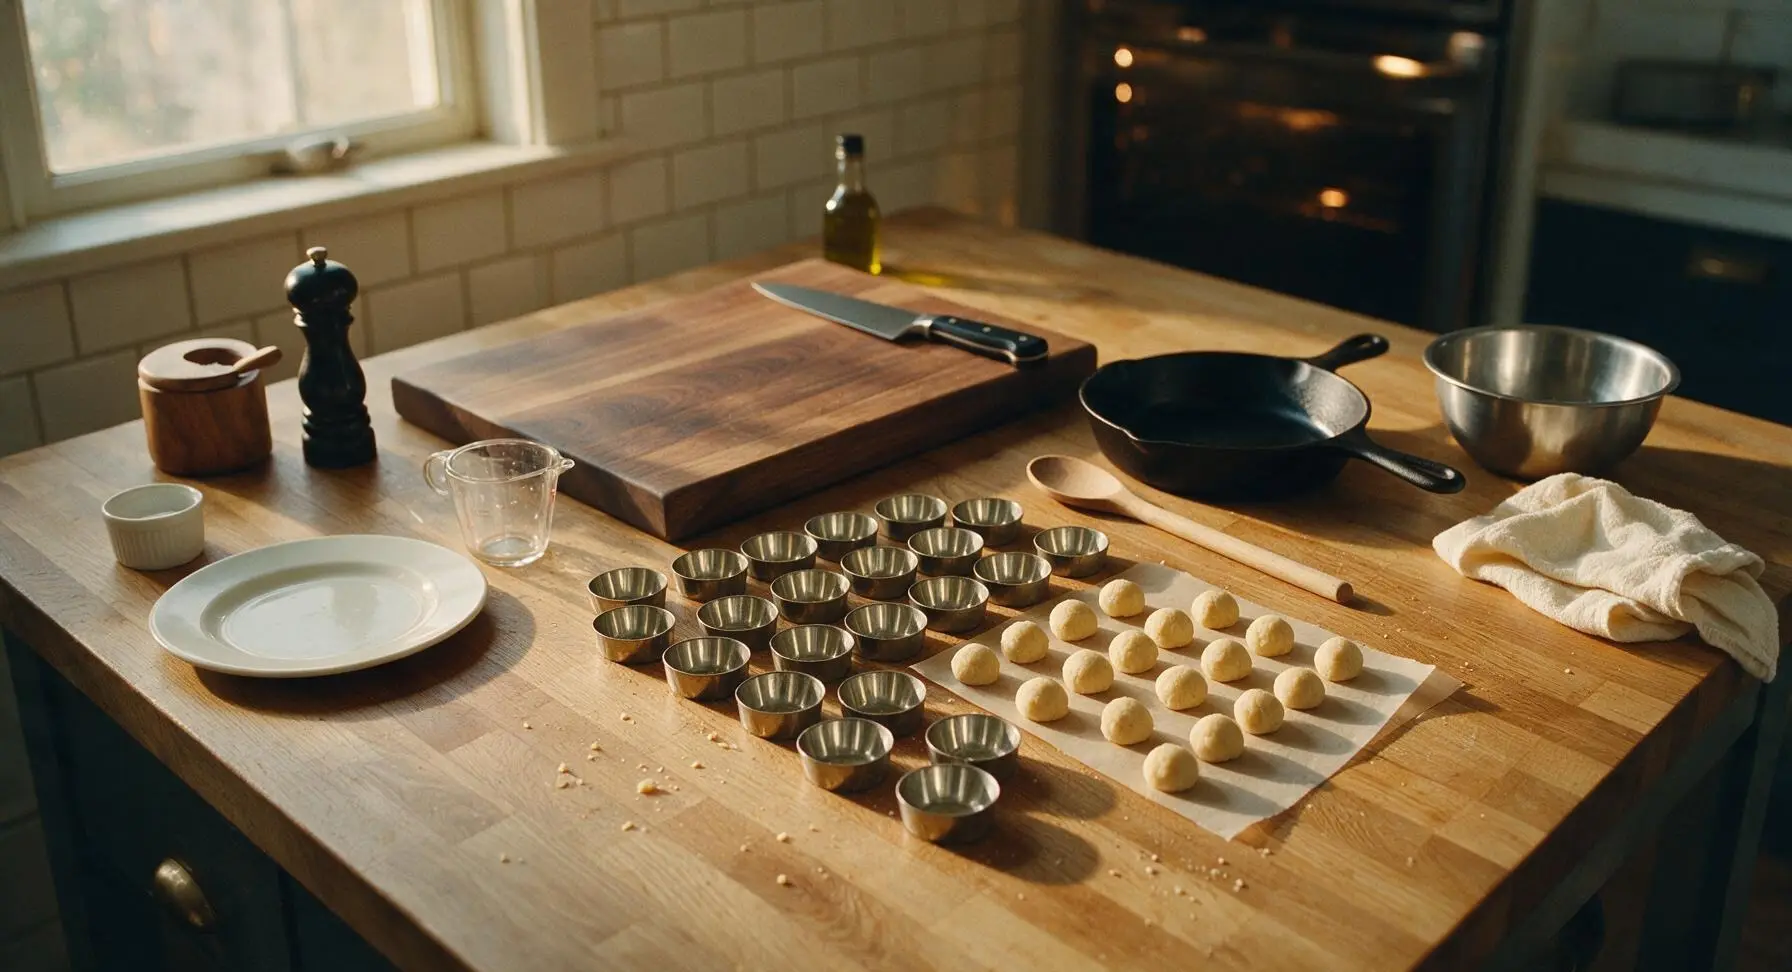
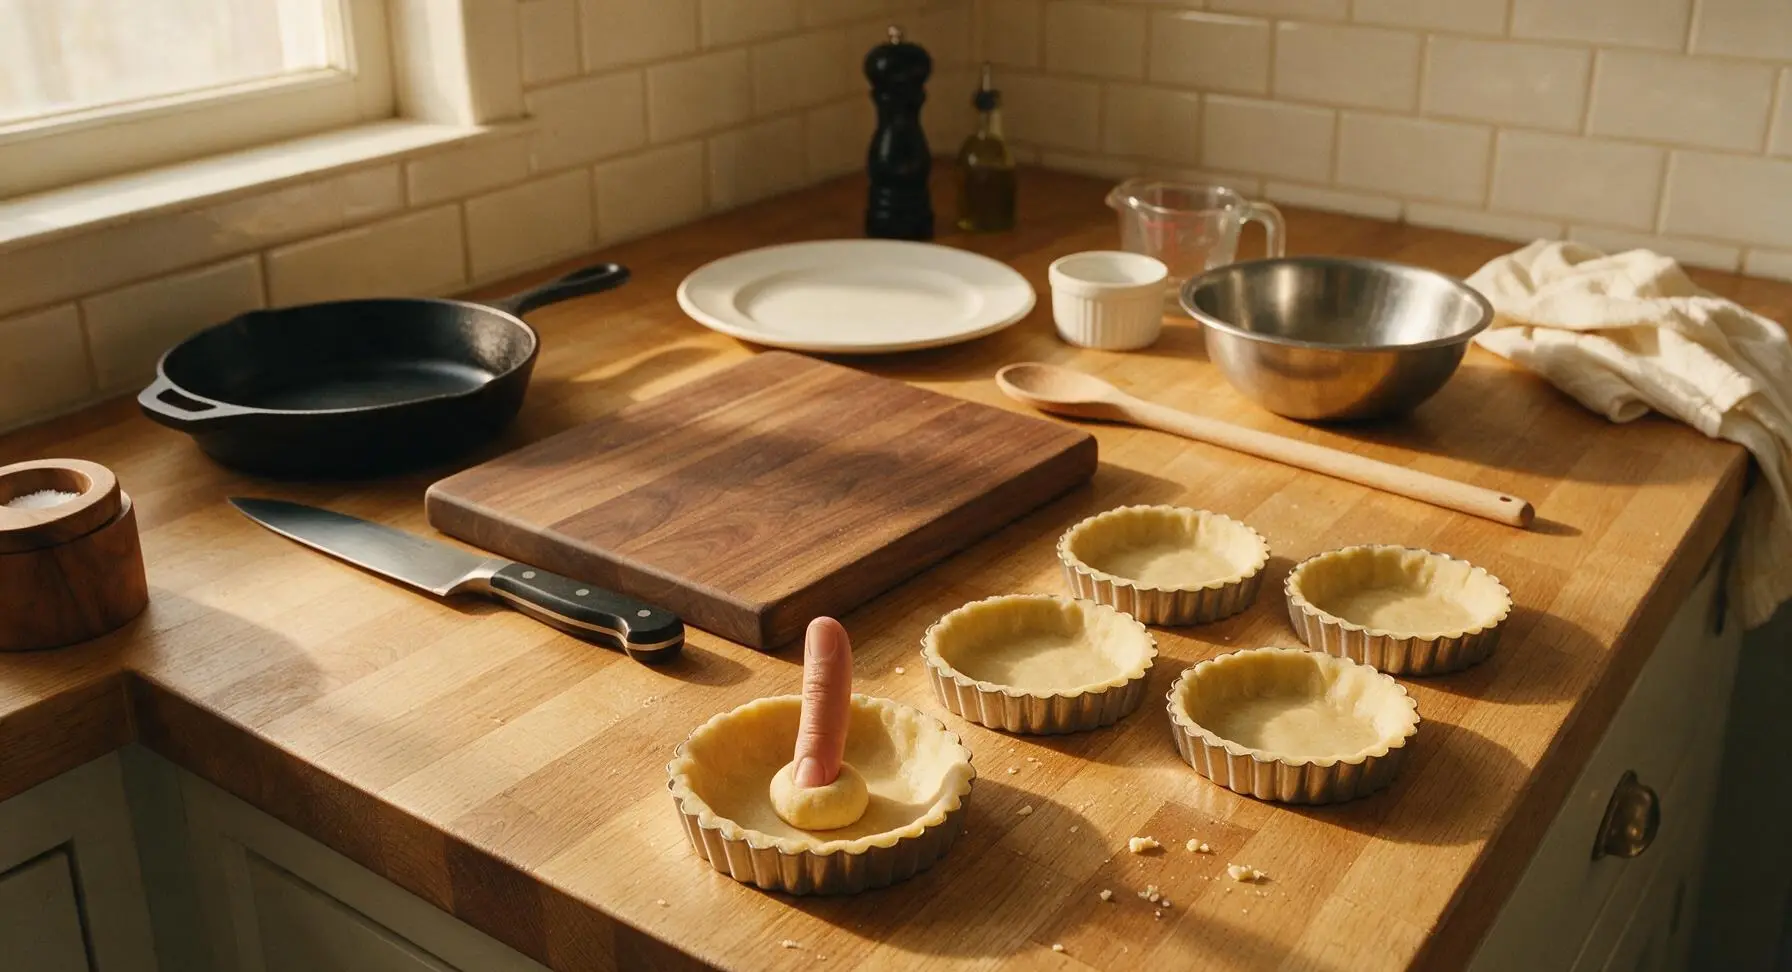
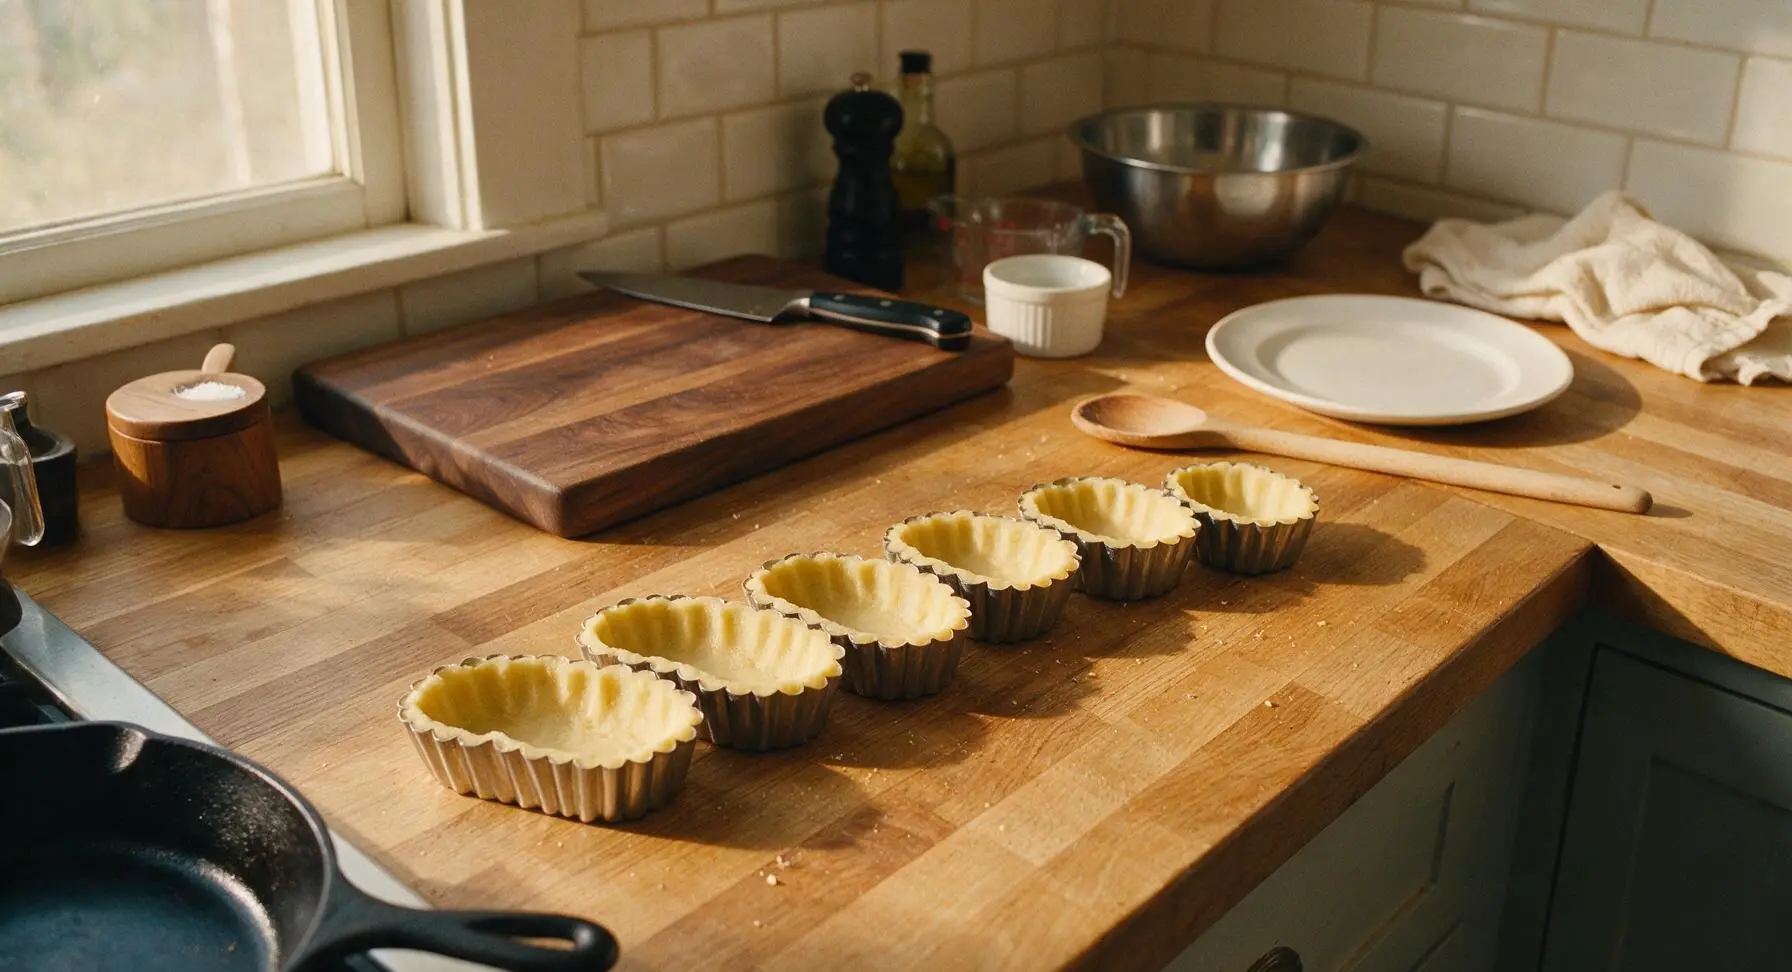
Preheat your oven to 375°F (190°C) with a rack positioned in the center. Unwrap one chilled dough disk, pinch off 1 teaspoon-sized pieces (roughly 8g each), and roll each piece into a smooth 2cm ball between your palms. Arrange the tin-plated sandbakelse molds in neat rows on the counter; no greasing is required, as the dough’s high butter content creates a natural non-stick surface.
Press Dough into Tins
Place one dough ball in the center of a sandbakelse mold. Use your thumb to press the dough evenly across the bottom and up the fluted sides of the tin, creating a thin, uniform 2mm thick layer that reaches exactly to the tin’s top edge. Avoid thick spots or holes, as these will cause uneven baking. Repeat with all dough balls, re-rolling any scraps to make additional cookies.
Bake to Golden Perfection
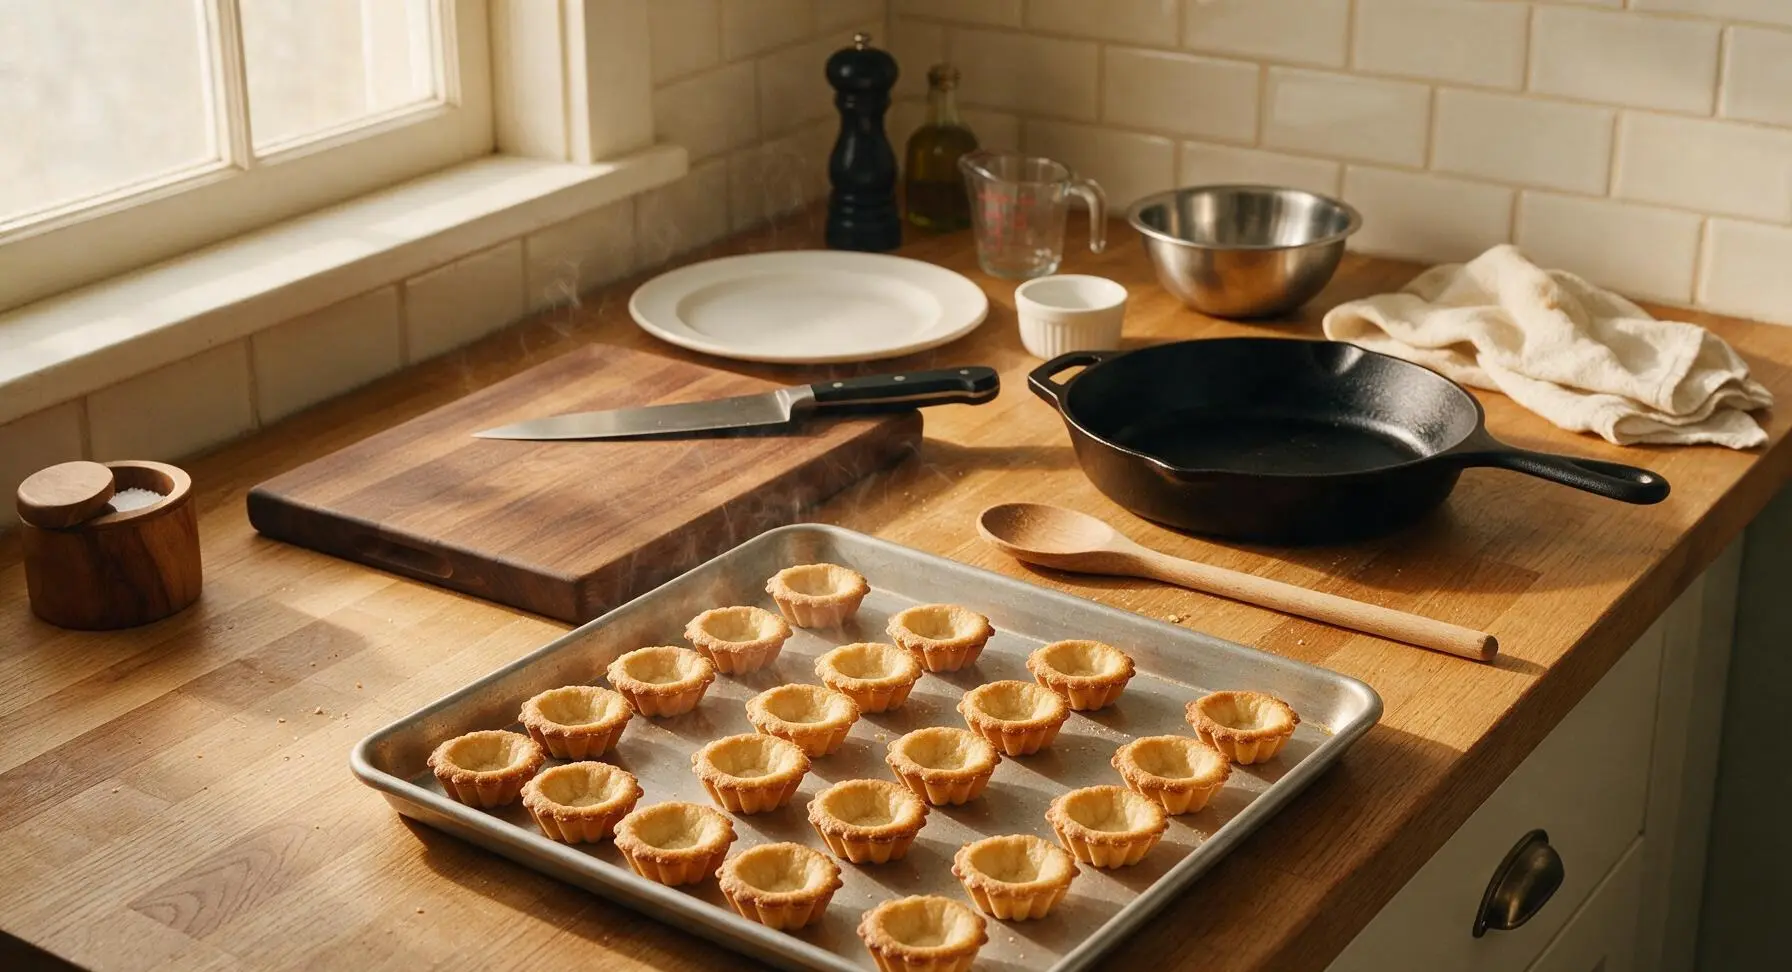
Arrange the filled molds 1cm apart on the matte aluminum baking sheet. Bake for 8–10 minutes on the center oven rack, rotating the sheet halfway through baking, until the cookie edges are a deep pale gold and the centers are fully set. Watch closely after the 7-minute mark, as the thin dough burns very quickly. The cookies will feel slightly soft when removed from the oven, firming as they cool.
Cool and Unmold Cookies
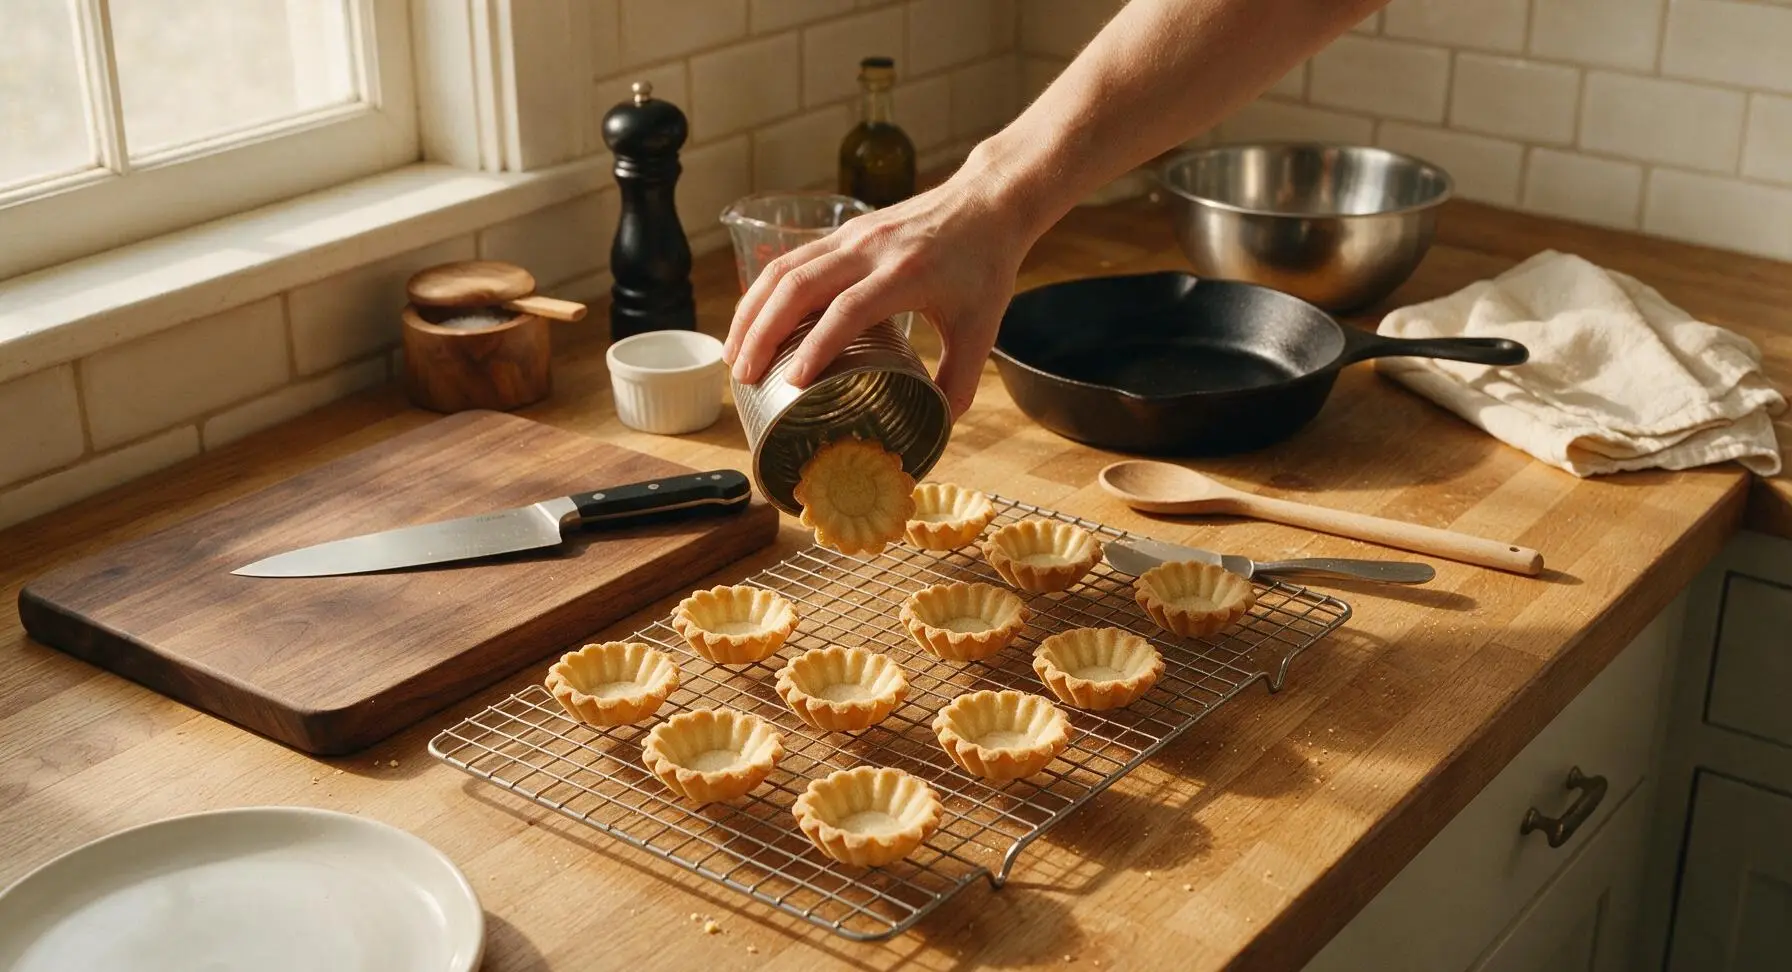
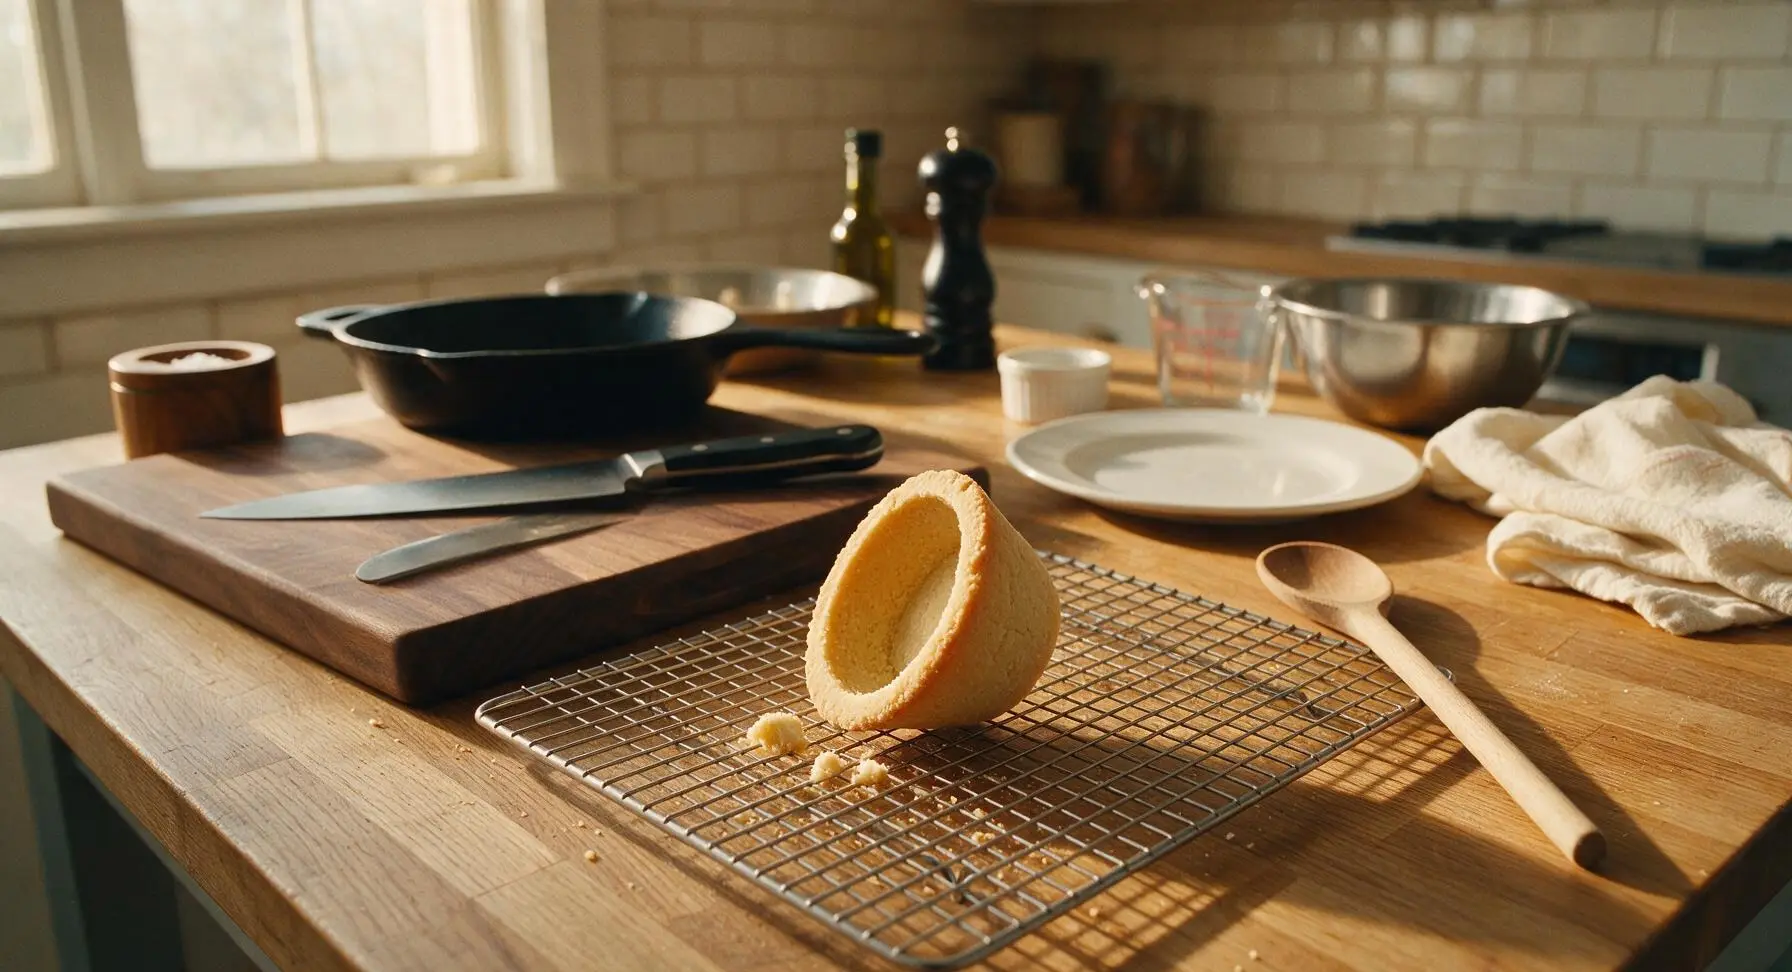
Transfer the hot tins to the wire cooling rack and let cookies rest in their molds for 5 minutes. Once cool enough to handle, tip each tin upside down and tap gently on the rack to release the cookie—they should slide out easily, retaining their sharp fluted shape. If a cookie sticks slightly, use the small offset spatula to gently loosen the edge before tipping again. Let cookies cool completely on the rack for 20 minutes before arranging on the serving platter.
Tips
2.Keep dough chilled while working: if the dough becomes soft and sticky while pressing into tins, pop the portioned dough balls and empty tins in the fridge for 10 minutes to firm up. Soft dough spreads excessively in the oven, leading to misshapen, thick cookies.
3.Press dough as evenly as possible: aim for a consistent 2mm thickness across the bottom and sides of each tin. Thick spots will stay soft and doughy instead of developing the signature crisp, 'sandy' melt-in-your-mouth texture that gives sandbakelse its name.






OMG these sandbakelse are SO good! I made them for our extended family dinner over the weekend and everyone was begging for the recipe. The buttery crumble literally melts in your mouth — I filled half with raspberry jam and half with lemon curd, and both versions were total hits. Only tiny note is I had to chill the dough 15 extra minutes because my kitchen was sweltering from the oven being on, but that was such an easy fix. 10/10 will be making these for every holiday gathering from now on!
Tried these for an office potluck earlier this week and they went faster than the double chocolate chip cookies I usually bring! Total game changer for shortbread tarts, honestly. I do have a question though — my tarts stuck a little to the vintage sandbakelse molds my grandma passed down even after I greased them, did I miss a step? I followed the press-in directions exactly, so I was confused when half of them broke coming out.
My kids loved it! I was worried these would be too fussy for my crew who turns their nose up at anything that’s not a plain store-bought cookie half the time, but they devoured a whole batch after school yesterday. I didn’t even fill them with anything, just baked them plain as little butter cups and they were perfect. So simple to throw together too, the 20 minute total cook time was perfect even on a chaotic weeknight when I’m juggling homework and sports practice.
I was so nervous to try these since the difficulty says medium — I’m a total beginner who’s only ever made boxed cookie mix before! I wanted to make something special for my partner’s birthday because his grandma used to make traditional sandbakelse for him when he was little, and I figured I’d give this recipe a shot. I messed up the first batch by pressing the dough way too thin so the edges got crispy and burnt, but the second batch came out perfect! My partner said they tasted exactly like he remembered, I almost teared up. Quick question though: can I freeze the baked tarts for meal prep so I have them ready for our Friendsgiving dinner next month?