
sandwich cookies
intro
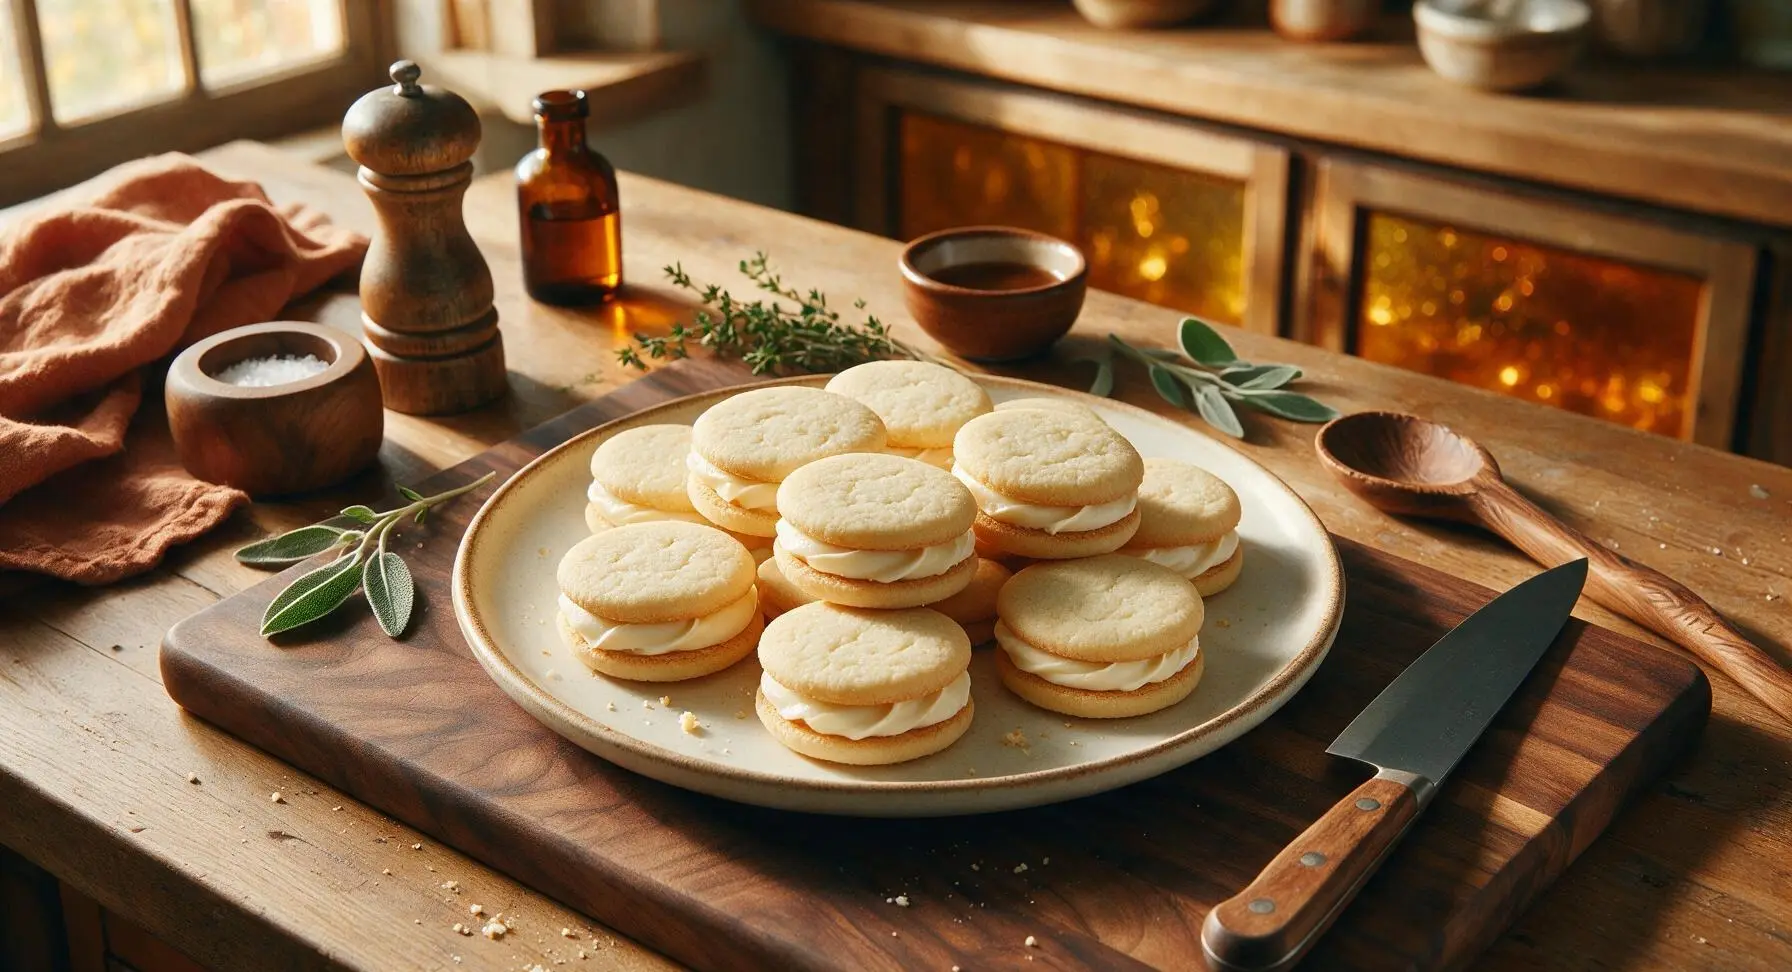
Buttery, crisp vanilla cookie shells sandwiched around smooth creamy vanilla buttercream—these timeless, portable treats are perfect for gifting, snacking, and holiday cookie tins.
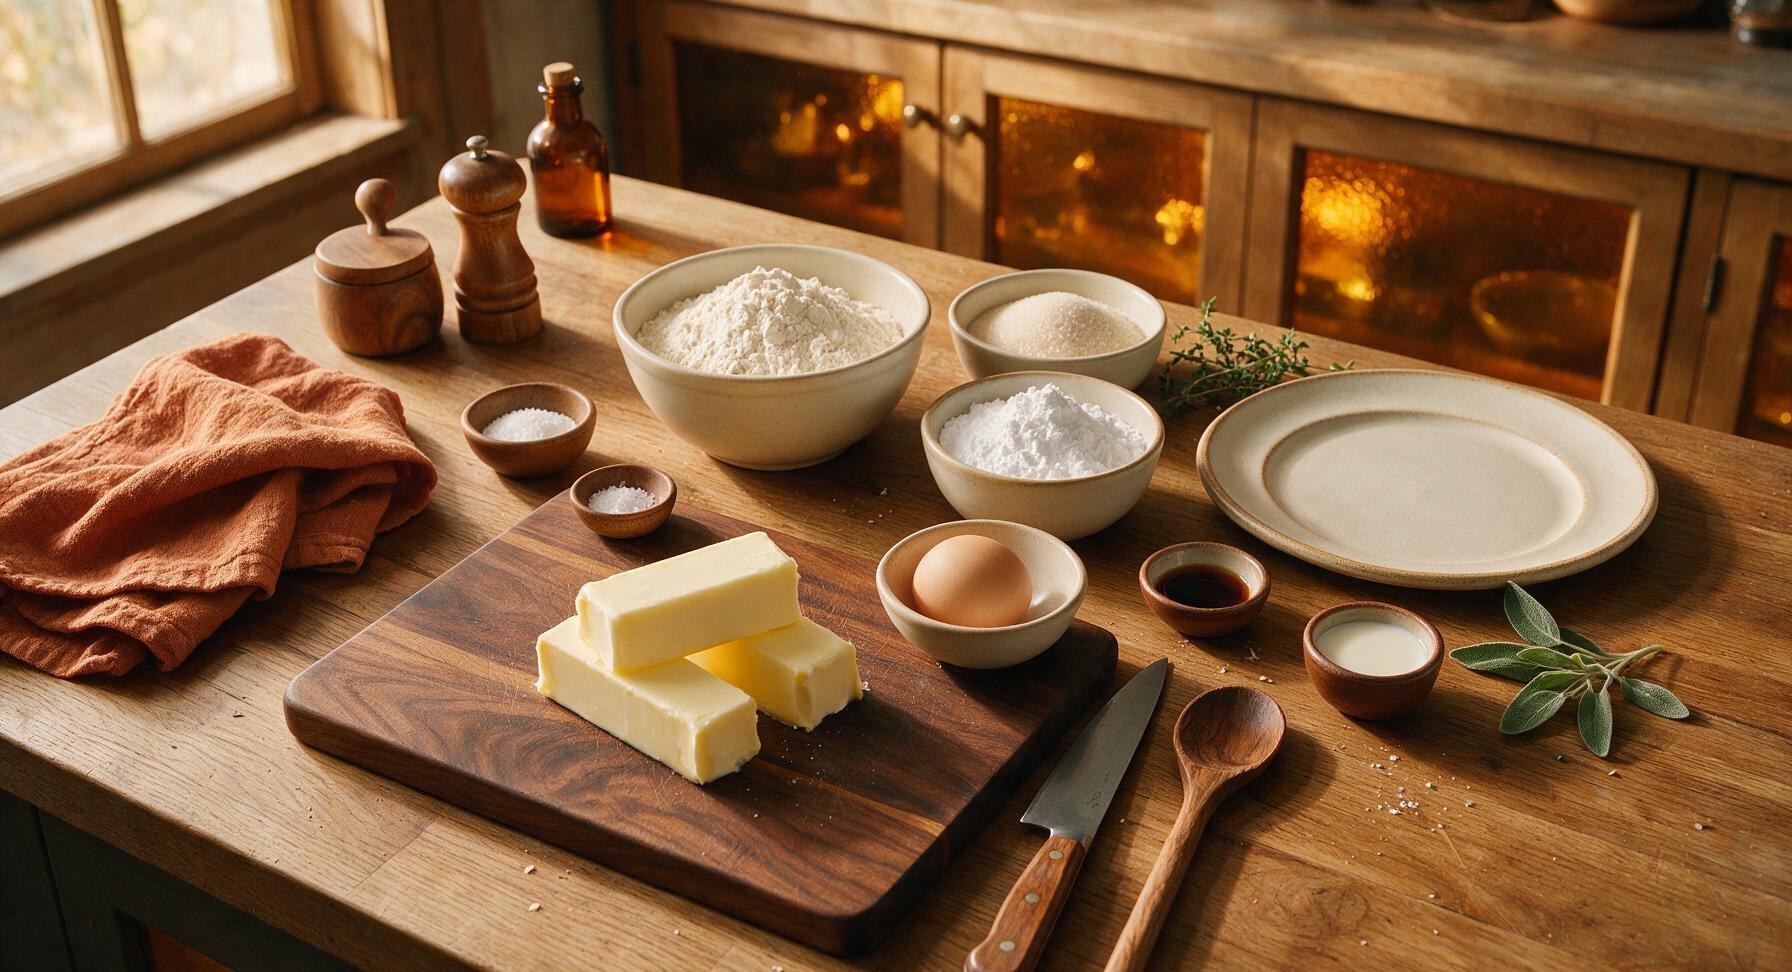
Ingredients
Steps
Cream Butter and Sugar
Place 226g (2 sticks) of softened unsalted butter and 150g granulated sugar in the large matte silver aluminum mixing bowl. Use the matte black silicone spatula to beat the mixture for 3-4 minutes until it turns pale, fluffy, and light ivory in color, with no visible grainy sugar texture when rubbed between two fingers. Scrape down the sides of the bowl halfway through mixing to ensure no lumps of unblended butter remain at the bottom.

Add Egg and Vanilla
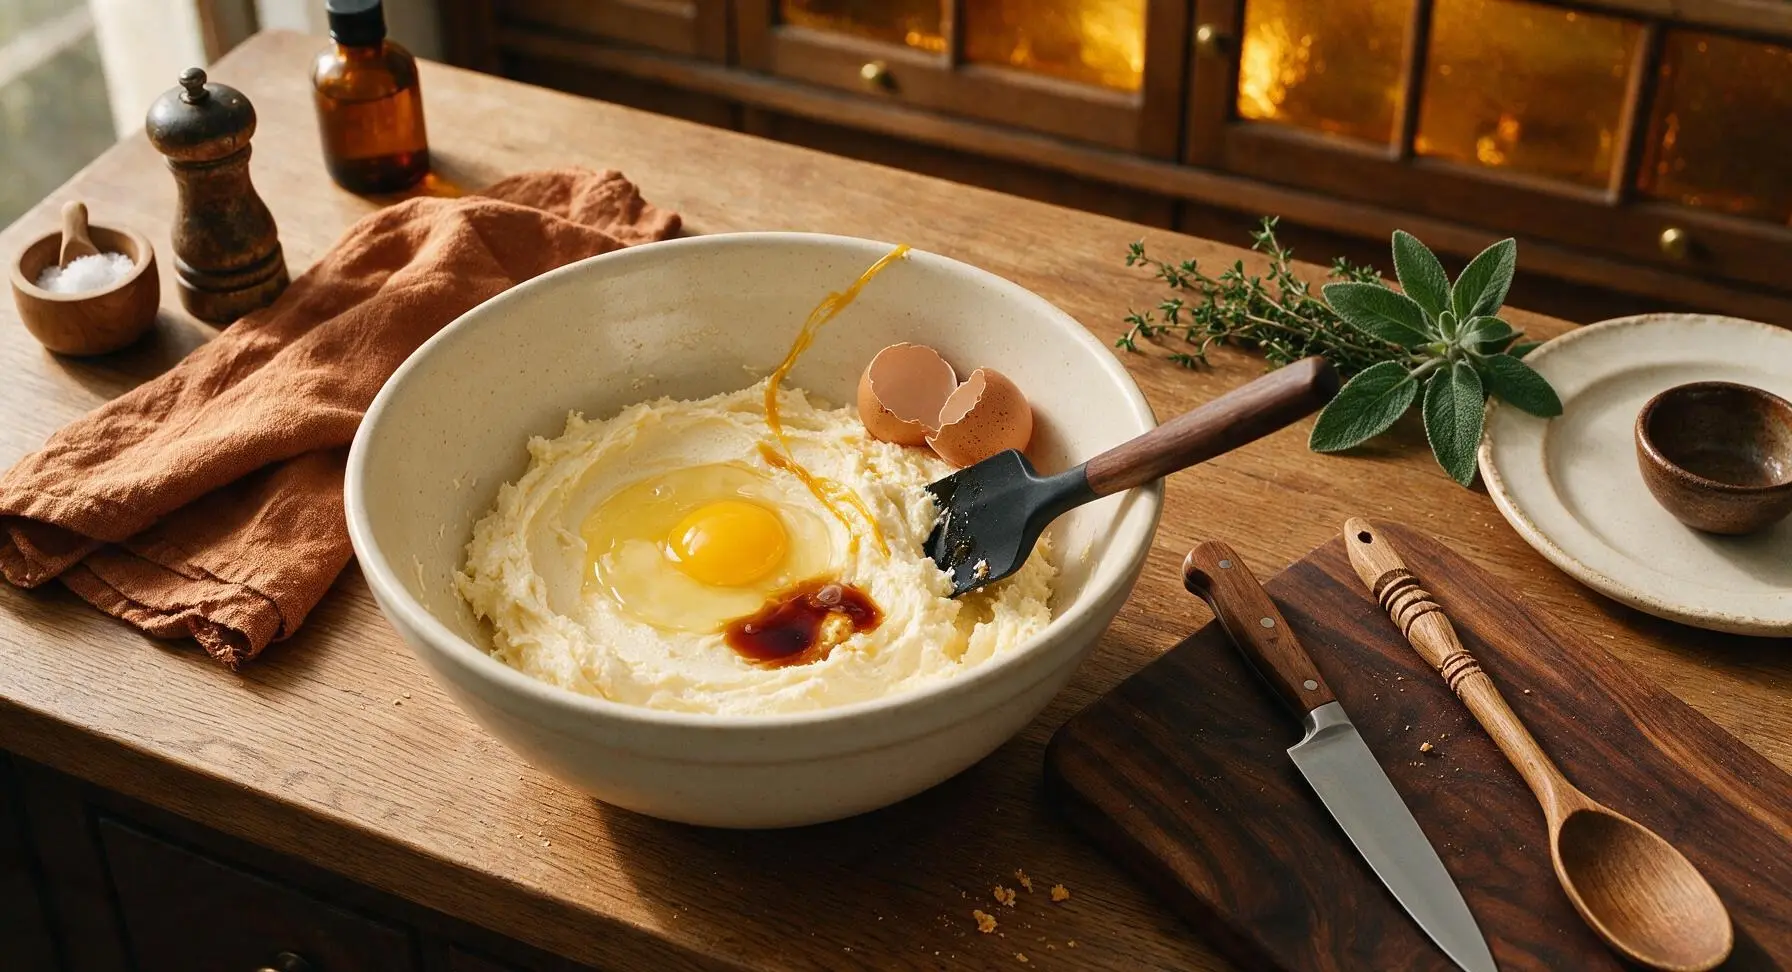
Add the room-temperature whole egg and 2 teaspoons of pure vanilla extract to the creamed butter-sugar mixture. Stir continuously with the silicone spatula for 1 full minute until the egg is fully incorporated, and the mixture is smooth and homogenous, with no curdled lumps or separated liquid visible.
Combine Dry Ingredients
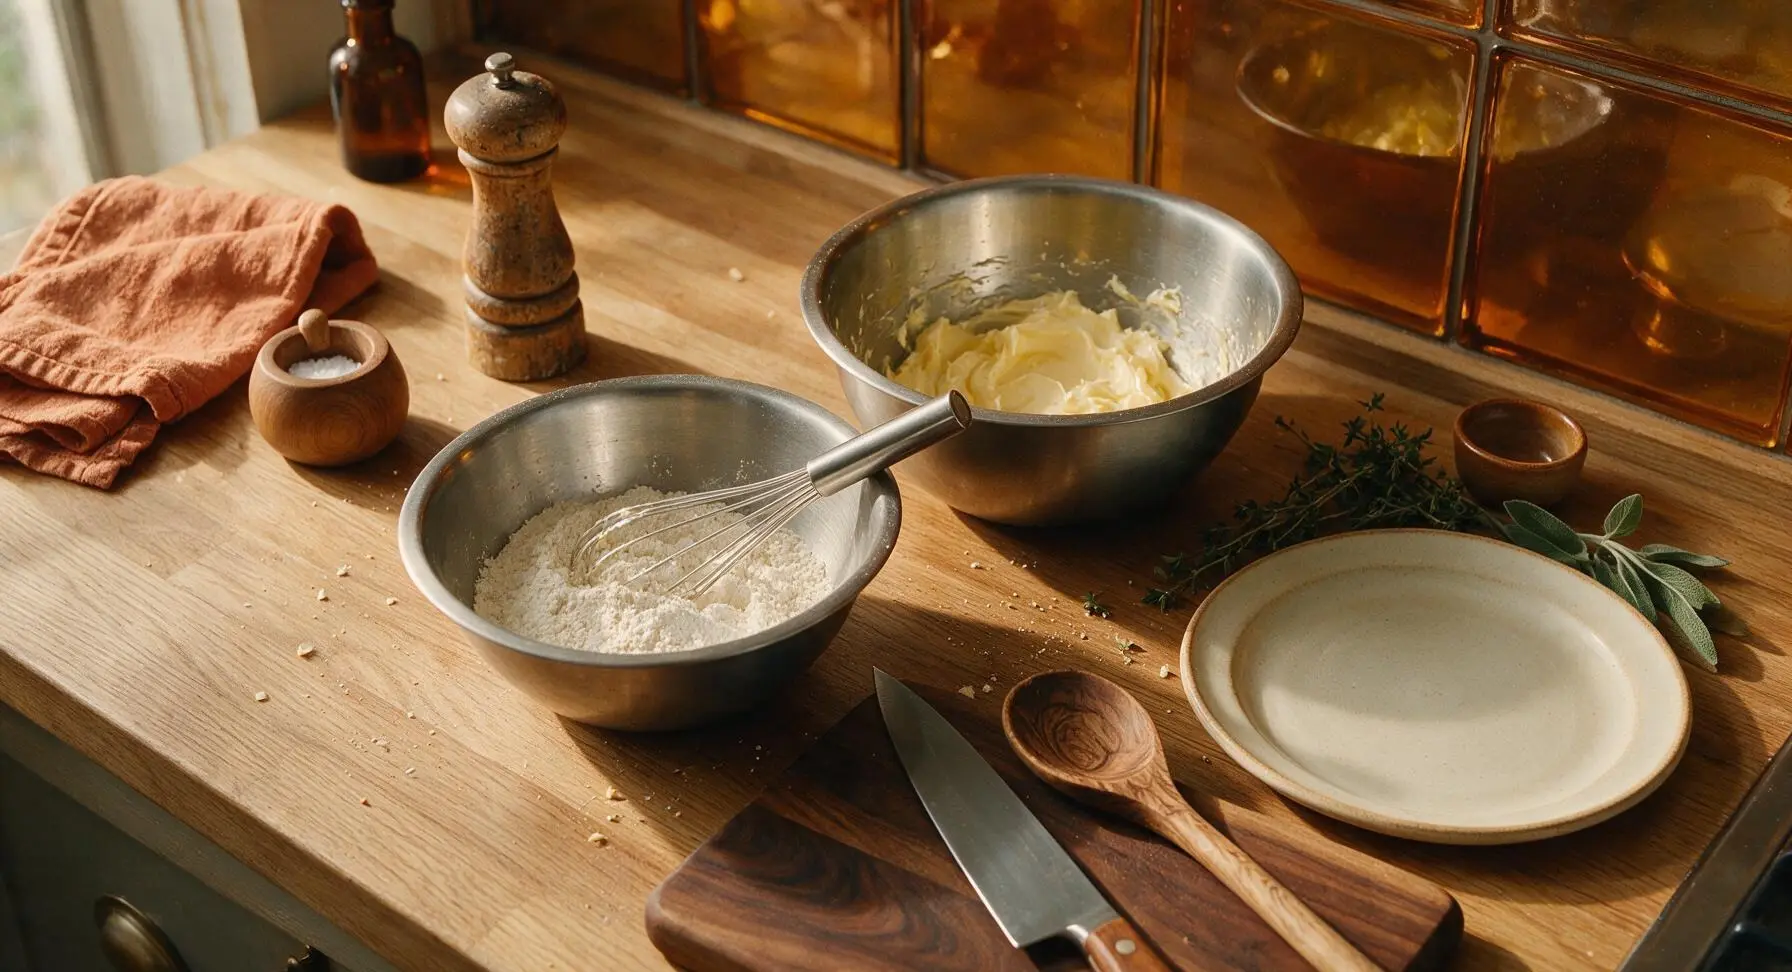
Add 280g all-purpose flour, 1 tsp baking powder, and 1/4 tsp fine sea salt to the small stainless steel mixing bowl. Use the small stainless steel whisk to stir the dry ingredients for 30 seconds until they are evenly blended, which prevents clumps of baking powder from creating uneven, lumpy cookie rises during baking.
Form and Chill Dough
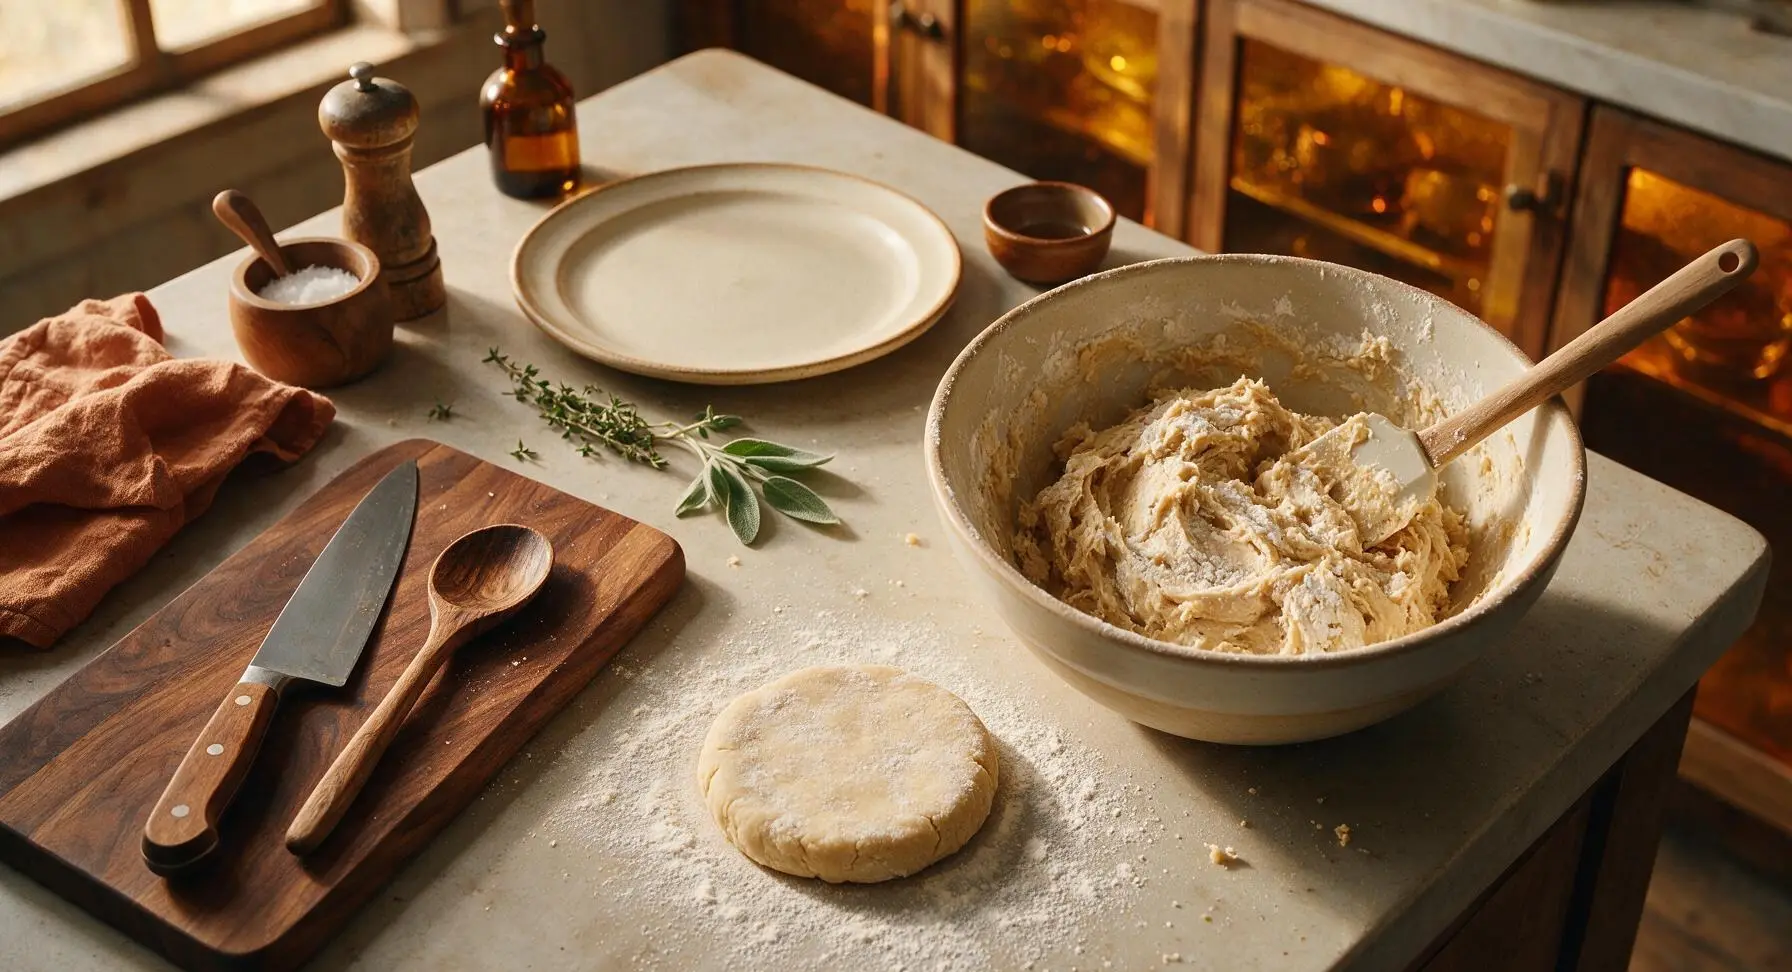
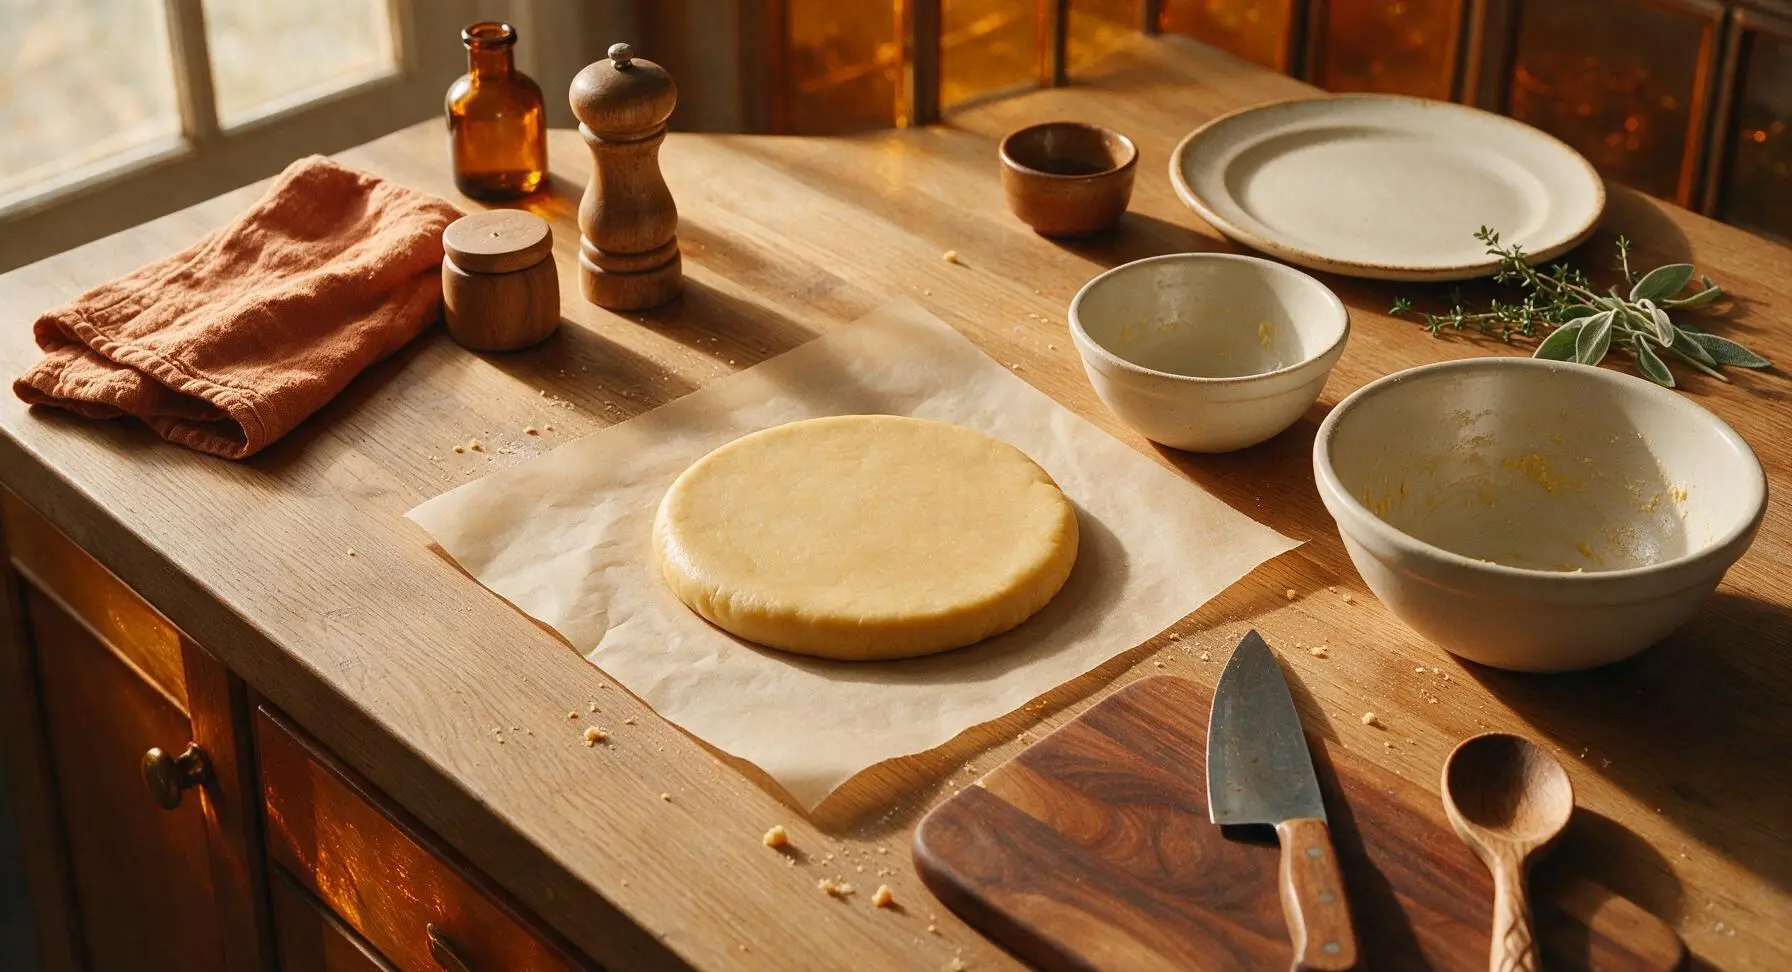
Gradually fold the dry ingredient mixture into the wet butter mixture in the large bowl, stirring with the silicone spatula just until no dry flour streaks remain—do not overmix, as overworking the gluten in the flour will create tough, dense cookies. Turn the shaggy dough out onto the lightly floured counter section, shape it into a uniform 2cm thick flat disc, wrap it in a sheet of parchment paper, and chill in the refrigerator for 30 minutes until firm enough to roll without sticking.
Roll and Cut Cookies
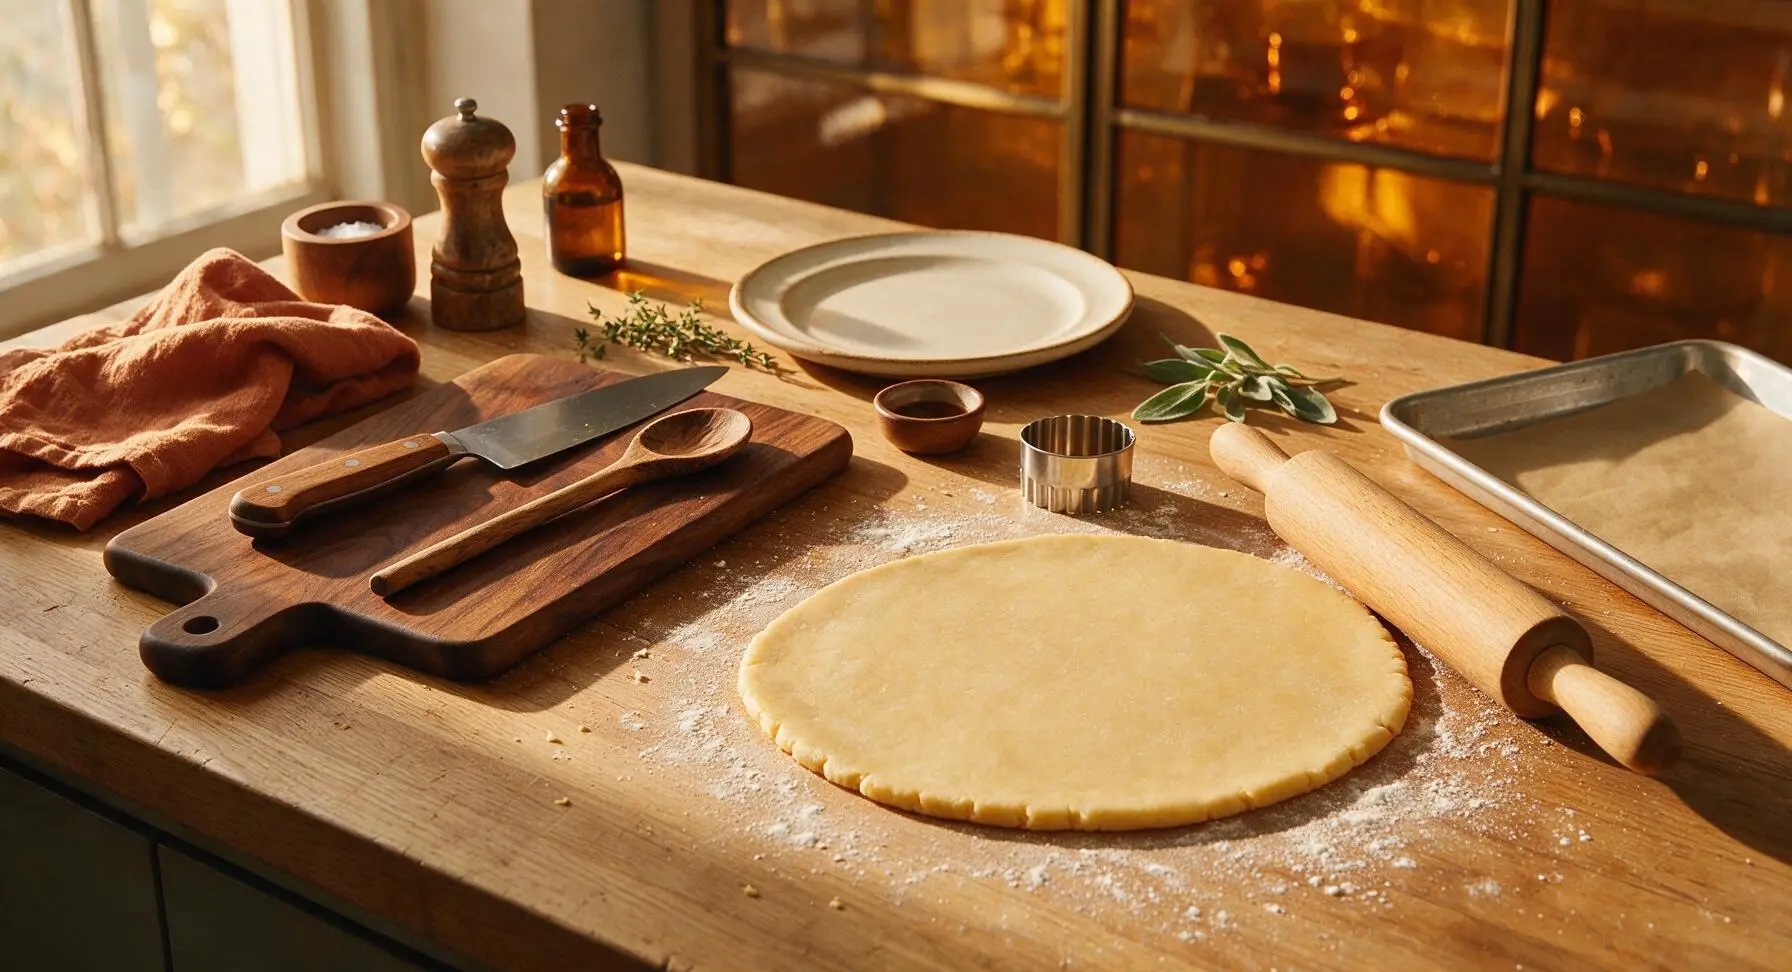
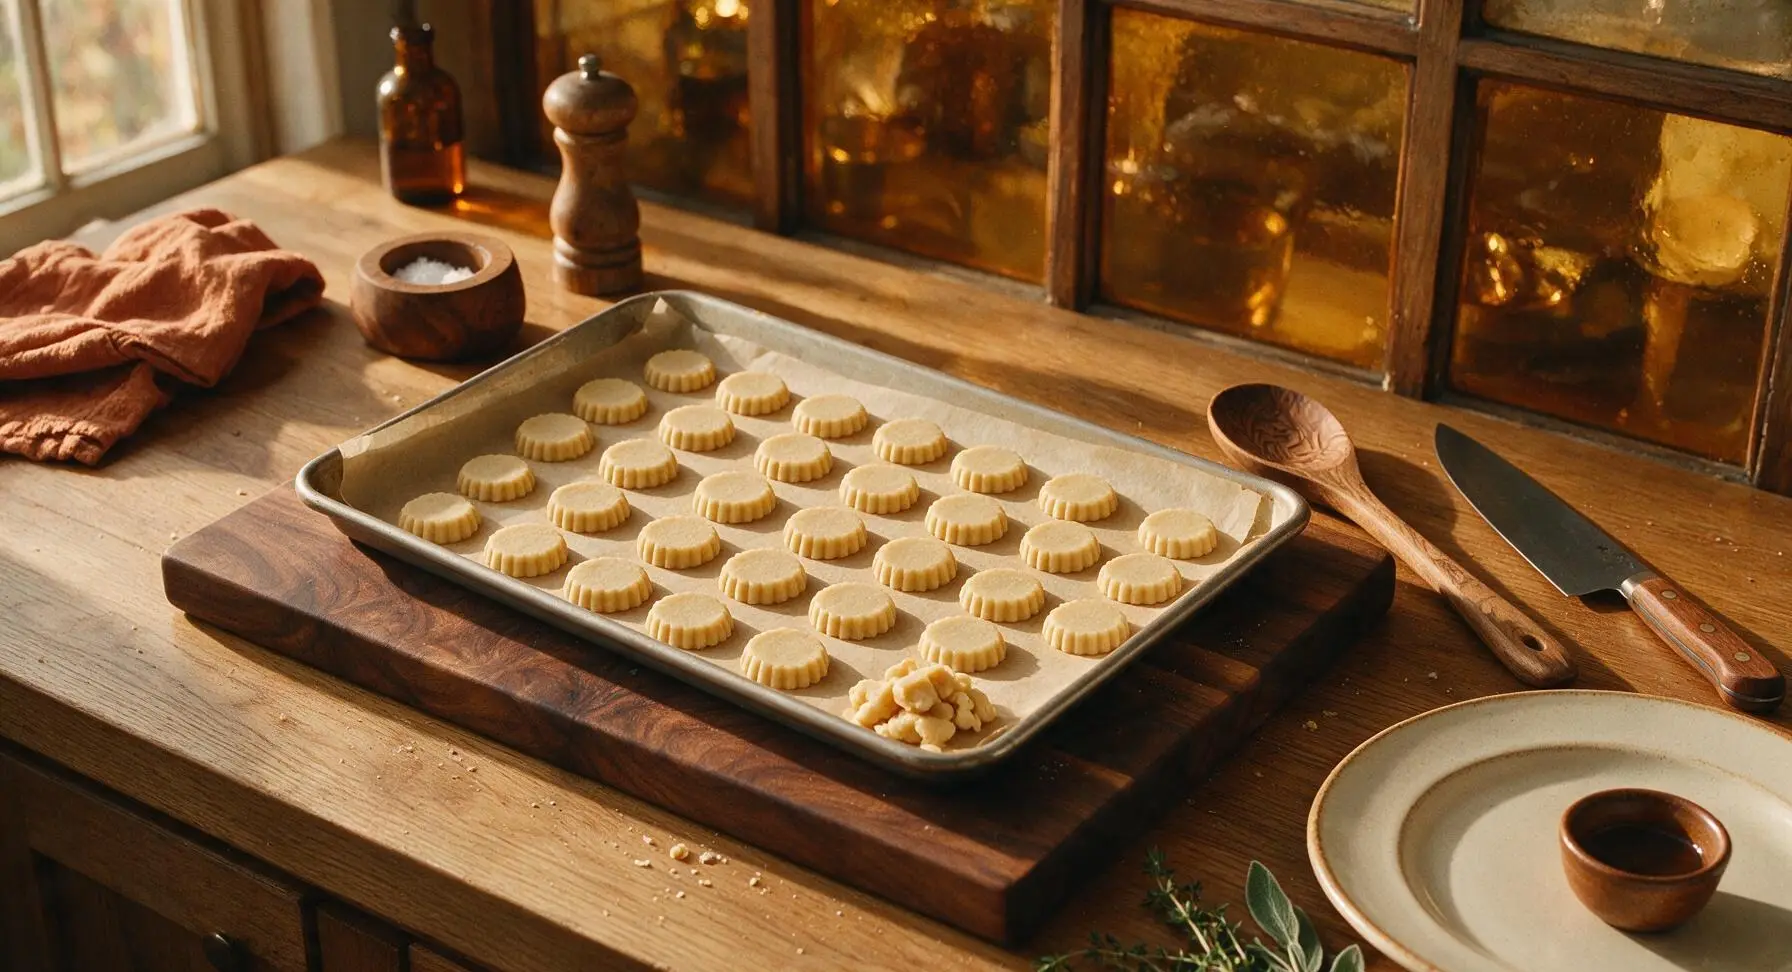
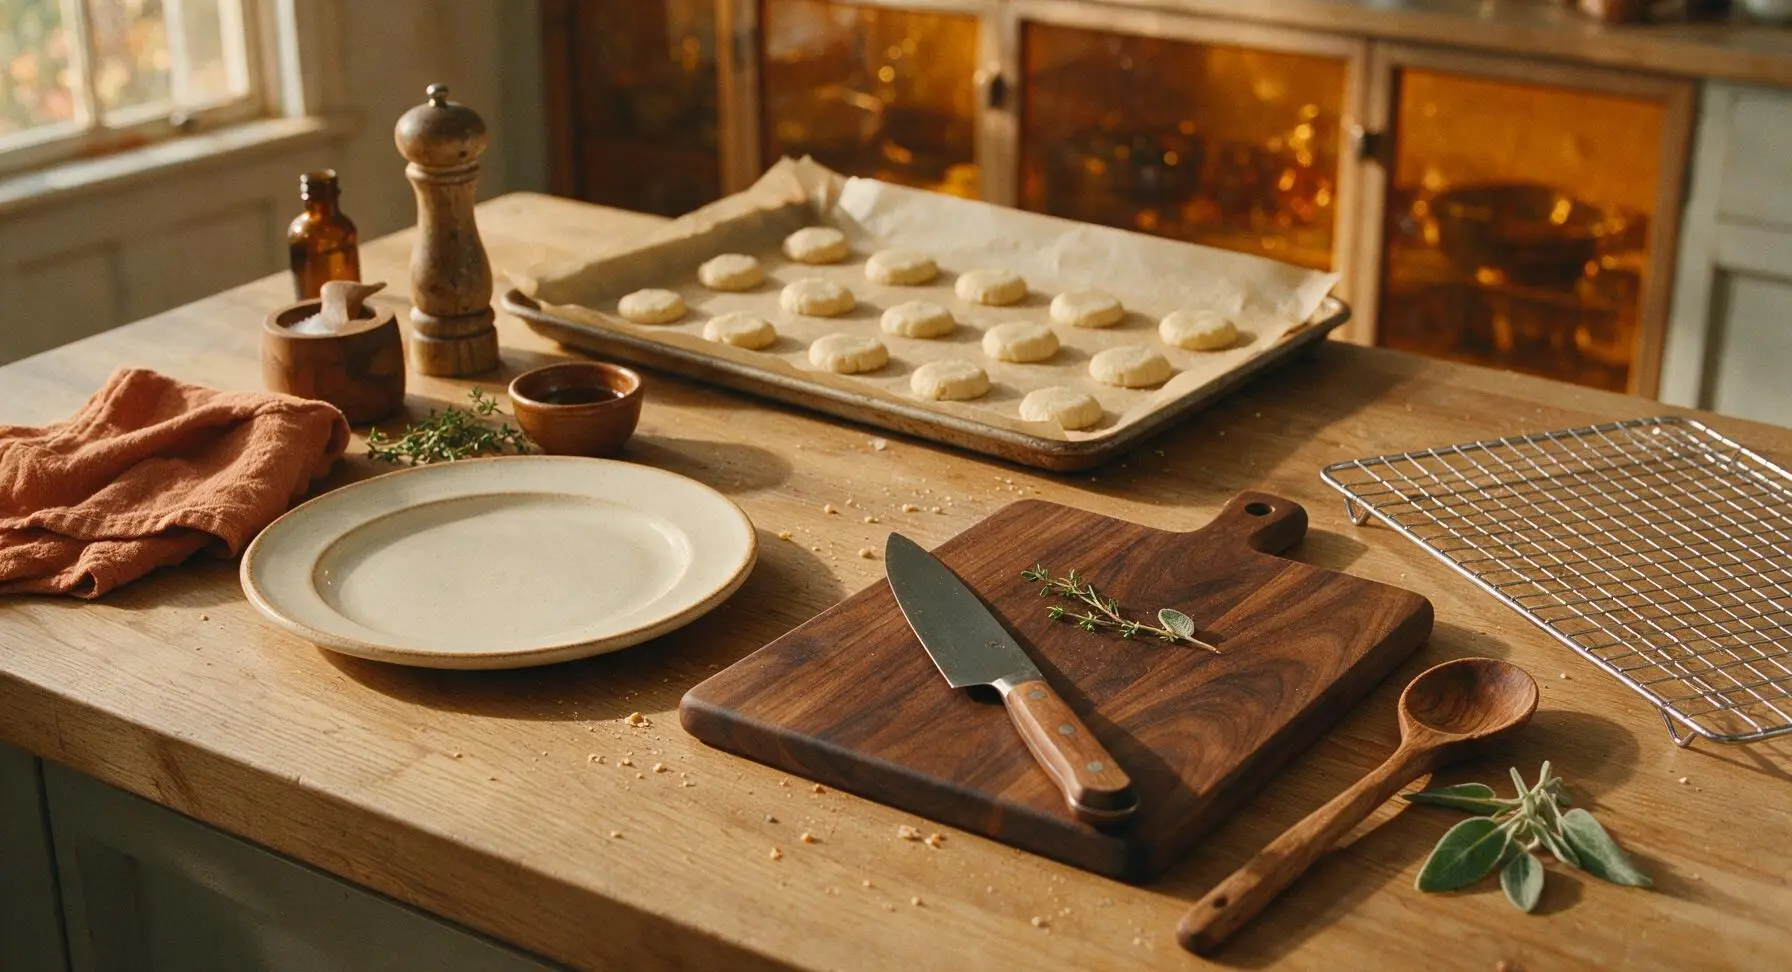
Remove the chilled dough disc from the refrigerator. Place it on the lightly floured counter, and use the beech wood rolling pin to roll it to an even 3mm thickness, applying gentle, even pressure to avoid uneven layers. Use the 5cm fluted stainless steel cookie cutter to cut out uniform rounds, re-rolling dough scraps only once to cut a total of 36 even cookie rounds (enough for 18 finished sandwiches). Arrange the cut rounds 2cm apart on the parchment-lined aluminum baking sheet to allow for slight spread during baking.
Bake Cookie Shells
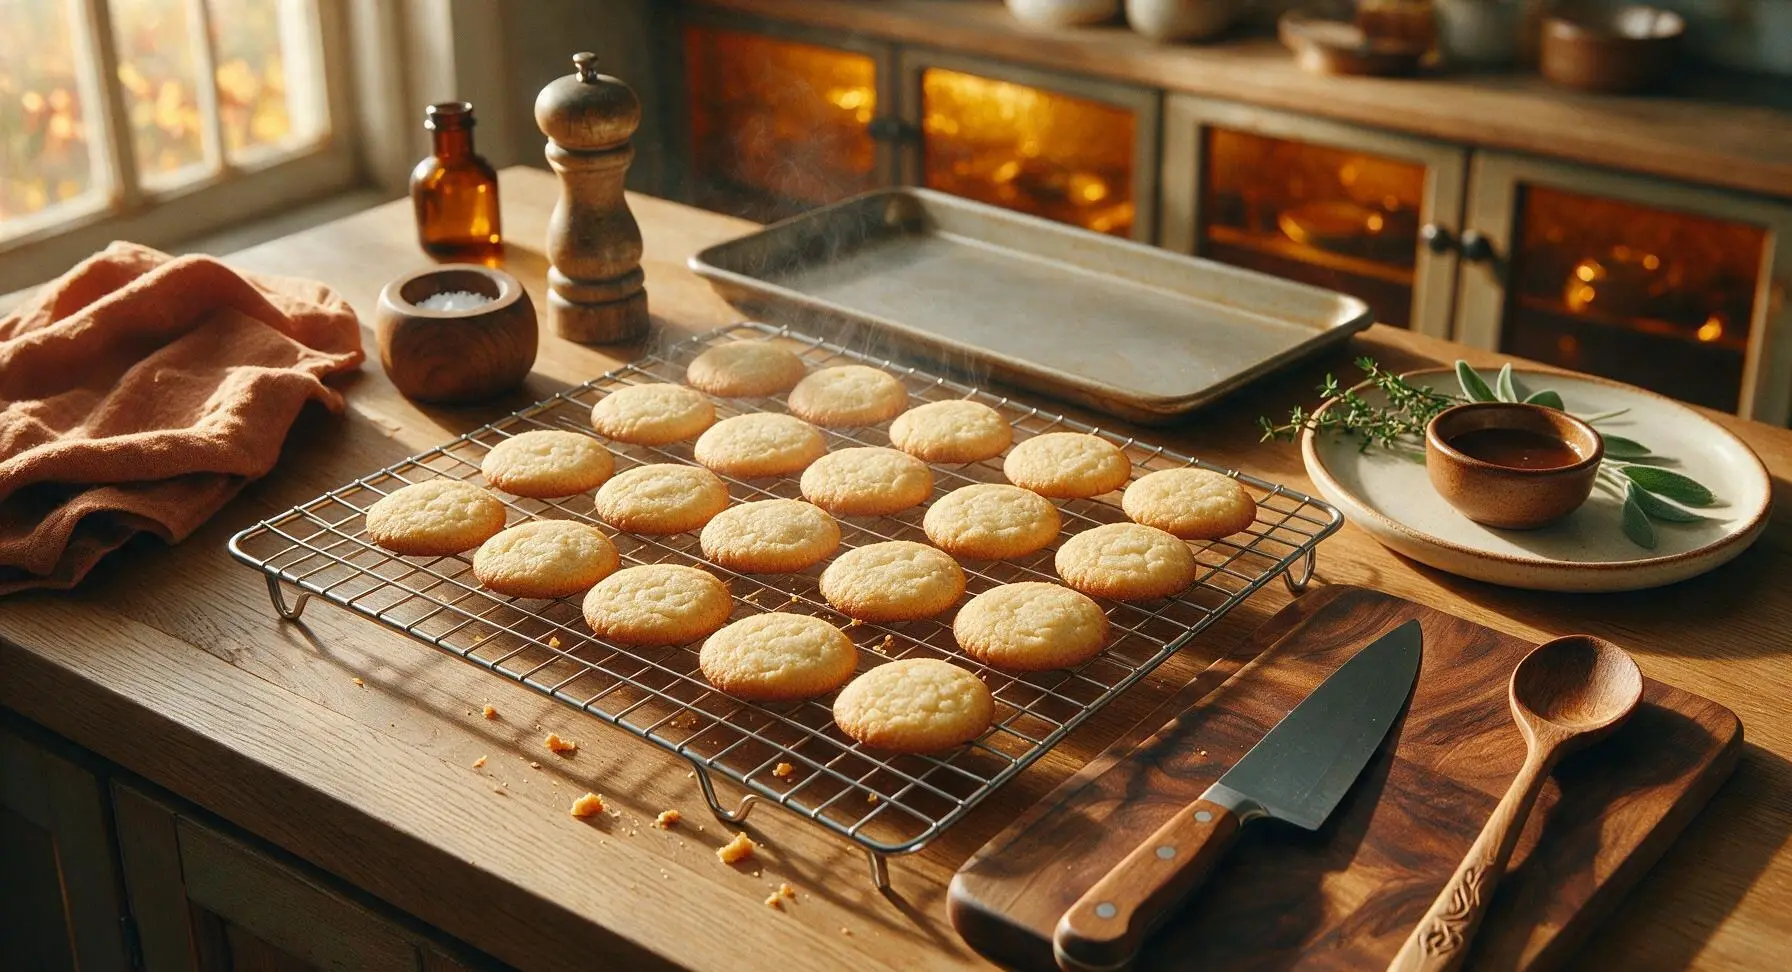
Preheat oven to 175C (350F). Bake the cookie-filled baking sheet for 10-12 minutes, until the cookie edges are just pale golden brown and the centers are set to the touch. Do not overbake, as cookies will continue to crisp as they cool. Once removed from the oven, let cookies rest on the baking sheet for 5 minutes before transferring them to the chrome wire cooling rack to cool completely to room temperature (approximately 20 minutes of inactive cooling time).
Make Buttercream Filling
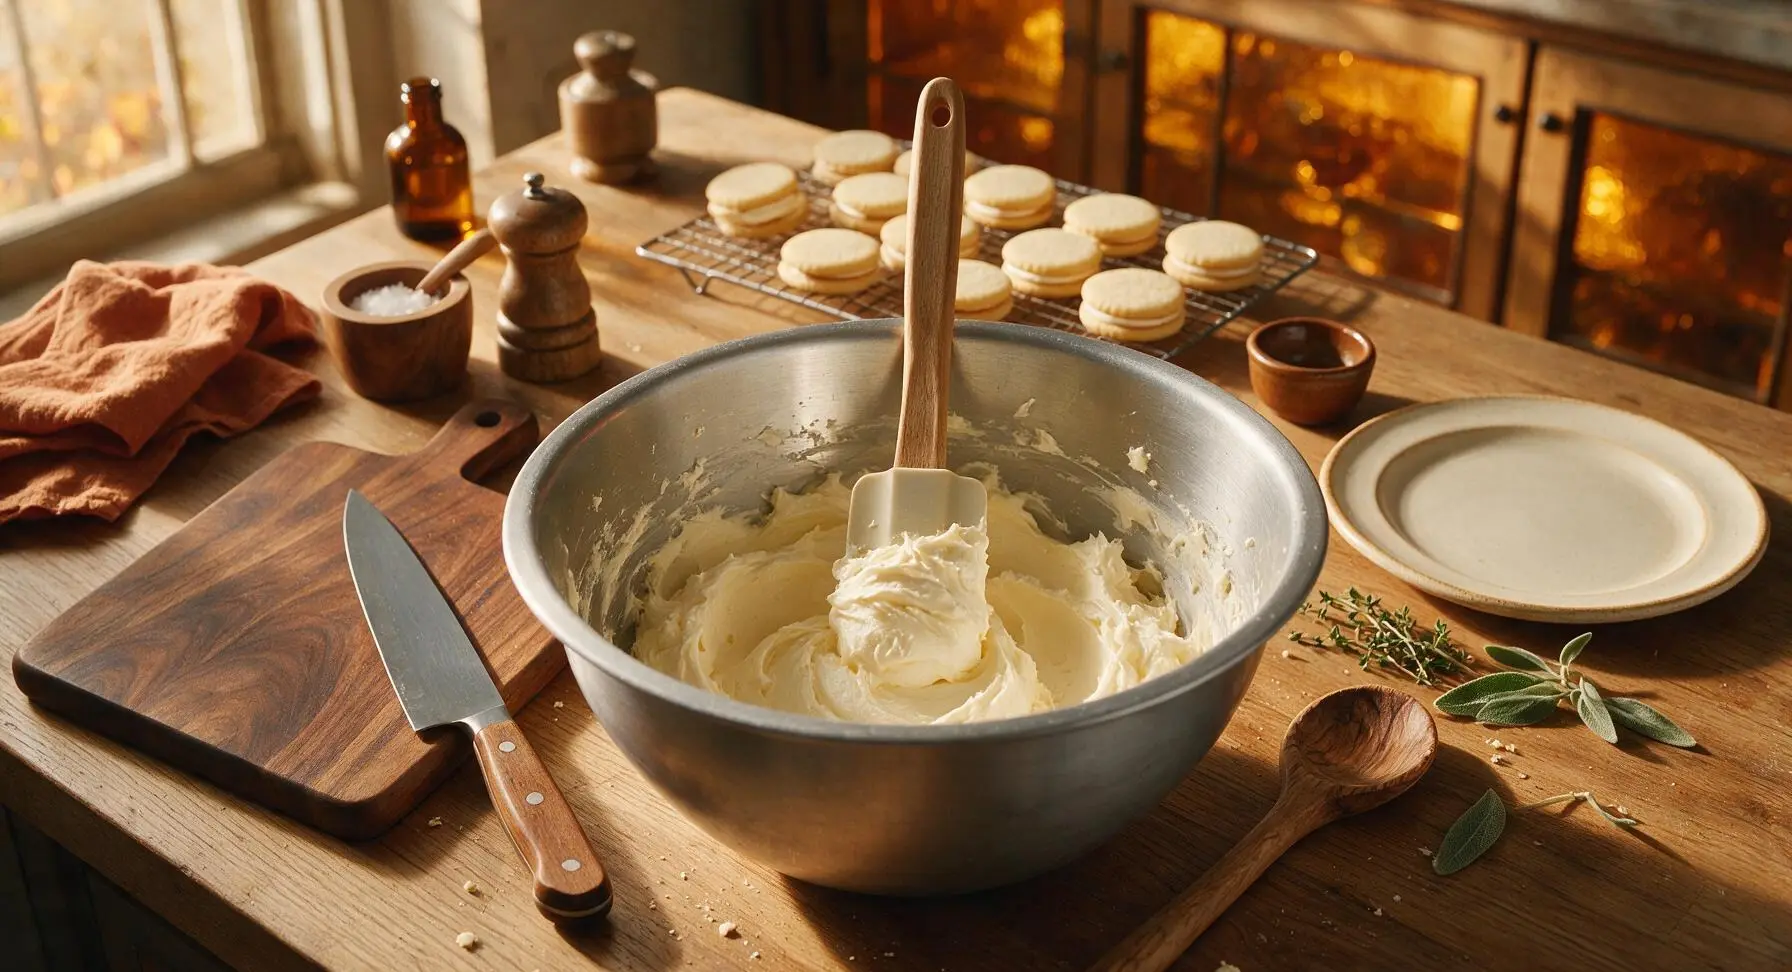
While cookies cool, wipe out the large aluminum mixing bowl to remove any remaining cookie dough residue. Place the remaining 113g (1 stick) of softened unsalted butter in the clean bowl, and beat with the silicone spatula for 2 minutes until completely smooth. Gradually sift in 180g powdered sugar, add 1 tsp vanilla extract and 1 tbsp room temperature whole milk, then beat for 3 minutes until the buttercream is light, fluffy, and easily spreadable, with no visible lumps of powdered sugar.
Assemble Sandwich Cookies
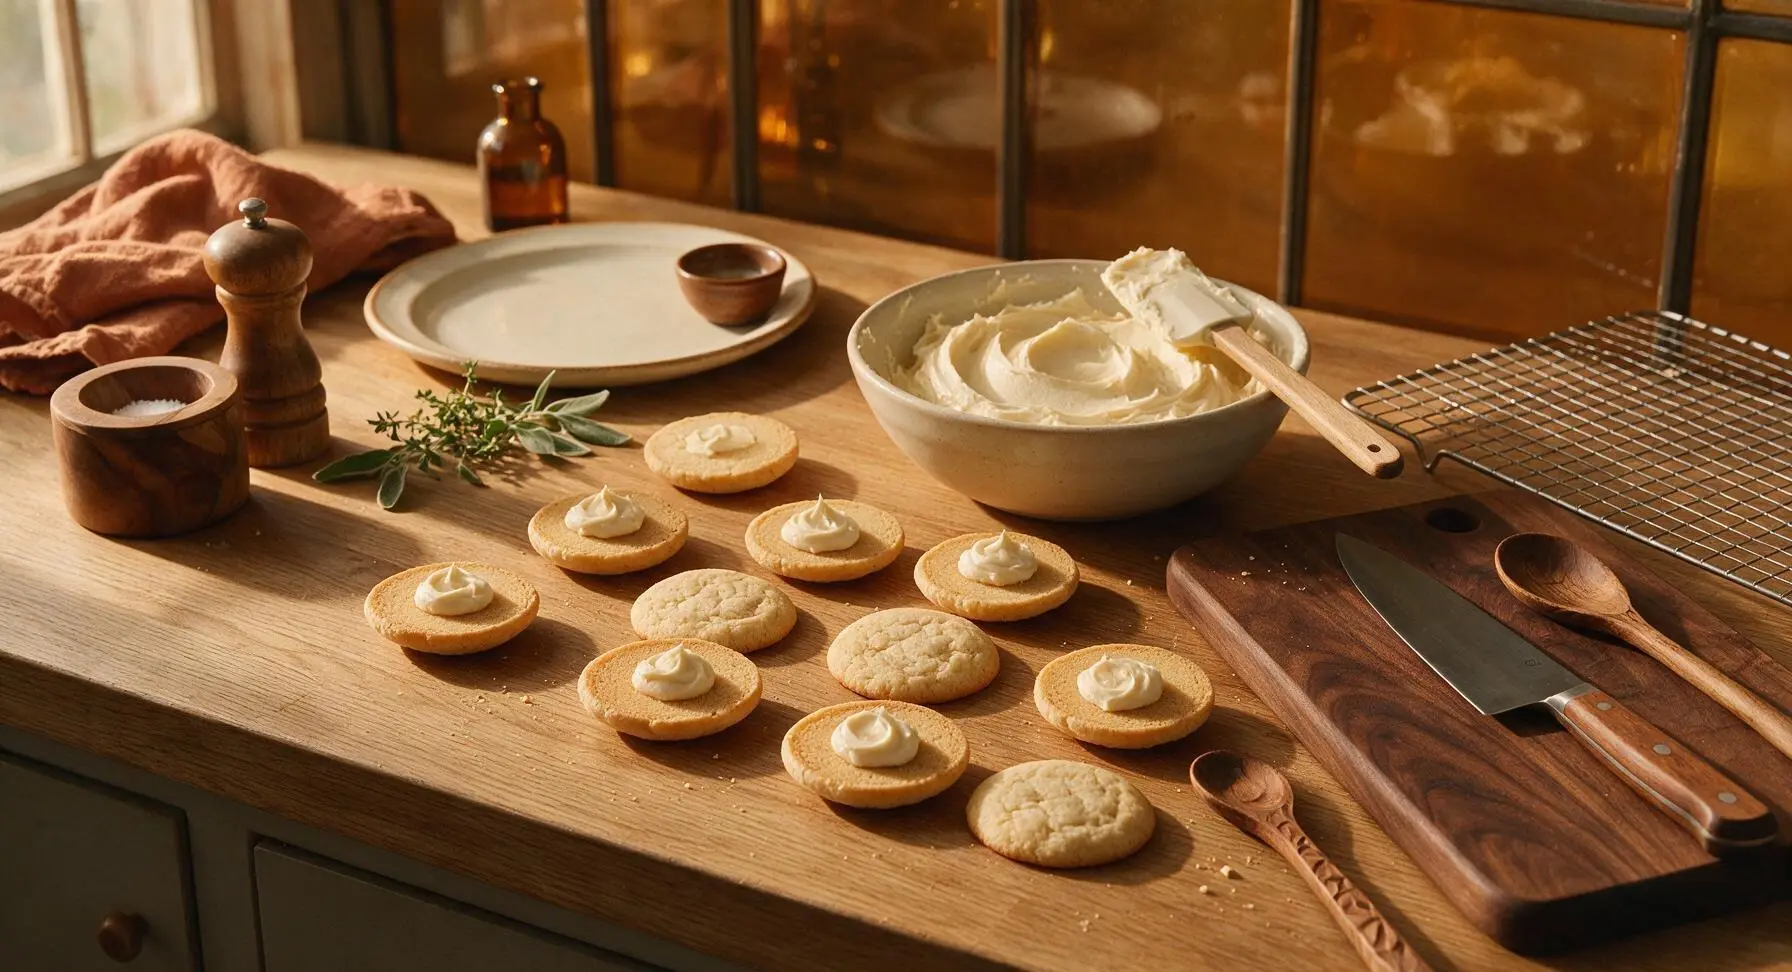
Once cookies are completely cool to the touch, flip half of the cookie rounds so their flat, untextured bottom side faces up. Spoon 1 teaspoon of buttercream onto the center of each flipped cookie, then press a second cookie round (top side up) on top, applying gentle even pressure until the buttercream spreads to just 1mm inside the cookie edge. Arrange all finished sandwich cookies on the cream white ceramic serving platter.
Tips
2.Never skip the 30-minute dough chill step: chilled dough spreads 50% less during baking, keeping your cookie rounds uniformly sized and neat, and gives the flour time to hydrate for a deeper, nuttier buttery flavor.
3.Wait until cookies are completely room temperature before adding filling: even slightly warm cookies will melt the buttercream, causing it to ooze out the sides of the sandwich and create a soggy, rather than crisp, cookie texture.






OMG these are SO good! I made them for my kid’s 3rd grade class potluck yesterday and every single kid asked for seconds. The vanilla buttercream filling is *chef’s kiss* — not too sweet, perfect texture. I did add a tiny extra splash of vanilla extract because I’m obsessed with vanilla flavor, would 10/10 make again.
Game changer for my weekly meal prep! I make a batch on Sundays and toss them in my lunchbox for a little midweek treat. They hold up perfectly for 5 days in an airtight container, no sogginess at all. Only note: my first batch I baked them 14 minutes because I got distracted on a work call and they got a little too crispy around the edges, so stick to the 12 minute cook time y’all.
Wait, has anyone tried making these with a 1:1 gluten free flour blend? My niece has celiac and I want to make these for her birthday party next weekend, they look so perfect!
I brought these to my neighborhood block party last weekend and people were asking me for the recipe before I even set the plate down! I rolled the edges in rainbow sprinkles before the filling set to make them a little more festive, total crowd pleaser.
As someone who burns literally every cookie I try to make, these were so easy! The recipe is super straightforward, no fancy ingredients, and they came out perfect on my first try. My roommates are already begging me to make another batch this weekend.
These taste exactly like the fancy vanilla sandwich cookies from the bakery downtown that charge $3 a cookie! I cannot believe how simple they are to make at home for a fraction of the cost. The only thing I changed was using salted butter instead of unsalted because that’s all I had, and it added the perfect little salty balance to the sweet filling.
I made these with my granddaughter when she visited last weekend, we had so much fun cutting out the cookie shapes with her little star cookie cutter. They turned out so soft and flavorful, it’s going to be our new go-to baking project when she comes over.
I was looking for a not-too-sweet treat to have after my workouts, and these hit the spot. I swapped a quarter of the all purpose flour for whole wheat pastry flour to add a little fiber, and it didn’t change the taste at all. Will definitely be making these on repeat.
Wait, quick question — can I make the dough ahead of time and keep it in the fridge for a day or two before baking? I want to prep for my book club meeting but won’t have time to bake the day of.
I’ve tried so many vanilla sandwich cookie recipes over the years and this one is hands down the best. The cookies don’t spread too much in the oven, the filling is the perfect consistency (no oozing out when you take a bite!), and the vanilla flavor is actually prominent instead of tasting like plain sugar.
I tested these out as a possible Christmas cookie option this year, and they’re going on the list! I’m planning to add a tiny bit of peppermint extract to half the filling for a festive twist, I think it’ll pair so well with the vanilla cookie.
Full transparency: I ate three of these straight off the cooling rack before I even got around to making the filling. The plain vanilla cookies are that good, no notes. 10/10, even if you don’t feel like making the buttercream, just make the cookies and eat them, you won’t regret it.
I run a small local catering business and I added these to my dessert menu last month, they’re consistently one of the most popular items! Customers love that they’re nostalgic but taste way better than the store-bought version. Super easy to scale up for big events too.
Made these with my 8 year old son last night for his soccer team snack, the whole team went wild. Super easy to throw together even after a long work day, we didn’t have any fancy tools and they turned out perfect. Will definitely be making these again for future team events.
Tried making these vegan by swapping the butter for vegan stick butter and using oat milk in the filling, and they came out amazing! I was worried the texture would be off, but they were just as soft and buttery as the regular version. My vegan friends were obsessed.
These are the perfect pairing for my morning latte! Not too cloyingly sweet, just the right amount of vanilla, and the crisp-but-soft texture holds up when I dip them in my coffee. I keep a jar of them on my kitchen counter now for quick morning treats.
Okay, I’m literally the worst at baking — I once messed up boxed brownies so bad they were charcoal. But these? I followed the directions exactly, baked them 12 minutes like the recipe said, and they came out perfect. I feel like a professional baker now, ngl.
Served these at my weekend brunch last weekend alongside lemon bars and fresh fruit, and they were the first dessert to get wiped out. I loved that I could make them the night before so I didn’t have to rush around cooking while guests were arriving. 10/10 for easy entertaining.