
sandwich rolls
intro
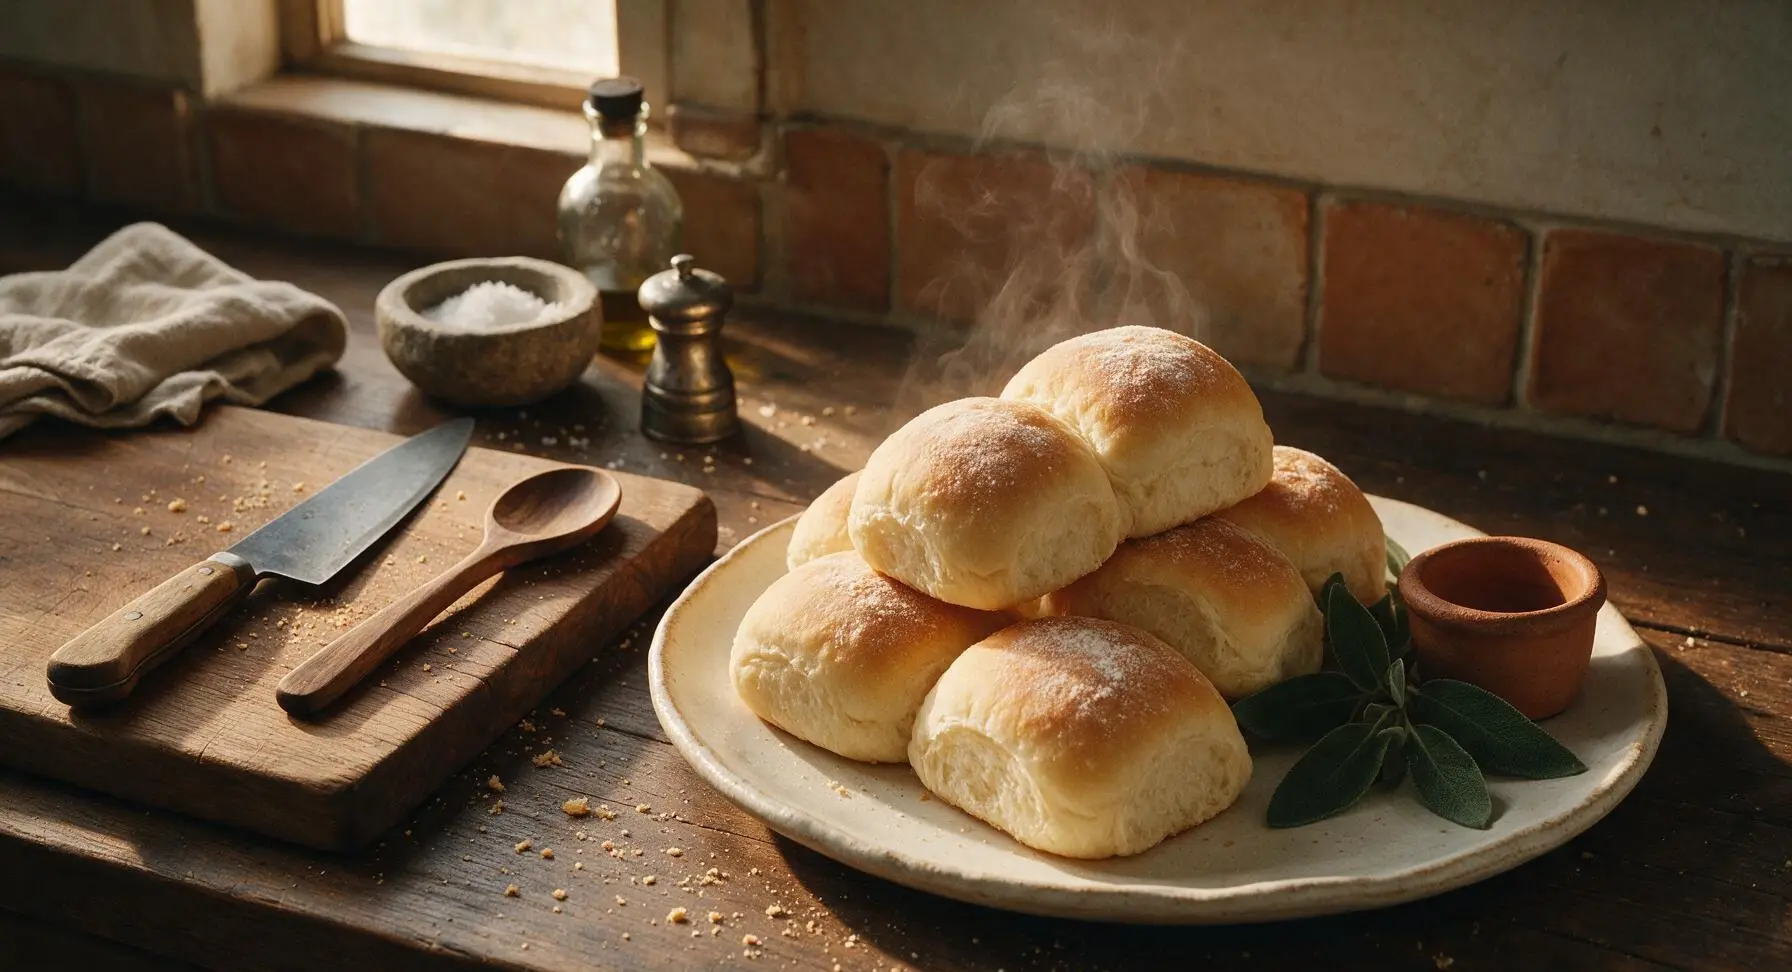
Soft, fluffy golden sandwich rolls with a delicate buttery crust, ideal for piling high with favorite fillings for summer picnics, packed lunches, or quick casual meals.
Ingredients
Steps
Mix Dough Ingredients
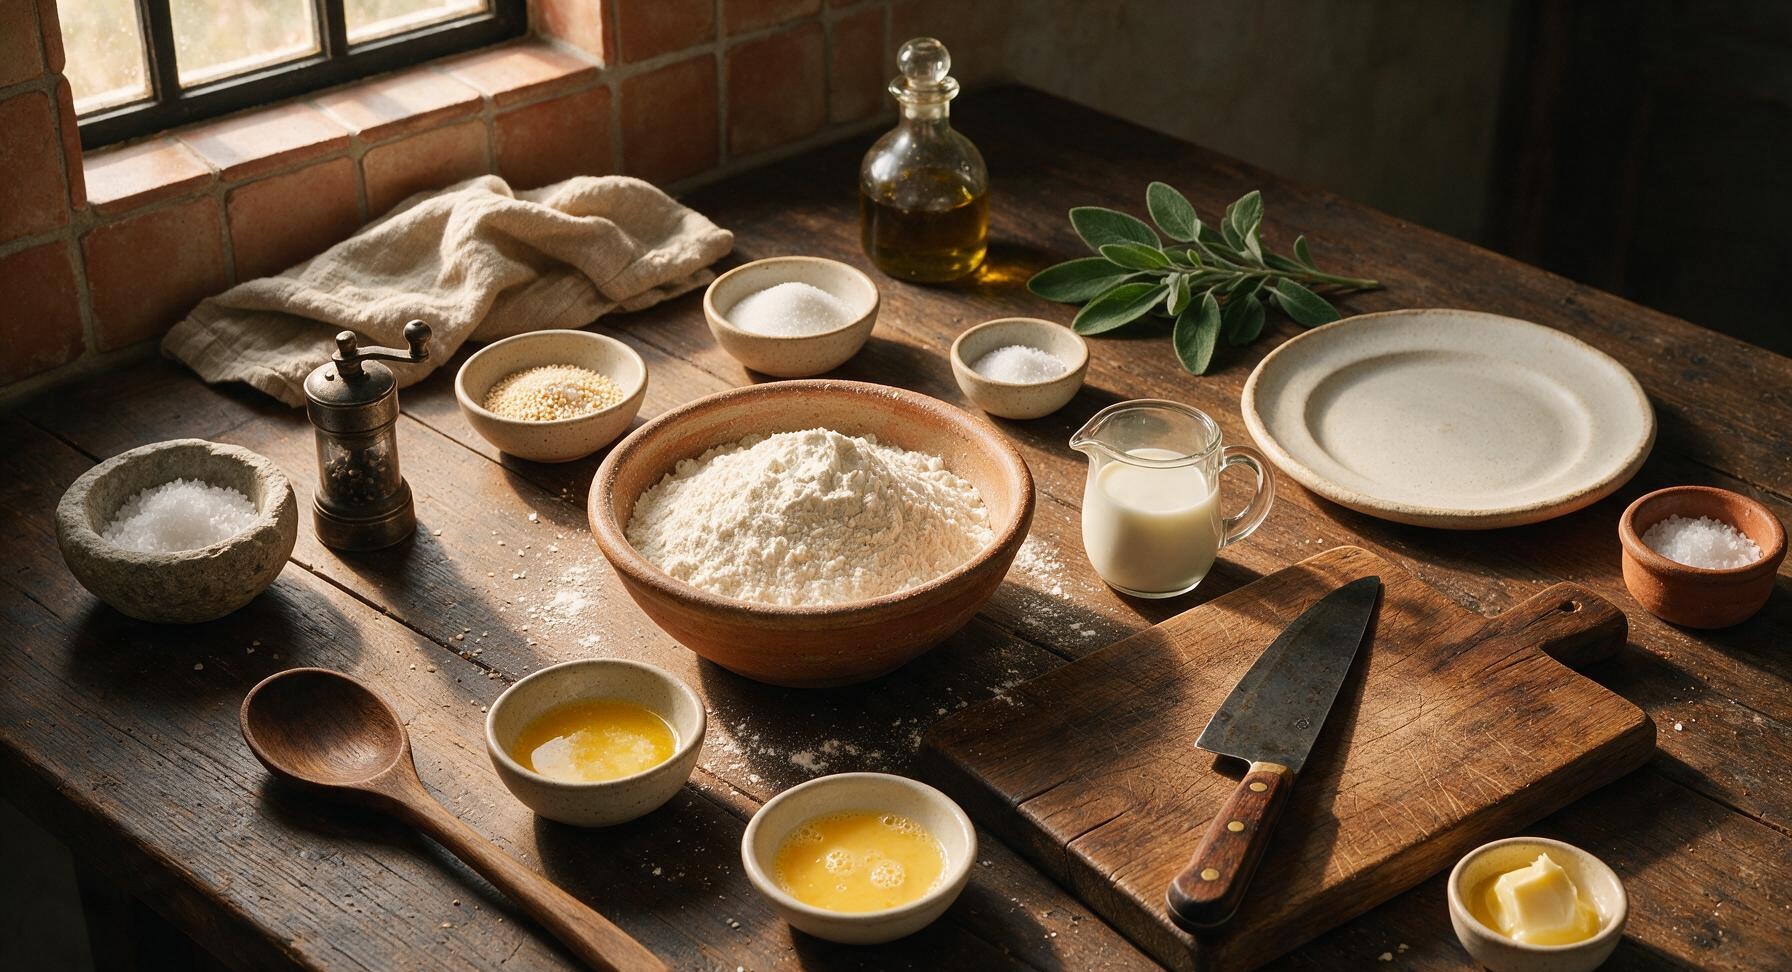
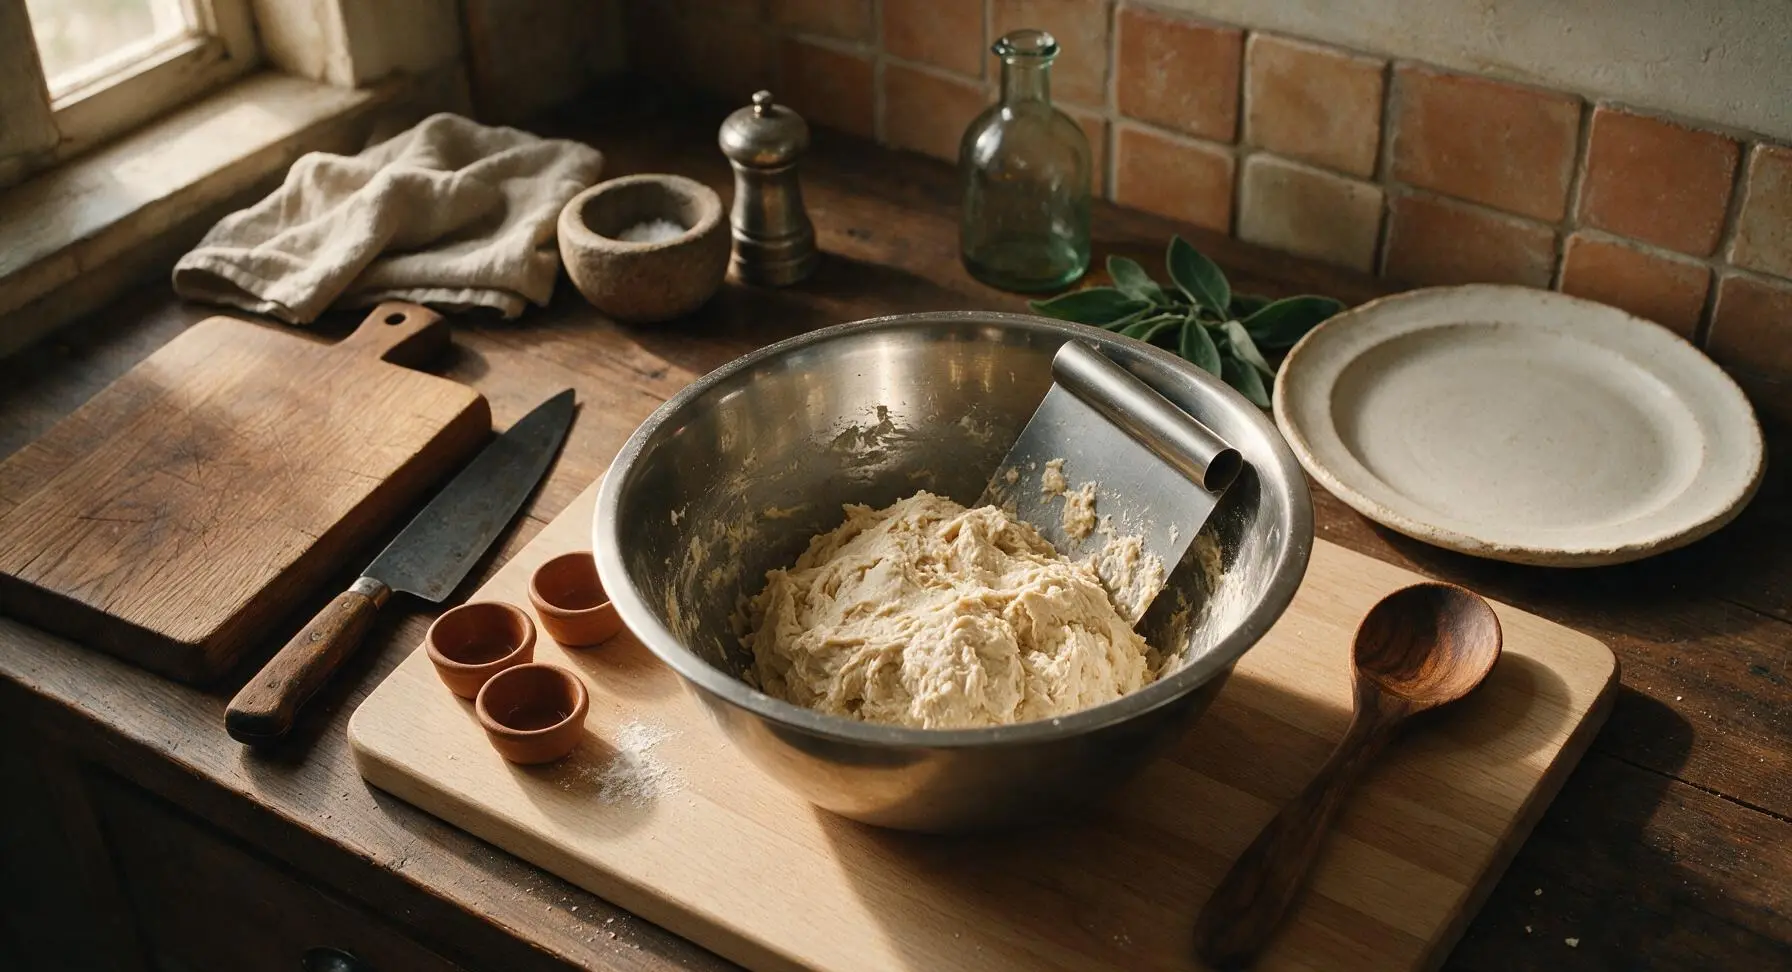
In the large stainless steel mixing bowl, combine 500g all-purpose flour, 7g instant yeast, 25g granulated sugar, and 8g fine sea salt, stirring briefly with the dough scraper to evenly distribute. Pour in 300ml warm (37°C/99°F) whole milk mixed with 45g cooled melted butter, stirring with the scraper until a shaggy, sticky mass forms with no dry flour pockets left at the bottom of the bowl. Do not overmix at this stage; the dough will look rough and lumpy.
Knead Until Smooth
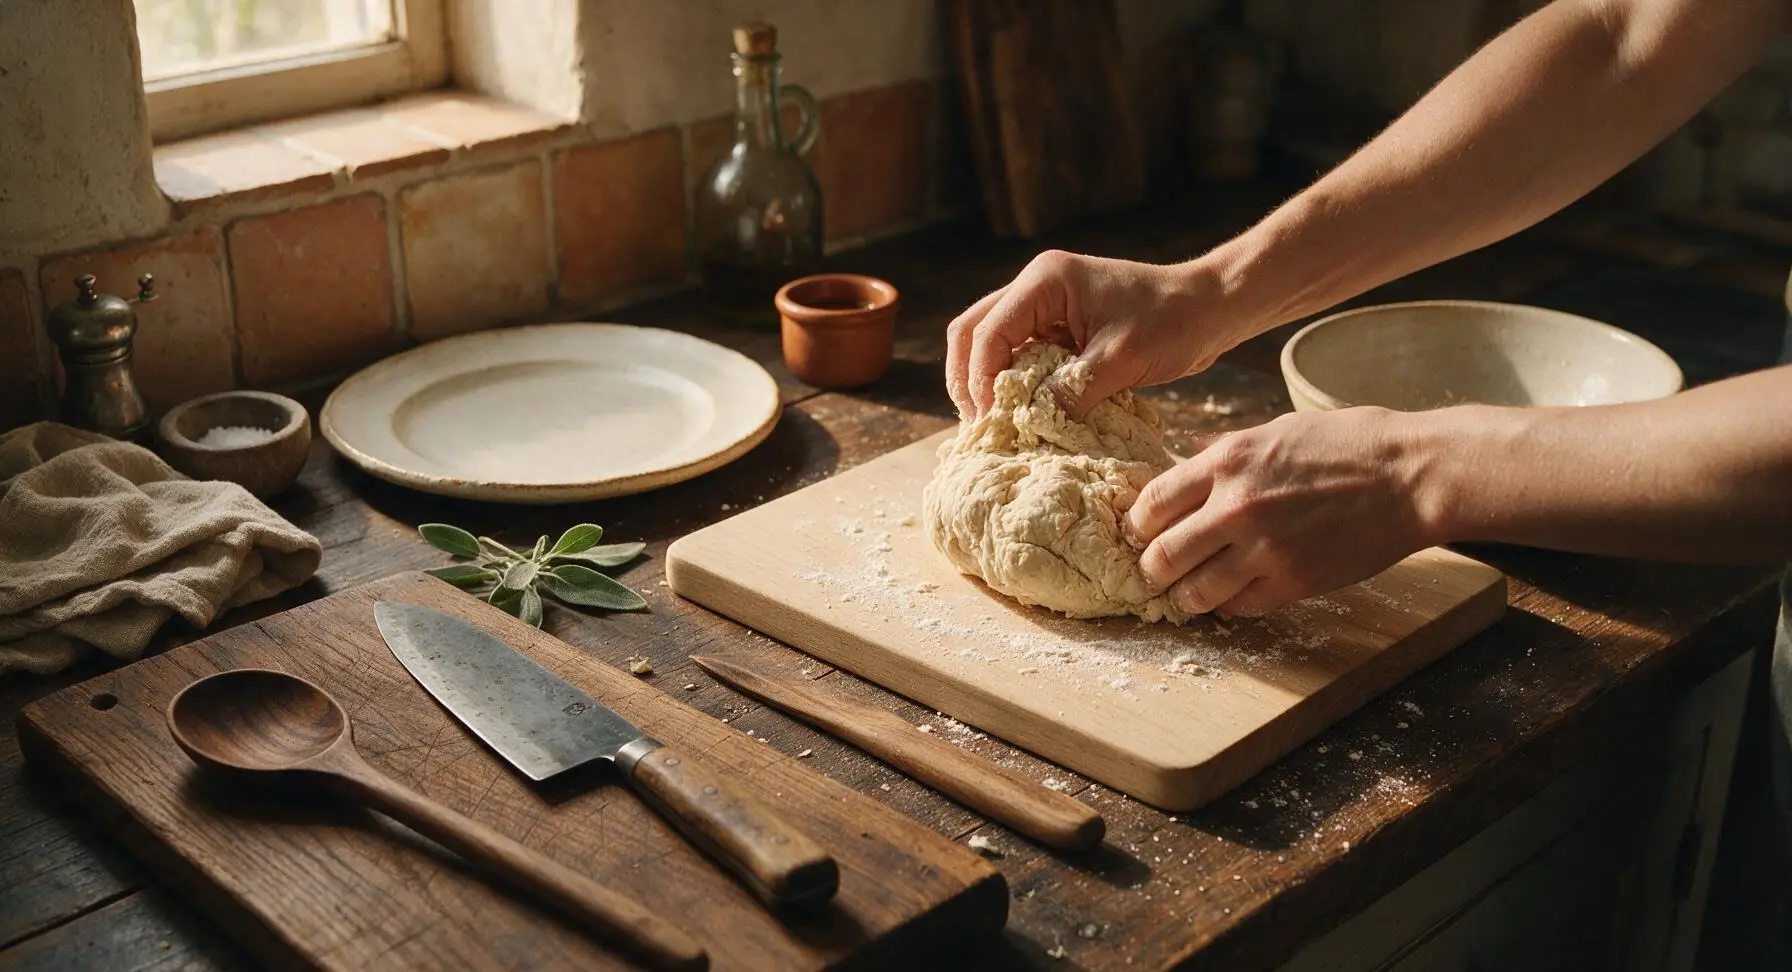
Turn the shaggy dough out onto the lightly floured surface of the beech cutting board. Knead by hand for 8-10 minutes, folding the dough over itself and pushing forward with the heel of your hand, rotating a quarter turn each time. The dough is ready when it is smooth, elastic, and springs back slowly when poked with a finger, with no sticky residue left on your hands. Avoid adding extra flour unless the dough is so sticky it tears easily; too much flour will make dense rolls.
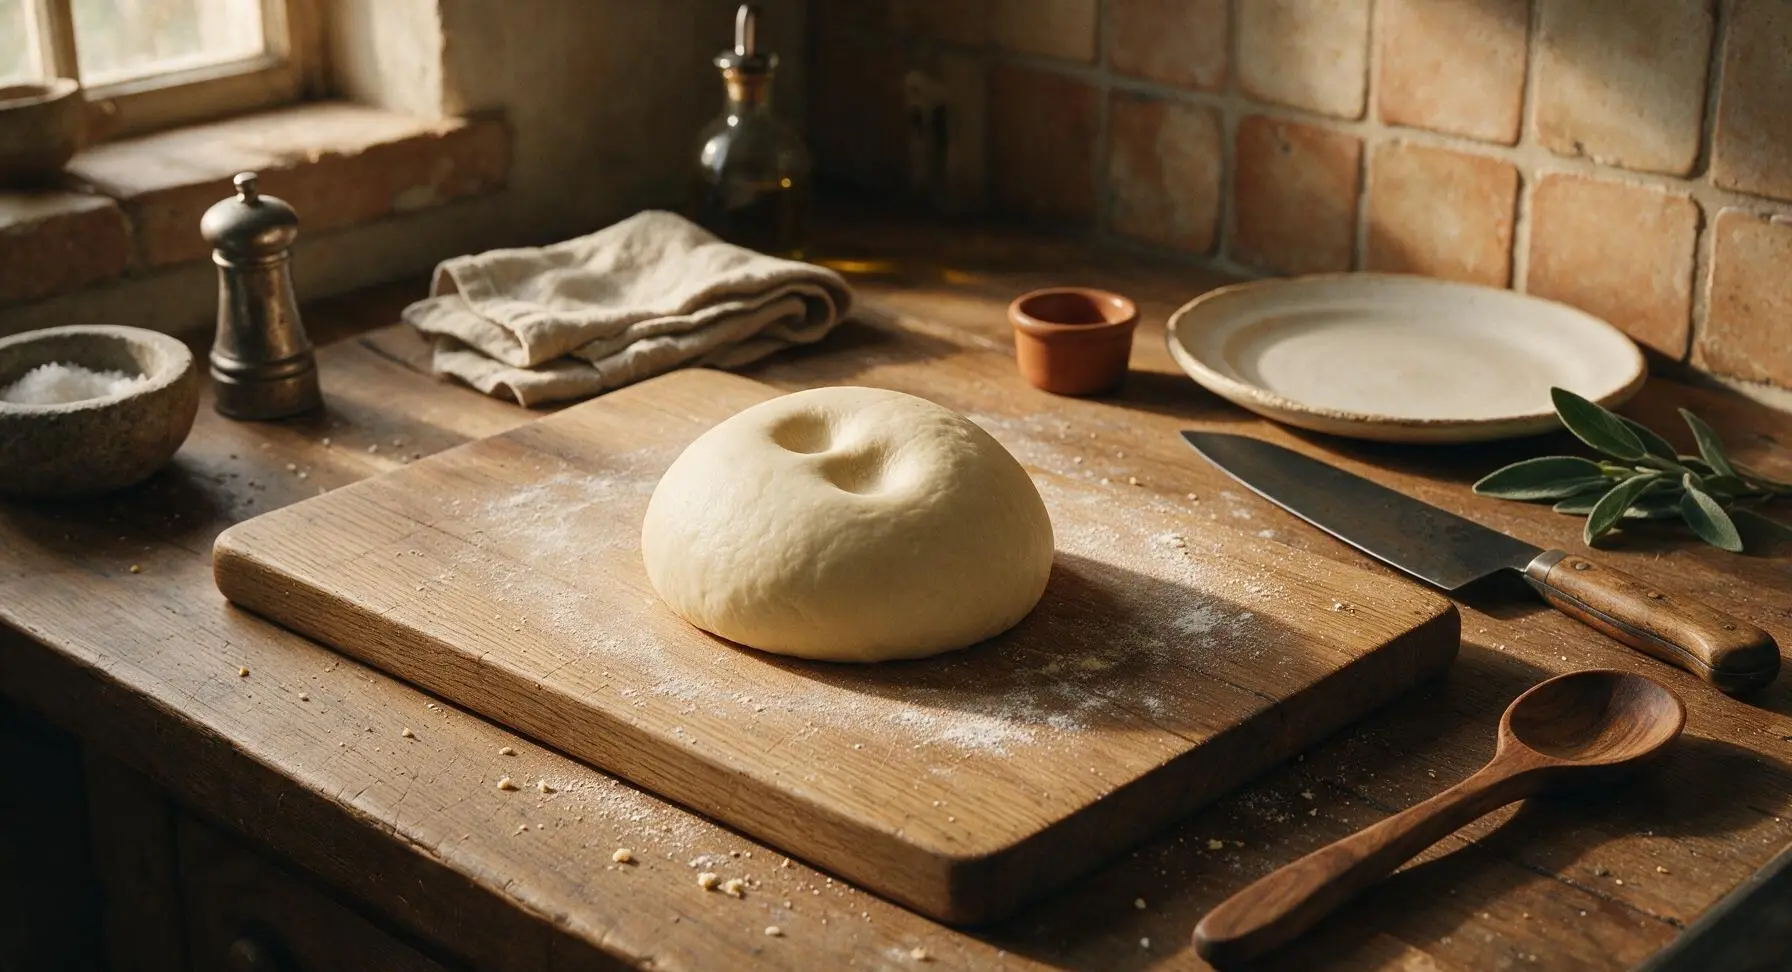
Let Dough Rise
Wipe the large stainless steel mixing bowl lightly with oil from the glass oil bottle, place the kneaded dough ball back into the bowl, and turn once to coat the surface in oil. Cover the bowl tightly with a clean section of the cream linen towel, and let it rest in a warm, draft-free spot near the left window for 1 hour, or until the dough has doubled in size and leaves a deep indent when poked with a floured finger that does not spring back.
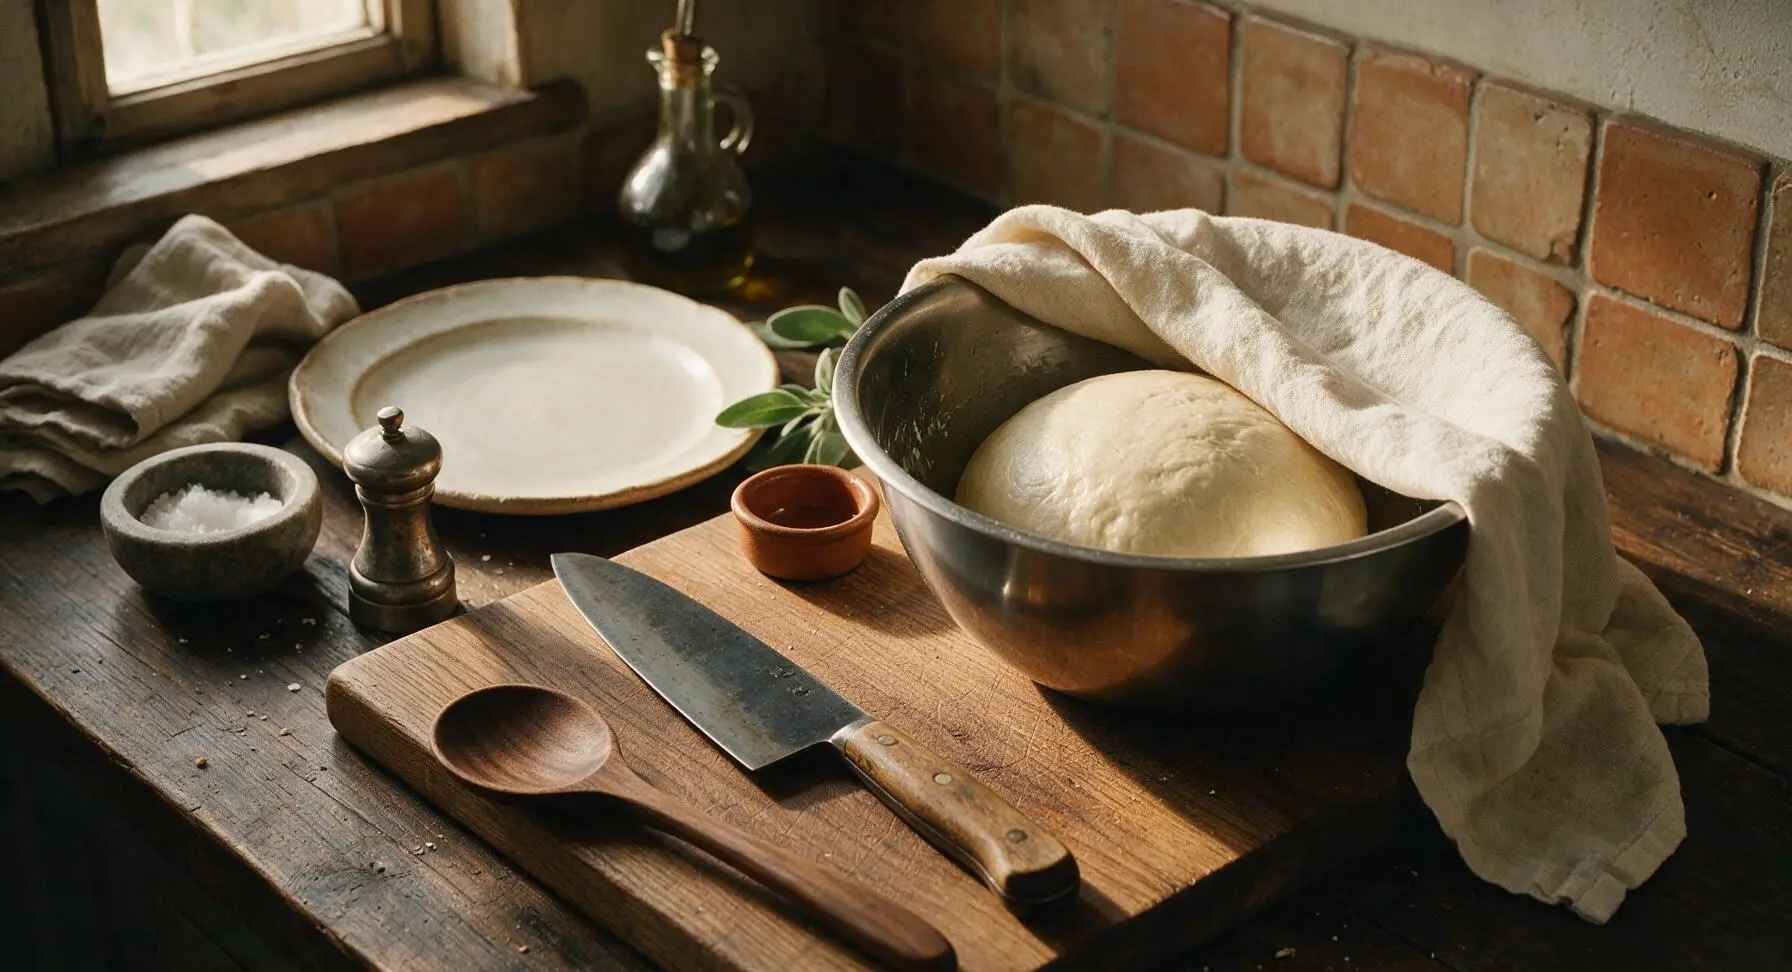
Shape Individual Rolls
Once doubled, turn the risen dough out onto the lightly floured beech cutting board, pressing gently with your fingertips to deflate all large air bubbles. Use the stainless steel dough scraper to cut the dough evenly into 8 equal pieces (each ~110g). To shape each roll, pull the edges of each dough piece down toward the bottom to form a tight, smooth top, then roll the sealed bottom against the unfloured part of the board to create tension. Place the shaped rolls 5cm apart on the parchment-lined stainless steel baking sheet.
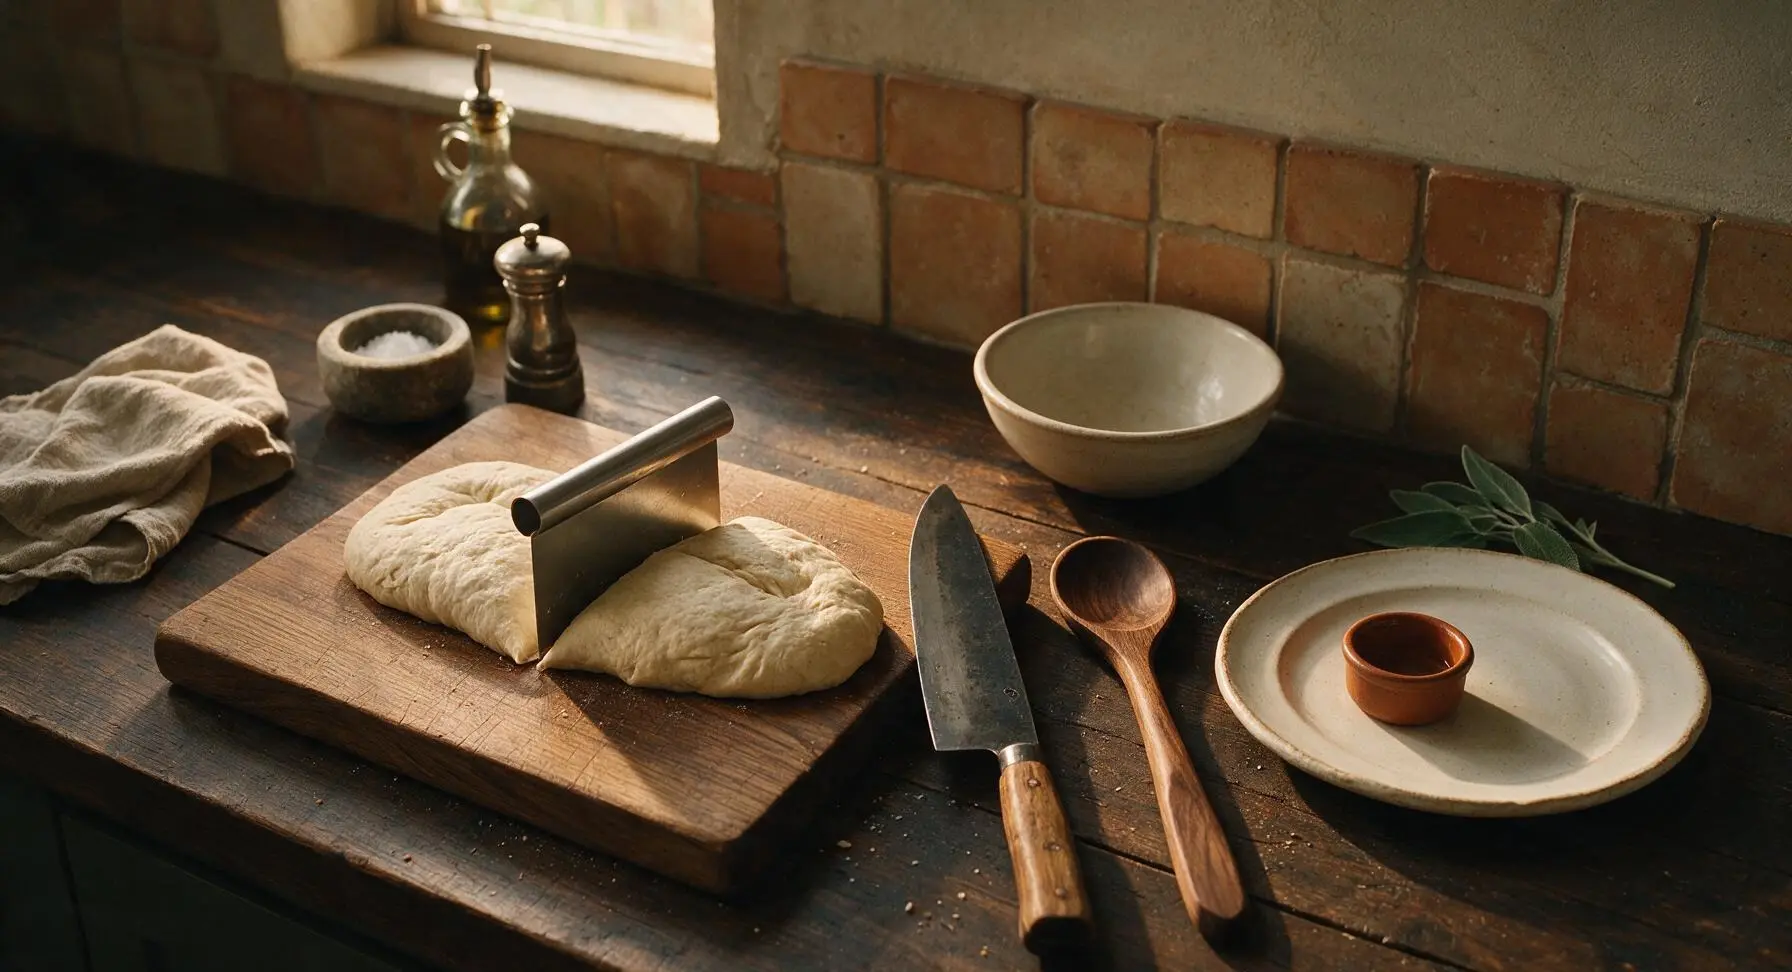
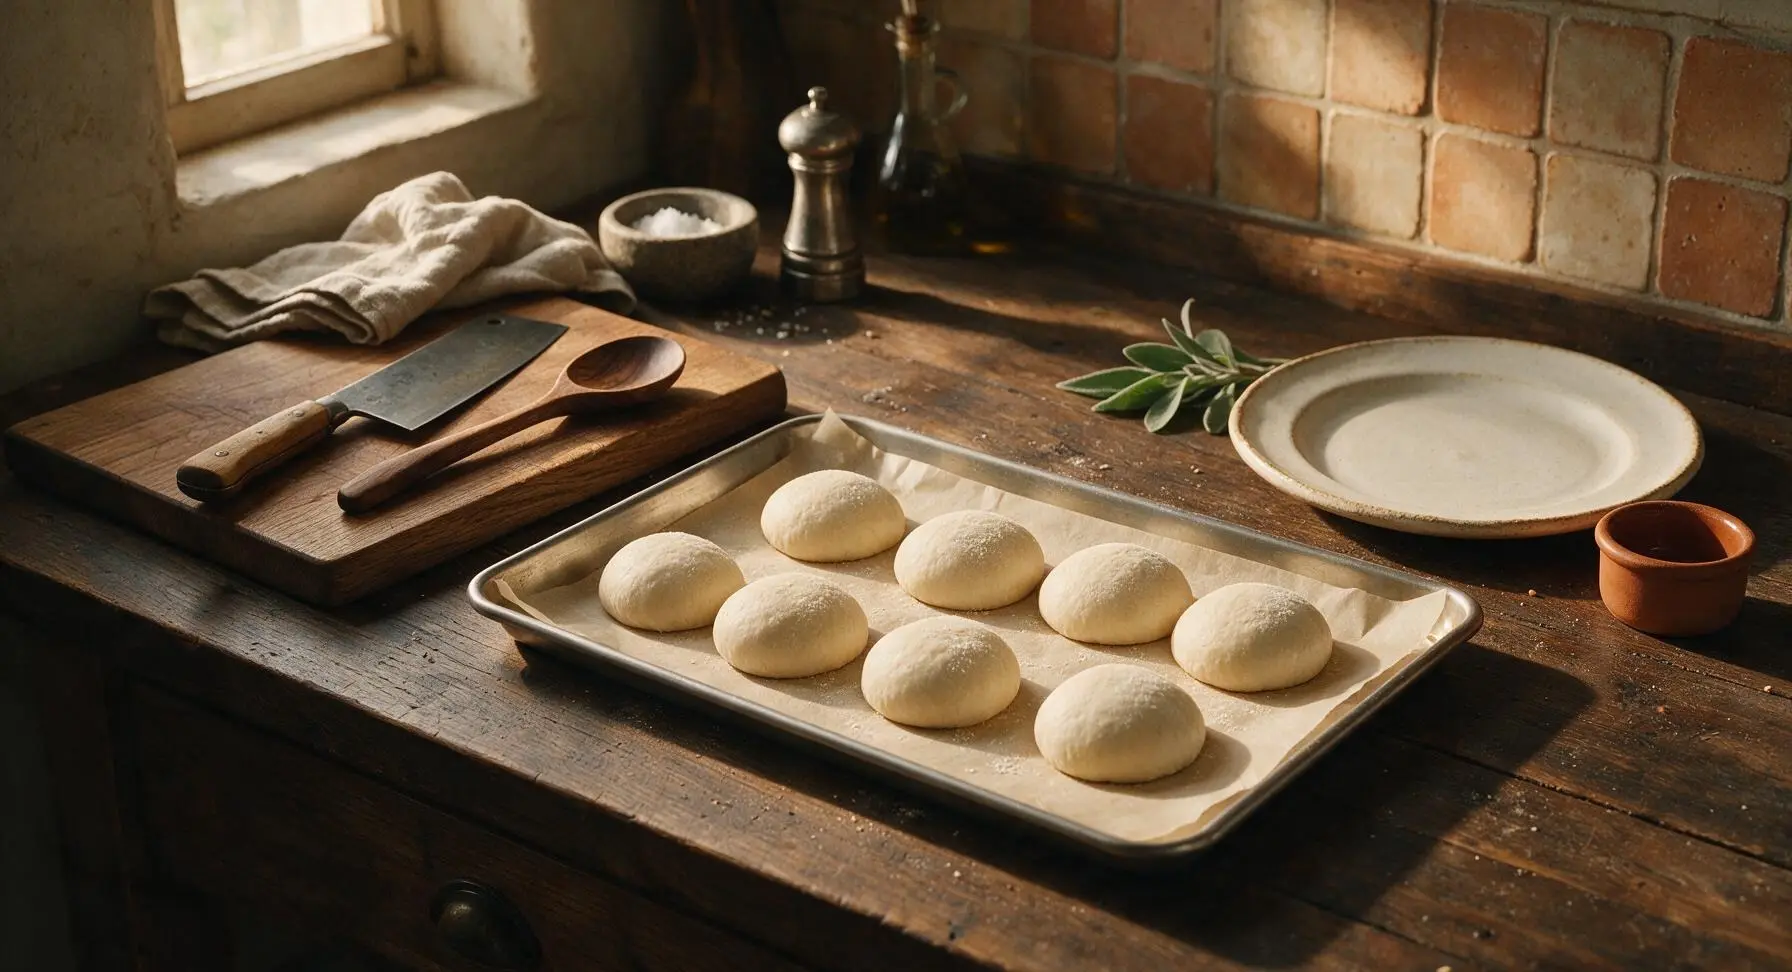
Second Rise and Egg Wash
Cover the shaped rolls on the baking sheet loosely with the cream linen towel, and let them rise a second time for 20-25 minutes, until they are puffy and press back slowly when gently poked. While rising, preheat the oven to 190°C/375°F. Once risen, beat 1 large egg with 1 teaspoon of water, and use the natural bristle pastry brush to gently coat the top of every roll with a thin layer of egg wash, taking care not to deflate the puffy dough.
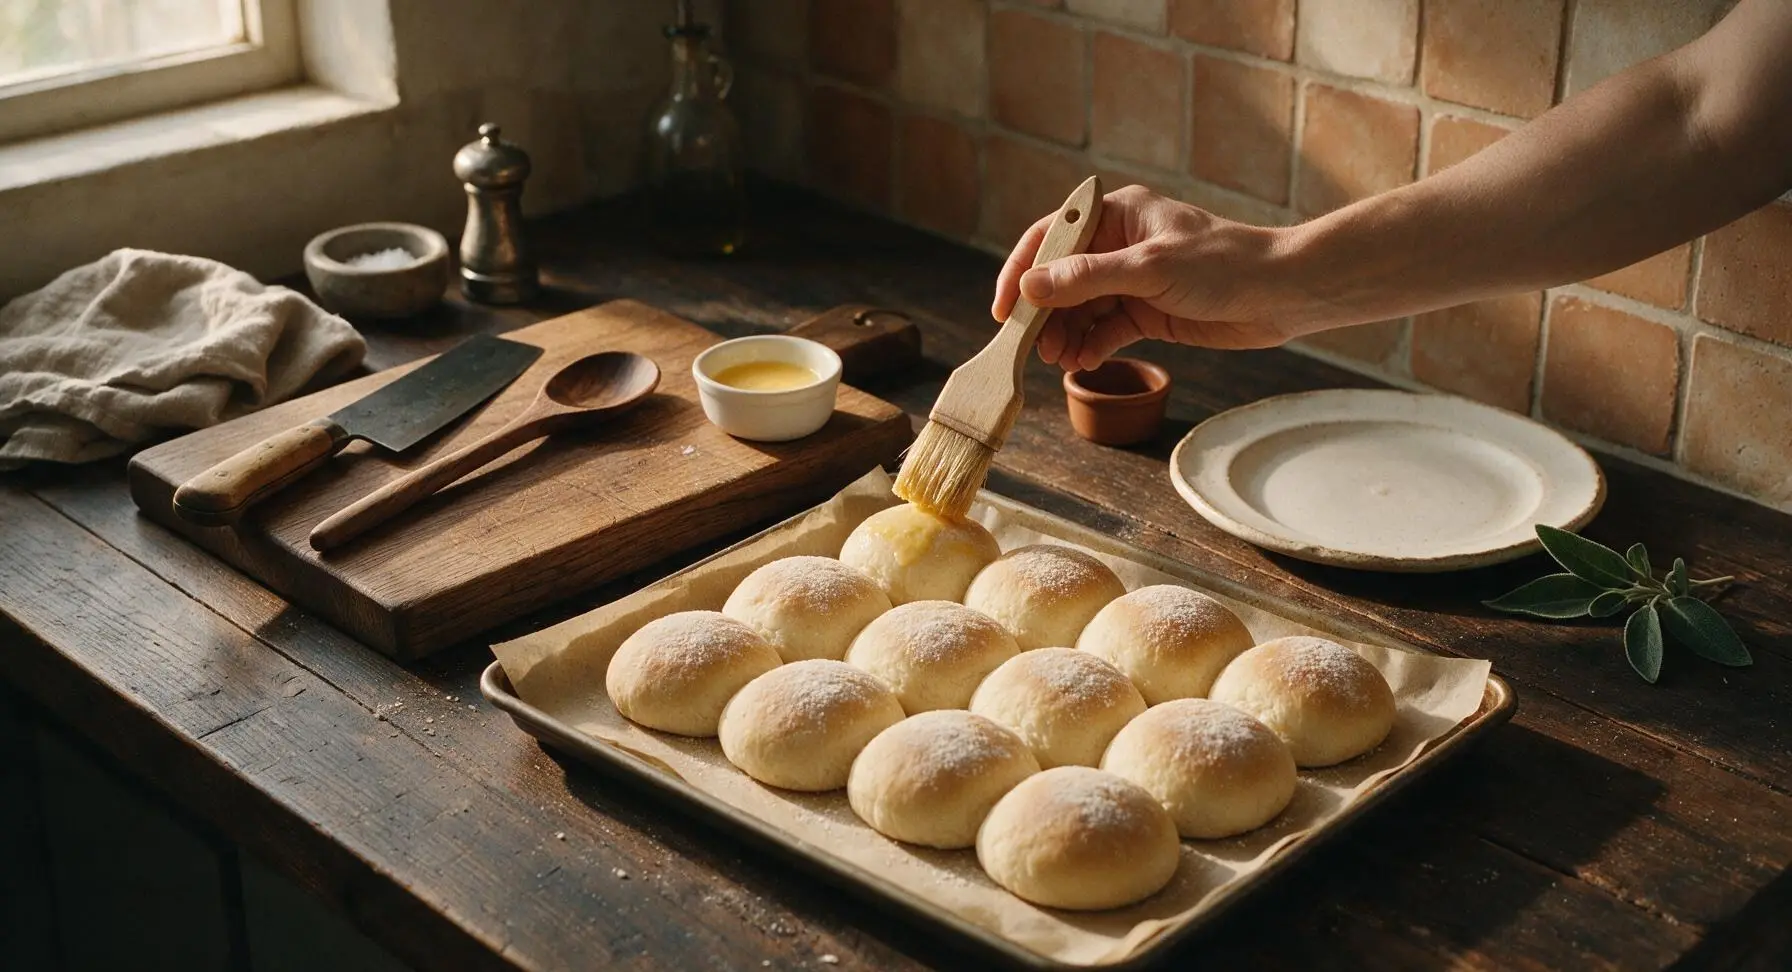
Bake Until Golden
Place the baking sheet on the middle rack of the preheated 190°C/375°F oven. Bake for 15-18 minutes, rotating the sheet halfway through baking, until the rolls are a deep, even golden brown on top, and sound hollow when tapped on the bottom. The internal temperature of the rolls should read 94°C/200°F when done.
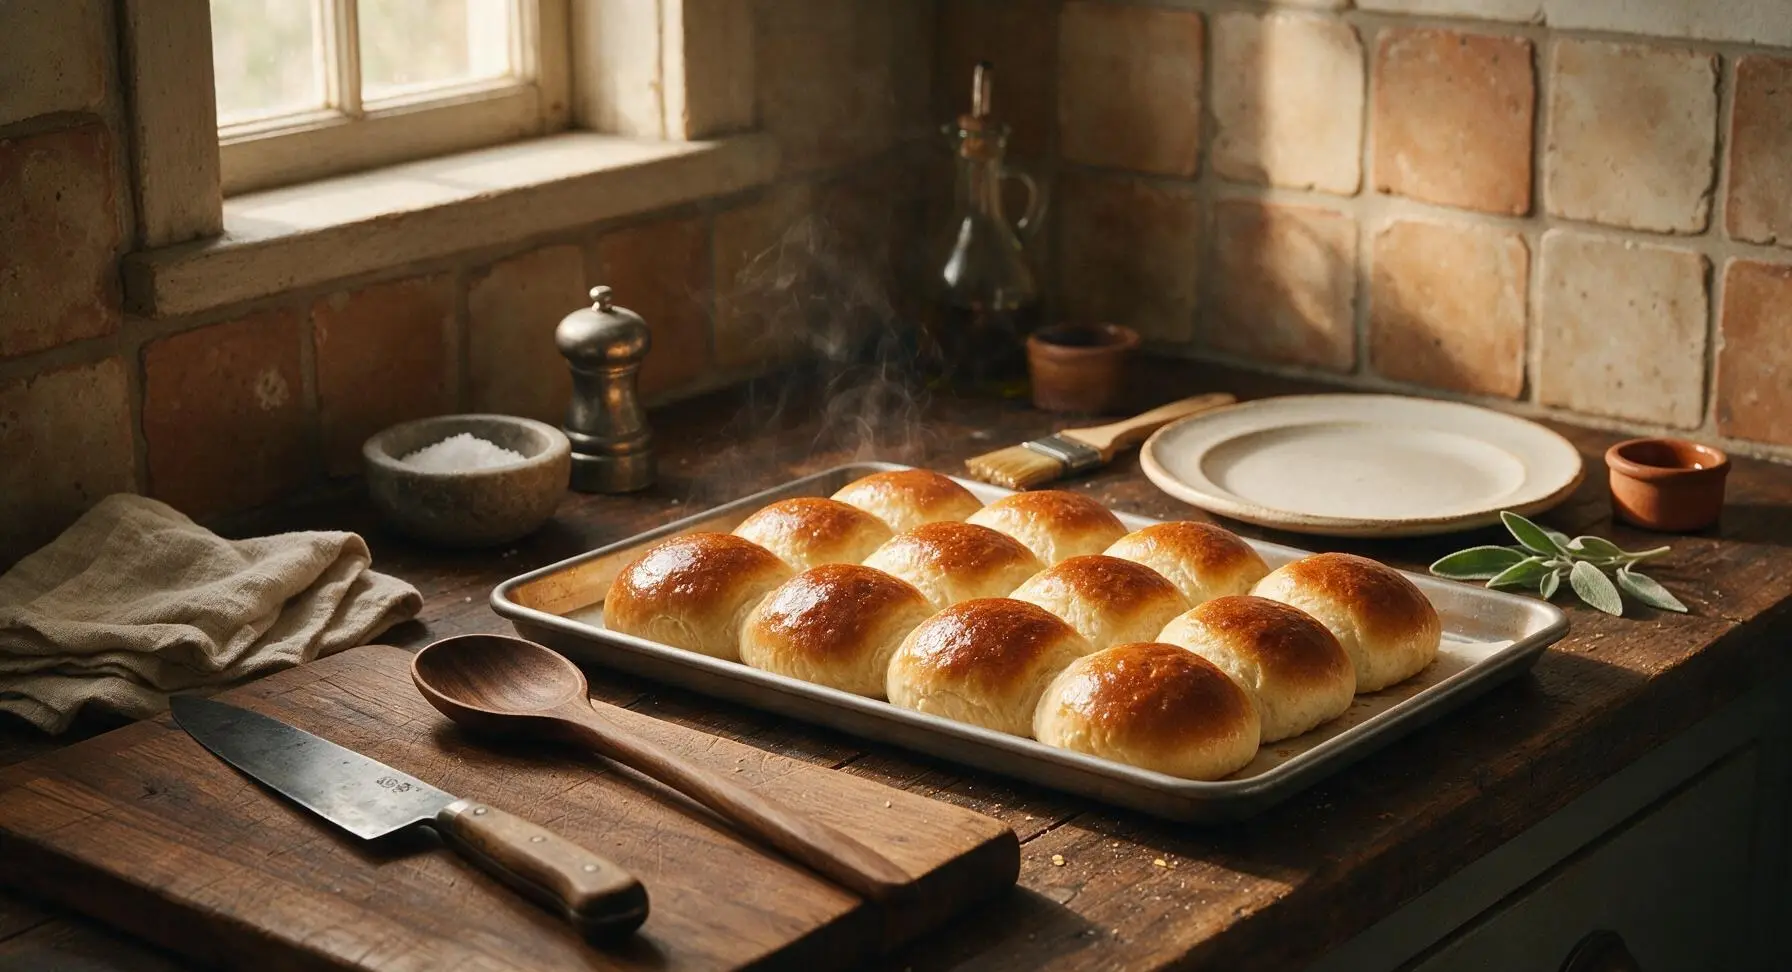
Cool and Brush Butter
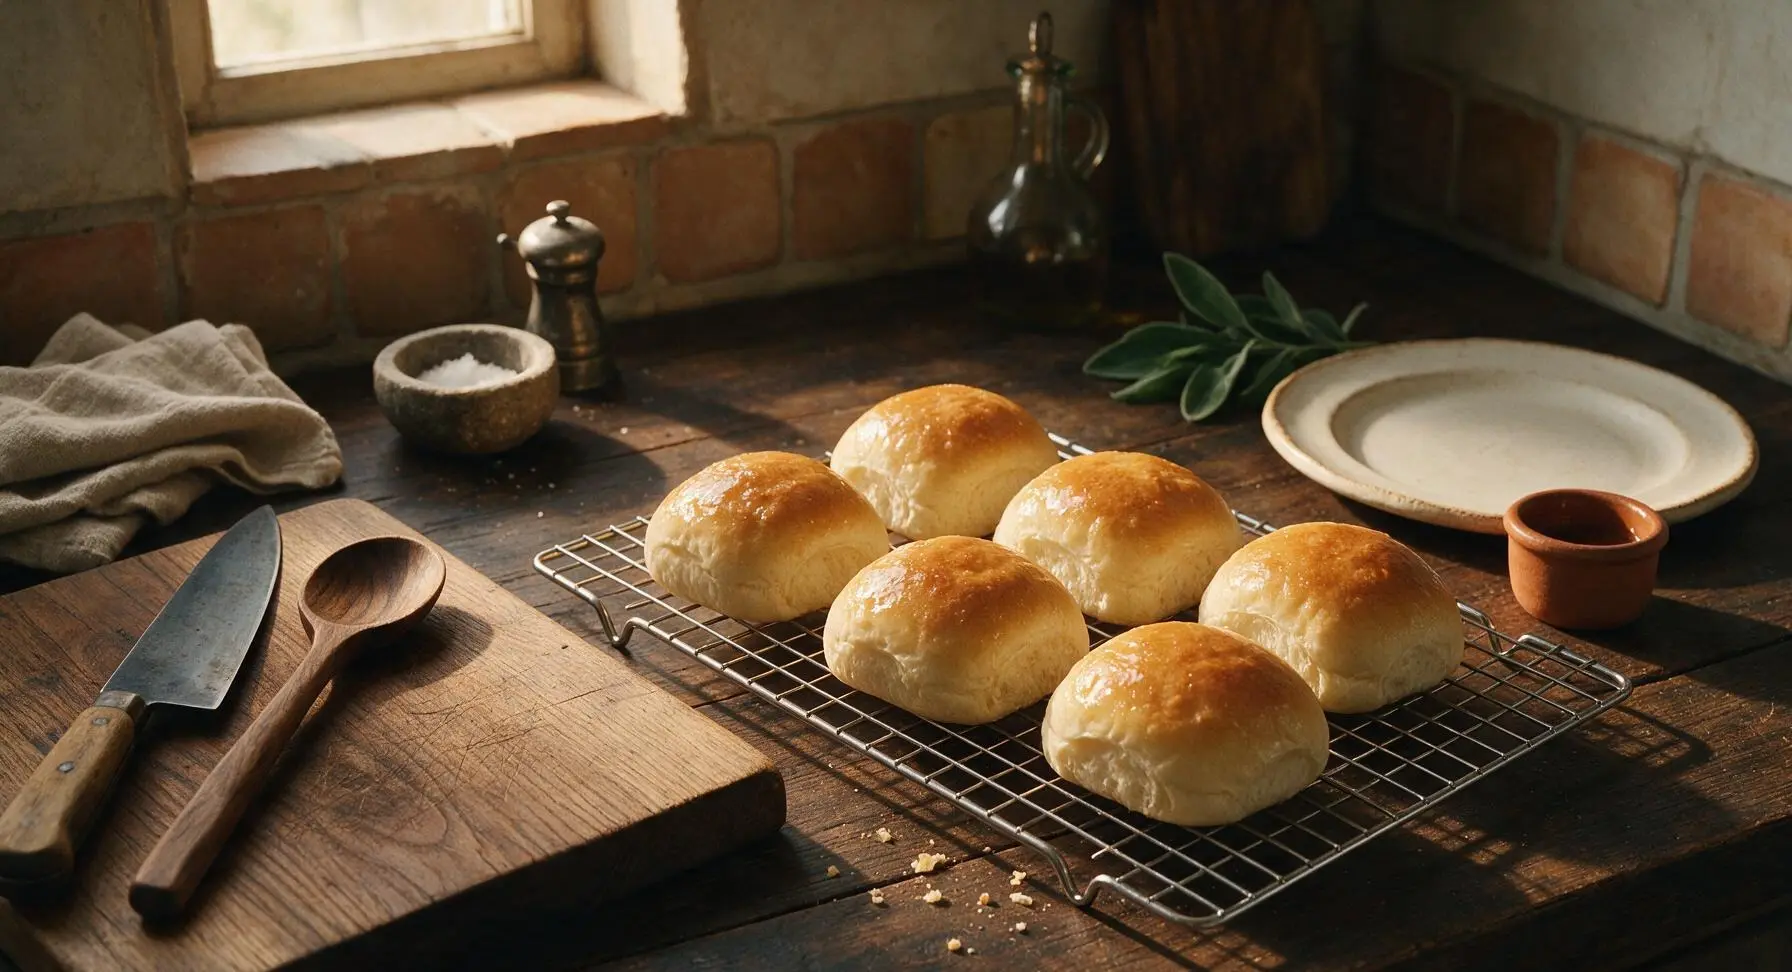
Immediately after removing the rolls from the oven, use the pastry brush to brush the tops with 1 tablespoon of melted unsalted butter for a soft, flavorful crust. Transfer the rolls to the chrome wire cooling rack to cool for at least 10 minutes before slicing or serving, to let the crumb set properly.
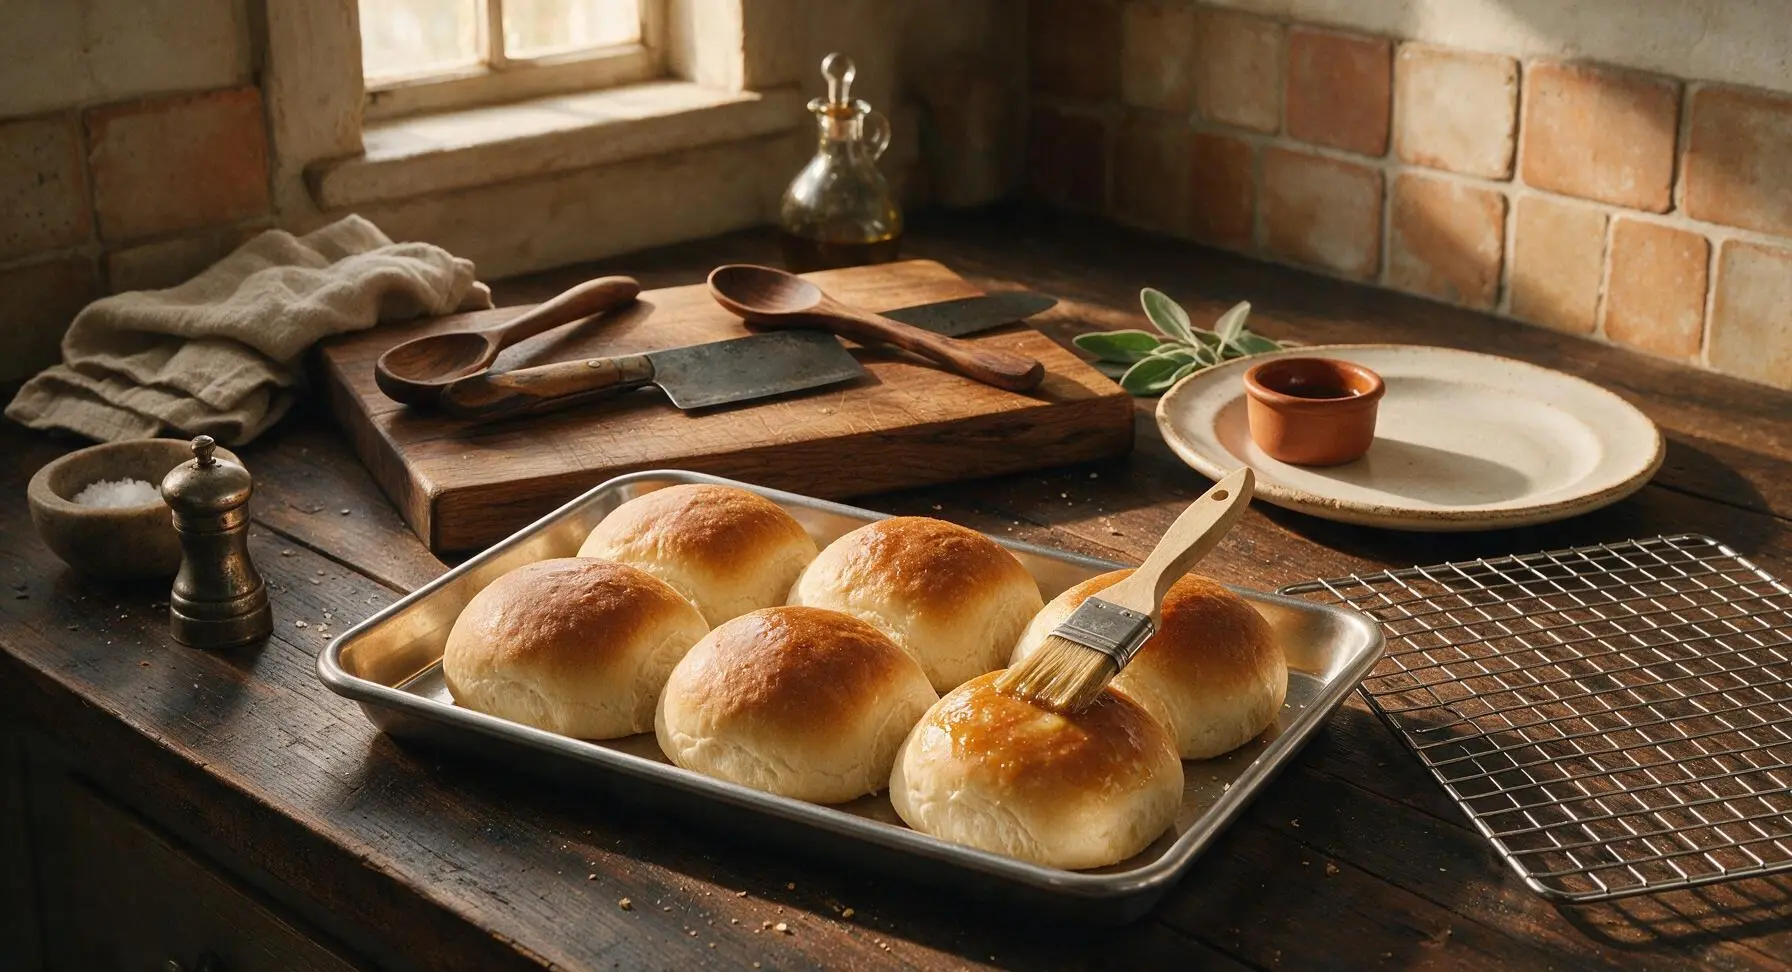
Tips
2.Create tight surface tension when shaping individual rolls: pulling dough edges down to seal the bottom helps rolls rise upward instead of spreading flat on the baking sheet, producing tall, evenly shaped rolls perfect for sandwich fillings.
3.Let baked rolls cool for a full 10 minutes before slicing: cutting into hot rolls right out of the oven tears the soft interior crumb, creating a gummy texture instead of the light, fluffy crumb that holds sandwich fillings well.






OMG these rolls are a total game changer! I made them for our Sunday pulled pork dinner and my kids devoured two each before I even got my own sandwich. They’re so fluffy and soft, way better than the store-bought hoagie rolls I usually grab for meal prep. My kids loved them so much they asked me to make another batch for their soccer team snack this weekend. Only note is I had to let the dough rise a little longer than the recipe said because my kitchen was cold, but totally worth the extra wait.
Okay, as someone who’s never successfully made yeast bread that didn’t come out dense as a brick, I was nervous to try these since the difficulty is medium. But wow! The step-by-step instructions were so clear, and my rolls came out perfectly light and fluffy on the first try. I did add a little extra melted butter on top right when they came out of the oven, chef’s kiss.
These are my new go-to for weekly lunch prep! I make a batch on Sunday, slice them up, and keep them in the fridge for turkey and avocado sandwiches all week. They hold up way better than regular sandwich bread and don’t get soggy even with loaded fillings. 18 minute cook time is so quick too, I don’t have to block off half my Sunday for bread baking!
Brought these to my friend’s backyard cookout last weekend and people were literally fighting over the last roll. I made them with a sprinkle of sesame seeds on top right before baking, and they tasted just like the fancy rolls you get at the Italian deli down the street. Only reason I’m not giving 5 stars is I wish the recipe made a bigger batch—12 rolls wasn’t nearly enough for a crowd!
I’ve been making sourdough for years and was skeptical of a quick yeast roll that claimed to be this fluffy, but color me impressed. The crumb is so soft and pillowy, perfect for meatball subs. My only complaint is I overbaked my first batch by 3 minutes because my oven runs hot, so keep an eye on them after the 15 minute mark if your oven is temperamental.