
sandwich thin

title 1
sandwich thin
⏱️ cook time 12 minutes
🍽️ servings 8
⚡ Difficulty easy

intro

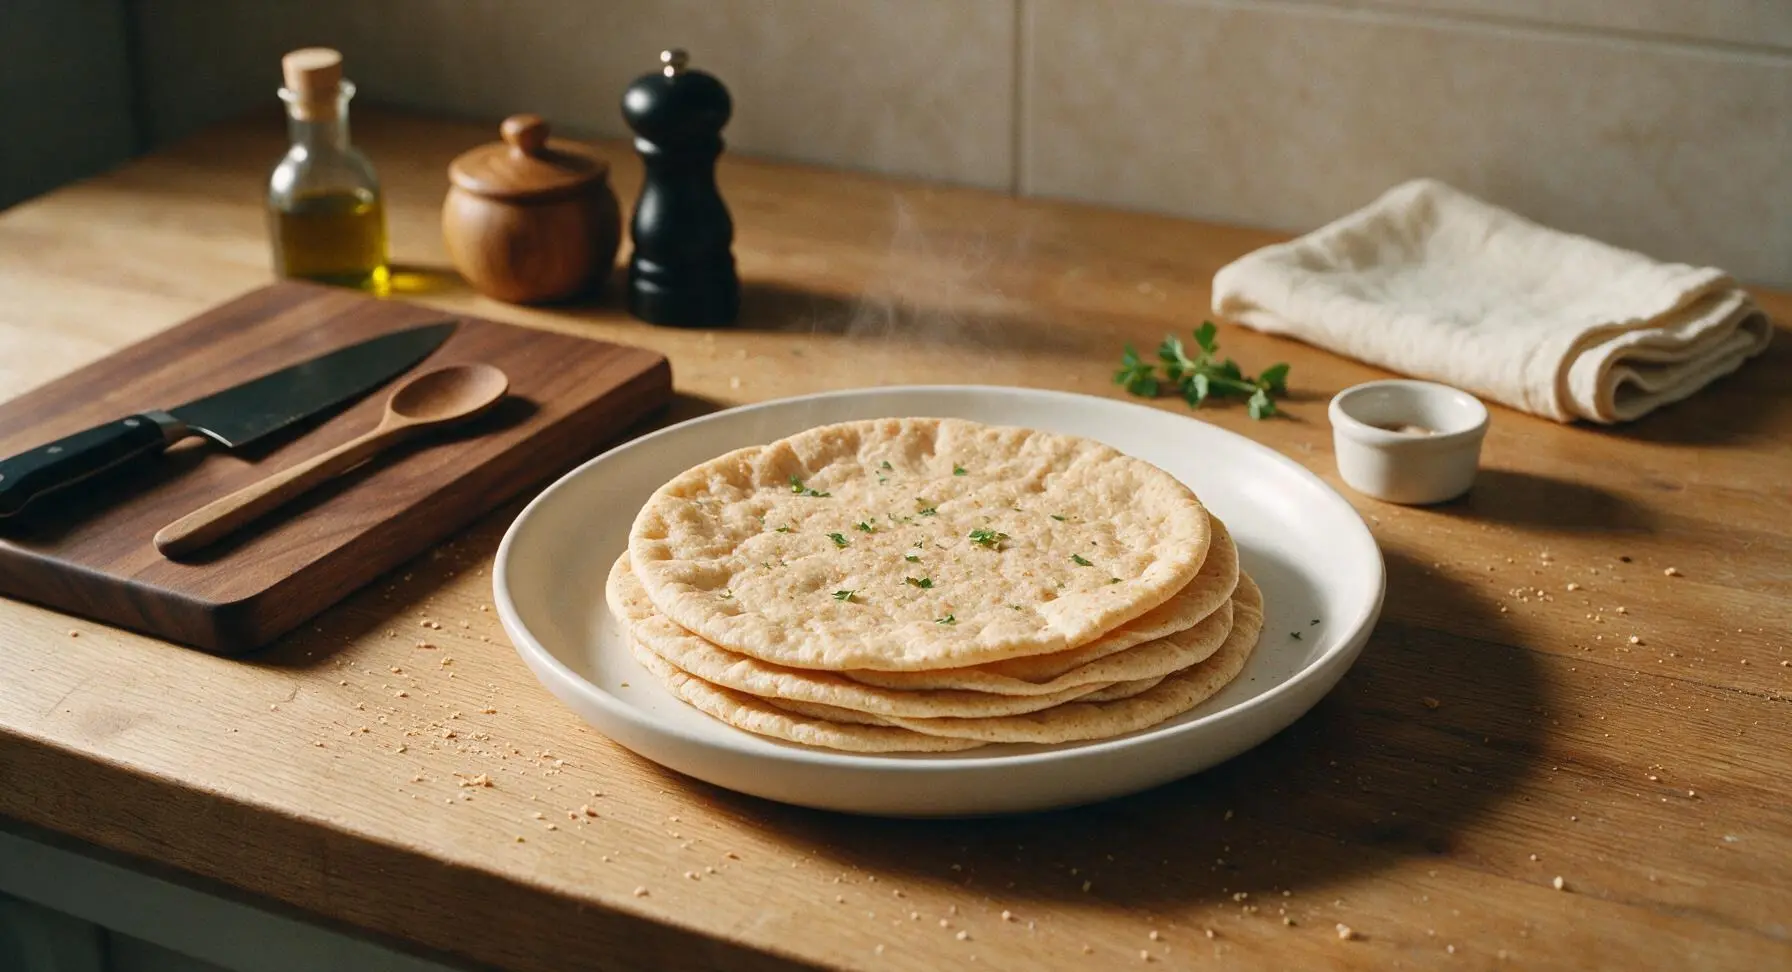
Light, chewy whole-grain sandwich thins: soft, thin bread rounds perfect for building portable, less-bready sandwiches, toast, or mini pizza bases for summer picnics.

Ingredients
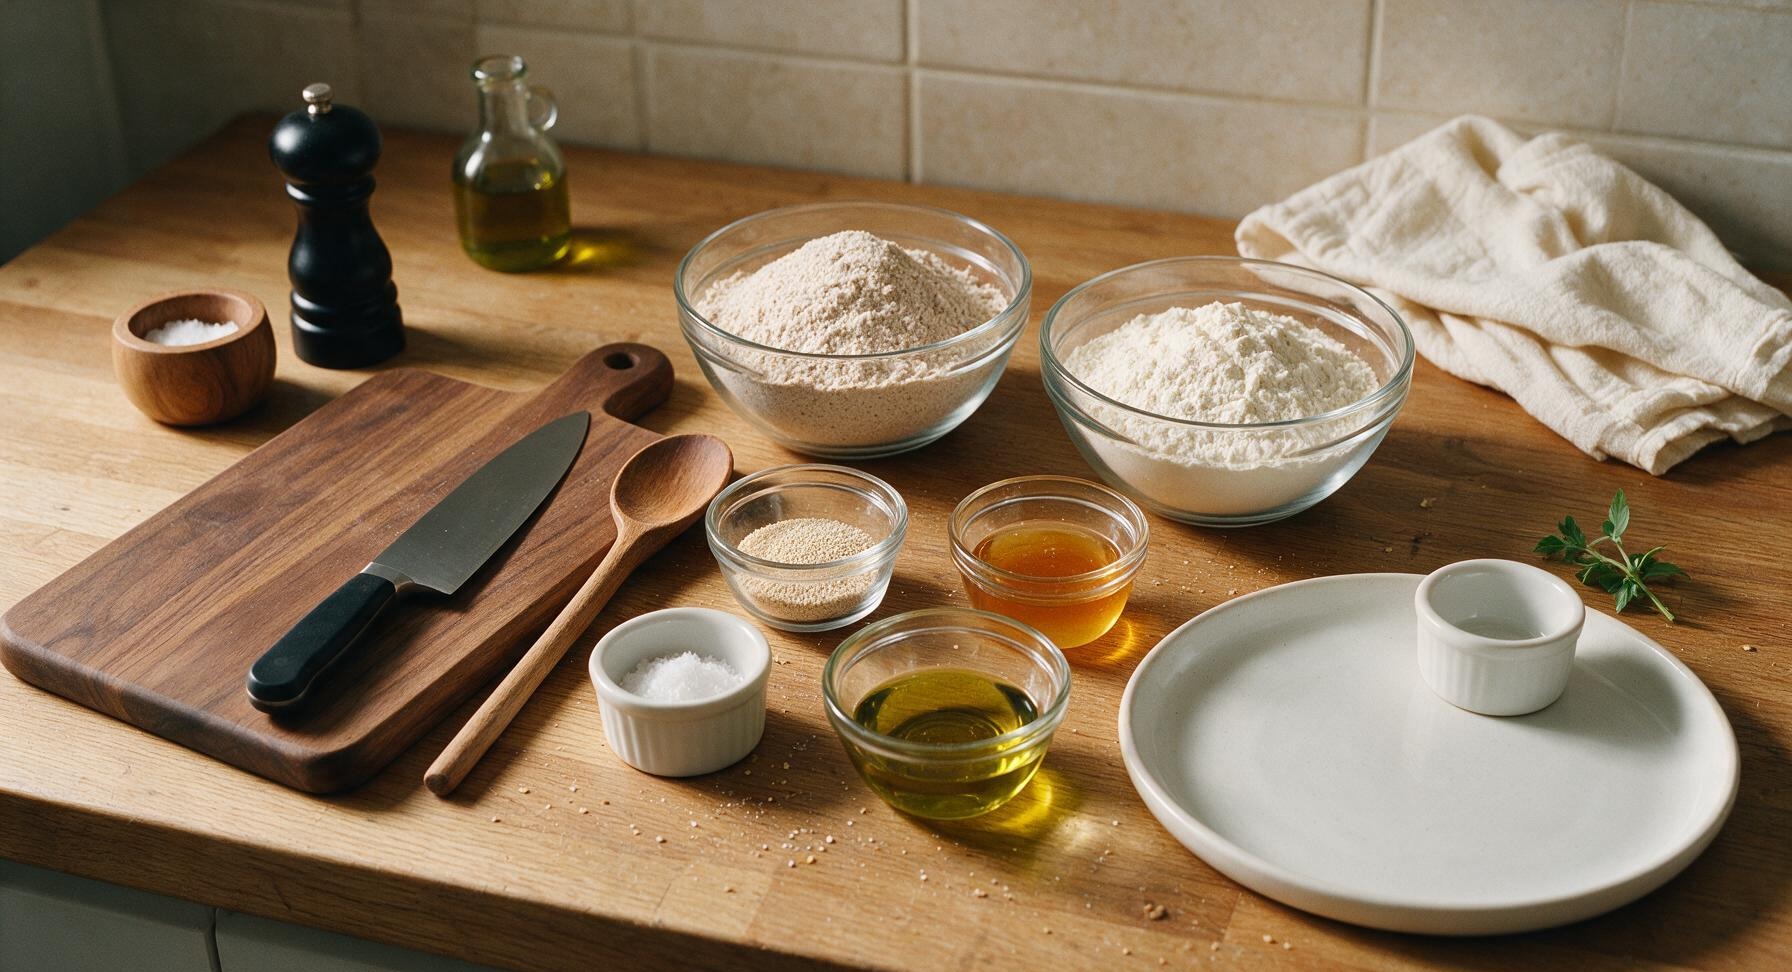
Whole wheat flour 130g (1 cup)
All-purpose flour 130g (1 cup)
Instant yeast 6g (1 ½ tsp)
Fine sea salt 4g (¾ tsp)
Raw honey 10g (2 tsp)
Extra-virgin olive oil 10ml (2 tsp)
Lukewarm water 170ml (¾ cup, 105–110°F)

Steps

1

Mix Dough Ingredients

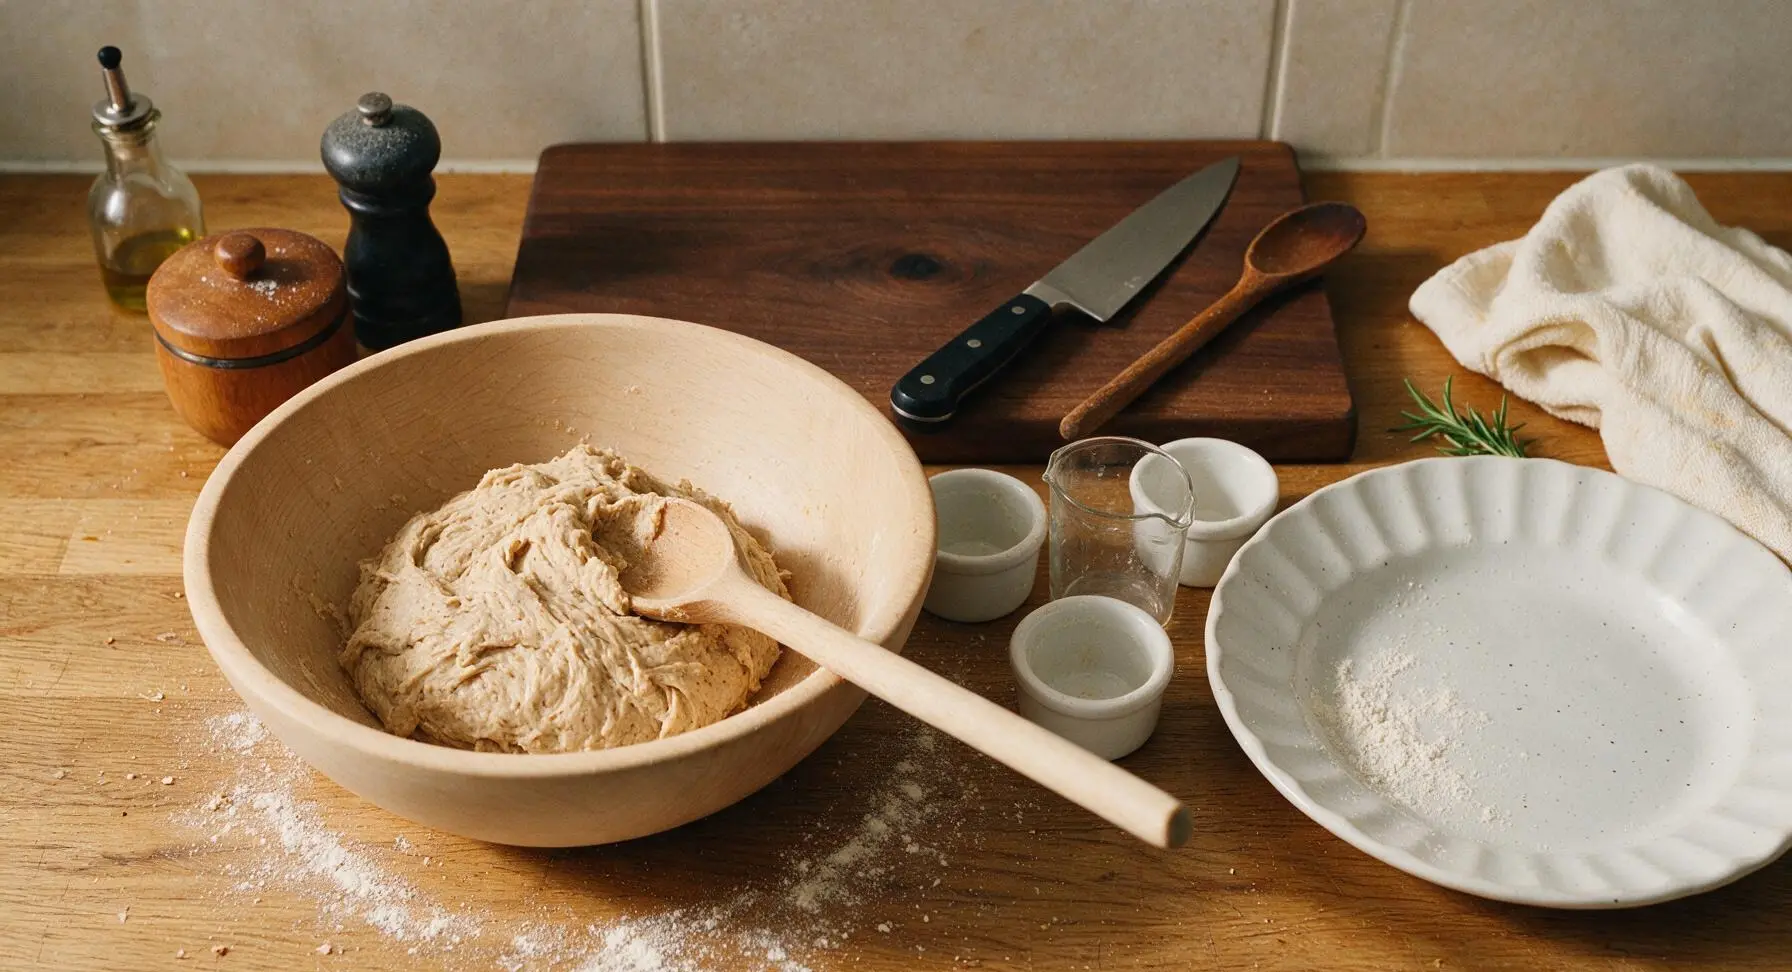
In the light beech wood mixing bowl, combine whole wheat flour, all-purpose flour, instant yeast, and fine sea salt, stirring briefly with the beech mixing spoon to evenly distribute ingredients. Add raw honey, extra-virgin olive oil, and lukewarm water (105–110°F, warm to the touch but not hot enough to burn skin). Stir continuously for 2 minutes until a shaggy, slightly sticky dough forms, with no dry flour patches remaining at the bottom of the bowl.
Step 1
step1:Mix Dough Ingredients
2

Knead Until Smooth

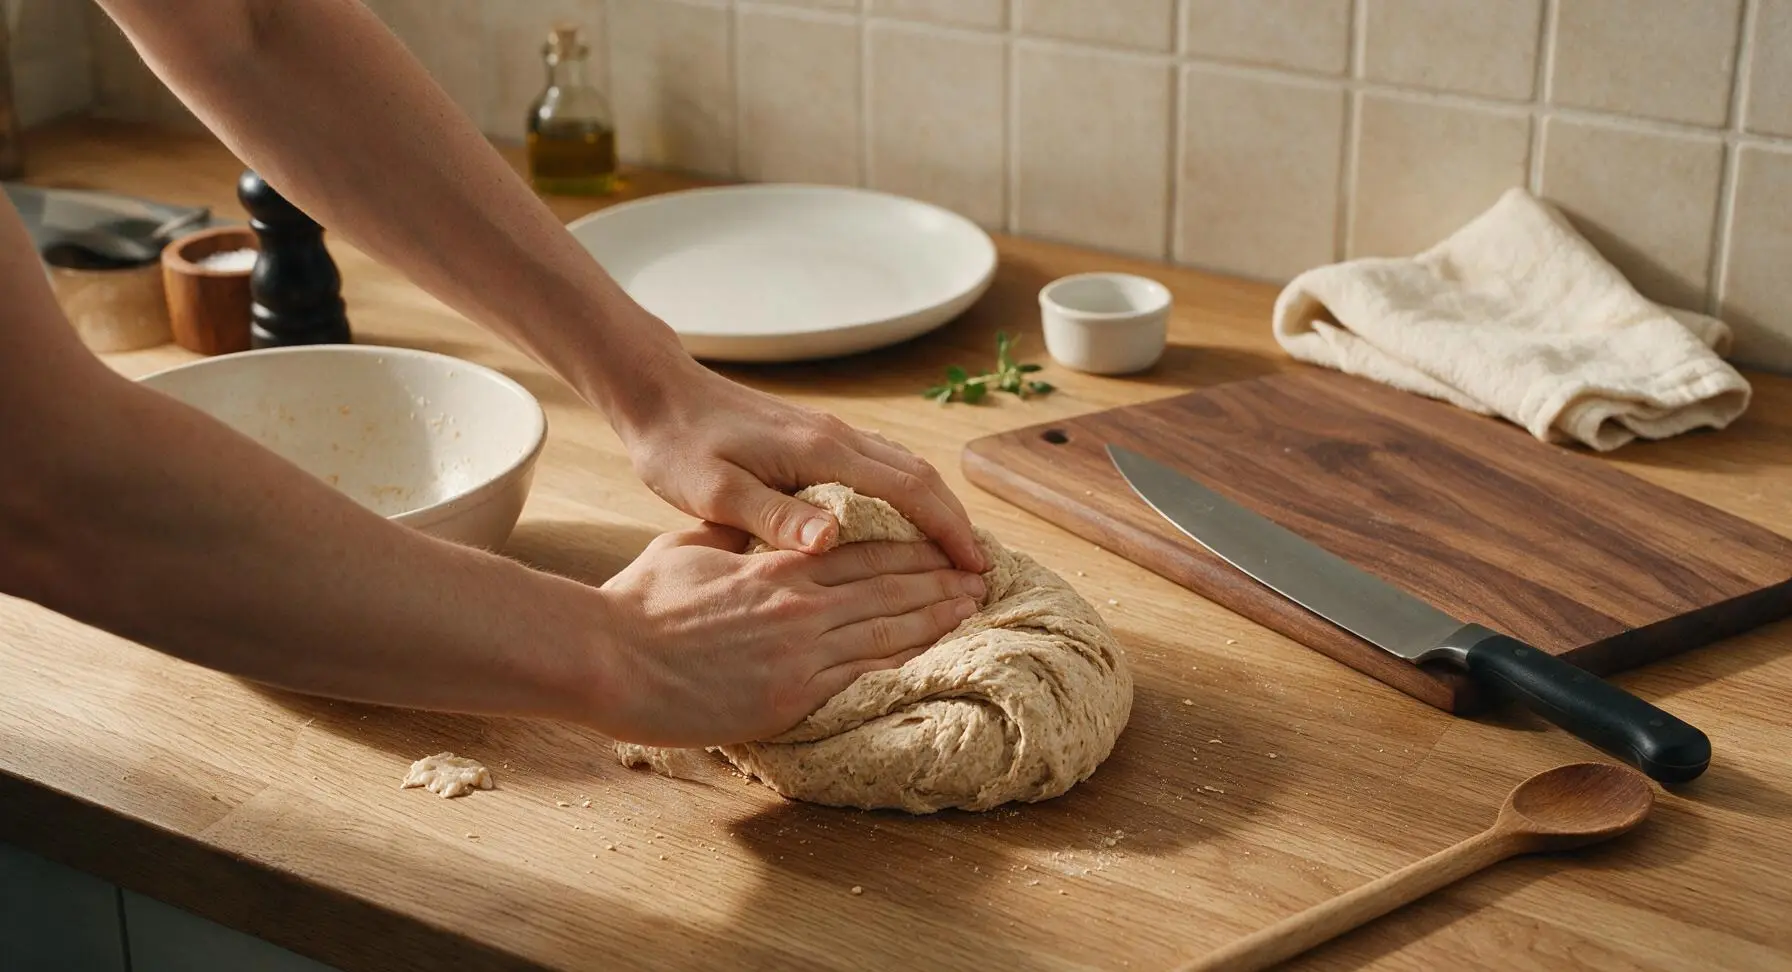
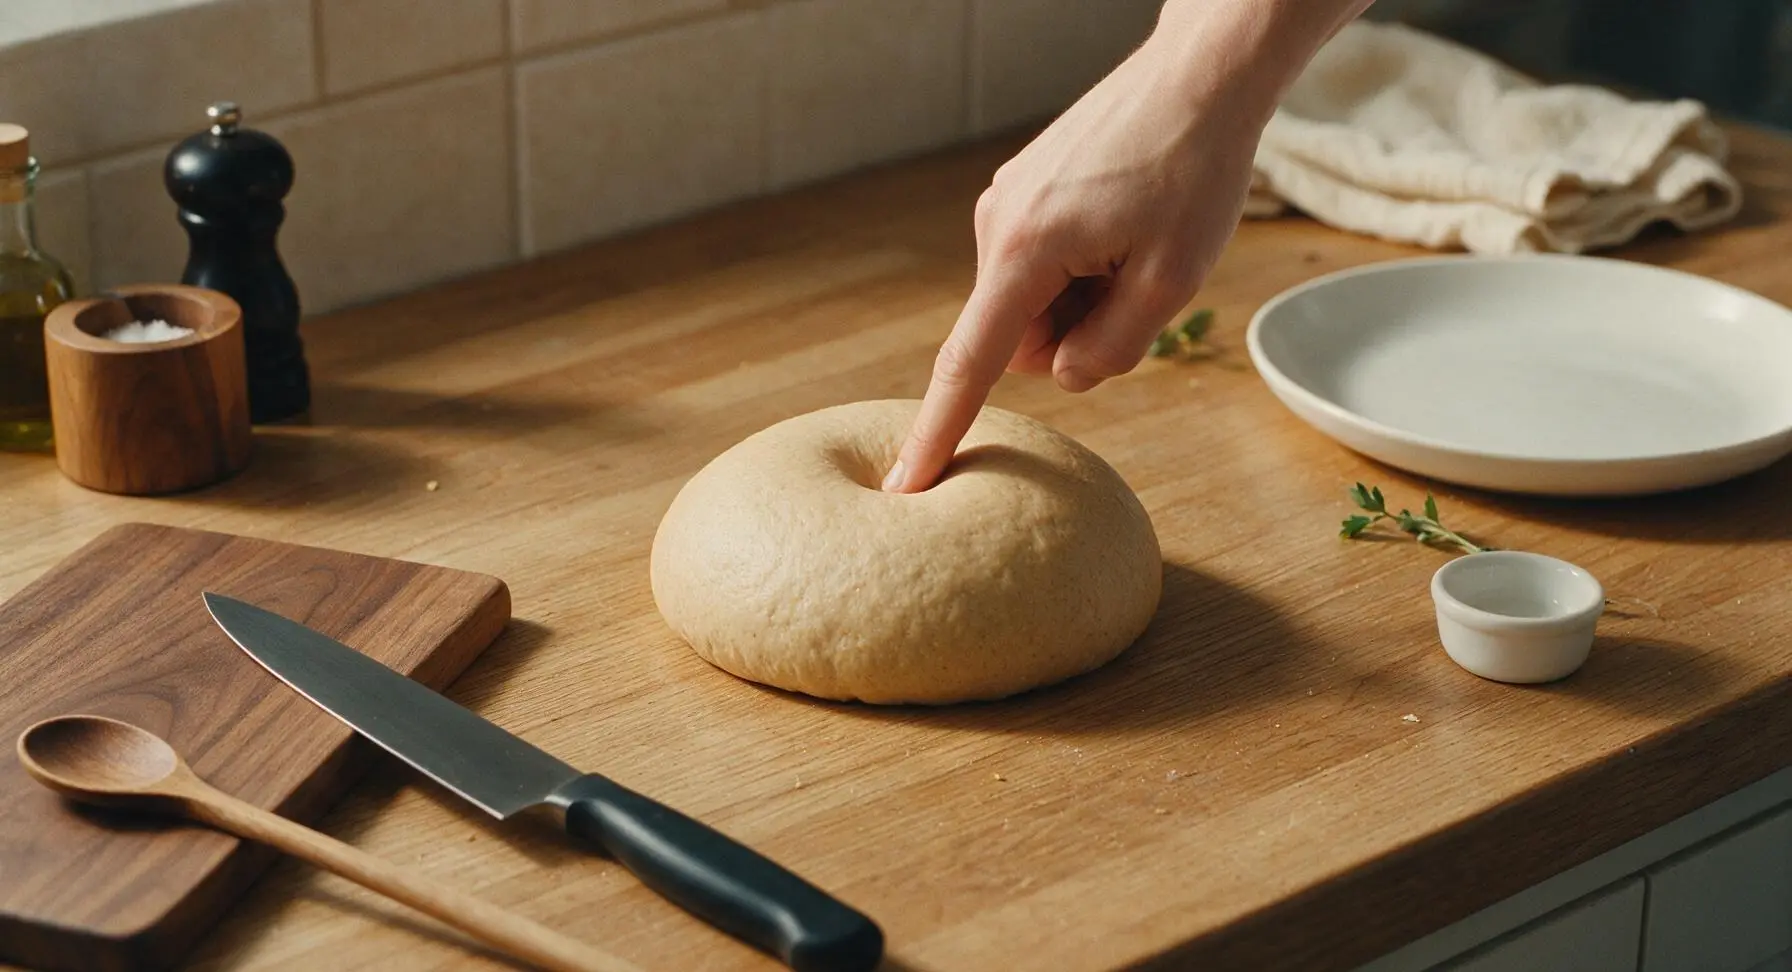
Turn the shaggy dough out onto the clean central counter surface (do not add extra flour, as this will create tough thins). Knead by hand for 5 minutes: fold the dough over itself, push forward with the heel of your palm, turn a quarter turn, and repeat. The dough will start as lumpy and sticky, and gradually become smooth, soft, and elastic, pulling away cleanly from the counter when ready. Test for doneness by poking the dough gently: the indent should spring back halfway immediately.
Step 2
step2:Knead Until Smooth
Step 2
step2:Knead Until Smooth
3

First Dough Rise

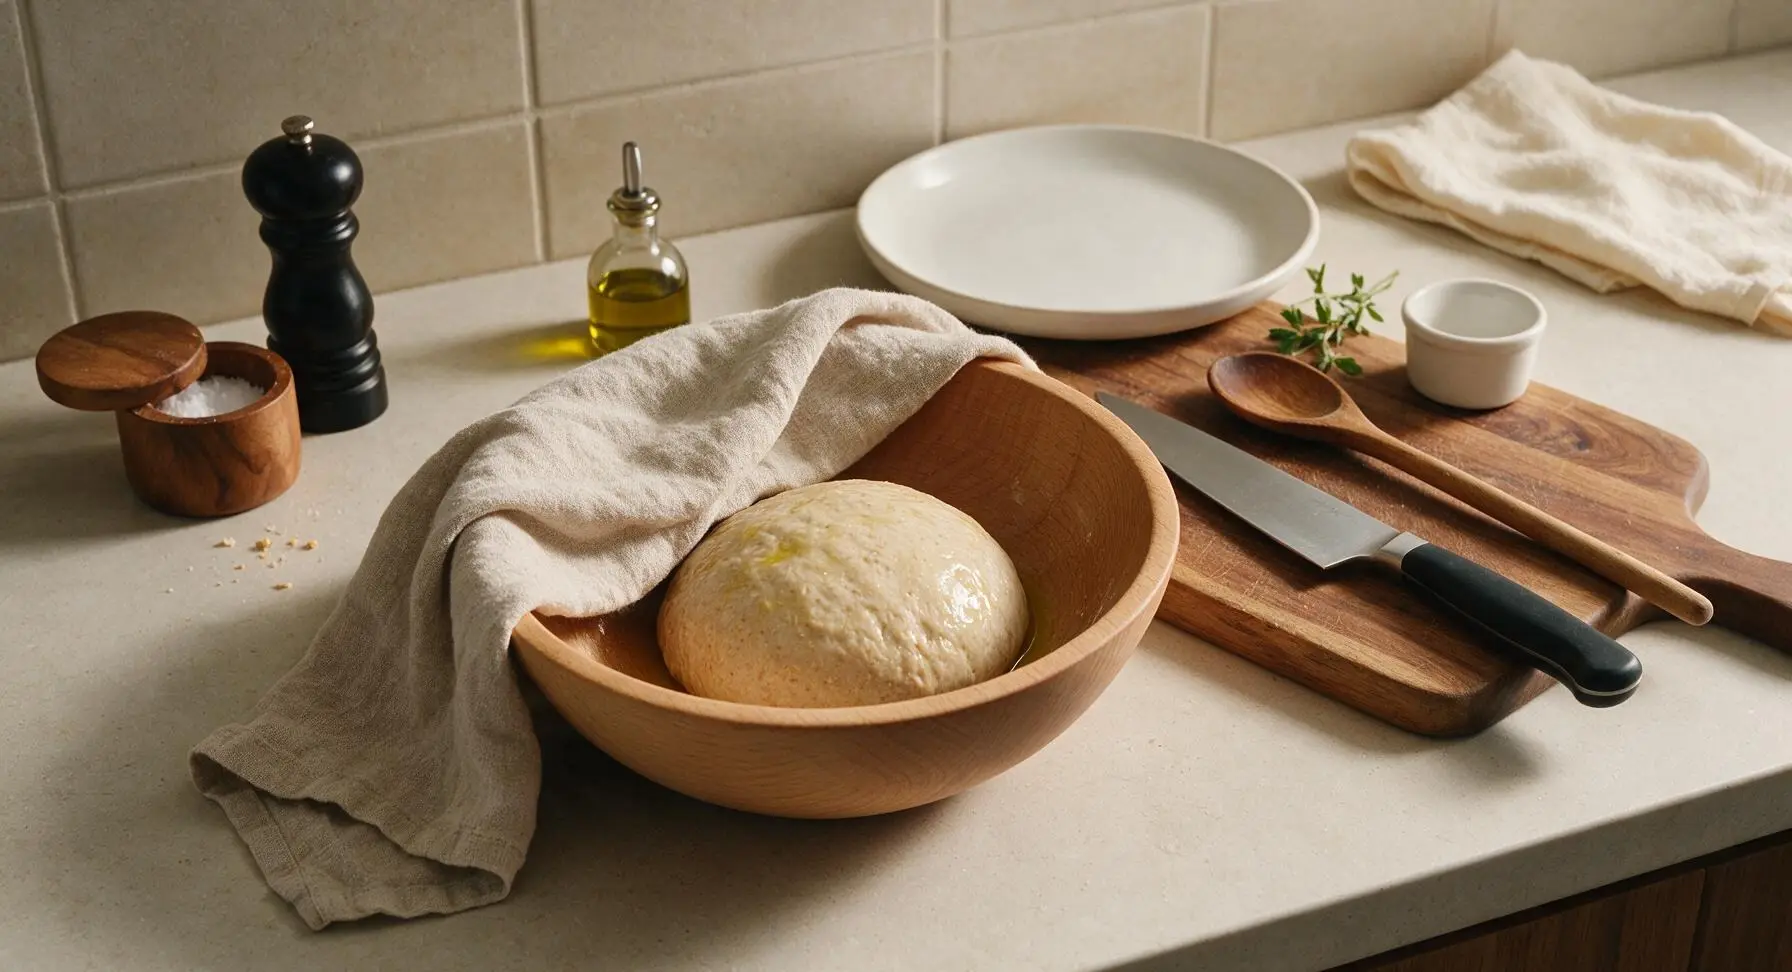
Form the kneaded dough into a tight, smooth ball, place it back into the beech mixing bowl, and turn once to coat the dough surface in a thin layer of olive oil to prevent sticking. Drape the oatmeal linen towel from the far left counter edge tightly over the bowl to trap humidity. Let rest in a warm, draft-free spot on the counter for 45 minutes, until the dough has doubled in size. Test for doneness by poking a floured finger 1 inch into the center: the indent should remain and not spring back.
Step 3
step3:First Dough Rise
4

Divide and Shape Rounds

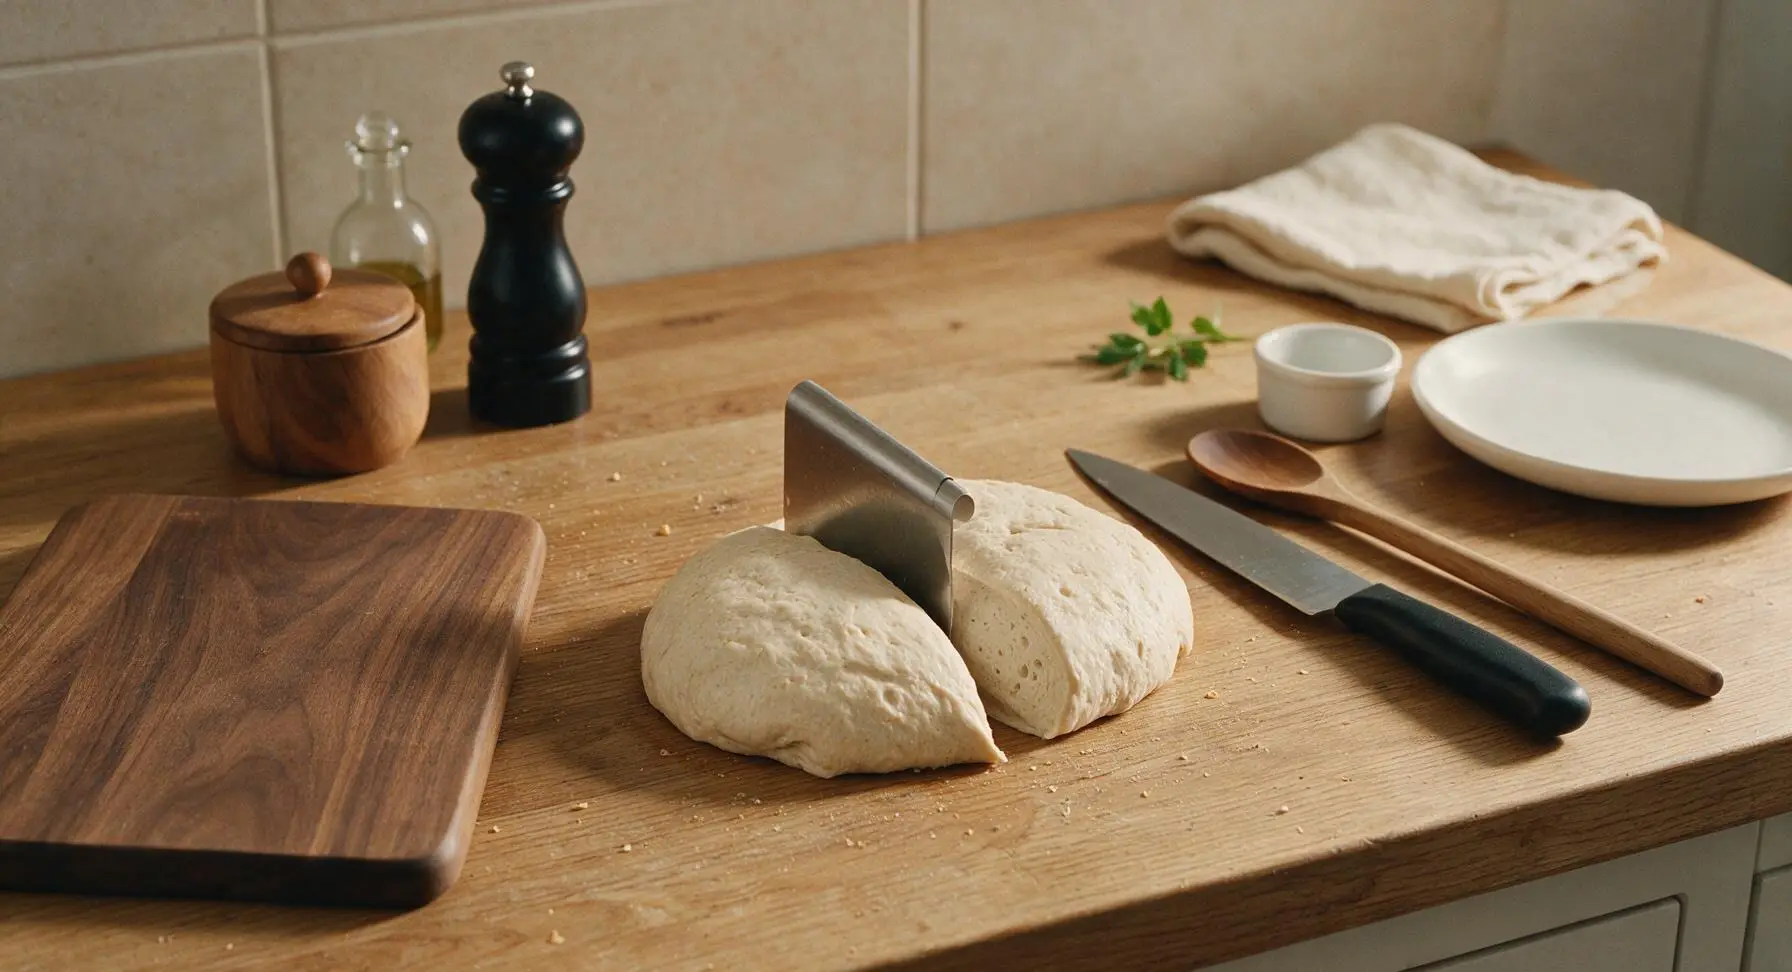
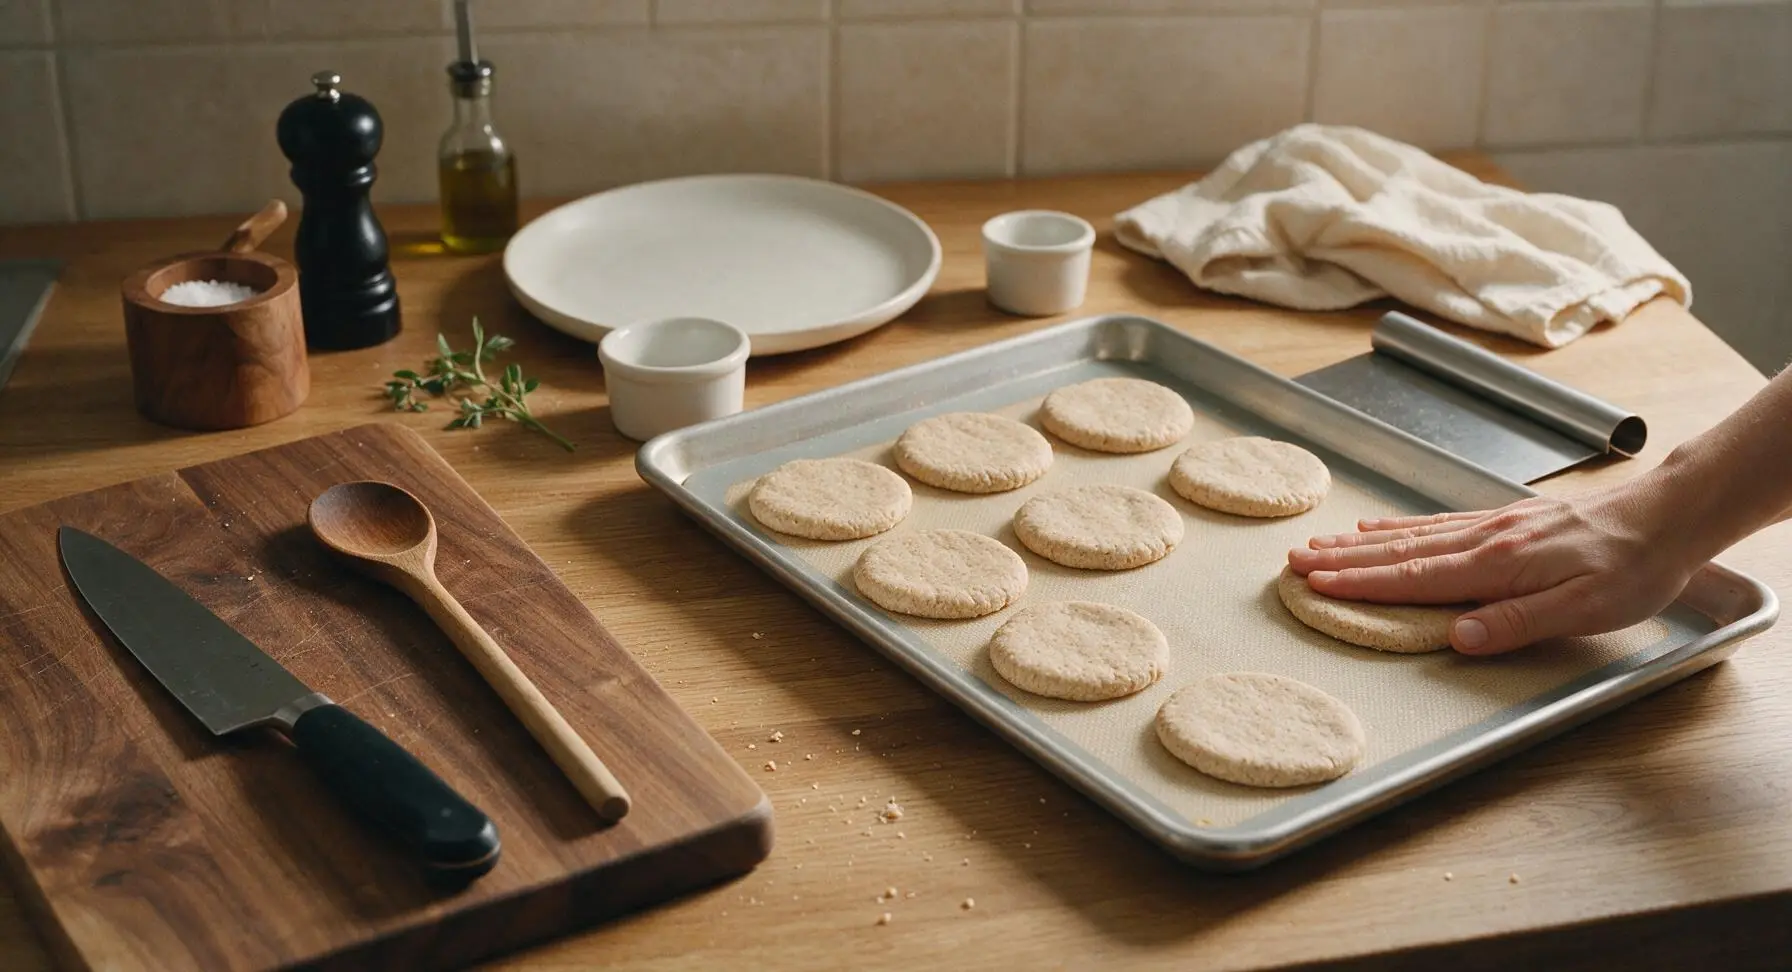
Once the dough has doubled, punch it firmly in the center to release all trapped air, then turn it out onto the central counter. Use the stainless steel dough scraper to divide the dough evenly into 8 equal portions, each weighing ~45g (about the size of a golf ball). Roll each portion into a tight, smooth ball, then press flat with the palm of your hand to form a 4-inch wide, ¼-inch thick round disc. Arrange the shaped discs 2 inches apart on the frosted silicone baking mat, which is set inside the rimmed aluminum baking sheet.
Step 4
step4:Divide and Shape Rounds
Step 4
step4:Divide and Shape Rounds
5

Proof and Bake Thins

Cover the shaped dough rounds on the baking sheet loosely with the linen towel, and let rest for 15 minutes (second proof) until the rounds puff slightly and hold a gentle indent when touched lightly with a finger. While the dough proofs, preheat the oven to 375°F (190°C). Once proofed, remove the towel, and bake the thins on the middle oven rack for 12 minutes, until the tops are light golden brown and the bottoms are set and pale golden (not dark brown). Avoid overbaking to keep the thins soft and chewy.
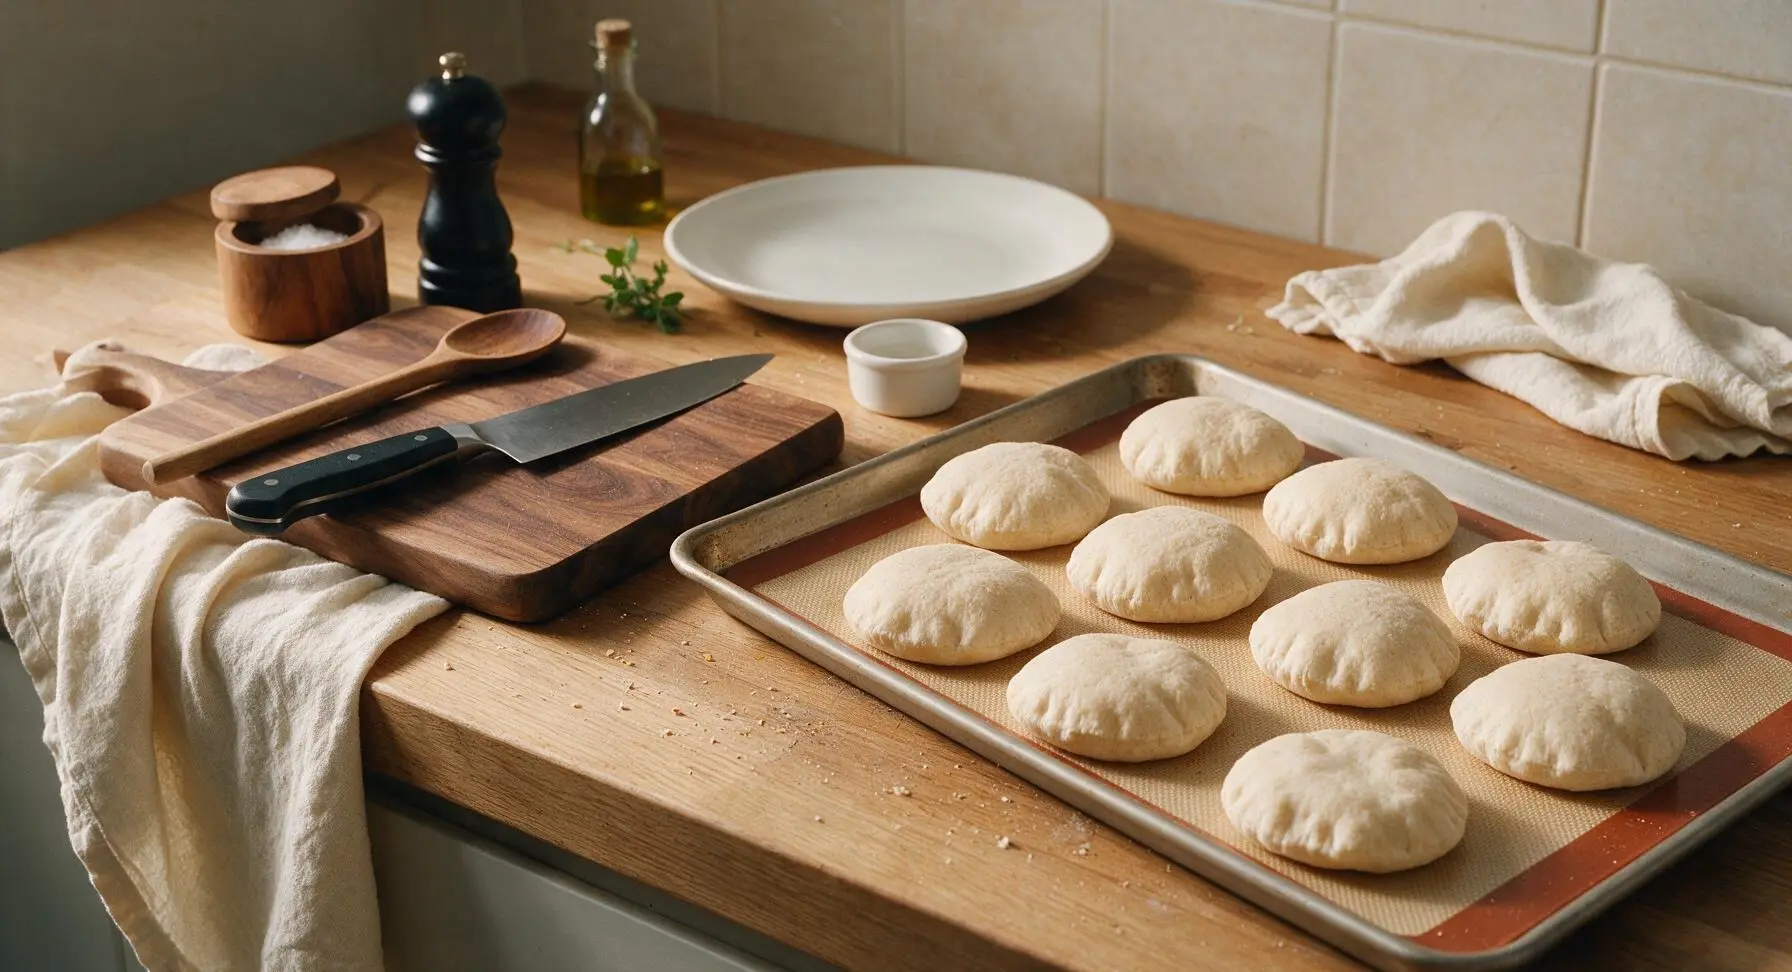
Step 5
step5:Proof and Bake Thins
6

Cool Baked Thins

Once baked, carefully remove the baking sheet from the oven, and transfer the thins immediately to the chrome wire cooling rack set on the right counter edge. Let cool completely for 10 minutes before splitting or serving, to allow the crumb to set. The thins will deflate slightly as they cool, settling into the perfect thin, soft sandwich texture.
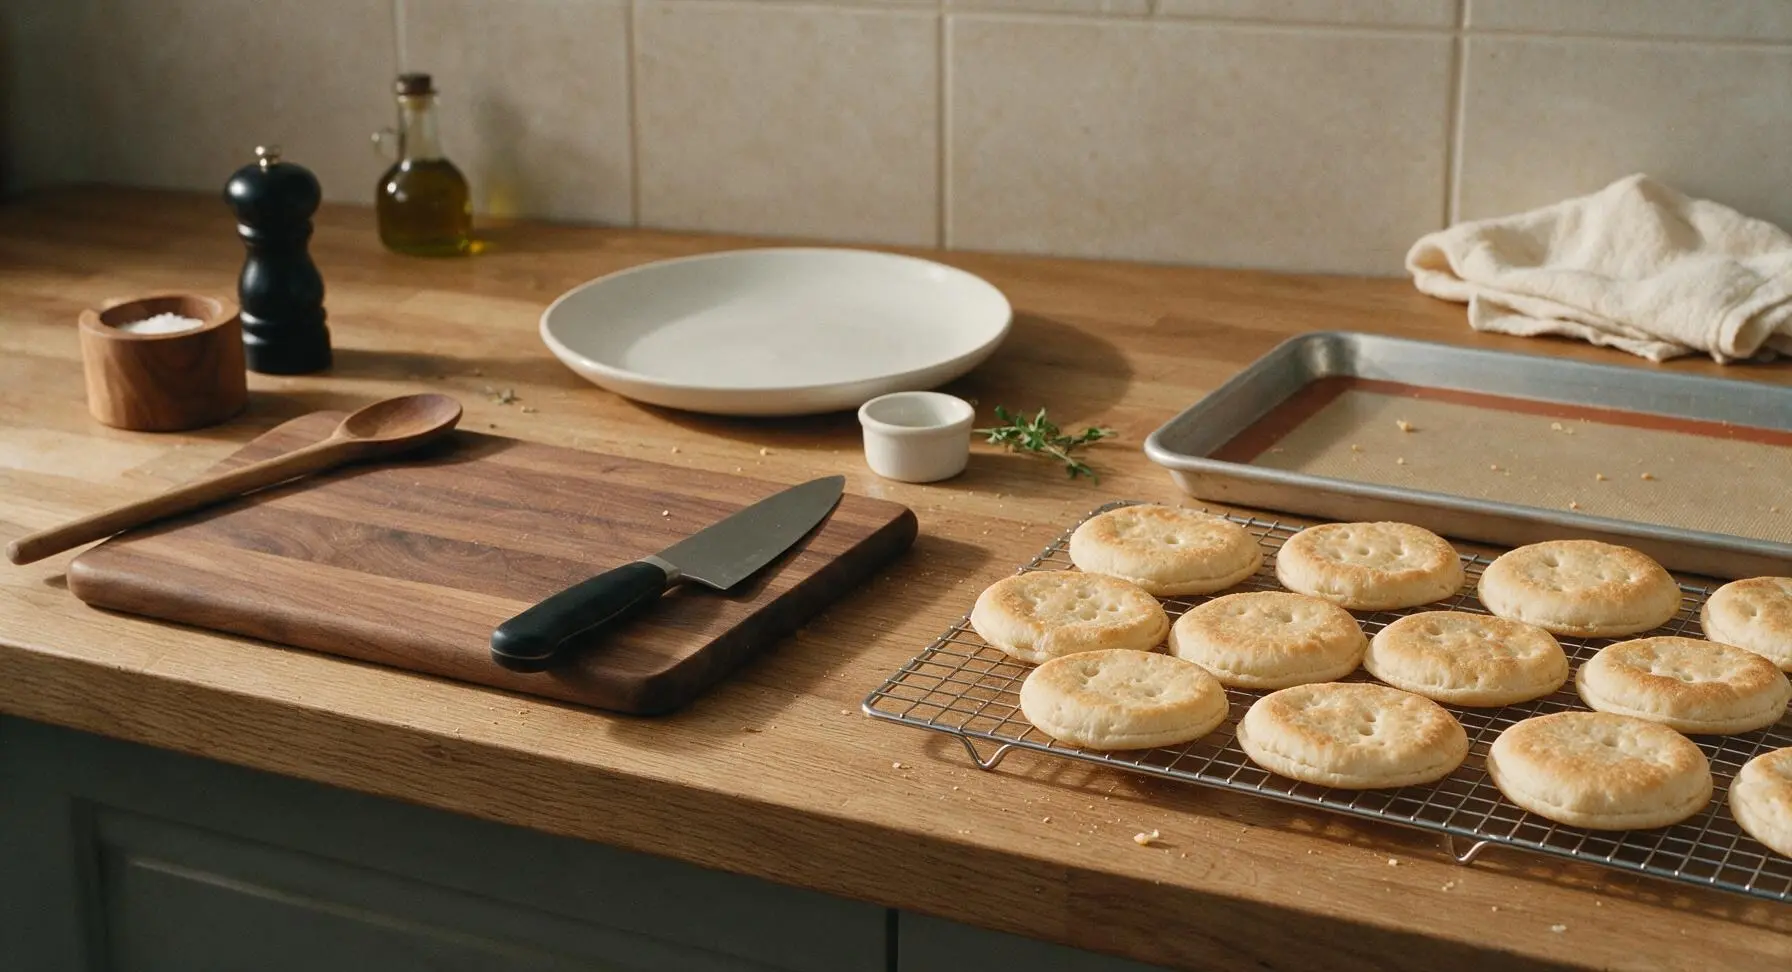
Step 6
step6:Cool Baked Thins

Tips

1.Skip extra flour when kneading: This dough is intentionally soft and slightly sticky, and added flour will create dense, tough thins. If dough sticks to your hands, lightly oil your palms instead of dusting the counter with flour.
2.Resist overbaking: The thins will only be pale golden on top after 12 minutes, and may feel underdone straight from the oven, but they will set as they cool. Overbaking turns them cracker-crisp, which won’t work for soft, foldable sandwiches.
3.Prep ahead for easy meals: Cooled thins keep for 5 days in an airtight container at room temperature, or freeze for up to 3 months. Refresh frozen or stale thins in a 300°F oven for 2 minutes to restore their soft, chewy texture before use.


✨ You May Also Like

Desserts & Baking
🍜 Italy

Creamy, coffee-kissed classic Northern Italian no-bake dessert, with layers of rum-spiked mascarpone cream, soft ladyfingers, and a rich cocoa dusting.

⏱️ 4 hours 3Desserts & Baking ★ 4.7
Desserts & Baking
🍜 France

Flaky, shatteringly crisp, buttery French croissants with golden exteriors and soft, airy layered interiors, perfect for pairing with coffee for a special morning treat.

⏱️ 12 hours Desserts & Baking ★ 4.5
Desserts & Baking
🍜 United States

Warm, spiced baked apples topped with a fluffy golden biscuit crust, this cozy dessert pairs perfectly with vanilla ice cream for cool-weather comfort.

⏱️ 55 minuteDesserts & Baking ★ 4.6
Desserts & Baking
🍜 United States

A star-spangled classic American blueberry pie with buttery flaky crust and bright sweet-tart filling, perfect for summer patriotic gatherings.

⏱️ 1 hour 25Desserts & Baking ★ 4.7
Desserts & Baking
🍜 United States

A beloved no-bake regional Maine candy with a chewy coconut-potato center coated in rich dark chocolate, a New England holiday staple since the 1870s.

⏱️ 2 hours 3Desserts & Baking ★ 4.8
Desserts & Baking
🍜 France

Luxuriously creamy, floral frozen custard made with aromatic Tahitian vanilla beans, boasting a smooth, rich texture that melts slowly on the tongue.

⏱️ 3 hours 3Desserts & Baking ★ 4.5

sandwich thin:Frequently Asked Questions

1.Can I make these sandwich thins with 100% whole wheat flour instead of mixing in all-purpose? ▾
You absolutely can, but expect a slightly denser, heartier crumb. For the closest soft texture to the original recipe, add 2 teaspoons of vital wheat gluten per cup of whole wheat flour, bump the honey up by 1 tablespoon, and give the dough an extra 15 minutes of rise time to avoid tough, heavy results.
2.Why did my sandwich thins turn out dense and tough instead of soft and chewy? ▾
The most common culprits are over-kneading the dough, cutting rise times short, or rolling the rounds too thin before baking. Make sure your yeast is fresh, let the dough fully double in size during the first rise, and only roll rounds to ¼-inch thickness so they have room to puff gently in the oven.
3.Can I use active dry yeast instead of instant yeast for this recipe? ▾
Definitely! The only adjustment you need is to activate the active dry yeast first: stir it into ¼ cup of warm (105–110°F) water from the recipe with a pinch of honey, let it sit 5 minutes until foamy, then mix it in with the rest of your ingredients exactly as the recipe directs.
4.How should I store leftover homemade sandwich thins to keep them soft? ▾
Let them cool completely to room temperature first—trapped condensation makes them soggy fast! Tuck them into a sealed airtight bag or container at room temperature for up to 5 days. If your kitchen is extra humid, slip a small paper towel into the bag to absorb excess moisture and prevent mold.
5.Can I freeze these sandwich thins for later use? ▾
Freezing works beautifully for these! Once fully cooled, stack the thins with small squares of parchment paper between each one to prevent sticking, then seal them in a freezer-safe bag for up to 3 months. Thaw at room temp for 10 minutes, or toast straight from frozen for quick, easy meals.
6.Do I need any special pans or equipment to shape and bake these? ▾
Nope, no fancy gear required! You can shape dough portions into rounds by hand, roll them with a regular rolling pin on a parchment-lined baking sheet, and bake them right on the sheet. A 3.5-inch round biscuit cutter helps make perfectly uniform shapes, but it’s totally optional.
7.Can I swap the raw honey for another sweetener? ▾
Absolutely. Honey feeds the yeast to help the dough rise and adds subtle mellow sweetness, so you can swap it 1:1 for maple syrup, agave nectar, or even granulated sugar if that’s what you have on hand. If you use sugar, stir it into warm water first to help it dissolve evenly before mixing.
8.How thin should I roll the dough rounds before baking? ▾
Aim for a consistent ¼-inch thickness across every round—this is the sweet spot for that classic thin, sturdy-but-soft texture that holds sandwich fillings without getting soggy or overly bready. Rolling thinner than ⅛-inch makes crisp crackers, while too-thick rounds bake up like dense small dinner rolls.
9.Can I make these gluten-free for family members with celiac disease? ▾
You can, with a few key swaps! Replace the wheat flours with a 1:1 gluten-free bread flour blend that includes xanthan gum, add an extra ½ teaspoon of instant yeast, and let shaped rounds rise 10 minutes longer before baking. The texture will be slightly less chewy than the wheat version, but still soft and sandwich-ready.
10.Why didn’t my dough rise at all during the first proof? ▾
This almost always traces back to inactive yeast, or water that was too hot and killed the yeast. Test your yeast first if it’s past its expiration date, and make sure any dough liquid is no hotter than 115°F—warm to the touch, not scalding. Cold kitchen temperatures can also slow rise times significantly.
11.Can I add seeds or other mix-ins to the sandwich thins? ▾
Absolutely! Mix 2 to 3 tablespoons of sesame seeds, poppy seeds, rolled oats, flaxseeds, or everything bagel seasoning right into the dough during the final knead, or sprinkle a pinch on top of shaped rounds right before baking for extra crunch. Don’t add more than ¼ cup total, or it will weigh the dough down.
12.How do I keep these from getting soggy when I use them for picnic sandwiches? ▾
First, make sure the thins are fully cooled before building sandwiches—warm bread traps condensation that leads to sogginess. For extra insurance, spread a thin layer of cream cheese, hummus, or mustard on the cut sides before adding wet fillings like tomato or pickles to create a moisture barrier.
13.Can I use these thins as mini pizza bases, like the recipe intro mentions? ▾
You sure can! For quick mini pizzas, split the baked thins horizontally, top them with sauce, cheese, and your favorite toppings, then broil on a baking sheet for 2 to 3 minutes until cheese is melted and bubbly. They’re sturdy enough to hold toppings without flopping, with no overly bready crust.
14.Do I need to let the shaped rounds rise a second time before baking? ▾
Yes, that short second proof is key for that soft, light texture! Once you’ve rolled out all your rounds, cover them loosely with a clean kitchen towel and let them rest 15 to 20 minutes at room temperature. They’ll puff just slightly, so they don’t turn dense and flat when they hit the hot oven.
15.Can I make this dough ahead of time and bake it fresh the next day? ▾
Totally! After the first rise, punch the dough down, seal it in an airtight container, and store it in the fridge for up to 24 hours. When you’re ready to bake, take it out, let it come to room temp for 20 minutes, shape your rounds, do the short second proof, and bake as directed.
16.What temperature and bake time gives the best soft texture? ▾
Bake them in a preheated 375°F oven for 8 to 10 minutes, just until the bottoms are lightly golden and the tops are set. Don’t bake them until deep brown, or they’ll turn crispy instead of soft. A properly baked thin will sound slightly hollow when tapped and spring back when pressed gently.
17.Can I use table salt instead of fine sea salt for this recipe? ▾
You can, just cut the measurement by 25%! Table salt is much denser and has a sharper, saltier taste than fine sea salt, so if the recipe calls for 1 teaspoon of fine sea salt, use ¾ teaspoon of table salt to avoid over-salting. Add it with the dry ingredients so it distributes evenly through the flour.
18.How do I split these thins cleanly without squishing them for sandwiches? ▾
Let them cool for at least 10 minutes after baking first—warm bread is much softer and easier to squish. Hold the thin flat on your cutting board, and use a sharp serrated bread knife to saw gently horizontally through the middle, rather than pressing down with a straight knife, for a clean, even cut.
19.My thins puffed up like small pita breads in the oven—what did I do wrong? ▾
That’s totally normal if your oven runs a little hot, or if you rolled the rounds slightly unevenly! It’s not a mistake at all—just gently press the air pocket flat with a clean kitchen towel as soon as you pull them out of the oven, and they’ll settle back into that perfect thin shape as they cool.
20.Are these sturdy enough for loaded sandwiches with lots of fillings? ▾
They absolutely are! The chewy whole-grain crumb holds up to hearty fillings like sliced turkey, avocado, roasted veggies, and even tuna salad without tearing or getting soggy, as long as you don’t overload them with more than ½ cup of wet fillings per sandwich. They’re less bready than regular slices, but just as sturdy.

Comments (15)

2 days ago

OMG these are a total game changer! I whipped these up for our family pool day and they held up perfectly for turkey sandwiches, even with all the veggies and condiments stuffed inside. No soggy bread! I was worried whole grain would come out dense, but they’re so soft and chewy, exactly like the expensive ones at the grocery store but way cheaper. Cook time was exactly 12 minutes like the recipe said, no guesswork. SO good!

yesterday

So glad they held up for your pool day! A quick tip: if you let them cool completely before stacking in an airtight container, they’ll stay soft for up to 5 days in the fridge, perfect for quick meals all week.

3 days ago

Great easy recipe! I’ve been trying to cut back on processed bread for my gym meal prep and these hit the spot. I added a tablespoon of everything bagel seasoning to the top before baking and *chef’s kiss*. Only thing is mine stuck a little to the baking sheet, did I do something wrong?

2 days ago

I had the same issue at first! Lining my sheet with parchment paper fixed it completely, no more sticking, and clean up is way easier too.

2 days ago

Love the everything bagel seasoning addition, that sounds delicious! Parchment paper is a great call, or you can give your baking sheet a light spritz of non-stick spray if you don’t have parchment on hand. Happy baking!

1 week ago

Brought these to my neighborhood potluck last weekend and people were asking me for the recipe left and right! I used half white whole wheat and half regular whole wheat flour for an extra nutty flavor, and they were a huge hit. Even my friend who swears she hates whole grain bread ate two sliders on them.

2 hours ago

Wait, can I make these with oat flour instead? I have a bunch left over from making energy bites and I don’t want to run to the store right now. The recipe looks so easy, I’m excited to try it!

30 minutes ago

Great question! You can swap up to 1/3 of the whole grain flour for oat flour without changing the texture too much, but swapping all of it will make the thins a little more crumbly. If you try it, let us know how it turns out!

5 days ago

My kids loved it! I was shocked because they usually turn their noses up at anything that says “whole grain” on it. I used them to make mini peanut butter and jelly sandwiches for their after school snack and they gobbled them up before they even asked for cookies. Total win for this tired mom.

3 days ago

Same here! My teen has been refusing whole wheat bread for years but he ate two of these with hummus and roasted veggies for lunch yesterday. Wild what a soft, non-cardboard texture will do, right?

2 days ago

Nothing beats winning over the picky eaters! So happy these worked out for your after school snacks, that makes our day to hear.

1 week ago

These are perfect for packing on day hikes! They’re sturdy enough not to get squished in my backpack, light enough that I don’t feel weighed down, and the flavor is mild enough to pair with both sweet (almond butter and banana) and savory (turkey and cheese) fillings. Will be making a double batch next time!

5 days ago

Great call bringing these on hikes! I made a batch for our last car camping trip and they lasted 3 days in our cooler without getting moldy or soggy, way better than regular sliced bread.

2 weeks ago

I’ve been baking bread for 40+ years and I was skeptical a 12 minute cook time would produce something good, but color me impressed. The crumb is soft, the crust has just the right amount of chew, and it’s so easy even my teenage grandson could follow the steps without messing it up. Great recipe for beginners.

30 minutes ago

I made a batch last night and they are amazing! Quick question: do these freeze well? I’m in a dorm with a tiny mini fridge and no extra space, so I usually freeze bread to keep it from going bad before I can eat it all. 10/10 flavor and texture!

5 minutes ago

Yes! I froze half my last batch for 3 weeks, just popped them in the toaster straight from the freezer when I was ready to eat and they tasted exactly as fresh as the day I made them.

just now

They freeze beautifully! Just slice them in half first before popping them in a freezer bag, so you can pull them out and toast them directly from frozen without waiting for them to thaw. Perfect for small fridge spaces!

yesterday

I swapped the sweetener for a little honey instead of sugar and it added such a nice subtle floral note! Super easy recipe, no fancy equipment needed, I didn’t even have to pull out my stand mixer, just mixed everything by hand in a big bowl.

yesterday

The honey swap sounds incredible! We love how customizable this recipe is—no stand mixer required makes it accessible for everyone, which is exactly what we were going for. Thanks for sharing your tweak!

2 weeks ago

Total budget win! I calculated the cost and a whole batch comes out to less than $2, compared to the $5 a pack they charge for pre-made sandwich thins at my local grocery store. They taste better too, no weird preservative aftertaste. I’ll never go back to store bought.

just now

Guys I am TERRIBLE at baking, like I burn boxed brownies level bad. But these came out perfect on my first try! The instructions were so clear, cook time was spot on, and they didn’t collapse or turn into hockey pucks like every other bread recipe I’ve tried. I feel so accomplished right now lol

just now

Same! I’m also a disaster at baking and these were foolproof. I even forgot to let them rise the full time the recipe said and they still came out soft, you’ve got this!

2 days ago

These hold up so well to loaded veggie sandwiches! I piled mine high with roasted red peppers, avocado, sprouts, cucumber, and hummus and it didn’t get soggy or fall apart halfway through eating, which is my #1 complaint about most thin sandwich breads. 10/10 texture, 10/10 flavor.

1 week ago

Quick question: can I make these nut free? My son has a severe tree nut and peanut allergy so I have to be super careful about cross contamination, but these look perfect for his school lunches.

5 days ago

I have a kid with the same allergies! This recipe is totally nut free as written, no nut ingredients at all, just make sure your flour and other ingredients are labeled nut free if cross contamination is a concern.

3 days ago

Great question! The base recipe has no nut ingredients at all, so it’s easy to make nut-free for school settings, just double check your ingredient labels as the previous commenter mentioned to avoid cross-contamination risks. Hope your son loves them!

3 days ago

Used these as the base for breakfast sandwiches this past weekend and they were chef’s kiss! Toasted them up a little, added a fried egg, some cheddar, and a slice of tomato, and my partner said they were better than the fast food breakfast sandwiches we get on road trips. Will be adding these to our regular Sunday brunch rotation.

yesterday

Wait a second, I just made these and they’re way softer than I expected! I was prepping for tuna melts and I was worried they’d get too crispy under the broiler, but they held up perfectly and got just the right amount of crunch on the edges without turning hard. So good!

yesterday

So happy they worked for your tuna melts! The soft crumb is designed to hold up to toasting and broiling without turning rock hard, so it’s perfect for hot sandwiches too. Great call using them for melts!



