
Scotcharoo Bars
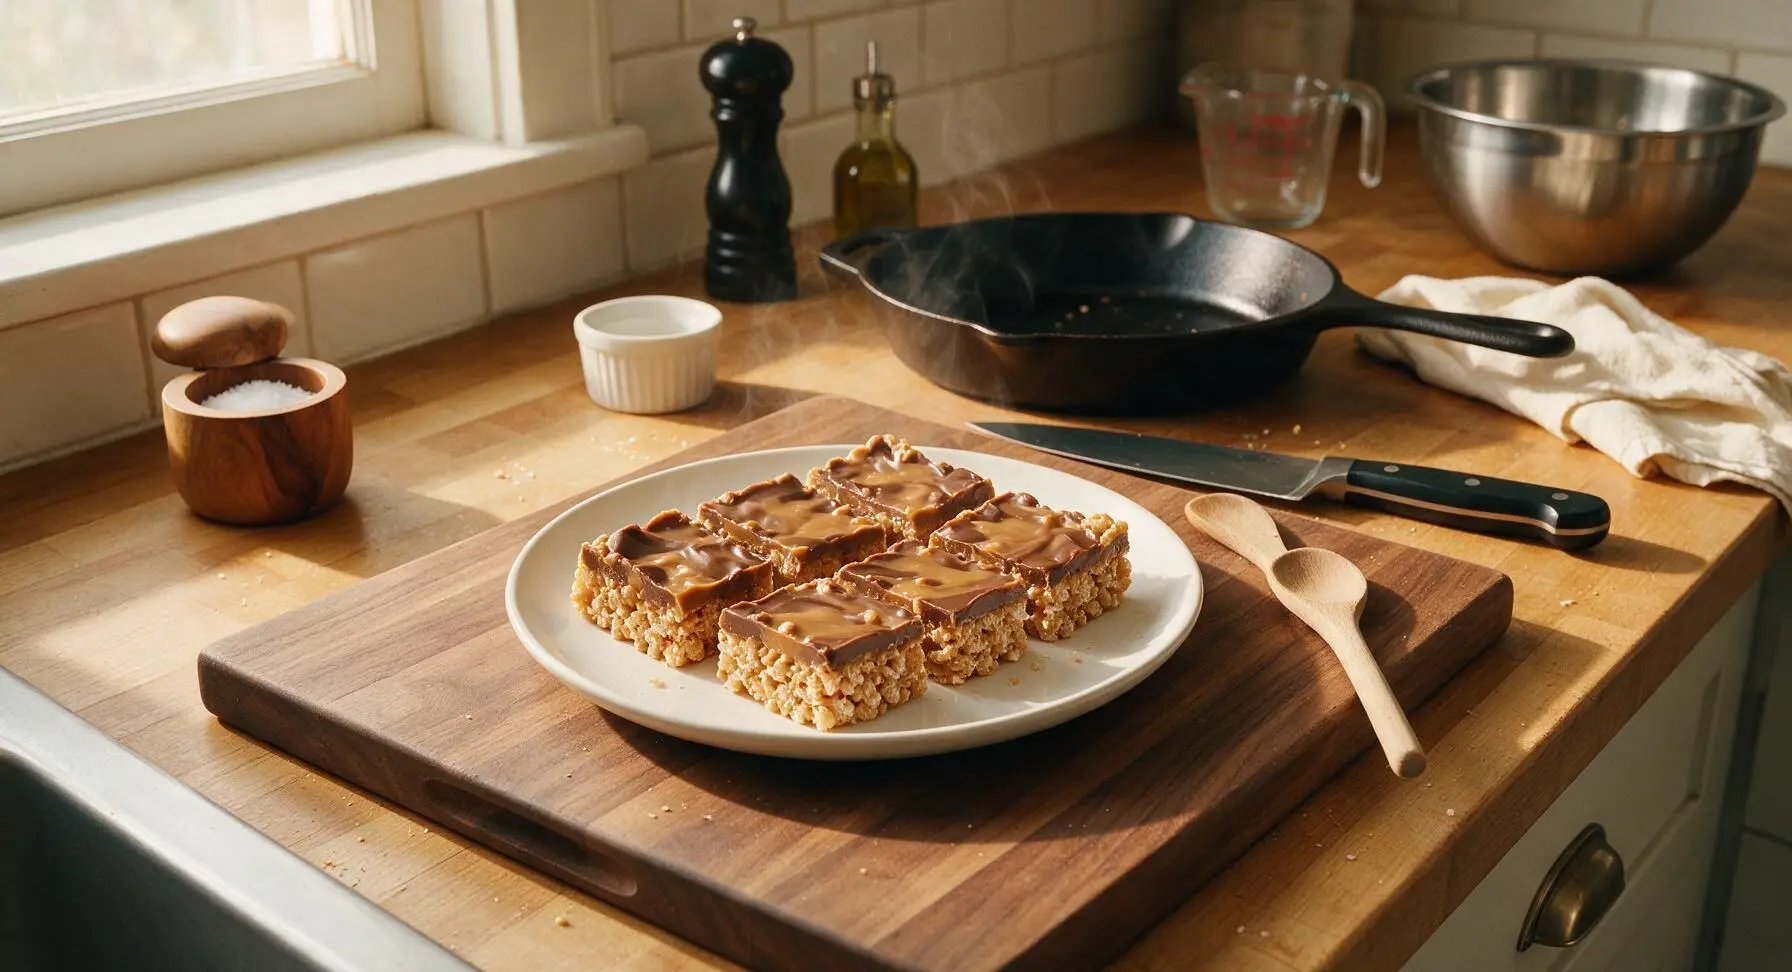
intro
Chewy peanut butter rice cereal bars topped with a smooth butterscotch-chocolate layer, the beloved no-bake Midwestern potluck treat that comes together in minutes.
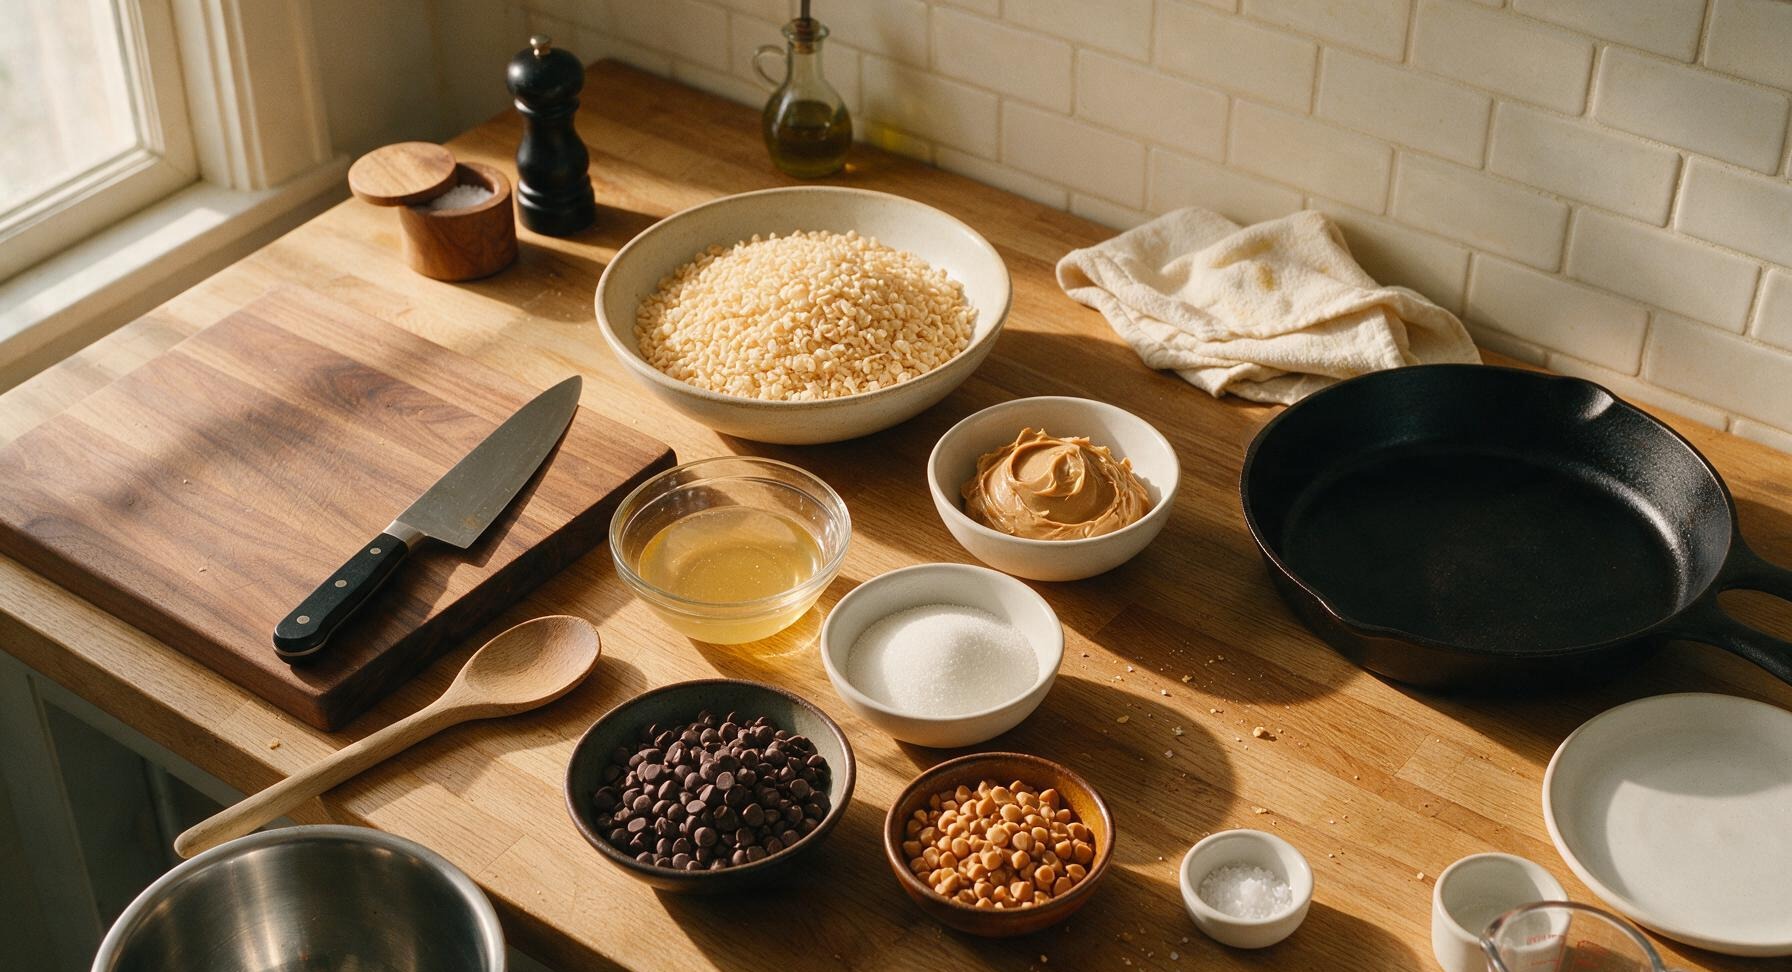
Ingredients
Steps
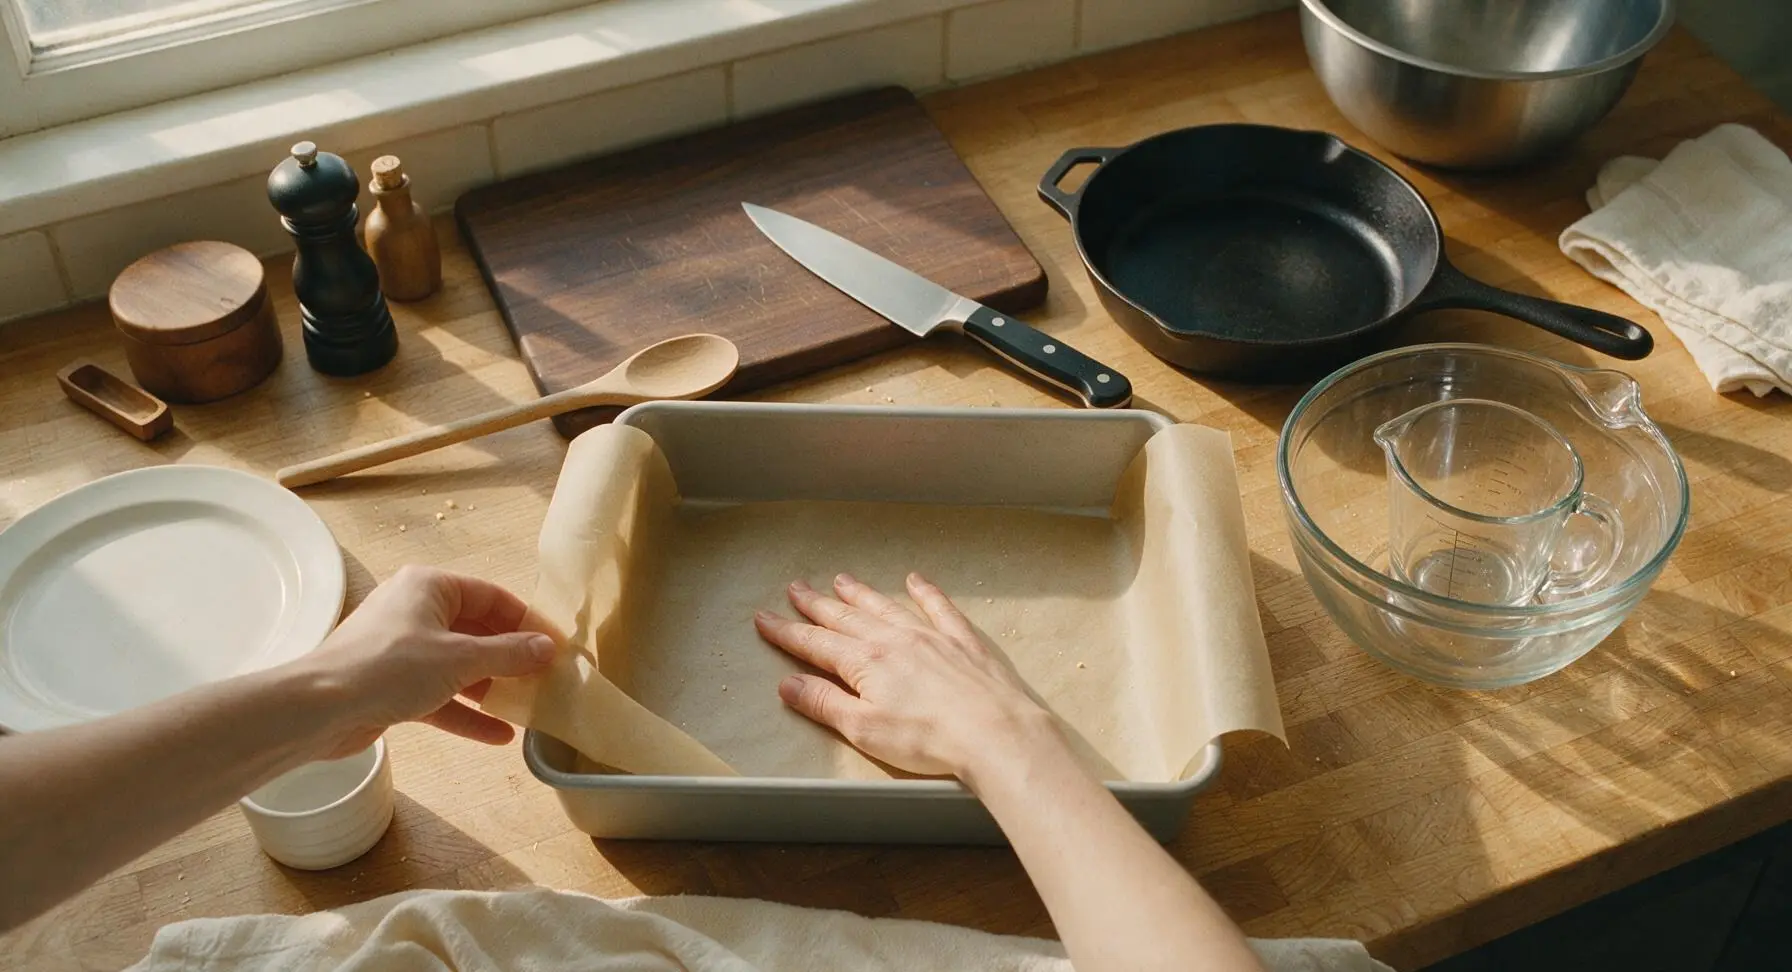
Line Baking Pan
Line the 9x13 inch light gray metal baking pan with the pre-cut unbleached parchment paper, leaving a 2-inch overhang on the two long sides to act as handles for lifting the finished bars out later. Smooth the parchment flat against the bottom and sides of the pan to eliminate wrinkles or air bubbles; a tiny dab of peanut butter under the parchment at the corners will hold it in place if it slips.
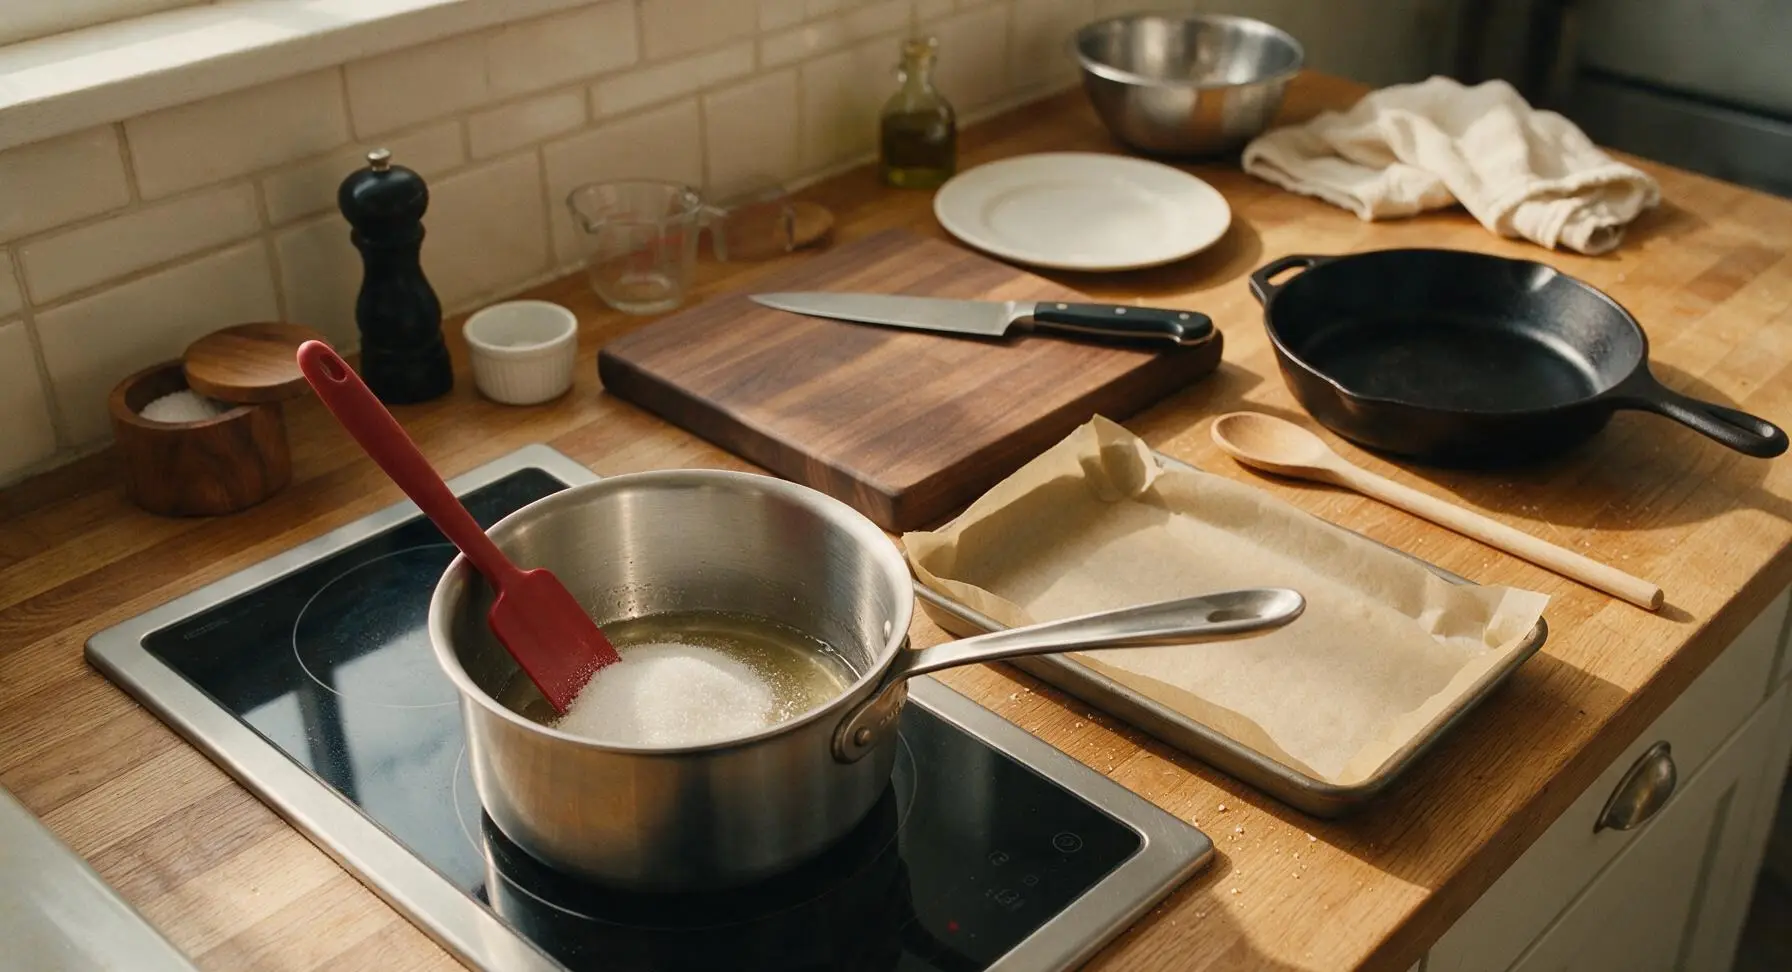
Heat Syrup and Sugar
Place the 2-quart brushed stainless steel saucepan on the left induction burner over medium-low heat. Add 1 cup light corn syrup and 1 cup granulated sugar to the pan, stirring constantly with the matte red silicone spatula. Cook for 3-4 minutes, stirring occasionally, until the sugar fully dissolves and the mixture just begins to bubble around the edges—do NOT bring to a rolling boil, as this will make the bars rock hard instead of chewy. Remove the pan from heat immediately once small edge bubbles form.
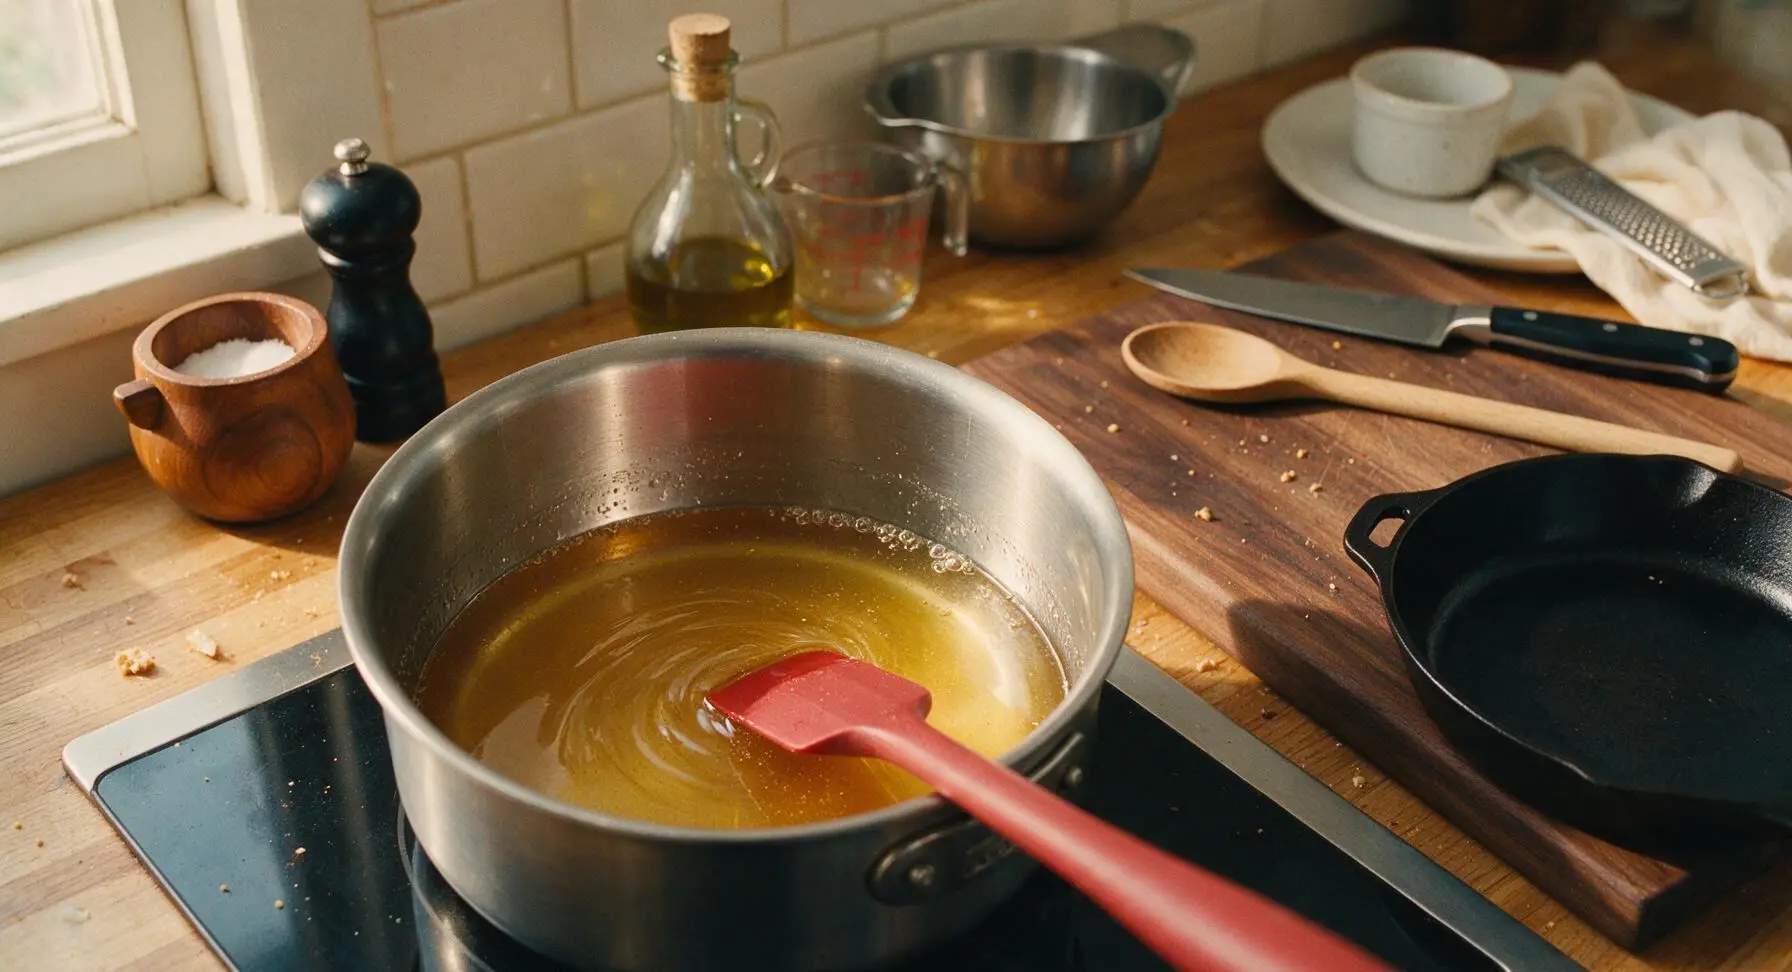
Mix in Peanut Butter
Add 1 cup of creamy peanut butter to the warm sugar-syrup mixture in the saucepan, stirring continuously with the red silicone spatula until the peanut butter is fully melted and the mixture is completely smooth, with no streaks of peanut butter remaining. This should take about 1 minute of steady stirring; do not return the pan to heat, as residual warmth from the syrup will melt the peanut butter fully.
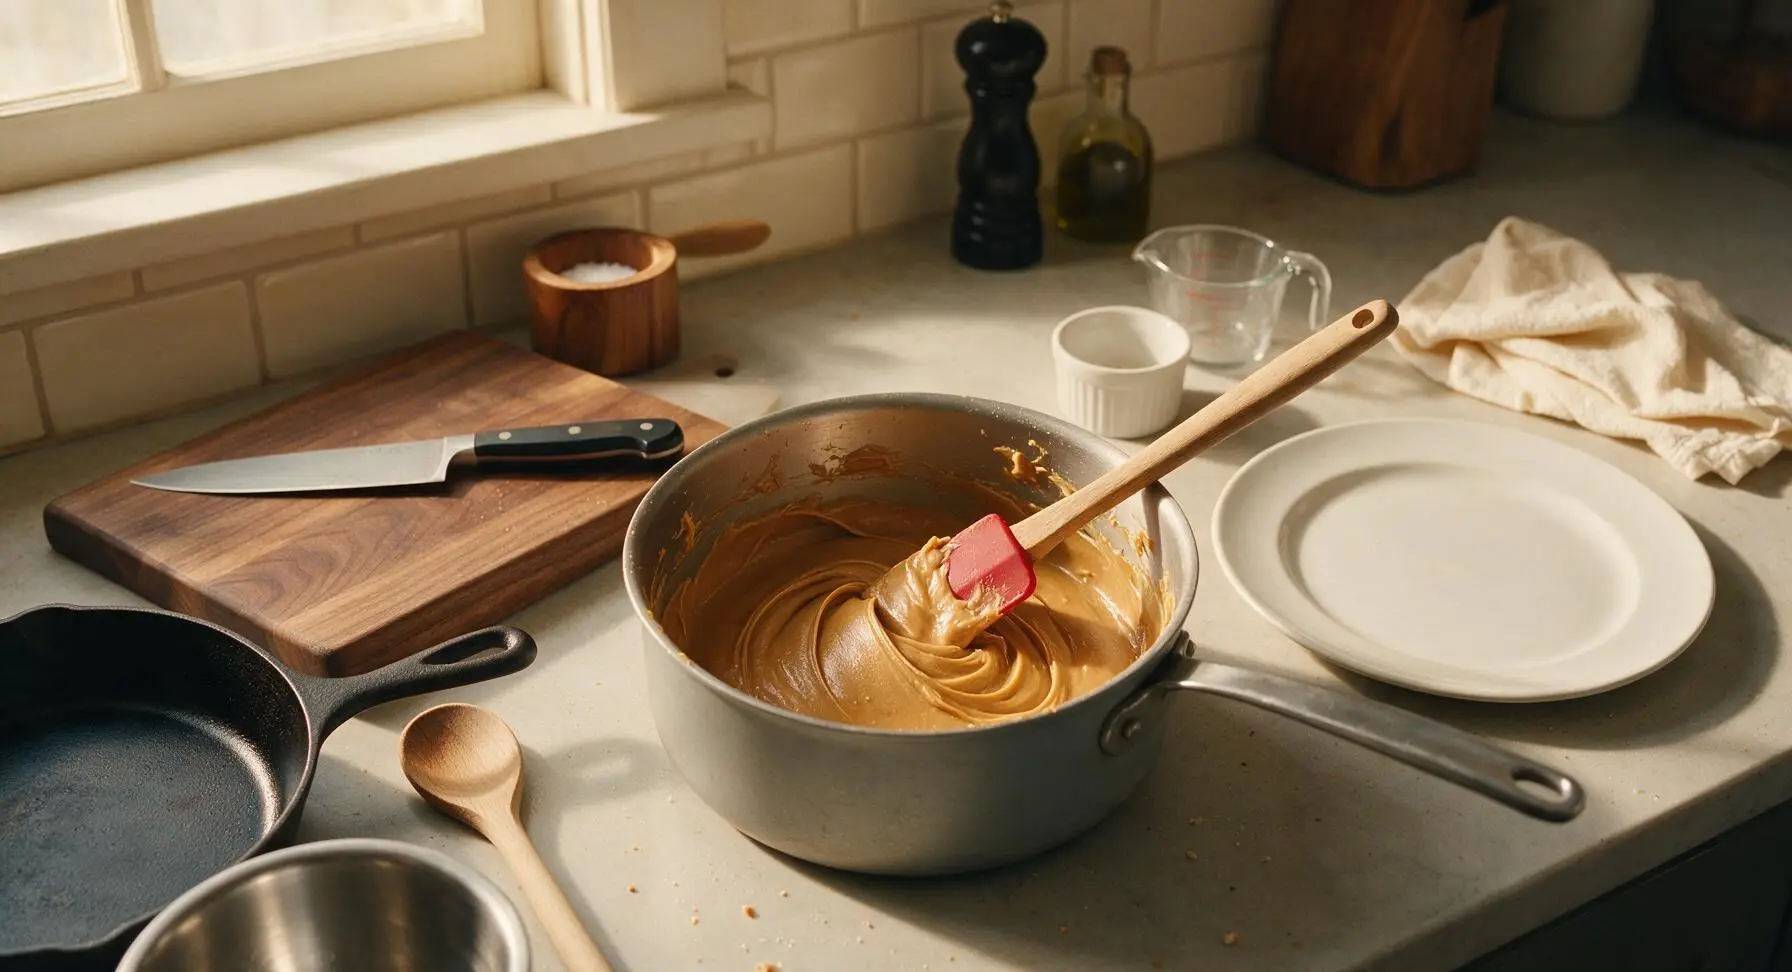
Fold in Rice Cereal
Transfer the warm peanut butter mixture from the saucepan into the large 4-quart glass mixing bowl holding the 6 cups of crisp rice cereal. Gently fold the cereal with the silicone spatula, turning from the bottom of the bowl up to coat every piece of cereal evenly with the peanut butter mixture. Take care not to crush the cereal as you stir—folding slowly rather than stirring aggressively will keep the bars light and crisp, with no dry uncoated cereal patches.
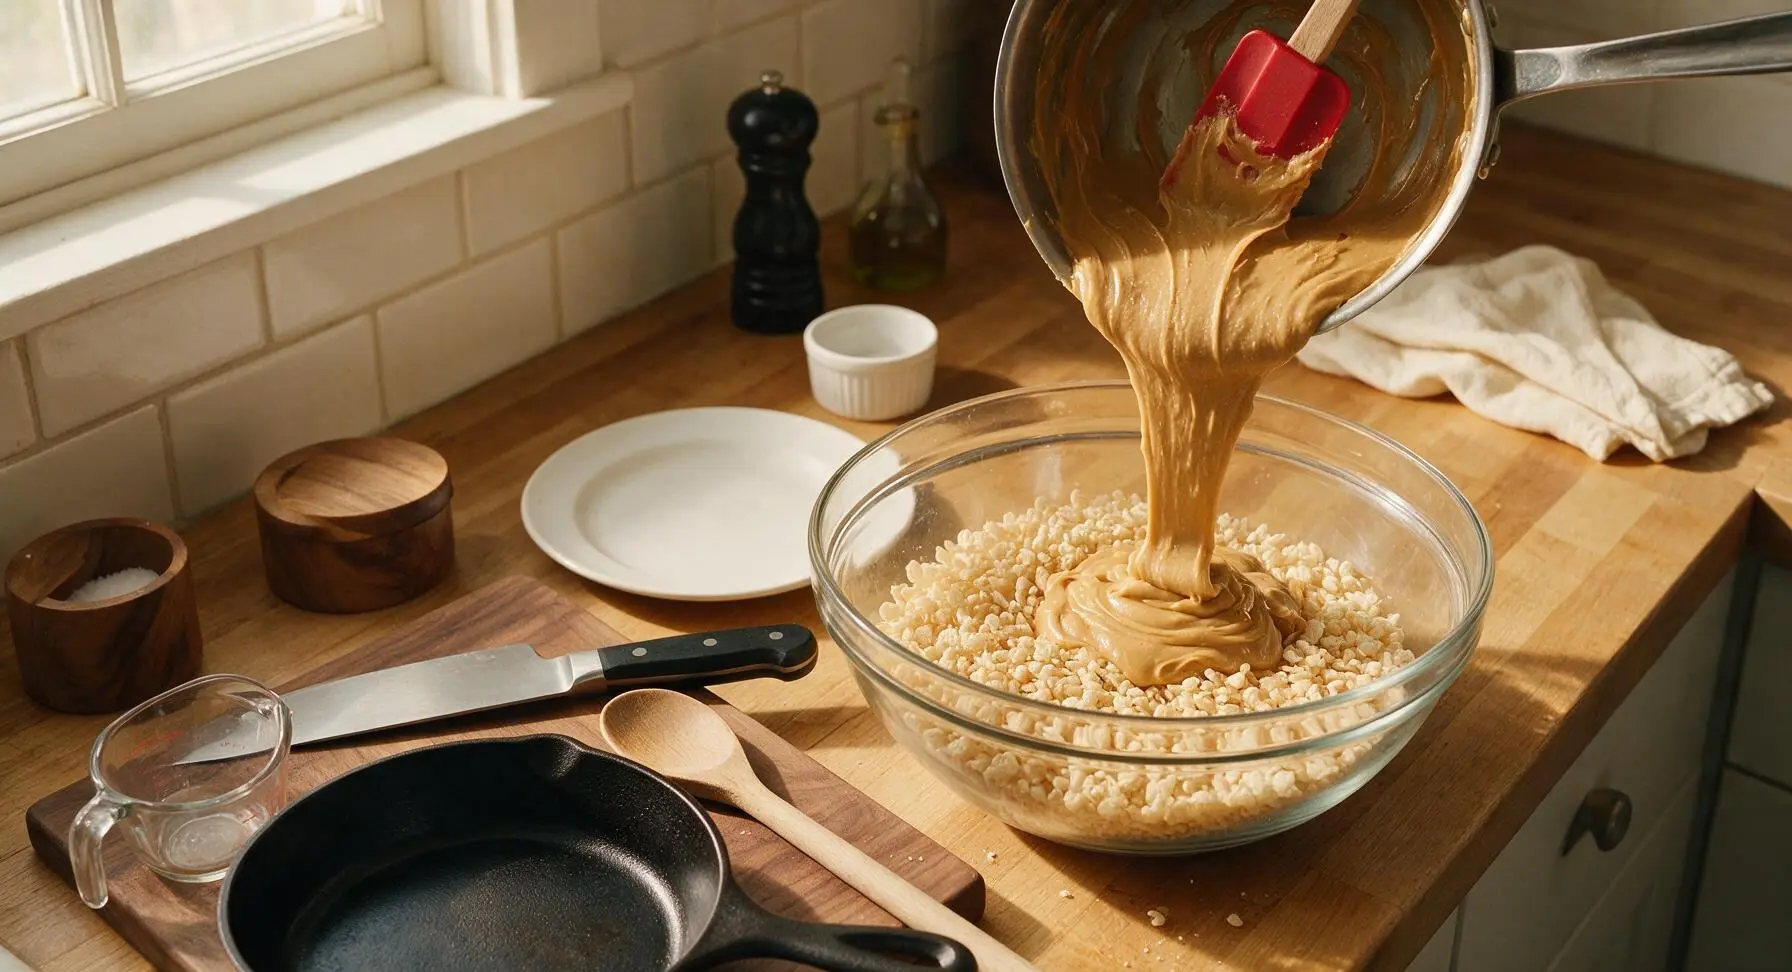
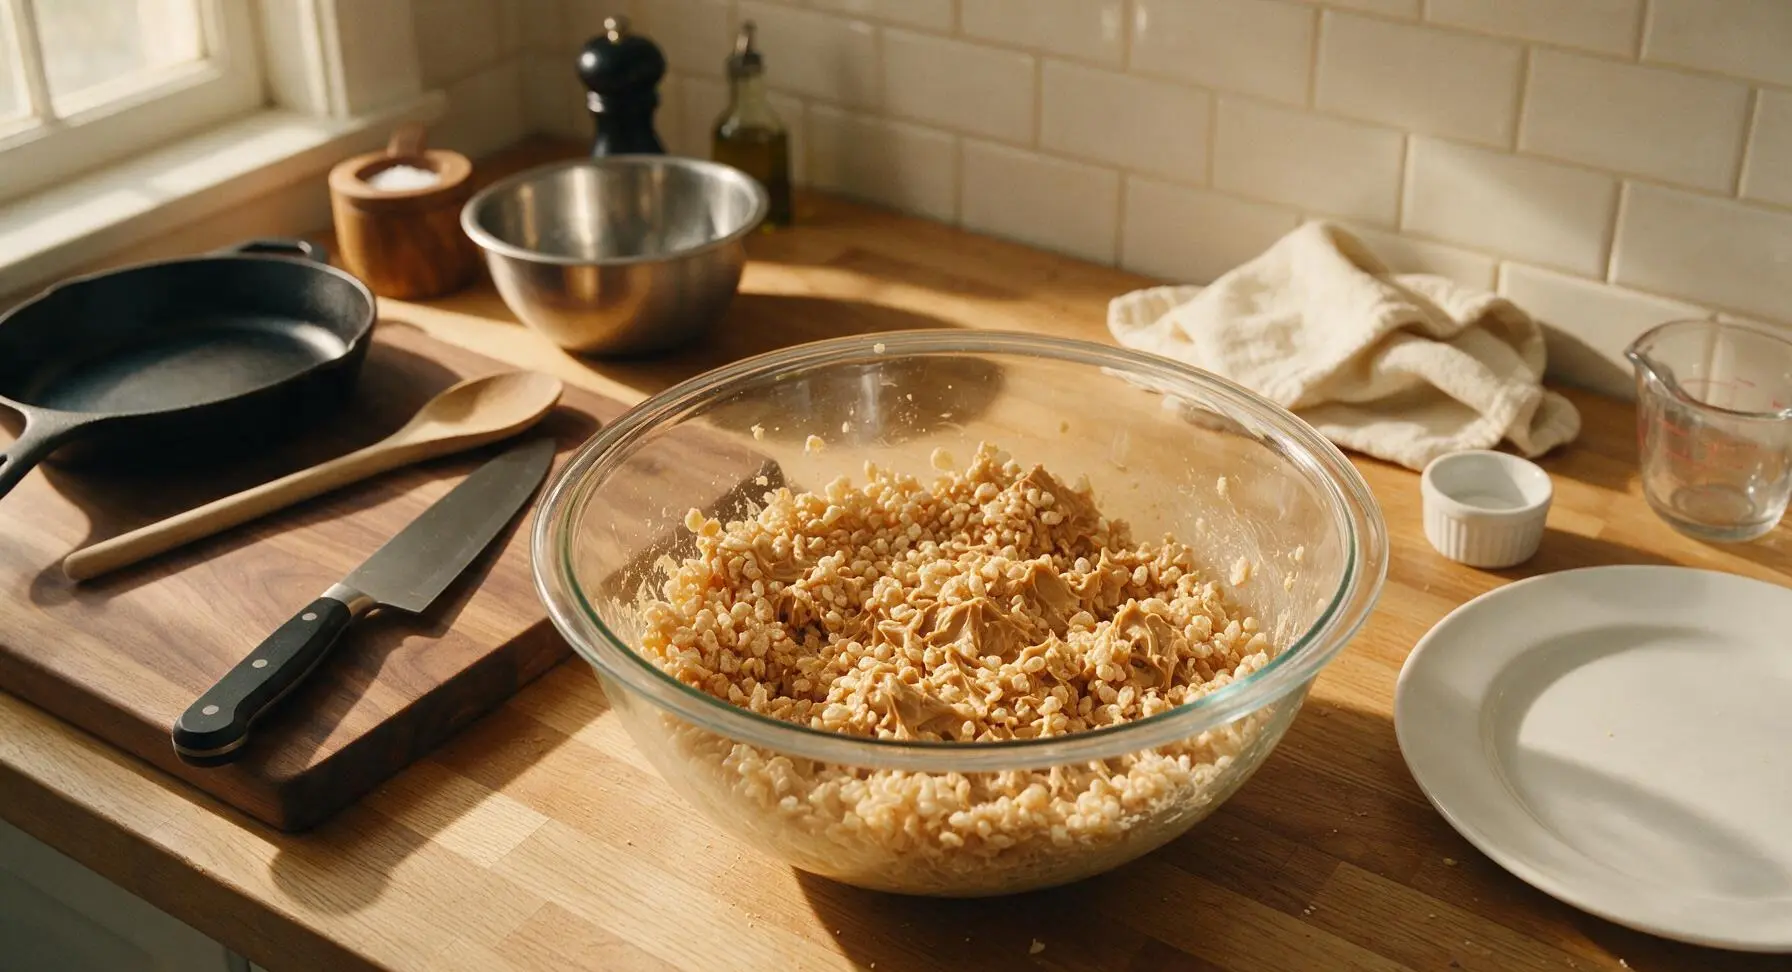
Press Mixture into Pan
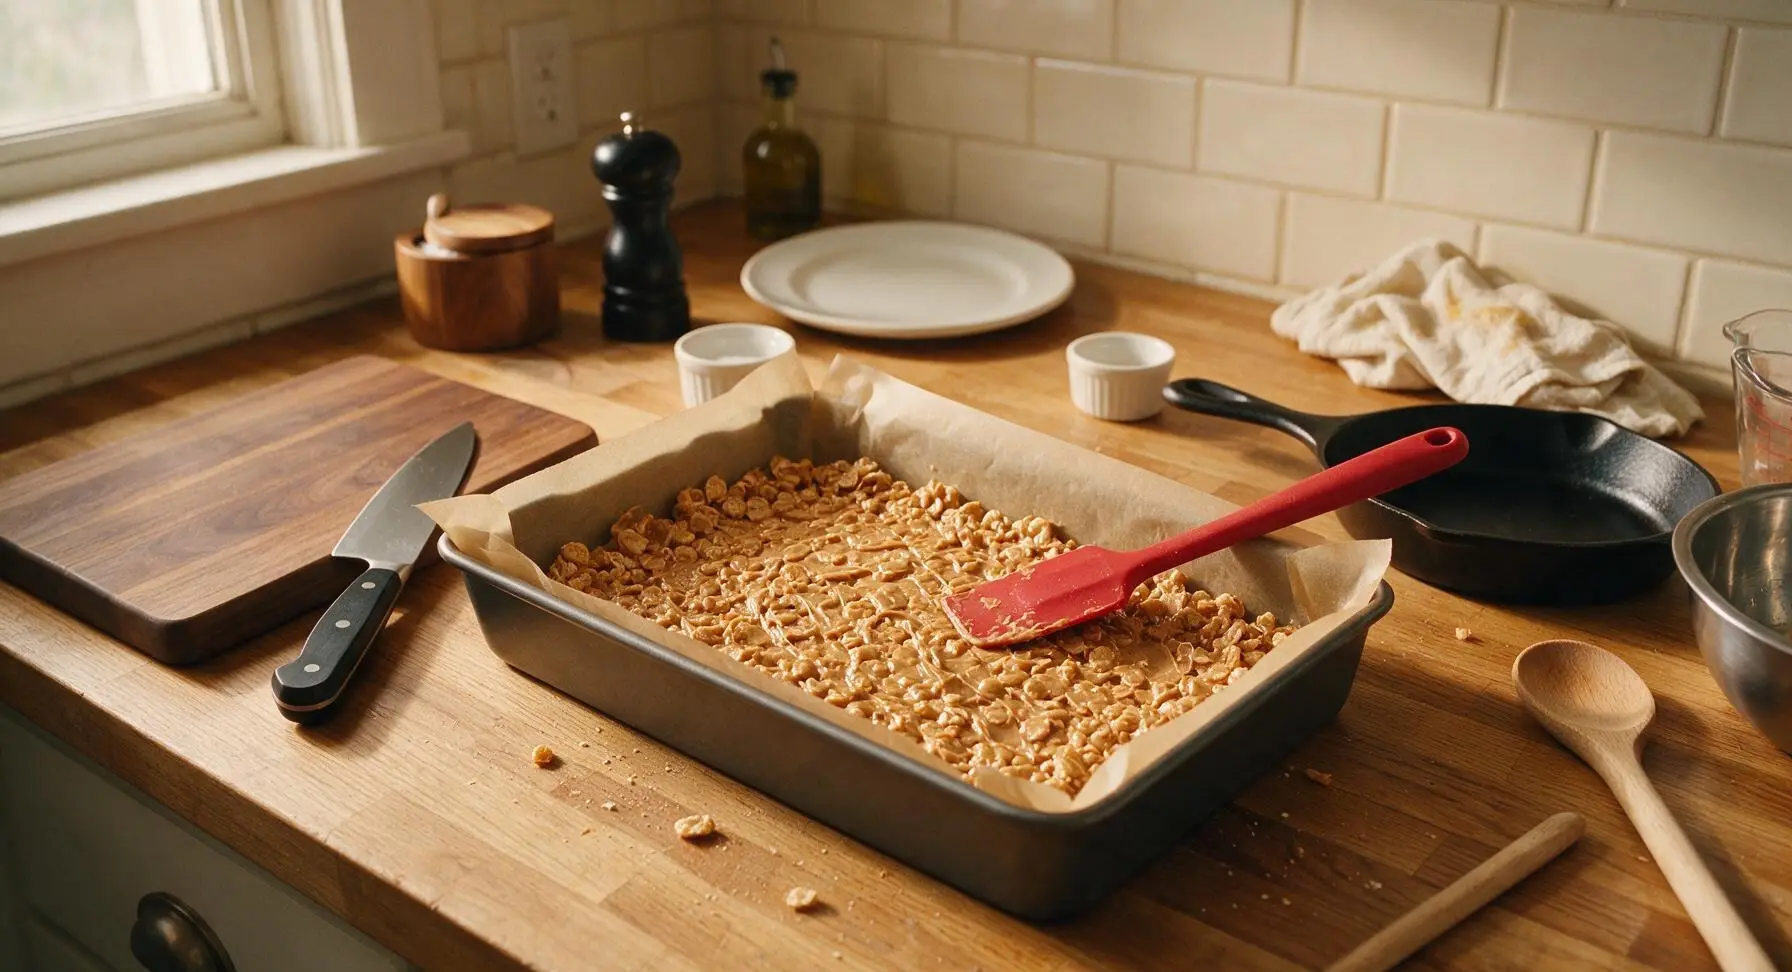
Scrape all of the coated cereal mixture from the mixing bowl into the parchment-lined 9x13 baking pan. Use the flat back of the red silicone spatula (or lightly greased clean fingers) to press the mixture firmly and evenly across the entire pan, creating a flat, compact base layer. Press firmly enough that the mixture holds together, but not so hard that you crush the cereal into fine crumbs. Set the pan aside while you make the topping.
Melt Chip Topping
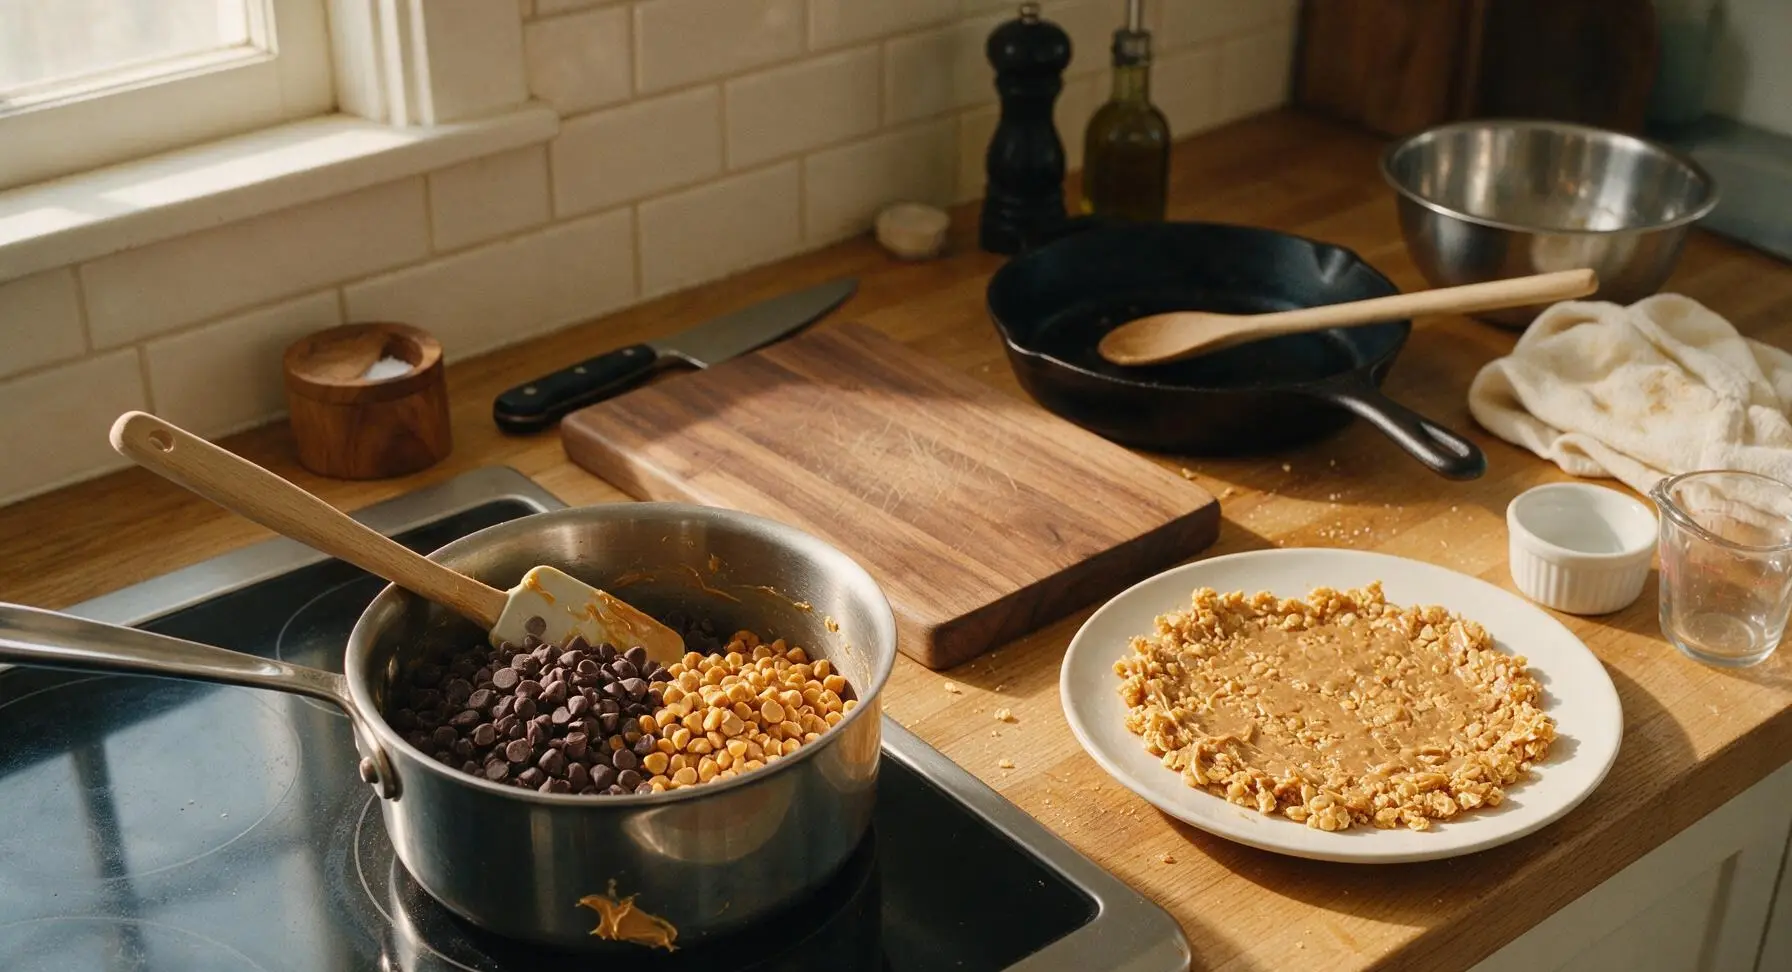
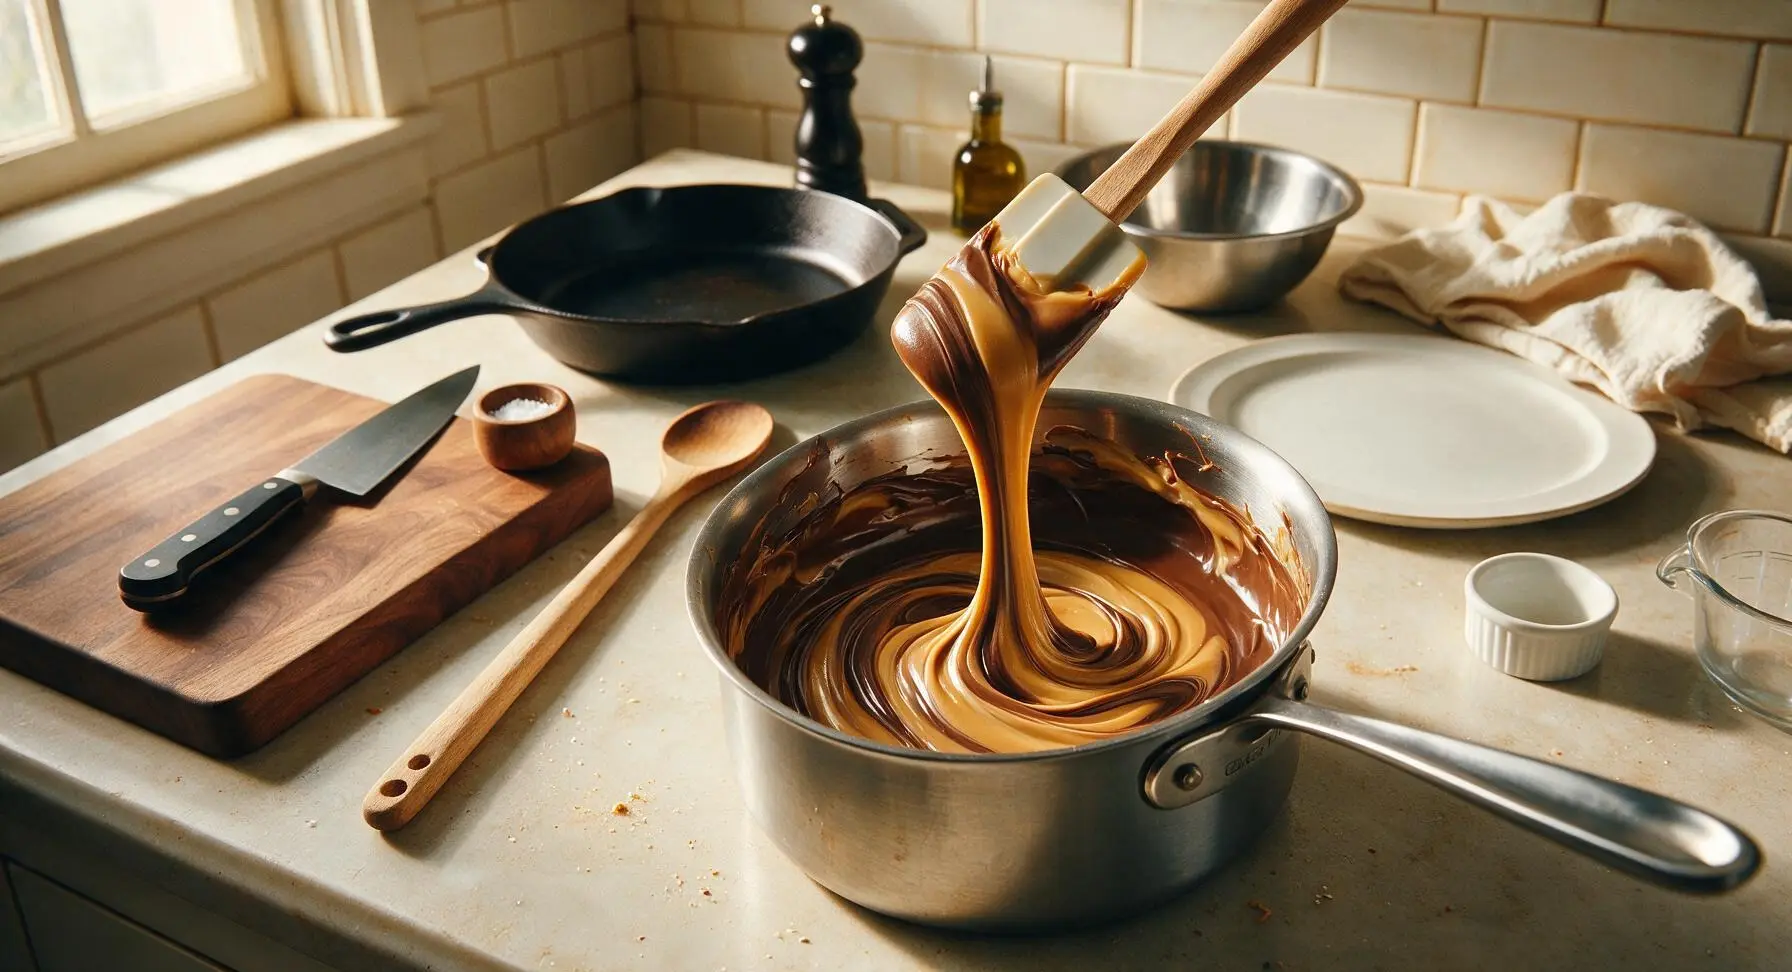
Wipe out the 2-quart stainless steel saucepan with a paper towel to remove leftover peanut butter residue. Add 1 cup semi-sweet chocolate chips and 1 cup butterscotch chips to the pan, place over the lowest heat setting, stirring constantly with the clean silicone spatula for 2-3 minutes until the chips are fully melted and smooth, with no lumps remaining. Do not turn the heat up, as chocolate burns easily at high temperatures and will develop a grainy texture.
Spread Topping Evenly
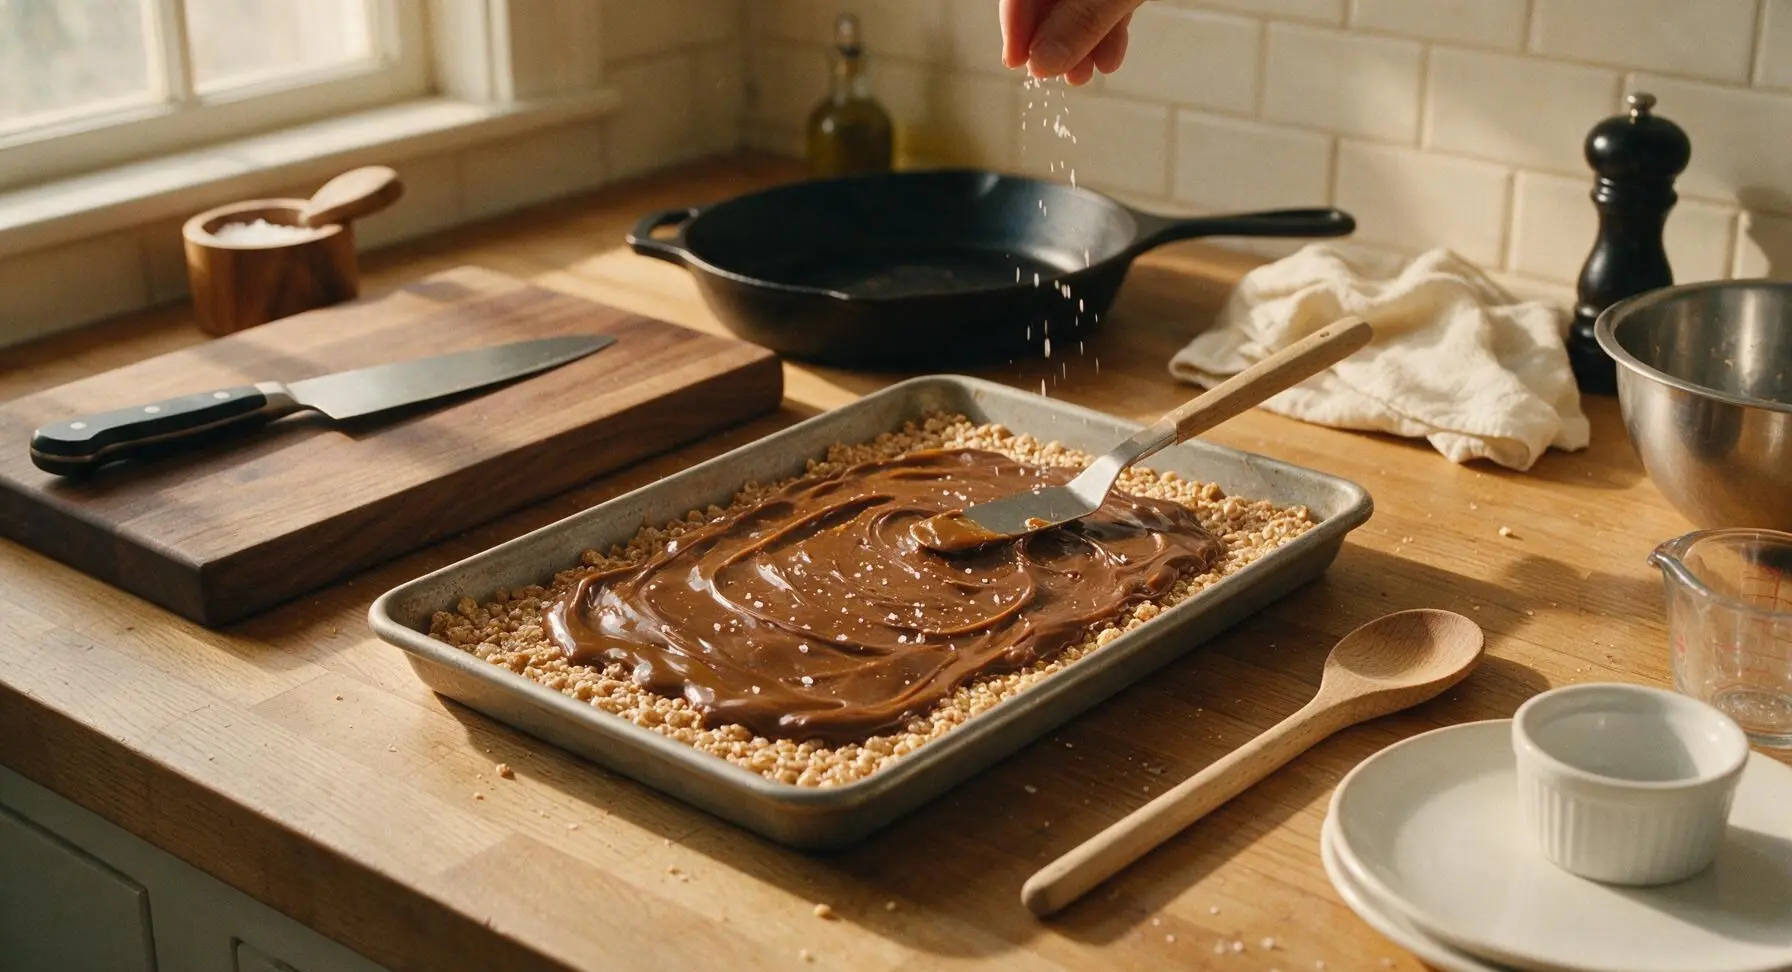
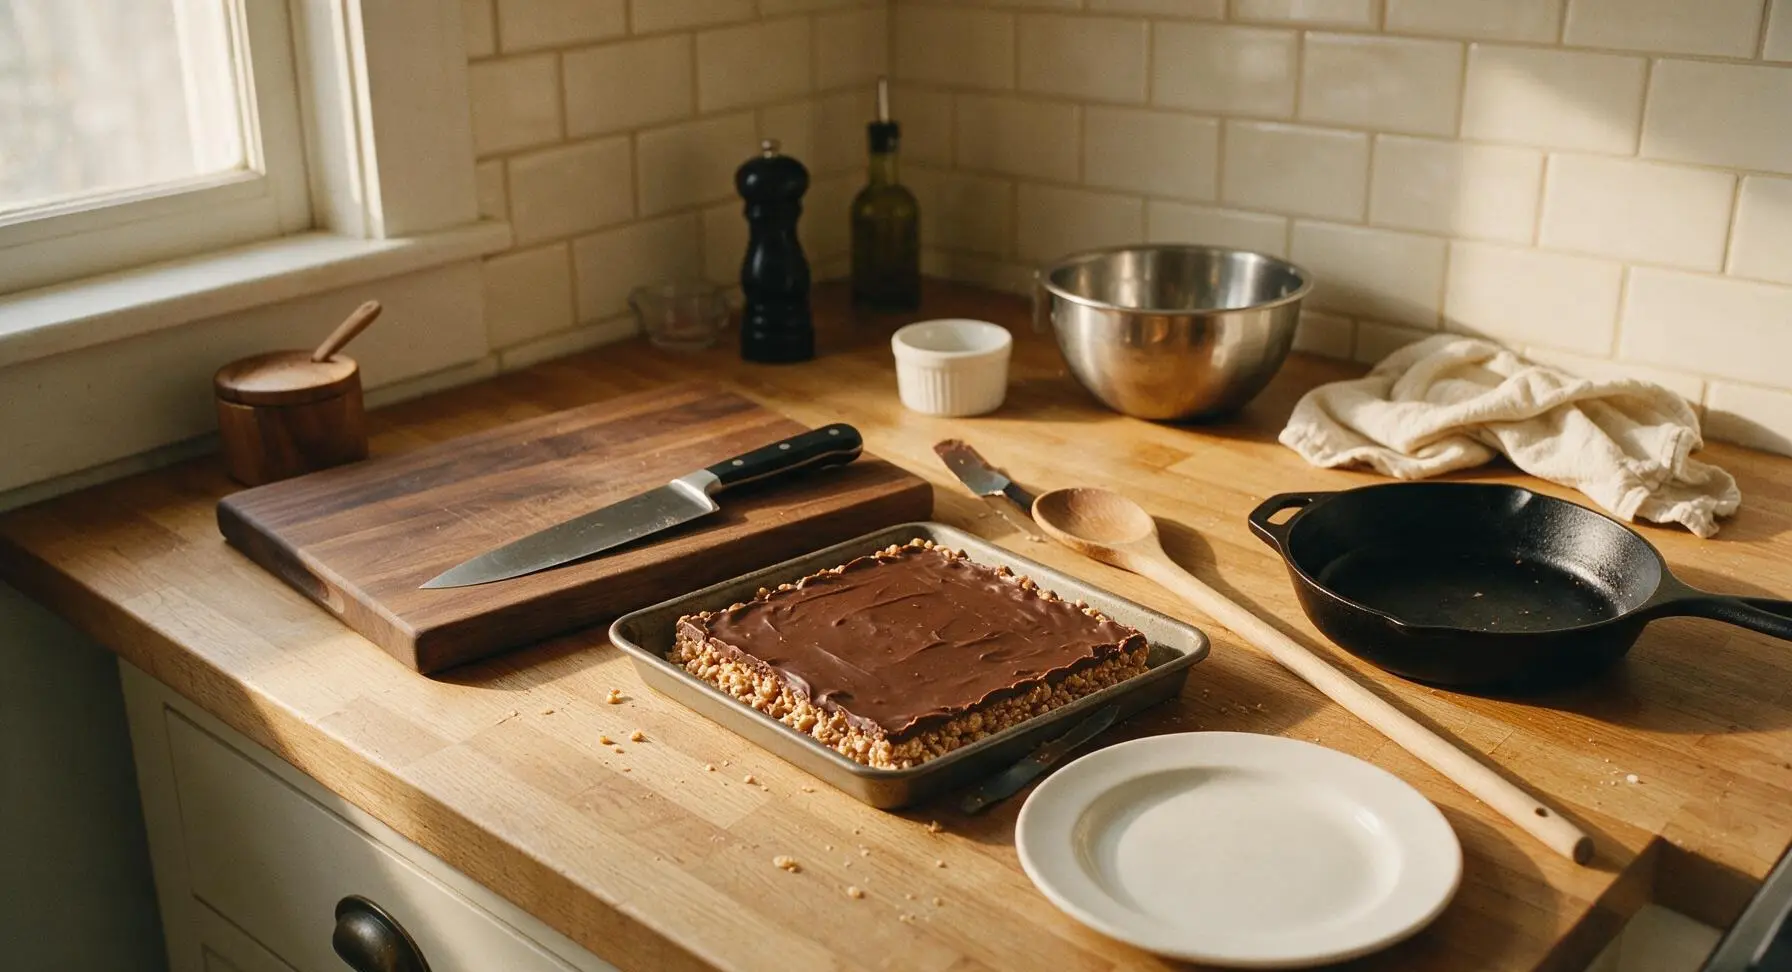
Pour the melted chocolate-butterscotch mixture directly over the pressed cereal base in the baking pan. Use the small offset metal spatula to spread the topping in a thin, even layer across the entire surface of the bars, working all the way to the pan edges. Sprinkle the ¼ tsp flaky sea salt evenly over the warm topping immediately after spreading, before it begins to set.
Chill Until Set
Place the uncovered pan of bars in the refrigerator for 45 minutes to 1 hour, until the chocolate topping is completely firm to the touch and the base has set. Do not leave the bars in the fridge for longer than 2 hours, as extended chilling can make the crisp cereal base absorb moisture and turn soggy.
Cut into Square Bars
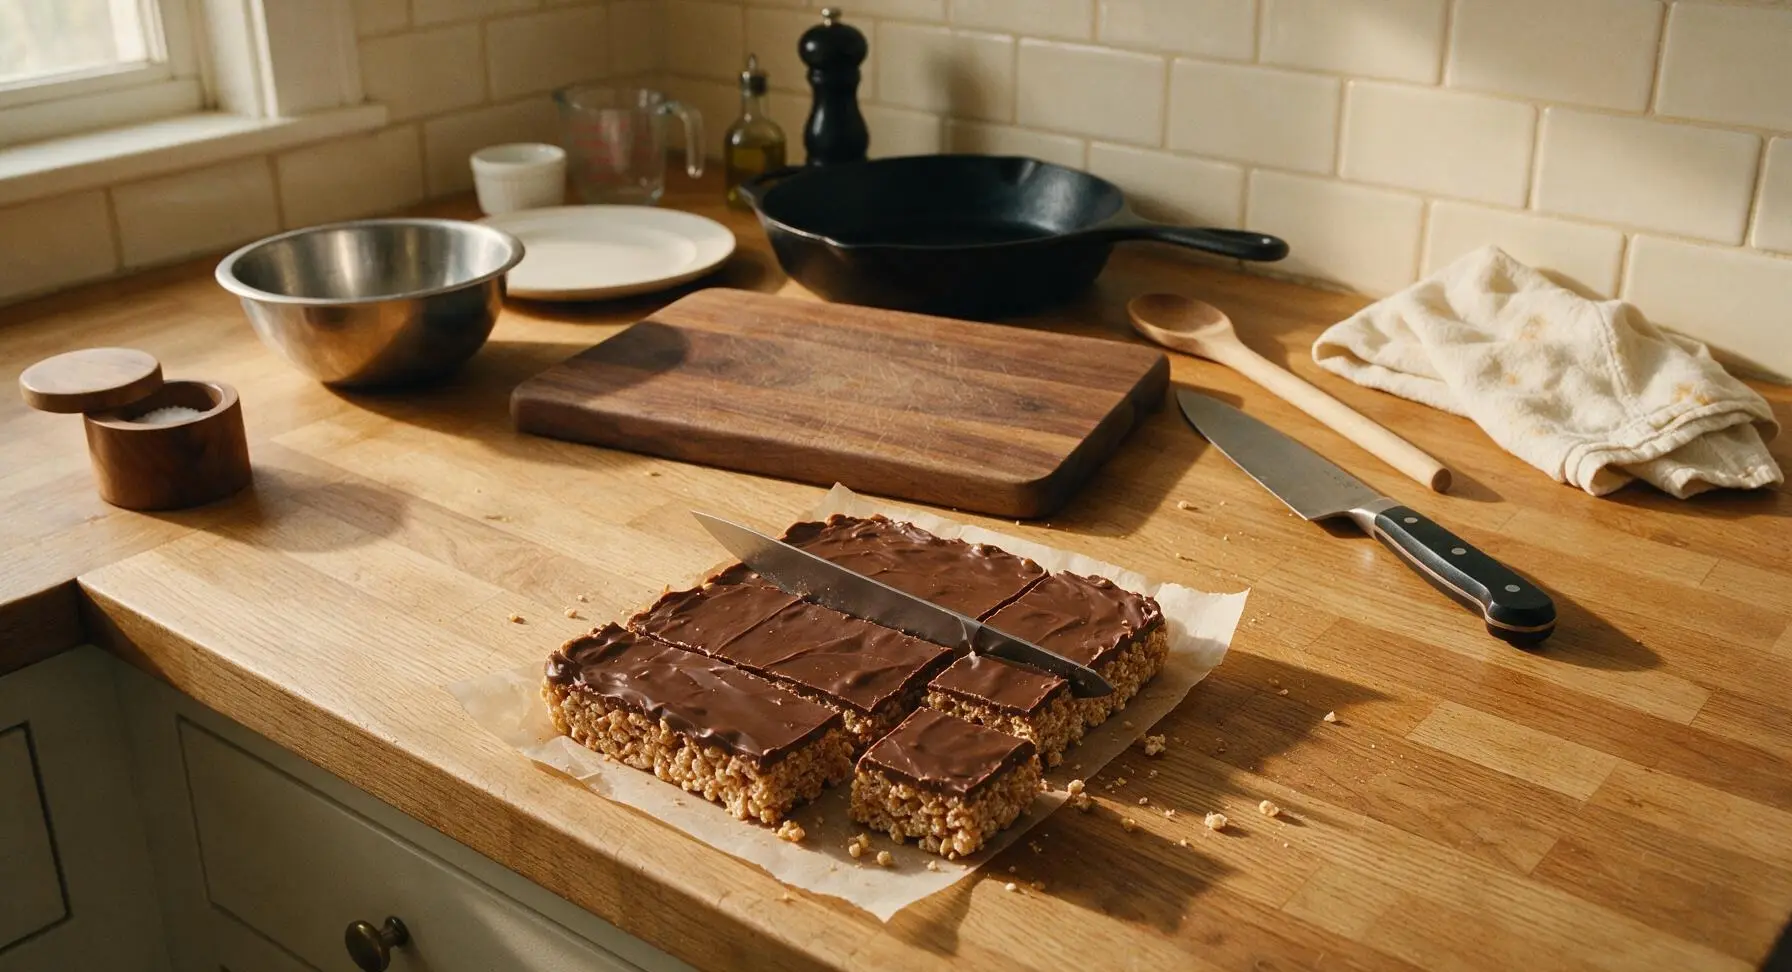
Use the parchment paper overhang to lift the entire block of bars out of the baking pan and transfer it to the counter surface. Peel the parchment paper away from the sides of the block. Use the sharp paring knife to cut the block into 16 even 2.5-inch squares, wiping the knife blade clean with a warm damp cloth between cuts to get smooth, clean edges through the chocolate topping without cracking.
Tips
2.Use no-stir creamy peanut butter (not natural, oil-separated peanut butter) for the best texture: natural peanut butter has excess free oil that can seep into the cereal base, making bars greasy and preventing them from holding a firm shape. If you only have natural peanut butter, stir it extremely well and pour off any separated oil before measuring.
3.Let the chilled bars rest at room temperature for 10 minutes before slicing: this softens the chocolate topping just enough to prevent it from cracking or shattering when you cut it. Wiping your knife blade with a warm damp cloth between cuts will give you perfectly clean, bakery-worthy edges without crumbs.






OMG these Scotcharoo bars are SO good! I brought them to my kid’s soccer potluck last weekend and every single parent asked for the recipe. The 10 minute cook time is no joke — I threw them together right before we left the house and they were set by the time we got to the field. Total game changer for last minute event treats!
Wait, quick question — I only have crunchy peanut butter on hand right now, will that mess up the texture at all? I’m making these for my dorm floor tonight and don’t have time to run to the grocery store!
I made these for a day hike with my friends last weekend and they held up so well in my backpack, no melting even when it was 85 degrees out! I added a little extra butterscotch chips because that’s my favorite part, and it was chef’s kiss. My friends are already begging me to make a double batch for our next trip.
These are now a permanent part of my Sunday meal prep rotation! I cut them into little squares and store them in the fridge for quick after-work snacks all week. They’re sweet enough to curb a candy craving but way more satisfying than a random candy bar from the vending machine. So easy even I can’t mess them up, and I’m definitely not a skilled baker.
Y’all, I’ve been making Scotcharoos for family cookouts for 20 years and this recipe is hands down the easiest version I’ve ever tried. No weird fancy ingredients, no fussy steps, and the flavor is exactly the classic chewy, peanut buttery, butterscotch goodness I remember from childhood. 10/10!
Made these with my 7 year old twins last night for their class treat day, and they had an absolute blast helping stir and sprinkle the chips on top. I was worried they’d be too sticky or messy but the texture came out perfect! Only note is I lined my pan with parchment paper which made cleanup literally 30 seconds. Worth it!