
Scotcharoos
intro
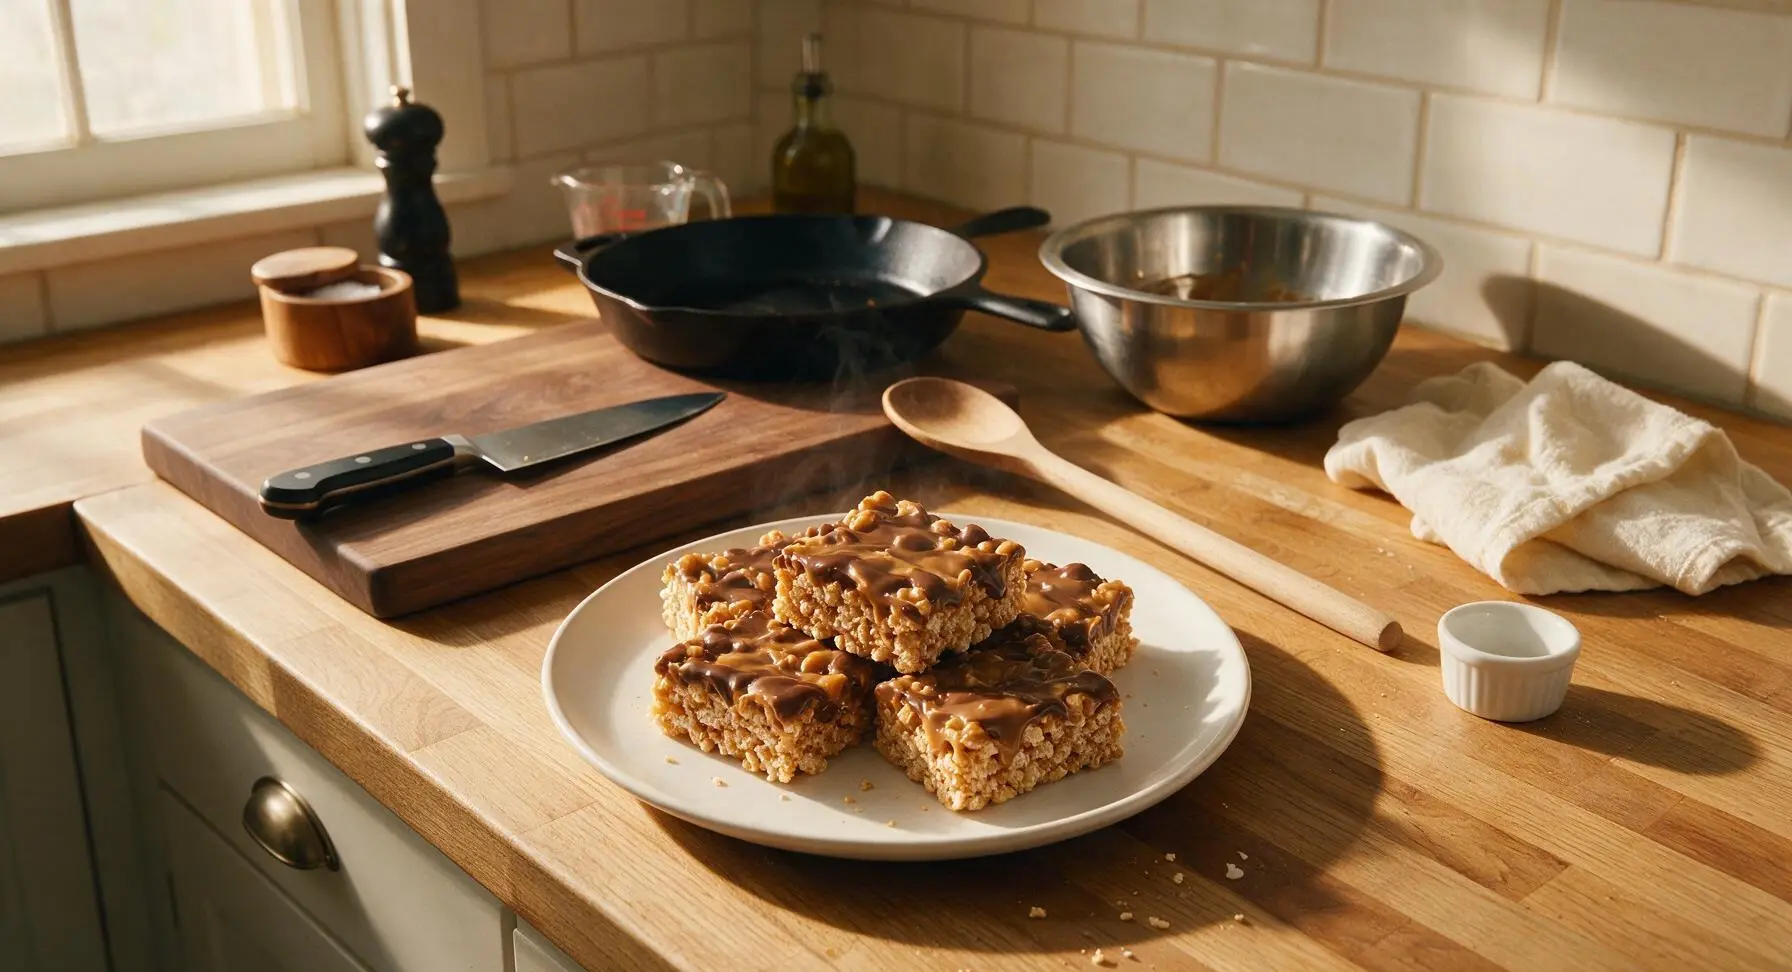
Chewy peanut butter rice cereal bars topped with a silky butterscotch-chocolate glaze, this iconic no-bake Midwest treat is perfectly sweet, salty, and endlessly shareable.
Ingredients
Steps
Line Baking Pan
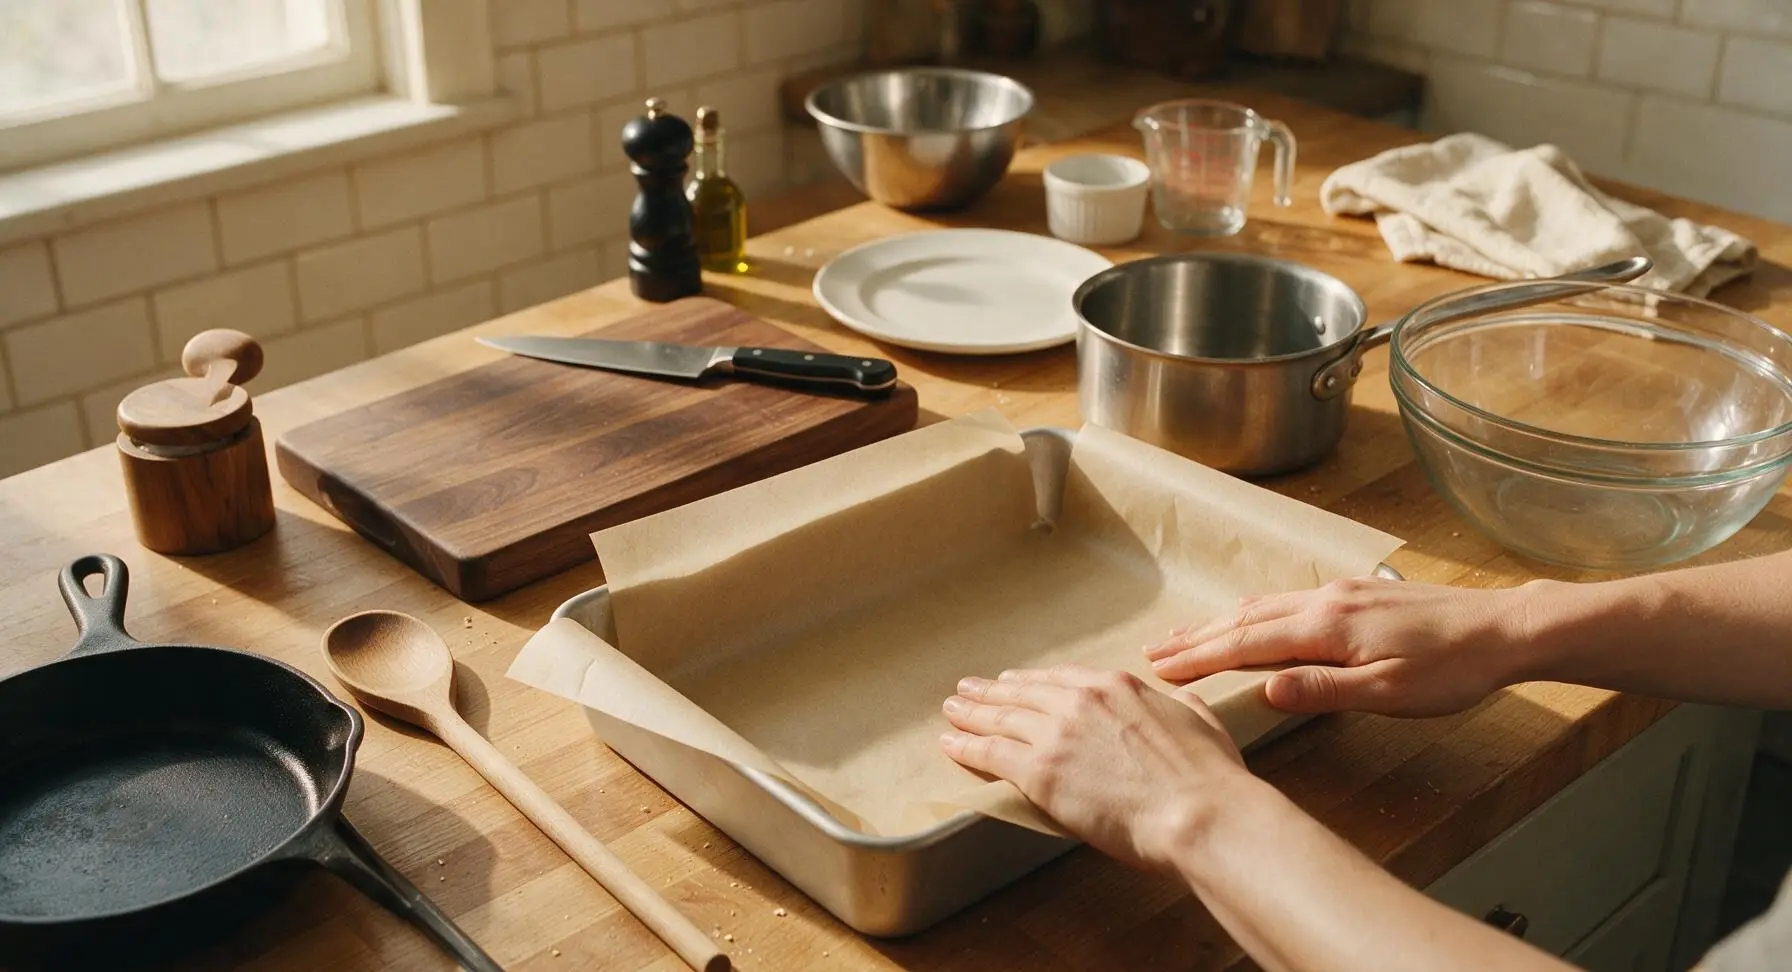
Cut the parchment paper sheet to fit the 9x13 inch aluminum baking pan, leaving a 5cm (2 inch) overhang on the two long sides to act as handles for lifting the finished bars later. Press the parchment smoothly into the bottom and up the sides of the pan, eliminating any wrinkles or air bubbles. No greasing is needed, as the parchment will prevent sticking.
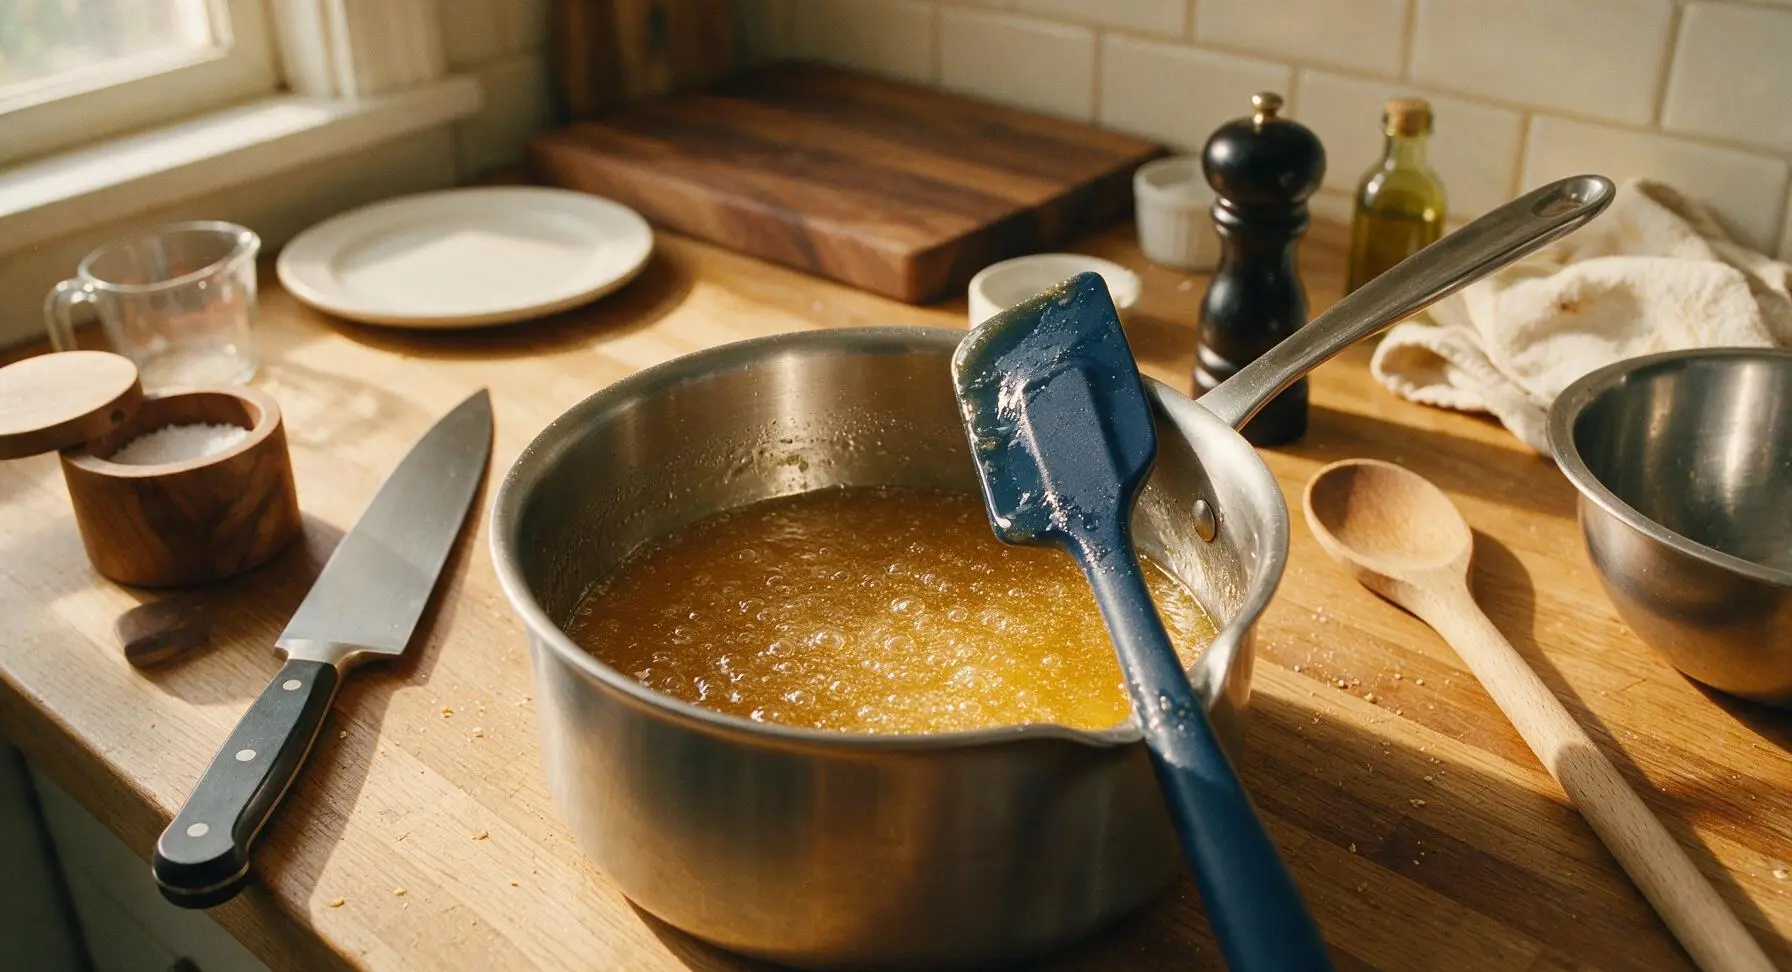
Melt Sugar Mixture
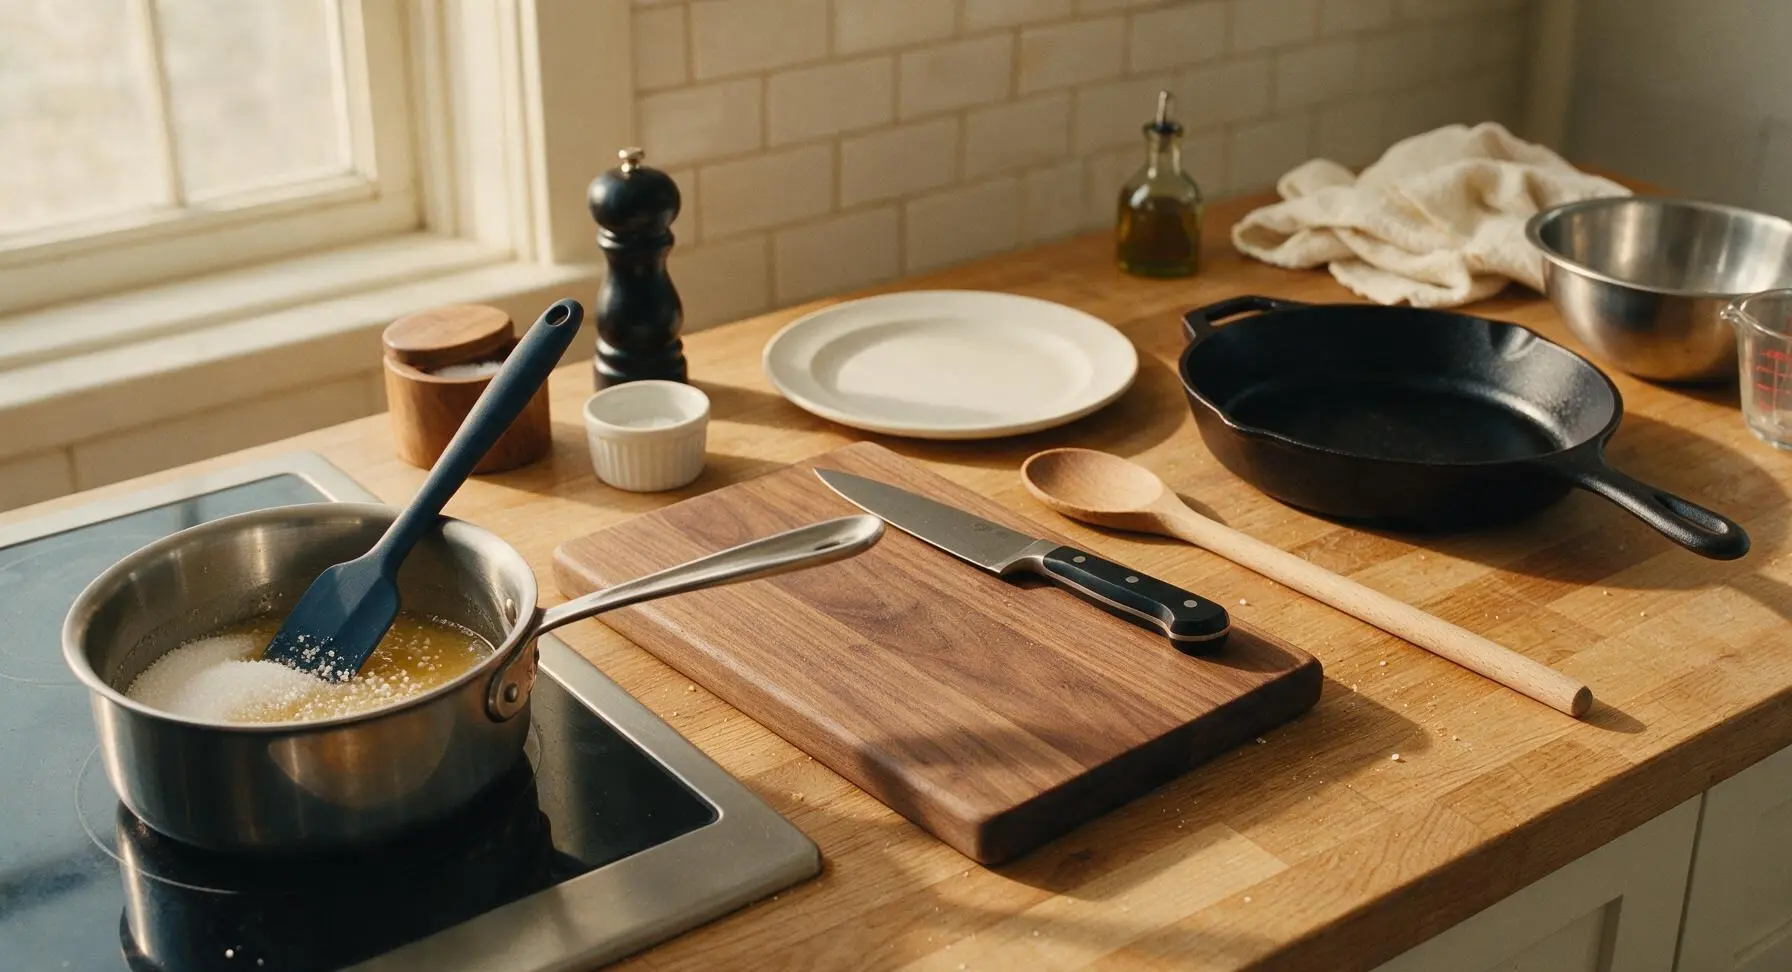
Combine the granulated sugar and light corn syrup in the 1-quart stainless steel saucepan. Place over medium-low heat, stirring constantly with the navy blue silicone spatula, until the sugar fully dissolves and the mixture just comes to a gentle rolling boil (about 3-4 minutes). Do not boil for longer than 1 minute, as over-boiling will result in hard, crunchy bars instead of chewy ones. Remove the pan from heat immediately once the first steady bubbles break across the surface.
Mix in Peanut Butter
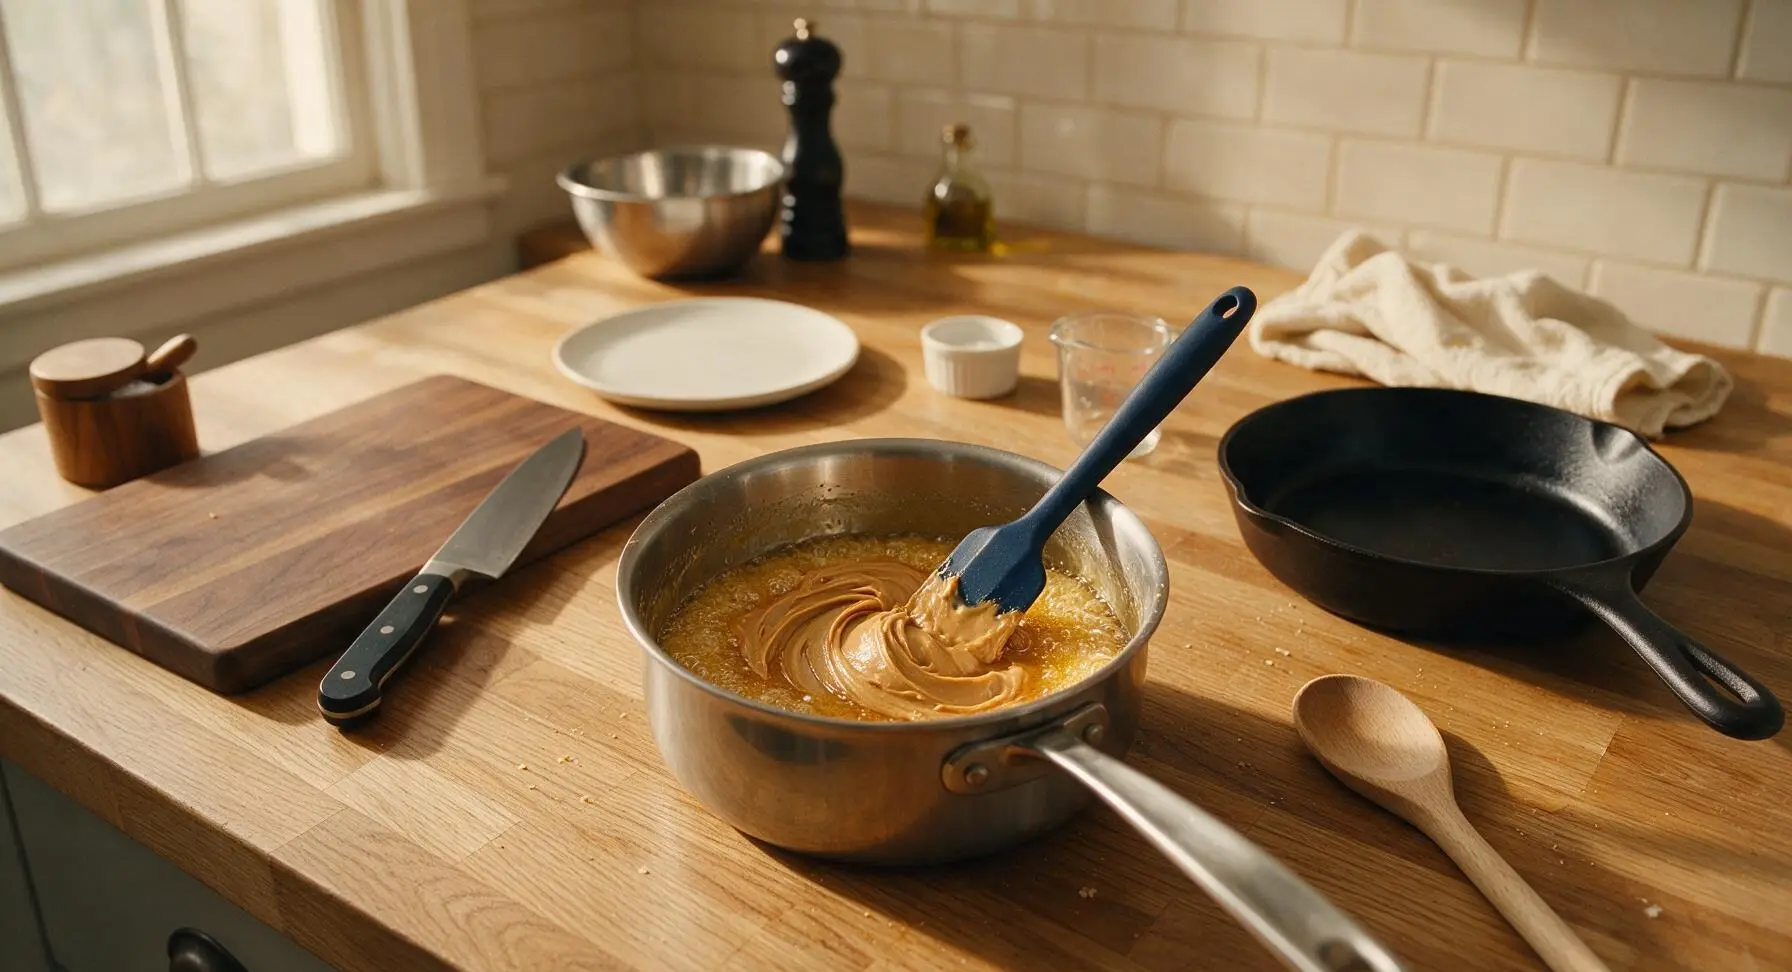
Add the full 1 cup of creamy no-stir peanut butter to the warm sugar syrup in the saucepan, stirring continuously with the silicone spatula until the mixture is completely smooth, uniform golden brown, and no streaks of peanut butter remain (about 1 minute). The residual heat from the syrup will melt the peanut butter fully without needing to return the pan to heat.
Fold in Rice Cereal
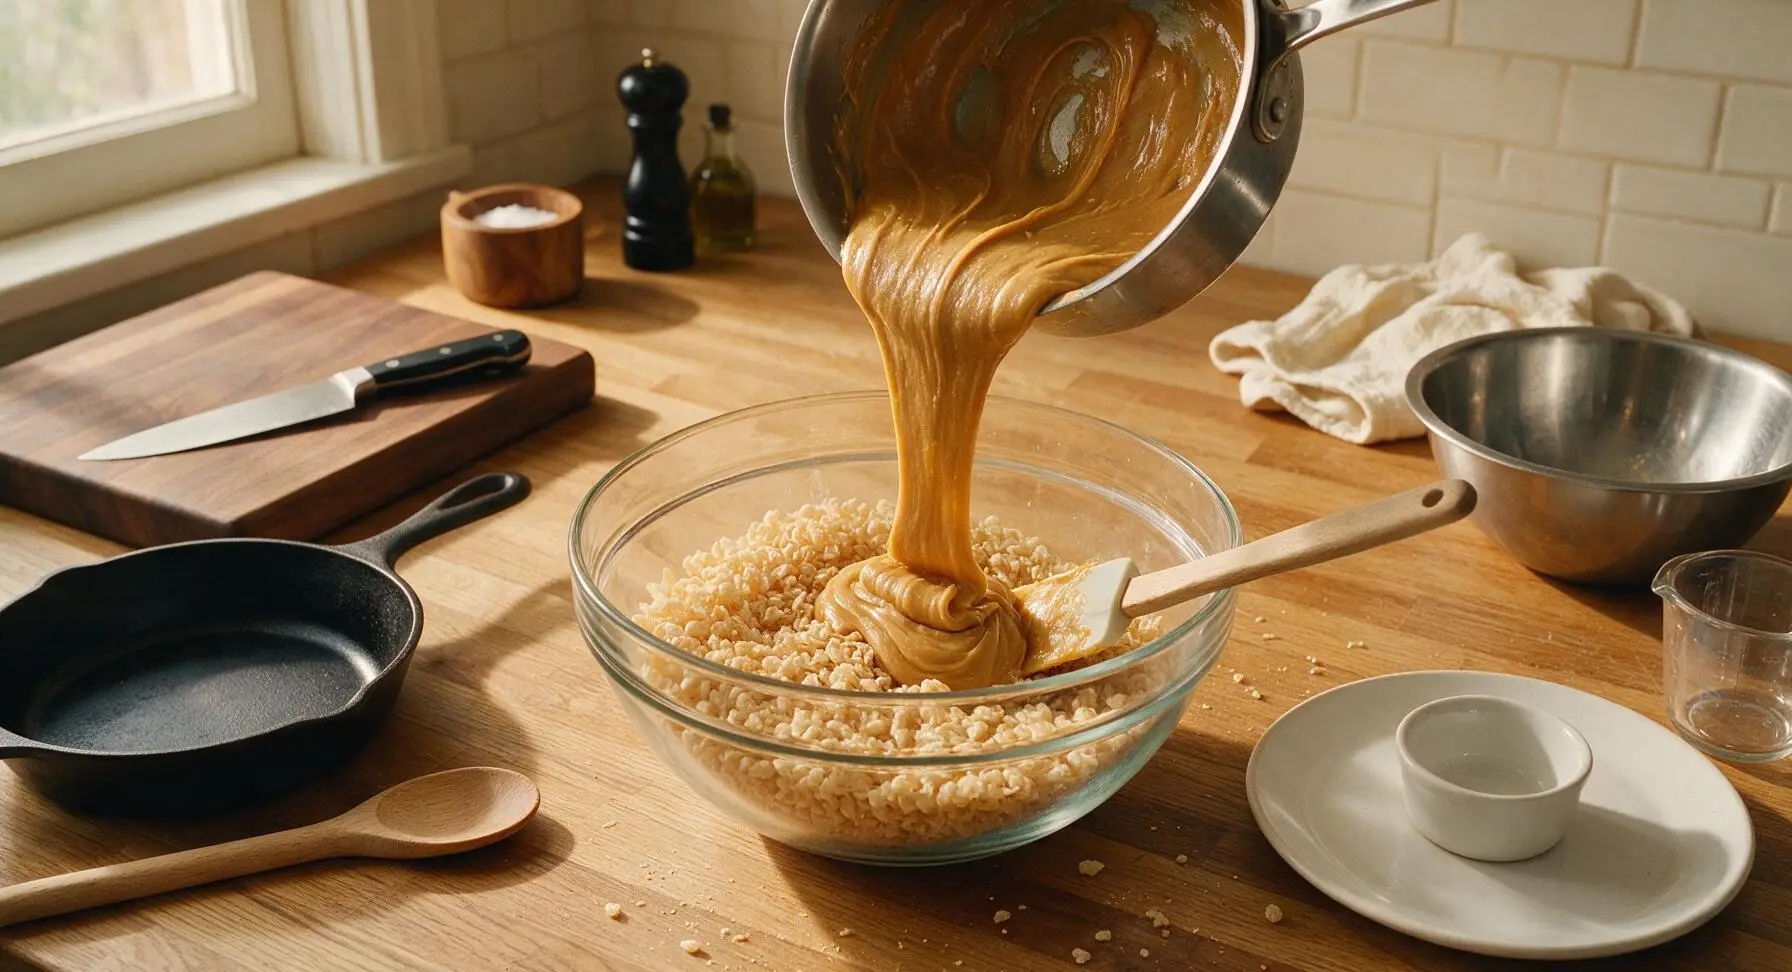
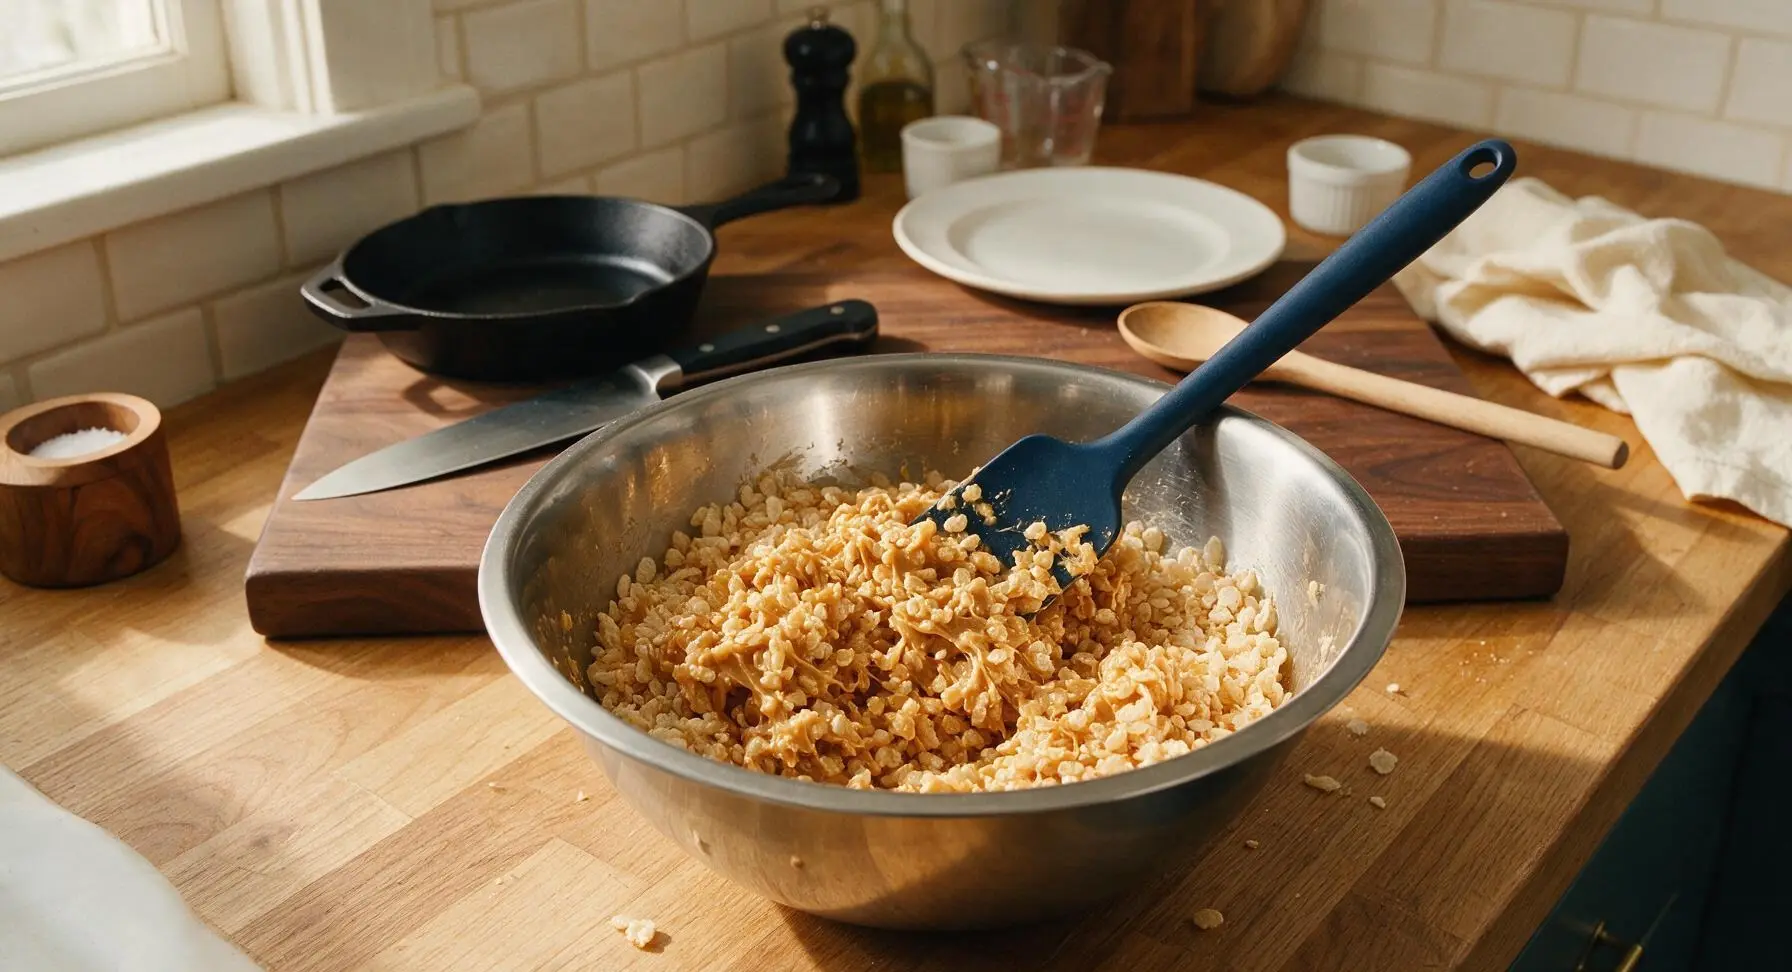
Place the 6 cups of crisp rice cereal into the 2.5L clear glass mixing bowl. Pour the warm peanut butter-sugar mixture over the cereal, using the silicone spatula to fold gently until every piece of cereal is evenly coated in the sticky golden mixture. Avoid over-stirring, which will crush the cereal and result in dense, soggy bars.
Press Base Evenly
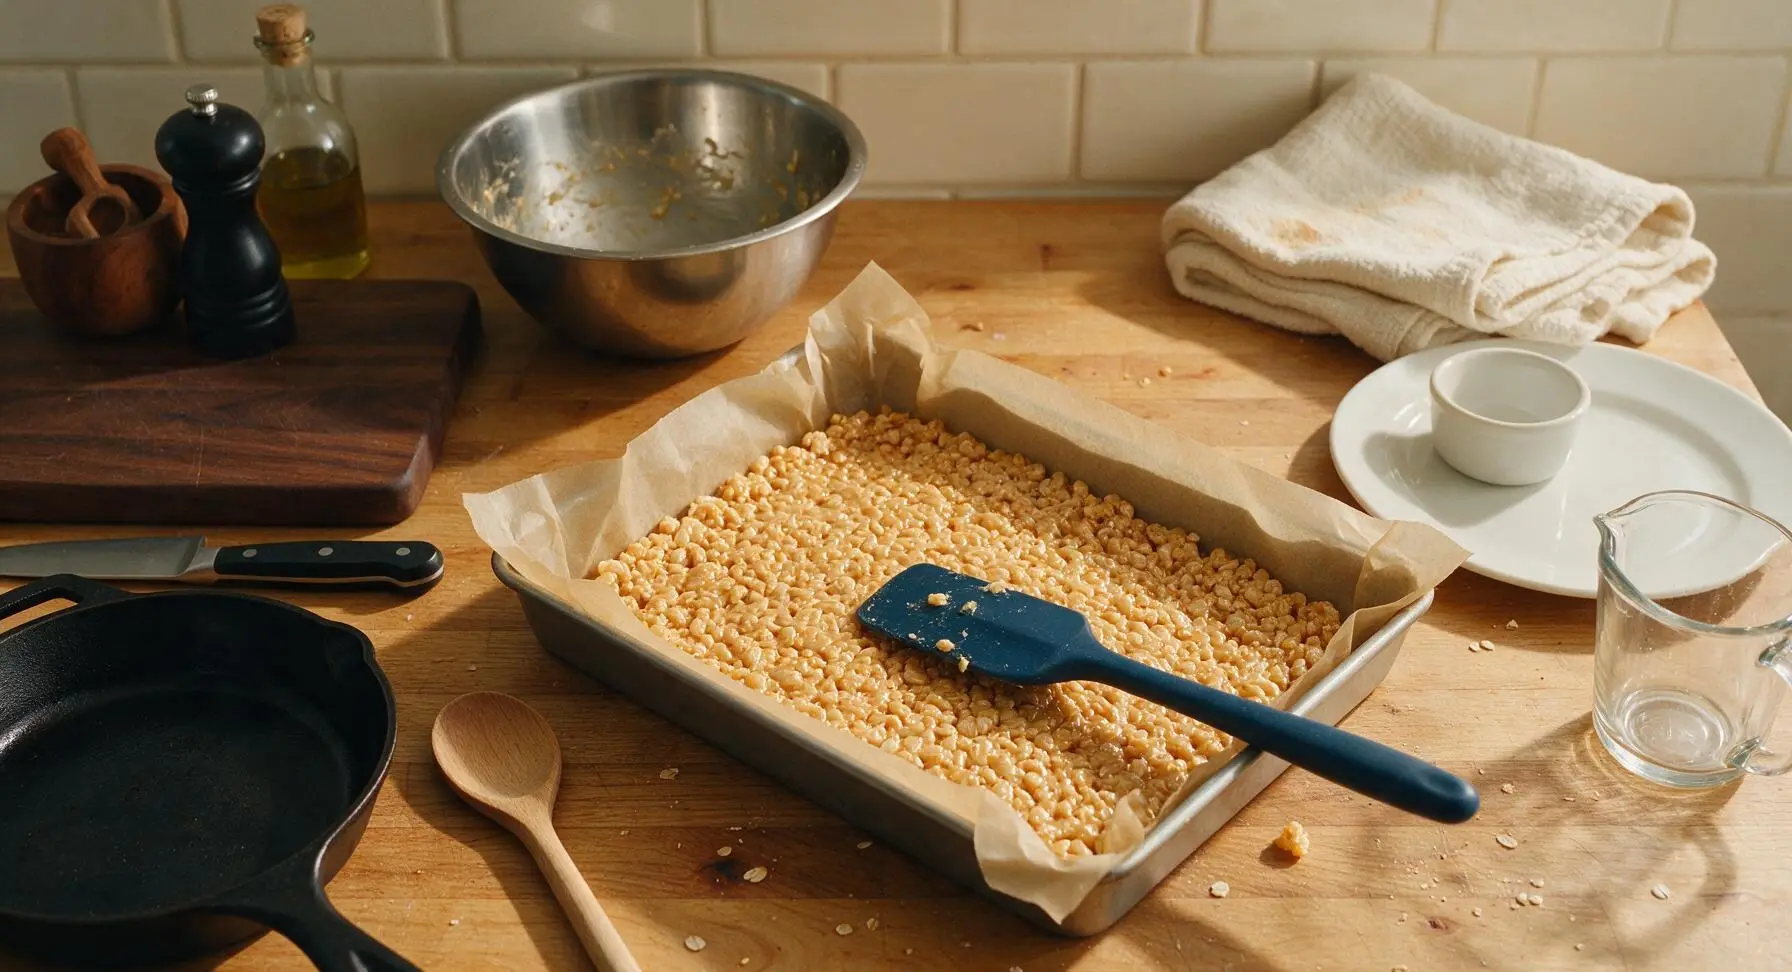
Transfer the entire coated cereal mixture from the mixing bowl into the parchment-lined 9x13 inch baking pan. Use the back of the silicone spatula (or a piece of extra parchment paper) to press the mixture firmly and evenly into the pan, creating a flat, compact base layer of uniform thickness across the entire pan. Do not press so hard that you crush the cereal, but apply enough pressure that the bars hold their shape when cut.
Melt Chocolate Topping
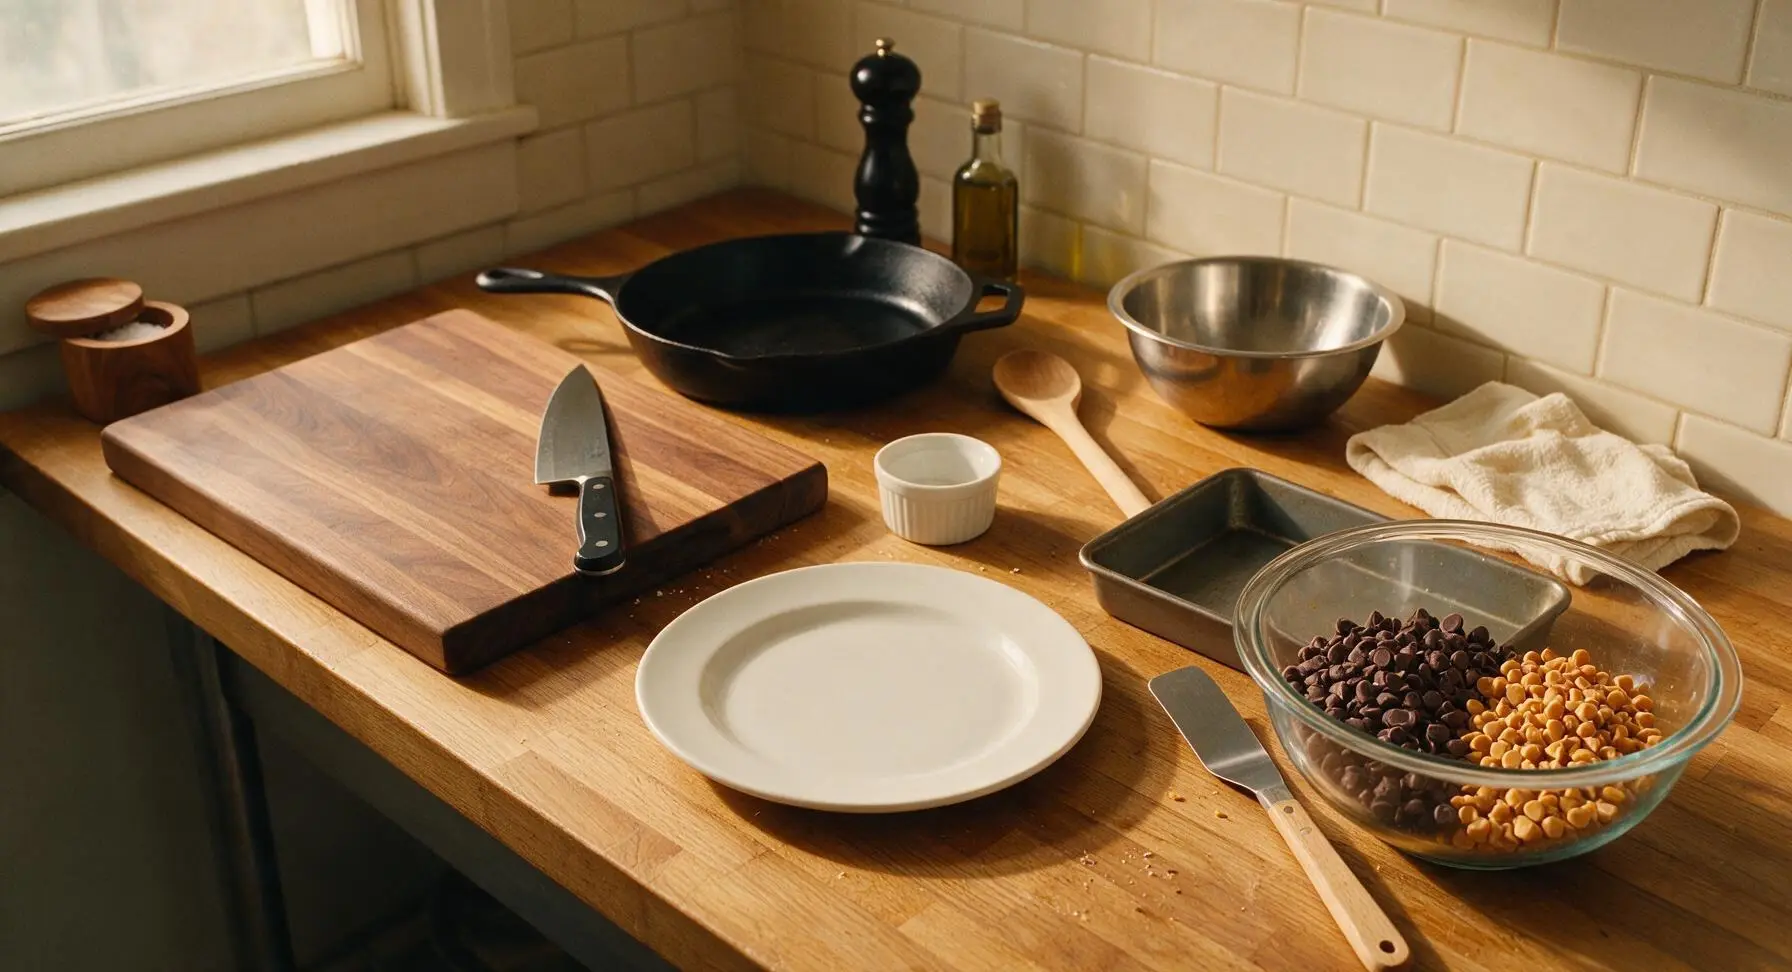
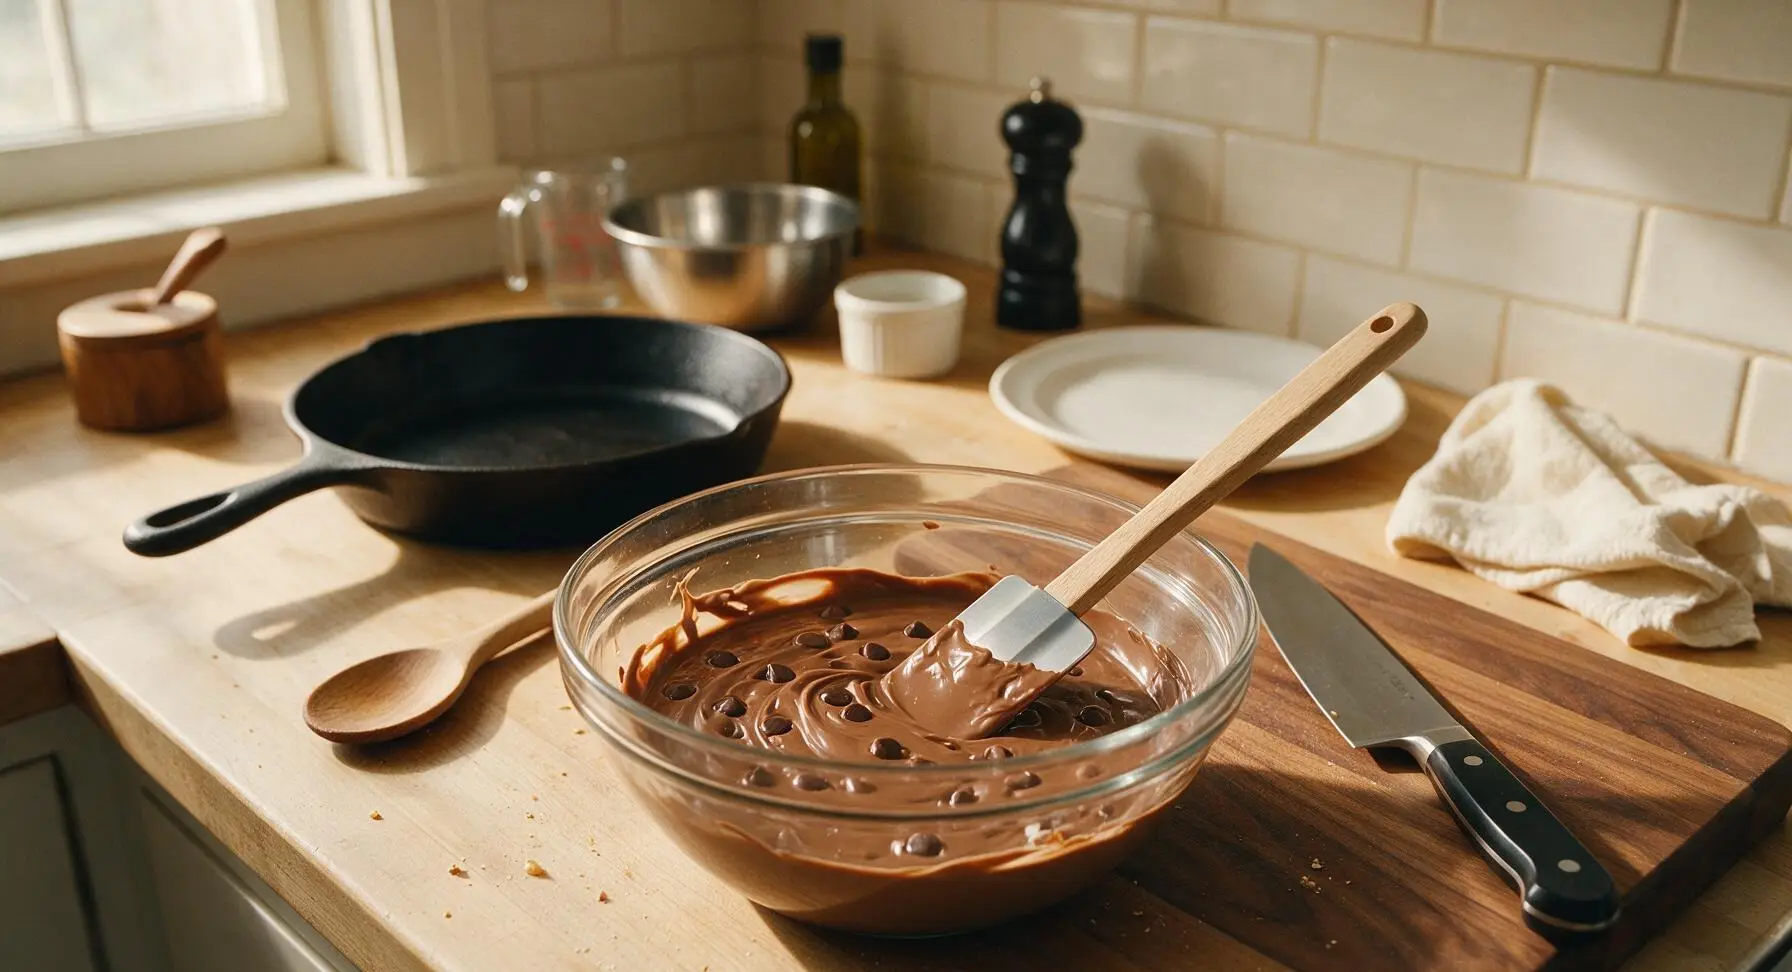
Combine the semi-sweet chocolate chips and butterscotch chips in the 1L clear heatproof glass bowl. Microwave in 30-second bursts, stirring between each burst with the offset spatula, until the chips are 90% melted (about 90 seconds total). Stir vigorously until the remaining small lumps melt completely and the mixture is smooth, glossy, and free of streaks. Avoid overheating, which will cause the chocolate to seize and turn grainy.
Spread Top Layer
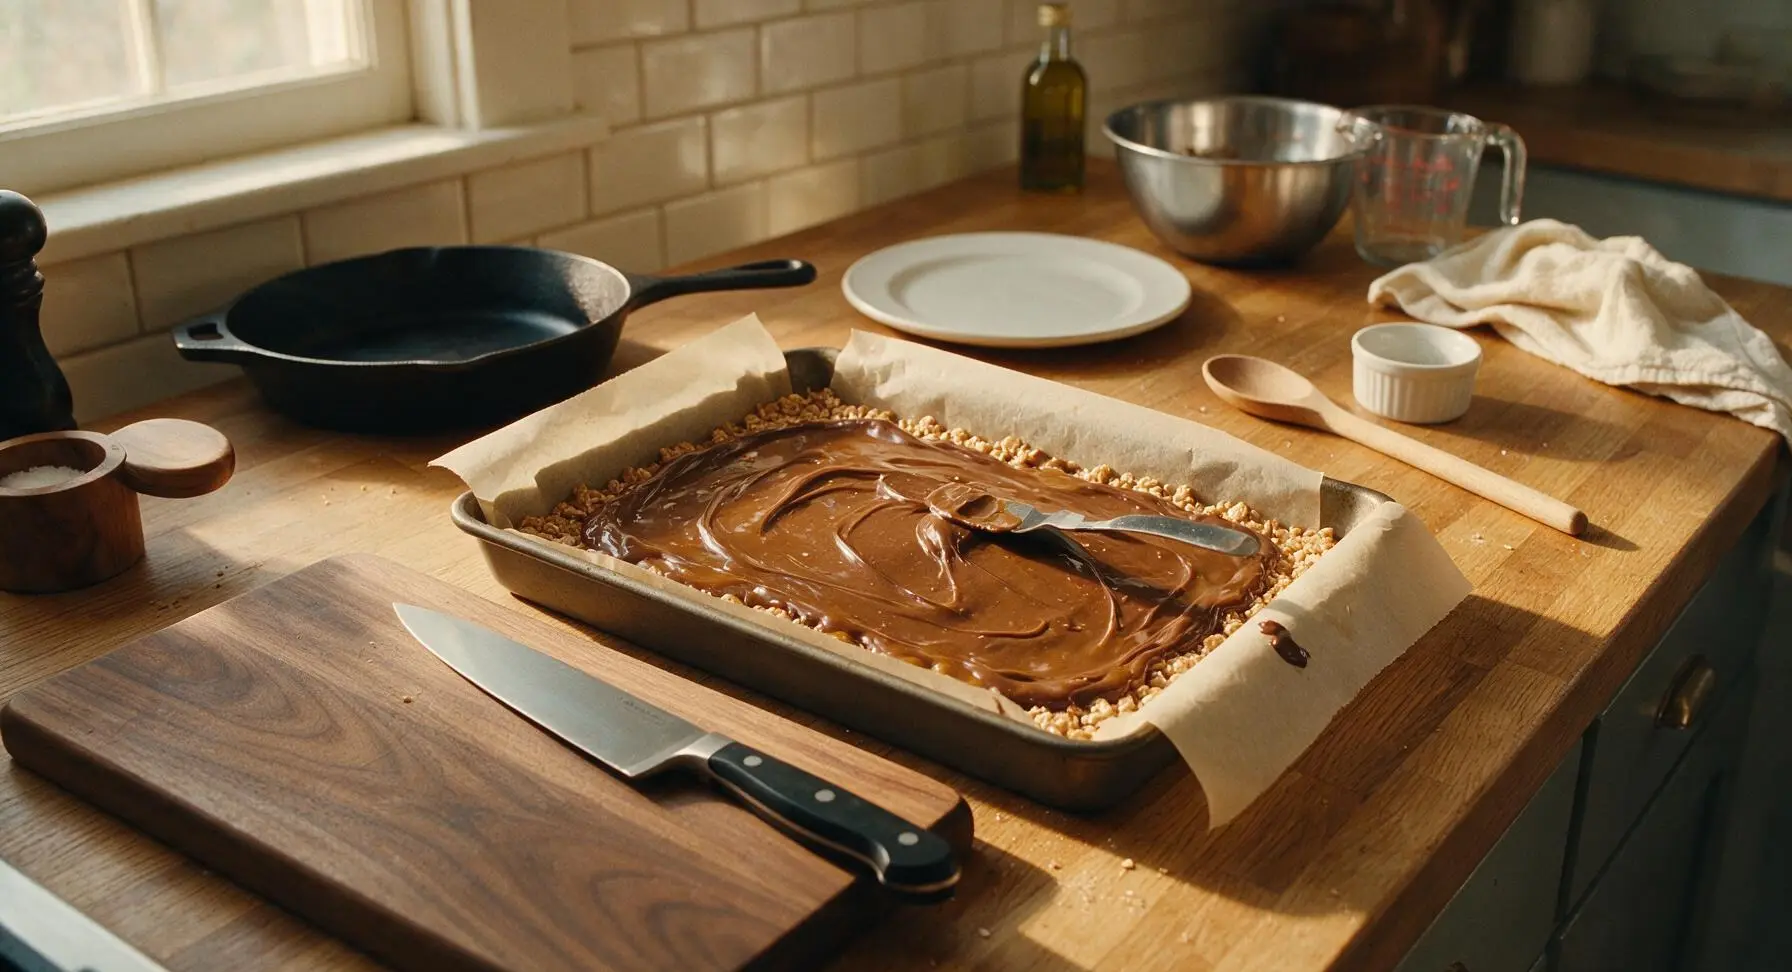
Pour the melted chocolate-butterscotch mixture evenly over the pressed cereal base in the baking pan. Use the offset metal spatula to spread the topping in a thin, smooth, even layer all the way to the edges of the pan, covering the entire cereal base. For a decorative look, you can drag the tip of the spatula through the topping to create subtle swirls, but a smooth flat layer works perfectly too.
Chill and Slice Bars
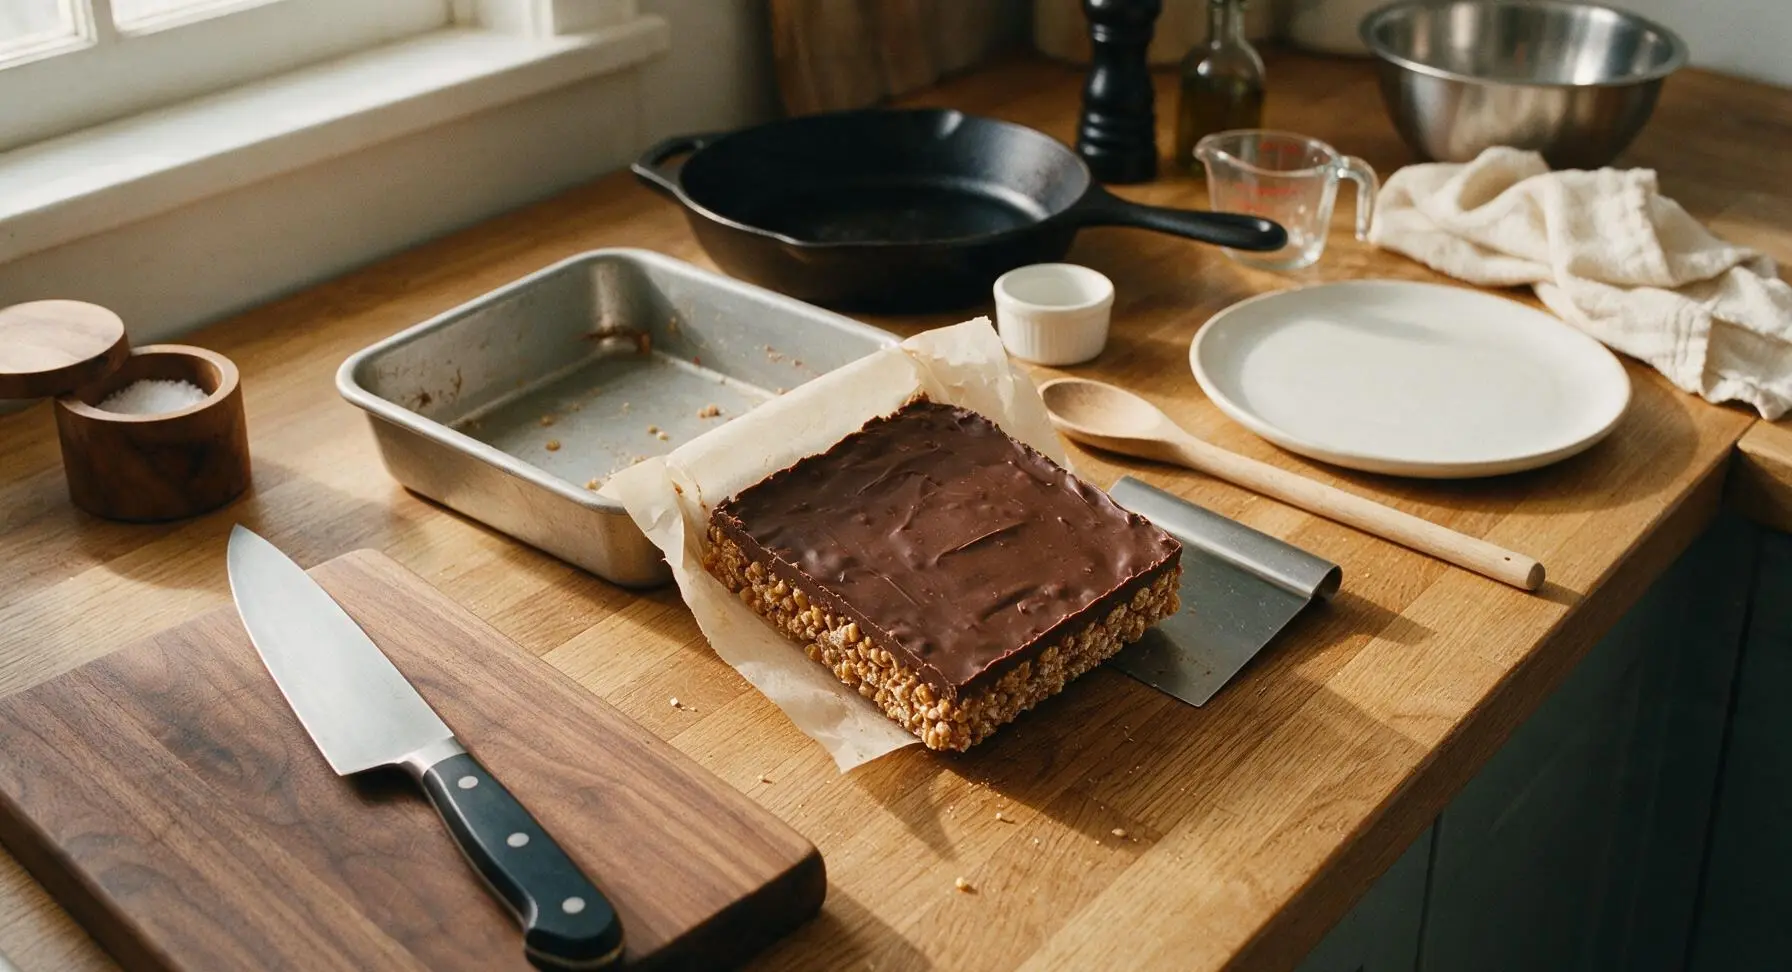
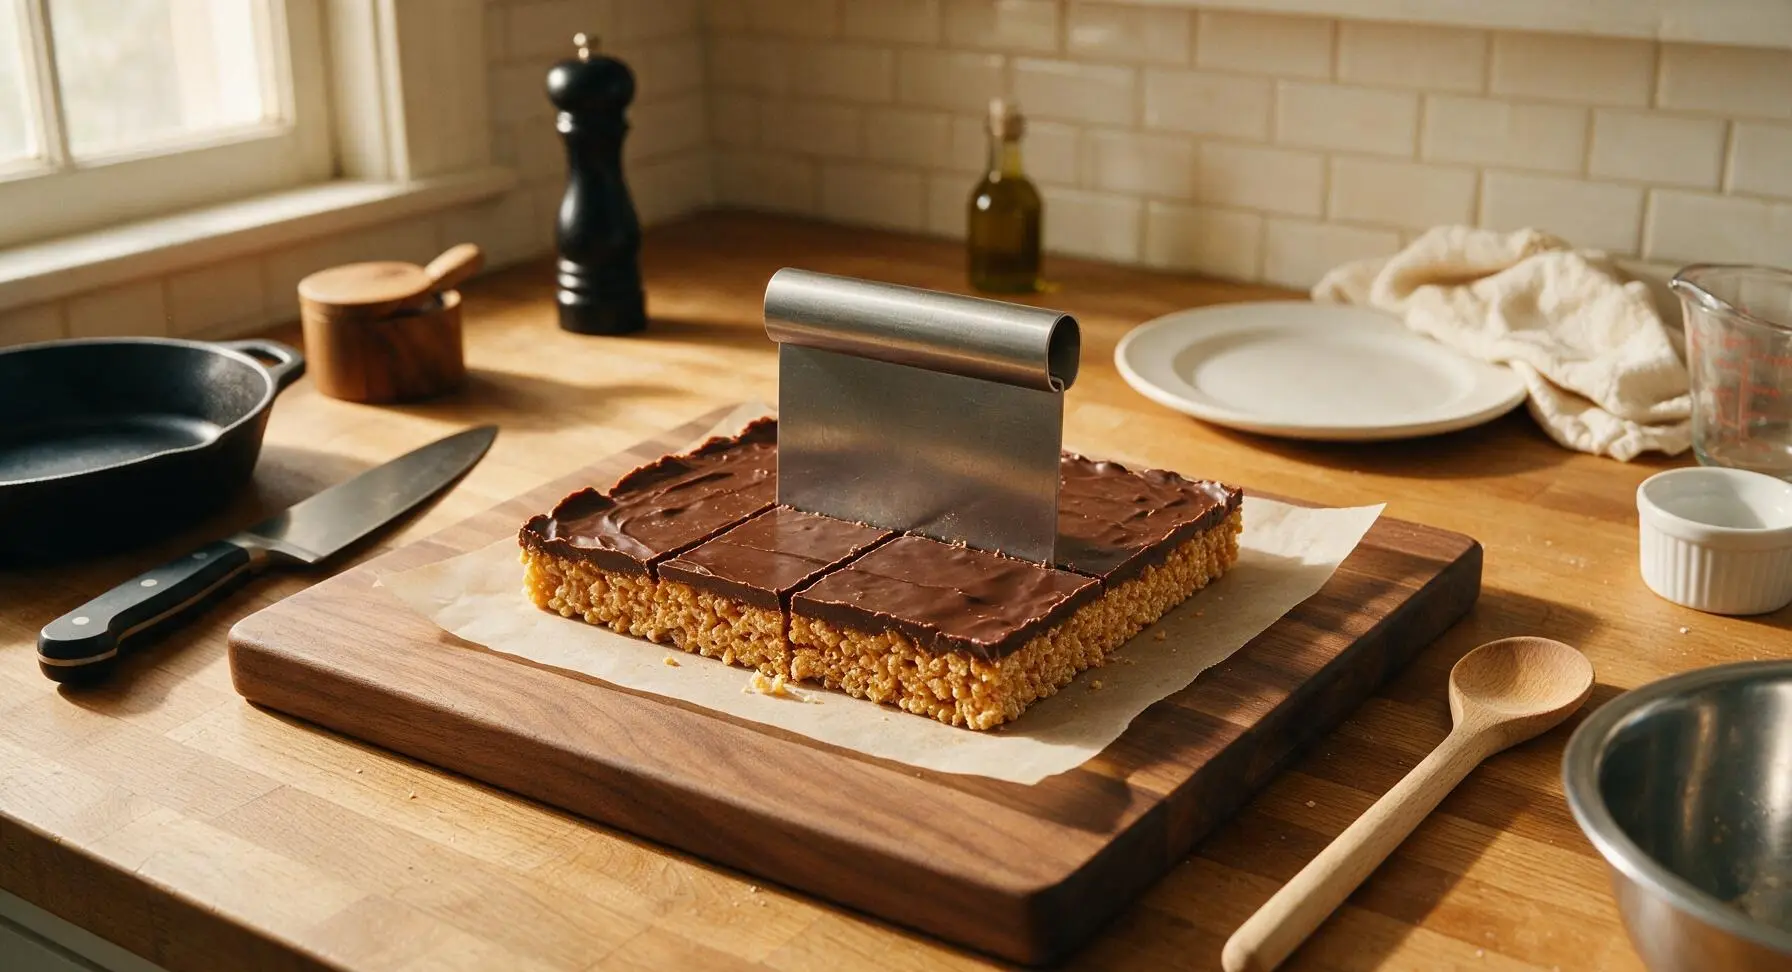
Let the pan sit at room temperature for 1 hour (or refrigerate for 20 minutes) until the chocolate topping is fully set and firm to the touch, with no soft spots when you press gently with a finger. Use the parchment overhang to lift the entire block of bars out of the pan and onto the counter. Use the stainless steel bench scraper to cut straight, even 2-inch squares, wiping the blade between cuts for clean edges.
Tips
2.Use no-stir creamy peanut butter (not natural, oil-separated peanut butter) for the most reliable results: natural peanut butter’s loose separated oil will make the cereal base greasy and cause the bars to crumble and fall apart when sliced.
3.Let the chocolate-butterscotch topping set at room temperature if time allows: rapid chilling in the refrigerator can cause sugar bloom, which leaves dull, whitish streaks across the chocolate surface (the bars will still taste delicious, but will have a less polished appearance).






OMG these are exactly the scotcharoos my grandma used to make for every church potluck when I was a kid! I was so worried I’d never find a no-bake version that didn’t turn out rock hard, but these came out perfectly chewy with that perfect peanut butter butterscotch ratio. Already got three requests for the recipe from my kid’s soccer team snack group.
Game changer for weeknight treats! 10 minute cook time is no joke — I threw these together while my pasta was boiling for dinner last night. Only thing I swapped was using crunchy peanut butter because that’s what I had in the pantry, and it added such a nice little crunch. My kids went absolutely feral for them, fought over the last square.
Dude these are SO good. I’m a total beginner in the kitchen and I didn’t mess these up at all? No oven needed which is perfect because my apartment oven is broken right now. Brought a pan to my dorm floor hangout and it was gone in like 10 minutes flat. Only issue is I ate way too many and now I have a massive sugar rush oops.
Brought these to our neighborhood block party over the weekend and they were the first dessert gone, beat out three different pans of brownies! The chocolate butterscotch top is so nostalgic, everyone kept asking where I found the recipe. Will absolutely be making these for every summer get together from now on.
Wait a second — are these naturally gluten free? I have a celiac kiddo and I’m always hunting for easy no-bake treats I don’t have to buy 10 special ingredients for. If the rice cereal is GF these would be perfect for his upcoming class birthday treat!
Do these hold up well in the fridge for meal prep snack boxes? I like to pack little treat squares for my husband and I to have with our lunches during the work week, and I need something that won’t get soggy or melt before Wednesday.
I’ve made so many bad scotcharoo recipes over the years that were either too sticky, too rock hard, or had way too much corn syrup. This one is perfectly balanced! I cut back the sugar just a tiny bit because I prefer less sweet desserts and it still turned out chef’s kiss. 10/10, no notes.
Help! I tried making these last night and my chocolate/butterscotch topping seized up when I was melting it, so it was all clumpy instead of smooth and glossy. Did I do something wrong? I really want to get these right for my husband’s work potluck on Friday!
Has anyone tried making these for camping trips? I’m looking for no-mess, no-bake treats that don’t need to stay super cold to bring on our weekend backpacking trip next month, and these seem like they’d fit the bill.
Wait, do I need to use light corn syrup or dark? I only have dark corn syrup in my pantry from making pecan pie last Thanksgiving, will that mess up the flavor too much?
Has anyone tested making these vegan? I’m vegan and my roommate made the regular version last week and I may have snuck a tiny bite (don’t tell her) and they were so good I need a vegan version stat!
OMG I added a sprinkle of flaky sea salt on top of the chocolate butterscotch layer right before it set and it was LIFE CHANGING. The salt cuts through the sweetness so perfectly, I will never make these without it again.
I make these every year for our Christmas cookie platter and everyone always says they’re the best thing on the plate! They’re so easy to throw together between all the fancy rolled cookies I make during the holidays, and they add that perfect nostalgic touch. I even dyed a little white chocolate drizzle red and green to go on top last year and it was so festive, total crowd pleaser.