
Session IPA
intro
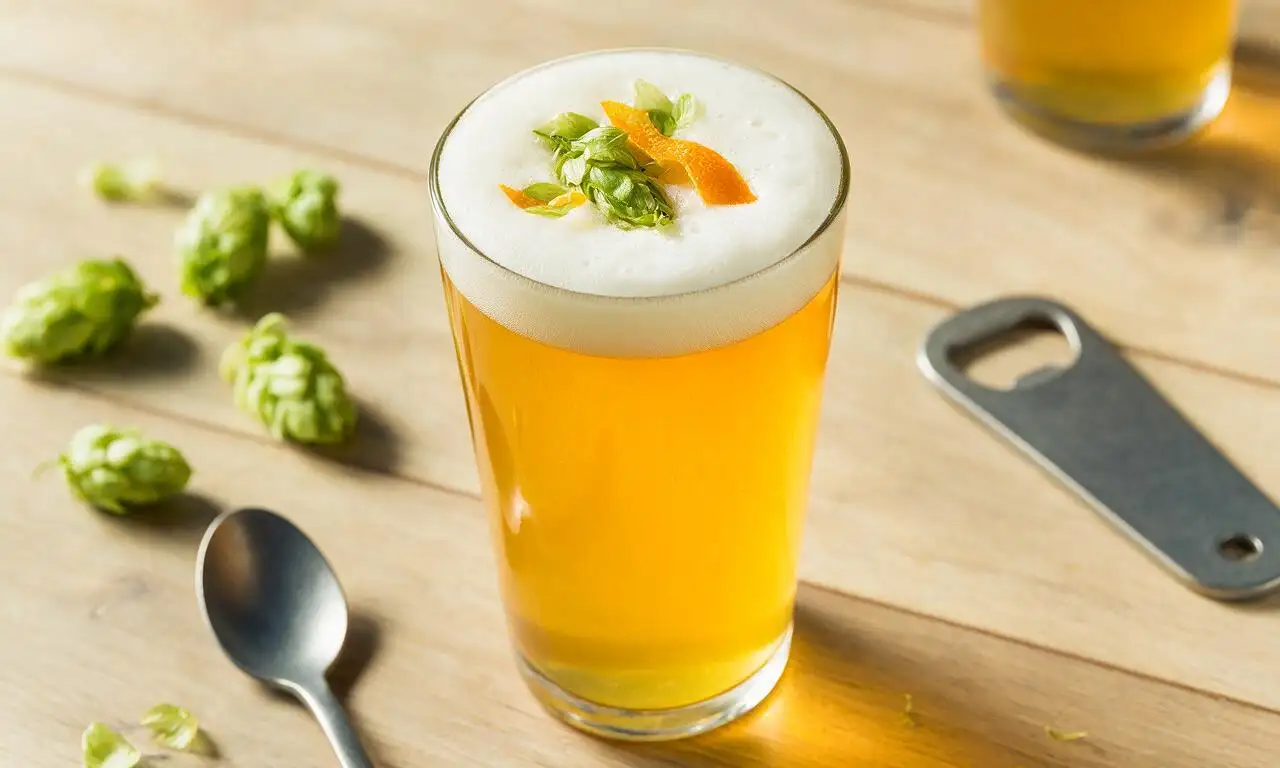
Bright, hop-forward low-alcohol Session IPA with zesty citrus and pine notes, crisp and crushable for all-day sipping without heavy intoxication.
Ingredients
Steps
Mash the grains
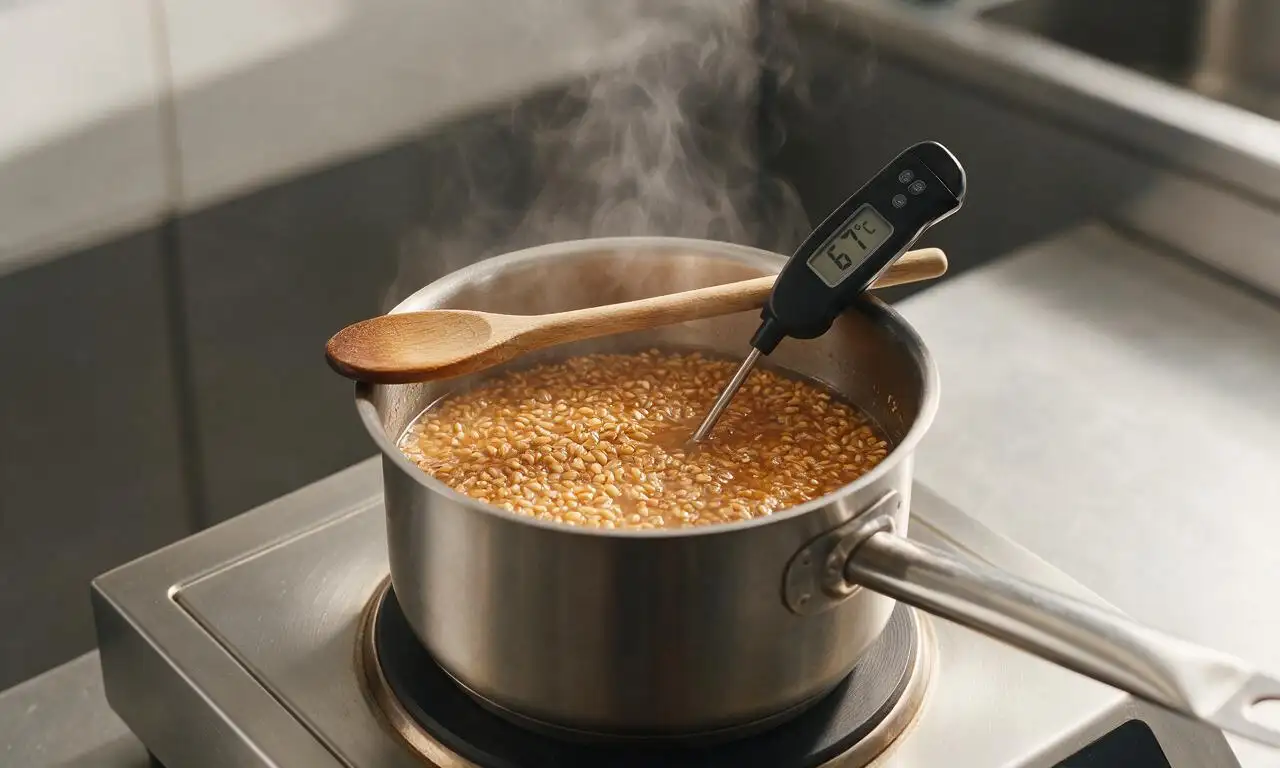
Heat 3.8 liters of filtered water to 67°C (153°F) in a small insulated brew pot, add crushed 2-row pale malt and Carapils malt, stir thoroughly to eliminate dry clumps, hold temperature steady at 65-68°C for 60 minutes, keeping the pot tightly covered to retain heat.
Strain sweet wort
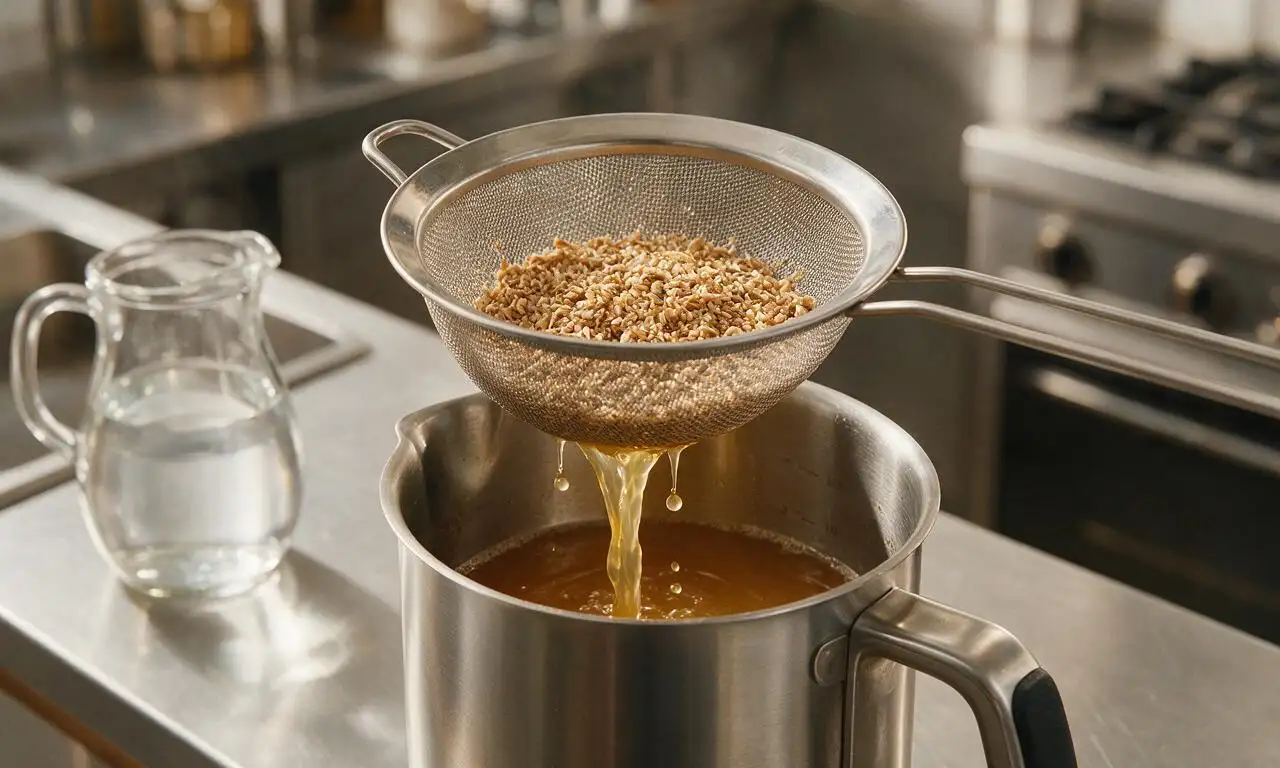
After the 60-minute mash rest, slowly drain the sweet amber wort from the grain bed through a fine mesh strainer into a separate small boil kettle, then slowly pour 1.2 liters of 77°C (170°F) filtered water over the trapped grain bed to rinse residual sugars, collecting all runoff until you have 4.5 liters of wort total.
Boil bittering hops
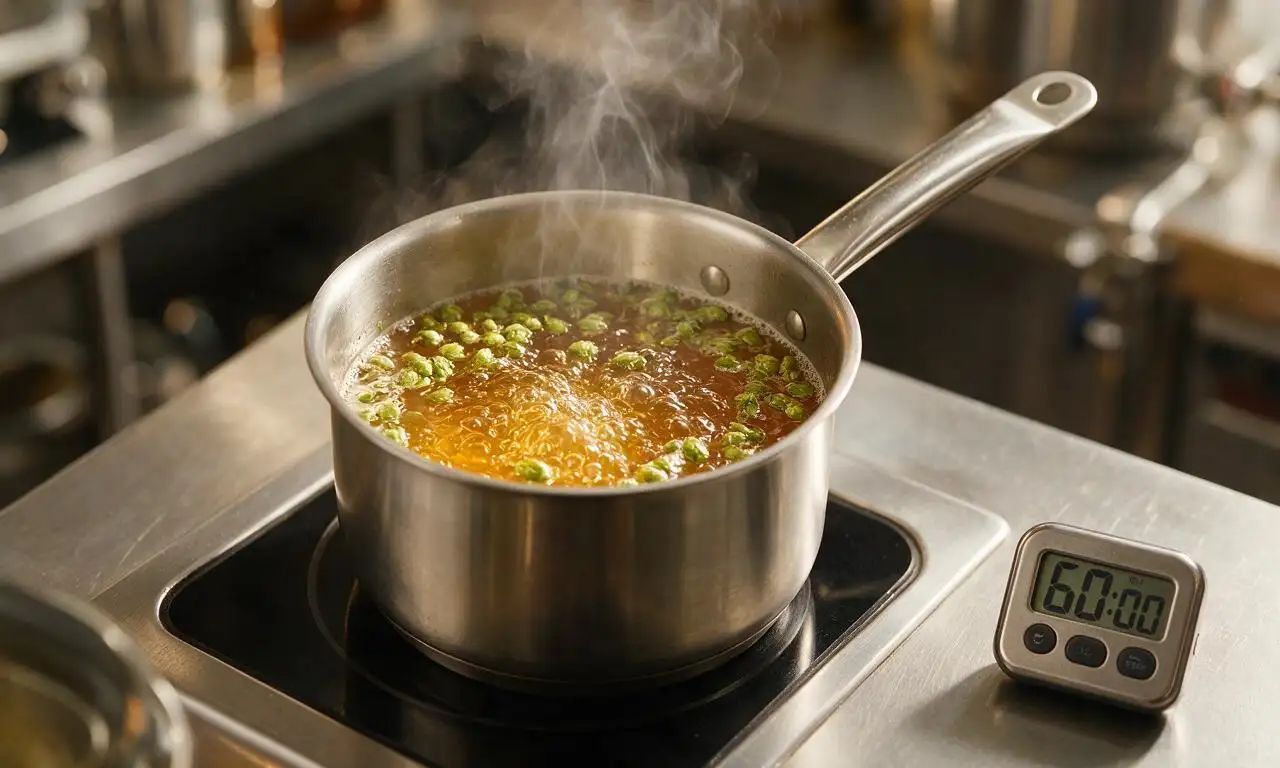
Bring the collected wort to a gentle rolling boil over medium-high heat (100°C/212°F at sea level), set a timer for 60 minutes, add 3 grams of Citra hop pellets at the start of the boil to build smooth, balanced bitterness, keep the pot partially covered to prevent sticky boilovers.
Add aroma hops
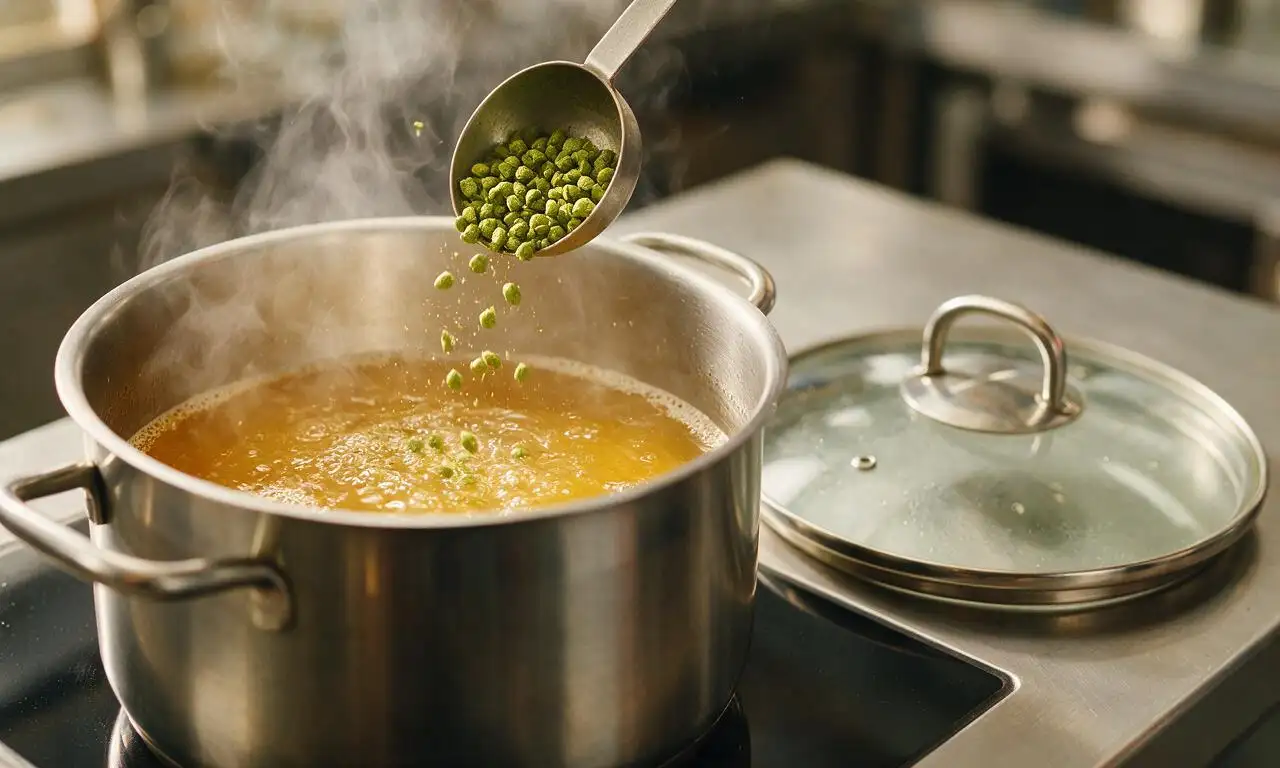
When the 60-minute boil timer shows 5 minutes remaining, add 2 grams of Mosaic hop pellets for bright pine and mixed berry flavor; turn off heat completely once the timer ends, add the remaining 5 grams of Citra and 6 grams of Mosaic hops, cover the pot tightly and let hops steep for 20 minutes to lock in zesty citrus aroma without harsh extra bitterness.
Cool and add yeast
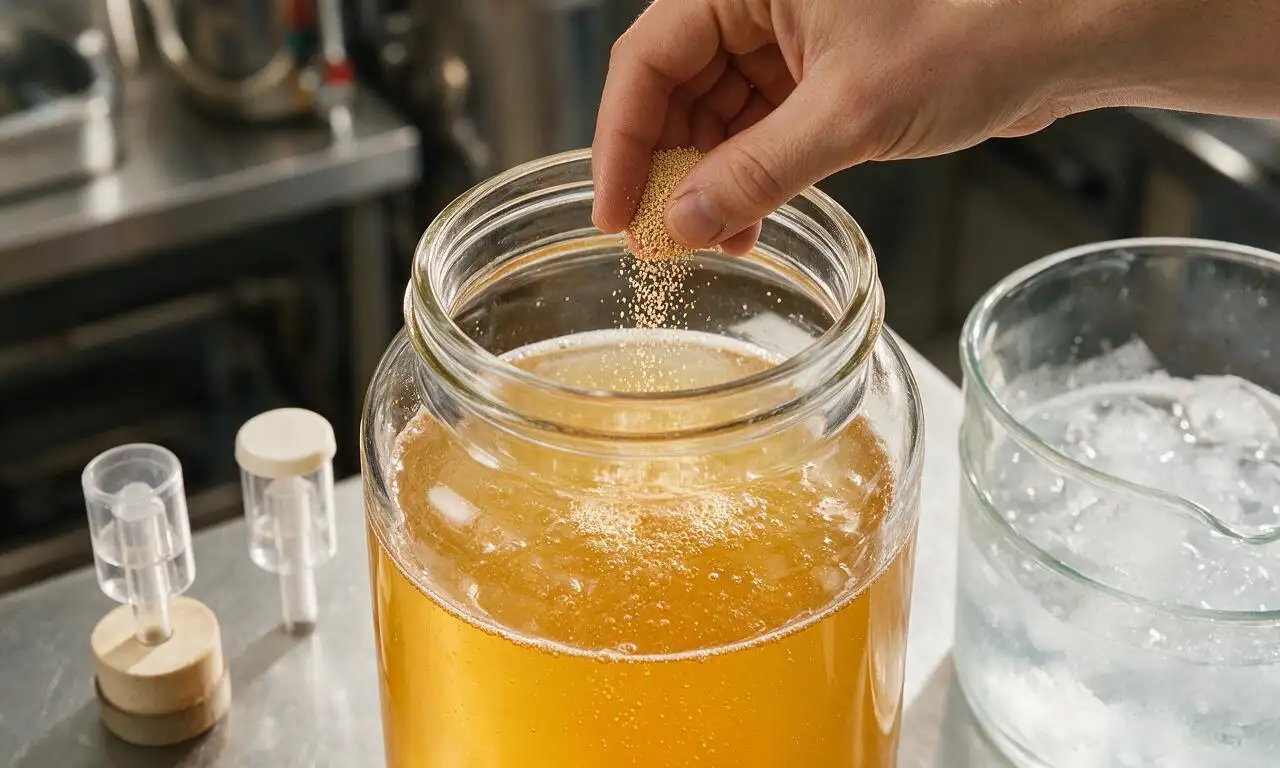
Rapidly cool the hopped wort to 20°C (68°F) by setting the kettle in an ice water bath for 15-20 minutes, once temperature holds steady, pour the wort into a sanitized 4-liter glass fermentation jug, aerate by capping and shaking the jug vigorously for 30 seconds, then sprinkle 3 grams of US-05 American ale yeast over the wort surface and seal the jug with a sanitized airlock half-filled with water.
Ferment and carbonate
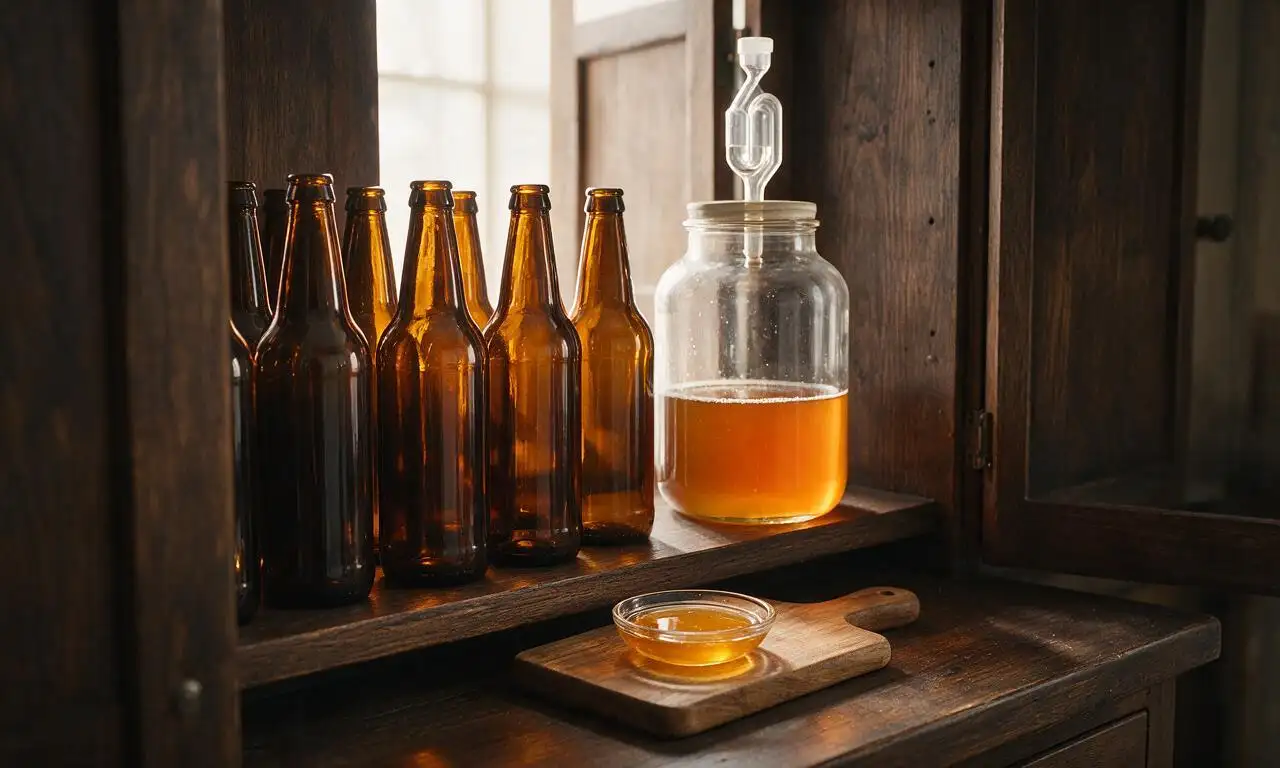
Store the sealed fermentation jug in a dark, temperature-stable closet held at 18-21°C (65-70°F) for 10 days, until fermentation is complete (no bubbles rise through the airlock for 48 consecutive hours). Siphon the finished beer into sanitized 350ml glass bottles, add 20 grams of dissolved corn sugar evenly across the batch to prime carbonation, cap bottles tightly, store at room temperature for 7 more days to build fizz, then chill to 4°C (39°F) before serving.
Tips
2.Avoid squeezing the grain bed during straining, as this can extract harsh, astringent tannins that make the beer taste dry and overly bitter.
3.Resist the urge to open the fermentation jug early; exposure to oxygen before fermentation finishes can ruin bright hop flavor and lead to stale, flat beer.






OMG this homemade session IPA is a total game changer for my weekend camp trips! I was nervous about the medium difficulty rating since I’m a total newb to homebrewing, but the 2.75 hours of active prep was way more manageable than I thought. Brought a growler to my friend’s backyard potluck last weekend and everyone was begging for the recipe. SO good, way brighter and less bitter than the store bought session IPAs I usually grab.
Made this for my husband’s birthday cookout with his guy friends, and they all said it tasted like something from our local craft brewery! I knocked off one star only because I messed up the first fermentation temp on my first try and it came out a little flat, but my second batch is carbonating now and looks perfect. Great recipe even for someone who doesn’t drink beer much like me!
17 days total wait time was so worth it! I’ve been chasing that perfect crushable, low-ABV IPA to sip on my patio after work all summer, and this hits every note. Not too boozy, just enough hop bite, super clean finish. Already prepping my second batch before the first one is even gone lmao.
Game changer for my weekly game nights with the crew! We usually pick up a case of cheap seltzers and random beer, but I brewed this up for our last Madden tournament and everyone lost their minds. Way cheaper than buying craft beer by the six pack, too, which is a win for my wallet.
Tastes good overall, but I ran into an issue with the bottling step—half my bottles ended up over-carbonating and a couple even gushed when I opened them. I followed the priming sugar measurement exactly, so I’m not sure where I went wrong?
SO good! I added a little orange peel during the last 10 minutes of the boil for a tiny citrus twist, and it came out insane. Brought a six pack to my beach bonfire last night and even my friends who swear they hate IPAs were going back for seconds.
Brewed this specifically for my college football tailgate, and it was the hit of the parking lot! People kept coming over from other tailgates to ask where I bought it, they couldn’t believe it was homemade. Perfect ABV for day drinking too, no one got sloppy before kickoff which is a major win.
Great recipe, just wish it listed a couple equipment swaps for people who don’t have a full fancy homebrew setup! I made do with a big stock pot and food grade buckets I picked up at the hardware store and it still turned out great, just took a little extra troubleshooting.
Just cracked open my first bottle after the full 17 days, and HOLY COW this is better than 90% of the session IPAs I pay $18 a six pack for at the liquor store. My golden retriever even sat by me the whole time I was prepping like he was supervising, so I guess he gives it 5 paws up too.
I know most people don’t think of homebrewing as meal prep, but I love making a big batch of this on Sundays once a month so I have easy, tasty drinks to bring to weeknight happy hours with my coworkers. Saves me so much money vs buying drinks out, and everyone always asks where I got it!
Perfect post-ride crusher! I keep a couple cold bottles in my cooler for after long rides on the trails, and it’s the perfect light, refreshing pick-me-up without feeling heavy or too boozy. Way better than the sugary sports drinks I used to chug.
Great recipe, but I halved the batch since I only have a 1 gallon fermenter, and it turned out awesome! Just had to adjust all the hop and yeast measurements proportionally, and the active prep time was even shorter, like 1.5 hours total. Wish there was a note for small batch brewers though!
My kids thought it was so cool that dad made his own beer! They even helped me stick the labels on the bottles (no, they didn’t get to taste it, obviously) and thought it was the coolest science experiment ever. We served it at our family cookout over the weekend and all the adults loved it too.
Really solid recipe! I found it a little less hoppy than I prefer for an IPA, so next time I’ll bump up the dry hop amount by half an ounce, but that’s just personal taste. Super easy to follow instructions even for a medium difficulty recipe.
This was my FIRST ever homebrew attempt, and I was so intimidated by the medium difficulty tag, but the step-by-step instructions were so clear! I was convinced I’d mess it up, but I just cracked my first bottle and it’s legit delicious. I feel like a professional brewer now lmao.
Brought this to my neighborhood potluck last weekend and it was gone within 45 minutes. Everyone kept saying it was way smoother than any commercial session IPA they’d had, and three neighbors asked me to help them brew their own batch now. 10/10, will be making this on repeat all summer.
Brewed a batch for my rooftop birthday party last weekend, and it was chef’s kiss. Perfect light beer for sipping while watching the sunset, didn’t leave me feeling bloated like cheap beer usually does, and I got so many compliments. Worth every minute of the wait!