
Sfogliatella
intro
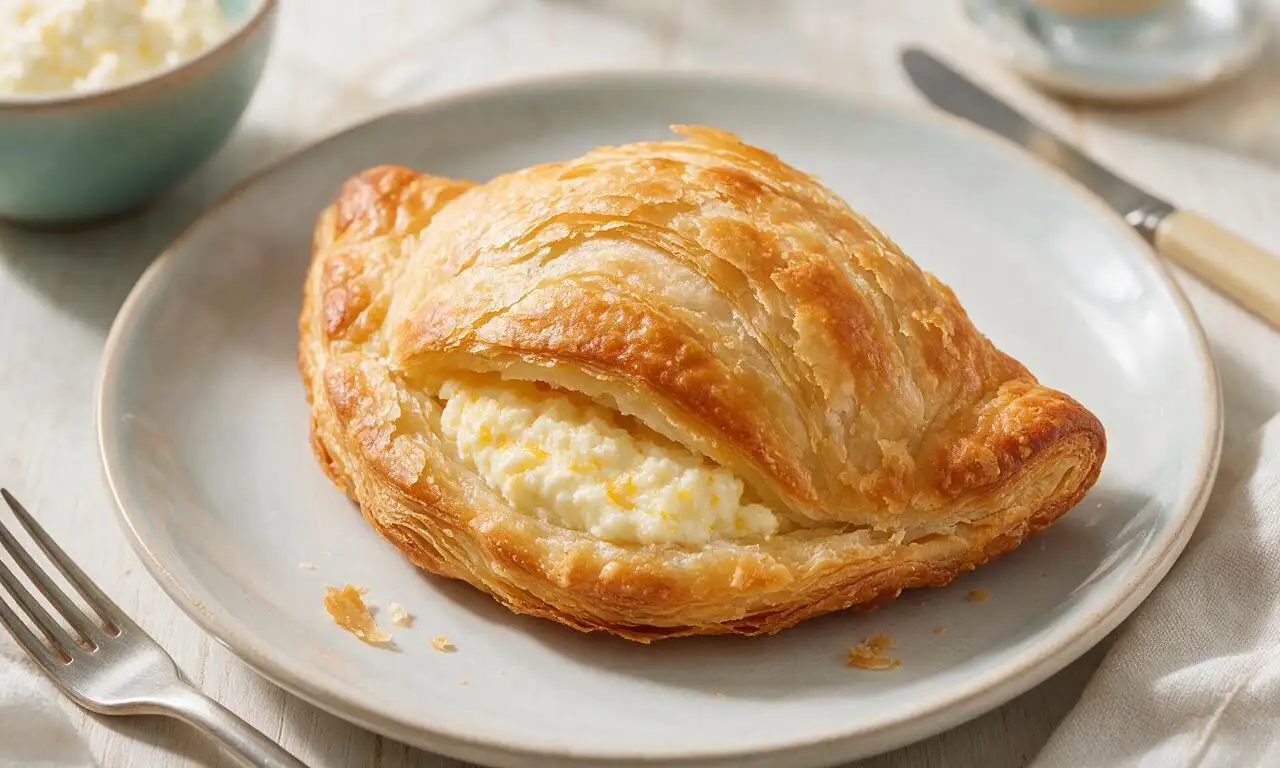
Crisp, flaky shell-shaped Neapolitan pastry layered with butter, filled with sweet citrus-kissed ricotta, an iconic Italian holiday bakery treat.
Ingredients
Steps
Mix the pastry dough
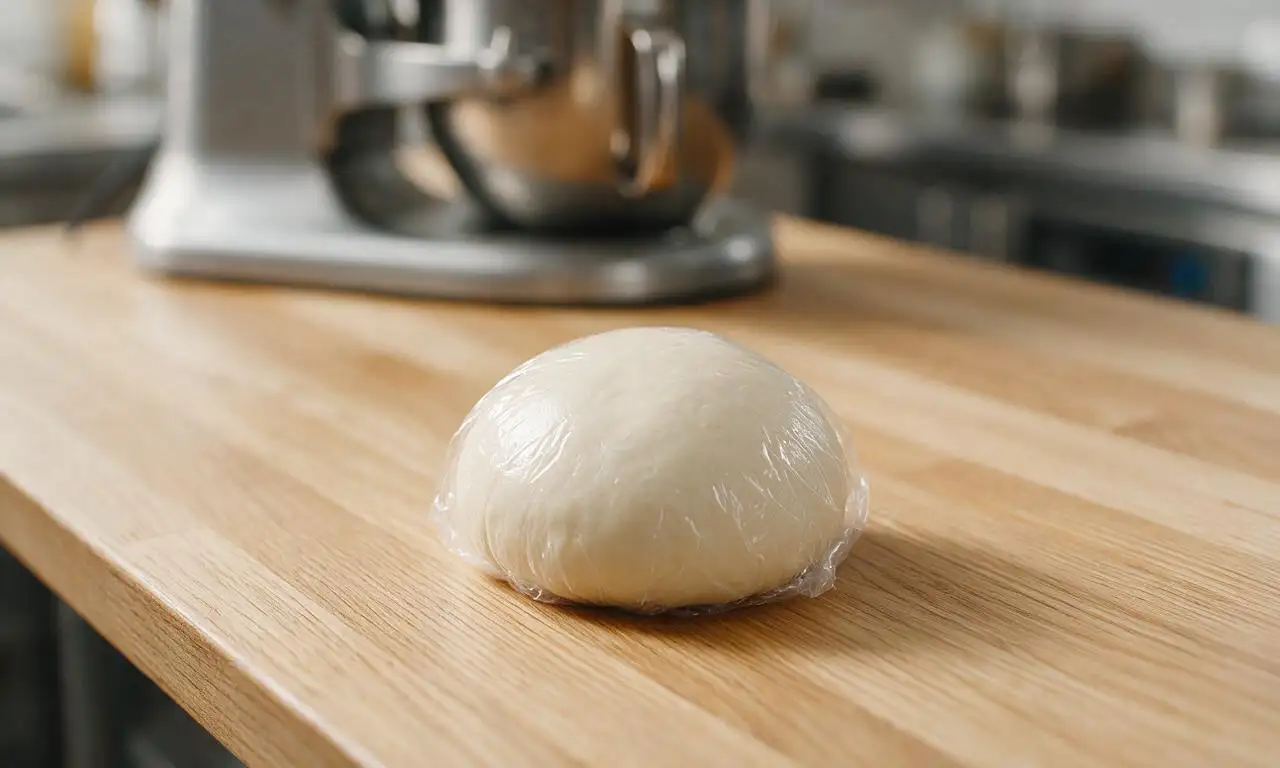
Combine 400g all-purpose flour and 1 teaspoon fine sea salt in the bowl of a stand mixer fitted with a dough hook. Pour in 180ml room-temperature water, mix on low speed for 8 minutes until a smooth, extremely stiff, non-tacky dough ball forms. Wrap tightly in plastic wrap and let rest at room temperature for 1 hour to relax gluten.
Stretch and laminate dough
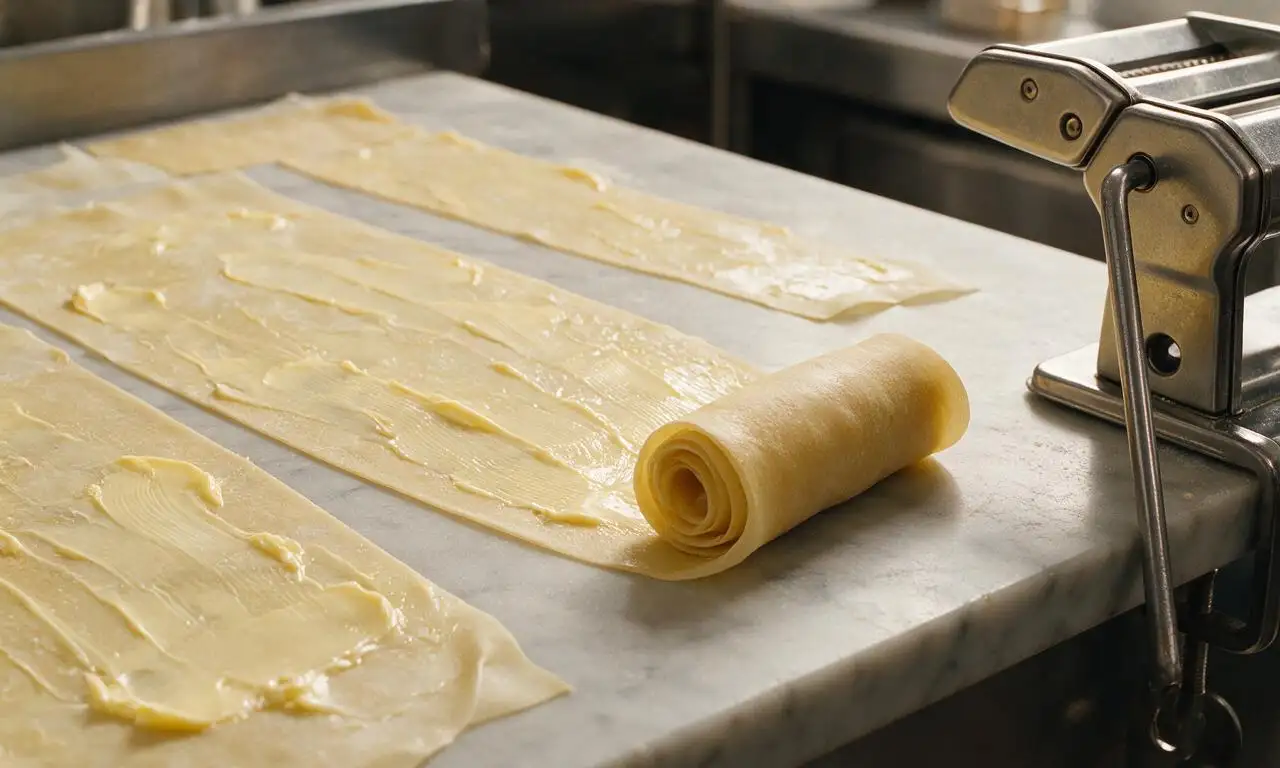
Unwrap the rested dough, cut into 4 equal portions. Flatten each portion and run through a pasta machine, starting on the widest setting and gradually reducing the roller gap until you produce 1mm-thick, translucent dough sheets roughly 30cm (12 inches) long. Spread 250g softened unsalted butter evenly over the entire surface of each sheet, stack the buttered sheets, then roll tightly into a uniform 5cm (2 inch) diameter log. Wrap the log in plastic and chill in the refrigerator for 2 hours until completely firm.
Prepare the ricotta filling
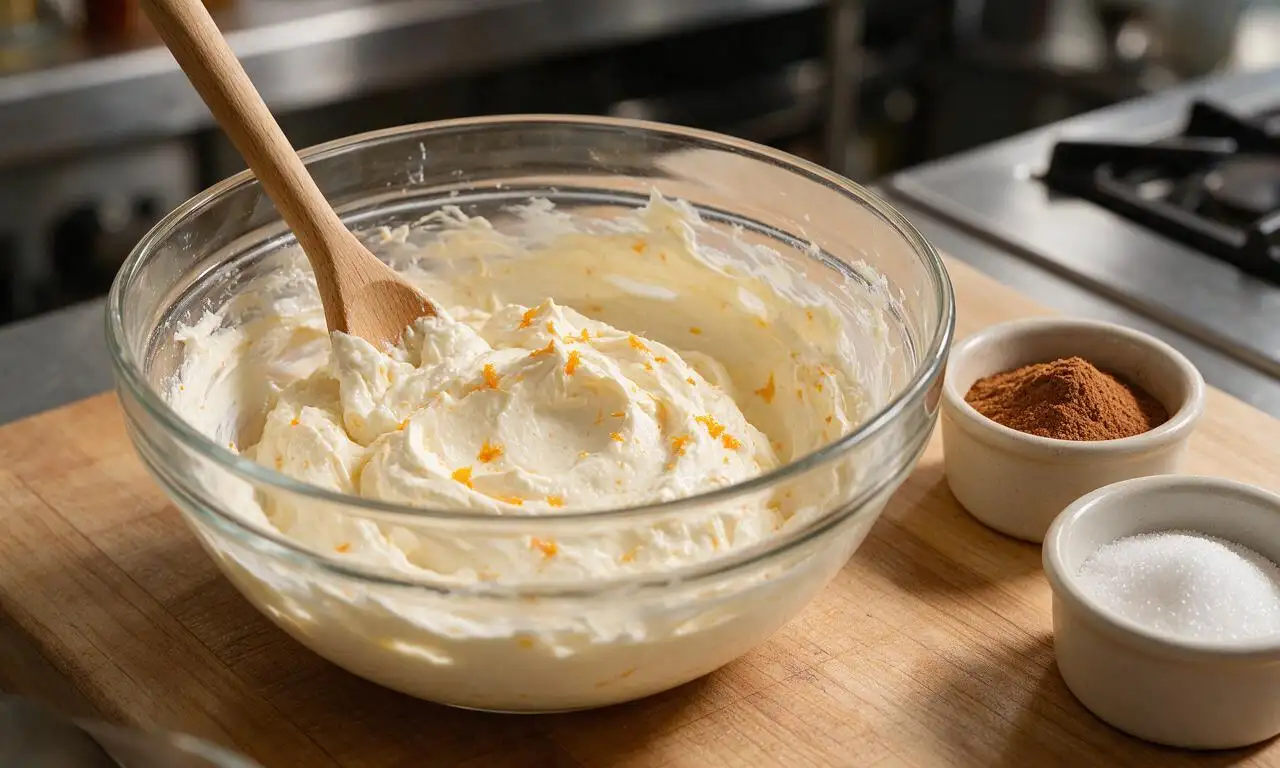
While the dough chills, bring the remaining 240ml water to a rolling boil over medium-high heat. Slowly whisk in 100g semolina flour, reduce heat to low, and cook for 3 minutes, stirring constantly, until a thick, smooth paste forms. Remove from heat, transfer to a bowl, and let cool to room temperature. Stir in 350g fully drained ricotta, 120g granulated sugar, 1 tablespoon orange zest, 1/4 teaspoon ground cinnamon, and 1 teaspoon vanilla extract until completely smooth. Chill until ready to use.
Cut and shape shells
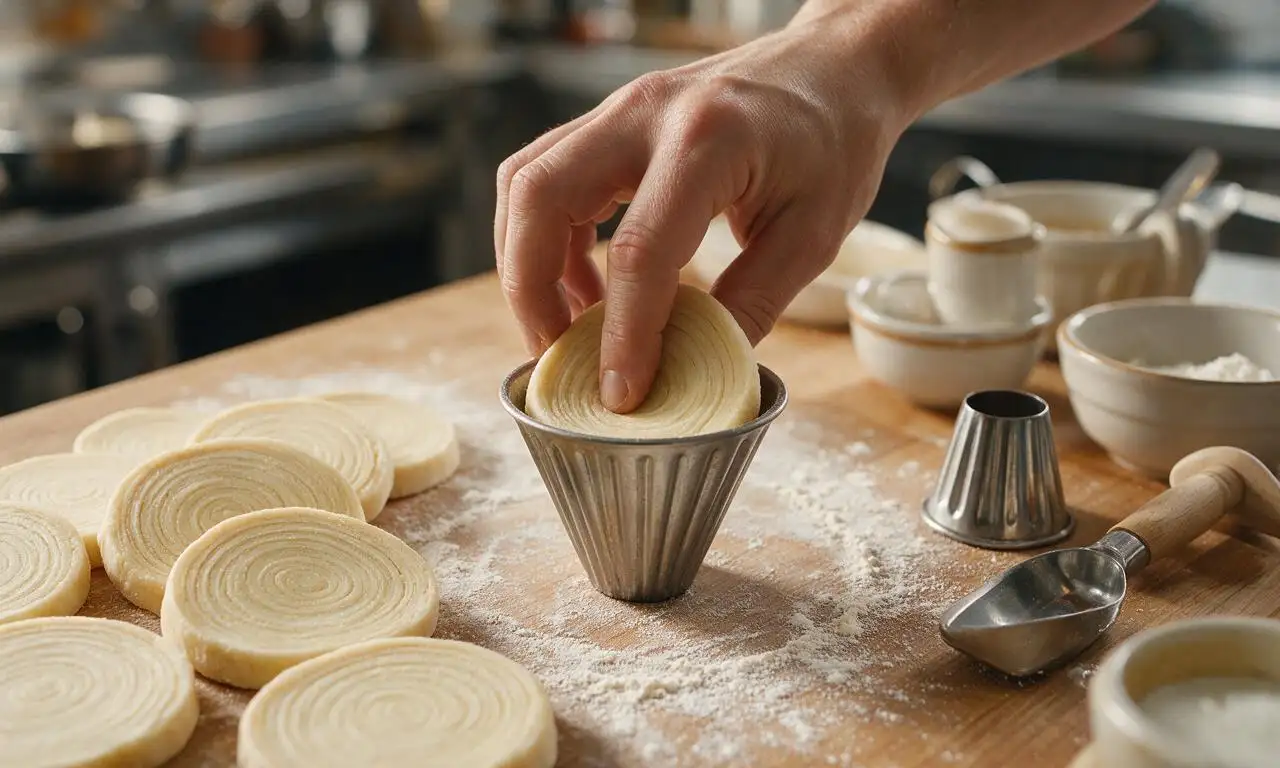
Remove the chilled dough log from the fridge, trim the uneven ends, then cut the log into 1.5cm (0.6 inch) thick slices, making roughly 16 total slices. Working one slice at a time, use your thumbs to press into the center of each cut disc, stretching the thin layered dough outward from the center to form a 7cm (2.75 inch) wide cone-shaped shell, keeping the ridged layered edges intact.
Fill and seal pastries
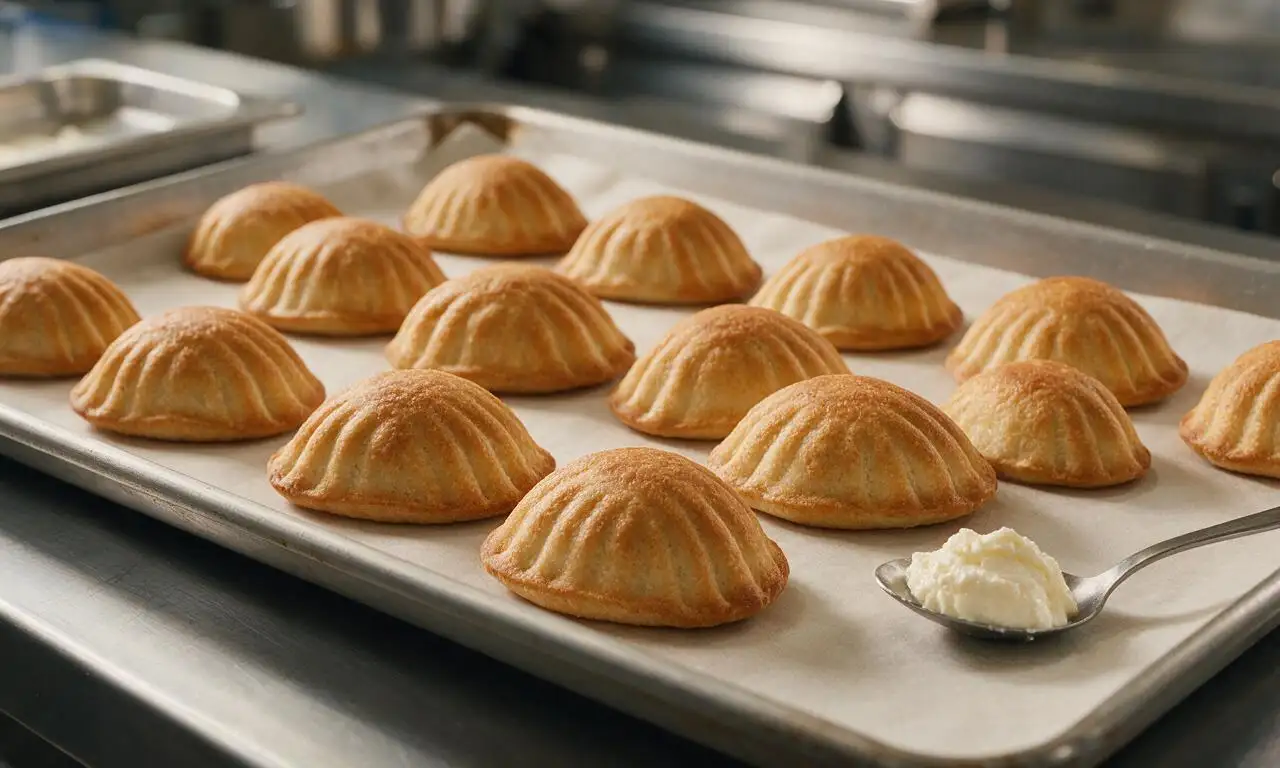
Spoon 1 heaped tablespoon (about 25g) of the chilled ricotta filling into each formed dough cone. Gently press the open edges of the dough together to seal, crimping lightly to create the signature curved, shell-like sfogliatella shape. Arrange the filled pastries 5cm (2 inches) apart on a baking sheet lined with parchment paper.
Bake until crisp and golden
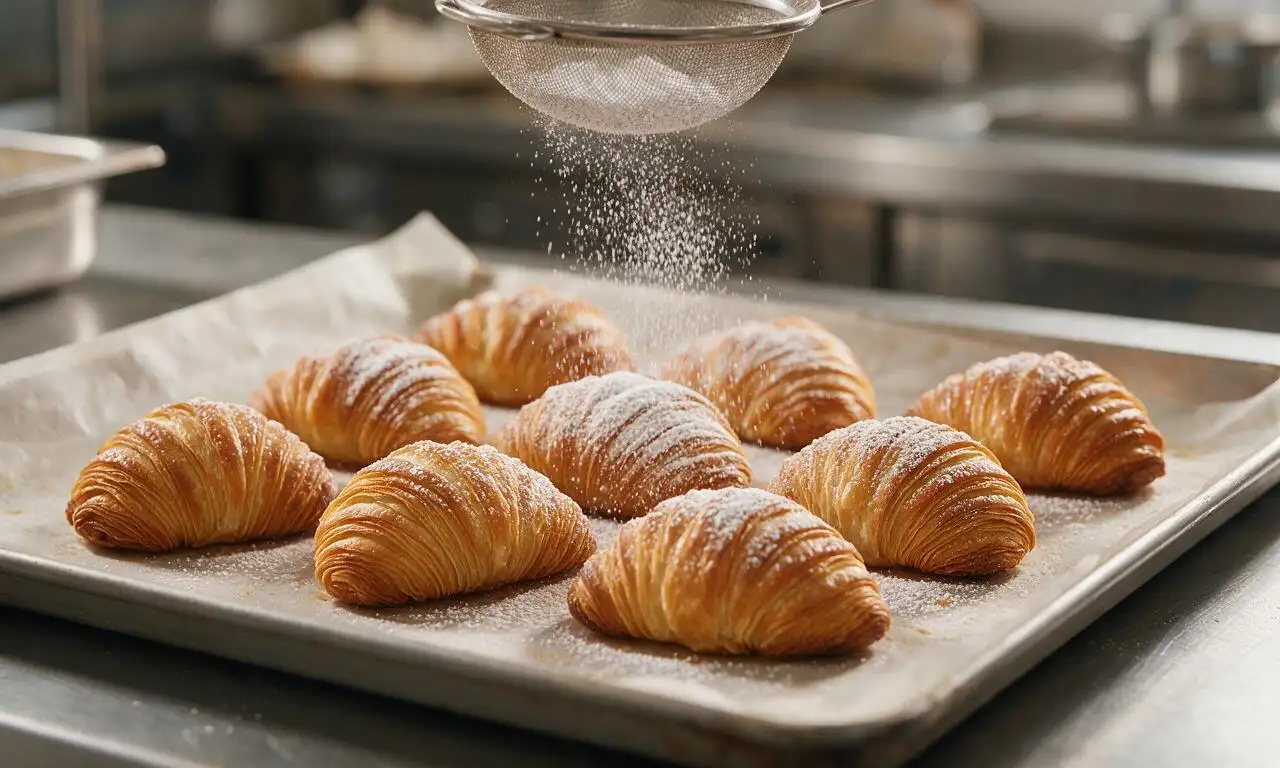
Preheat oven to 190°C (375°F) while the filled pastries rest for 15 minutes at room temperature. Bake for 25-28 minutes, rotating the tray halfway through, until the pastries are deep golden brown, with visible flaky crisp layers, and the filling is set. Remove from oven, let cool on the tray for 10 minutes, then dust lightly with 2 tablespoons powdered sugar before serving.
Tips
2.Keep the laminated dough log thoroughly chilled before slicing and shaping; if the butter softens to room temperature, the thin dough layers will stick together and fail to puff into distinct, flaky ridges during baking.
3.Avoid overfilling the pastry shells; using more than 25g (1 heaped tablespoon) of filling per shell will cause it to leak out during baking, burn on the tray, and break the pastry’s signature shell shape.






OMG I was so nervous to tackle this because everyone says sfogliatella is impossible, but this recipe broke every step down so clearly! Took me almost 4 hours total but the flaky layers and that rich ricotta-citrus filling? SO good. My whole family fought over the last one at our Sunday dinner. Worth every single minute of effort, even the lamination part that made my arms sore.
Tried these for our neighborhood block party potluck and they were a huge hit! Only reason I’m knocking a star off is my first two batches of dough tore when I was stretching it super thin, so I lost a few pastries to the garbage can. Flavor was spot on though, people kept asking where I bought them!
Game changer! I’ve been buying sfogliatella from my local Italian bakery for $5 a pop for years and these taste exactly like the real deal, if not better. I added a tiny extra dash of cinnamon to the filling like my nonna used to and it was chef’s kiss. 10/10 will make again for my book club next month.
Okay so flavor was amazing but man this is HARD. I’m a pretty casual baker and I drastically underestimated how long the lamination steps take. I ended up rushing the last fold and my layers didn’t puff up right in the oven, they were kind of dense. Will try again when I have a full free afternoon for sure.
My kids LOVED these! I was worried the ricotta filling would be too rich for them but they devoured three each after soccer practice. I did a mini version in my muffin tin to make them easier for little hands to hold, total parent win.
I worked in an Italian bakery in Brooklyn back in the 70s and this recipe is dead on for the classic sfogliatella we used to make every Saturday morning. The semolina in the dough is the secret most home recipes skip, and y’all nailed that ratio. Brought back so many good memories, thanks for posting this.
Wait quick question—can I freeze the shaped, unbaked sfogliatella to bake later for meal prep? I want to have these on hand for quick weekday breakfasts with my espresso but I don’t have 3+ hours to spare every week.
I followed the recipe exactly but my filling came out super grainy? Not sure what I did wrong, I used whole milk ricotta like it said. The dough came out flaky but the texture of the filling was a total bummer.
Just pulled these out of the oven and my entire apartment smells like the Little Italy bakery I went to as a kid. The layers are so crisp they shatter when you bite into them, the orange zest in the filling is such a bright perfect touch. 100% worth the arm workout from rolling out all that dough.
Made these for my husband’s birthday dinner since he’s been begging for sfogliatella ever since our trip to Naples last year. He said they tasted exactly like the ones we got from the tiny street shop by our hotel! I even dusted them with a little extra powdered sugar like they did there and he teared up a little. Best birthday win ever.
I swapped the ricotta for a vegan almond ricotta and used plant-based butter for the lamination and these still came out insane! My non-vegan roommates didn’t even believe they were dairy free. Only issue was my vegan butter was a little softer than regular so I had to pop the dough in the fridge more often between folds.
We’ve been testing fancy pastry recipes at my coffee shop to add to the case and these are going on the permanent menu! Customers are already asking for seconds, one regular said they’re better than the ones he gets on his annual trips to Boston’s North End. Wild!
Taste was 5 stars but wow, this is not a recipe for new bakers. I consider myself pretty decent at baking and I still messed up the first two lamination folds because I didn’t realize how thin you have to get the dough. Ended up with half the batch having perfect layers and half being kind of bready, but even the bready ones tasted good. Will give it another shot when I have more patience.
Baked these for my kid’s school bake sale and they sold out in 10 minutes flat! I priced them at $3 each and people were coming back to buy more to take home to their families. I even got three requests for the recipe, I told them to look no further than this site!
I was this close to giving up on laminated dough forever after my terrible croissant attempt last month, but this recipe made me feel like a pro! The step by step photos for the folding process were so much clearer than any other tutorial I’ve found online. My layers were crisp, shattery, perfect. Obsessed.
These were delicious! The only note I have is that the cook time listed was a little short for my oven—mine needed an extra 8 minutes to get that deep golden crispy outside, so I’d recommend checking them at the listed time but being ready to add a few minutes if your oven runs cool like mine. Filling was perfect, not too sweet, just right.