1.Why is this recipe called Shaker Lemon Pie?
▾
This iconic pie originated with the 19th-century United Society of Believers (known as the Shakers), a religious community famous for frugal, zero-waste, simple cooking. Unlike other lemon pies that only use juice and zest, this recipe uses nearly the whole thin-skinned lemon (minus seeds) to reduce food waste, perfectly aligning with core Shaker values of resourcefulness.
2.Do I really use the whole lemon, including the peel and white pith?
▾
Yes! That’s the signature of classic Shaker Lemon Pie. You’ll use very thinly sliced, seeded thin-skinned lemons, including the white pith and outer peel. The long maceration step in sugar softens the pith to cut harsh bitterness, leaving a bright, complex tart-sweet flavor you can’t get from juice and zest alone.
3.What type of lemons work best for this pie?
▾
Stick to thin-skinned, smooth-rinded fresh lemons, ideally Meyer lemons or standard Eureka lemons with thin, taut skin. Avoid thick, bumpy-rinded lemons—their extra-thick pith stays tough and overly bitter even after maceration, and won’t soften properly during baking for that signature tender, melt-in-your-mouth bite.
4.How long do I need to macerate the lemon slices in sugar?
▾
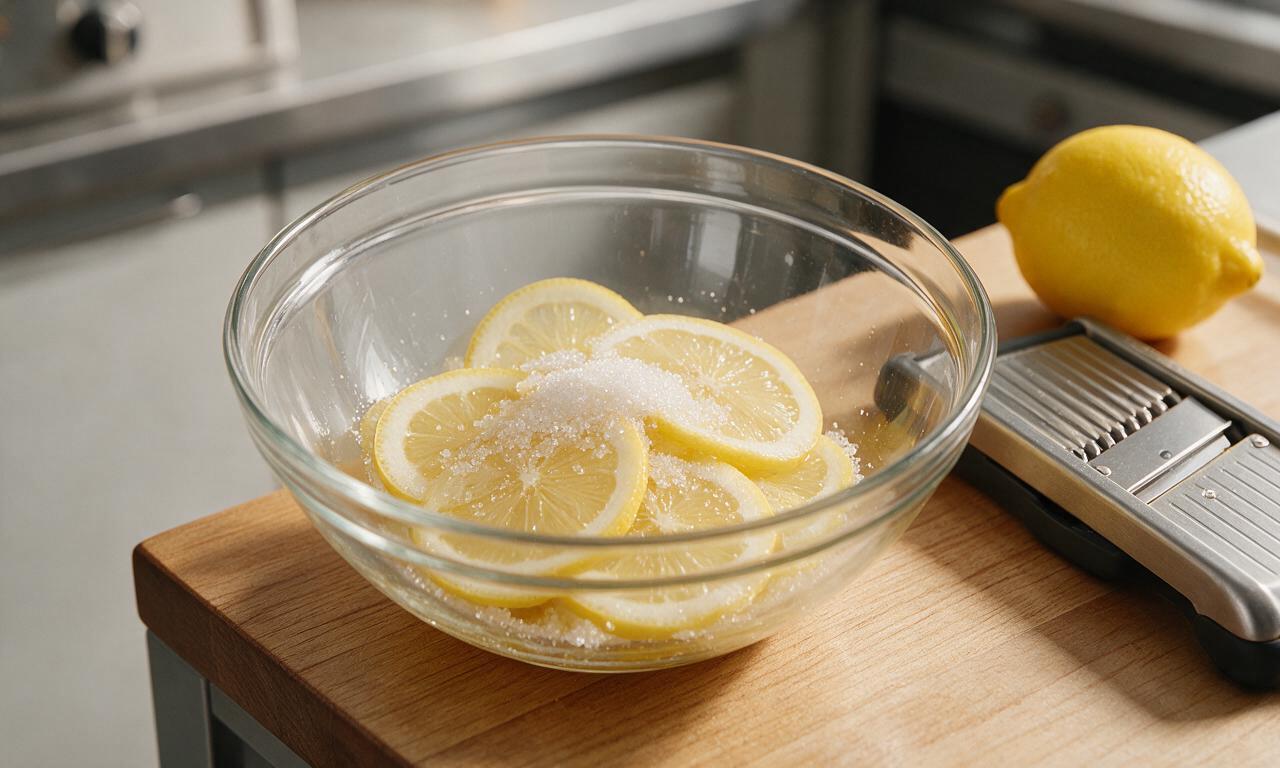
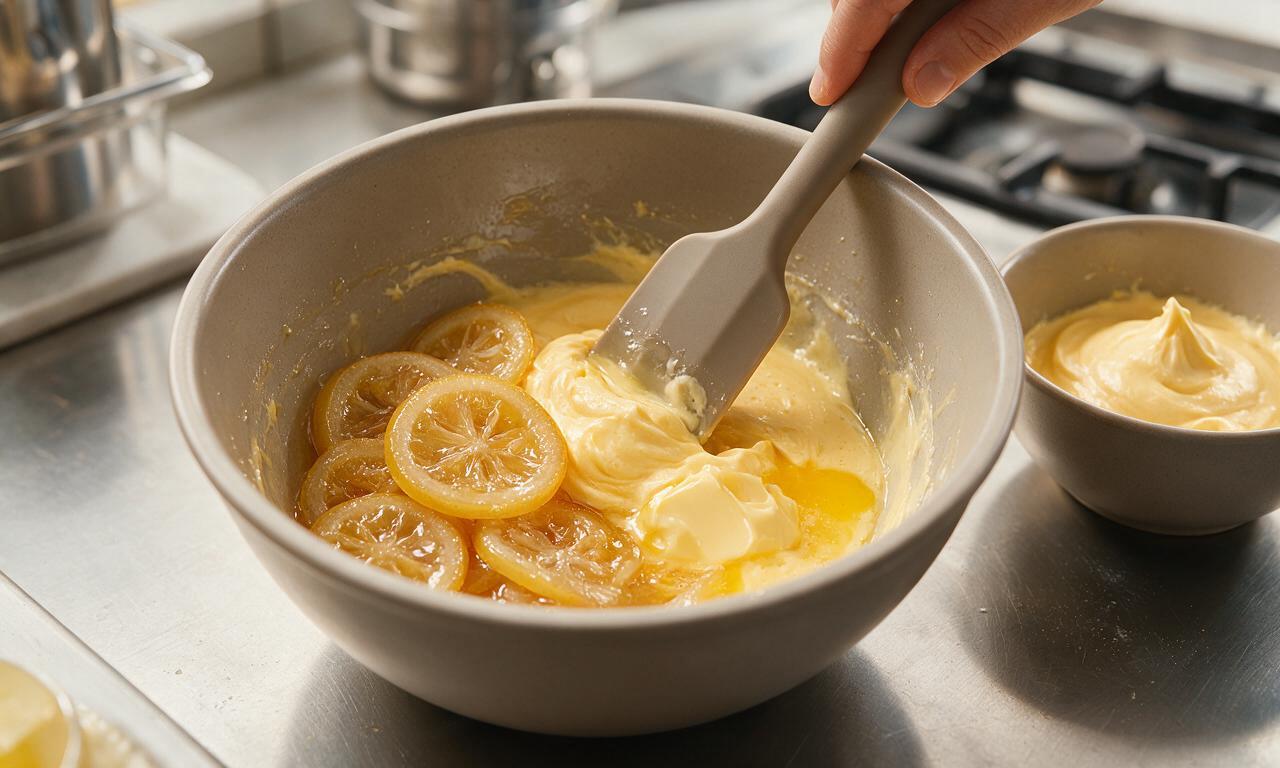
For the best texture and least bitterness, macerate your thinly sliced, seeded lemons in the full measured amount of granulated sugar for a minimum of 4 hours, or ideally 24 hours in the refrigerator. Stir occasionally as they rest; the sugar will draw out juice and soften the rind and pith completely so they’re tender when baked.
5.Can I skip macerating the lemons to save time?
▾
I don’t recommend it. Skipping maceration leaves the lemon pith tough, fibrous, and unpleasantly bitter, and the slices won’t meld properly into the creamy custard base. If you’re crunched for time, you can speed the process by letting slices rest in sugar at room temperature for 2 hours, stirring every 15 minutes, but the 24-hour rest is ideal.
6.Do I have to use a double crust for this pie, or can I use a single crust?
▾
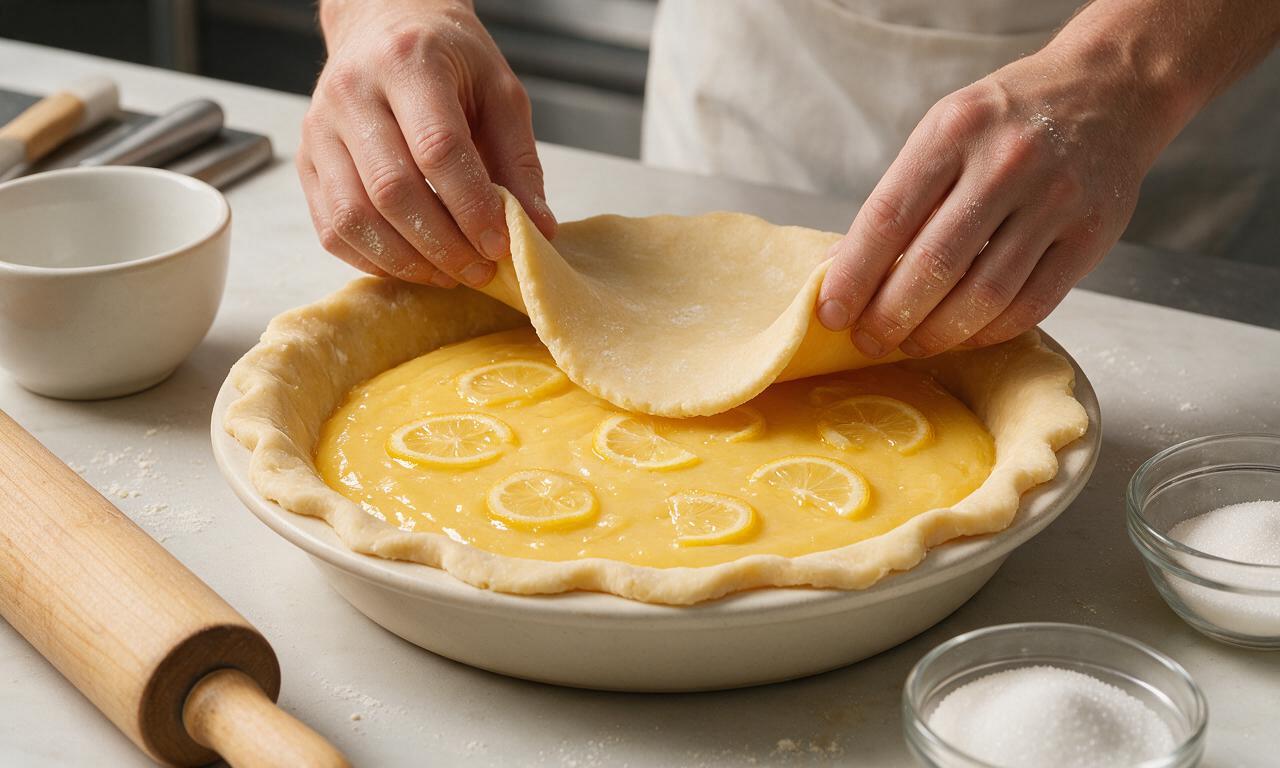
Traditional Shaker Lemon Pie always uses a flaky double crust—one for the bottom, one to cover the top—to seal in the creamy, juicy custard as it bakes. You can cut decorative vents or a lattice top if you prefer, but a top crust prevents the custard from developing a tough, rubbery skin and keeps the filling perfectly moist.
7.Why do the eggs need to be at room temperature for the filling?
▾
Room-temperature eggs mix more smoothly into the cooled melted butter and sugar-lemon mixture, creating a uniform, silky custard without lumps. Cold eggs can cause melted butter to re-solidify into small clumps, leading to an uneven, slightly curdled-looking filling that doesn’t set consistently across the whole pie.
8.Why does the melted butter need to cool before I add it to the filling?
▾
Hot melted butter will partially cook room-temperature eggs if poured directly into the filling mixture, creating tiny scrambled egg curds that ruin the smooth, creamy custard texture. Let melted butter sit for 5 to 7 minutes after melting, until it feels just slightly warm to the touch, before stirring it into your other filling ingredients.
9.How do I keep the bottom pie crust from getting soggy?
▾
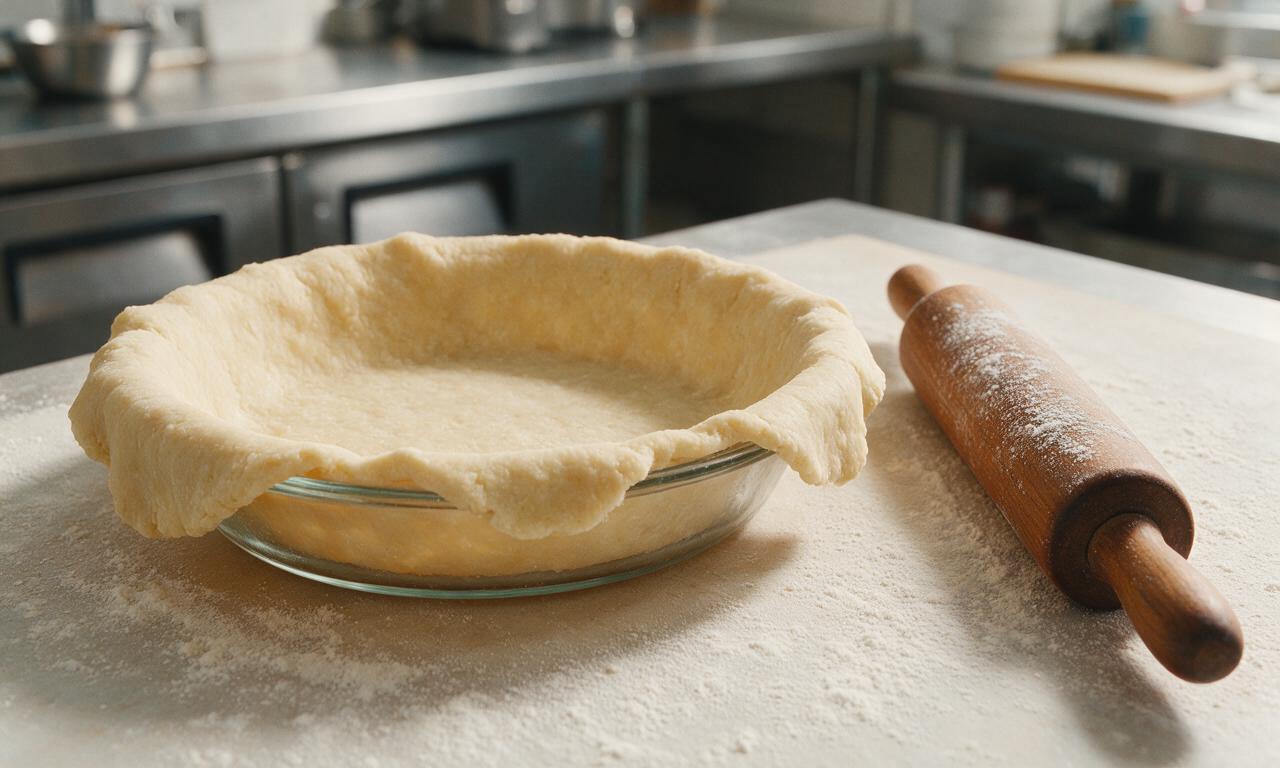
To avoid a soggy bottom crust, blind bake your chilled bottom crust for 10 minutes at 425°F before adding filling, and brush the inside of the partially baked crust with a thin layer of lightly beaten egg white to create a moisture barrier. You can also set your pie plate on a preheated baking sheet to jumpstart crisping on the bottom.
10.How do I tell when the pie is fully done baking?
▾
The pie is done when the top crust is deep golden brown, and the filling jiggles slightly (like firm Jell-O, not sloshy liquid) in the very center when you gently nudge the pie plate. The center should hit 175°F on an instant-read thermometer; residual heat will finish setting the custard as it cools, so don’t bake until the center is totally firm.
11.Do I really have to let the pie cool before slicing it?
▾
Absolutely. Let the baked pie cool completely on a wire rack for a minimum of 3 hours, or chill it for 2 hours, before slicing. The custard continues to set as it cools, and slicing it warm will cause the filling to run out of the crust, leaving you with messy, loose slices instead of clean, firm cuts.
12.Can I use store-bought pie crust instead of making it from scratch?
▾
Absolutely—this is a simple, rustic historic recipe, so store-bought chilled double 9-inch pie crust works perfectly if you don’t have time for homemade. Just look for an all-butter crust for the flakiest texture, and keep it chilled until you’re ready to line your pie plate and add filling for the best results.
13.How do I make sure I remove all the lemon seeds before adding slices to the filling?
▾
Slice your lemons paper-thin with a very sharp knife or mandoline, then lay each slice flat on a cutting board and pick out visible seeds with the tip of your paring knife or a toothpick. Don’t stress if you miss a couple of tiny seeds—they’re harmless, but removing most prevents unwanted bitter, woody texture in the finished pie.
14.Why does my finished pie taste bitter?
▾
Bitter filling almost always stems from one of three issues: using thick-skinned lemons with extra-bitter pith, not macerating lemon slices long enough in sugar to soften and mellow the pith, or leaving too many seeds in the lemon slices. Next time, opt for thin-skinned lemons and do the full 24-hour sugar maceration for balanced tart-sweet flavor.
15.Can I freeze a baked Shaker Lemon Pie to enjoy later?
▾
Yes, you can freeze a fully baked, fully cooled Shaker Lemon Pie for up to 3 months. Wrap it tightly in two layers of plastic wrap and one layer of aluminum foil to prevent freezer burn. Thaw it in the refrigerator overnight before serving; you can crisp the crust for 10 minutes in a 350°F oven if you prefer it warm.
16.What size pie plate works best for this recipe?
▾
This recipe is designed for a standard 9-inch glass or ceramic pie plate, which holds roughly 4 cups of filling. Avoid using a deeper 9.5-inch deep-dish plate unless you scale up the filling by 25%, as you’ll end up with a too-thin pie and excess crust that doesn’t fill the plate properly.
17.Do I need to cut vents in the top crust before baking?
▾
Yes, always cut 4 to 6 small 1-inch slits in the top crust, or punch a few decorative cutouts, to allow steam to escape as the filling cooks. Without vents, trapped steam builds up under the crust, causing it to bubble up, crack, or even push filling out the sealed crimped edges of the pie while it bakes.
18.Can I mix in extra flavors, like vanilla or berries, to the classic filling?
▾
A tiny splash of pure vanilla extract (about 1 teaspoon) in the custard is a lovely, subtle addition that won’t stray too far from the classic recipe. I don’t recommend adding berries or other strong mix-ins, though—they overpower the bright, pure lemon flavor and add excess moisture that makes the crust soggy.
19.How long will leftover Shaker Lemon Pie stay fresh?
▾
Leftover Shaker Lemon Pie will stay fresh for up to 4 days stored in the refrigerator, loosely covered with plastic wrap. The flavors actually meld and improve for the first 24 hours after baking, so many bakers prefer making it a day ahead of serving for the most balanced, well-developed tart-sweet taste.
20.Why is my custard runny even after the pie has cooled?
▾
Runny custard usually means the pie was underbaked, so the eggs didn’t set enough to bind the filling together, or you sliced it too early before it had time to fully cool and firm up. Next time, check for that gentle Jell-O-like jiggle (not loose sloshing) at the center, and let it rest the full 3 hours at room temperature before cutting.


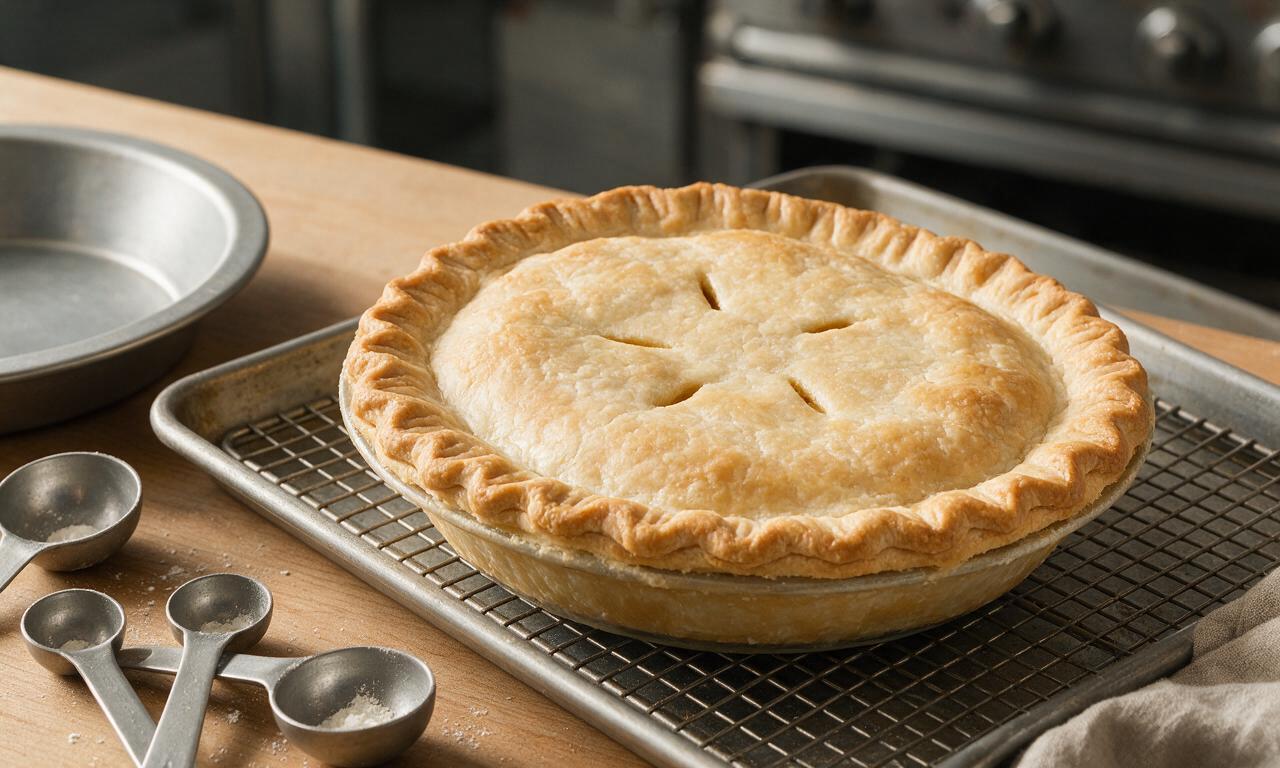
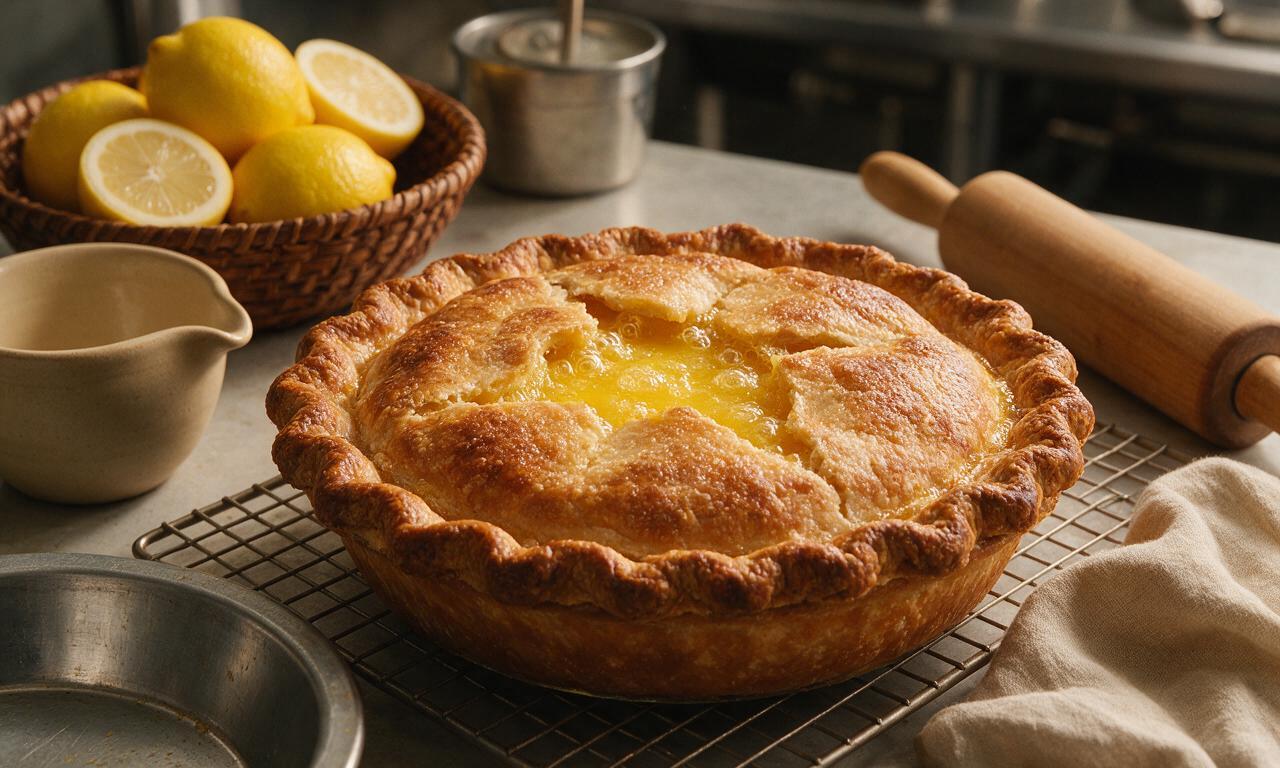






OMG I made this for our Sunday family dinner last week and everyone went back for seconds! I was nervous about the 24 hour lemon maceration step but it makes ALL the difference—no bitter rind at all, just that perfect bright, sweet-tart kick. SO good, even my super picky 8 year old asked for a second slice. 10/10 will be making this for our church potluck next month!
Took a chance on this for my partner’s birthday since lemon pie is their absolute favorite. Game changer! The texture is so perfectly silky, not runny at all like some lemon pies I’ve tried. We ate half the pie in one sitting oops. Worth every minute of prep time.
Quick question before I dive in—do I really have to wait a full 24 hours for the lemons to macerate? I’m supposed to bring dessert to a friend’s cookout tomorrow and I totally forgot to prep ahead 😭 Is there a shortcut that actually works without making the pie bitter? I’ve heard so many good things about this recipe I don’t want to mess it up!
Made this for Thanksgiving last year and it was the first dessert gone from the table! I will say I had a little trouble getting the bottom crust to crisp up properly the first time—any tips for avoiding a soggy bottom? I want to make it again for our Easter dinner this weekend.
Not gonna lie, I was skeptical about a lemon pie that uses the entire lemon, pith and all. But wow, this is easily the best lemon pie I’ve ever made. The balance of sweet and tart is unreal, it doesn’t have that weird artificial lemon jell-o vibe a lot of recipes have. Already shared the link with my whole hiking group potluck list.
Has anyone tried making this with a gluten free pie crust? My daughter has celiac so we swap crusts all the time, but I want to make sure the filling bakes up the same with a GF crust, since I know some fillings react differently. This looks so good I don’t want to skip it for our next family meal!
Made this last weekend for meal prep and it held up so good all week in the fridge! I was worried the lemon would get weird after a few days but the slices tasted just as bright on day 5 as they did day 1. Absolute win, I’ll be adding this to my regular rotation.
Wait, y’all—this is the first Shaker lemon pie I’ve made that didn’t turn out runny in the middle! I’ve been chasing that perfect set for YEARS. I did let it cool the full 3 hours like the recipe said, which I definitely skipped on past attempts, oops. Game. Changer.
Paired this with a cold pour over coffee for our weekend brunch and it was chef’s kiss. The bright lemon cuts through the richness of all the usual brunch food so well. My roommate said it tasted like it came from a fancy downtown bakery, win.
Okay, full transparency: I burned the edge of my crust the first 10 minutes of baking because I got distracted by my dog barking at the mailman. I trimmed the burnt edges off, covered the crust with foil for the rest of the bake, and it still turned out amazing! Even with my little mishap, my roommates devoured it.
Brought this to our neighborhood block party last weekend and I had three people ask me for the recipe before I even got a second slice! The only note I have is I added a tiny splash of vanilla extract to the filling because I add vanilla to everything, and it was chef’s kiss. Will absolutely be making this again.
My kids begged me to make this after they saw a TikTok about Shaker lemon pie, and I was worried it’d be too complicated for a casual weekend bake. It’s definitely medium difficulty like the recipe says, but totally doable even if you’re not a super experienced baker. My kids loved it so much they asked if we could have it for dessert every night this week! The look on their faces when they took the first bite? Worth every minute.
Quick question—can I use Meyer lemons for this instead of regular lemons? I have a tree in my backyard that’s absolutely loaded with Meyers right now and I’d love to use them up if it works!