
sheet pan breakfast sandwich
intro
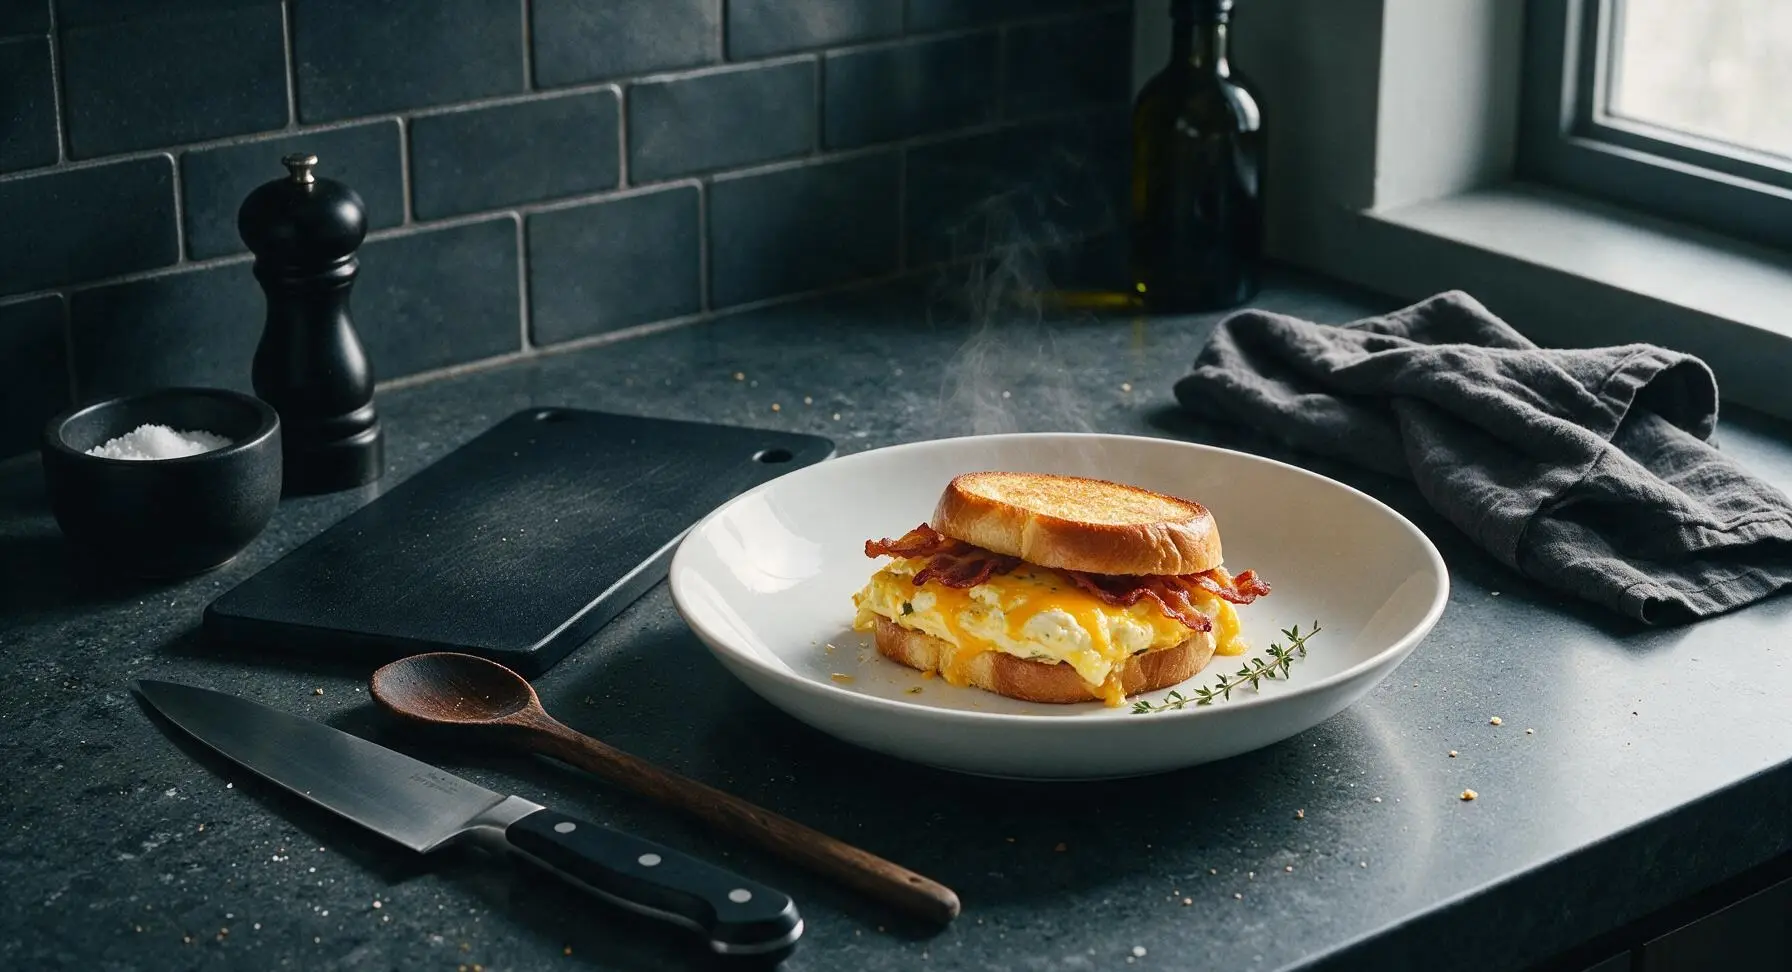
Fluffy baked eggs, melted cheddar, crispy bacon, and toasty brioche cook entirely on one sheet pan for mess-free, hearty breakfast sandwiches ready in under 30 minutes.
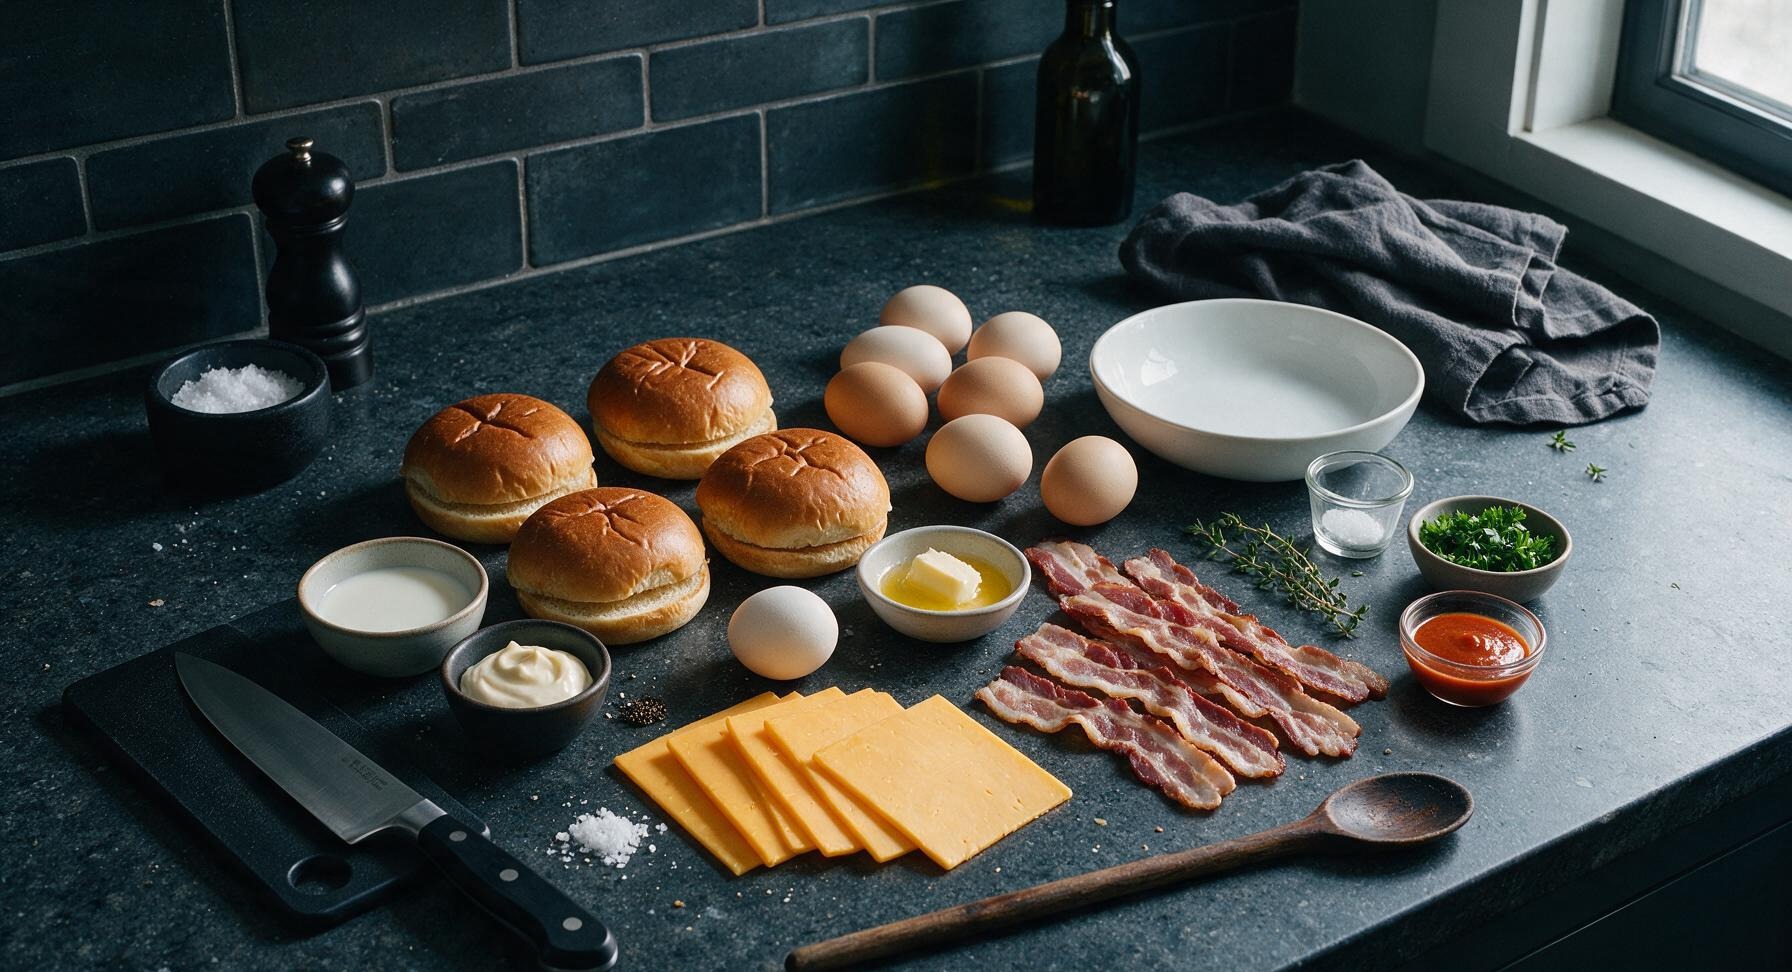
Ingredients
Steps
Prep Pan and Oven
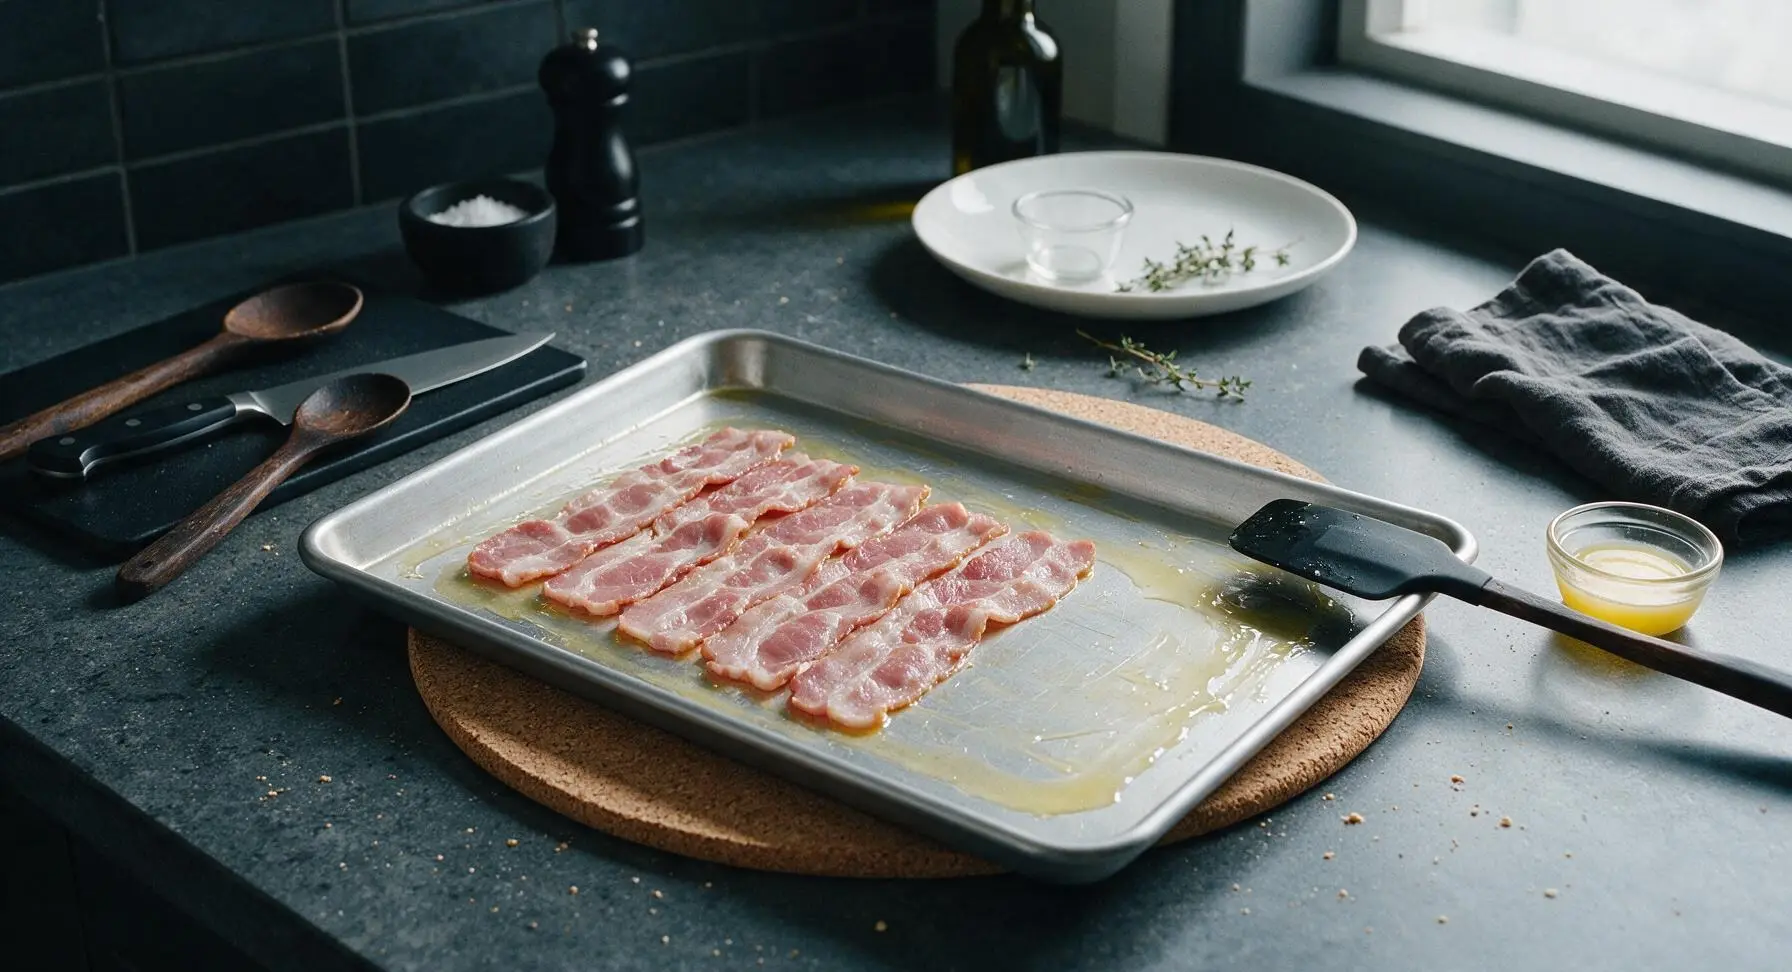
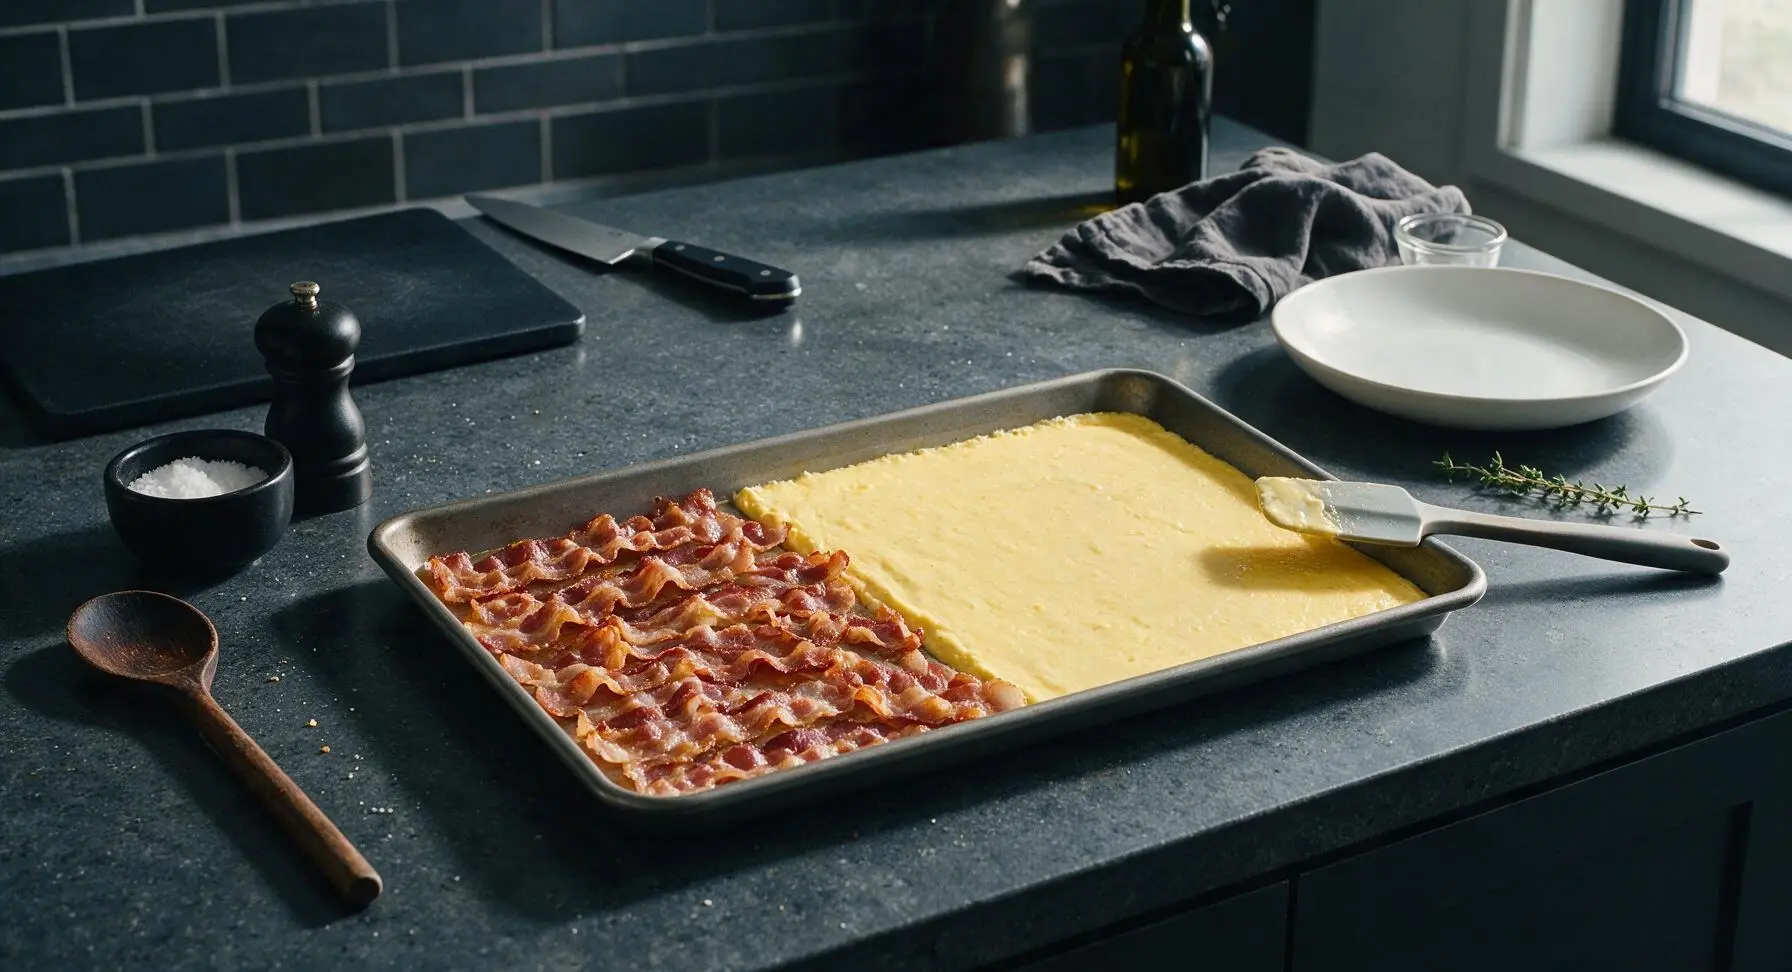
Adjust your oven rack to the middle position and preheat to 400°F (200°C). Retrieve the 18x13 inch aluminum half sheet pan from under the counter and set it on the cork trivet at the center of the work surface. Use the silicone spatula to spread 1 tablespoon of melted butter evenly across the entire pan bottom to prevent sticking. Arrange 8 slices of thick-cut bacon in a single even layer across the left half of the pan, leaving the right half empty for the egg mixture.
Whisk Egg Mixture
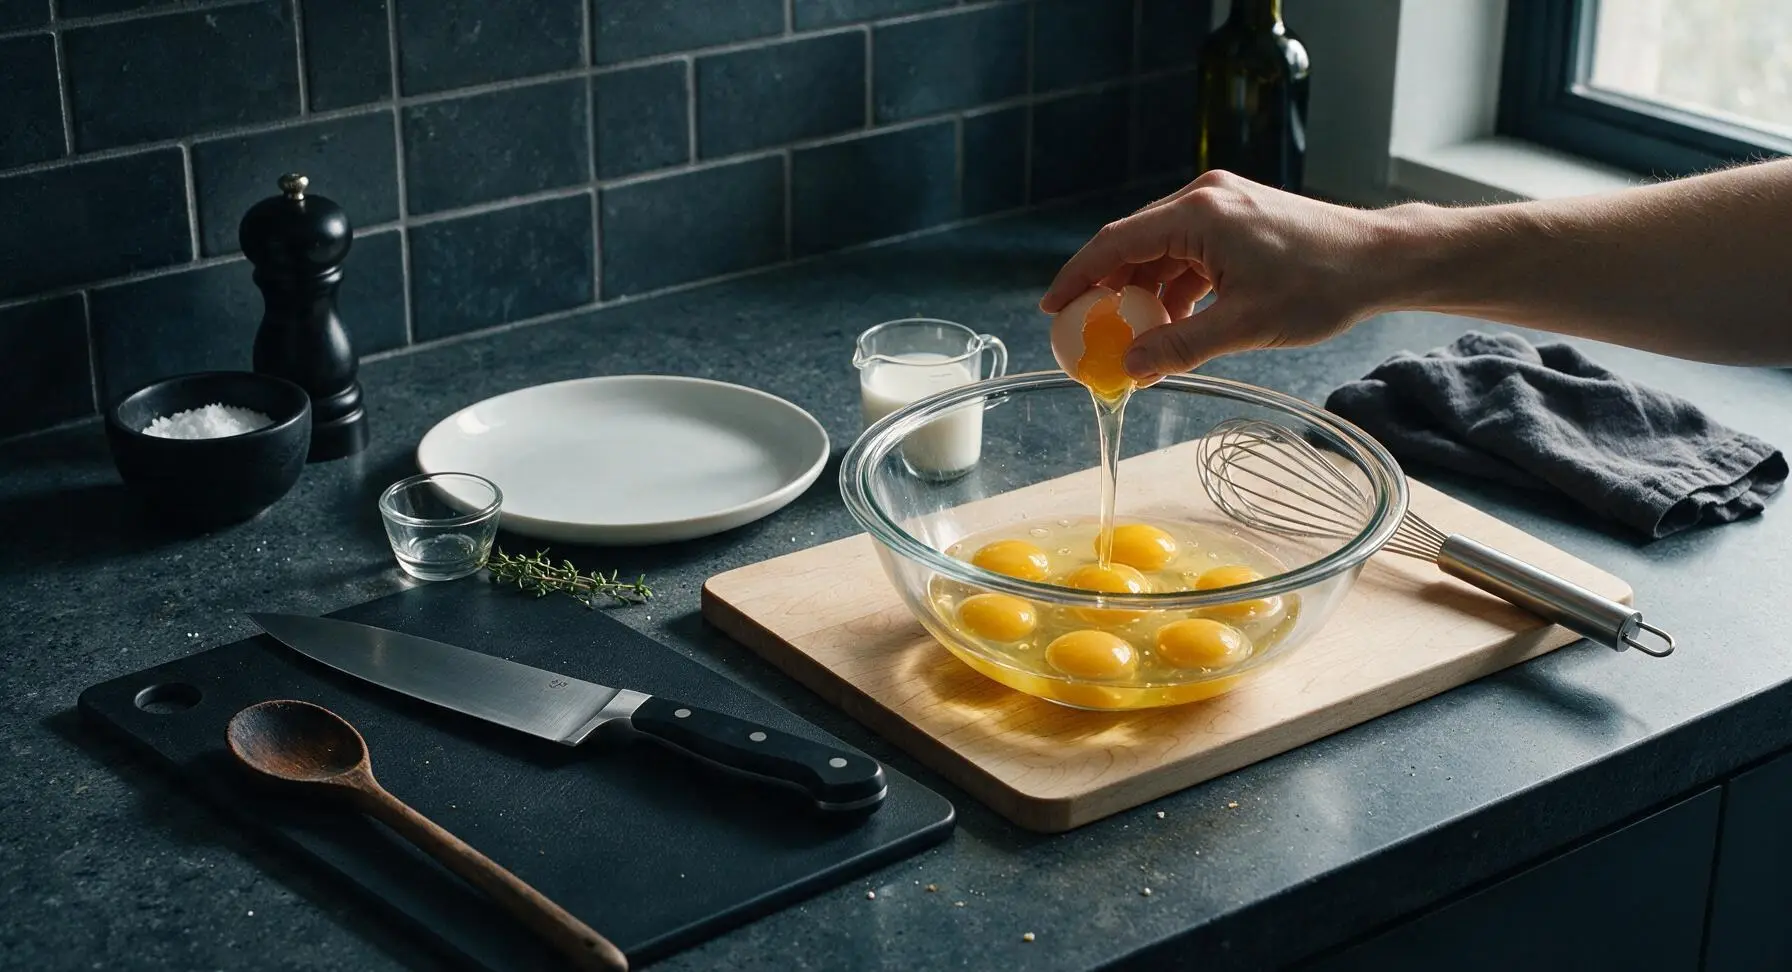
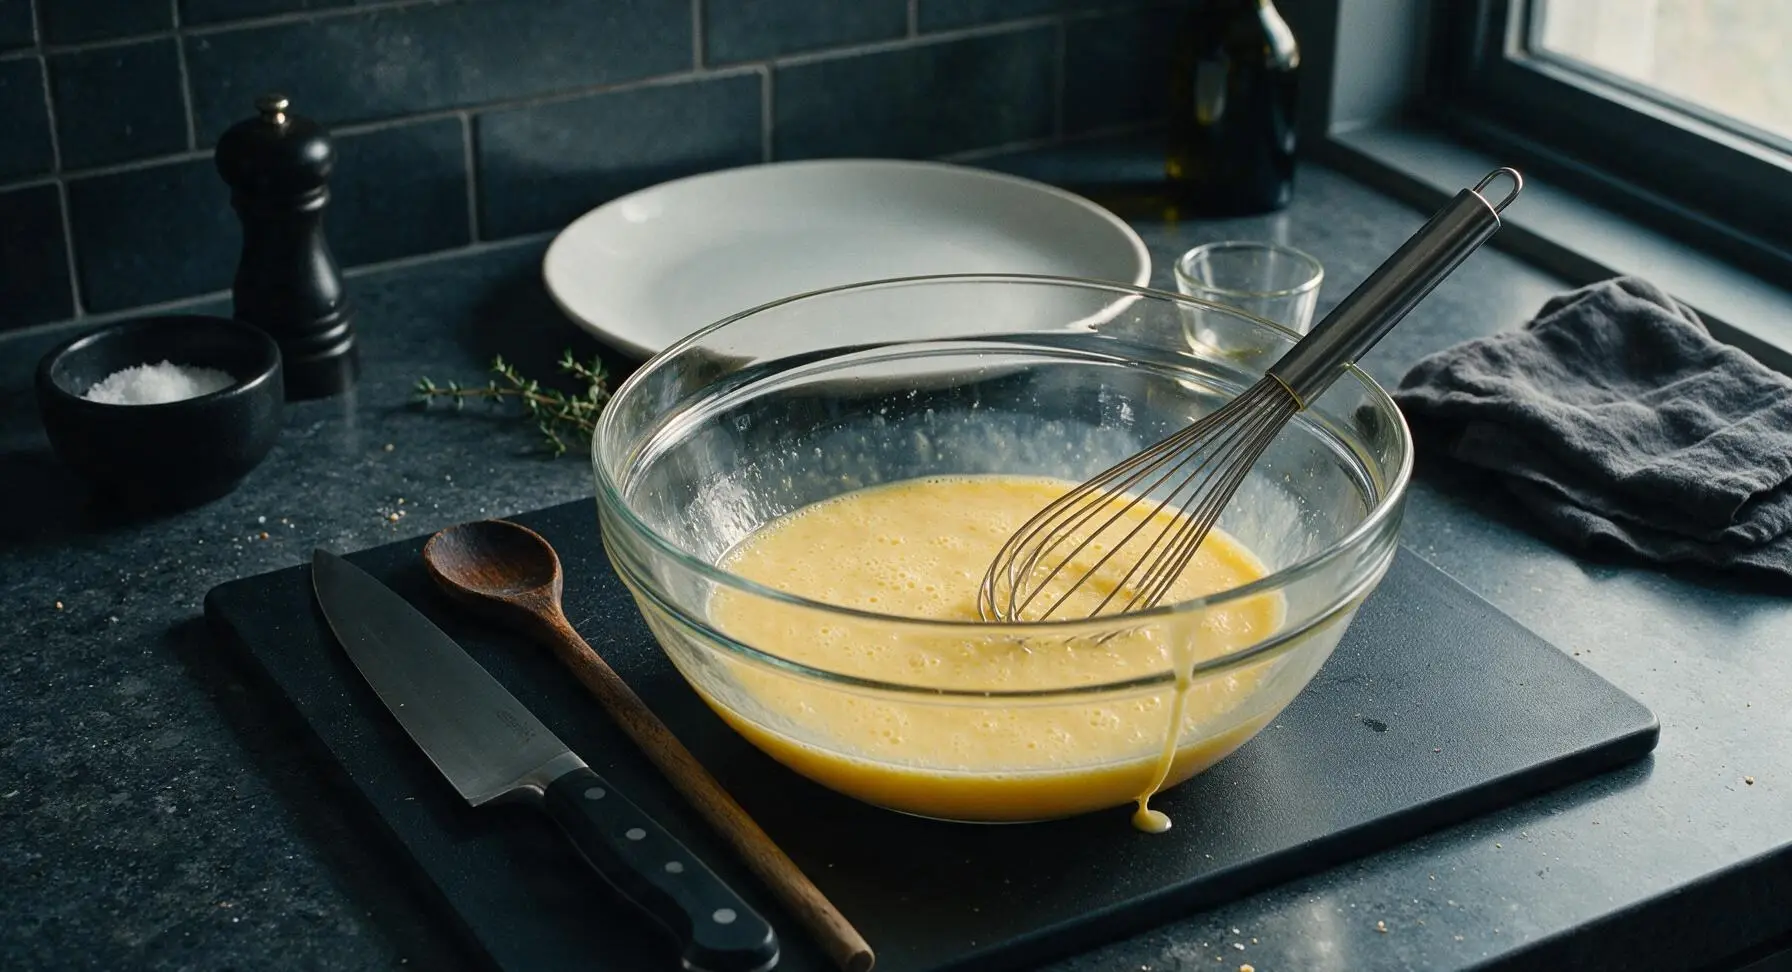
Crack all 8 large eggs into the 2L clear glass mixing bowl set on the maple cutting board. Add 1/2 cup whole milk, 1 tsp flaky sea salt, and 1/2 tsp freshly ground black pepper. Use the stainless steel wire whisk to beat the mixture for 45-60 seconds until completely smooth, with no visible streaks of separate egg white, and a uniform pale yellow color dotted with tiny air bubbles.
Bake First Stage
Carefully pour the whisked egg mixture onto the empty buttered right half of the prepared sheet pan, using the silicone spatula to spread it gently into an even 1/4-inch thick layer. Transfer the pan to the preheated middle oven rack. Bake for 10 minutes, until the egg layer is almost fully set around the edges and the bacon is starting to crisp, curl, and render golden fat.
Add Buns and Cheese
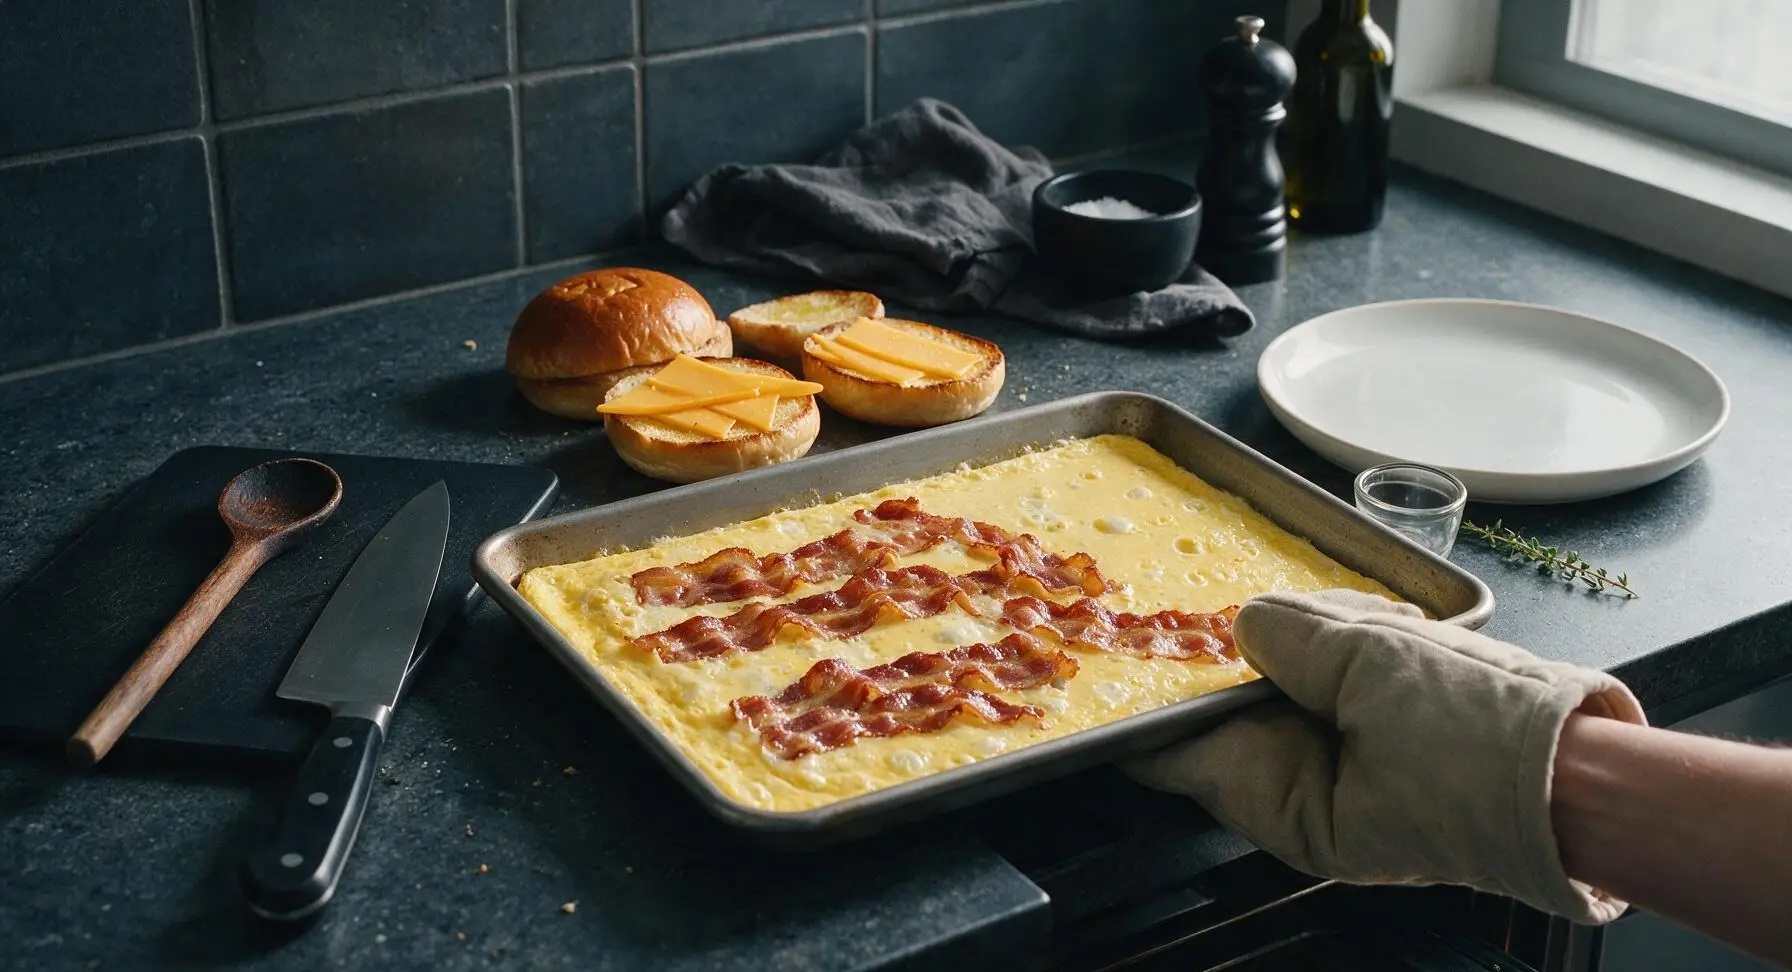
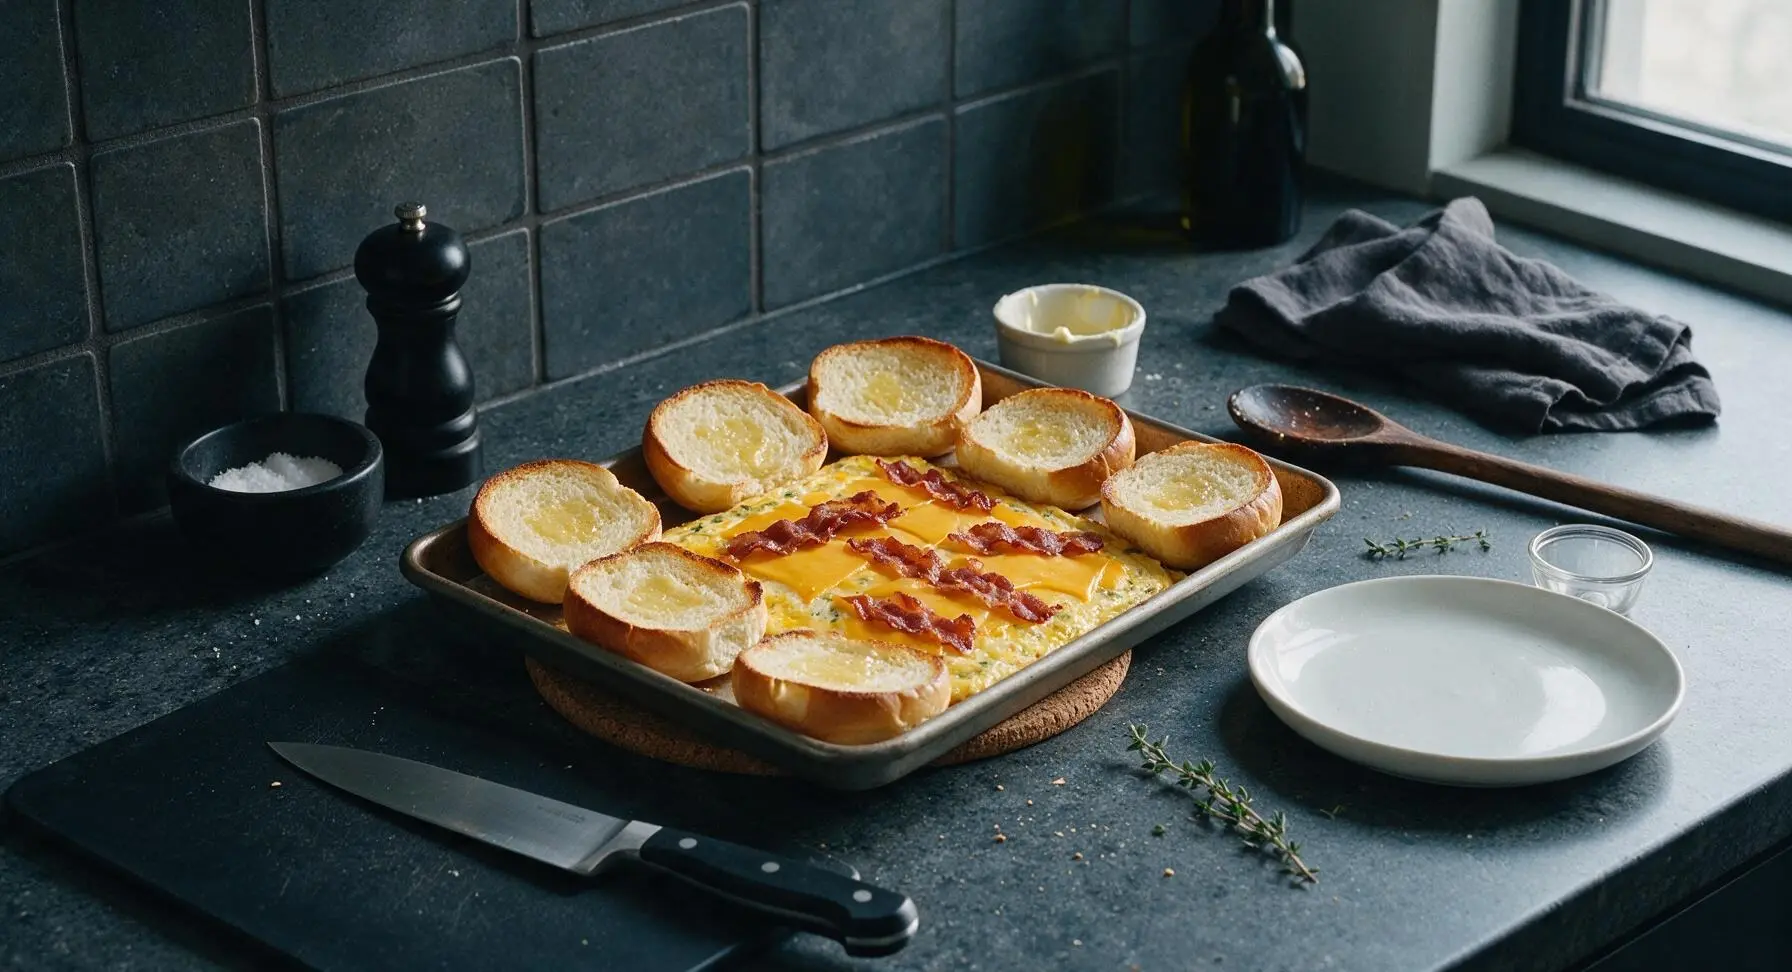
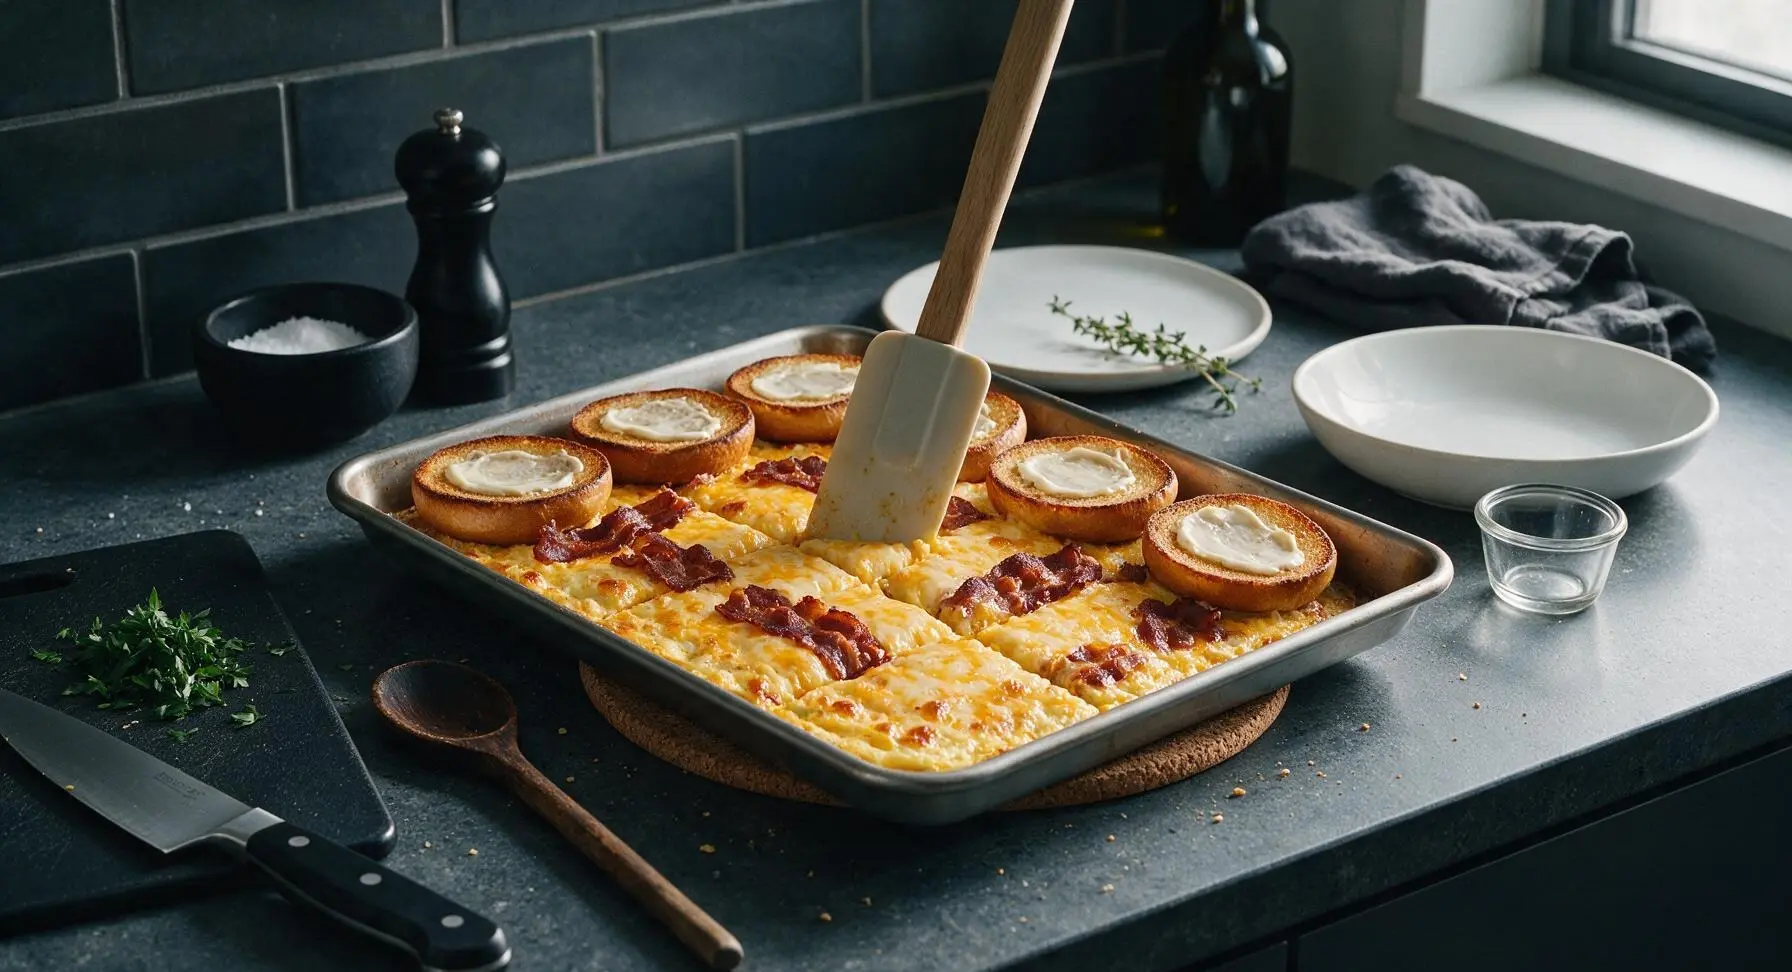
After 10 minutes of initial baking, carefully pull the sheet pan out of the oven. Brush the cut sides of all 6 split brioche buns with the remaining 3 tablespoons of melted butter. Arrange the buns cut-side up on the open pan edges around the eggs and bacon. Place one thin slice of sharp cheddar cheese evenly across the baked egg layer, spaced to mark 6 equal sandwich portions. Return the pan to the oven for 7-8 more minutes, until cheese is fully melted and bubbly, buns are golden toasted, and bacon reaches your desired crispness.
Assemble Sandwich Layers
Remove the fully cooked sheet pan from the oven and set it back on the cork trivet. Use the silicone spatula to cut the baked egg and melted cheese layer into 6 equal 4-inch square portions. Spread 1 teaspoon of mayonnaise on the toasted cut side of each bottom bun. Top each bottom bun with one egg-cheese square, 1-2 slices of crispy bacon (broken to fit the bun size), and a light sprinkle of chopped fresh parsley (chopped with the chef knife during the first bake). Add a tiny pinch of extra flaky salt if desired.
Top and Serve
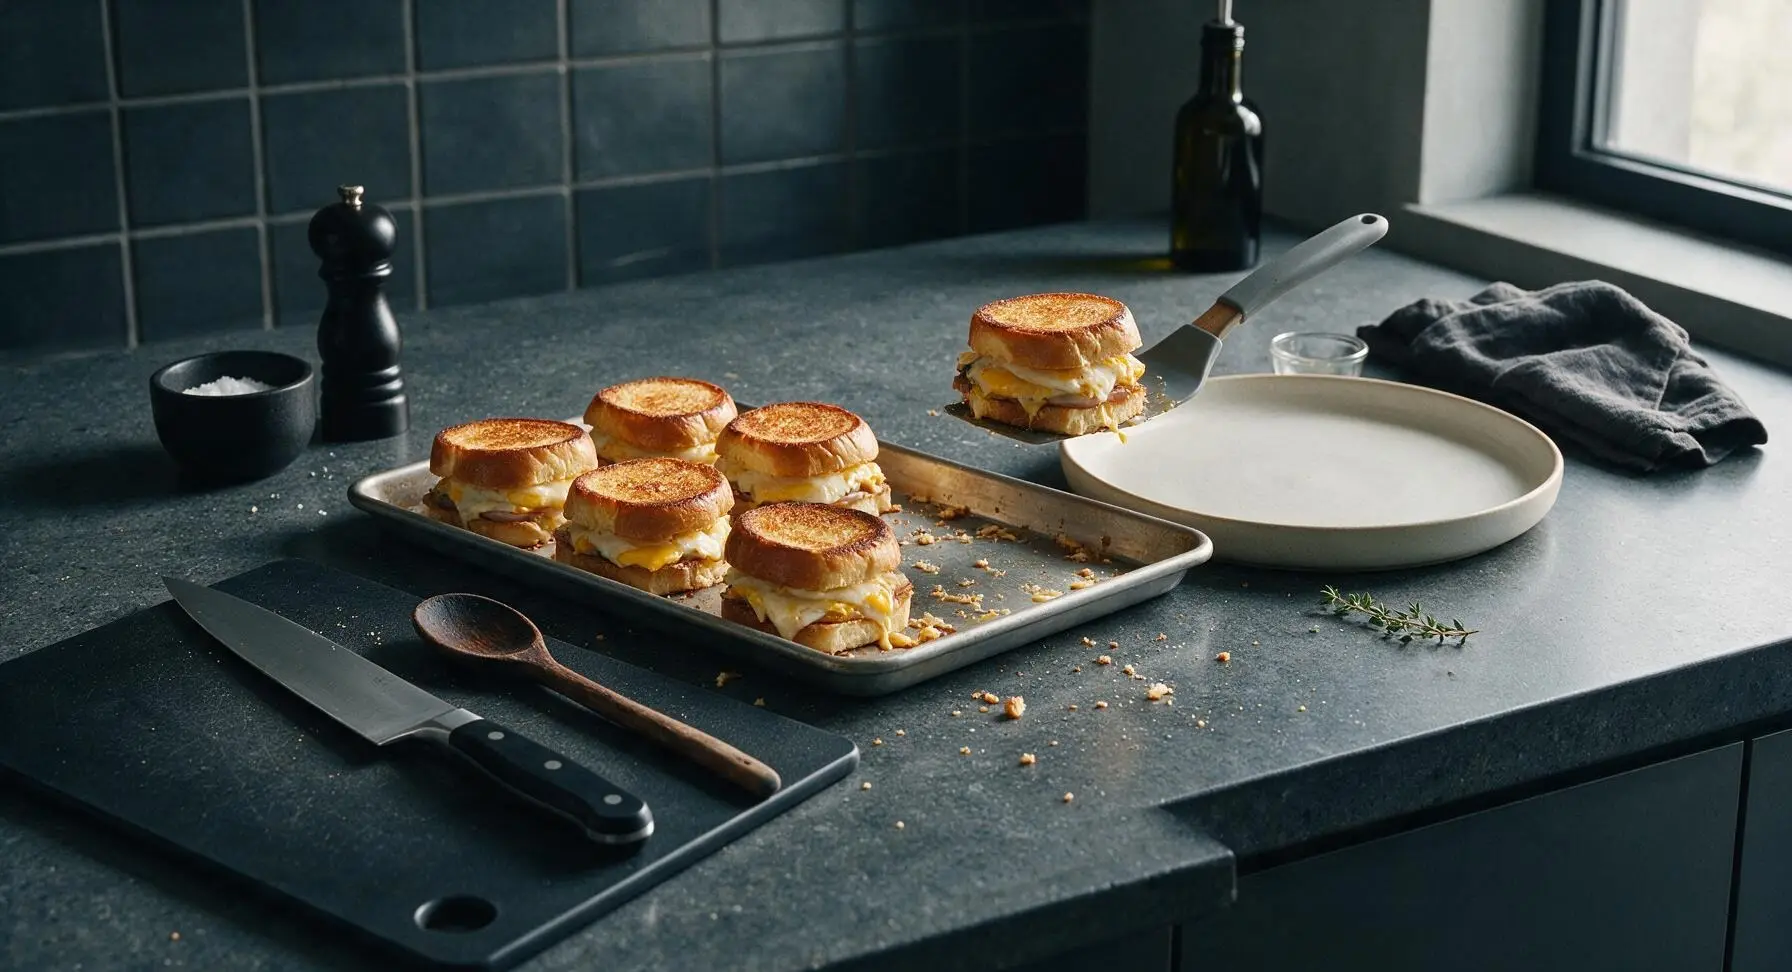
Place the top bun on each assembled sandwich, pressing down gently to help the layers adhere. Cut sandwiches diagonally in half if preferred. Serve immediately with hot sauce on the side, or wrap tightly in parchment paper for refrigerated storage for up to 3 days for quick make-ahead breakfasts.
Tips
2.Avoid over-whisking the egg mixture: too much whisking incorporates excess air, which causes the egg layer to puff dramatically in the oven then deflate into a dense, rubbery texture as it cools.
3.Let the cooked egg and cheese layer rest for 2 full minutes after removing the pan from the oven before cutting: this short rest allows the eggs to set firmly, making clean, even squares that lift easily without breaking apart during assembly.






OMG this sheet pan breakfast sandwich is a total game changer for our busy school mornings! 18 minutes cook time? No way, I was shocked how fast it came together. My kids loved it, devoured two each before I even finished pouring the orange juice. Added a little extra cheddar per their request, 10/10.
I make these every Sunday for my weekly meal prep! Wrap them individually in foil, pop em in the fridge, and 30 seconds in the microwave each morning and they taste fresh. Way cheaper than hitting the drive thru on my commute. Only note: I precooked my bacon a tiny bit first so it got extra crispy, no soggy sandwich issues here.
Super easy even for someone who burns toast half the time lol. Used the cheap deli ham and American cheese I had in my dorm mini fridge, baked it on a tiny sheet pan in my shared kitchen and it came out perfect. No fancy ingredients needed, which is a win for my student budget.
Made these for my weekend potluck brunch last weekend and everyone was asking for the recipe! I cut them into little slider sizes instead of full sandwiches so people could grab and go, paired them with mimosas, it was chef’s kiss. Cook time was spot on 18 minutes too, no undercooked eggs or burnt bread.
Great high protein option when I’m tired of my usual oatmeal for breakfast! I used turkey sausage, egg whites, and whole grain English muffins to lighten it up a bit, and it still tasted so indulgent. Super easy to customize to whatever diet you’re following.
Took me a minute to figure out how to layer the eggs so they didn’t run off the pan, but once I got that down it was pretty simple. Tasted better than the fast food breakfast sandwiches I used to get on fishing trips. Would make again, maybe add some hot sauce next time.
I swapped the eggs for Just Egg, used dairy free cheese and vegan sausage, and it worked perfectly on the sheet pan! Cook time was the same, no adjustments needed. So excited to have an easy vegan breakfast option that doesn’t require standing over the stove for 20 minutes.
Y’all, I made this one-handed while holding a fussy newborn and it still turned out perfect. No flipping eggs, no standing over multiple pans, just toss it all on one sheet and stick it in the oven. Absolute lifesaver for parents with zero extra time in the mornings.
My 16 year old son and his friends devoured an entire pan of these after their early morning football practice last week. I thought I made enough for leftovers, nope, every last bite was gone. Super filling, easy to scale up for a crowd, 10/10.
Okay full transparency, I forgot to spray the pan first so half the eggs stuck, but even the messy bits tasted SO good. Next time I’ll remember the cooking spray, promise. Already bought extra English muffins to make this again this weekend.
Made these on our recent cabin trip where we had limited kitchen supplies — just one sheet pan, a camp oven, and a cooler of ingredients. No fancy tools needed, fed 4 adults with zero complaints. Way better than cooking pancakes over the campfire for a crowd.
I slathered a layer of jalapeno cream cheese on the bread before baking and added pickled jalapenos on top of the eggs, and wow. The little kick was exactly what my boring breakfast routine was missing. So easy to add your favorite toppings without messing up the cook time.
I was skeptical that eggs baked on a sheet pan for sandwiches wouldn’t be rubbery, but these were perfectly fluffy! Cook time was exactly 18 minutes like the recipe said, no guesswork. Served them with a side of roasted hash browns on the same pan for a full spread, barely any cleanup.
Used gluten free English muffins and it worked flawlessly! I was worried the GF bread would get too crispy or burn in the oven, but checking at the 15 minute mark like the recipe suggested kept it perfect. Finally a breakfast sandwich recipe I don’t have to modify a ton for my diet.
I brought these in for my team meeting last week and everyone thought I ordered them from a fancy breakfast spot! No one believed me when I said I made them at home on one sheet pan in under 20 minutes. Already got asked to bring them back for next month’s meeting.
My oven runs super hot, so 18 minutes left the edges of my bread a little burnt. I turned it down to 375 and cooked for 16 minutes on my second try and it was perfect. Just a heads up for anyone else with a janky old oven like mine!
My super picky 7 year old who refuses to eat almost anything ate an entire sandwich without complaining! I didn’t add any veggies like the recipe suggested, just kept it simple with egg, cheese, and Canadian bacon, and it was a hit. This is going into our regular weeknight dinner rotation too, not just breakfast.
Total cost for all ingredients was under $12, and it made 6 huge sandwiches. That’s $2 a sandwich, way cheaper than the $6 breakfast sandwich I grab from the bodega near my apartment every morning. Tastes better too, no weird processed aftertaste. This is going to save me so much money every month.
I’m not gonna lie, I chose this recipe because it was easy and only took 18 minutes, and it delivered. No complicated steps, no weird ingredients I’d never use again, just a solid, tasty breakfast sandwich. I even skipped toasting the muffins first because I was lazy, and it still worked. 10/10 for low effort, high reward.