
Shoofly Pie Cookies
intro
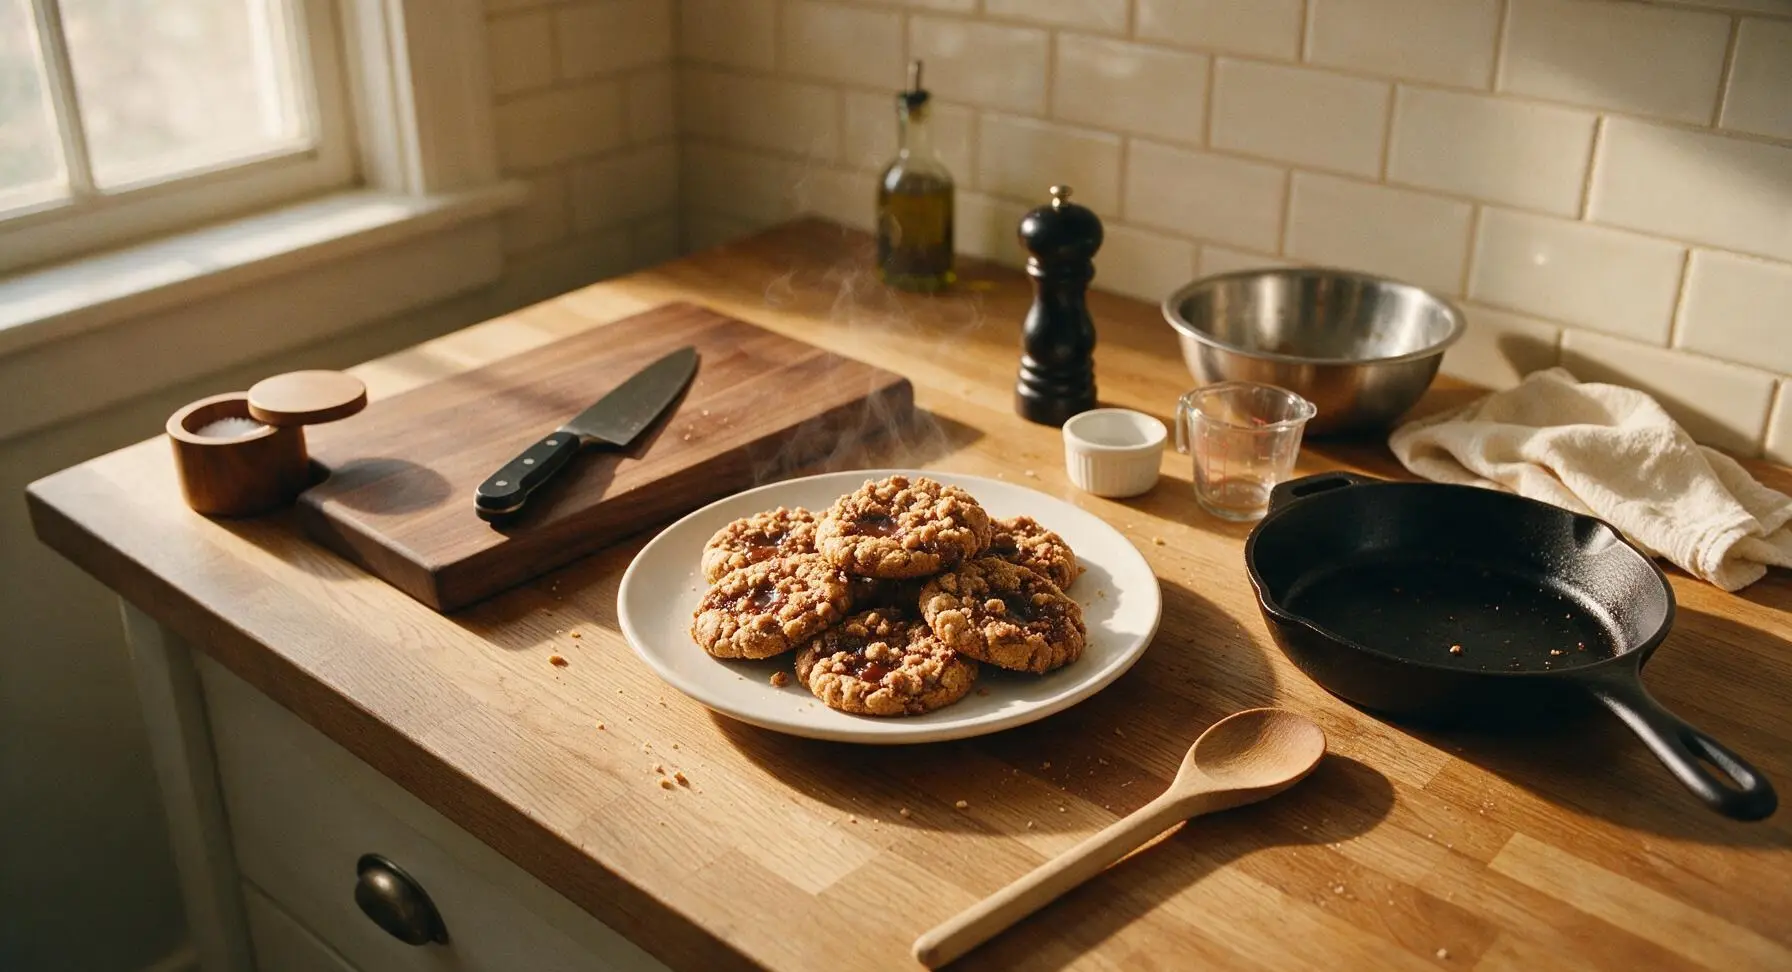
Chewy, spiced molasses cookies with crumbly streusel topping and a gooey molasses center, capturing the warm, nostalgic flavor of classic shoofly pie in handheld form.
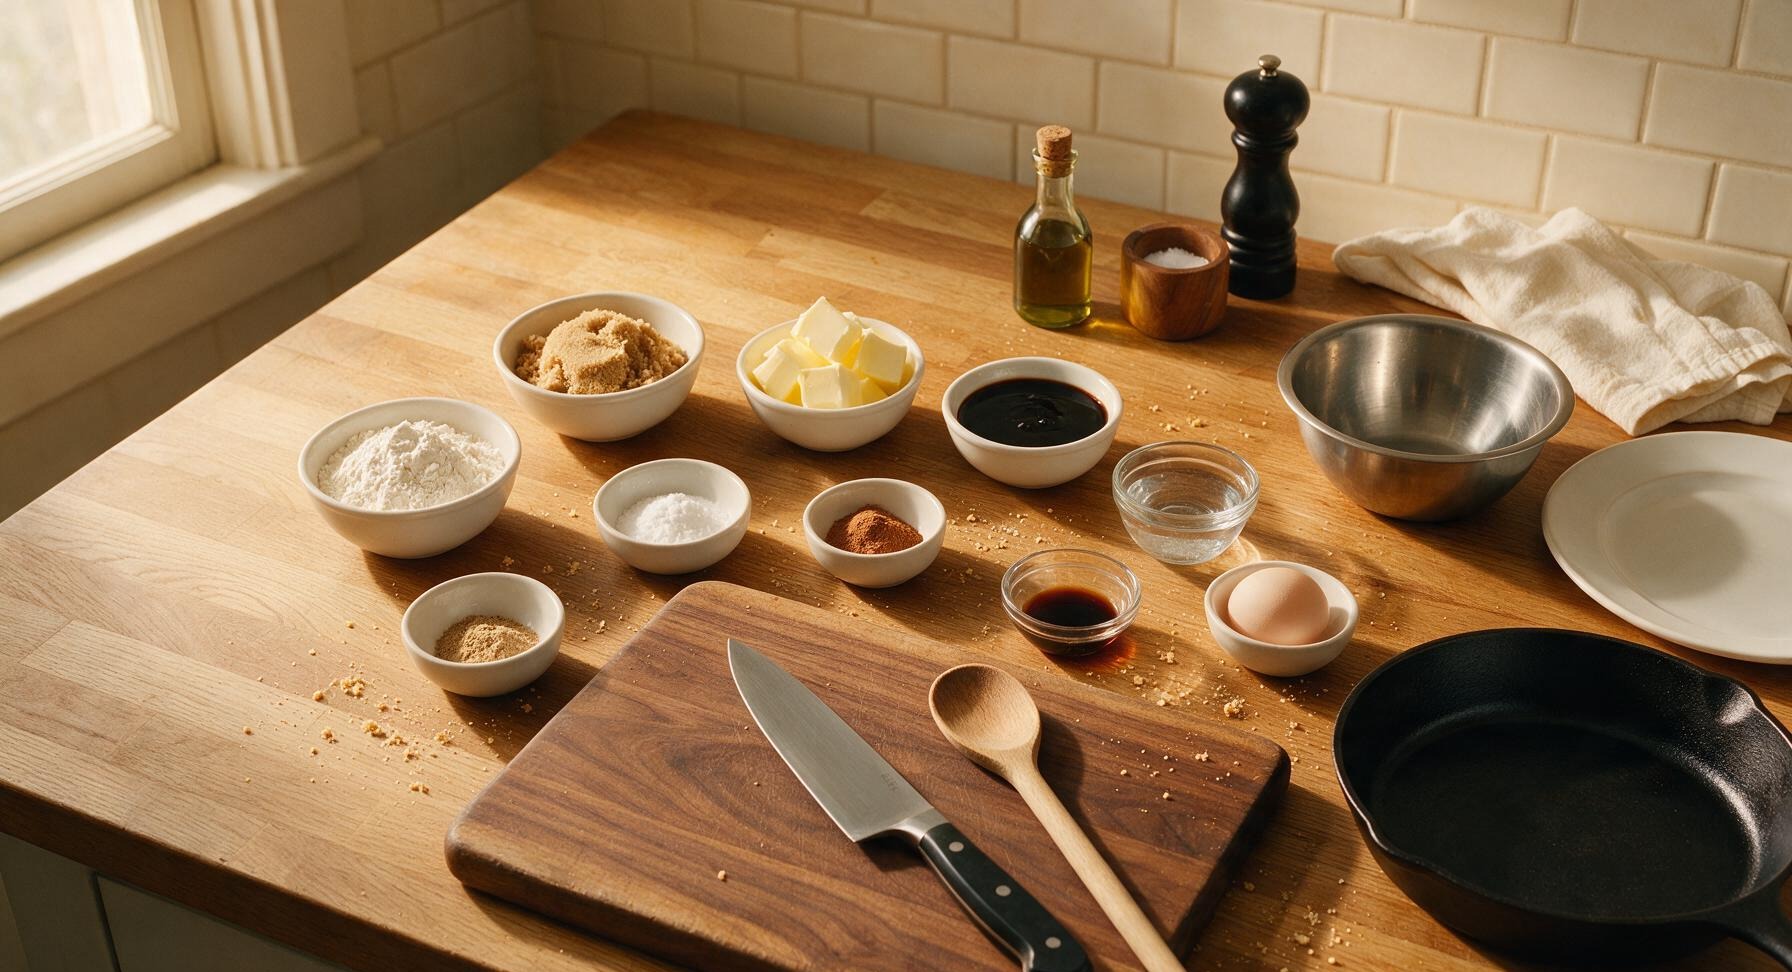
Ingredients
Steps
Prepare Streusel Topping
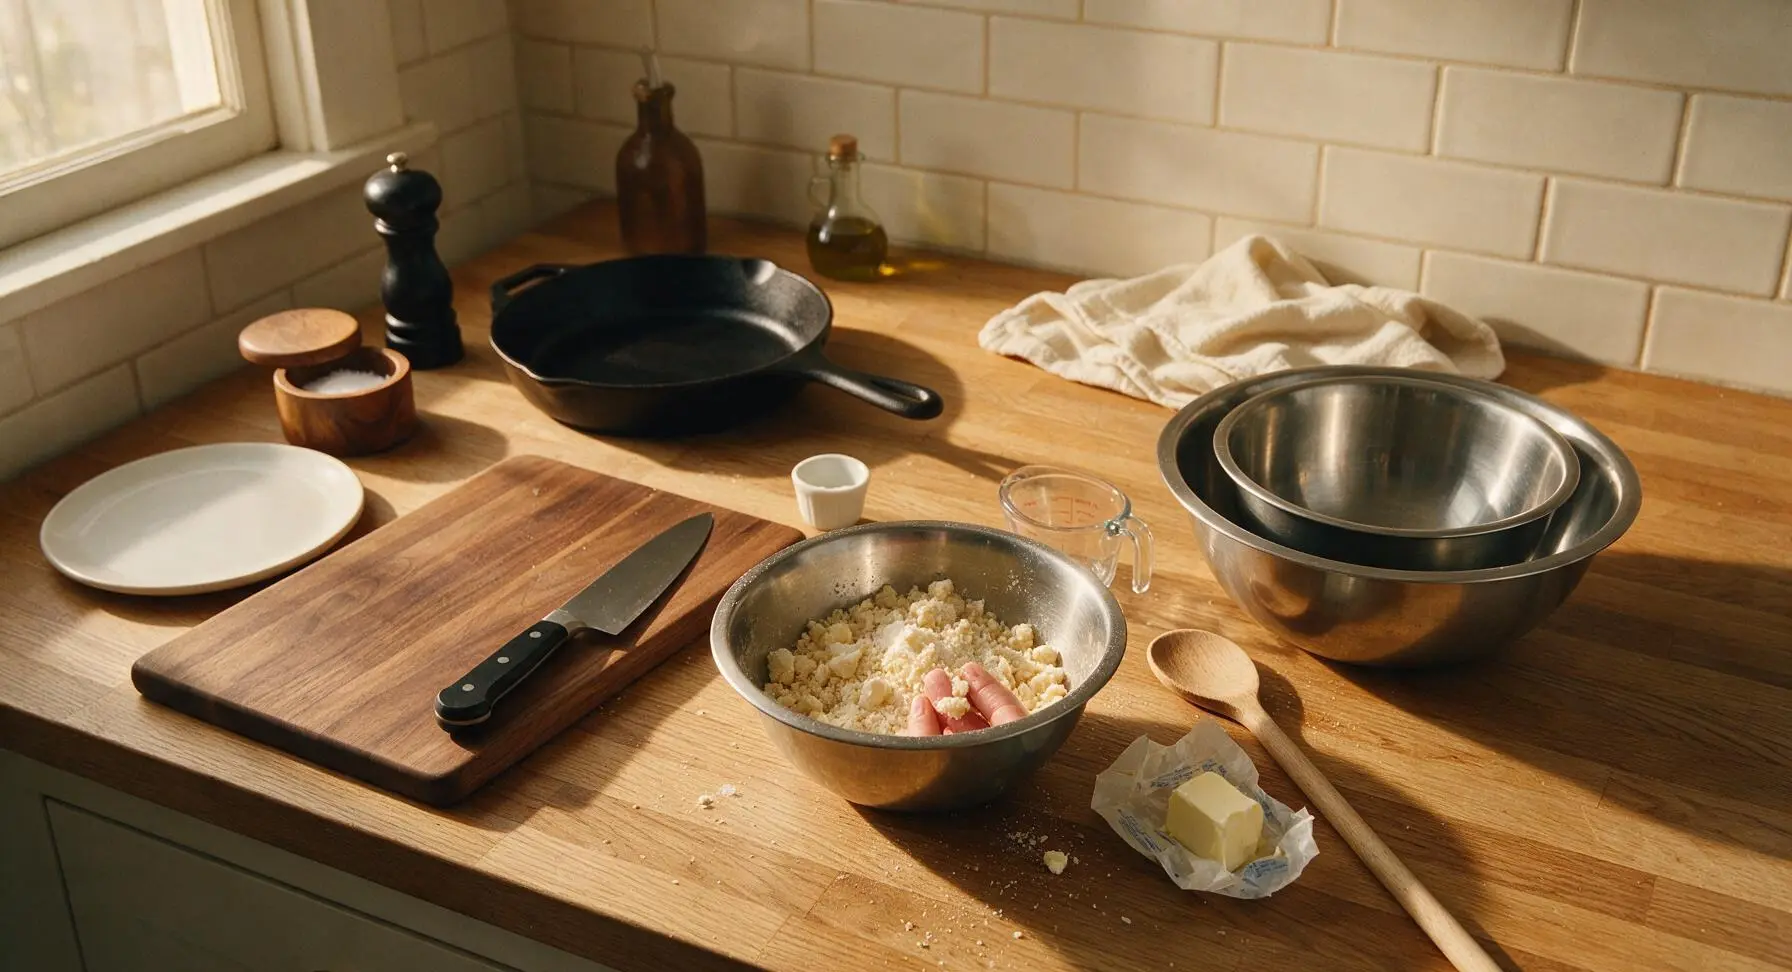
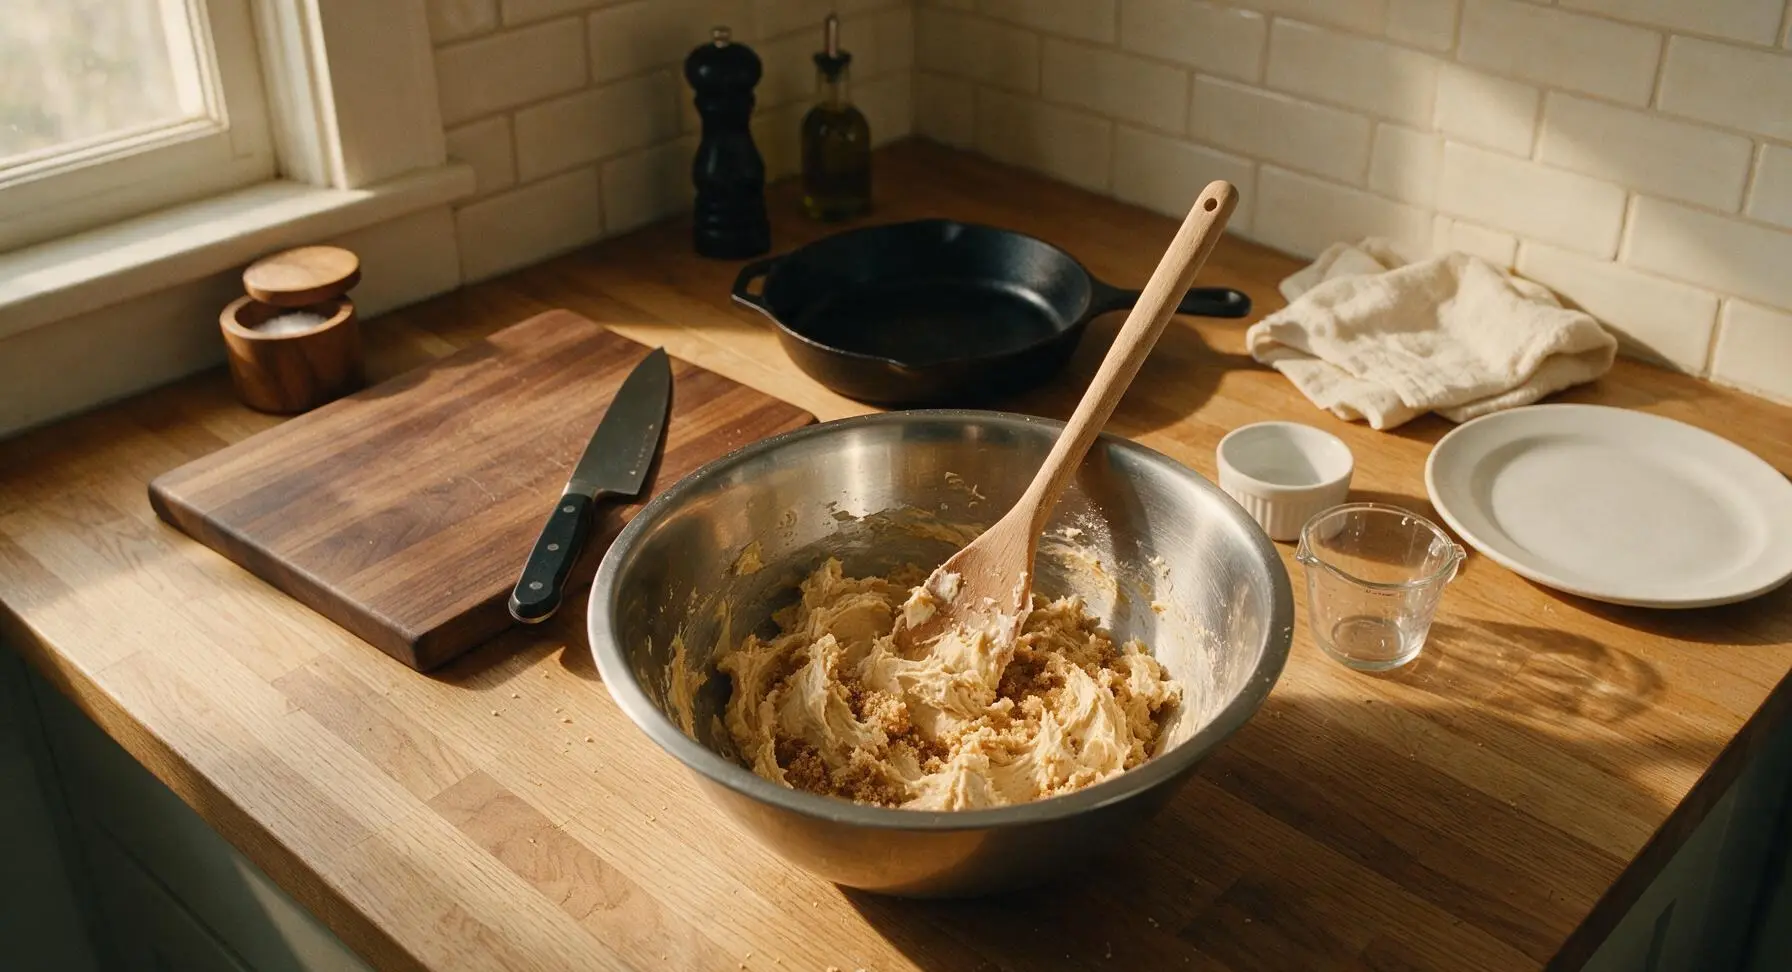
In the small 1-quart stainless steel mixing bowl, combine 1/2 cup all-purpose flour, 1/4 cup packed light brown sugar, 1/4 tsp ground nutmeg, and 1/8 tsp fine sea salt. Cut in 4 tbsp cold cubed unsalted butter using your fingertips, rubbing the butter into the dry ingredients until the mixture forms coarse, pea-sized crumbs. Place the bowl in the refrigerator to chill while you prepare the cookie dough, to keep the butter cold for a crumbly texture.
Whisk Dry Dough Ingredients
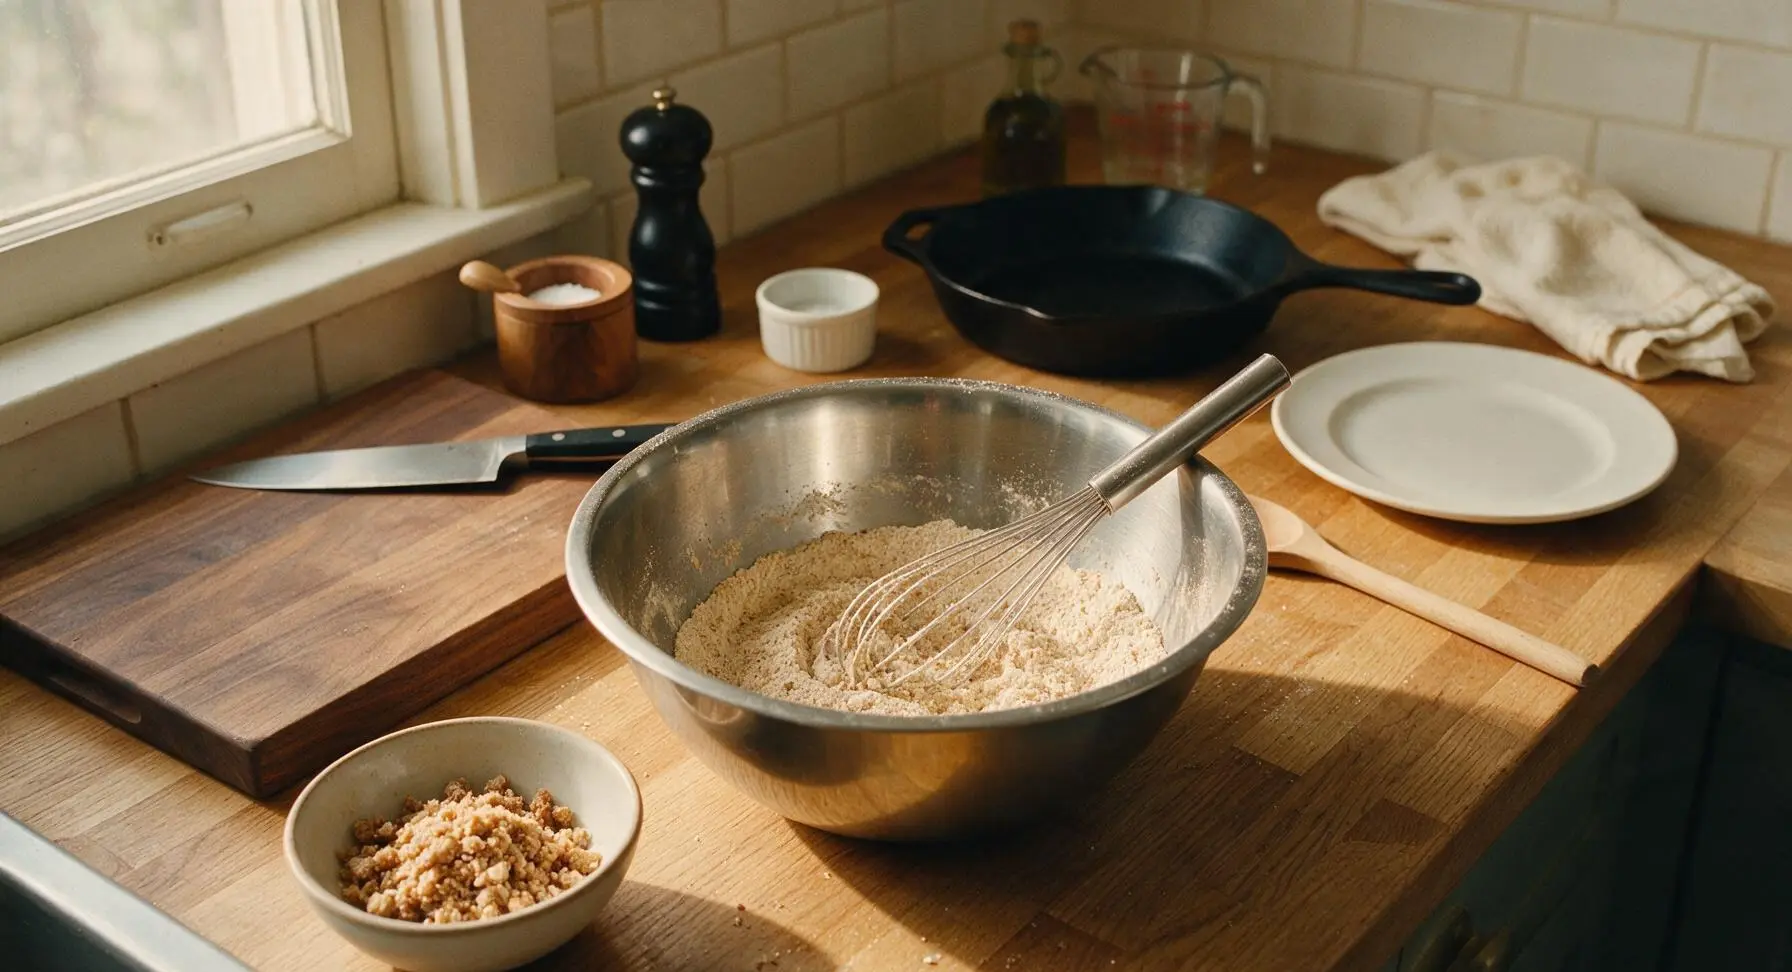
In the large 3-quart stainless steel mixing bowl, whisk together the remaining 2 cups all-purpose flour, 1 tsp baking soda, 1 1/2 tsp ground cinnamon, 1 tsp ground ginger, and remaining 3/8 tsp fine sea salt until fully combined, with no clumps of spice visible. Set aside.
Cream Butter and Sugar
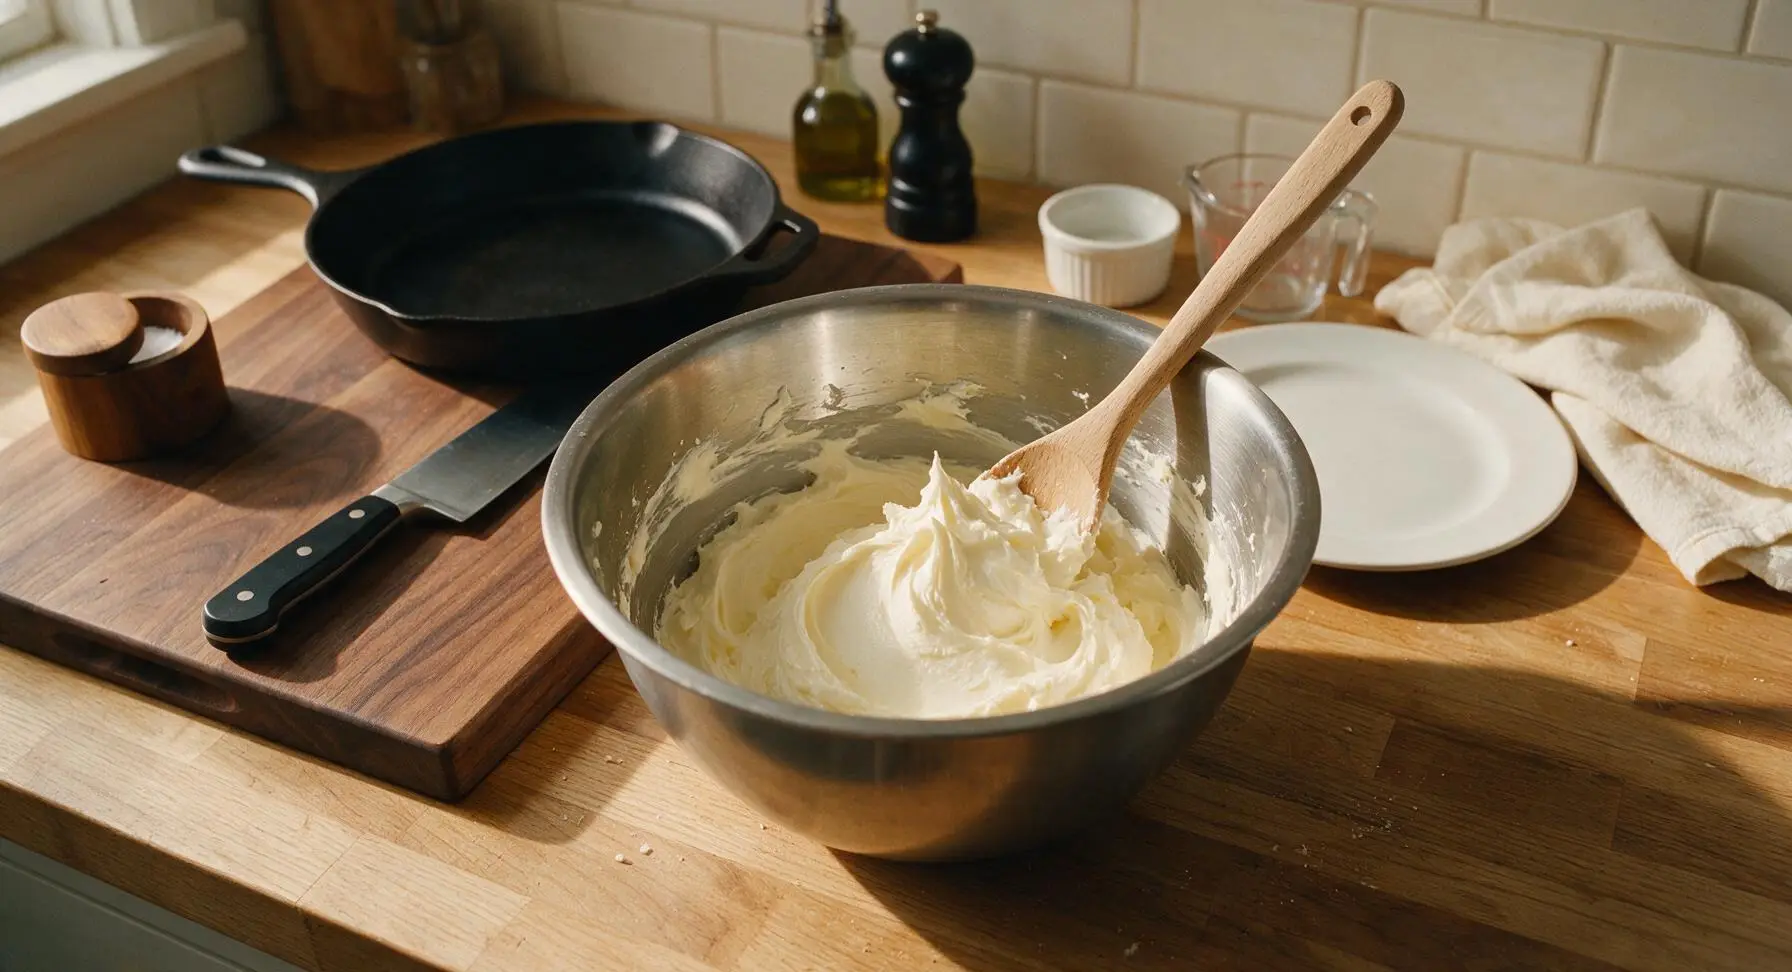
In the medium 2-quart stainless steel mixing bowl, use the wooden spoon to beat the remaining 8 tbsp (1/2 cup) softened unsalted butter and remaining 3/4 cup packed light brown sugar together until the mixture is light, fluffy, and pale tan, about 2 minutes of steady stirring. Scrape down the sides of the bowl halfway through to ensure no lumps of butter remain.
Mix Wet Dough Base
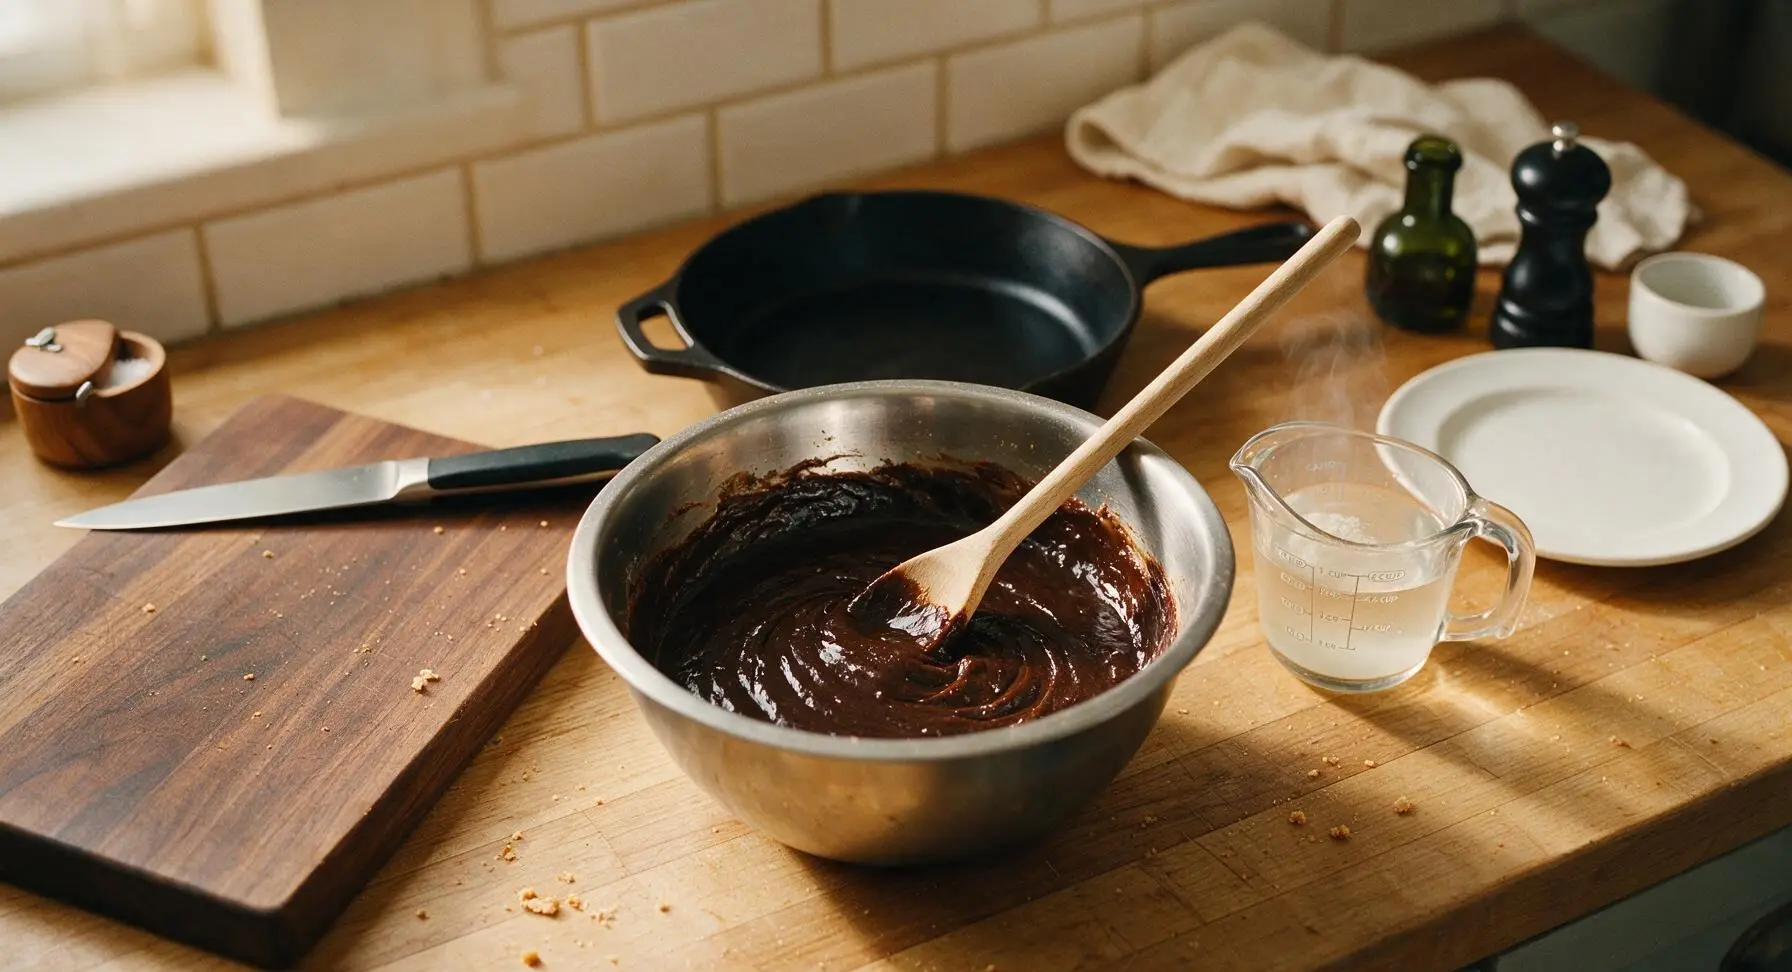
Add the room temperature large egg, 1 tsp vanilla extract, and 1/2 cup dark molasses to the creamed butter and sugar. Stir with the wooden spoon until fully smooth, with no streaks of egg or molasses remaining. Stir the 1 tsp baking soda into the 1/4 cup boiling water until fully dissolved, then stir this mixture into the wet ingredients until combined.
Combine Dough Components
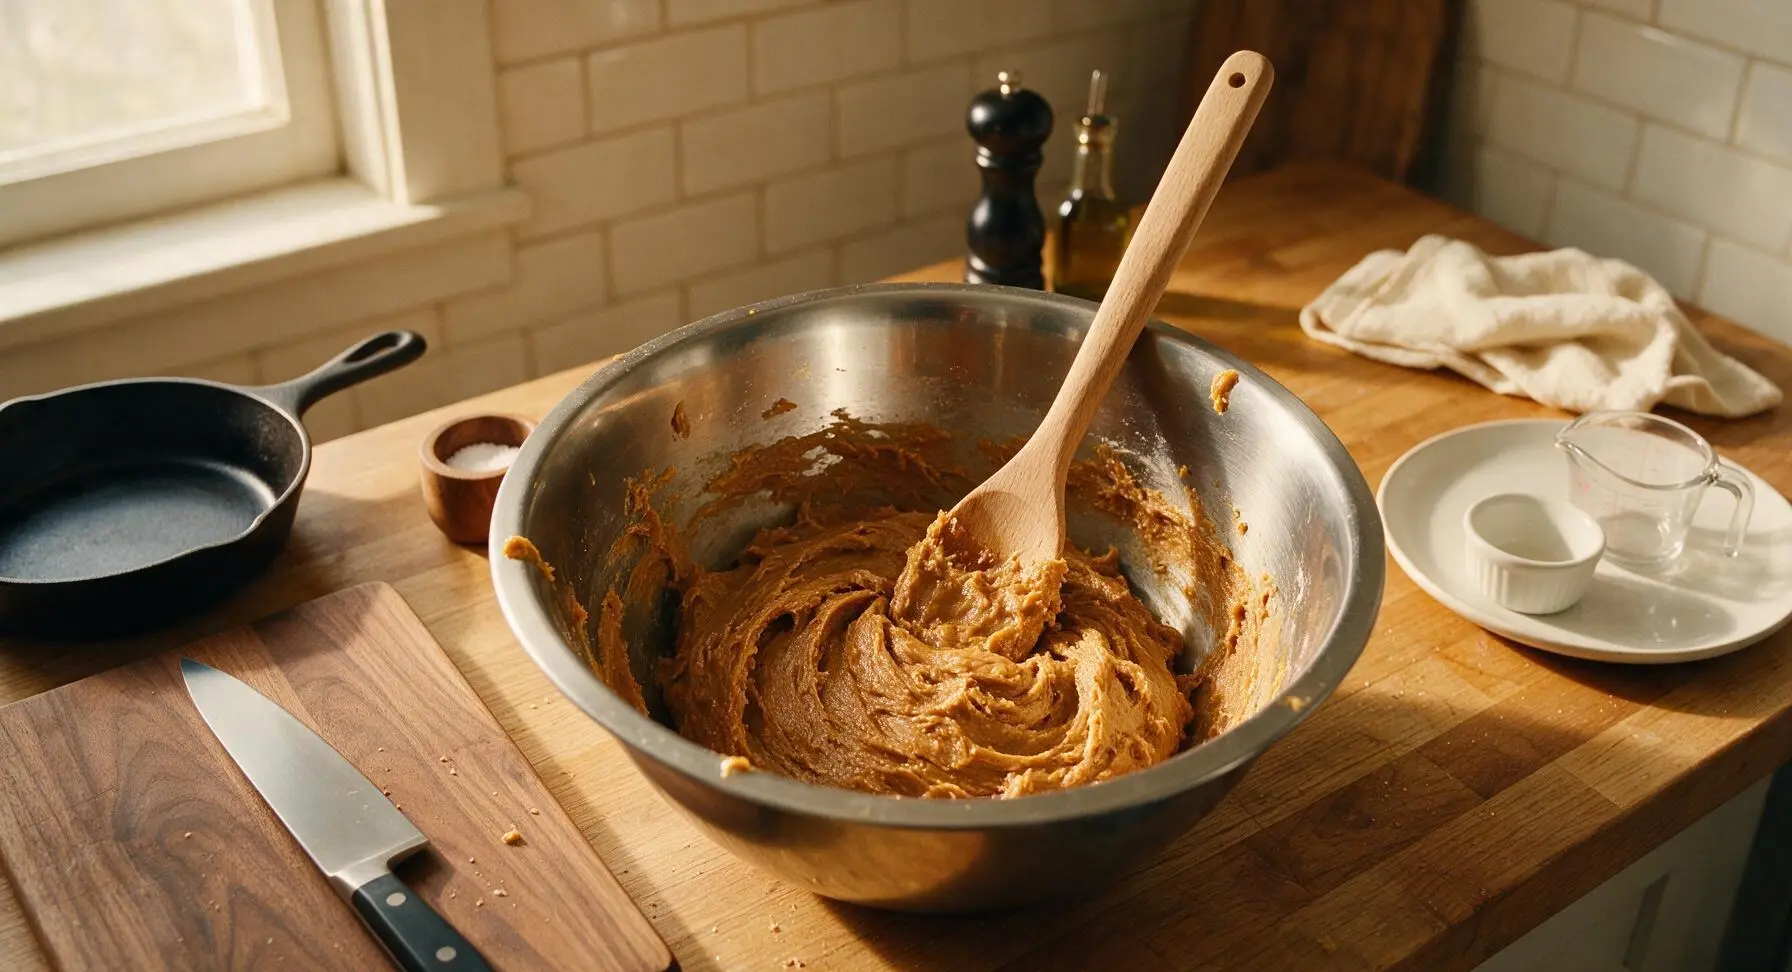
Gradually pour the wet molasses mixture into the large bowl of dry flour ingredients, stirring with the wooden spoon just until no dry flour streaks remain. Do not overmix, as this will make the cookies tough. The dough will be soft, slightly sticky, and deep golden brown. Cover the bowl with a small piece of plastic wrap and chill in the refrigerator for 10 minutes to firm up slightly for easier scooping.
Scoop and Top Dough
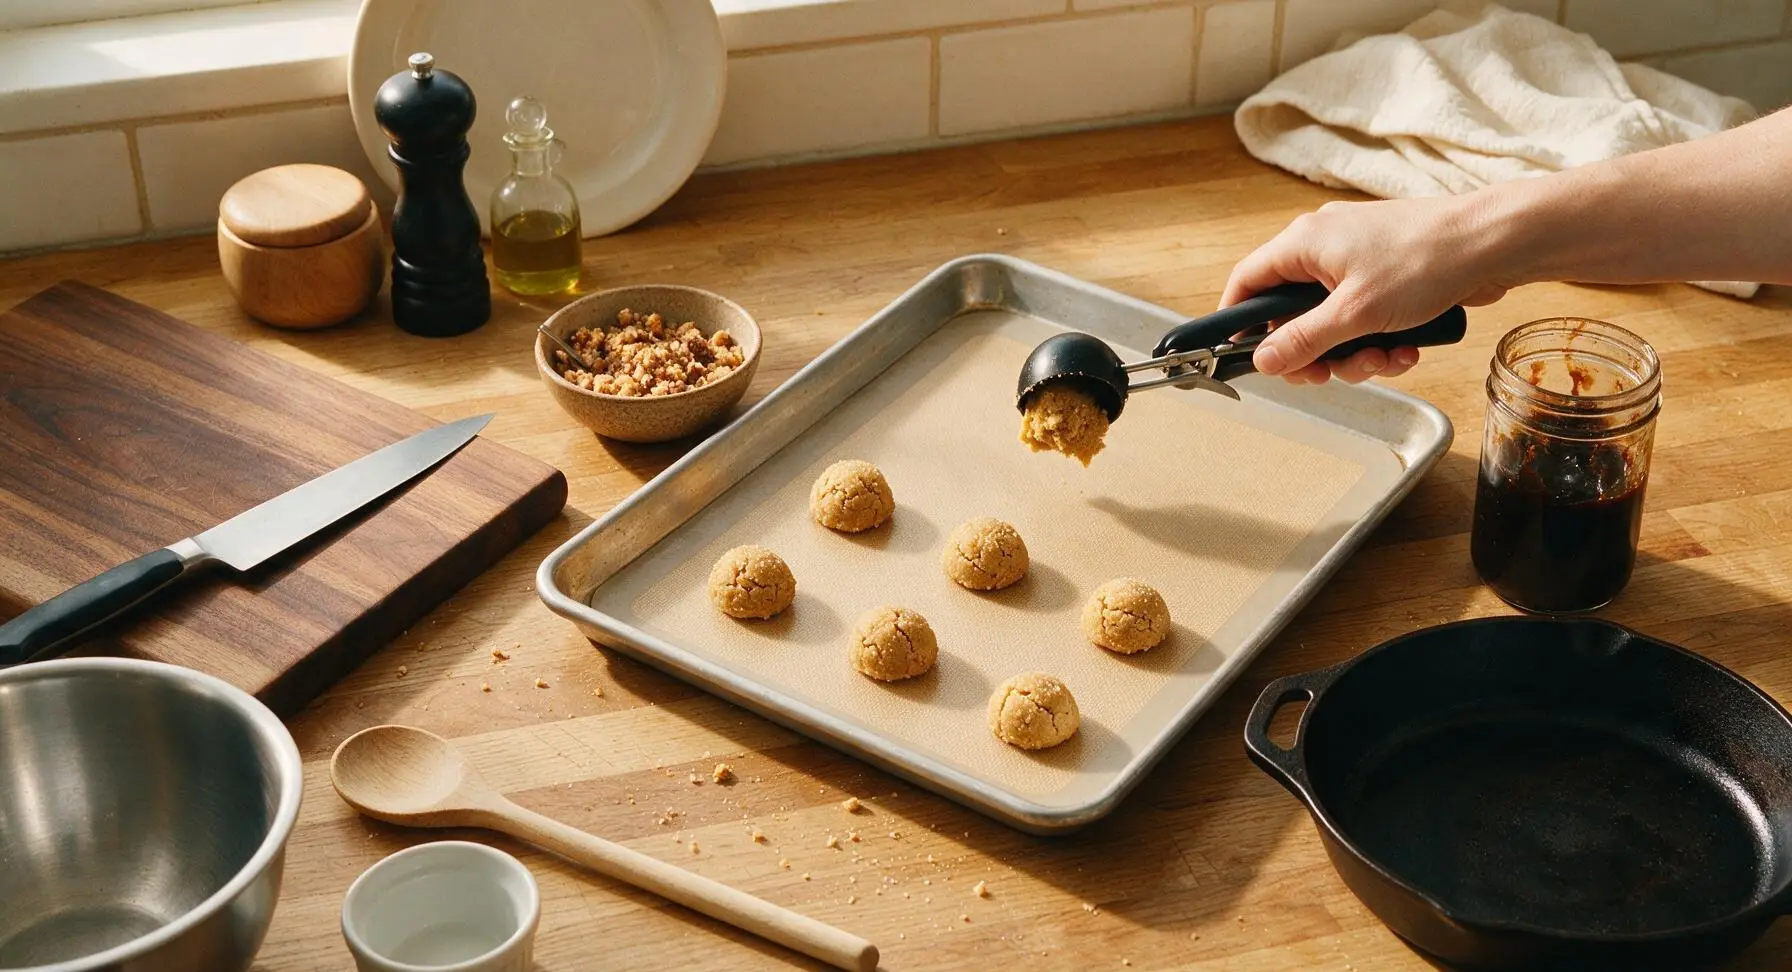
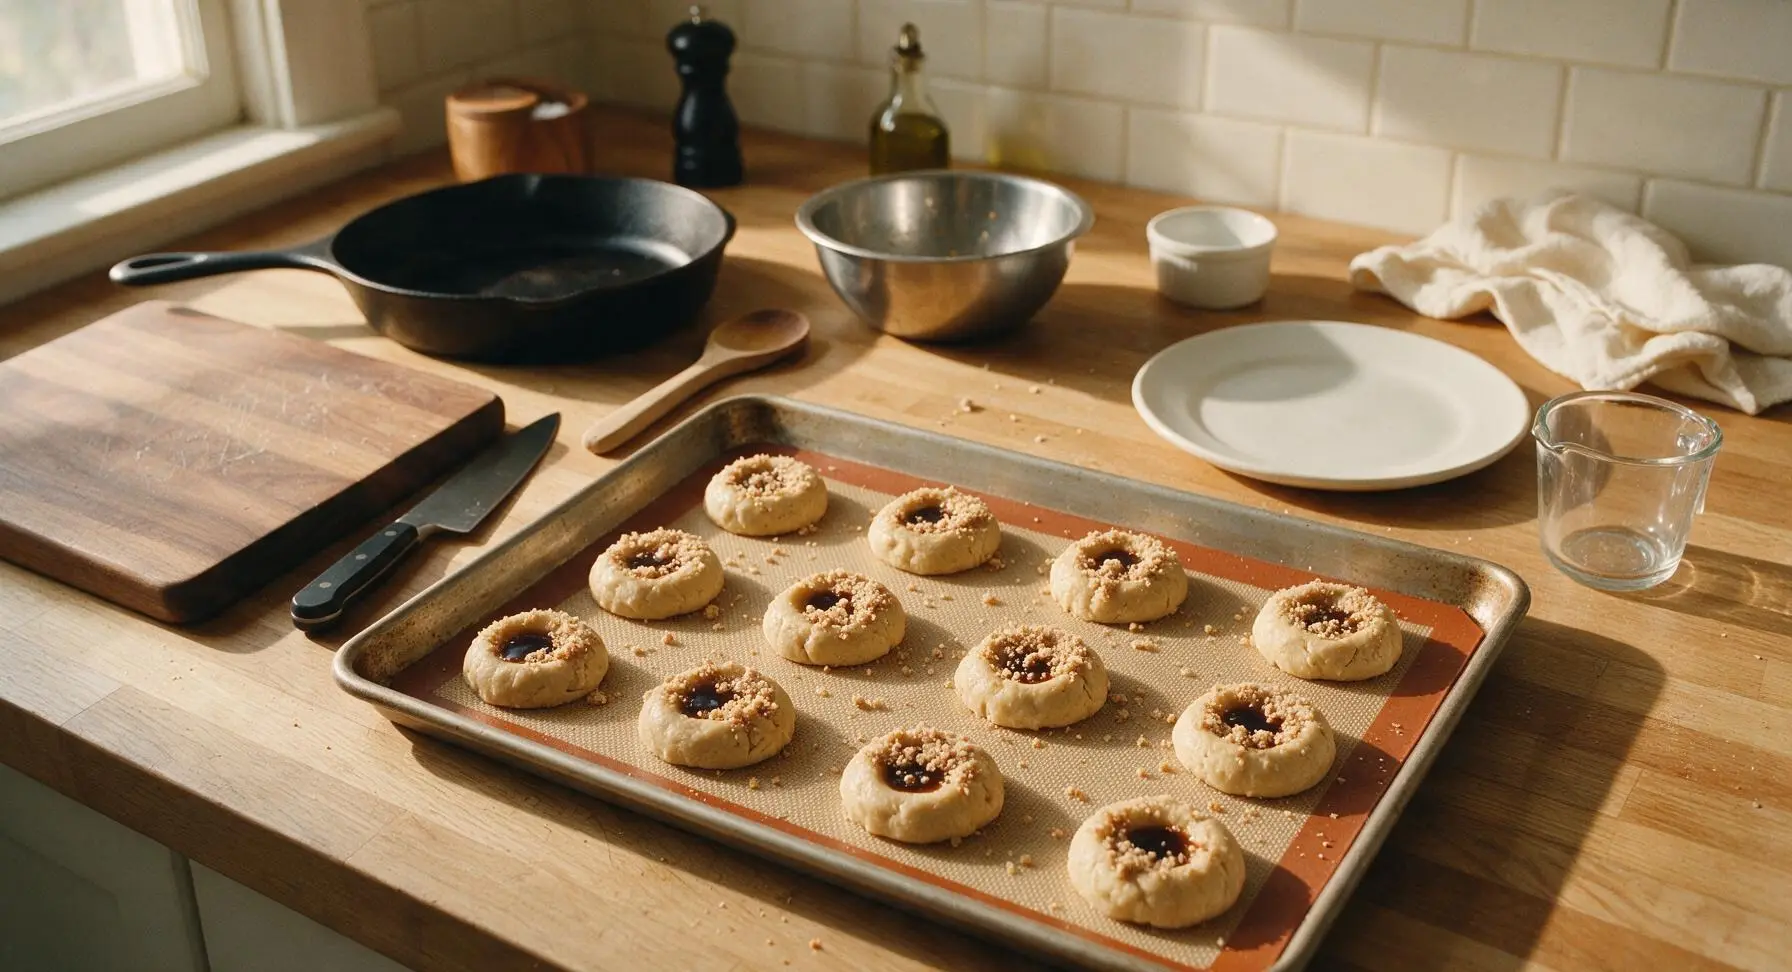
Line the 13x18 inch half-sheet baking pan with the silicone baking mat. Use the 1-tablespoon cookie scoop to portion dough into 1-inch balls, spacing them 2 inches apart on the mat (12 cookies per pan, for 2 total batches). Press a shallow 1/4-inch indent in the center of each dough ball with your thumb, then spoon 1/4 tsp of the reserved 2 tbsp extra molasses into each indent. Sprinkle a generous 1 tsp of the chilled streusel topping over each cookie, pressing gently so the crumbs adhere.
Bake to Golden Perfection
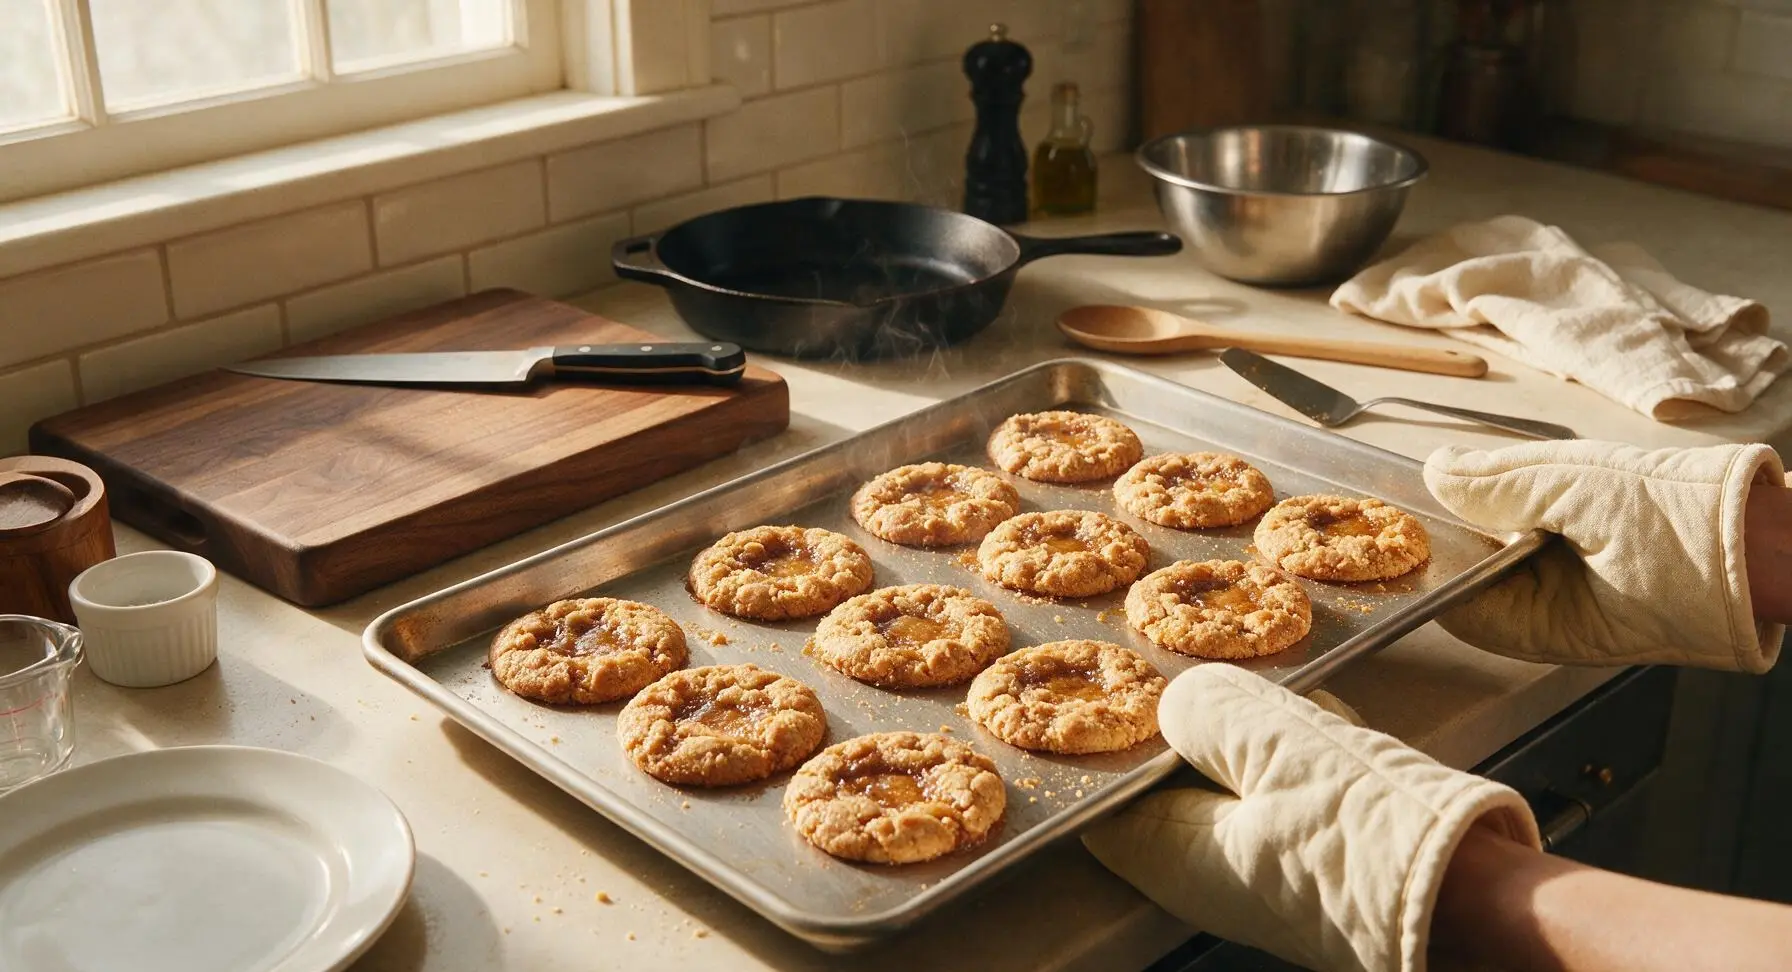
Bake cookies in a preheated 375°F (190°C) oven for 9-11 minutes per batch, until the edges are set and deep golden brown, and the centers are still slightly soft. The cookies will continue to set as they cool; do not overbake, as this will eliminate the signature chewy, gooey 'wet bottom' shoofly texture. Use the cream canvas oven mitts to remove the pan from the oven, and let cookies rest on the pan for 5 minutes before transferring.
Cool and Plate Cookies
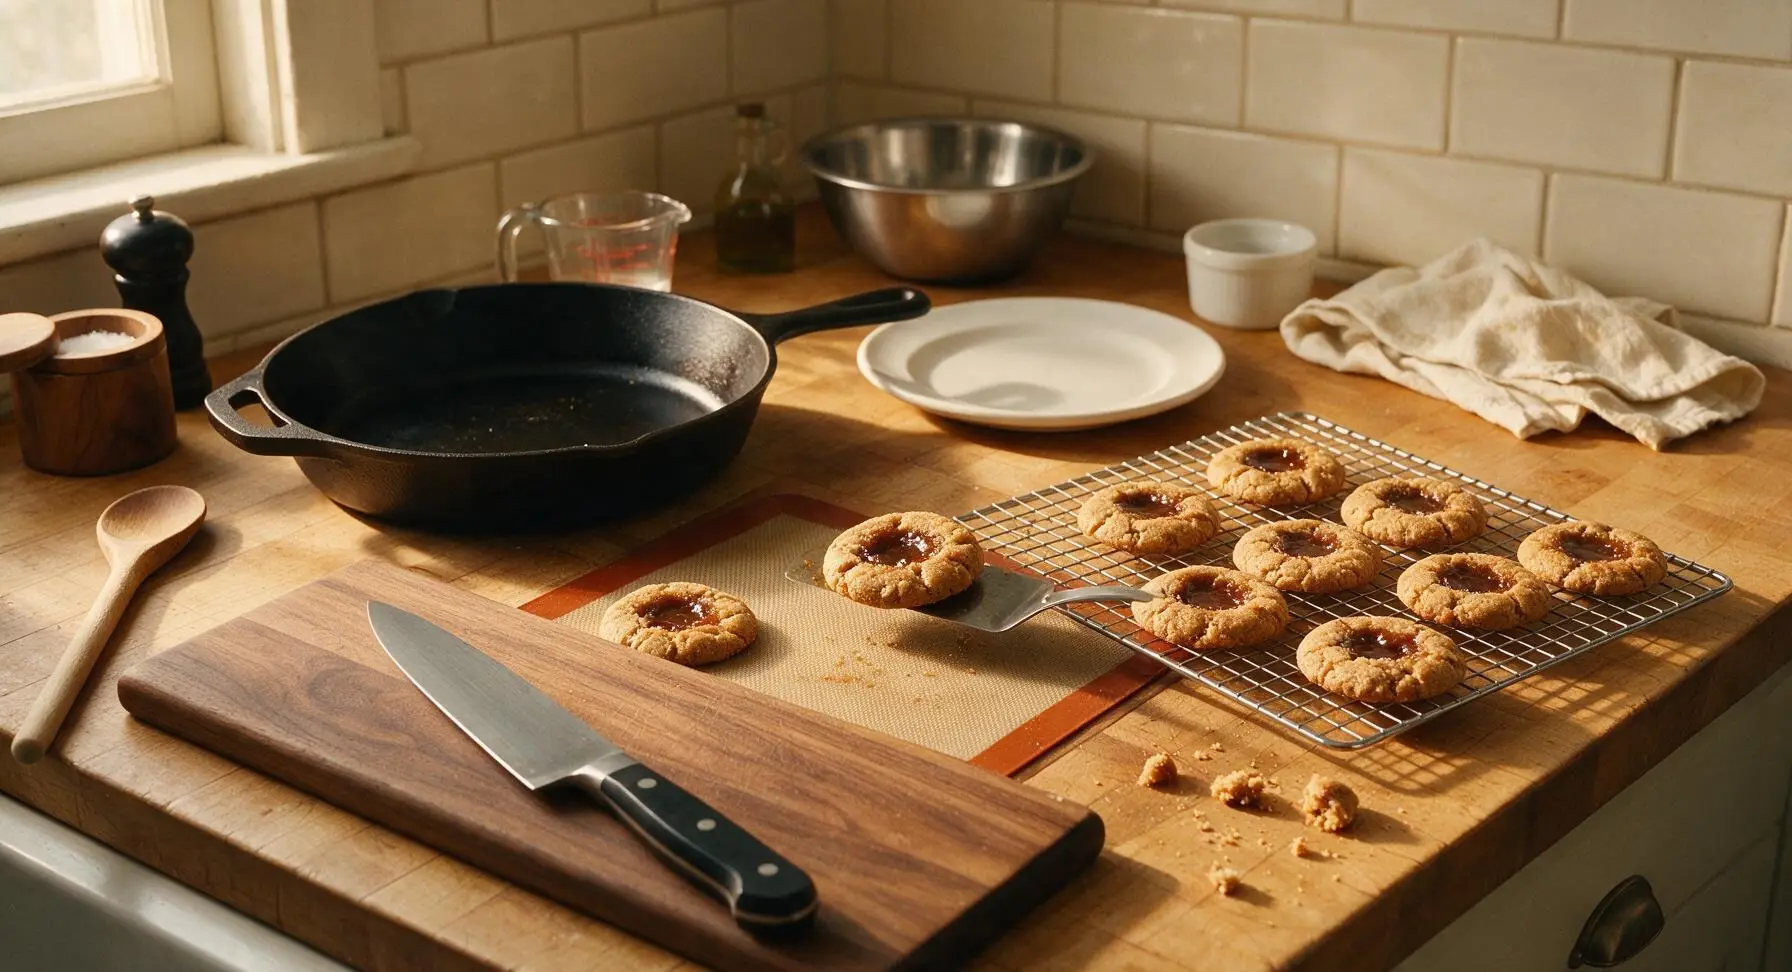
After 5 minutes of resting on the hot pan, use the small offset metal spatula to transfer cookies to the chrome wire cooling rack to cool completely for 10 minutes. Once cooled, arrange cookies in a loose pile on the round matte cream ceramic serving platter for serving.
Tips
2.Keep the streusel butter cold until you are ready to top the cookies—warm butter will melt into the dough during baking, creating a smooth, bland top instead of the desired crumbly, pie-crust-like streusel texture.
3.Resist the urge to overbake the cookies: centers will look slightly soft and under-set when you pull the pan from the oven, but residual pan heat will finish setting them as they cool, preserving the signature gooey 'wet bottom' that defines shoofly pie instead of producing a dry, crunchy cookie.






OMG these shoofly pie cookies are insane! I grew up eating shoofly pie at family reunions every summer and never thought I could get that same cozy molasses crumb flavor in a quick 20 minute cookie. Took a batch to my office potluck last week and everyone begged for the link. Game changer for easy baked goods!
My kids loved it! I was scrambling for a quick after-school snack yesterday and threw these together in literally 10 minutes of prep before popping them in the oven. The crumb topping is chef’s kiss, even my pickiest eater asked for seconds. Will be adding these to our regular rotation!
Made these for my weekend hiking trip snack prep and they held up so well in my pack! Chewy, sweet, not too messy, and that warm molasses flavor hit so good at the summit. Way better than store-bought granola bars for a quick energy boost.
First time ever making anything with molasses and this recipe was so easy! I was super intimidated because I usually burn cookies but the 20 minute cook time was spot on for my oven, they came out perfectly chewy around the edges and soft in the middle. Only thing I added was a tiny extra sprinkle of cinnamon.
Brought these to my neighborhood block party this weekend and they were gone in 10 minutes! Multiple neighbors asked if I bought them from a fancy bakery, I couldn’t believe how simple they were to make. The crumbly top is exactly what I love about classic shoofly pie, no soggy bottom mess like the actual pie sometimes has.
These are solid! I’m not usually a huge molasses fan but the ratio of crumb to cookie base here is perfect, not overly sweet at all. Paired amazing with my morning coffee this week, I kept a couple in my work bag for my commute.
SO good! I’ve been looking for a shoofly cookie recipe forever that doesn’t require a million fancy ingredients. I had everything in my pantry already — flour, butter, molasses, brown sugar, spices — no random trip to the specialty grocery store needed. Total win for a lazy Sunday bake.
Wait has anyone tried making these with a 1:1 gluten free flour blend? I have celiac and am dying to make these for my grandma’s birthday, she loves shoofly pie but can’t have gluten anymore either!
Made these in my tiny dorm oven last night and they came out perfect! No fancy equipment needed, just a bowl and a spoon, and my roommate said they’re the best thing I’ve ever baked. Way easier than the actual shoofly pie I tried to make last semester that was a total disaster.
I made these for my weekly meal prep to have as little treats throughout the week and they stayed chewy for 5 whole days in an airtight container! Usually my cookies get rock hard after a couple days but these stayed perfect. Will be making a double batch next time for sure.
Game changer! I’ve made shoofly pie cookies from other recipes before and they always spread way too thin on the baking sheet and turn crispy instead of chewy. This recipe’s tip to chill the dough for 10 minutes before baking? Total game changer, they puffed up perfectly and had that ideal chewy texture.
Made these as a dessert for our Sunday family dinner after brisket and they were the perfect sweet finish! Not too cloying, that deep molasses flavor paired so well with the smoky meat. Even my grandpa who’s a total shoofly pie purist said they tasted just like the ones his mom used to make.
Tweaked these a little by adding a pinch of sea salt on top right before baking and oh my word, it’s the perfect sweet-salty combo. If you’re on the fence about adding salt, do it. It cuts the sweetness of the molasses so well and makes the crumb topping pop even more.
Baked 4 dozen of these for my kid’s school bake sale and we sold out in 20 minutes! We priced them at a dollar each and made enough to cover the whole 5th grade field trip fund goal, everyone kept coming back to buy more. Easy recipe, big batch friendly, total crowd pleaser.
As someone who’s definitely not an experienced baker, I was shocked how easy these were! I thought anything with a crumb topping would be high effort but it came together in minutes. They came out a little darker than the photos because I accidentally baked them 2 minutes extra, but they still tasted incredible.
These are perfect for our hot Arizona days when I don’t wanna have the oven on forever! 20 minutes cook time means the house doesn’t heat up too much, which is a huge win when it’s 110 degrees outside. Chewy, flavorful, no long bake time — total summer baking win for me.