
simple butternut squash soup

intro
Velvety, warmly spiced butternut squash soup with minimal prep and no fancy ingredients, boasting rich, naturally sweet flavor perfect for cool autumn evenings.
Ingredients
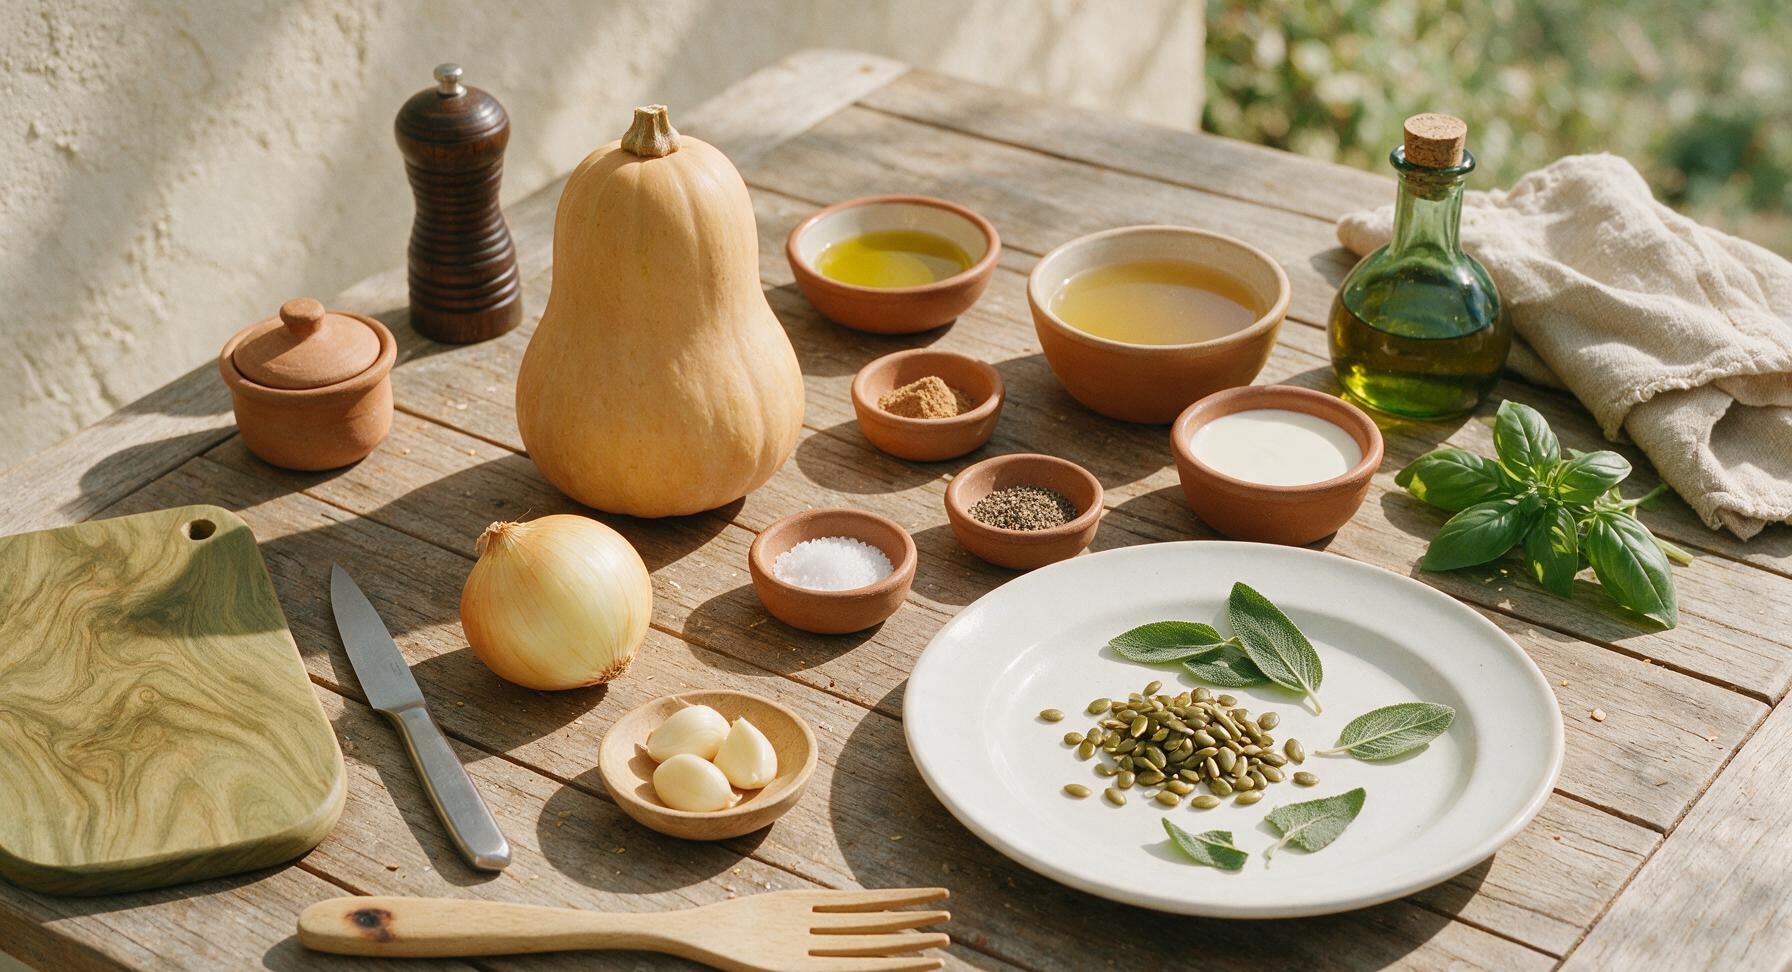
Steps
Chop squash and aromatics
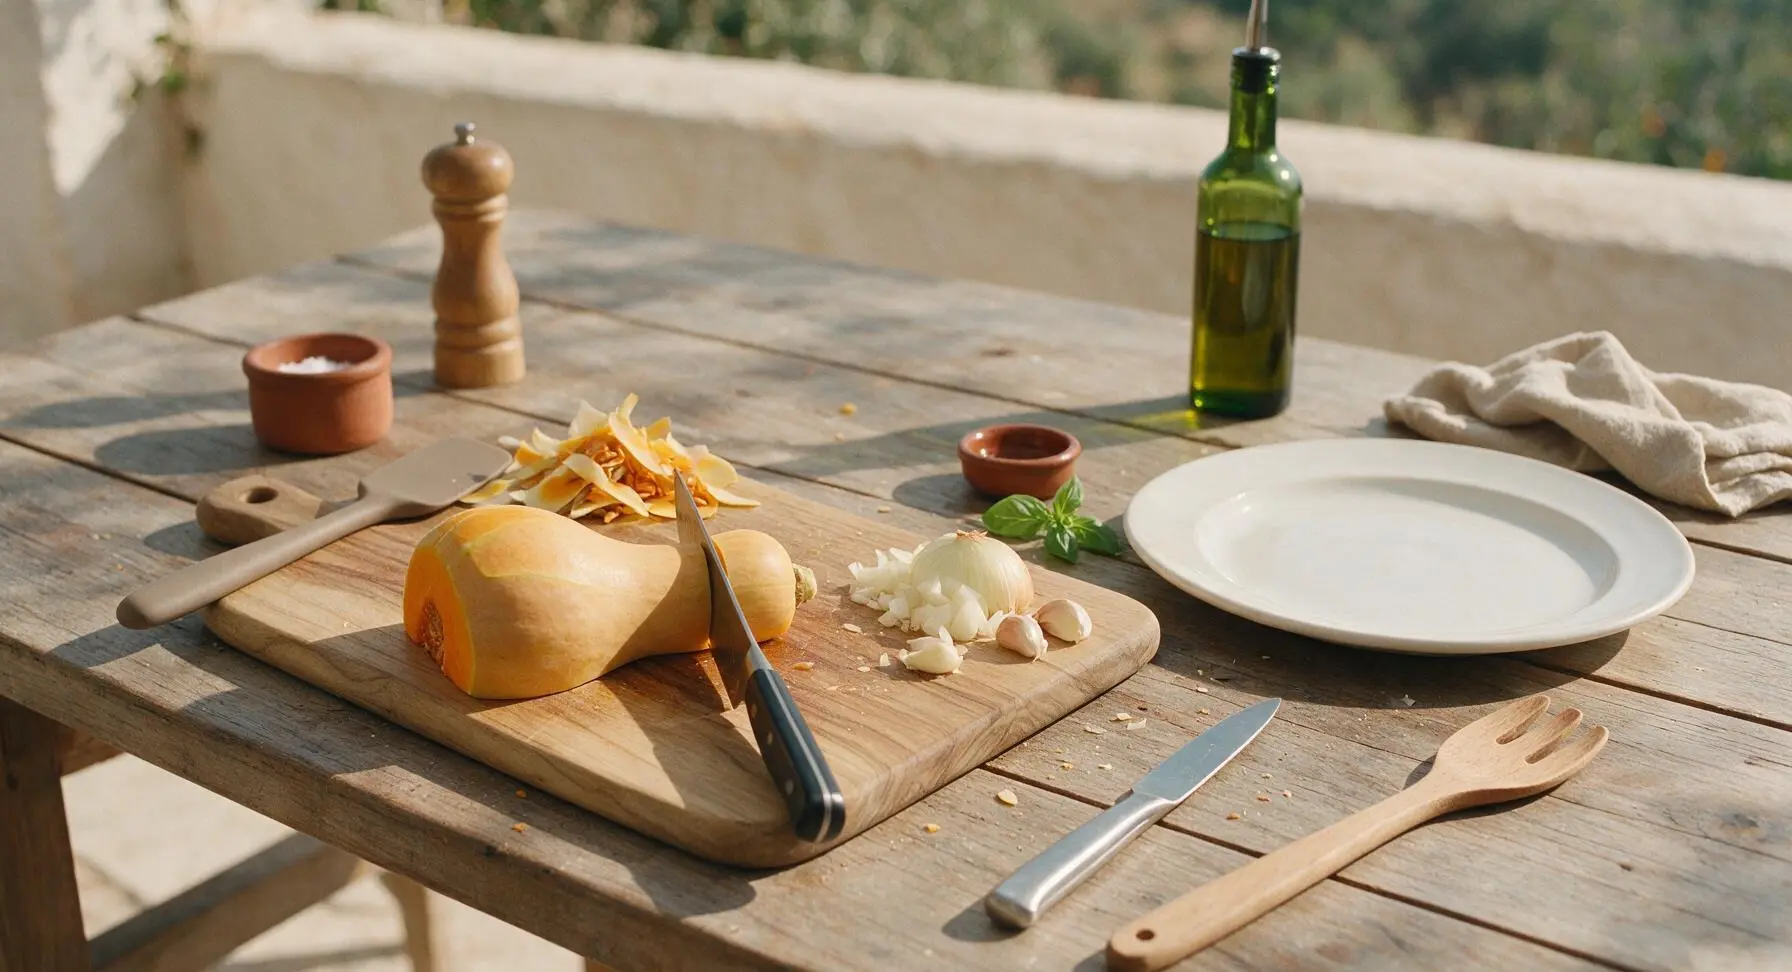
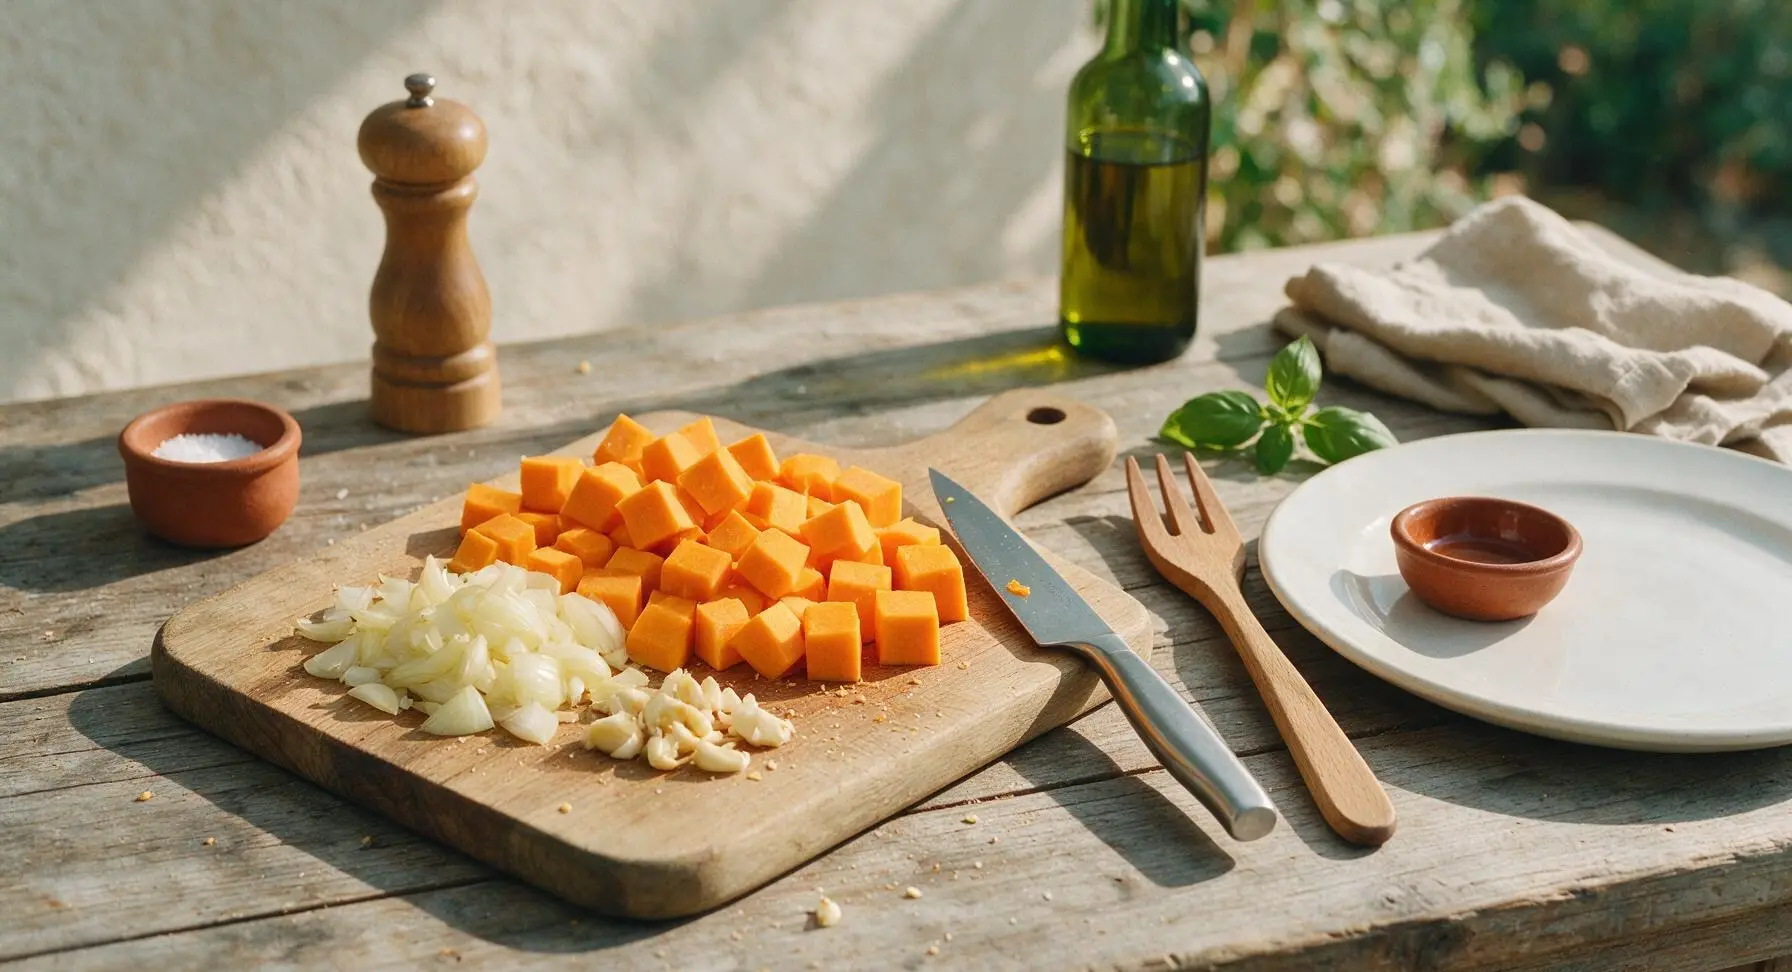
Place the light oak end-grain cutting board in its center-left counter position, with the chef’s knife resting on its right edge. Carefully cut the butternut squash in half lengthwise, scoop out and discard the seeds and stringy inner pulp, peel off the thick, tough outer skin with the knife, then cut the firm orange flesh into uniform 2.5cm cubes. Roughly chop the yellow onion into 1cm pieces, and lightly crush the 3 garlic cloves with the flat of the knife blade. Aim for evenly sized squash cubes to ensure they cook at the same rate; total prep time for this step is roughly 12 minutes.
Sauté onion and garlic
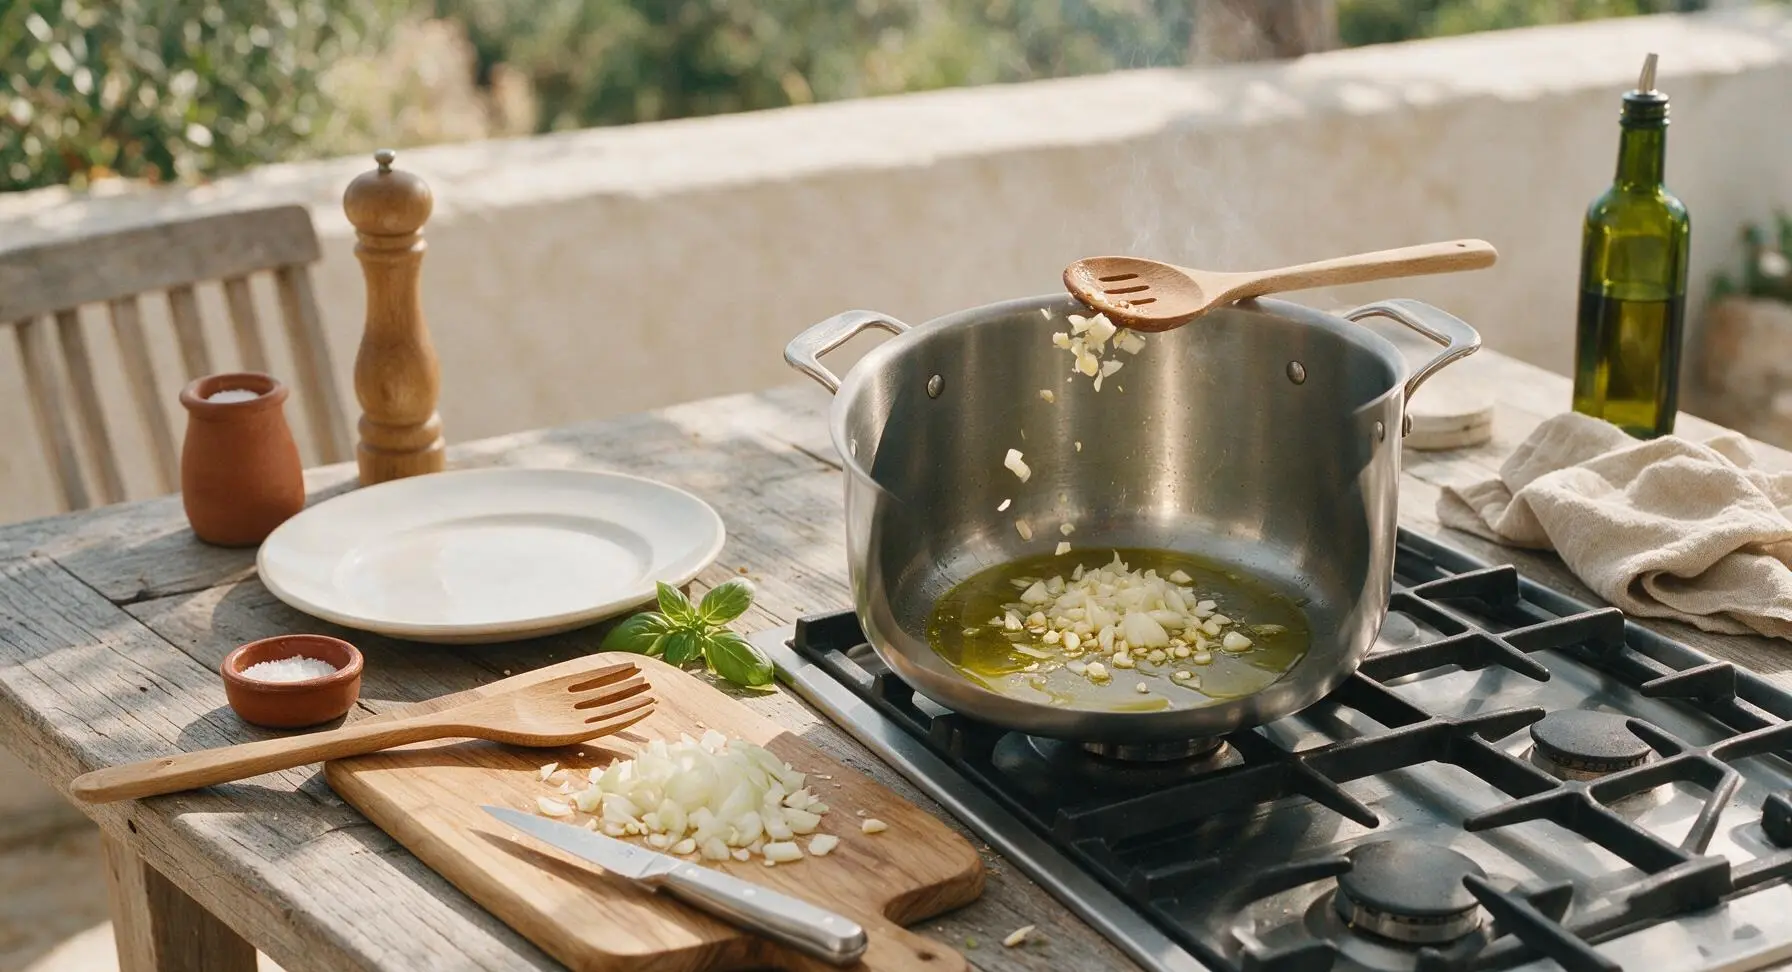
Place the 6-quart matte stainless steel stock pot on the back right gas burner, turn heat to medium, and add 2 tablespoons of extra-virgin olive oil. Once the oil shimmers (approximately 1 minute, no smoking), add the chopped yellow onion, cook for 3 minutes, stirring occasionally with the beech wood slotted spoon, until soft and translucent with no browned edges. Add the crushed garlic and 2 fresh sage leaves, cook for 30 seconds until fragrant—stop cooking immediately if the garlic starts to turn golden brown, as it will develop a bitter, burnt taste.
Simmer squash in broth
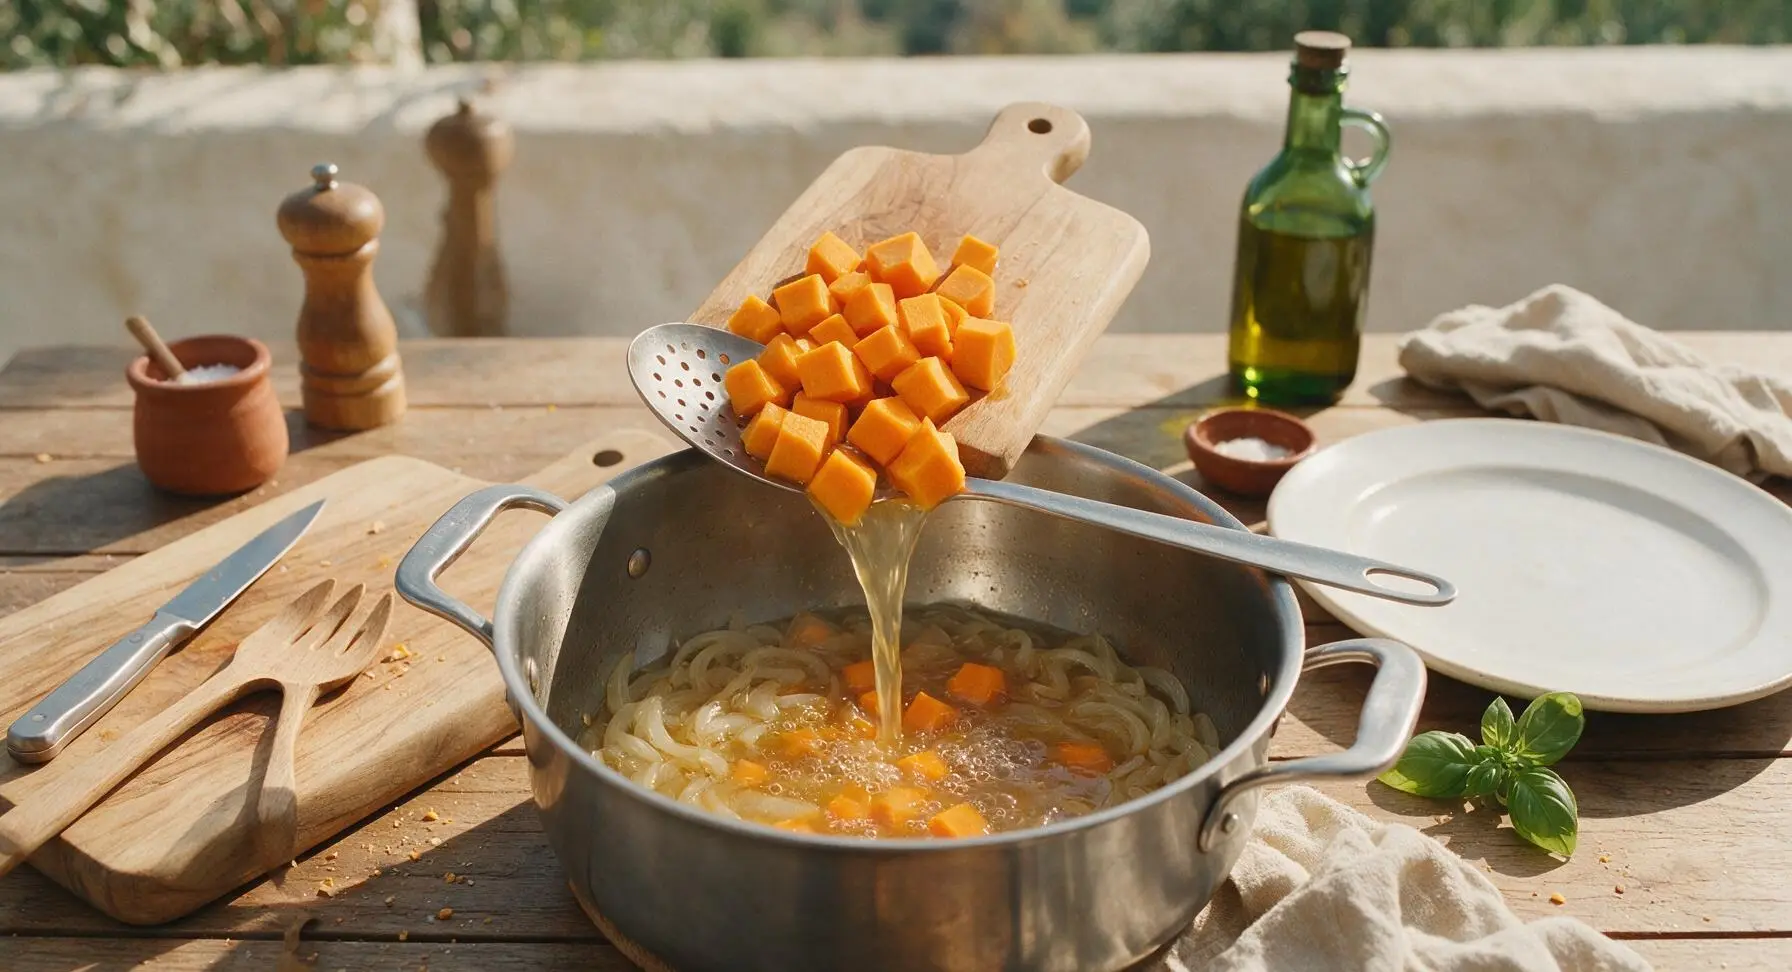
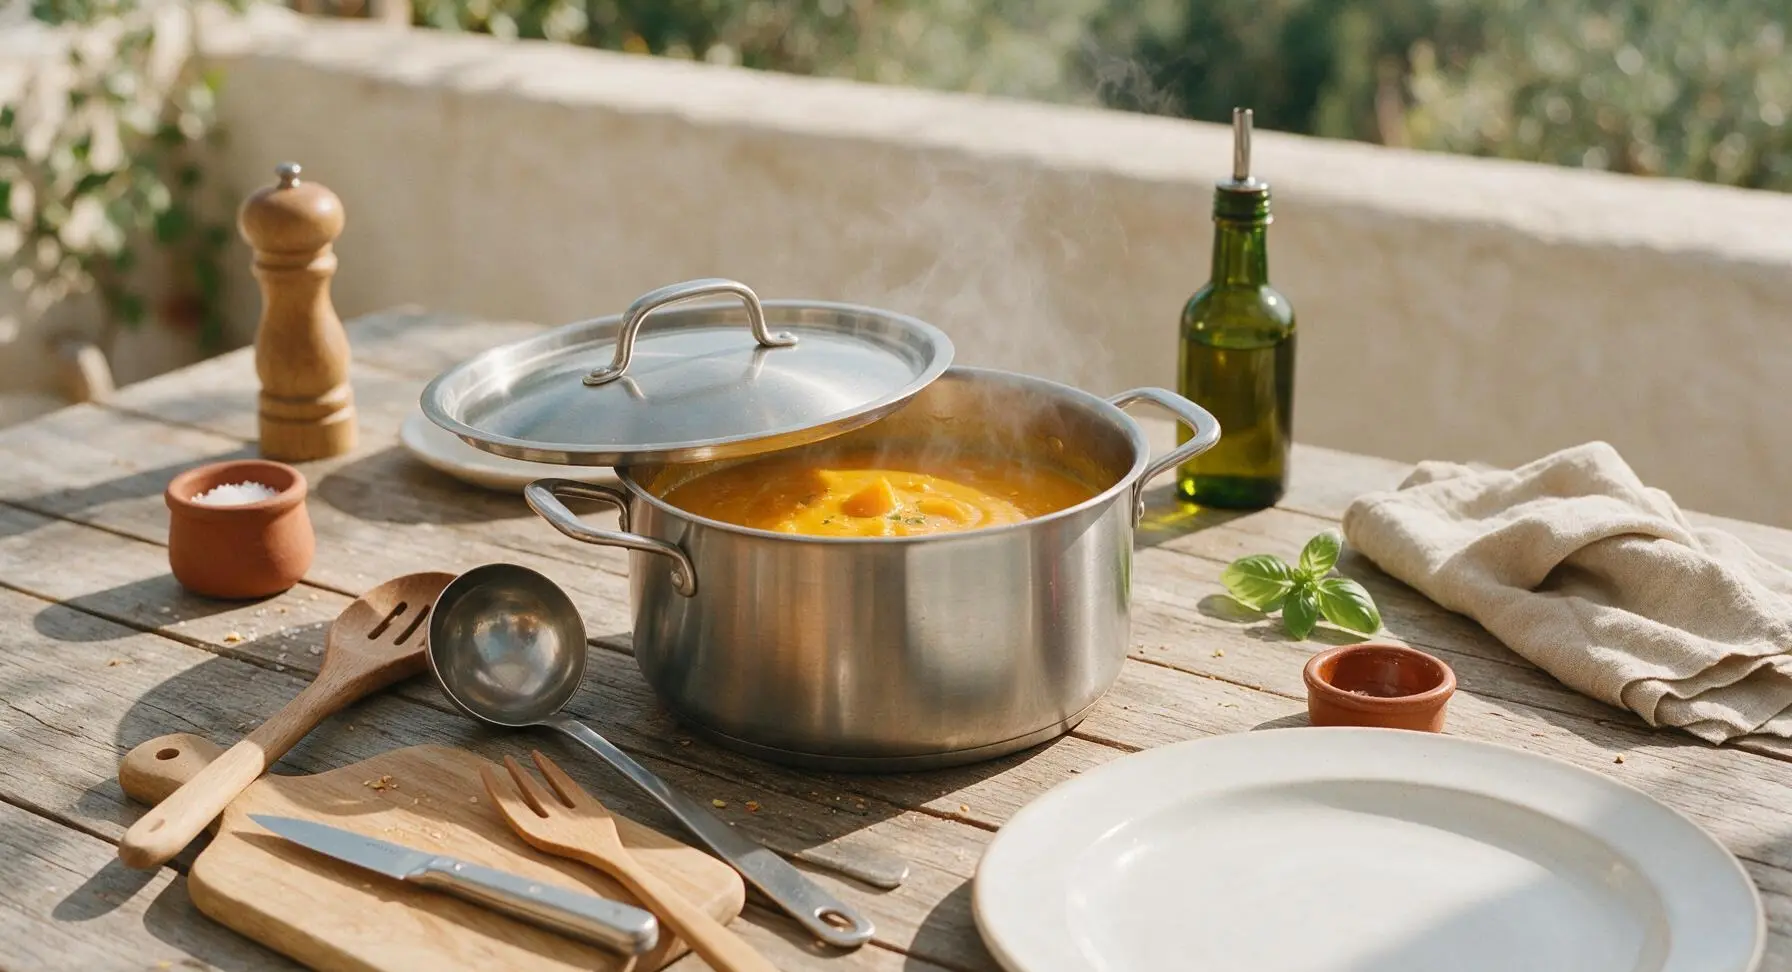
Add all the cubed butternut squash to the stock pot, stir with the slotted spoon to coat the cubes in the aromatic oil, then pour in the full 1 liter of low-sodium vegetable broth. Bring the liquid to a gentle rolling boil (small bubbles breaking consistently at the surface), then reduce heat to medium-low, cover the pot with its matching stainless steel lid, and simmer for 15 minutes. Test for doneness by piercing a squash cube with a fork: it should slide all the way through with zero resistance, no hard, crunchy core remaining.
Blend soup until velvety
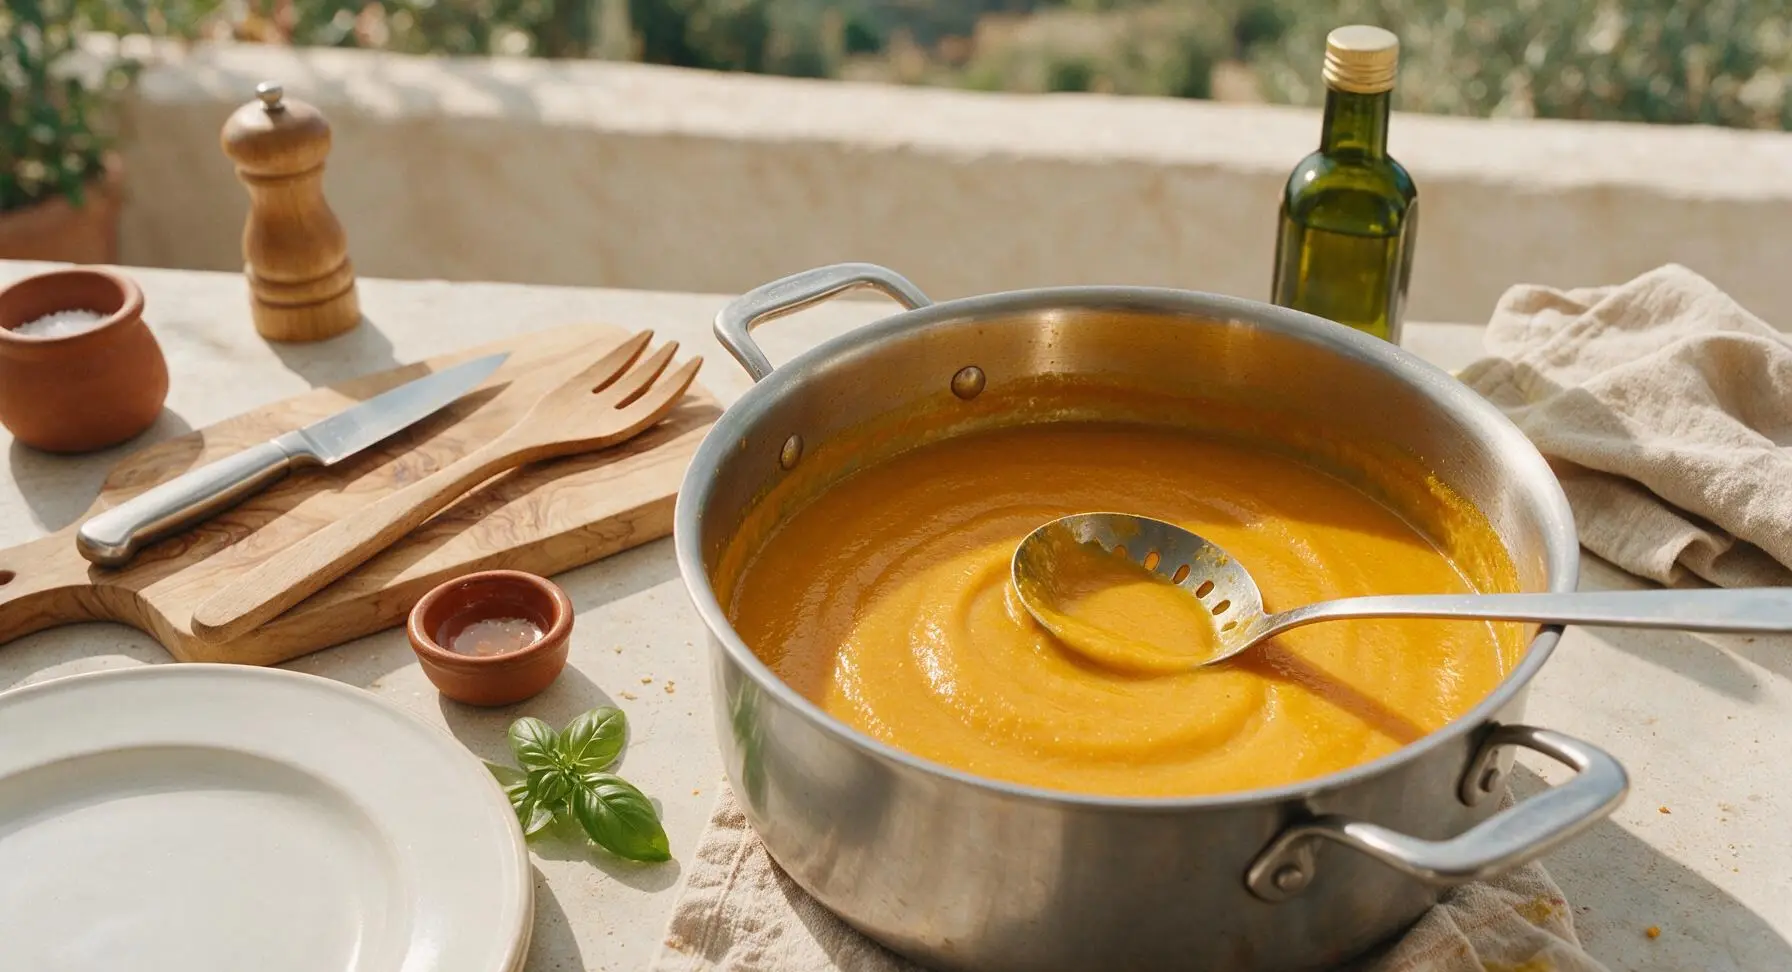
Turn off the heat under the stock pot, carefully tilt the lid away from your face to release trapped steam before removing it fully, and fish out the 2 cooked sage leaves with the slotted spoon to discard. Retrieve the immersion blender, submerge its blending wand fully in the soup before turning it on, and blend for 2-3 minutes, moving the wand slowly around the bottom and sides of the pot to reach every chunk, until the soup is completely smooth, velvety, and free of lumps. Keep the wand submerged while running to avoid hot soup splatters on skin or counters.

Season and add cream
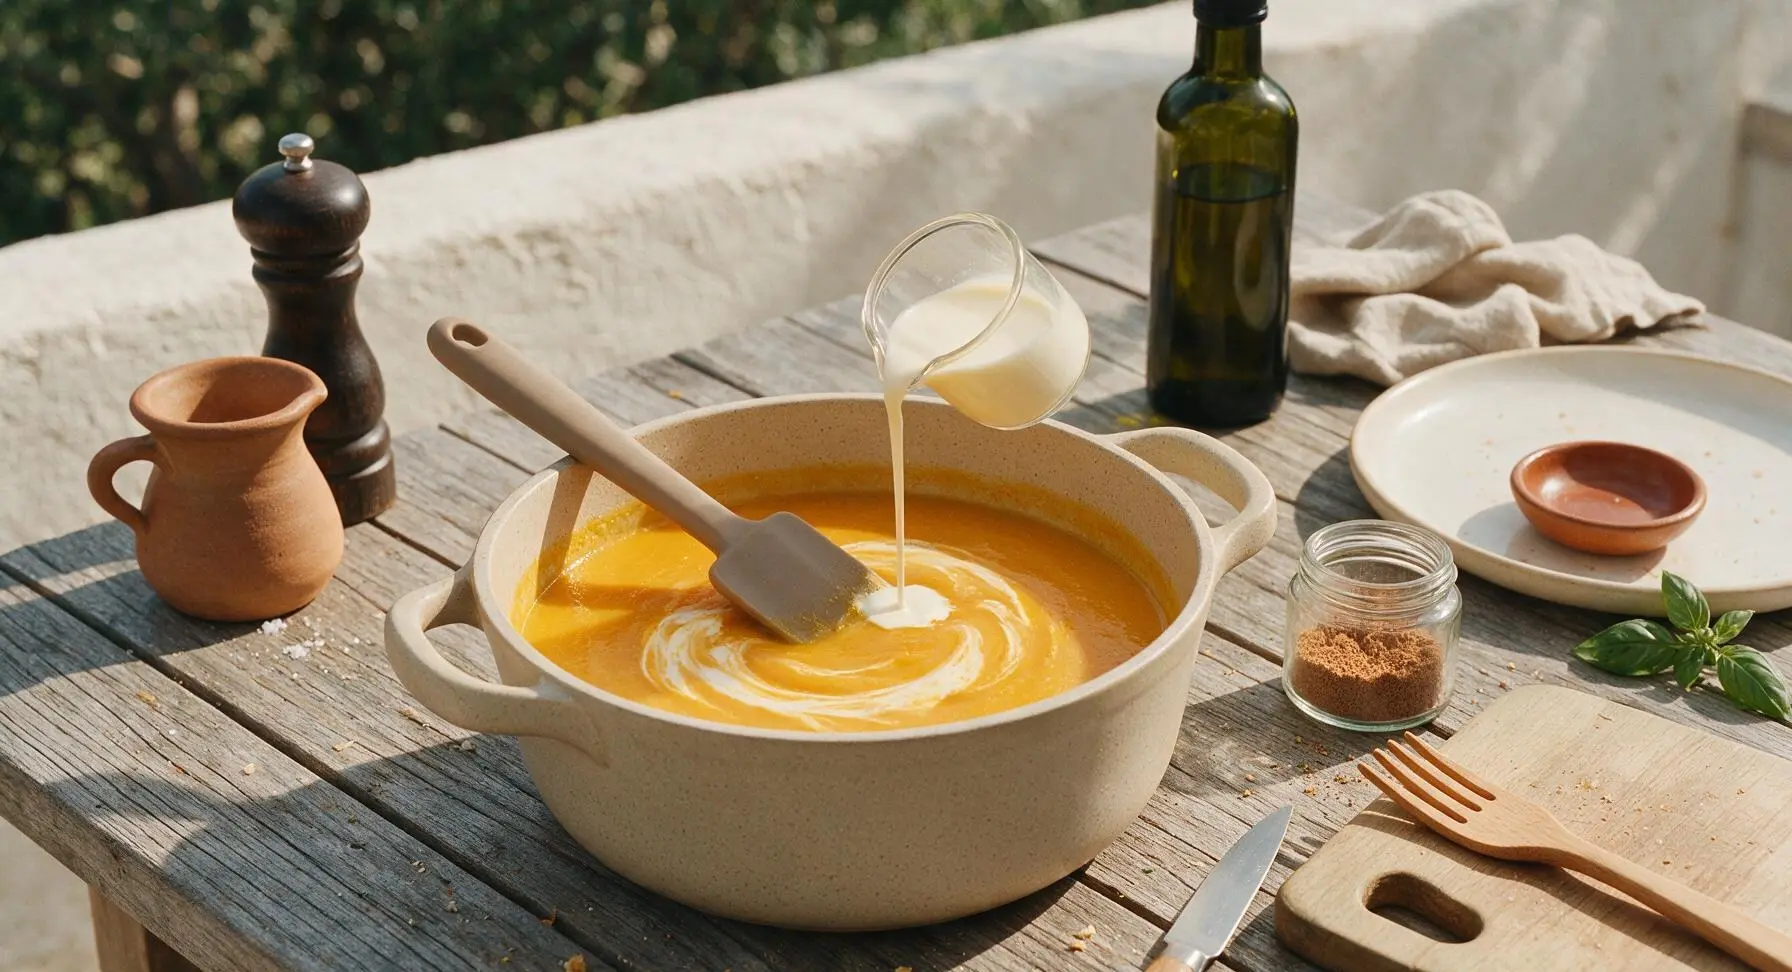
Stir 1/4 teaspoon of ground nutmeg, 1 teaspoon of kosher salt, and 1/2 teaspoon of freshly ground black pepper into the blended soup, then pour in 60ml of heavy cream, stirring gently with the taupe silicone spatula to combine. Taste a small spoonful, and adjust seasoning as needed: add a pinch more salt if the soup tastes flat, or a splash more broth if it is thicker than your preferred consistency. Turn heat to the lowest setting and warm the soup for 2 minutes—do not bring it to a boil after adding cream, as this can cause the cream to separate and curdle.
Ladle and garnish soup
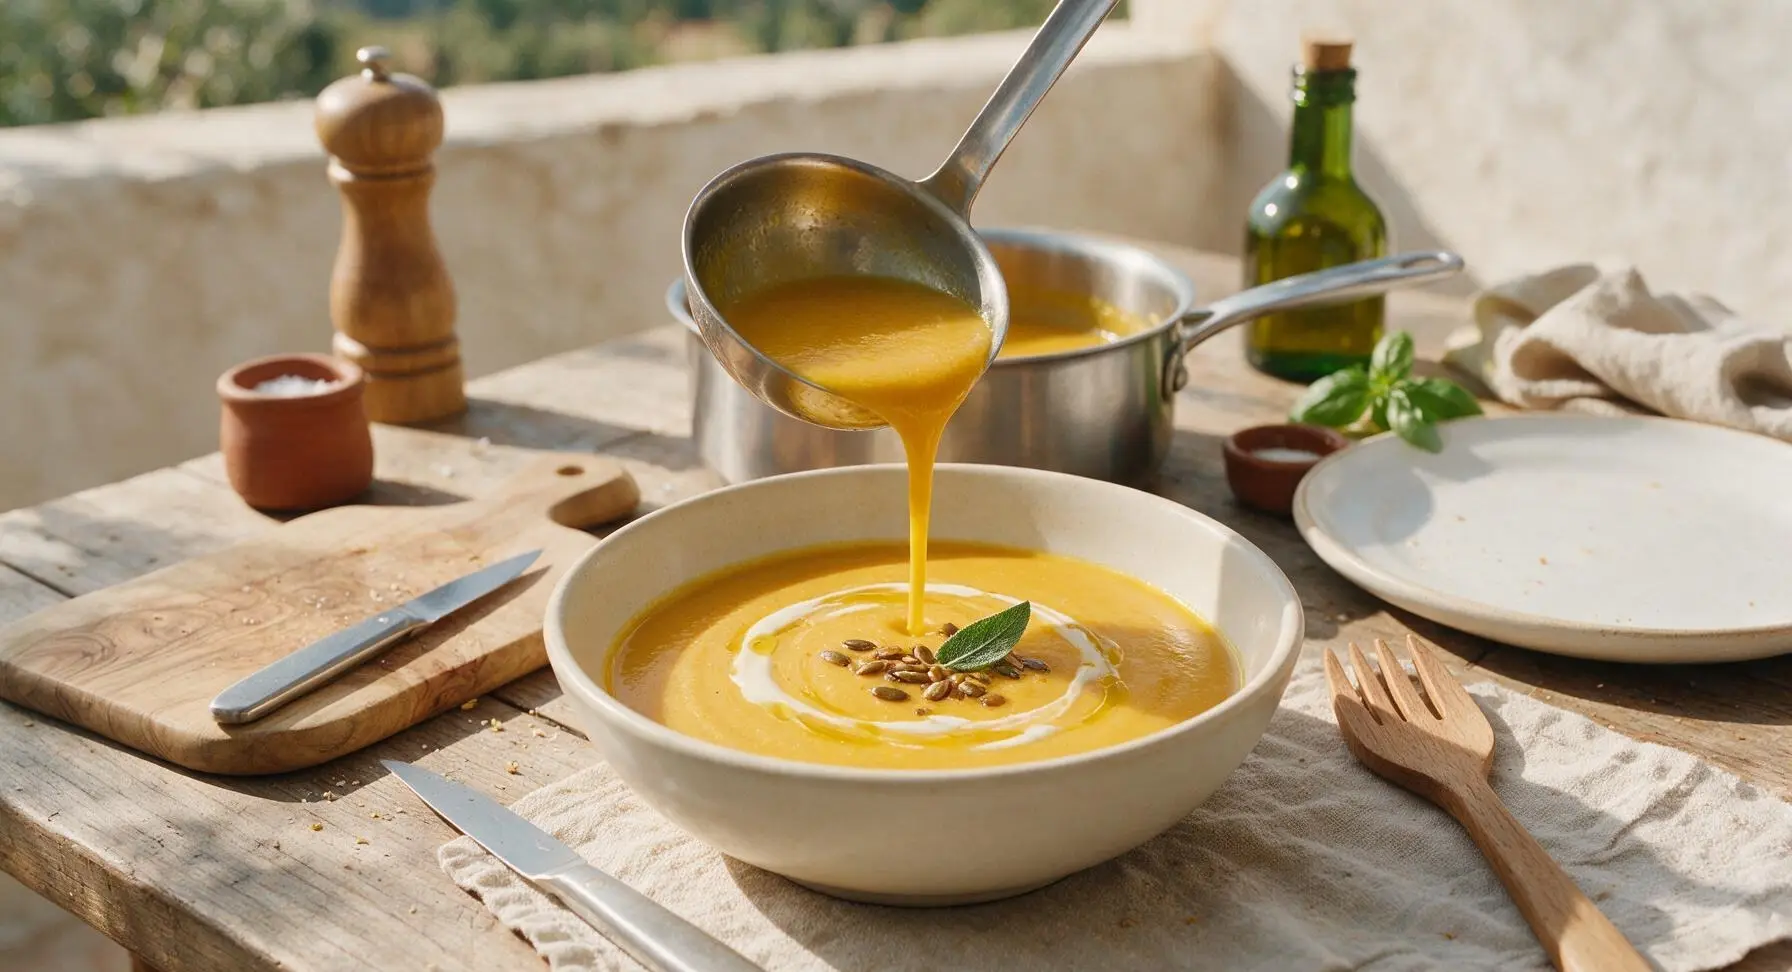
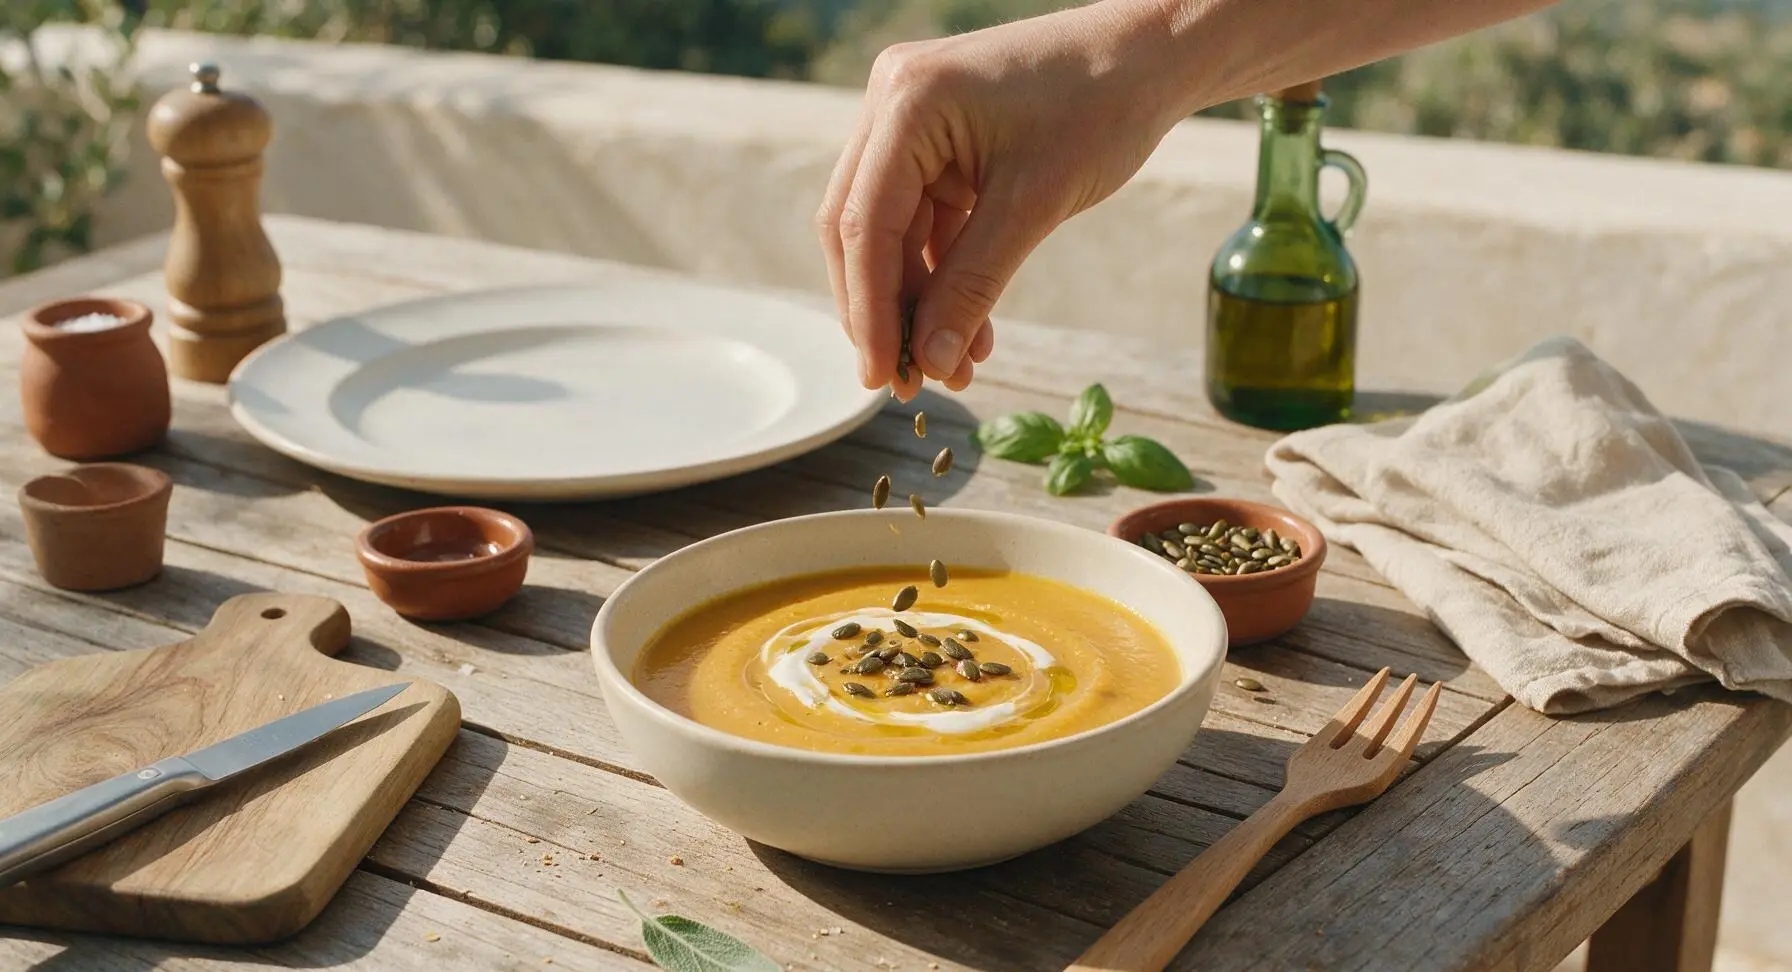
Remove the top matte cream soup bowl from the stacked set and place it center-front on the counter. Use the stainless steel soup ladle to pour the warm soup into the bowl, filling it to 1cm below the rim. Top with a thin swirl of reserved heavy cream, a tiny drizzle of olive oil, a sprinkle of toasted pumpkin seeds from the terracotta ramekin, and a single fresh sage leaf. Add a light crack of black pepper on top if desired, and serve immediately.
Tips
2.Don’t skip the small pinch of nutmeg! It amplifies the natural sweetness of butternut squash without tasting strongly of spice, creating the warm, rounded soup flavor associated with restaurant versions, rather than a bland plain vegetable puree.
3.This soup freezes exceptionally well for up to 3 months: let it cool completely, store in airtight containers, and leave 2cm of headspace to allow for expansion as it freezes. Thaw in the fridge overnight and reheat gently on low heat; no extra liquid is needed even if it thickens in storage.

OMG this soup is a total game changer! My kids usually turn their noses up at anything with squash, but they both asked for second helpings tonight. Took literally 25 minutes like the recipe said, perfect for busy weeknight dinners. Will be adding this to our regular rotation for sure!
Made this for our post-hike potluck last weekend and everyone was raving! It’s so creamy even without a ton of heavy cream, and I tossed in a pinch of cayenne for a little kick. SO good, even my friend who hates all veggies went back for a cup and asked for the recipe.
Perfect for Sunday meal prep! I made a big batch on Sunday, portioned it out into containers, and it’s held up great all week for quick work lunches. The flavor gets even better the next day, tbh. Super easy, zero fancy ingredients required.
Wait, do I have to peel the squash first? I grabbed a pre-cubed bag from the grocery store to save time, would that work okay? Don’t have a great peeler in my dorm kitchen lol.
Has anyone tried making this with coconut milk instead of heavy cream? I’m dairy free and looking for a swap that won’t make the flavor weird.
Made this as a starter for our family football watch party yesterday and it was gone in 10 minutes! Served it in little bread bowls and everyone was obsessed. Only change I made was adding a sprinkle of crispy bacon on top, 10/10.
Wait, how smooth is this supposed to get when you blend it? I don’t have a fancy high-speed blender, just a regular old immersion blender. Will that work or am I gonna end up with lumpy soup?
Does this freeze well? I want to make a double batch to stick in the freezer for cold nights when I don’t feel like cooking. Any tips for freezing and reheating?
This soup is so good as written, but I added a dash of nutmeg and a sprinkle of smoked paprika on top and it took it to the next level! Perfect cozy soup for fall, my whole apartment smells amazing right now.
Wait, how many carbs are in a serving of this? I’m tracking macros for my fitness goals and I can’t find the nutrition info anywhere, would love to know before I make it!
Tried making this last night and it was so yummy! The only issue I had was that it came out a little thicker than I expected, did I do something wrong? I followed the measurements exactly as written.
Just made this for my first ever dinner party in my new apartment and I got so many compliments! I was so nervous I’d mess it up, but it was so straightforward even for someone who burns toast half the time lmao.