
simple syrup recipe for cakes
intro
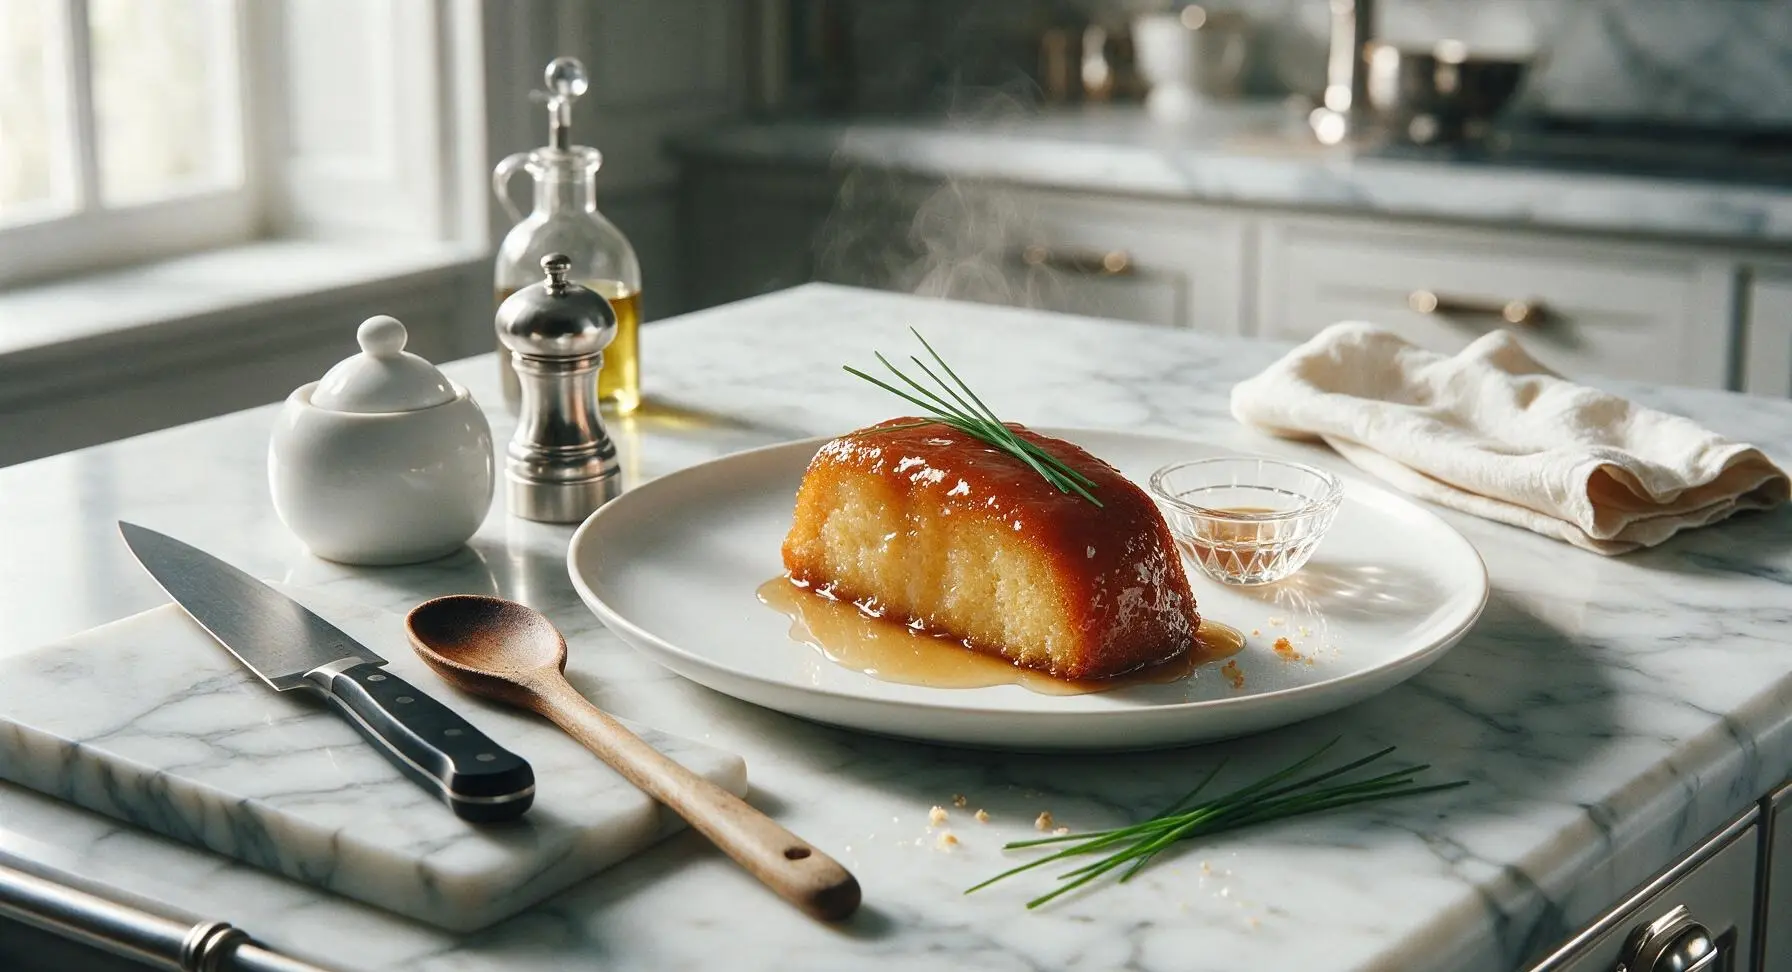
This bakery-style simple syrup locks moisture into cake layers, adds subtle vanilla depth, and turns dry, crumbly homemade cake into tender, bakery-worthy slices every time.
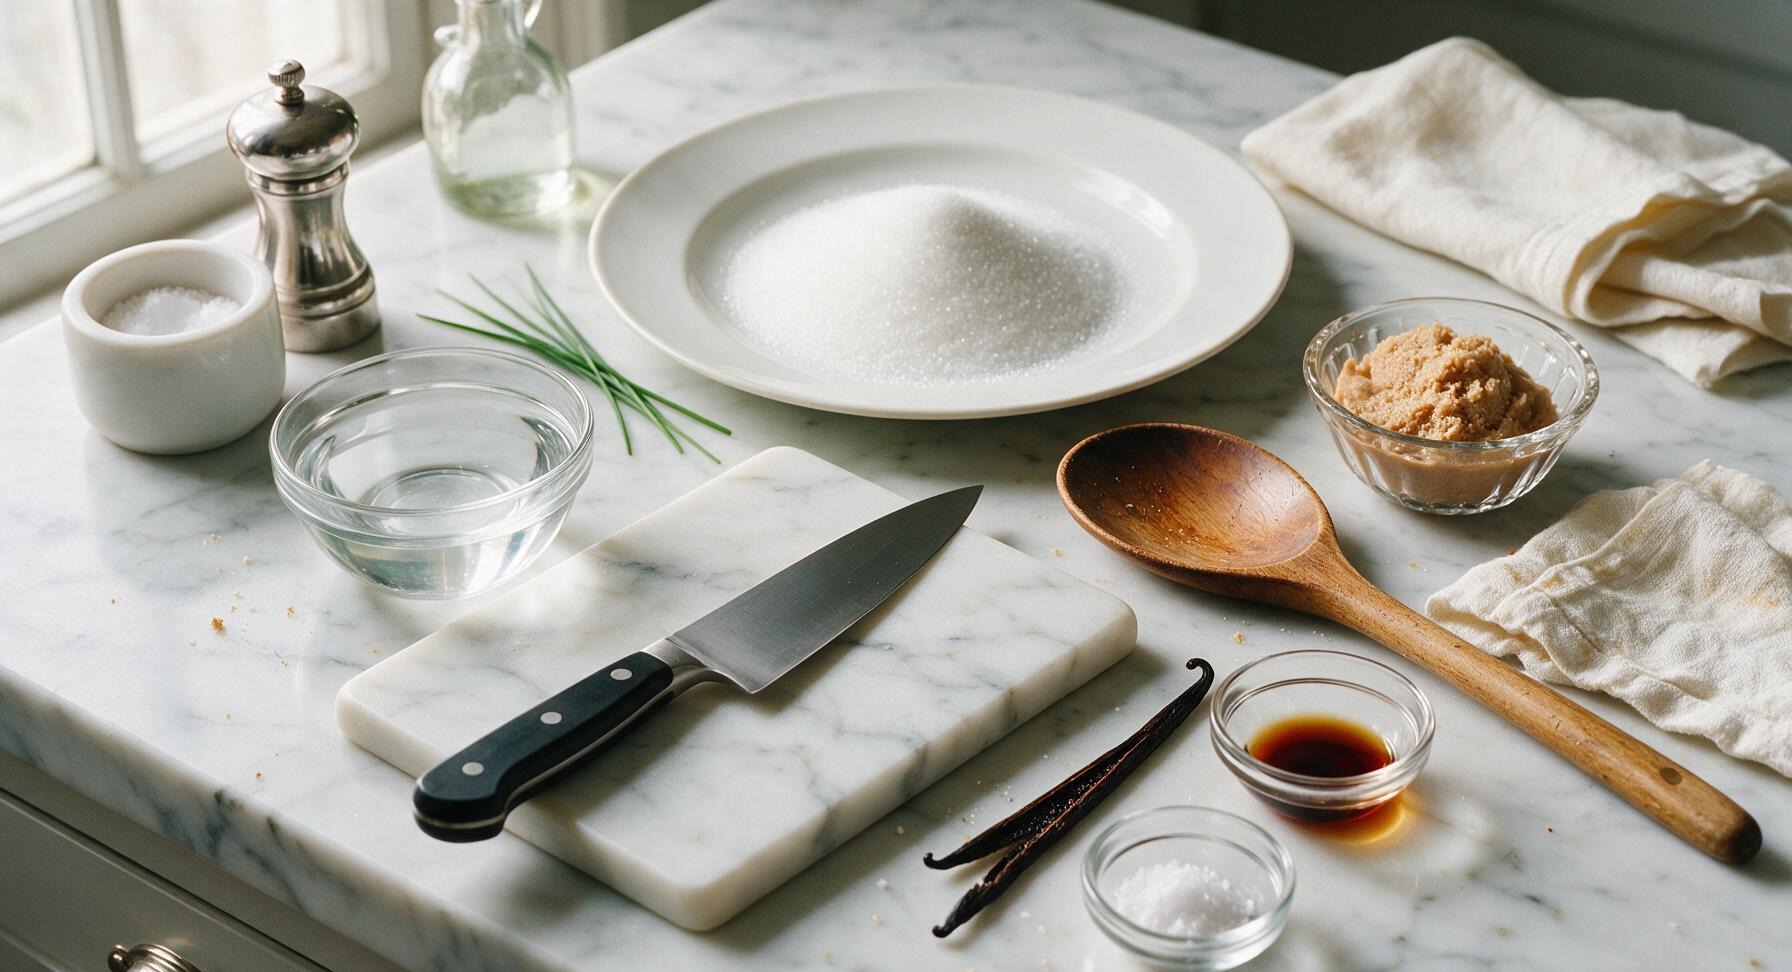
Ingredients
Steps
Measure Sugar and Water
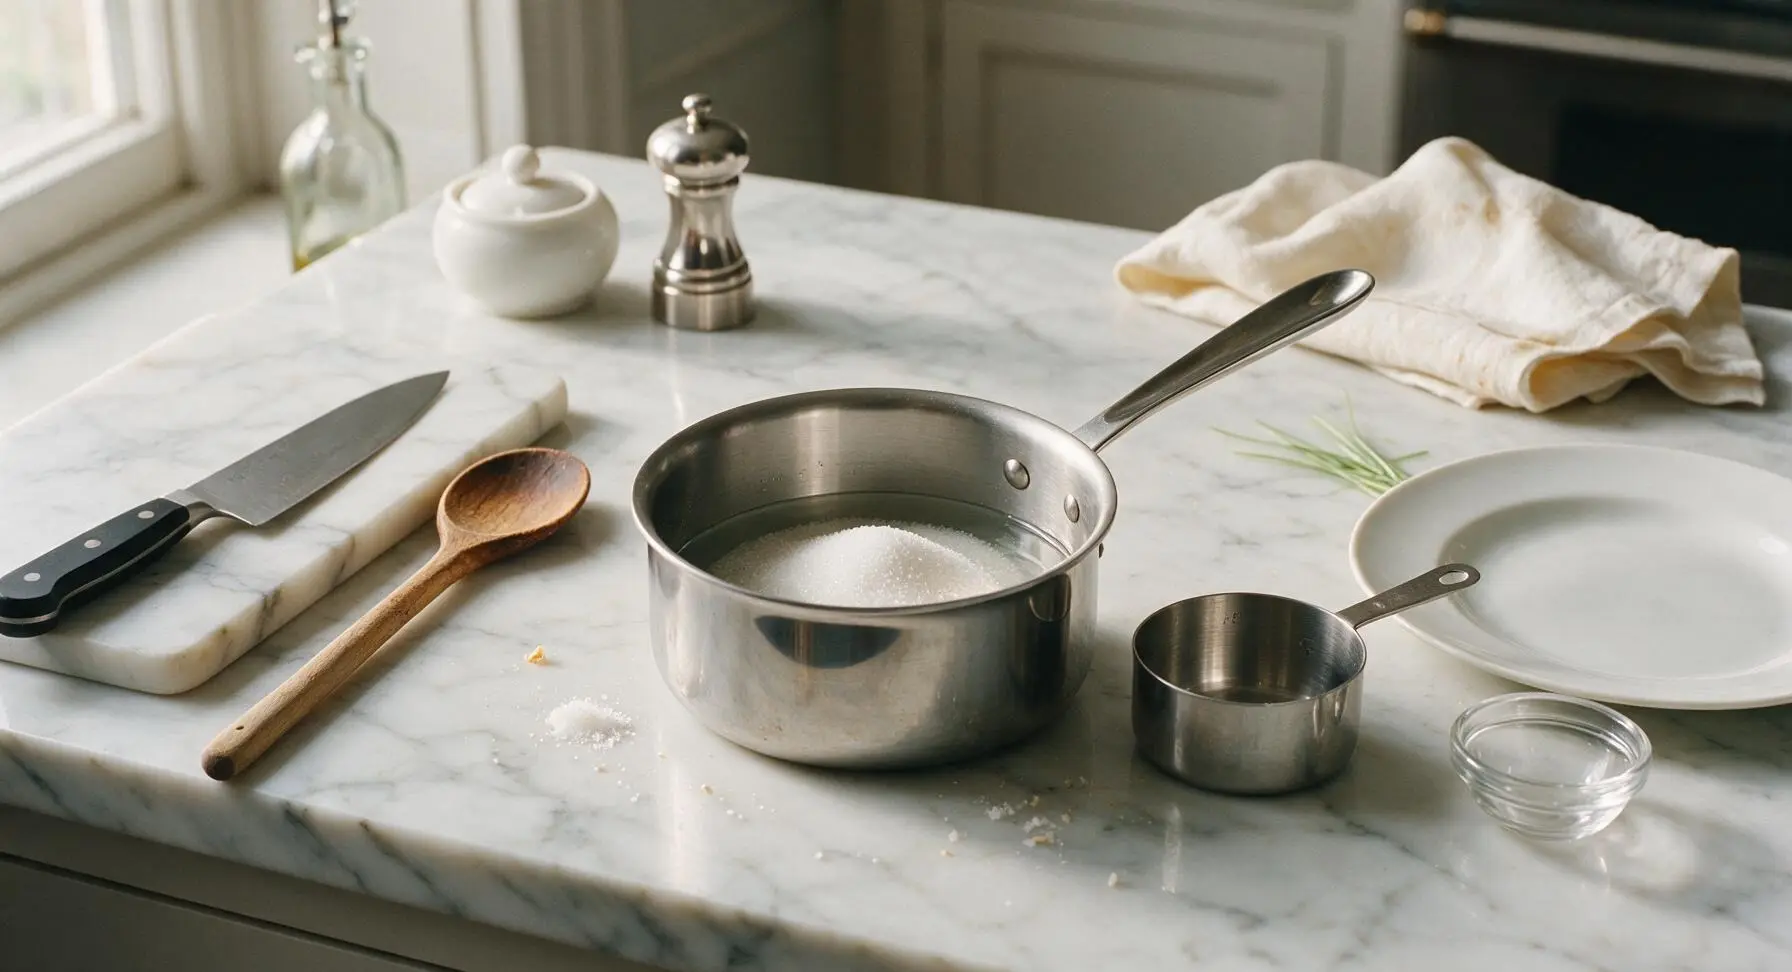
Using the nested stainless steel measuring cups, portion 1 cup (200g) granulated white sugar and 1 cup (240ml) filtered water into the 1.5-quart stainless steel saucepan. Stir briefly with the stainless steel whisk to dampen all sugar grains, which prevents dry sugar from burning on the hot pan bottom during heating. Set flavor ingredients aside for later use.
Heat to Dissolve Sugar
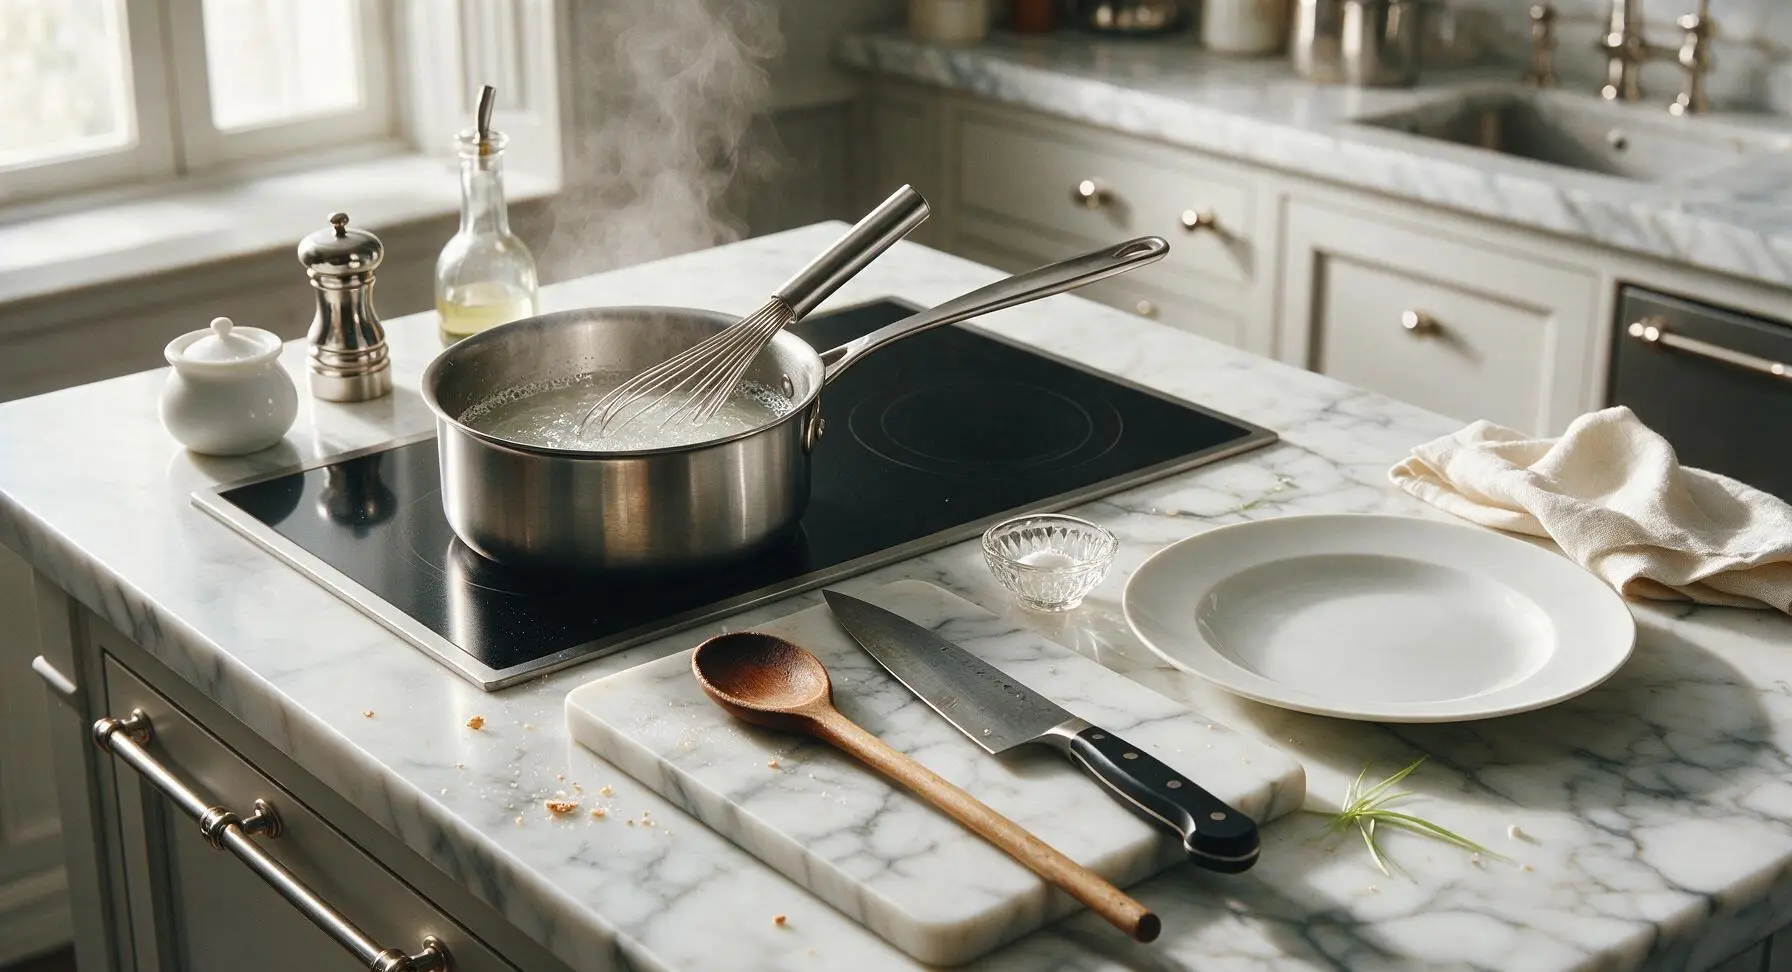
Transfer the saucepan to the matte black induction cooktop set to medium-low heat. Stir slowly and constantly with the stainless steel whisk as the mixture heats, bringing it to a gentle simmer (avoid a hard, rolling boil, which will over-concentrate the syrup and make it too thick for cake layers). Continue stirring for 3-4 minutes, until all sugar grains are fully dissolved and the liquid is completely transparent with no gritty residue at the pan bottom.
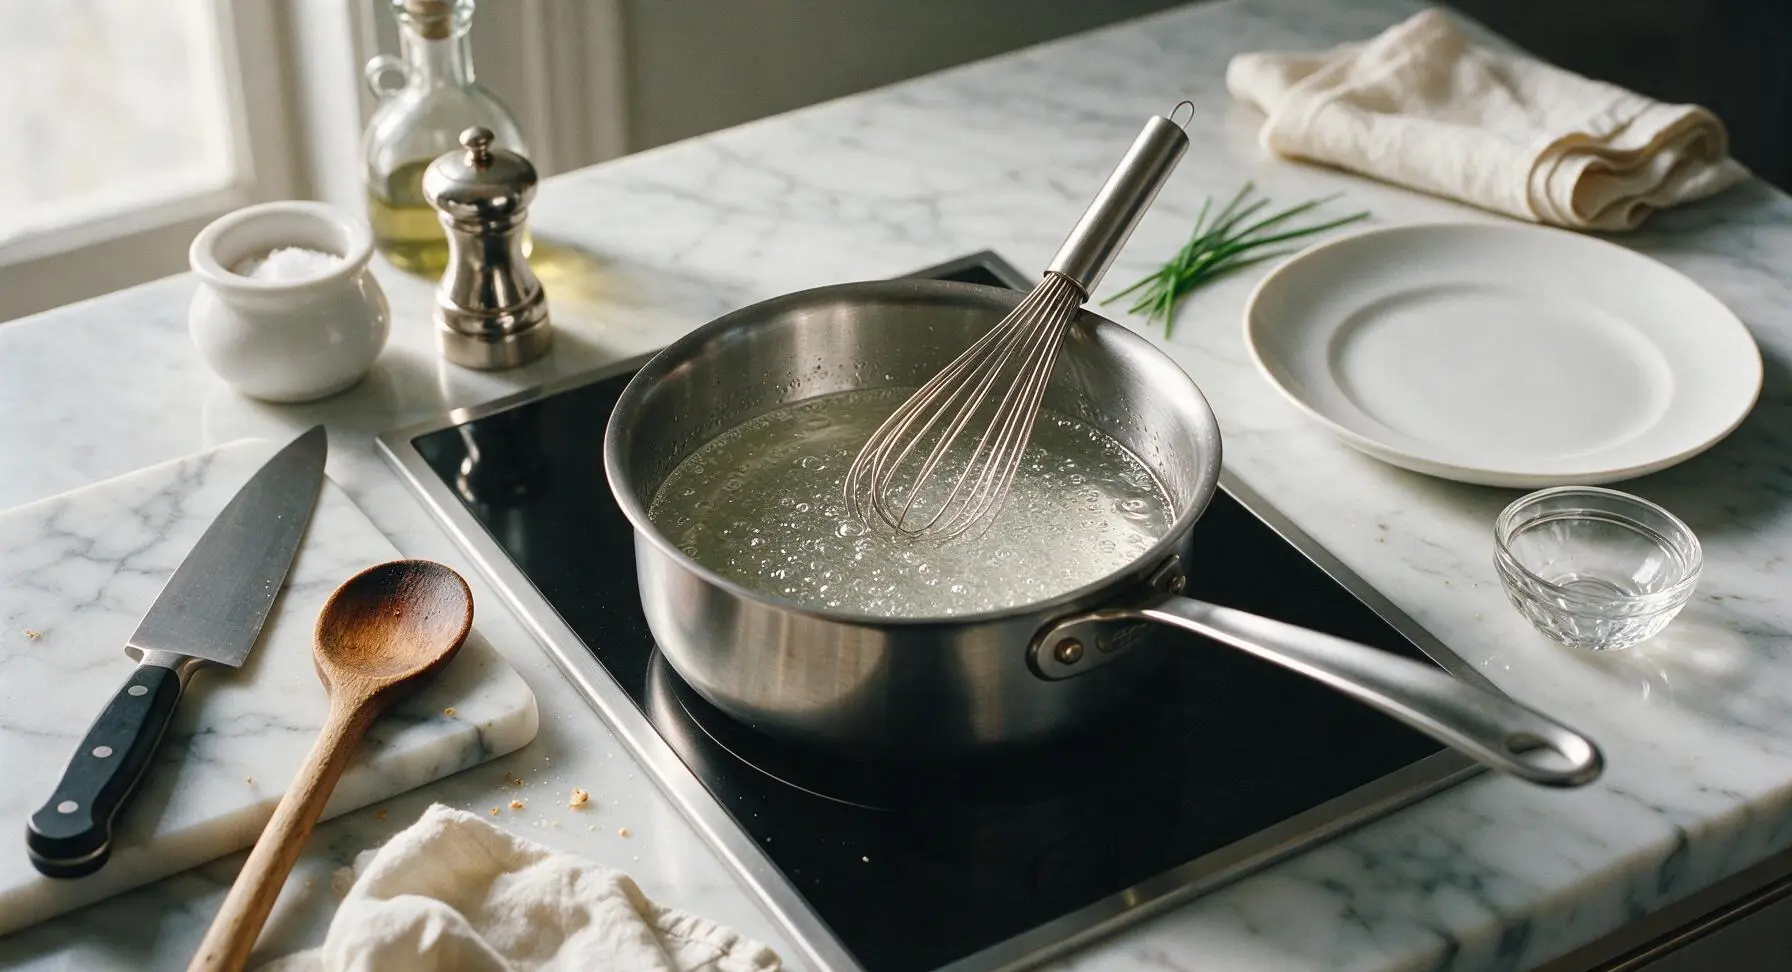
Add Flavor Enhancers
Remove the pan from heat immediately once the sugar is fully dissolved. Add the 1/8 teaspoon fine sea salt, 1 teaspoon pure vanilla extract, and the split whole vanilla bean (if using) to the hot syrup. Stir once gently with the whisk to evenly distribute the add-ins. Do not return the pan to heat after adding vanilla, as high temperatures will cook off the delicate, sweet vanilla aroma.
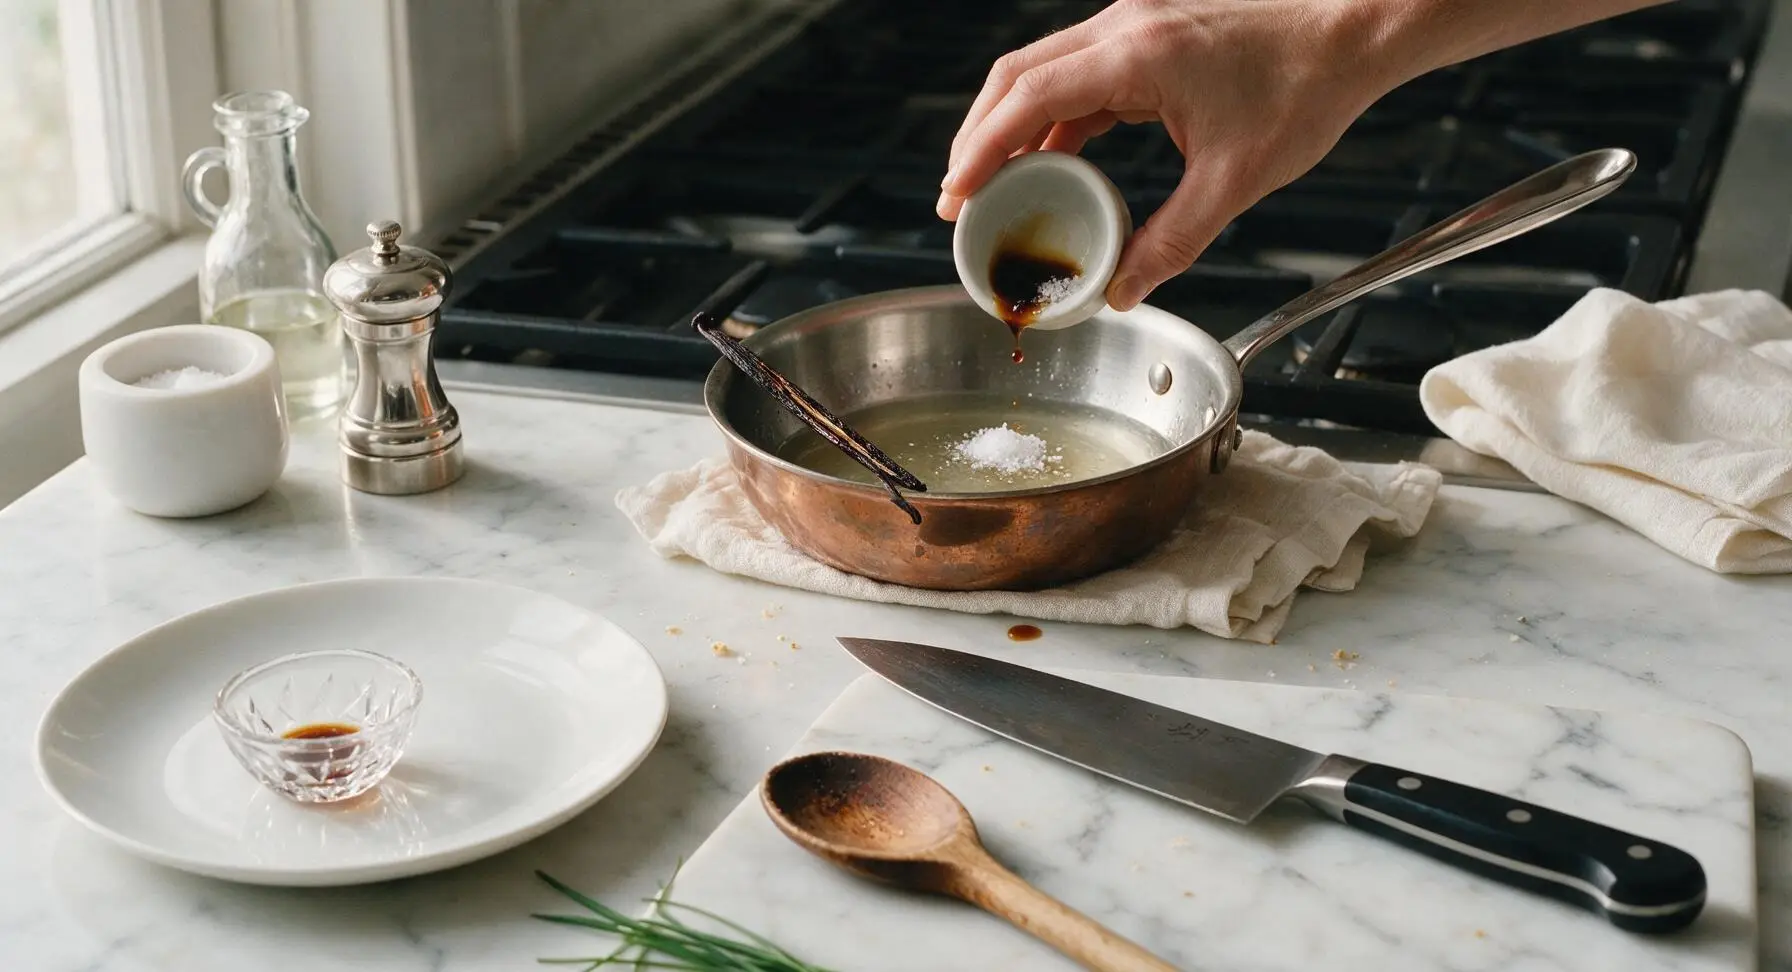
Steep Vanilla Notes
Leave the syrup uncovered to steep with the vanilla bean for 10 minutes at room temperature. This slow steep draws out warm, floral vanilla notes without creating bitter, over-extracted flavor, resulting in a well-rounded syrup that pairs perfectly with vanilla, chocolate, red velvet, or fruit cake layers. The syrup will stop producing thick steam by the end of the steep time.
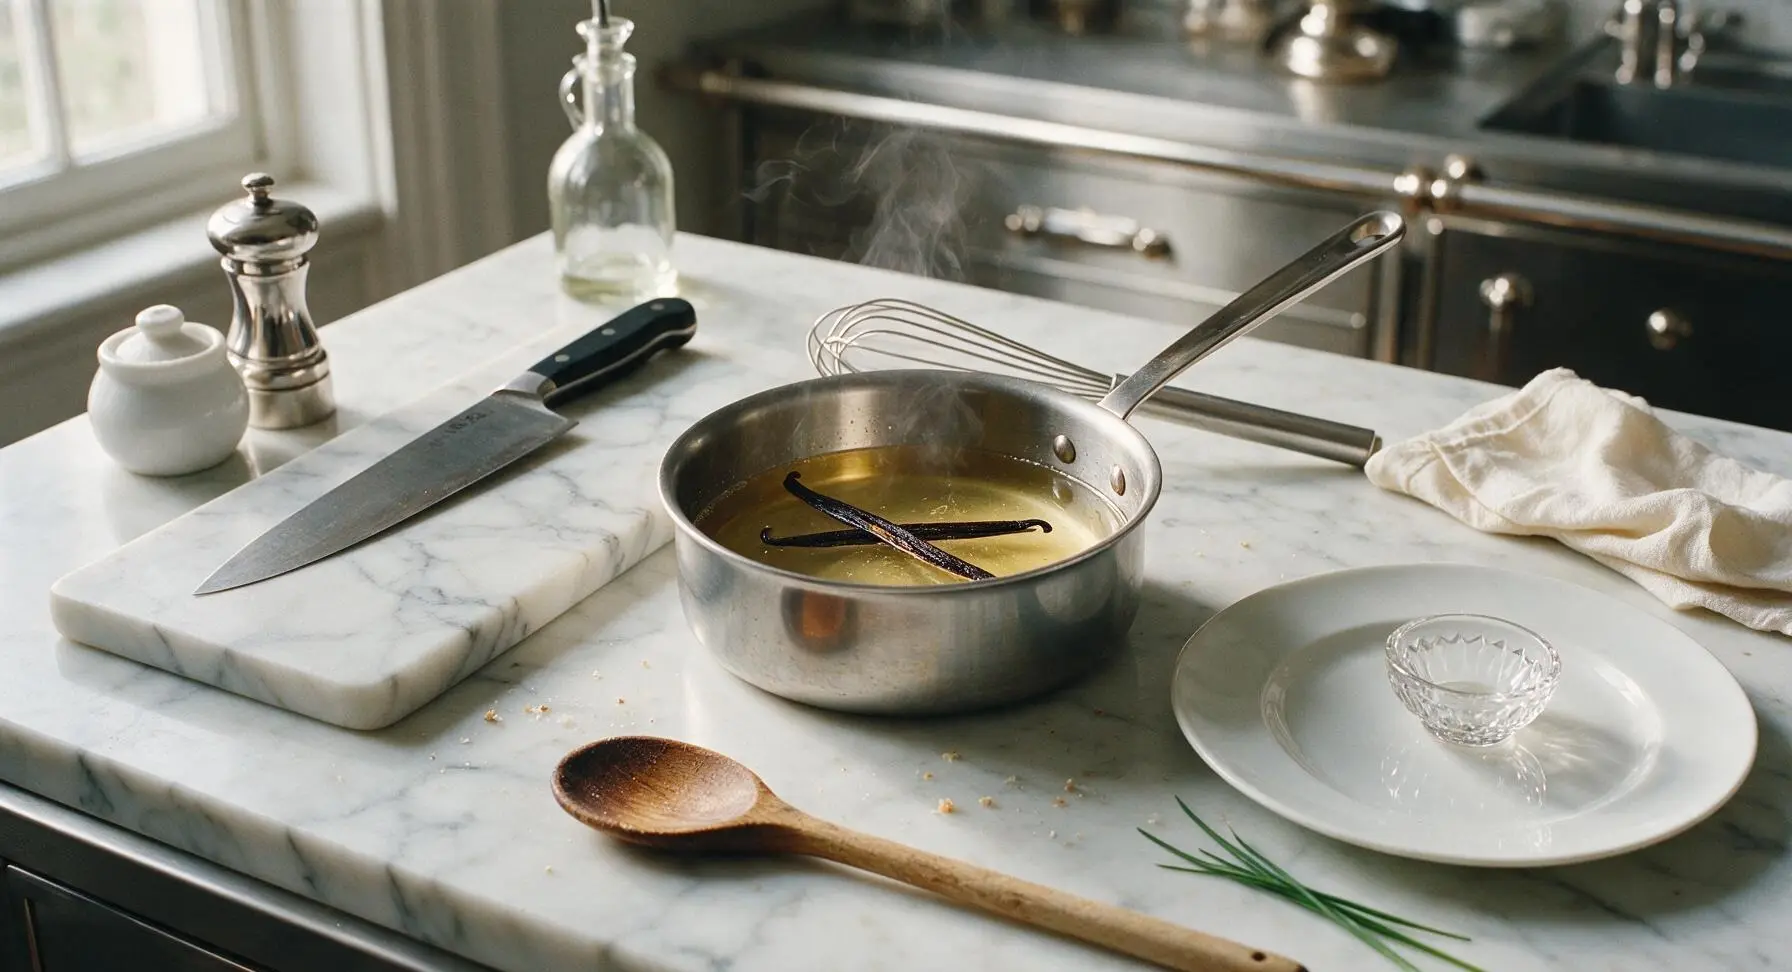
Strain for Smoothness
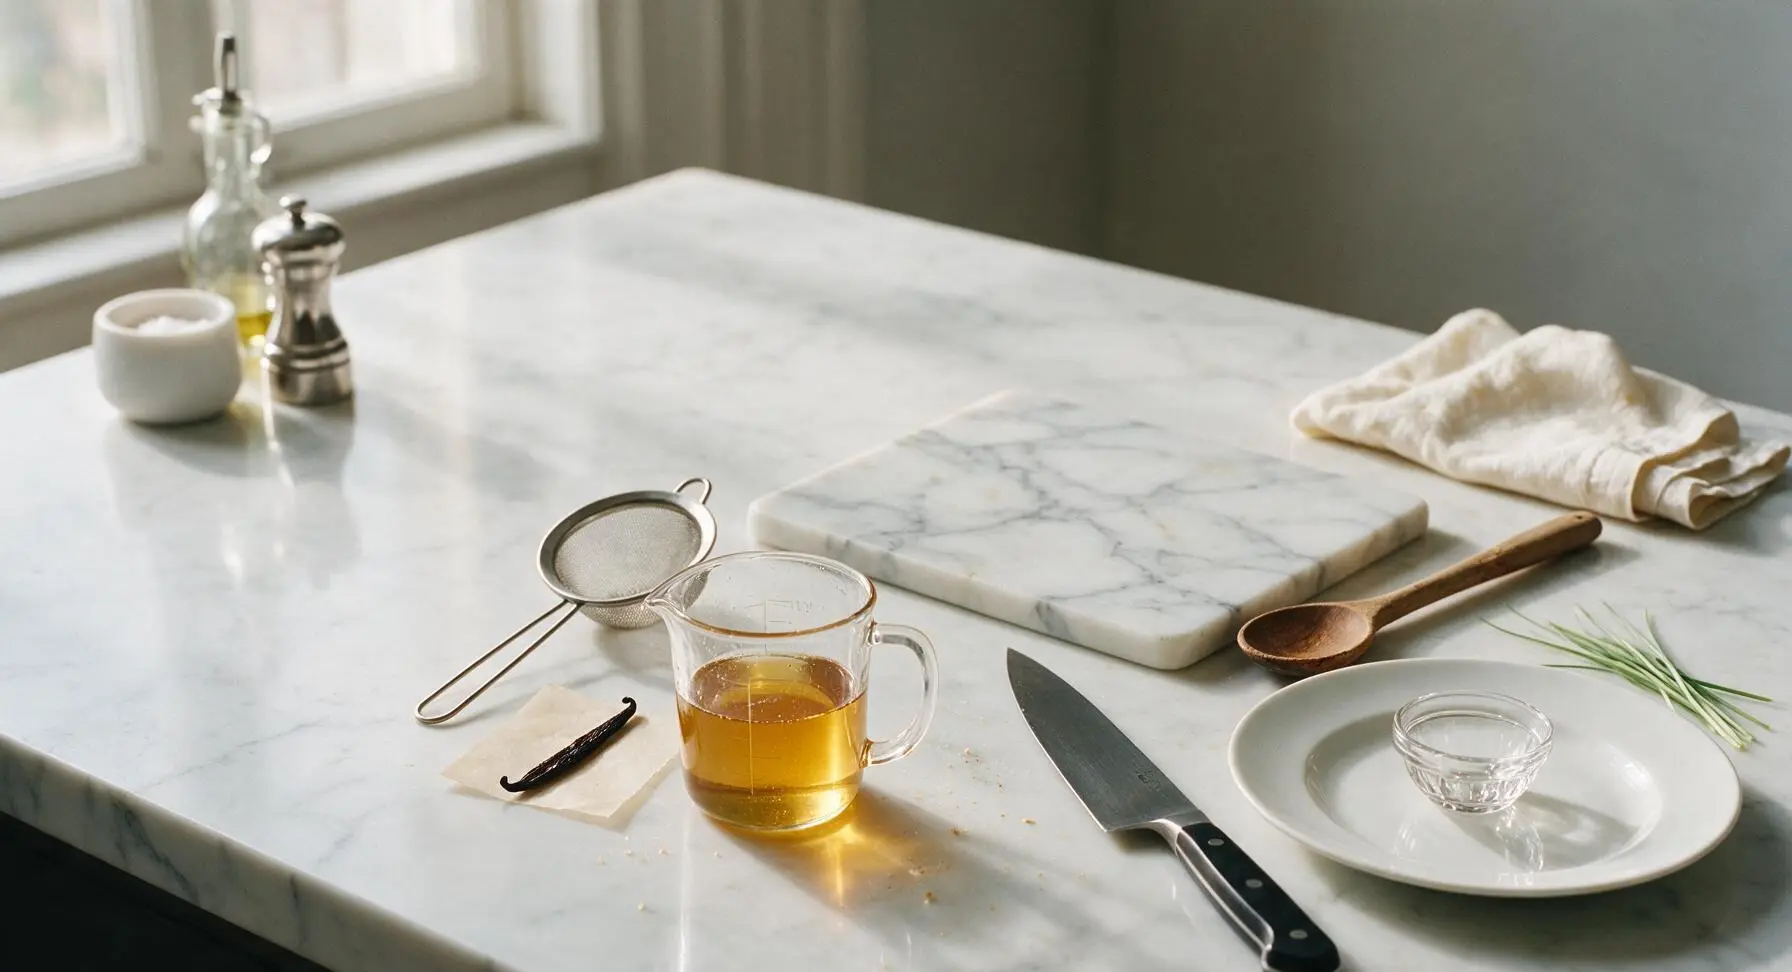
Set the fine-mesh stainless steel strainer over the top of the 2-cup clear glass measuring cup. Pour the warm syrup through the strainer to catch the vanilla bean pod and any tiny undissolved sugar crystals, creating a perfectly smooth, particle-free syrup. The used vanilla bean can be rinsed, dried, and added to a jar of sugar to make homemade vanilla sugar if desired.
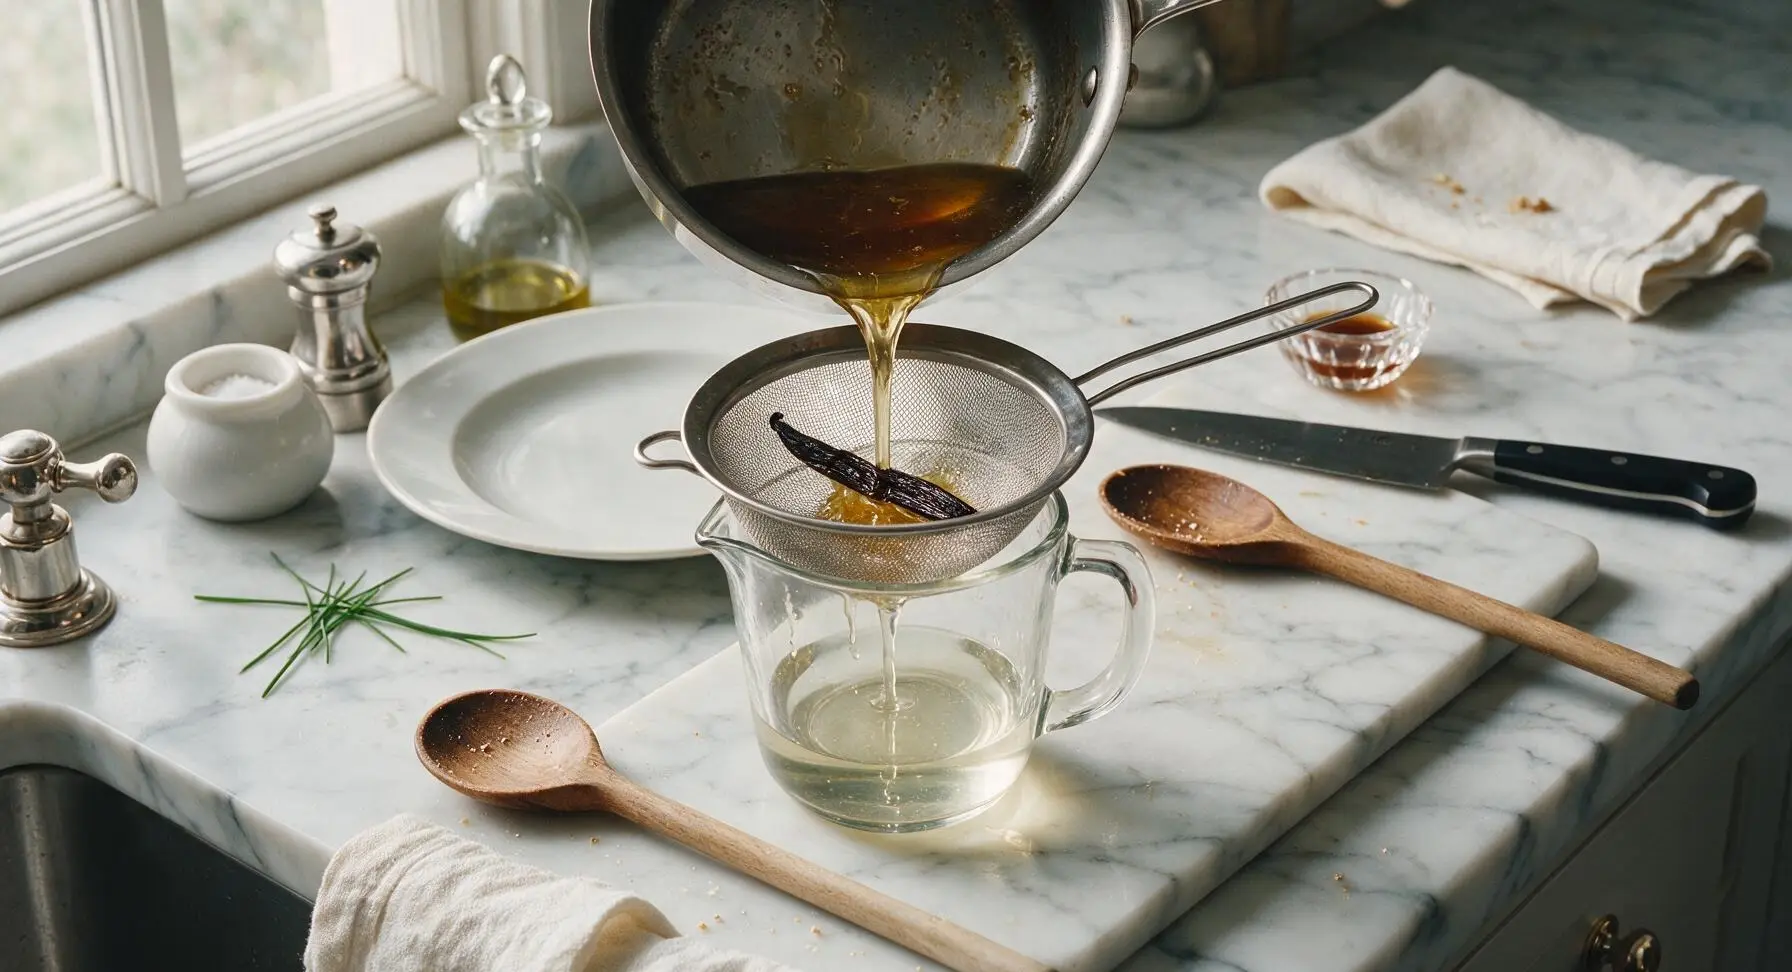
Cool to Room Temperature
Leave the strained syrup uncovered in the measuring cup for 20-25 minutes, until it reaches 70°F (21°C), room temperature. Never pour warm syrup into a sealed storage container, as trapped condensation will water down the syrup and reduce its refrigerator shelf life. The syrup will thicken very slightly as it cools, but will remain easily pourable for brushing on cakes.
Transfer to Storage Jar
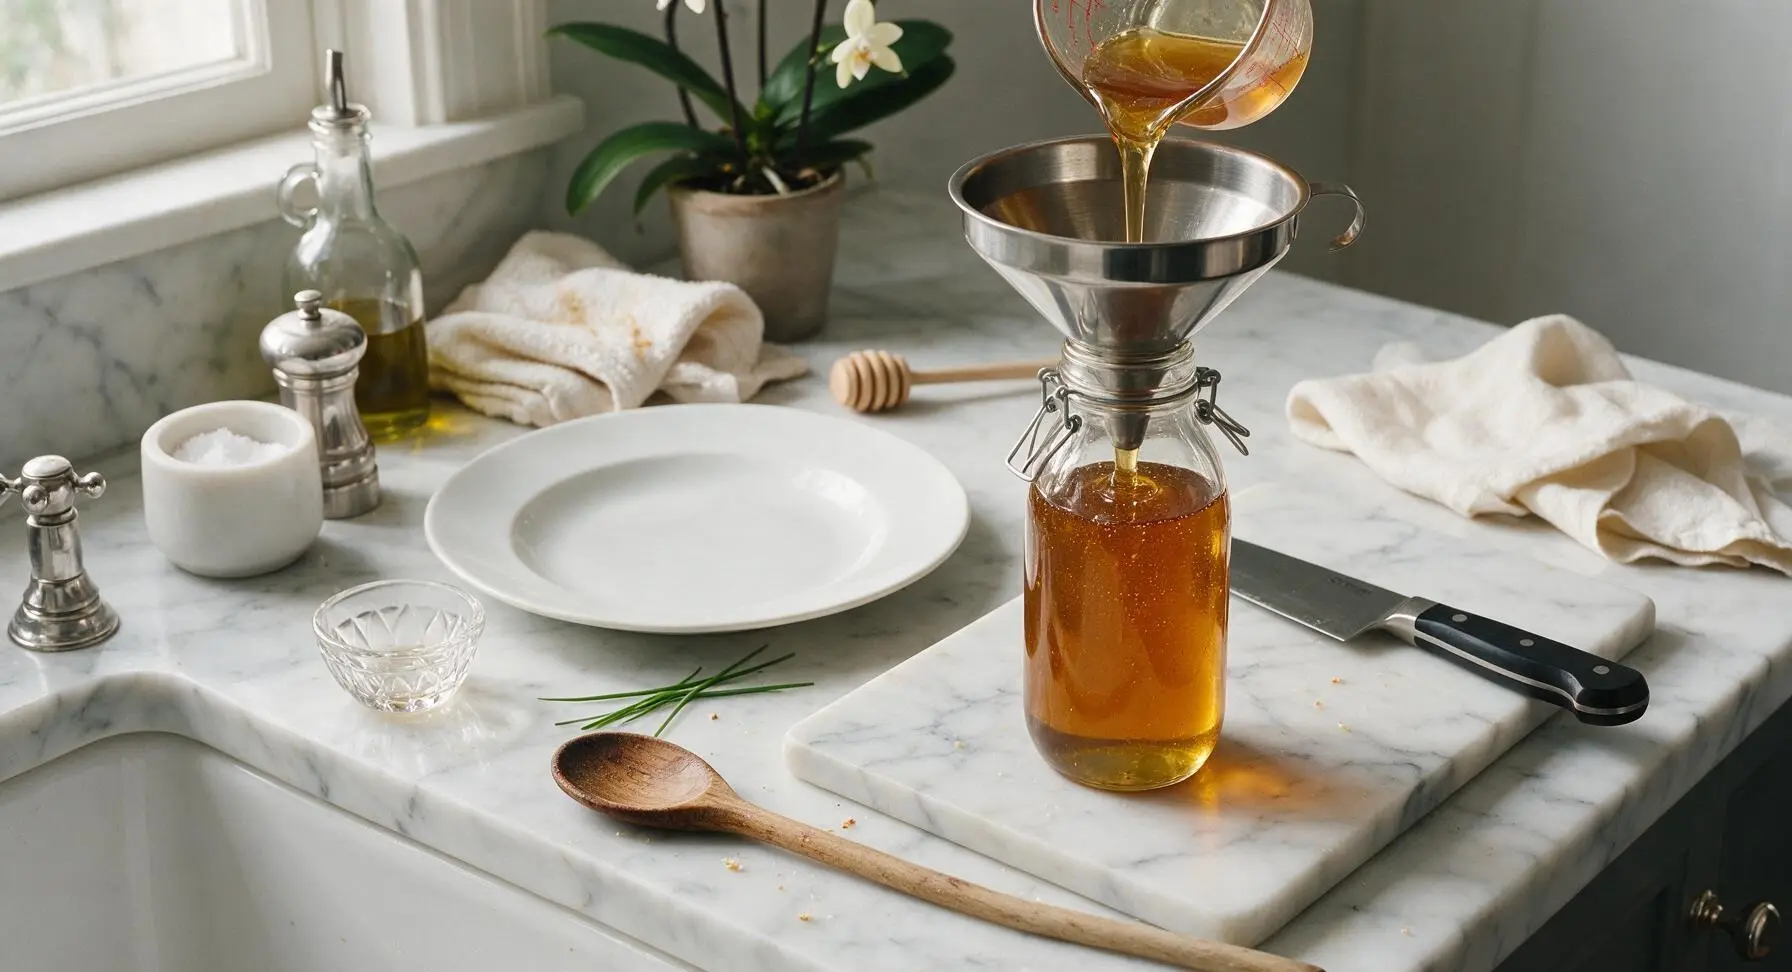
Nest the small stainless steel funnel into the opening of the 16oz clear glass swing-top jar. Pour the cooled simple syrup through the funnel into the jar, then fasten the metal clasp tightly to seal. Store the sealed jar in the refrigerator for up to 1 month, ready to brush onto fully cooled cake layers before adding frosting or fillings.
Tips
2.Customize the base syrup to match your cake flavor: swap vanilla for 1 teaspoon almond extract for white wedding cake, 1 tablespoon dark rum for spice cake or tiramisu, or 2 tablespoons fresh lemon zest for citrus cake, always adding flavorings off heat to preserve delicate aromas.
3.Use a soft silicone pastry brush to apply syrup evenly across cut cake layers, paying extra attention to the dry outer edges which stale fastest; use 2-3 tablespoons of syrup per 9-inch cake layer for ideal moistness without making the cake soggy enough to slide under frosting.






OMG this simple syrup is a total game changer! I used it on my vanilla layer cake for my daughter’s birthday party last weekend and every single guest asked why the cake was so moist and flavorful. I added a tiny splash of vanilla extract like the recipe hinted at, SO good. 10 minute cook time is perfect for when I’m rushing to get party prep done last minute.
Quick question — can I make this ahead and store it in the fridge? I’m prepping for a big potluck at my kid’s school on Friday and want to get as much done ahead as possible. Don’t want it to go bad before I use it on my chocolate sheet cake!
My kids loved it! I brushed this on my lemon poppyseed bundt cake after it cooled and it didn’t dry out at all even after 3 days on the counter. Usually my bundts get crumbly and dry by day two, so this is going to be a staple in my baking rotation from now on.
Wait, is this the same syrup they use on those grocery store bakery cakes that taste super moist? I’ve been trying to copy that texture for literal months and nothing has worked. Fingers crossed this is the missing piece!
Has anyone tried adding different flavorings to this? I want to make an almond version for my wedding cake tasting this weekend and don’t want to mess up the ratio. Also, do you brush it on when the cake is still warm or fully cooled?
Brought a red velvet cake brushed with this syrup to our neighborhood potluck last night and people were literally coming up to me for the recipe before I even left! Even the lady who brings the award-winning pecan pie every year said it was the best cake she’d had in years. Easy, fast, total crowd pleaser.
As someone who bakes exclusively gluten free, I struggle so much with dry, crumbly cake layers no matter what recipe I use. Brushing this simple syrup on each layer completely fixed that texture issue! My gluten free vanilla cake tasted just like the regular bakery cake I used to get as a kid. No weird aftertaste, super easy to make, 10/10.
Uh oh, I think I cooked mine too long? It got really thick and almost caramel-like after it cooled. Did I mess it up completely? I was supposed to use it for our anniversary cake tomorrow and now I’m panicking a little.
I don’t bake super often so I was shocked how easy this was! I had all the ingredients in my pantry already — just sugar and water, who knew it made such a huge difference? Used it on a quick yellow cake I threw together for my son’s soccer team dinner and the kids devoured it.
Quick check — this is totally vegan right? No weird hidden ingredients? I’m making a carrot cake for my friend’s birthday and she’s strictly vegan, so I don’t want to accidentally use something she can’t eat. Also, does it work with vegan buttercream okay?
I added a little orange zest and a splash of Grand Marnier to a batch of this for my dark chocolate layer cake last weekend and it was *chef’s kiss*. The recipe is such a perfect blank canvas for whatever flavor you want to add, no fussy measurements or fancy tools required. Will absolutely be keeping this saved.
I’ve been wasting so much money on pre-made simple syrup from the baking supply shop for my home bakes, this is so much cheaper and tastes way better. Why did I ever buy the pre-bottled stuff? It literally takes 10 minutes, that’s less time than it takes me to drive to the store.
Wait, do I need a pastry brush to apply this? I don’t have one and I’m making a funfetti cake for my little sister’s birthday tomorrow. Can I just drizzle it slowly with a spoon or will that make the cake soggy?
Used this on my strawberry shortcake layers for our family reunion last weekend and it kept the cake perfectly moist even when we were outside in 85 degree heat for 3 hours. Usually cake gets dried out so fast at summer outdoor events, but this held up like a dream. My cousin who’s a professional baker even asked for the recipe!
I meal prep a batch of this every Sunday along with my cake layers for the week, and it makes assembling cakes after work so quick. No more rushing to make syrup while my layers cool, it’s already ready to go. Total time saver for busy weeknight baking.
I was skeptical that such a simple recipe would actually taste like bakery syrup, but wow. It’s not too sweet, doesn’t overpower the cake flavor, just adds that perfect moist texture everyone expects from a high end bakery. I’ll be using this for all my custom cake orders going forward, it’s foolproof even for beginner bakers.
This was the first baking recipe I’ve ever tried that didn’t go completely wrong! I’m so bad at baking, but this was so easy — boil water and sugar, stir, done. I brushed it on a basic chocolate cake I made for my roommate’s birthday and she said it was better than the cake we got from the fancy bakery downtown for her birthday last year. Total confidence boost!