
simply delish chocolate pudding
intro
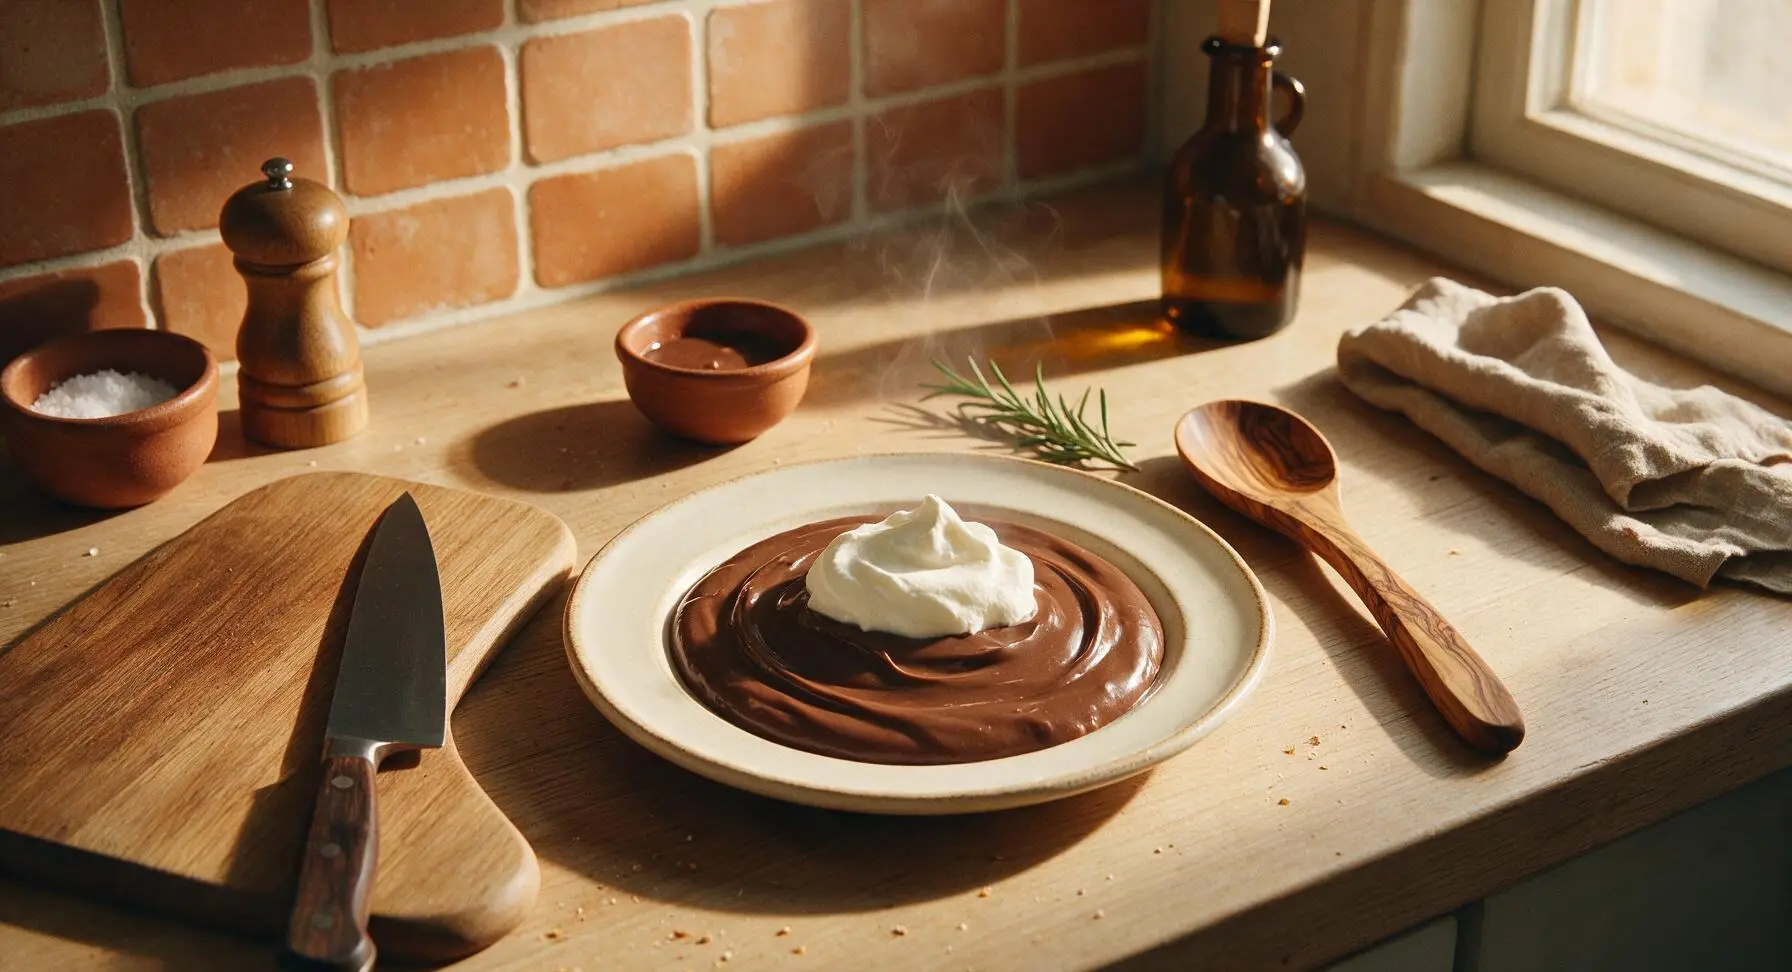
Silky, deeply chocolatey stovetop pudding with zero fancy equipment—velvety smooth, lump-free, topped with soft whipped cream for a rich, cozy, perfectly indulgent treat.
Ingredients
Steps
Measure Dry Ingredients
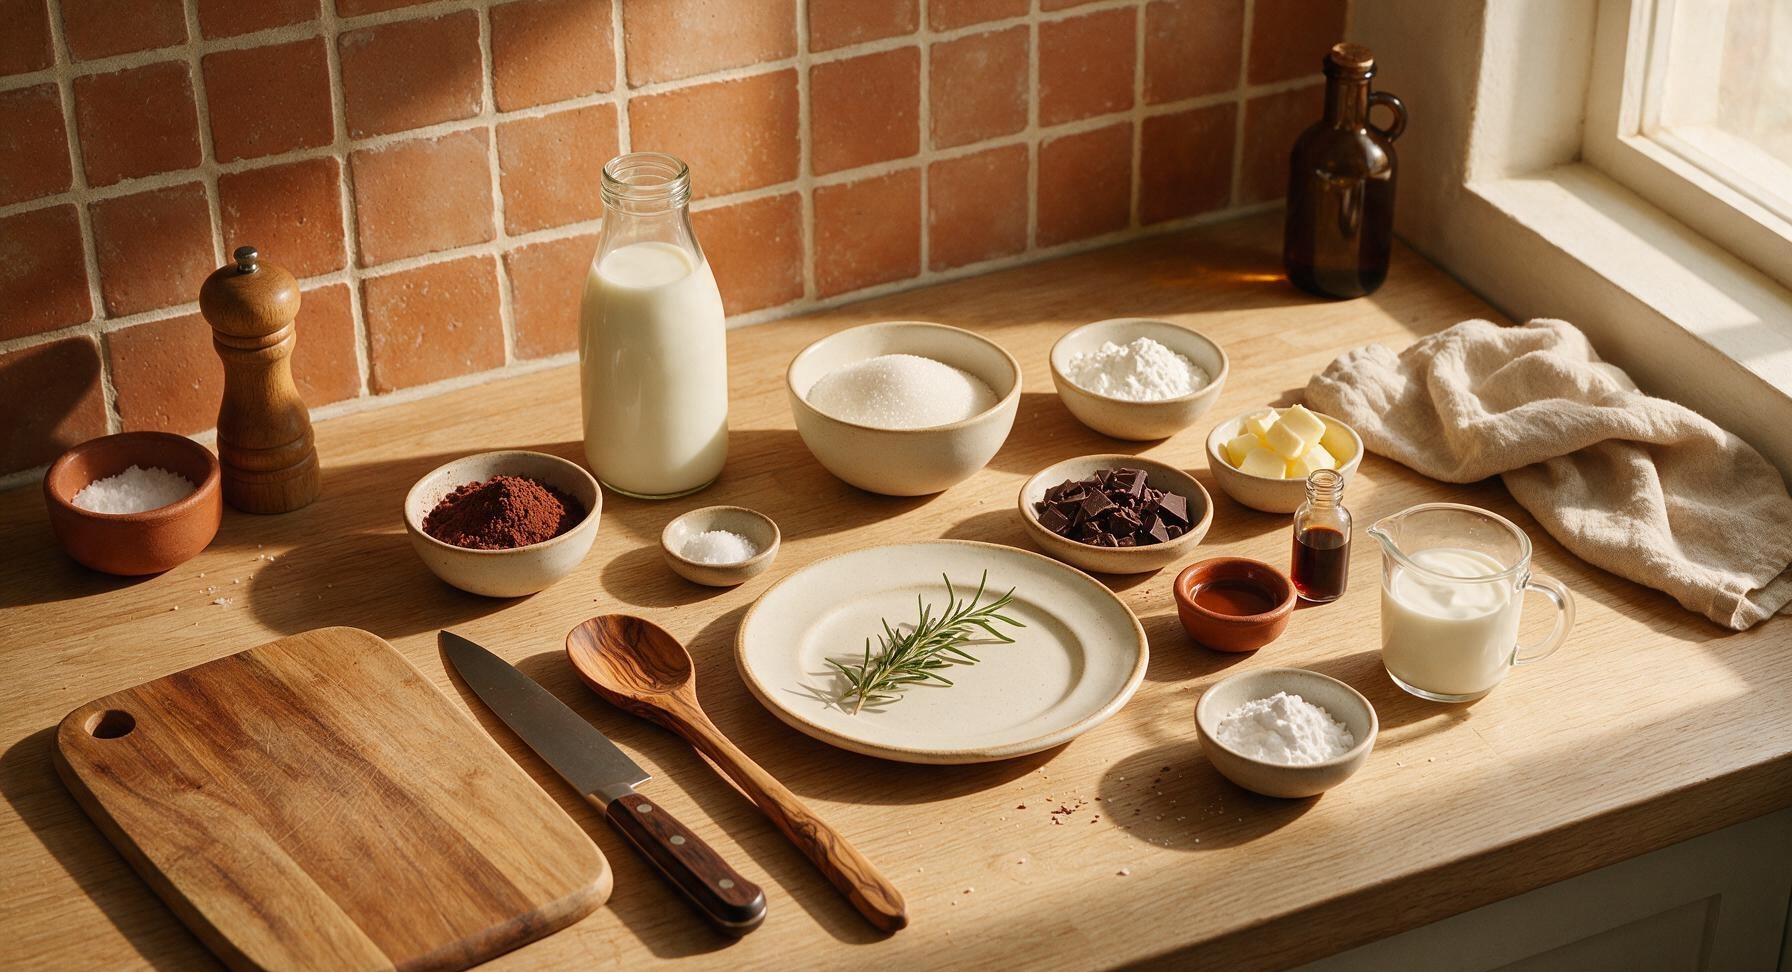
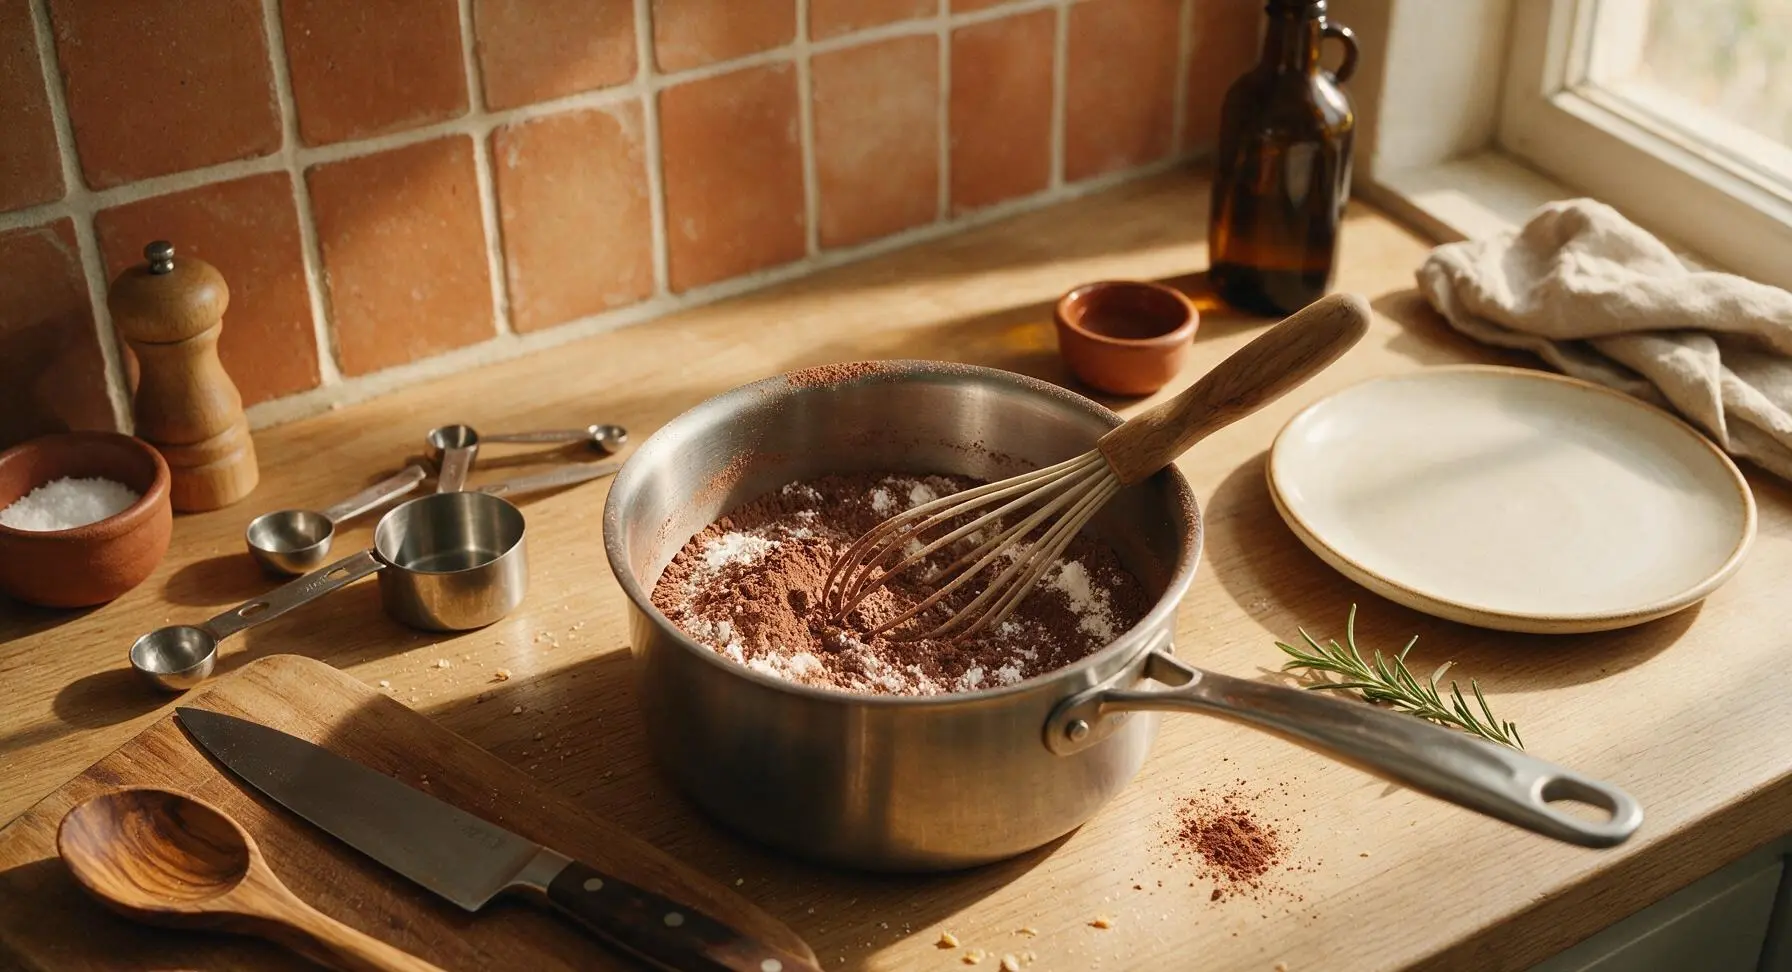
Using the stainless steel measuring cups and spoons, add 1/2 cup granulated sugar, 1/3 cup Dutch-processed cocoa powder, 3 tablespoons cornstarch, and 1/4 teaspoon fine sea salt directly into the 2L stainless steel saucepan. Whisk the dry mixture for 30 seconds with the silicone whisk to fully combine, breaking up any small clumps of cocoa before adding liquid. The mixture should be an even, deep brown with no visible white streaks of cornstarch remaining.
Whisk in Cold Milk
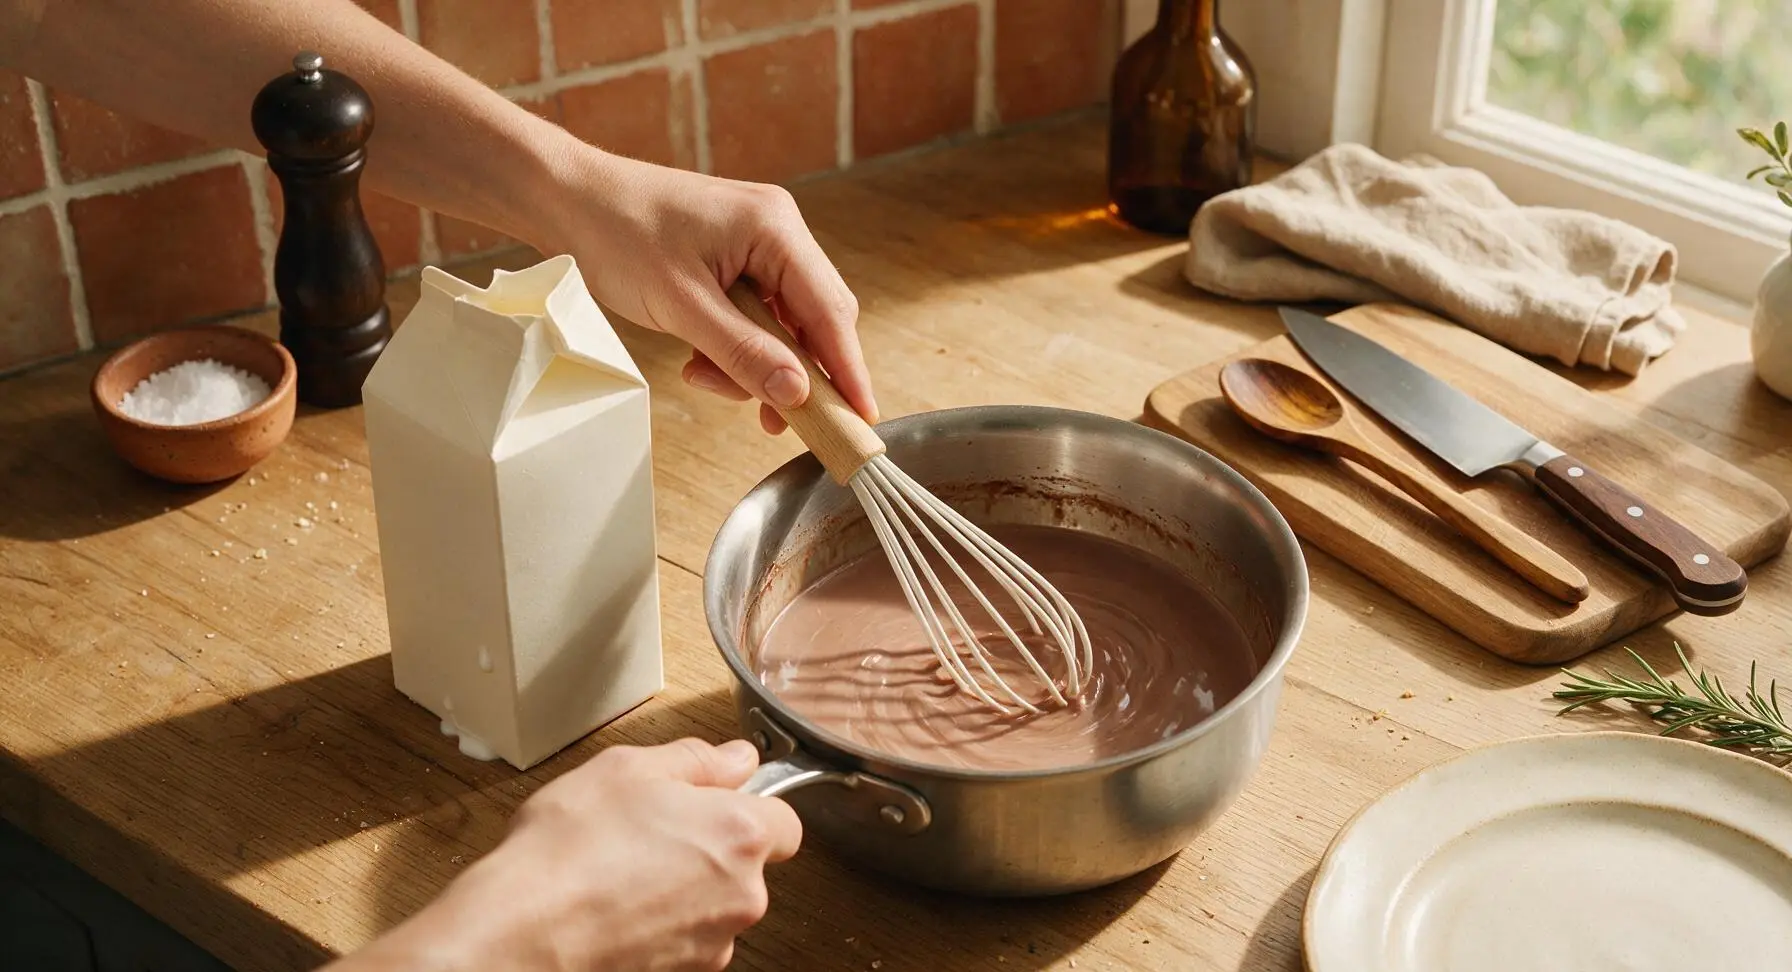
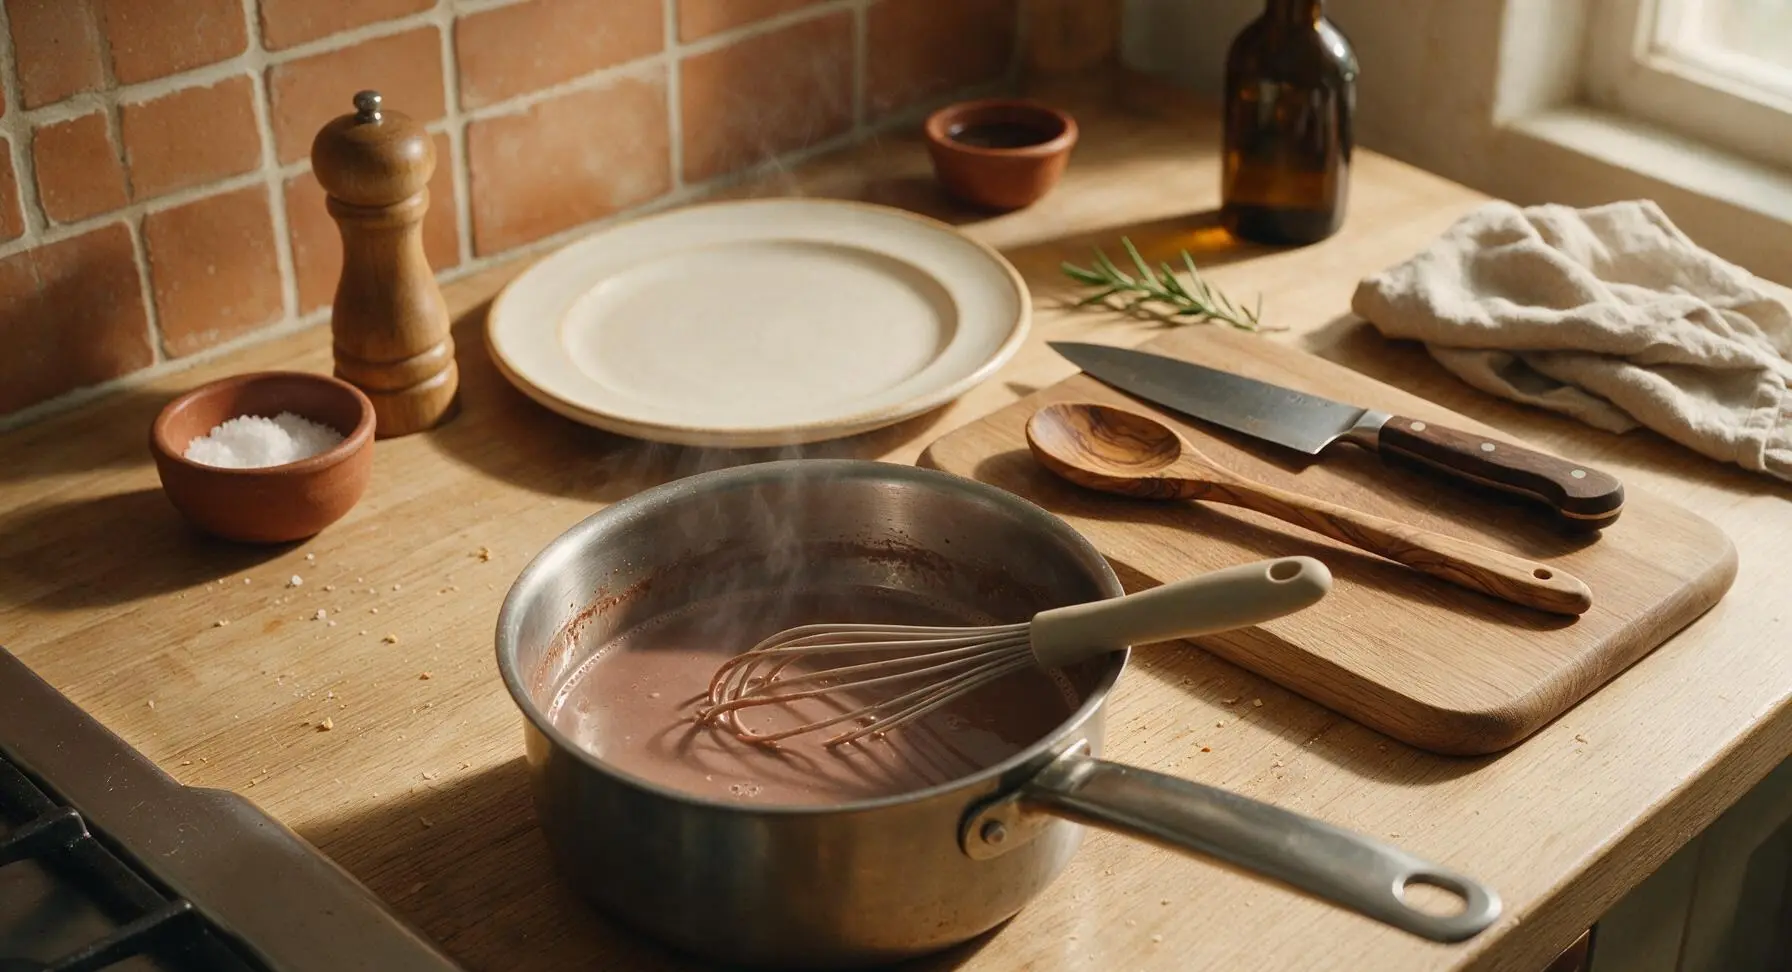
Slowly pour 2 cups of cold whole milk into the saucepan with the dry ingredients, whisking constantly in smooth, circular motions to avoid lumps. Continue whisking for 1 full minute until the mixture is completely smooth, with no dry clumps stuck to the bottom or sides of the pan. The liquid will be a thin, light chocolate brown at this stage.
Cook to Thick Consistency
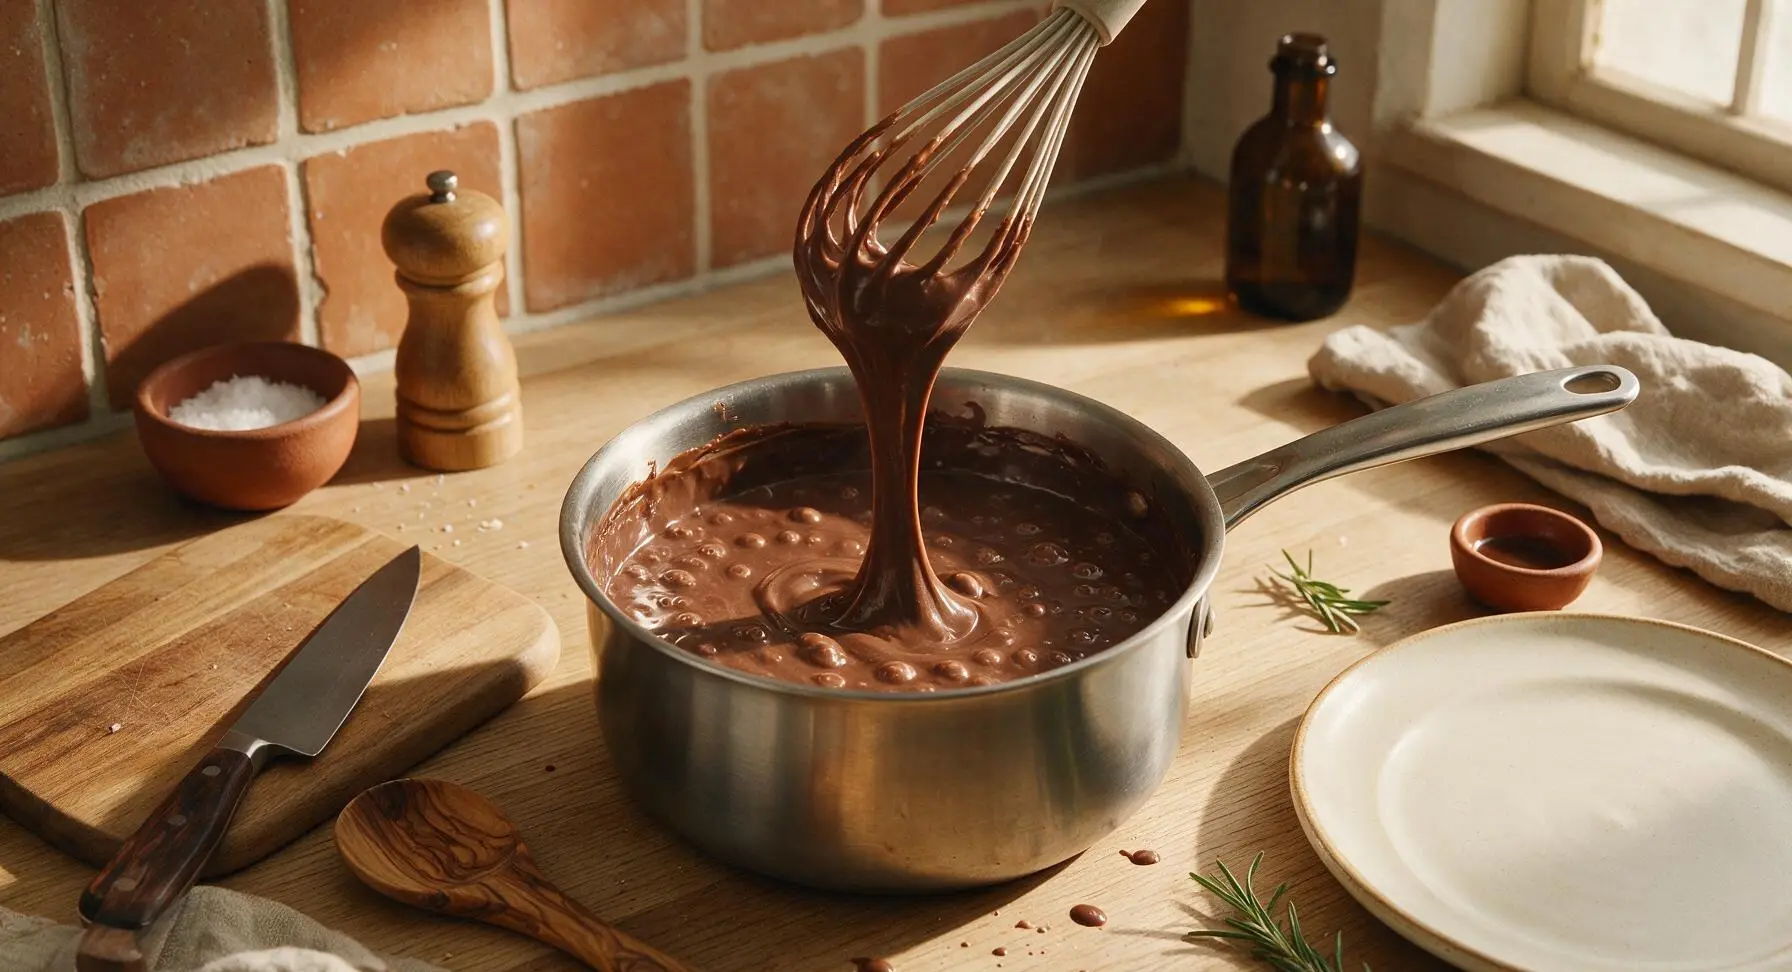
Place the saucepan over medium-low heat (325°F / 160°C stovetop setting), whisking constantly and slowly to prevent burning on the pan bottom. Cook for 7-9 minutes, until the mixture comes to a gentle, rolling bubble and thickens to the consistency of loose custard; it should coat the back of a spoon thickly enough that a line drawn with your finger through the coating holds its shape without running. Do not turn the heat higher, as this will cause lumps or a burnt, bitter flavor.
Stir in Chocolate Butter
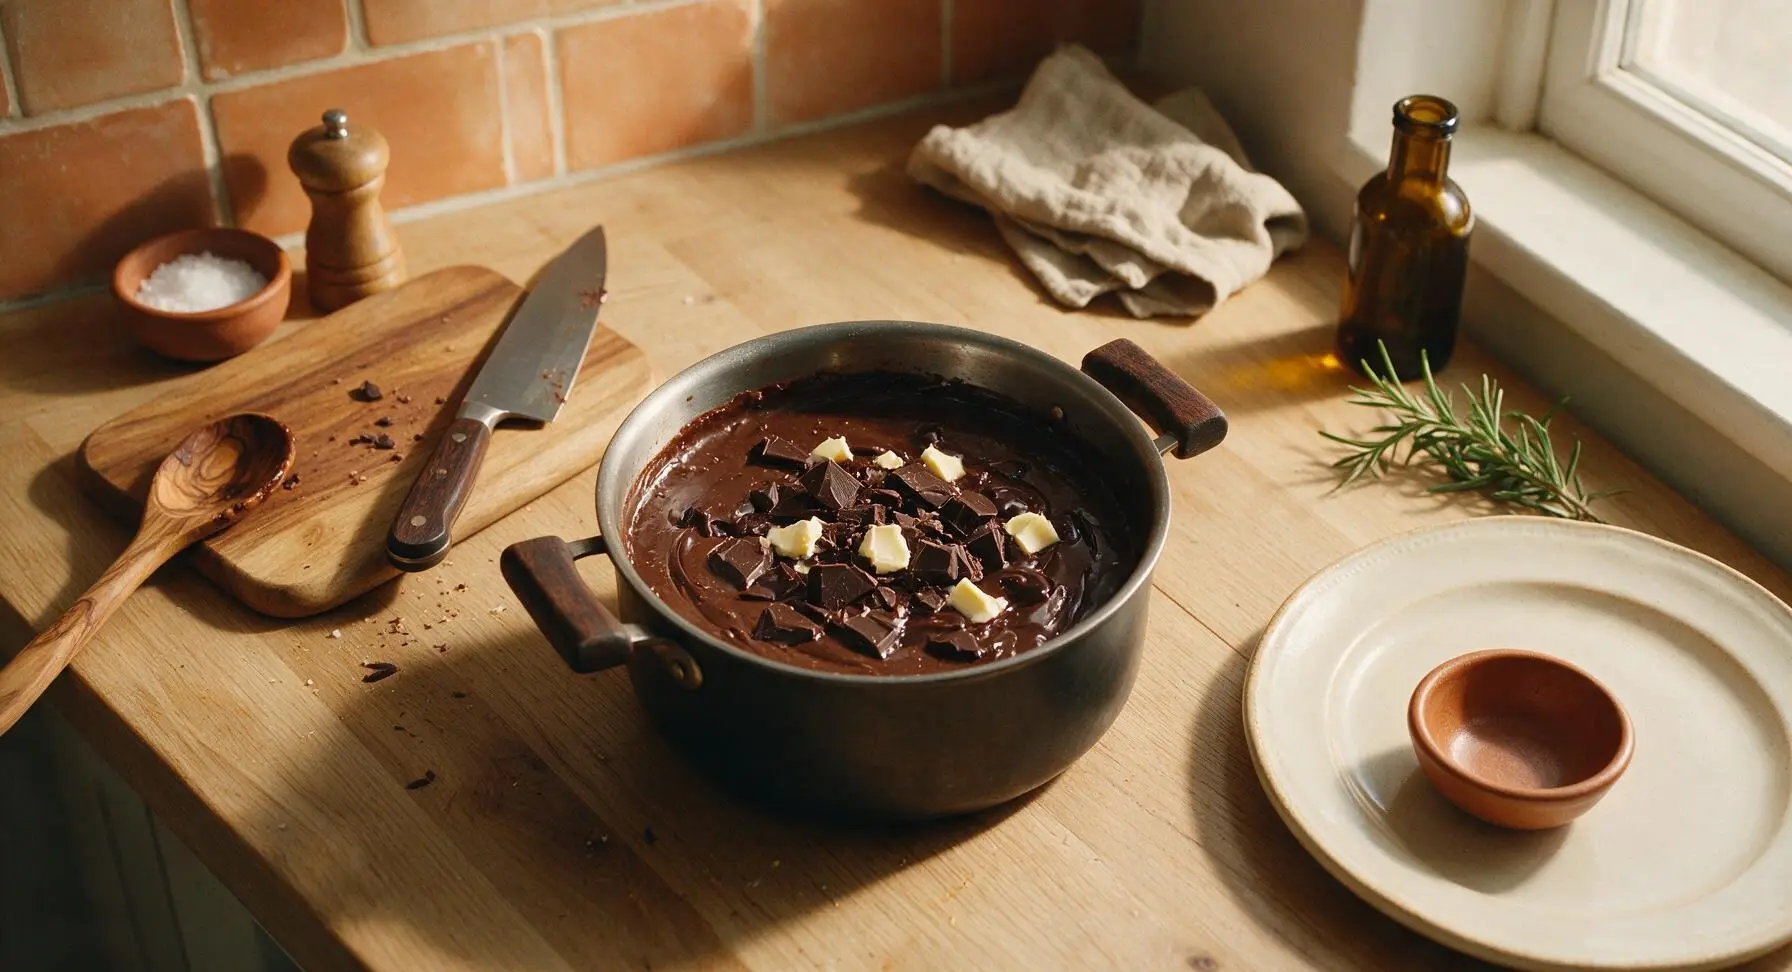
Remove the saucepan from heat immediately once thickened. Add the 60g finely chopped 70% dark chocolate and 1 tablespoon of cut unsalted butter to the hot pudding. Let the mixture sit for 1 minute to allow the chocolate and butter to melt, then whisk slowly for 1 minute until completely smooth, glossy, and uniform in color, with no streaks of melted butter visible.
Strain for Smooth Texture
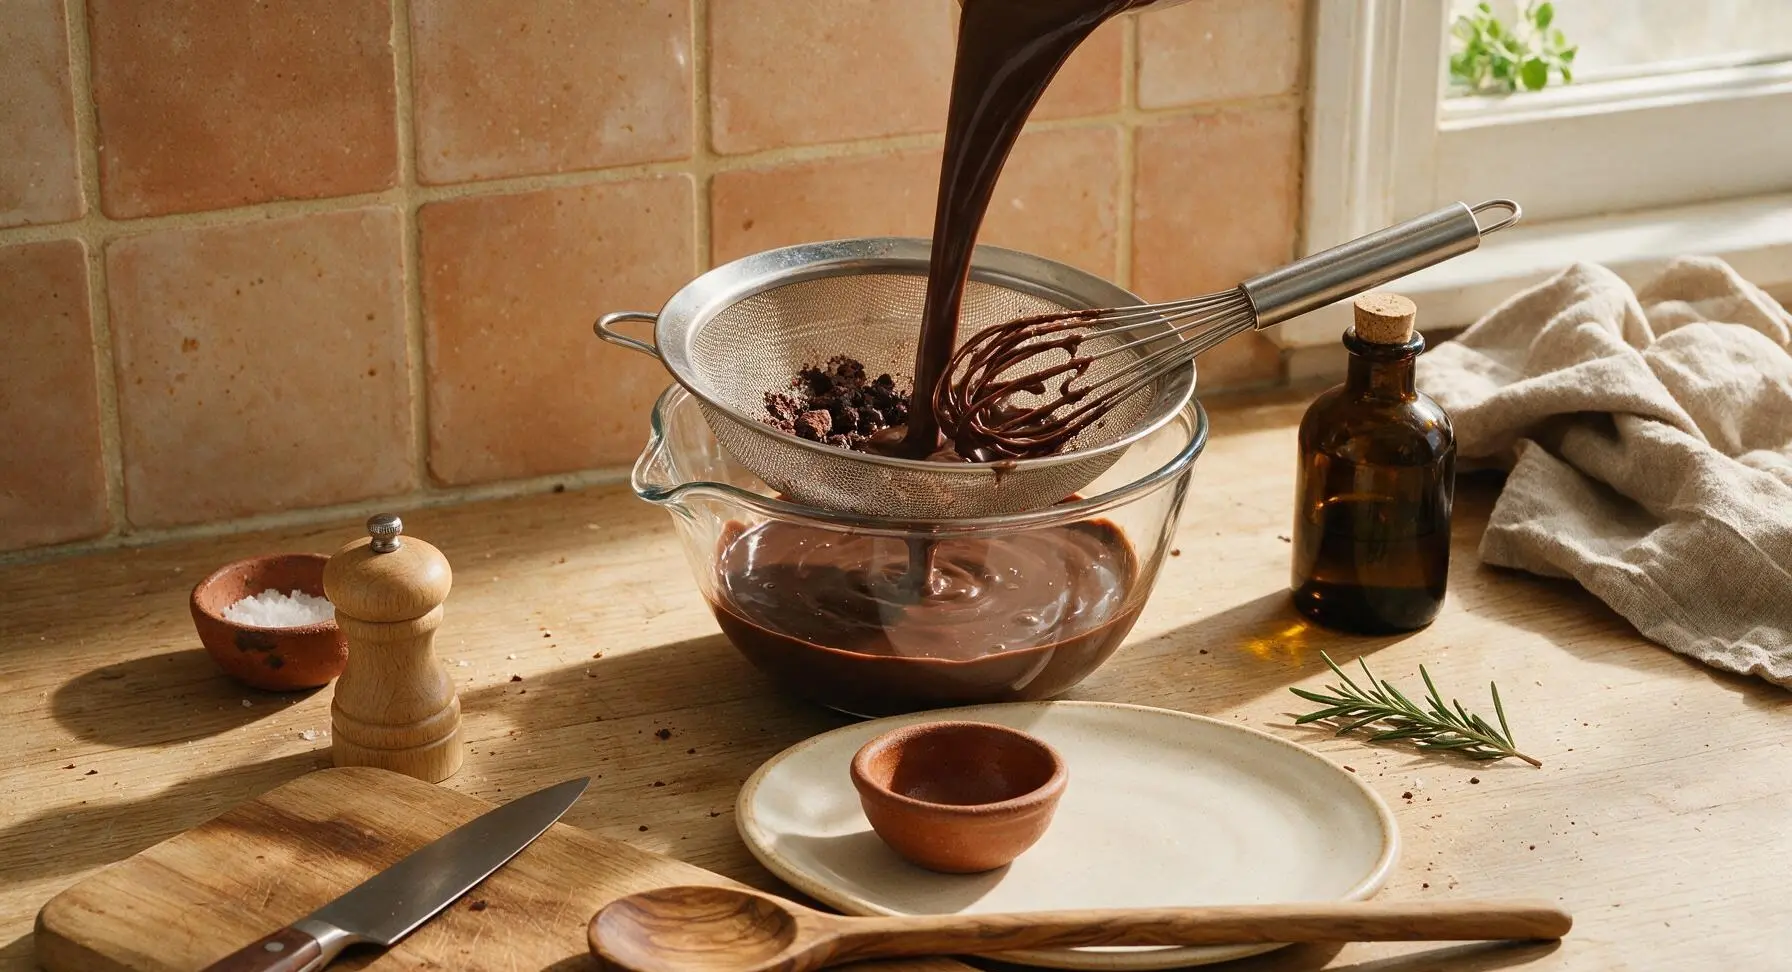
Set the fine-mesh stainless steel sieve over the 1.5L clear glass mixing bowl. Pour the hot pudding through the sieve, using the silicone whisk to gently press the pudding through, catching any small lumps, undissolved cocoa, or cornstarch clumps in the sieve. Discard the small amount of solid bits left in the sieve for perfectly silky pudding, then stir in 1 teaspoon of pure vanilla extract until fully combined.
Chill Until Fully Set
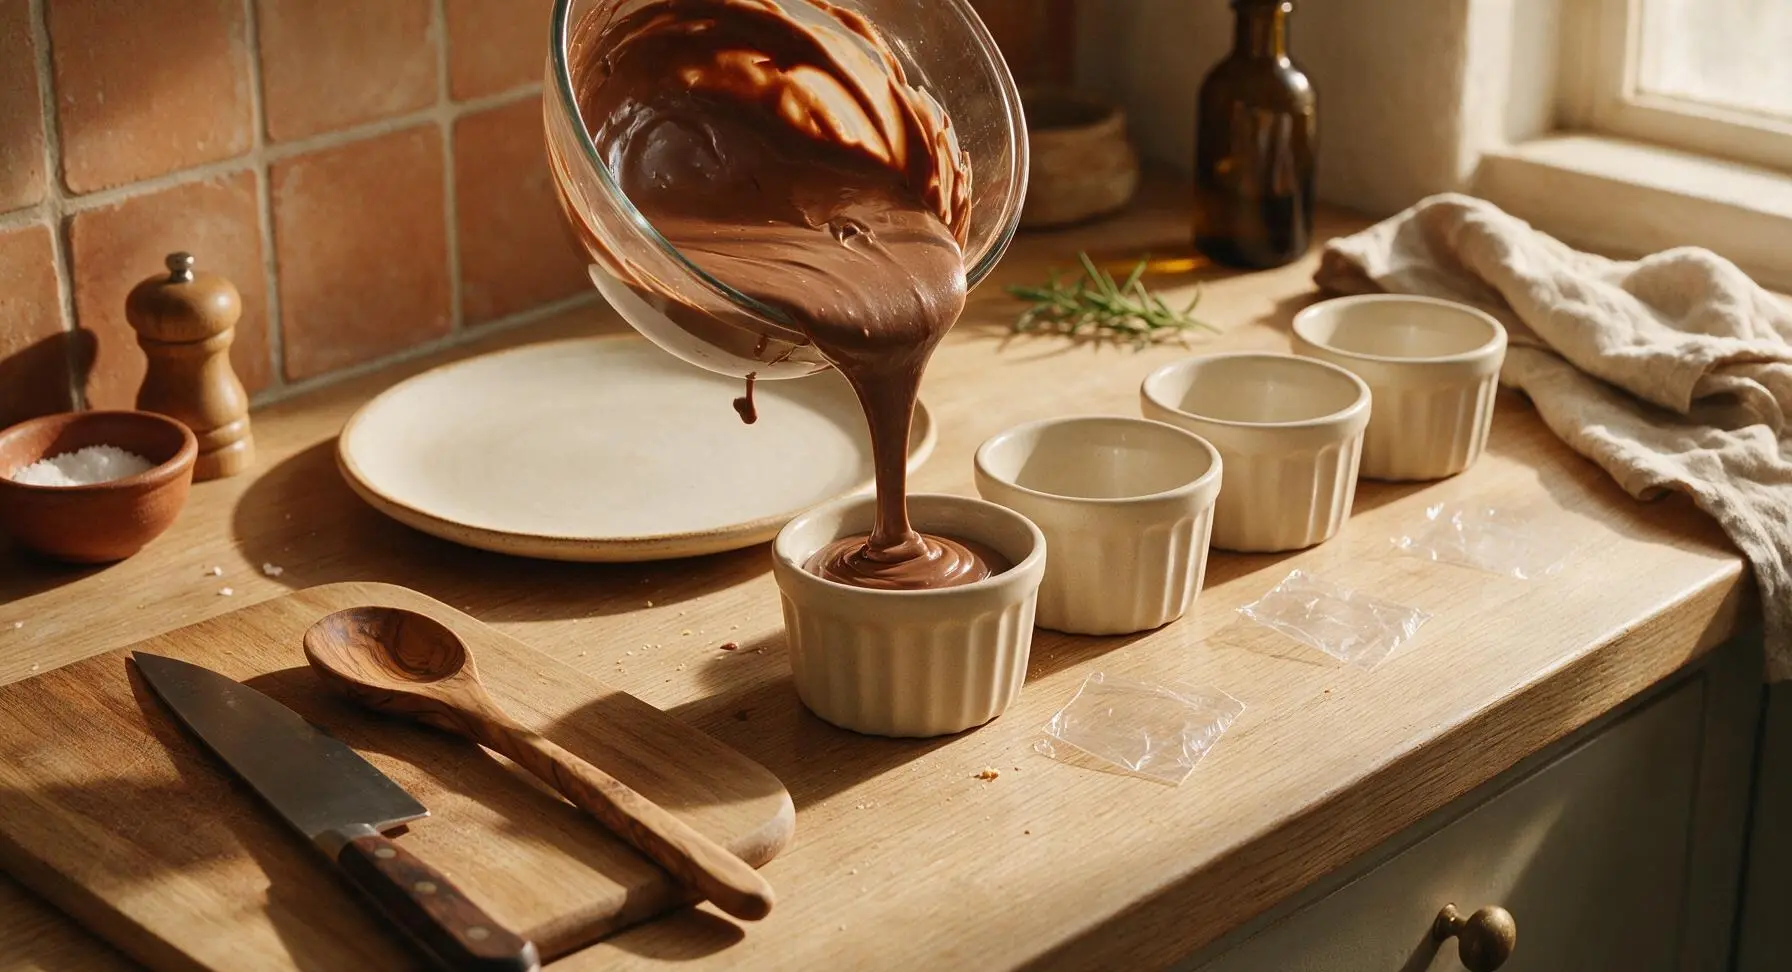
Divide the strained pudding evenly between the four matte cream ceramic ramekins. Press a small piece of plastic wrap directly against the surface of each pudding to prevent a skin from forming as it cools. Refrigerate for at least 2 hours, until the pudding is completely set and firm to the touch, with no liquid jiggle in the center when gently shaken.
Whip Cream for Topping
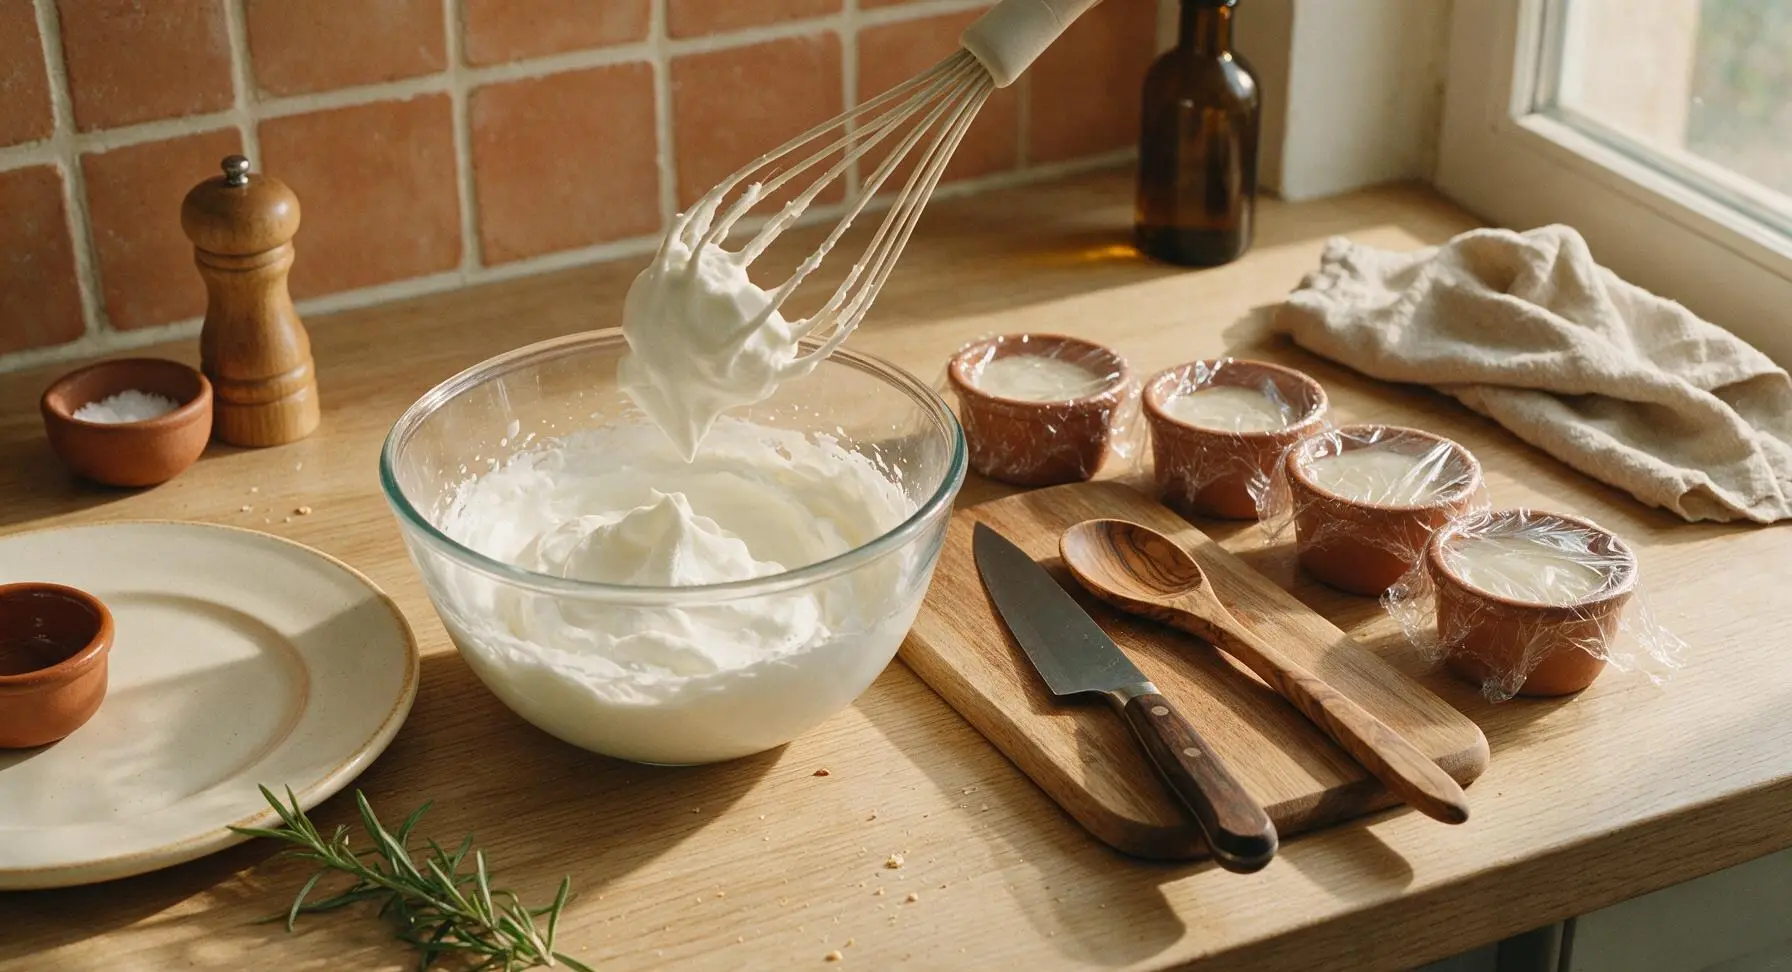
15 minutes before serving, add 1/3 cup cold heavy whipping cream and 1 tablespoon powdered sugar to the cleaned 1.5L glass mixing bowl. Whisk vigorously by hand for 2-3 minutes until the cream forms soft, billowy peaks that hold their shape when the whisk is lifted, but still droop slightly at the tip. Do not overwhip to stiff peaks, as this will cause the cream to separate and form butter.
Tips
2.Press plastic wrap directly onto the surface of the warm pudding before chilling, instead of covering the ramekin top, to prevent a thick, rubbery skin from forming as the pudding cools and sets.
3.Remove the pudding from heat the second it reaches a gentle bubble and coats the back of a spoon—overcooking will break down the cornstarch thickener, leading to a runny, watery pudding instead of a firm, silky set.






OMG this pudding is SO good! I threw it together in 12 minutes flat last night for my kid’s after-dinner treat and they begged for seconds. Total game changer for busy weeknights when I don’t have time for a fancy dessert.
I brought this to our neighborhood block party potluck last weekend and people were scraping the bowl clean! Everyone asked for the recipe, I can’t believe how easy it is — no fancy ingredients, no fussy steps, just rich, creamy chocolate perfection. 10/10
Bro I’m a total beginner in the dorm kitchen and this came out perfect first try? No burnt pans, no weird lumps, just actual good chocolate pudding that didn’t cost $5 a cup from the dining hall. Will be making this every week for meal prep snacks.
As someone who eats chocolate pudding at least once a week, I can confirm this is the best homemade version I’ve ever made. It’s so rich it feels like a cheat meal but it’s so simple I don’t even mind making it after a long work day. No more store-bought cups for me!
Tasted great, but mine came out a little lumpy? I followed the directions exactly but I think I whisked too slow when I added the cornstarch? Still edible, just not as smooth as the photos look.
Added this to my weekly meal prep rotation! It stays good in the fridge for 4 days, which is perfect for packing in my kid’s school lunches or grabbing as a quick sweet treat after my gym sessions. Not too sweet, just perfect chocolate flavor.
Made this for my grandkids when they visited over the weekend and they said it was better than the boxed stuff they get at home! I added a handful of mini chocolate chips on top while it was still warm and they went crazy for it. Such a lovely, simple recipe.
Made this for date night last night, served it in fancy little glass cups with fresh raspberries and a dollop of whipped cream, and my partner thought I spent hours on it. Little did they know it only took 12 minutes! We will absolutely be making this again for future date nights.
Wait has anyone tried making this with oat milk? I’m dairy free and I’ve been hunting for a good chocolate pudding recipe that doesn’t require weird specialty ingredients.
Was scrambling to find a last minute dessert for my daughter’s soccer team snack last night and this saved the day! Threw it together right after work, portioned it into little cups, and the whole team devoured it. Even the coaches asked for the recipe. Win in my book.
Pro tip for all my fellow coffee fans: stir in a teaspoon of instant espresso powder while the pudding is warm. It makes the chocolate flavor so much deeper and richer, it tastes like the fancy mocha pudding you get at the coffee shop for a fraction of the price.
Uh oh, mine didn’t set at all? It’s like chocolate soup right now, I let it chill for 2 hours and it’s still super runny. Did I do something wrong? I really want this to work, it smelled amazing while it was cooking.
Made this last night and topped it with crushed graham crackers and toasted marshmallows for a s’mores twist and it was insane. So versatile, you can add literally any topping you want and it works. I’m already brainstorming more mix ins for next time.
I make snacks for our whole office every Friday and this was the most requested treat last month! It’s cheap to make for a big group, it’s fast, and literally everyone loves chocolate pudding. I’ve started keeping the ingredients in my desk pantry so I can whip it up anytime.
This recipe is a lifesaver for my son who has a nut and egg allergy! So many quick dessert recipes have hidden allergens but this one is totally safe for him, and he says it’s his favorite dessert now. Thank you so much for sharing such a simple, accessible recipe.
I made this at 10pm last night when I was hit with a massive chocolate craving and it was exactly what I needed. No long wait, no fancy steps, just warm, creamy chocolate pudding that hit the spot way better than any candy bar from the vending machine. Will be making many more late night batches.
I’m on a super tight grocery budget right now and this recipe uses all basic pantry staples I already had at home! No expensive chocolate, no special equipment, just milk, sugar, cocoa, cornstarch, vanilla. It cost me literally less than $2 to make 4 servings, which is wild.
This tastes exactly like the old-fashioned chocolate pudding my grandma used to make when I was a kid! I’ve tried so many copycat recipes over the years and none of them got that perfect, not-too-sweet creamy texture right until this one. Total nostalgia trip, I teared up a little taking the first bite.
I’m just getting into meal prepping to save money and time during the work week, and this is the first dessert I’ve tried that actually holds up all week without getting weird. I portioned it into little jars with some banana slices and granola on top and it feels like a fancy treat every day at lunch. SO good.