
Smith Island Cake (MD)

title 1
Smith Island Cake (MD)
⏱️ cook time 1 hour 20 minutes
🍽️ servings 10
⚡ Difficulty medium

intro

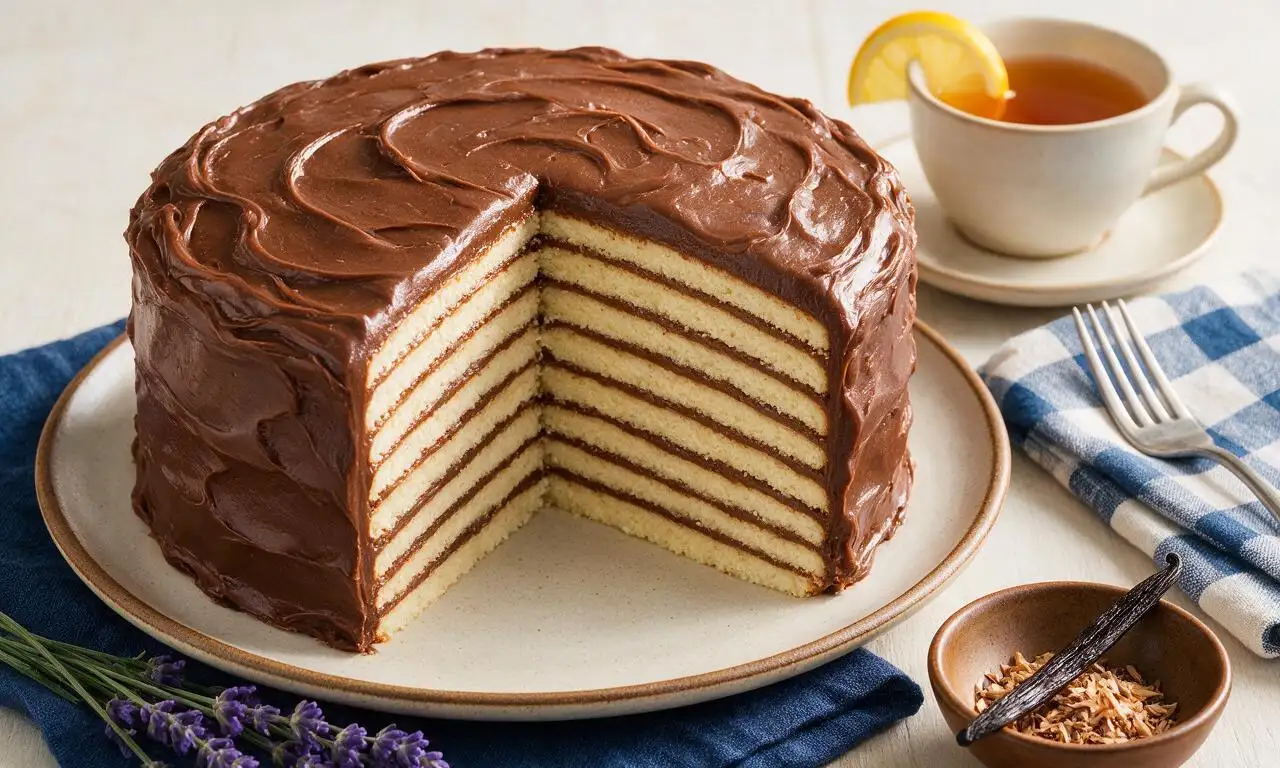
Maryland’s official state dessert, this iconic treat features 8 thin vanilla layers coated in rich fudgy chocolate frosting, a beloved Chesapeake Bay tradition.

Ingredients

All-purpose flour 360g (3 cups)
Unsalted butter (softened, divided) 339g (1.5 cups / 3 sticks)
Granulated sugar 400g (2 cups)
Large eggs (room temperature) 4 each
Whole milk 240ml (1 cup)
Baking powder 2 tsp (8g)
Fine sea salt 1/2 tsp (3g)
Vanilla extract (divided) 15ml (3 tsp)
Semi-sweet chocolate chips 340g (12 oz)
Evaporated milk 360ml (1.5 cups)
Powdered sugar 480g (4 cups)

Steps

1

Prep oven and pans

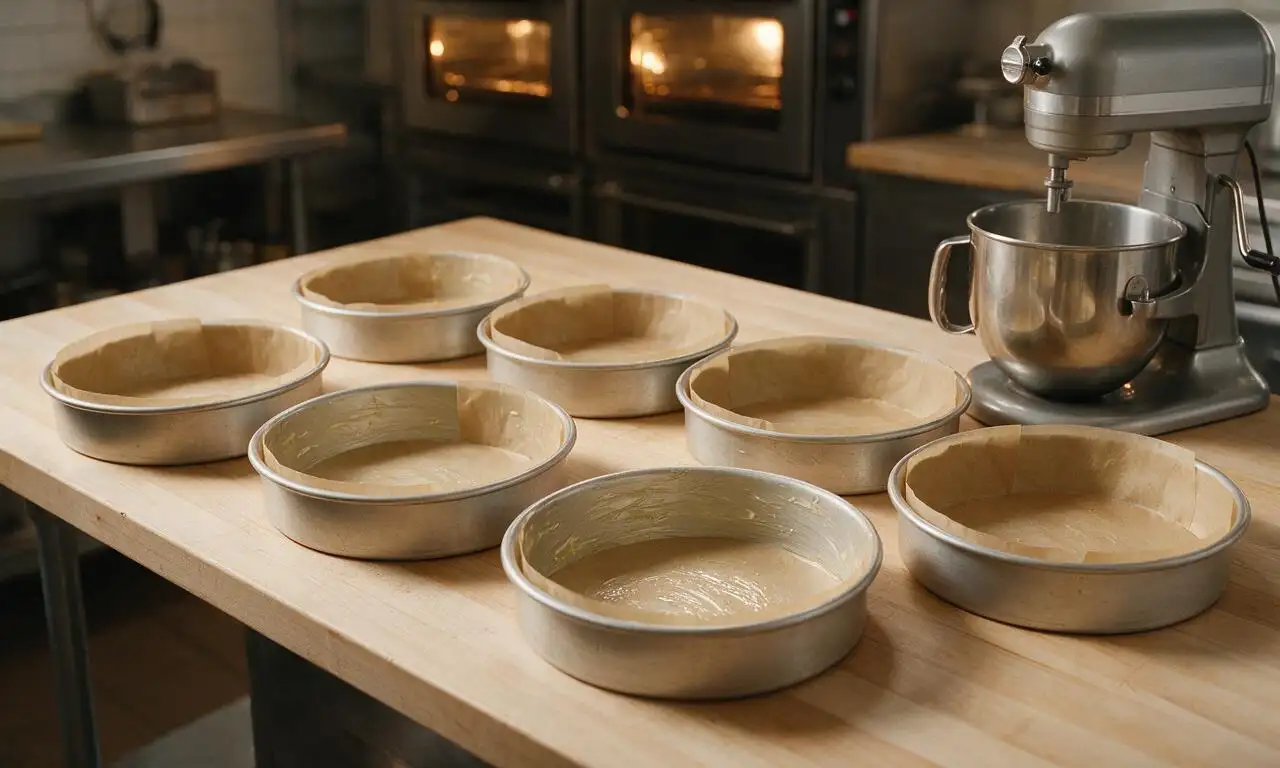
Preheat your oven to 350°F (175°C). Grease eight 9-inch round cake pans with a thin layer of butter, line the bottom of each pan with a cut-to-fit circle of parchment paper, and lightly dust with flour, tapping out any excess. If you do not own 8 pans, bake layers in batches, allowing pans to cool fully between uses.
Step 1
step1:Prep oven and pans
2

Mix vanilla cake batter

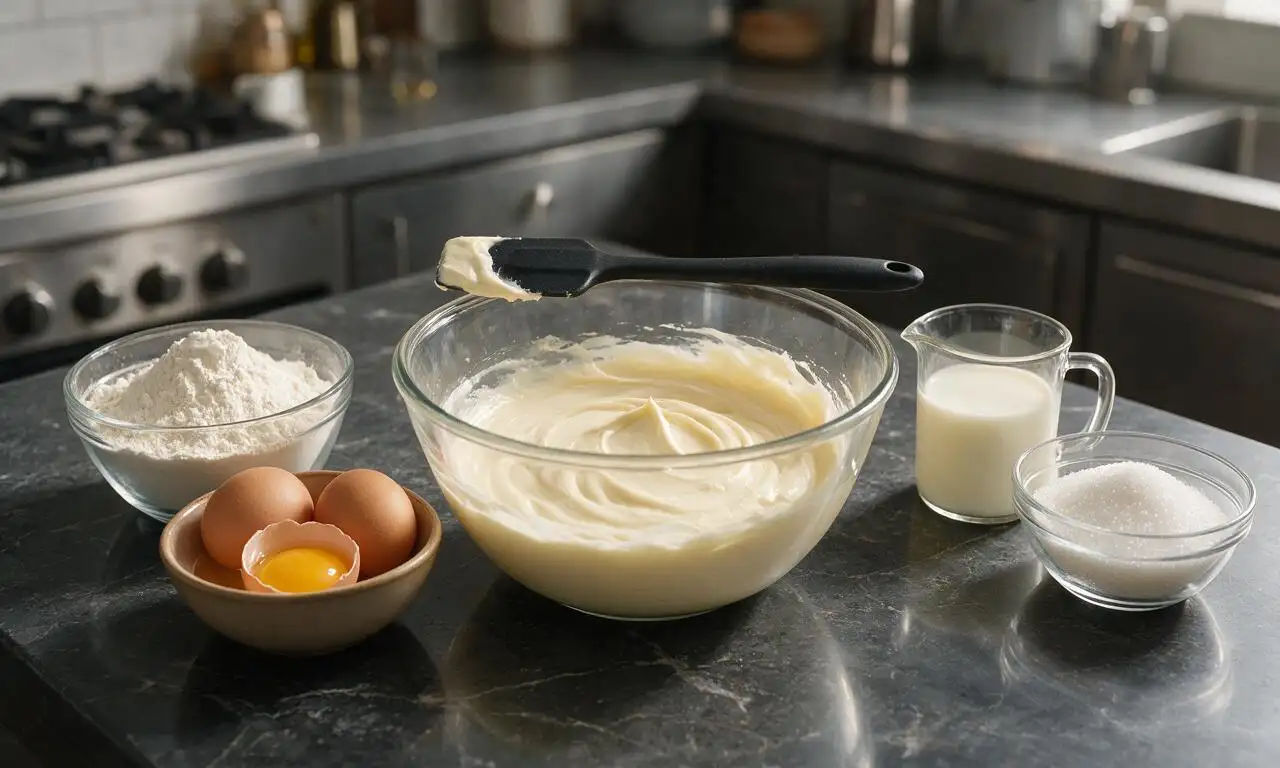
In a medium mixing bowl, whisk together 360g all-purpose flour, 2 tsp baking powder, and 1/2 tsp fine sea salt; set aside. In a stand mixer fitted with a paddle attachment, cream 226g (1 cup) of the softened unsalted butter and 400g granulated sugar on medium speed for 3 full minutes until pale, light, and fluffy. Add 4 room-temperature eggs one at a time, beating for 30 seconds after each addition to fully incorporate, then stir in 2 tsp of the vanilla extract. Alternate adding the dry flour mixture and 240ml whole milk in 3 equal batches, starting and ending with dry ingredients, mixing on low speed only until no dry flour streaks remain—do not overmix to keep layers tender.
Step 2
step2:Mix vanilla cake batter
3

Bake thin cake layers

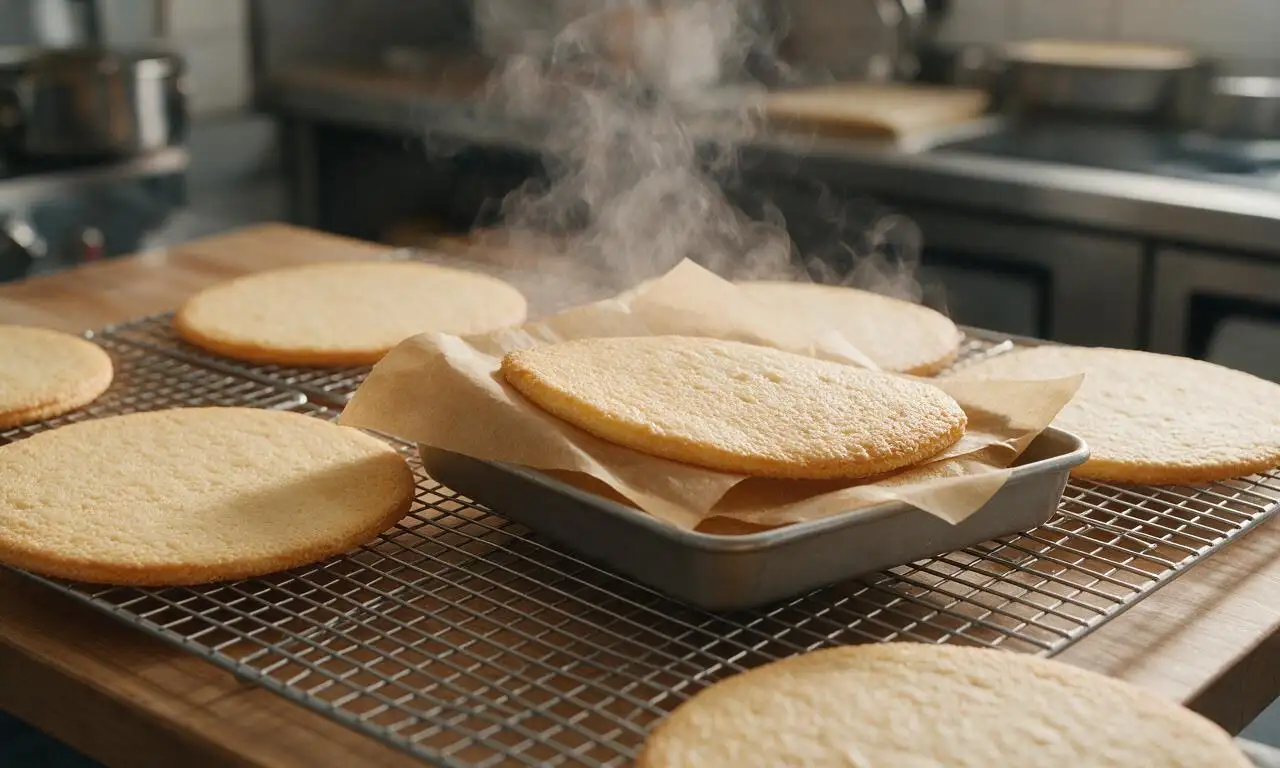
Scoop a scant 1/2 cup (approximately 110g) of batter into each prepared pan, spreading it into a perfectly even, thin layer across the entire pan bottom with a small offset spatula. Bake for 8-9 minutes at 350°F (175°C), until edges are just light golden and the layer top springs back when lightly touched. Let layers cool in their pans for 5 minutes after removing from the oven, then turn out onto wire cooling racks to cool completely (at least 20 minutes) before frosting—warm layers will melt and slide off the frosting.
Step 3
step3:Bake thin cake layers
4

Cook fudge frosting

In a medium heavy-bottomed saucepan set over medium-low heat, combine 340g semi-sweet chocolate chips, the remaining 113g (1/2 cup) unsalted butter, and 360ml evaporated milk. Stir constantly with a wooden spoon for 6-7 minutes until chocolate and butter are fully melted and the mixture is completely smooth. Remove the pan from heat, gradually whisk in 480g powdered sugar and the remaining 1 tsp vanilla extract until no lumps remain. Let the frosting rest for 10 minutes at room temperature to thicken to a spreadable, pourable consistency.
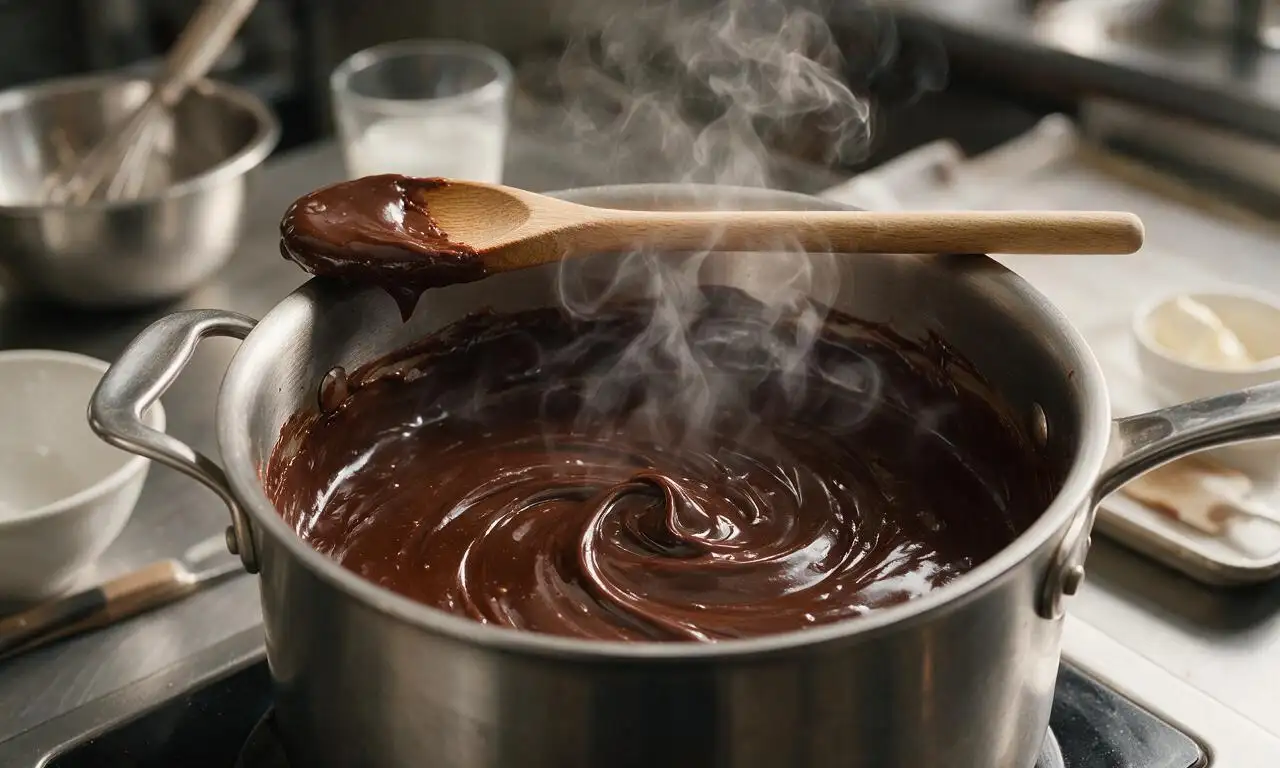
Step 4
step4:Cook fudge frosting
5

Stack and frost layers

Set one fully cooled cake layer on a cake stand or flat serving plate. Pour 1/4 cup of the slightly warm frosting over the layer center, spreading it evenly all the way to the edges with an offset spatula. Top with the next cake layer, pressing gently to adhere, and repeat the 1/4 cup frosting process for all 8 layers. Once the final top layer is placed, pour all remaining frosting over the cake top, letting it drip naturally down the sides, then spread to coat the sides evenly. A slightly rustic, uneven finish is traditional for Smith Island Cake, so no perfectly smooth coat is needed.
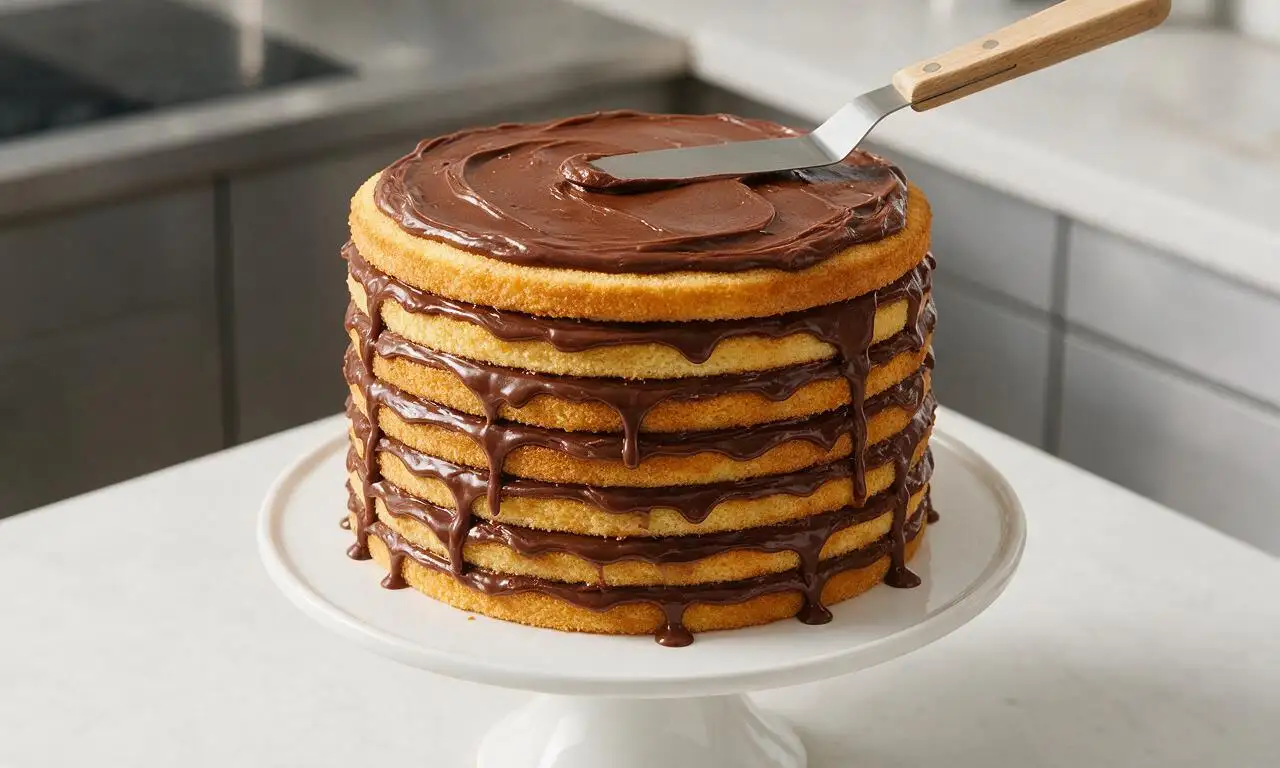
Step 5
step5:Stack and frost layers
6

Chill and set cake

Transfer the fully assembled cake to the refrigerator to chill for a minimum of 1 hour to let the frosting set and the cake layers meld together. Remove the cake from the refrigerator 15 minutes before serving to let the frosting soften slightly for the creamiest texture. Slice into 10 even wedges to serve.
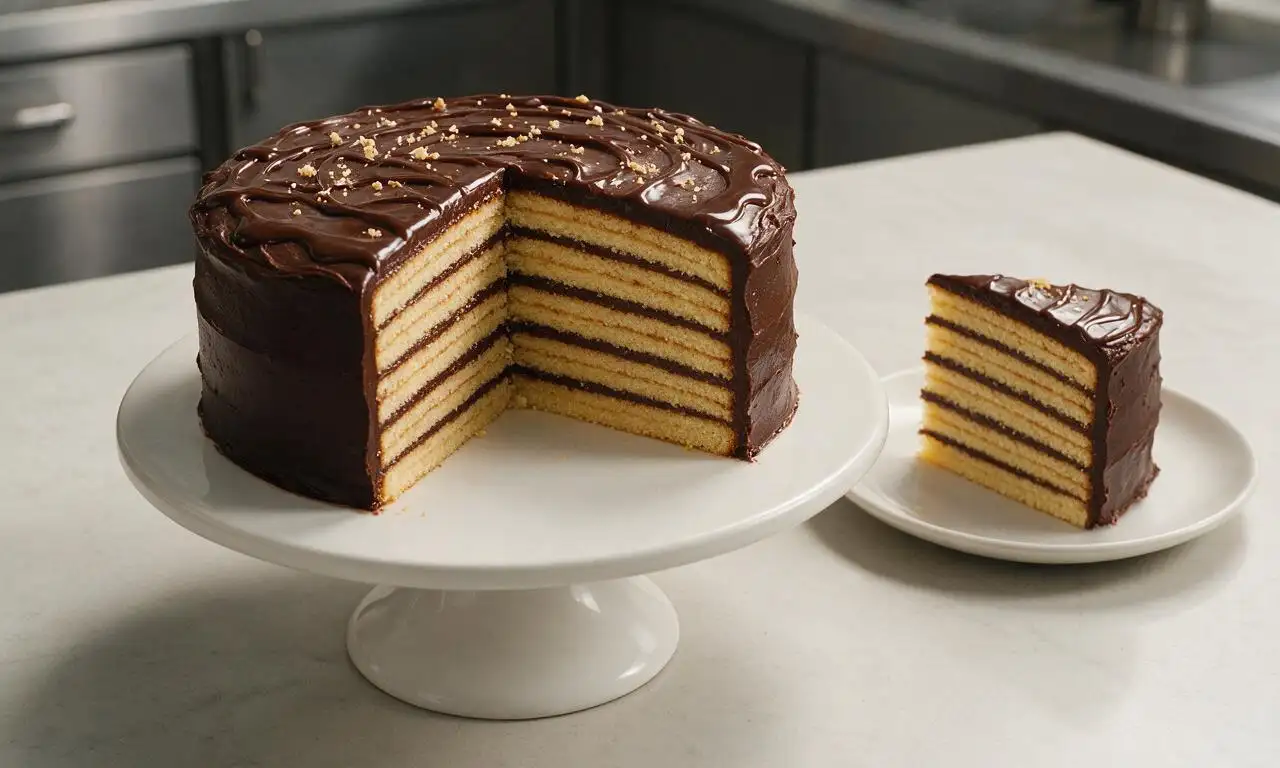
Step 6
step6:Chill and set cake

Tips

1.Avoid overbaking the thin cake layers: they dry out very quickly, so start checking for doneness at the 8-minute mark, and remove them as soon as the top springs back when lightly touched.
2.If your frosting thickens too much during assembly, warm it in 10-second microwave bursts or over a double boiler, stirring well, to return it to a smooth, pourable consistency.
3.Use room-temperature eggs and butter for the cake batter; cold ingredients will not cream properly, resulting in a dense, tough crumb instead of tender layers.


✨ You May Also Like

Desserts & Baking
🍜 Italy

Creamy, coffee-kissed classic Northern Italian no-bake dessert, with layers of rum-spiked mascarpone cream, soft ladyfingers, and a rich cocoa dusting.

⏱️ 4 hours 3Desserts & Baking ★ 4.7
Desserts & Baking
🍜 France

Flaky, shatteringly crisp, buttery French croissants with golden exteriors and soft, airy layered interiors, perfect for pairing with coffee for a special morning treat.

⏱️ 12 hours Desserts & Baking ★ 4.5
Desserts & Baking
🍜 United States

Warm, spiced baked apples topped with a fluffy golden biscuit crust, this cozy dessert pairs perfectly with vanilla ice cream for cool-weather comfort.

⏱️ 55 minuteDesserts & Baking ★ 4.6
Desserts & Baking
🍜 United States

A star-spangled classic American blueberry pie with buttery flaky crust and bright sweet-tart filling, perfect for summer patriotic gatherings.

⏱️ 1 hour 25Desserts & Baking ★ 4.7
Desserts & Baking
🍜 United States

A beloved no-bake regional Maine candy with a chewy coconut-potato center coated in rich dark chocolate, a New England holiday staple since the 1870s.

⏱️ 2 hours 3Desserts & Baking ★ 4.8
Desserts & Baking
🍜 France

Luxuriously creamy, floral frozen custard made with aromatic Tahitian vanilla beans, boasting a smooth, rich texture that melts slowly on the tongue.

⏱️ 3 hours 3Desserts & Baking ★ 4.5

Smith Island Cake (MD):Frequently Asked Questions

1.Why does traditional Smith Island Cake have 8 thin layers instead of a few thicker cake layers? ▾
That thin 8-layer structure is core to its iconic Chesapeake Bay heritage as Maryland’s state dessert! The slim vanilla layers bake quickly, stay ultra tender, and create a perfect near-equal ratio of cake to rich fudgy frosting in every bite. Slight unevenness across layers is totally expected, and part of the dessert’s cozy, homemade charm.
2.My thin cake layers keep sticking to the pan when I bake them—what am I doing wrong? ▾
This is such a common, easy-to-fix misstep! First, grease pan surfaces thoroughly with the recipe’s softened unsalted butter, then line the bottom with a cut-to-fit parchment circle for non-stick insurance. Since layers are thin, they only need 8–10 minutes in the oven; overbaking causes sticking and dryness. Cool layers 5 minutes in the pan before turning out.
3.I don’t own 8 separate cake pans—can I still make this recipe correctly? ▾
You don’t need a full set of 8 pans to nail this cake! Two standard 9-inch round pans work perfectly to bake layers in small batches. Just let pans cool completely between rounds, then re-grease with butter and re-line the bottom with fresh parchment before adding the next batch of batter to avoid sticking or uneven baking.
4.Do I really need to use room-temperature eggs and softened butter for the batter? ▾
These steps make a huge difference in your final cake texture! Room-temperature large eggs mix evenly into the batter for a light, tender crumb, and properly softened butter creams smoothly with granulated sugar to create that delicate vanilla base. Pull these ingredients out 1–2 hours before baking, or warm eggs in tap water for 5 minutes if you’re short on time.
5.Can I use low-fat or skim milk instead of the recipe’s whole milk for the layers? ▾
For the most tender, rich, authentic crumb, stick with whole milk as called for. Lower-fat milks have higher water content that can make layers dry out faster and produce a blander, less velvety texture. If you only have 2% on hand, stir in 1 tablespoon of melted butter per cup of milk to mimic whole milk’s fat content for similar results.
6.What sets Smith Island Cake’s chocolate frosting apart from regular chocolate buttercream? ▾
Traditional versions use a rich, softly set fudge frosting rather than a fluffy, overly sweet buttercream. It’s designed to seep just slightly into the edges of the thin vanilla layers for extra moisture and decadence, instead of sitting as a thick, firm layer between slices. Its deep, not-too-sweet chocolate flavor balances the vanilla cake perfectly.
7.Can I use cake flour instead of all-purpose flour for an even softer cake crumb? ▾
Stick with all-purpose flour for the most authentic, classic Smith Island Cake texture. Cake flour has a lower protein content that will make layers too delicate and prone to tearing when you stack and frost them, since the layers are already very thin. All-purpose flour creates a sturdy but tender crumb that holds up to the fudgy frosting without falling apart.
8.How should I store a finished frosted Smith Island Cake, and how long will it stay fresh? ▾
Once frosted, store the cake loosely covered in the refrigerator for up to 5 days. The dense fudge frosting locks in moisture extremely well, so it won’t dry out as fast as cakes with light, fluffy frostings. Let individual slices rest at room temperature for 15–20 minutes before serving to let the fudge soften and flavors fully mellow.

Comments (11)

2 days ago

OMG I made this for my family dinner last Sunday and every single person went back for seconds! I was nervous about stacking all those thin layers since I’d never done Smith Island cake before, but the fudge frosting spread so nicely between each one. Total game changer for potlucks, I’m already getting requests to make it for our neighborhood block party next month!

yesterday

So glad it was a hit at your family dinner! A quick pro tip for stacking: if you pop each cake layer in the fridge for 10 minutes before assembling, they’re way less likely to slide around when you stack them. Enjoy the block party!

yesterday

Ugh same! I brought this to my office potluck last week and people were fighting over the last slice. The thin layers feel so fancy even though it’s not that much extra work!

3 days ago

Made this for my kid’s birthday party over the weekend, and let me tell you, it did NOT disappoint. My youngest is super picky about cake (he usually scrapes all the frosting off) but he ate two full slices and asked if we could have it for his next birthday too. SO good, will absolutely be making this again.

5 days ago

Took me a little longer than the listed 1hr20m cook time because I had to bake the layers in batches (my oven only fits two 9-inch pans at a time!), but the end result was totally worth it. The chocolate frosting is perfectly rich, not too sweet. I only had an issue with the edges of my layers getting a little crisp – any tips?

3 days ago

So glad you loved the flavor! Batch baking layers is totally normal, that extra time is 100% expected for most home ovens. For crisp edges, try pulling the layers out 1-2 minutes earlier next time, and let them cool completely on a wire rack before stacking – the residual pan heat is usually what makes edges get too crisp!

1 week ago

Wait, I grew up going to the Eastern Shore every summer and I swear this tastes exactly like the Smith Island cakes we’d get from the little bakery in Crisfield! I was worried I’d mess up the traditional fudge frosting because I’ve only ever made buttercream before, but the recipe instructions were so clear. 10/10, tastes like my childhood.

5 days ago

Oh that’s such high praise! I’ve only ever had store-bought Smith Island cake when I visited friends in MD, so I’m adding this to my weekend baking list stat. How long did the whole process take you from start to finish?

3 days ago

That’s the best compliment we could get! We tested this recipe three times with bakers who grew up on Smith Island to make sure the flavor and texture was spot on, so we’re thrilled it brings back those summer memories for you.

yesterday

Solid recipe! I swapped the regular cocoa for dark cocoa powder because my partner loves extra dark chocolate, and it turned out amazing. Only note is that you definitely want to let the frosting cool a little before spreading, otherwise it drips right off the sides. Learned that the hard way on the first couple layers lol.

2 weeks ago

I made this for a dessert contest at my local fair and won first place! The judges kept commenting on how moist the layers were and how the frosting wasn’t cloyingly sweet. I added a tiny splash of coffee to the frosting to amp up the chocolate flavor, highly recommend that little hack if you’re a coffee fan.

1 week ago

Oh that coffee hack is genius! I’m a total sucker for mocha flavors so I’ll definitely be trying that when I make this next weekend. Congrats on the first place win, that’s so well deserved!

2 hours ago

Okay I was intimidated by the medium difficulty rating at first, but as someone who only bakes like once a month, I pulled this off! The layers are thinner than I’m used to, but if you measure the batter evenly between pans it’s totally manageable. My roommates are already asking when I’m making it again.

30 minutes ago

Same here! I’m a super casual baker and I was stressed about 8+ thin layers, but it’s way easier than it sounds. I used a cookie scoop to split the batter evenly and it worked like a charm.

5 minutes ago

So proud of you for giving it a go! That medium rating is mostly because of the layer assembly, but as you found out, it’s totally doable even if you don’t bake super often. The cookie scoop trick for even batter is such a smart hack – we love that!

30 minutes ago

This looks so good! I do weekly meal prep for my whole extended family and I’m planning to make this for my sister’s baby shower next weekend. Can I bake the layers ahead of time and freeze them to save time the day before? Would love any make-ahead tips!

5 minutes ago

Great question! You can absolutely bake the layers up to a month ahead of time – just wrap them tightly in plastic wrap and then aluminum foil before freezing. When you’re ready to assemble, let them thaw in the fridge for a few hours, no need to bring them all the way to room temp first. It’ll cut your assembly day time in half!

just now

My kids loved it! We did a little family baking night on Saturday and let the kids help pour the batter into the pans – they thought stacking all the layers was the coolest thing ever. The cake was gone in less than 24 hours, zero leftovers. Will be adding this to our regular rotation.

5 minutes ago

Made this for my hiking group’s post-trail potluck last weekend and everyone was raving! It held up way better than I thought it would in the cooler on the drive up to the trailhead. I used salted butter for the frosting and it added the perfect little salty kick to cut the sweetness.

just now

The salted butter trick is a game changer! I did that too when I made it last week and my husband said it was the best chocolate cake he’s ever had. Great call!

3 days ago

Overall really tasty, but I had a little trouble with the frosting recipe. It came out a little runnier than I expected even after letting it cool for the time the recipe said, so it oozed out between the layers a bit. It still tasted amazing, just didn’t look as pretty as the photos! Any idea what I did wrong?

2 days ago

I had that happen the first time I made it too! I realized I didn’t let the chocolate mixture boil long enough before adding the powdered sugar. I let it go an extra 2 minutes the second time and it was the perfect thick, fudgy consistency.

yesterday

We’re sorry the frosting was runny the first time! That almost always happens if the fudge base doesn’t reach a full rolling boil before you take it off the heat, or if too much condensed milk is added. Next time, let it boil for a full 60 seconds once it starts bubbling, and it’ll set up perfectly as it cools. We’re glad it still tasted great though!



