
Smoked Brisket
intro
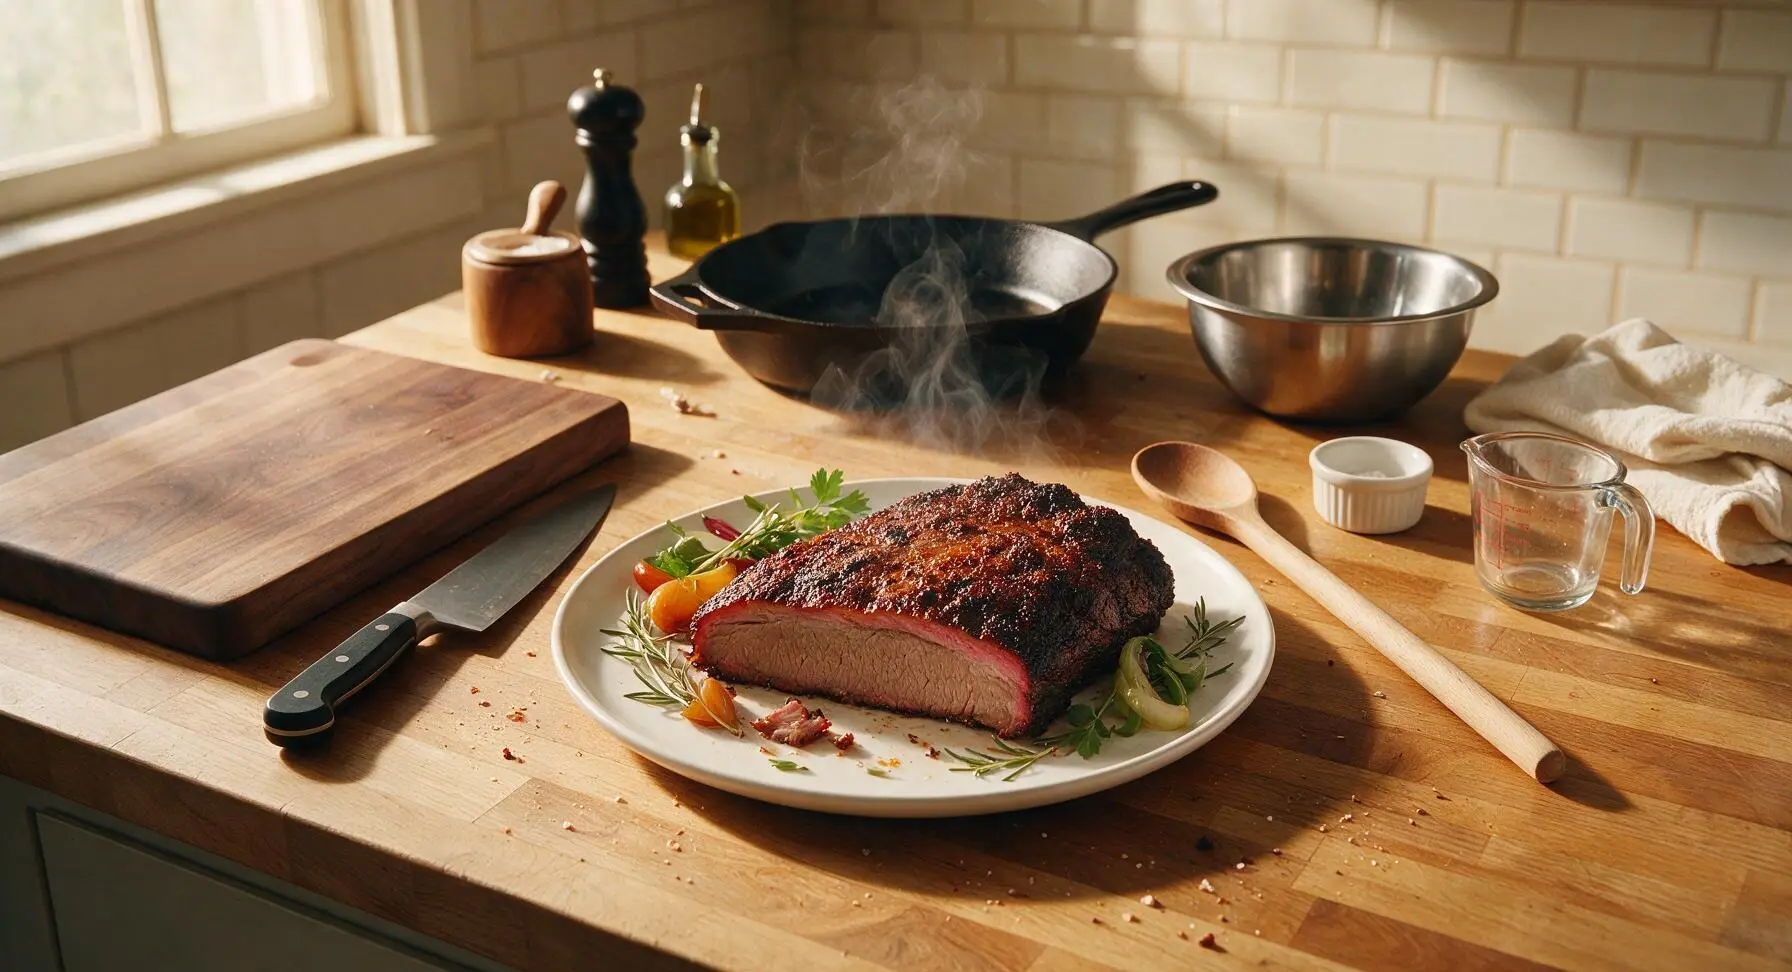
Melt-in-your-mouth smoked brisket with a crispy mahogany bark, subtle pink smoke ring, and deep hickory flavor, the ultimate centerpiece for summer backyard gatherings.
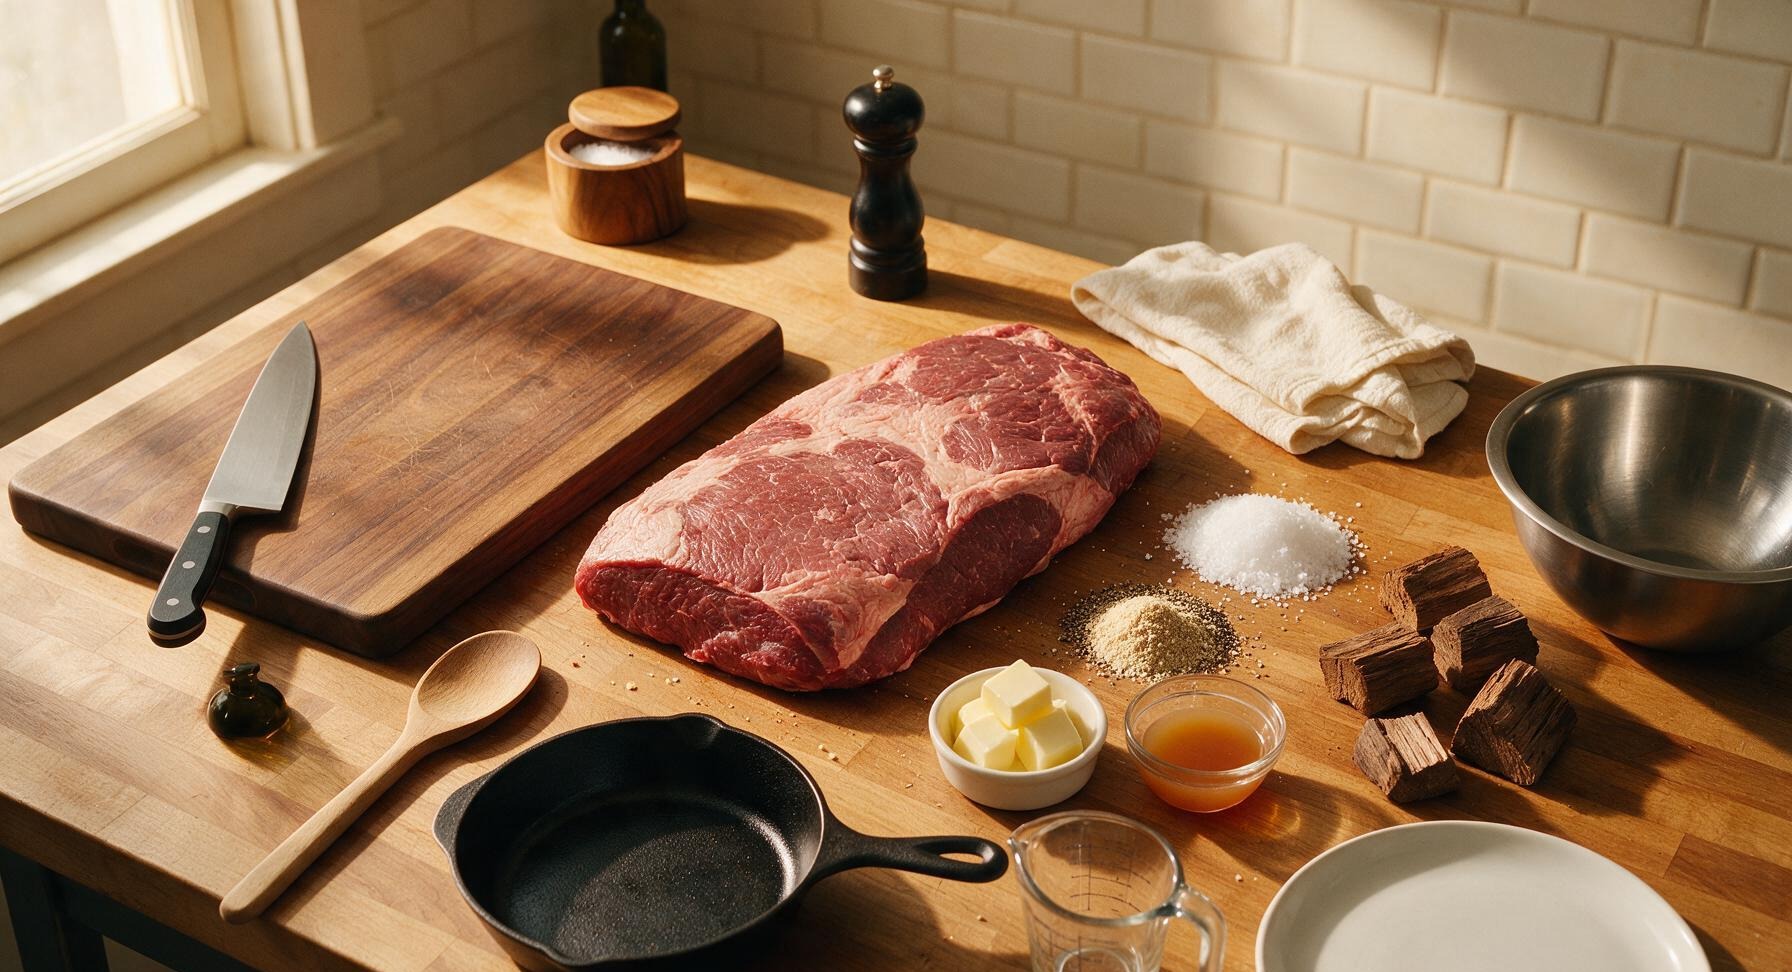
Ingredients
Steps
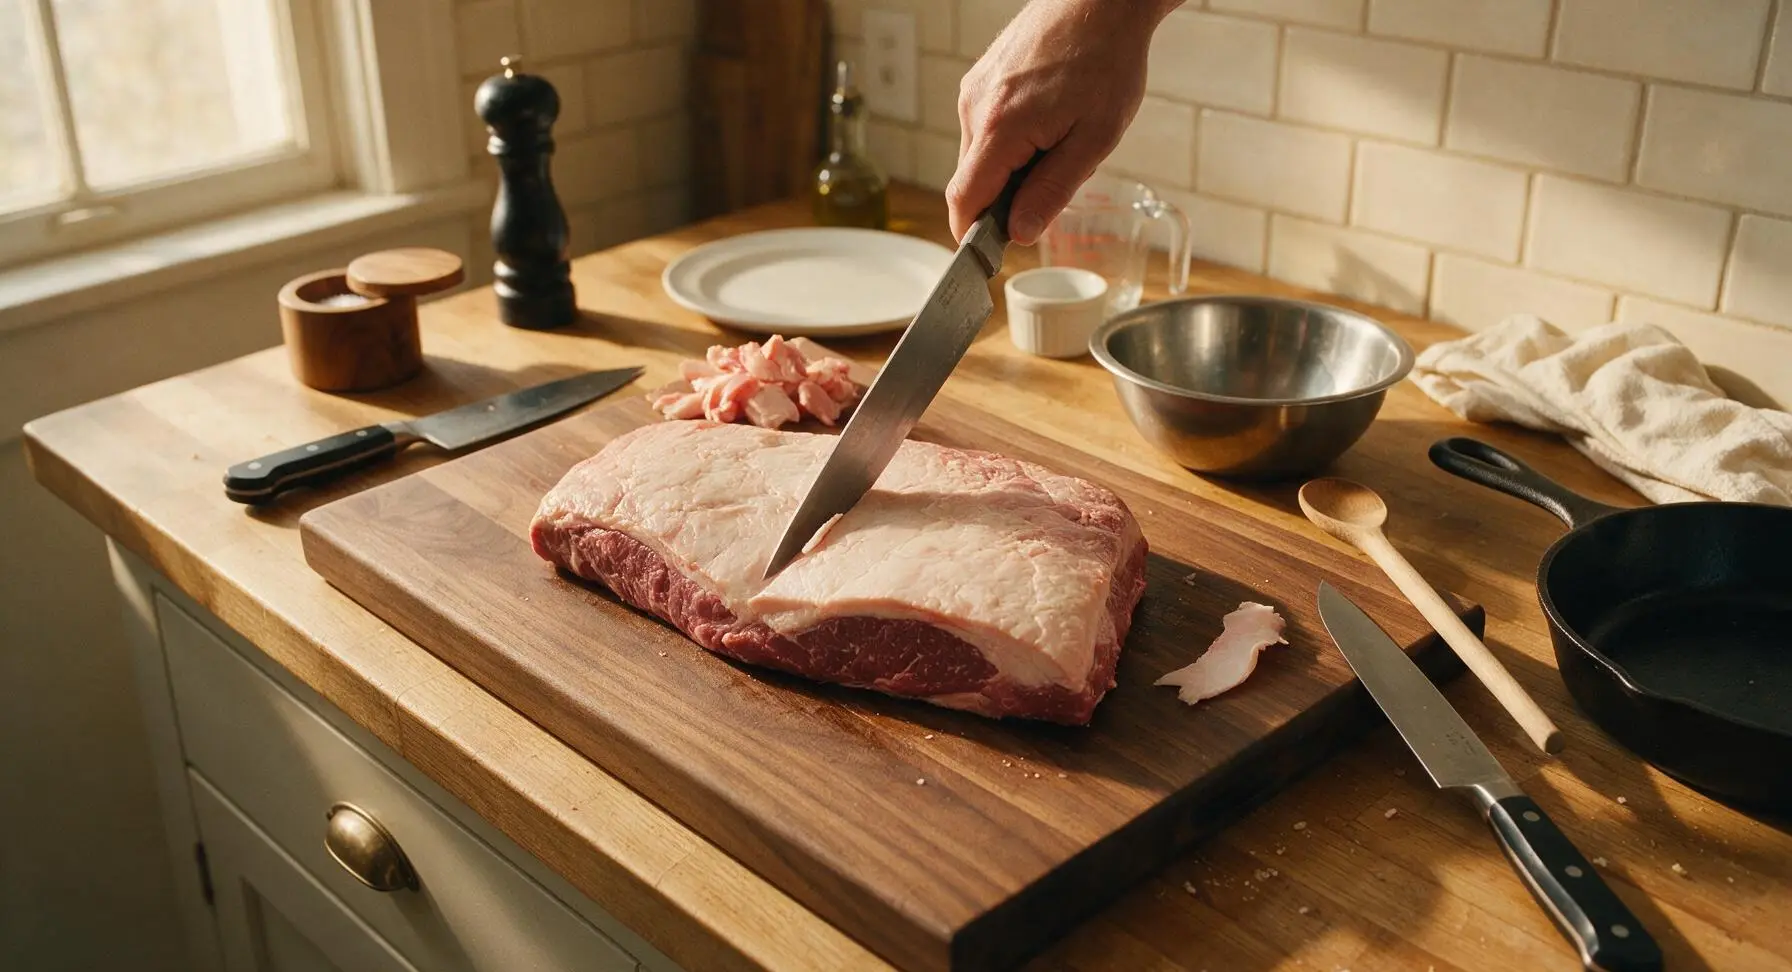
Trim Brisket Fat Cap
Place the raw 5lb packer brisket fat-side up on the dark walnut cutting board. Use the 10-inch stiff boning knife to trim the thick hard fat cap to a uniform 1/4-inch thickness, removing all tough, papery silver skin from the meat side and any loose, dangling fat pieces. Round off any sharp, thin edges of the brisket to prevent them from burning during the long smoke. The finished trimmed brisket will have a smooth, even fat layer with no exposed silver skin or jagged edges.
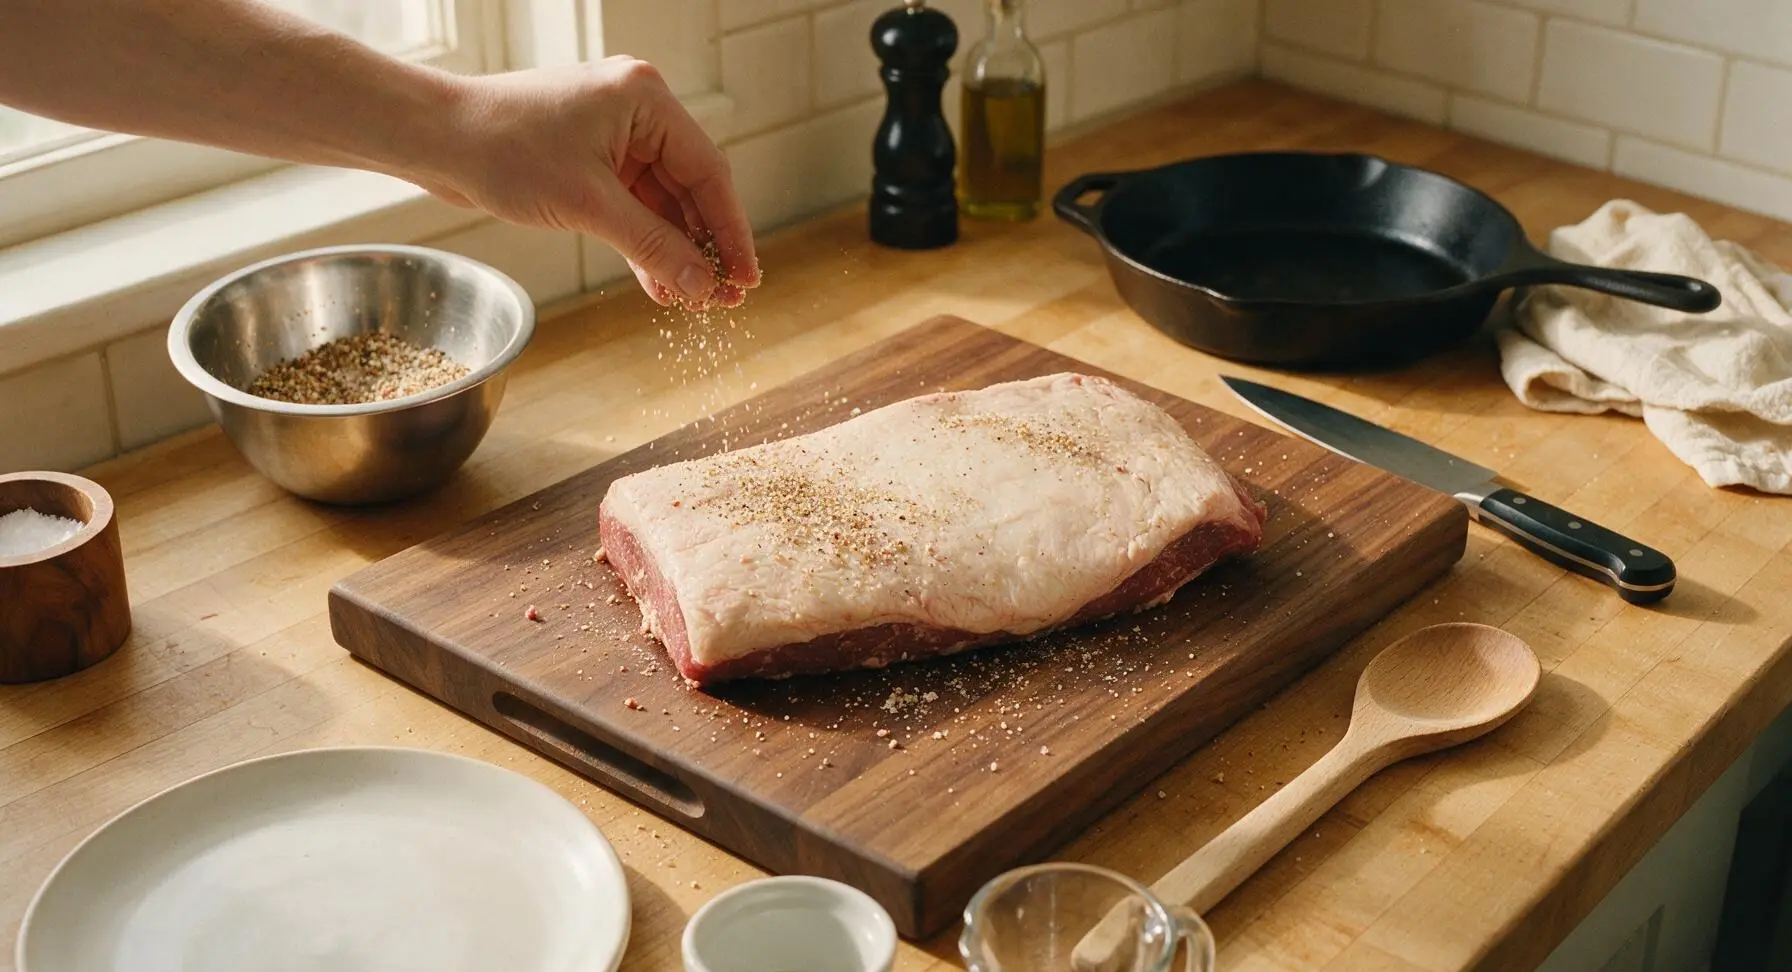
Apply Dry Rub Coating
Combine 3 tablespoons coarse kosher salt, 3 tablespoons coarsely ground black pepper, and 1 tablespoon garlic powder in the medium stainless steel mixing bowl, stirring to fully incorporate the spices. Pat the entire surface of the trimmed brisket completely dry with the linen towel, then press the rub evenly into every side of the meat (fat cap, meat side, and all edges) until no bare red meat is visible. Let the rubbed brisket rest at room temperature for 45 minutes to allow the rub to adhere and the meat surface to become slightly tacky.
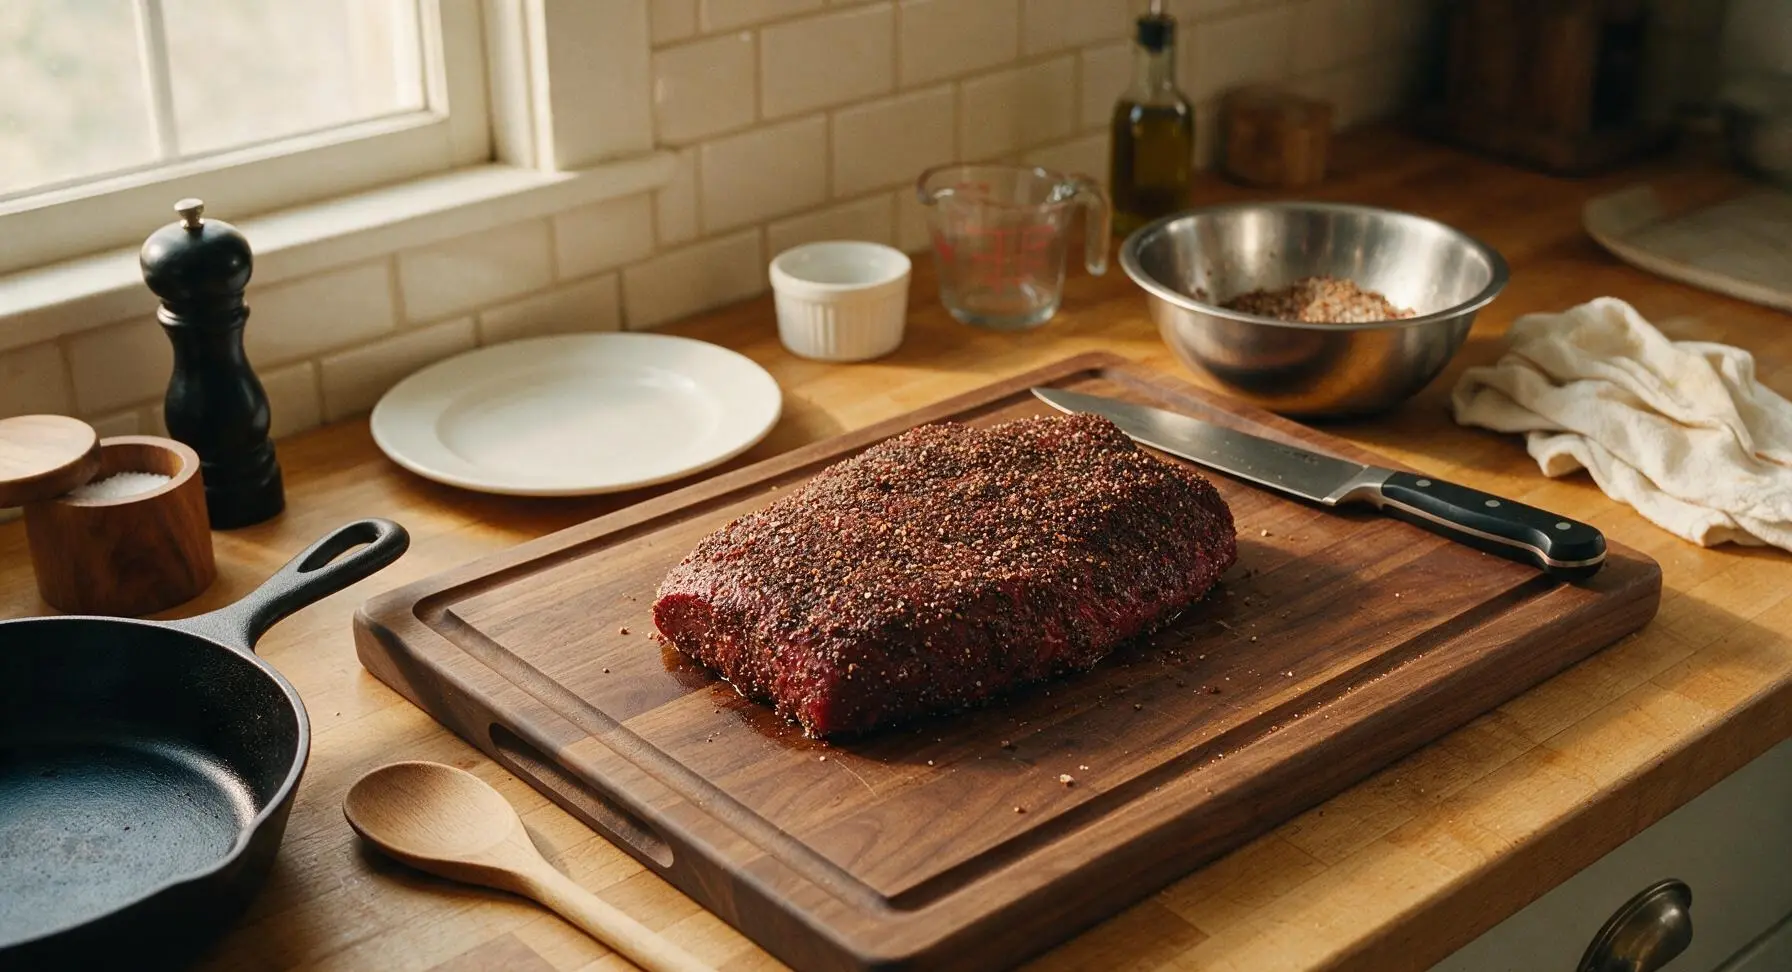
Preheat Smoker to Temp
Preheat your offset or pellet smoker to a steady 225°F (107°C), adding 2 dry hickory wood chunks to the firebox to produce a thin, wispy blue smoke. Avoid thick, billowing white smoke, which will leave a bitter, ashy flavor on the meat. Position the smoker grate 12 inches above the heat source, checking for and avoiding any direct hot spots where the brisket would burn.
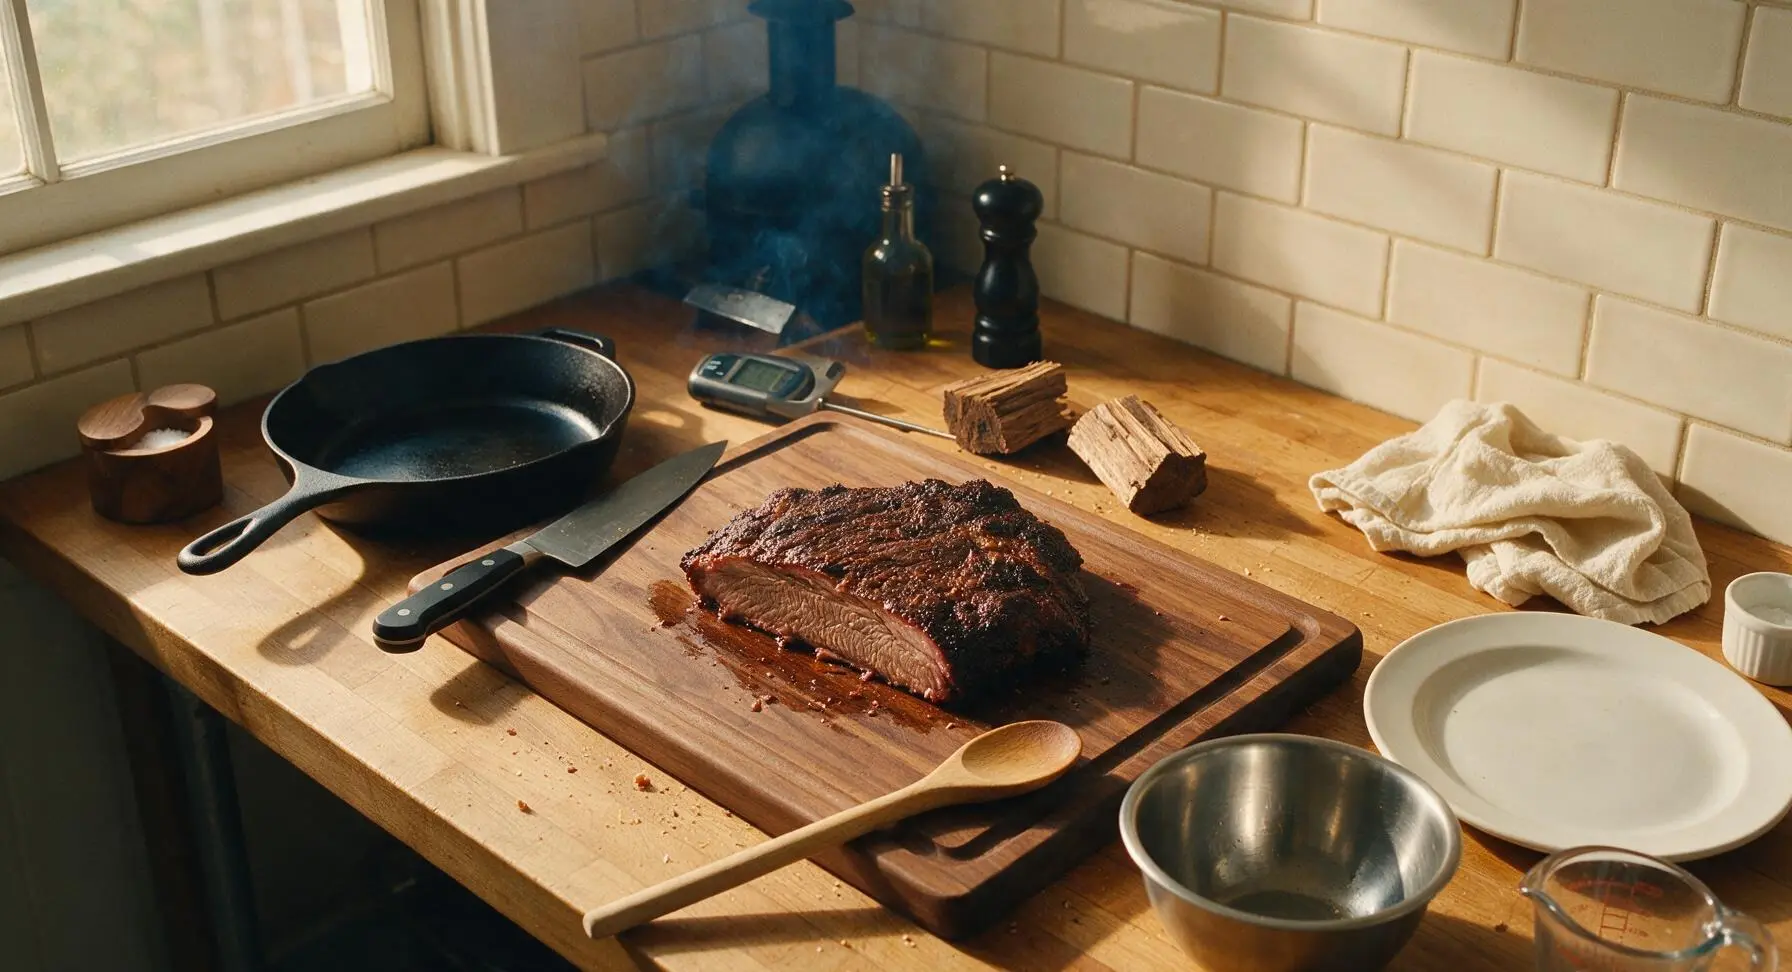
Smoke to Set Bark
Use the long stainless steel tongs to place the rubbed brisket fat-side up directly on the preheated smoker grate. Insert the probe of the digital meat thermometer into the thickest part of the brisket flat, taking care not to touch fat for accurate temperature reading. Close the smoker lid and maintain a steady 225°F temperature, spritzing the brisket lightly with apple cider vinegar (held in the glass measuring cup) every 90 minutes, until the internal temperature reaches 165°F (74°C), approximately 6 hours. The brisket will have a dark, firm, non-tacky mahogany bark at this stage.
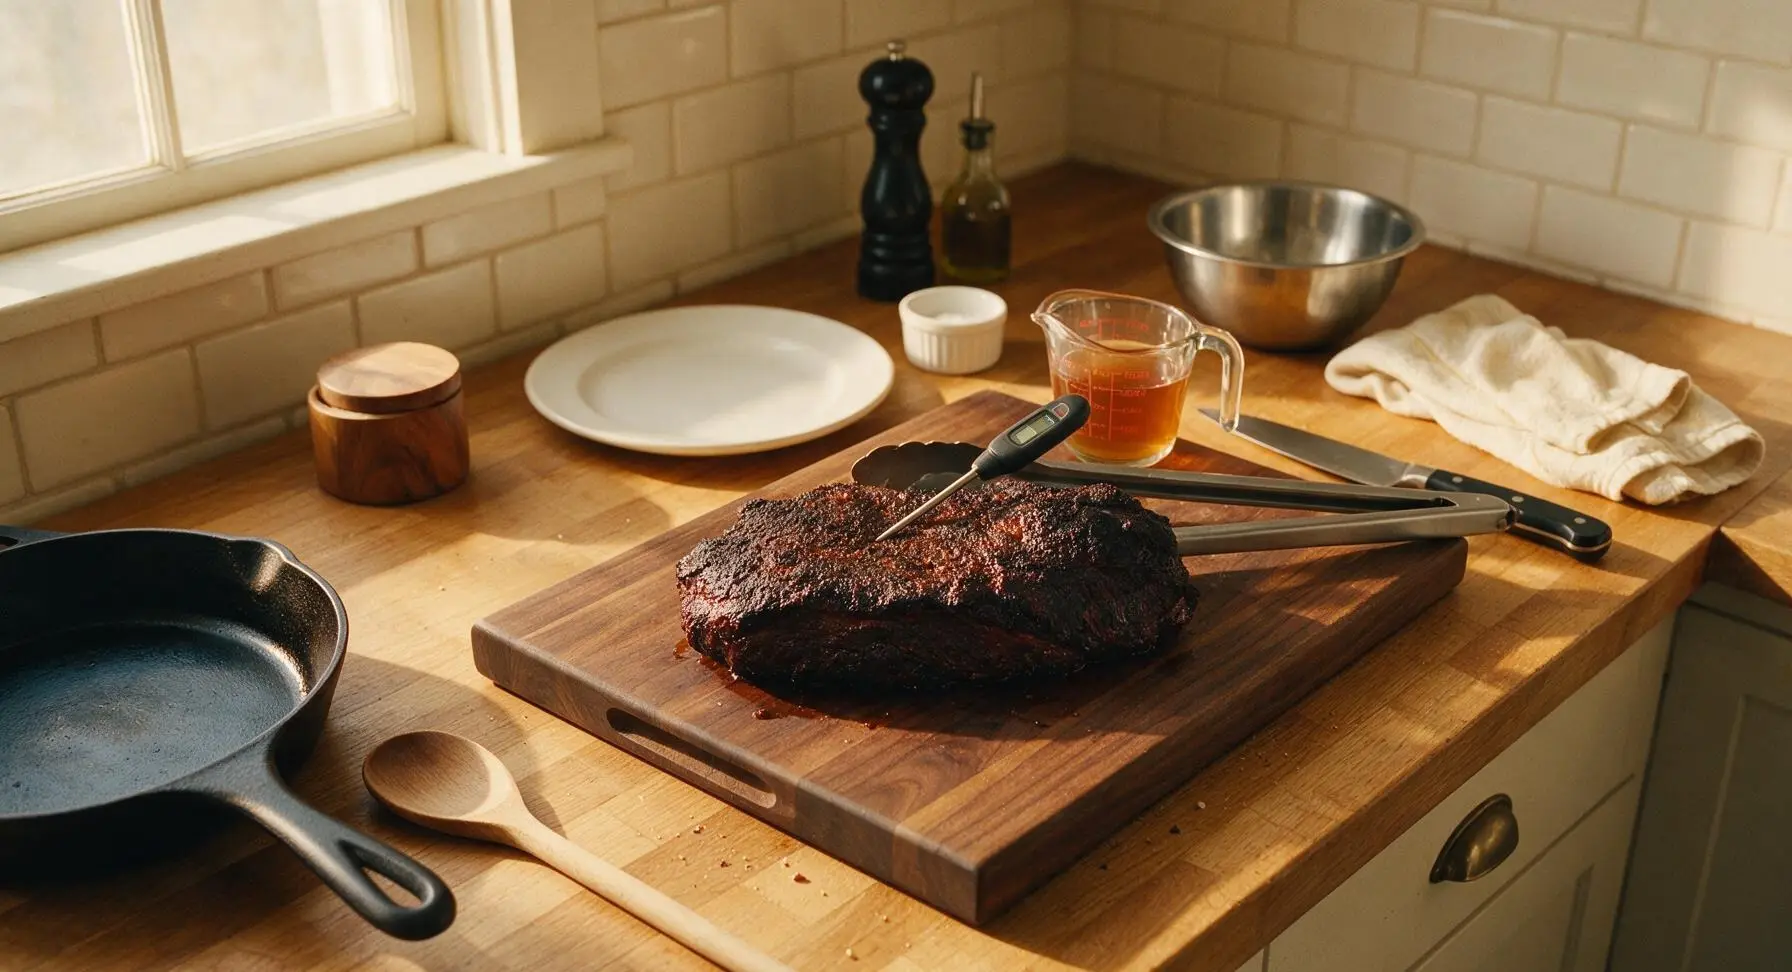
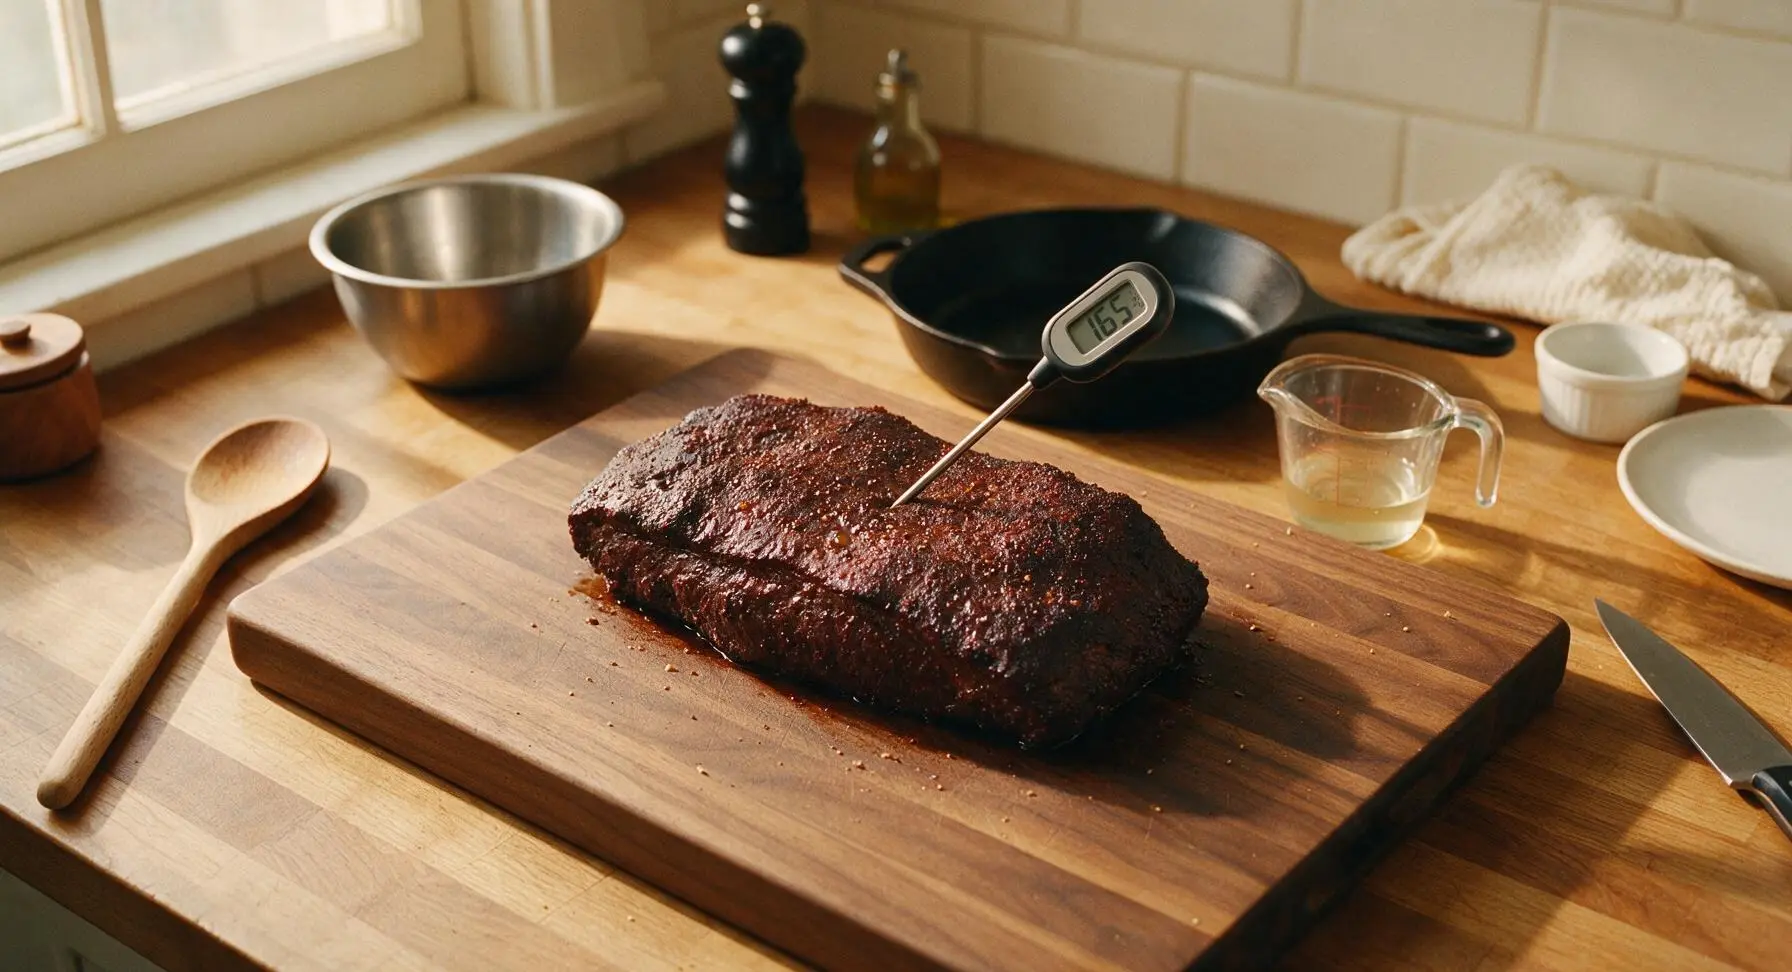
Wrap Brisket Tightly
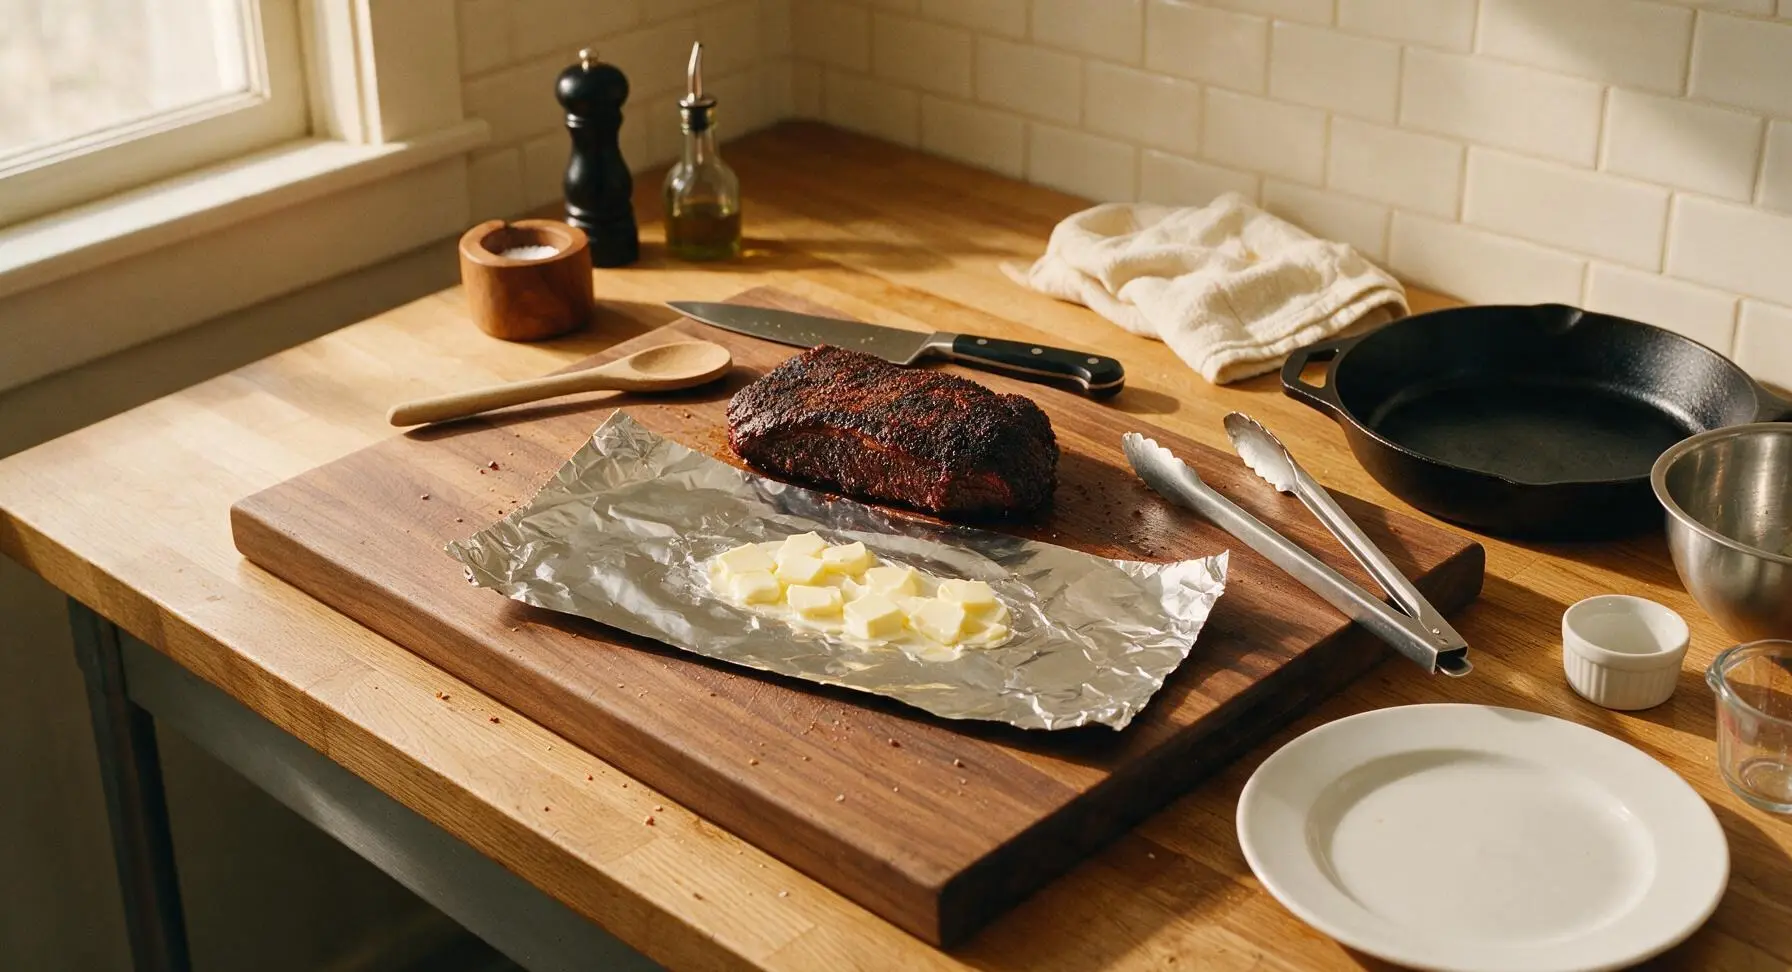
Tear two 3-foot long sheets of heavy-duty aluminum foil from the roll, overlapping them by 6 inches to create a double-layered wrap. Slice the 4 tablespoons of unsalted butter into thin pats and arrange them in the center of the foil, then set the brisket bark-side up directly on top of the butter. Wrap the foil tightly around the brisket, crimping all edges firmly to create a fully sealed packet that traps steam to tenderize the meat, then return the wrapped brisket to the smoker.
Cook to Tender Temp
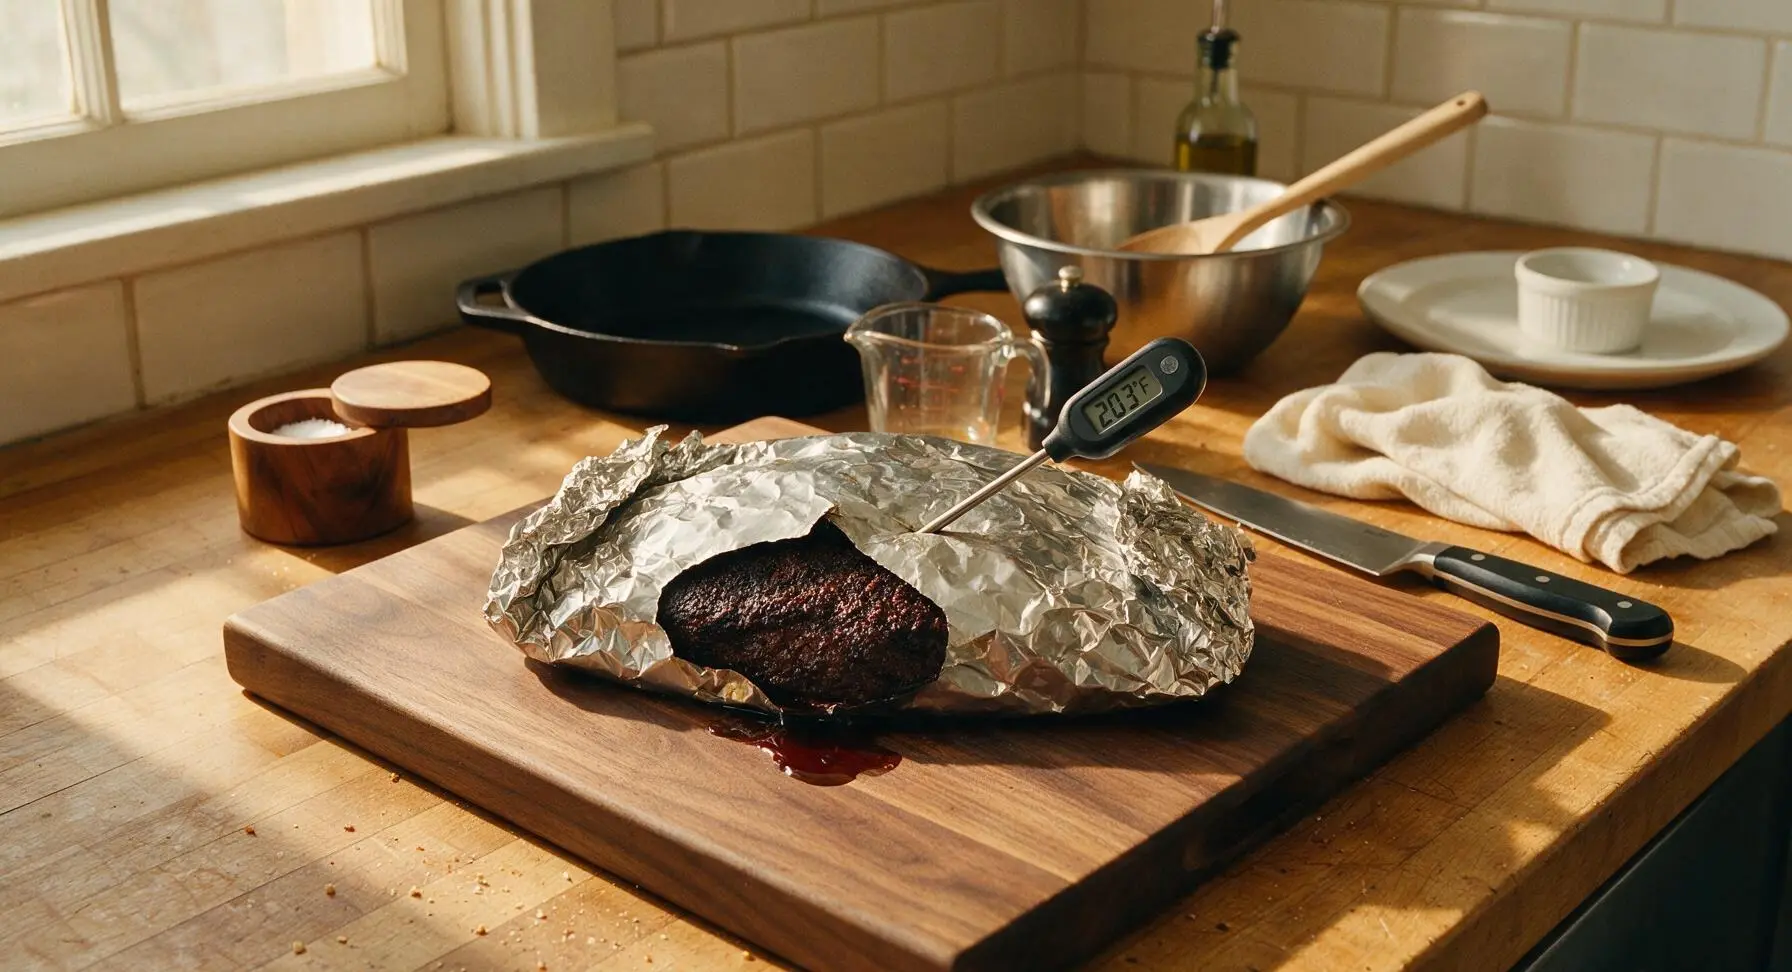
Maintain the smoker at a steady 225°F, cooking the foil-wrapped brisket until the internal temperature reaches 203°F (95°C), approximately 4 to 4.5 additional hours. Test for tenderness by inserting the meat thermometer probe into the thickest part of the brisket—it should slide in with zero resistance, like inserting a knife into room-temperature soft butter, to confirm it is fully tender.
Rest Brisket in Cooler
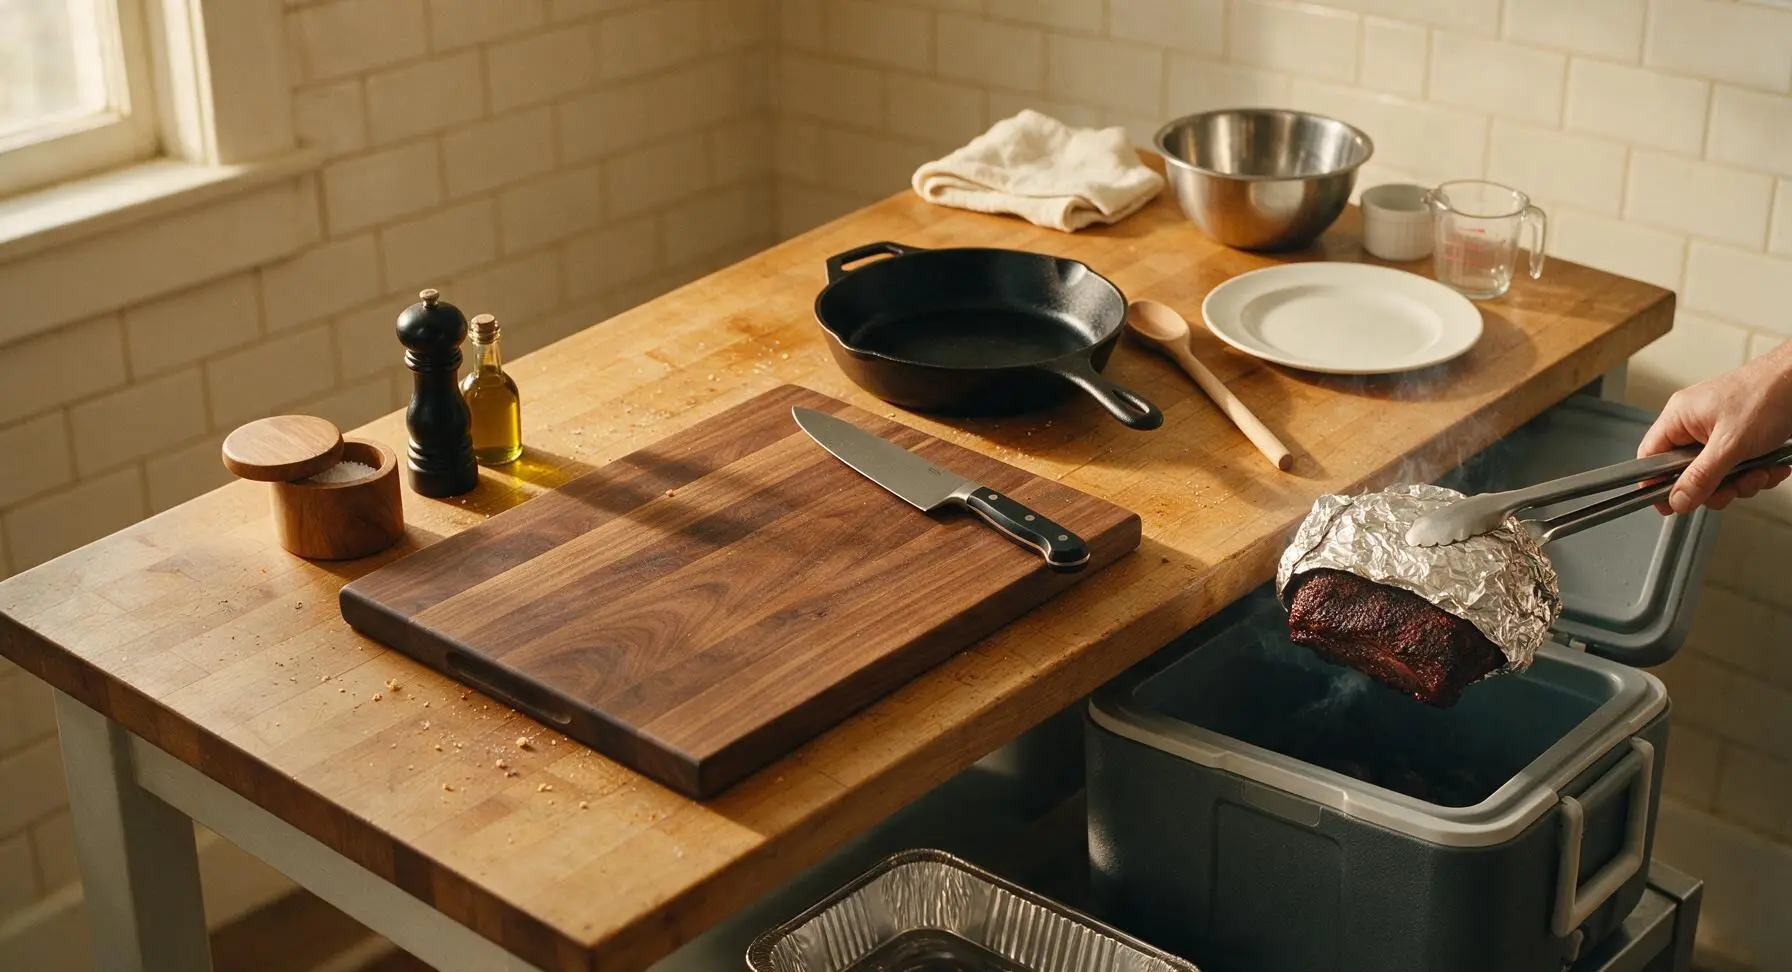
Use the tongs to remove the foil-wrapped brisket from the smoker—do not unwrap it—and place it inside the insulated charcoal gray meat cooler. Close the cooler lid tightly and let the brisket rest for a minimum of 2 hours (up to 4 hours) to allow the tight muscle fibers to relax and reabsorb rendered juices, which prevents juice from running out when slicing. Place the disposable aluminum foil pan under the brisket in the cooler to catch any accidental drips.
Slice Against the Grain
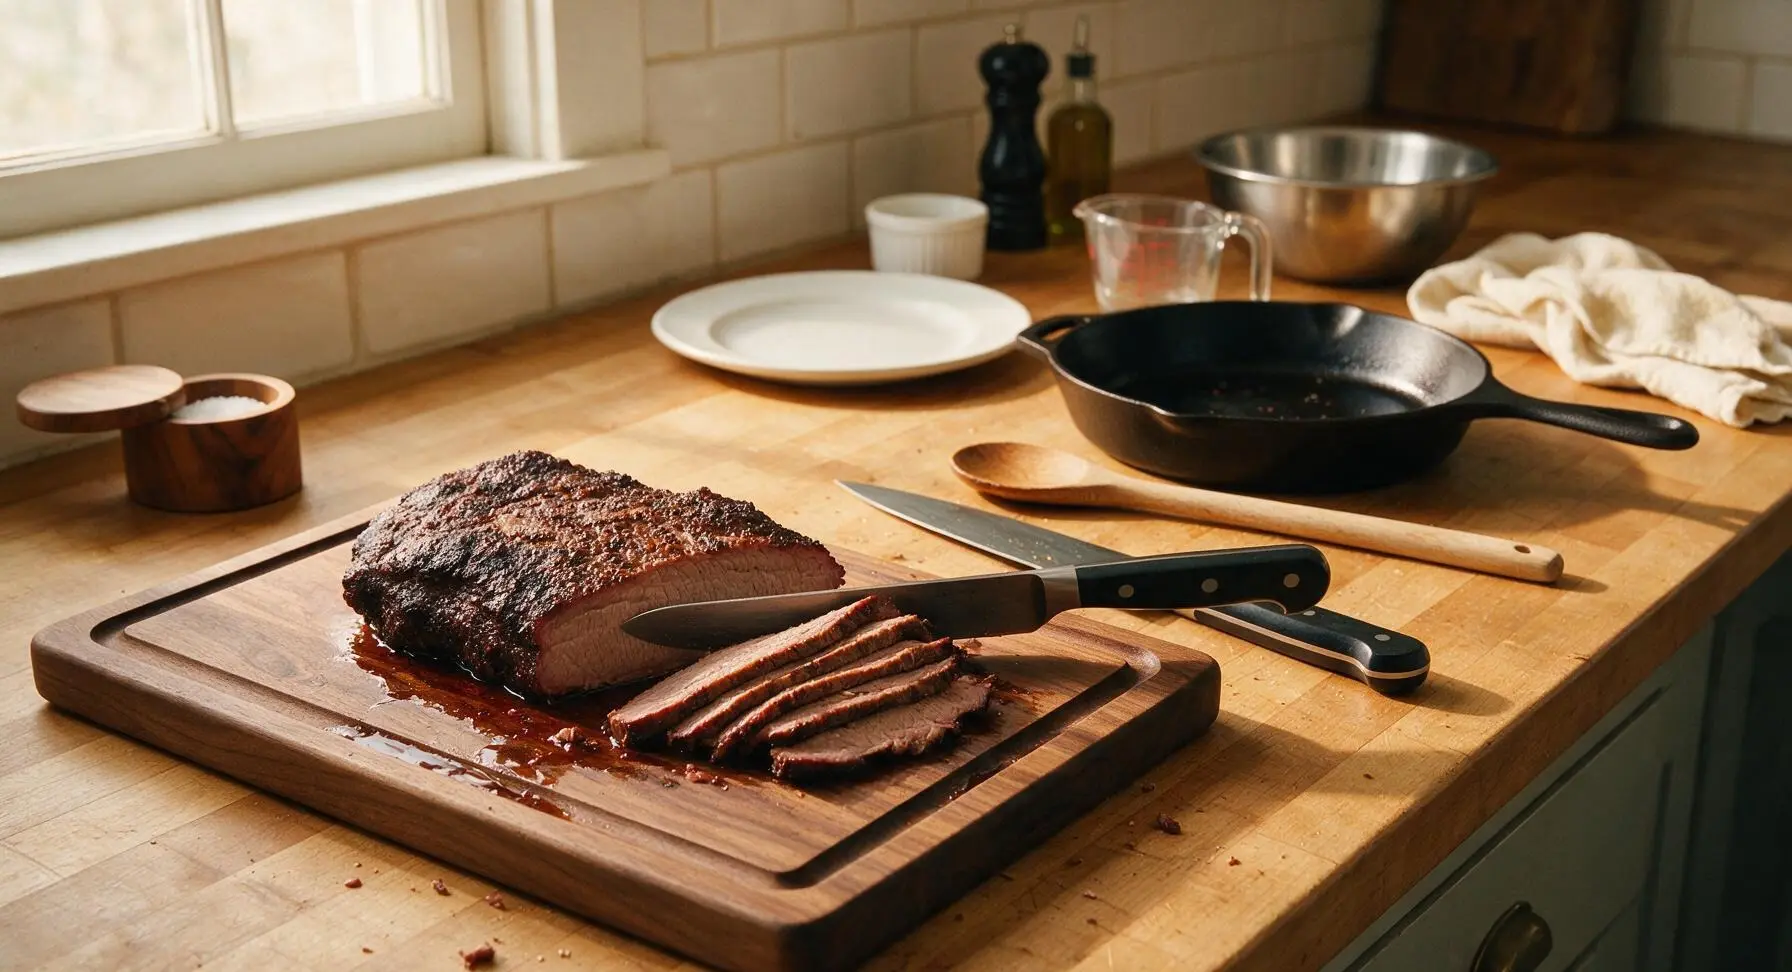
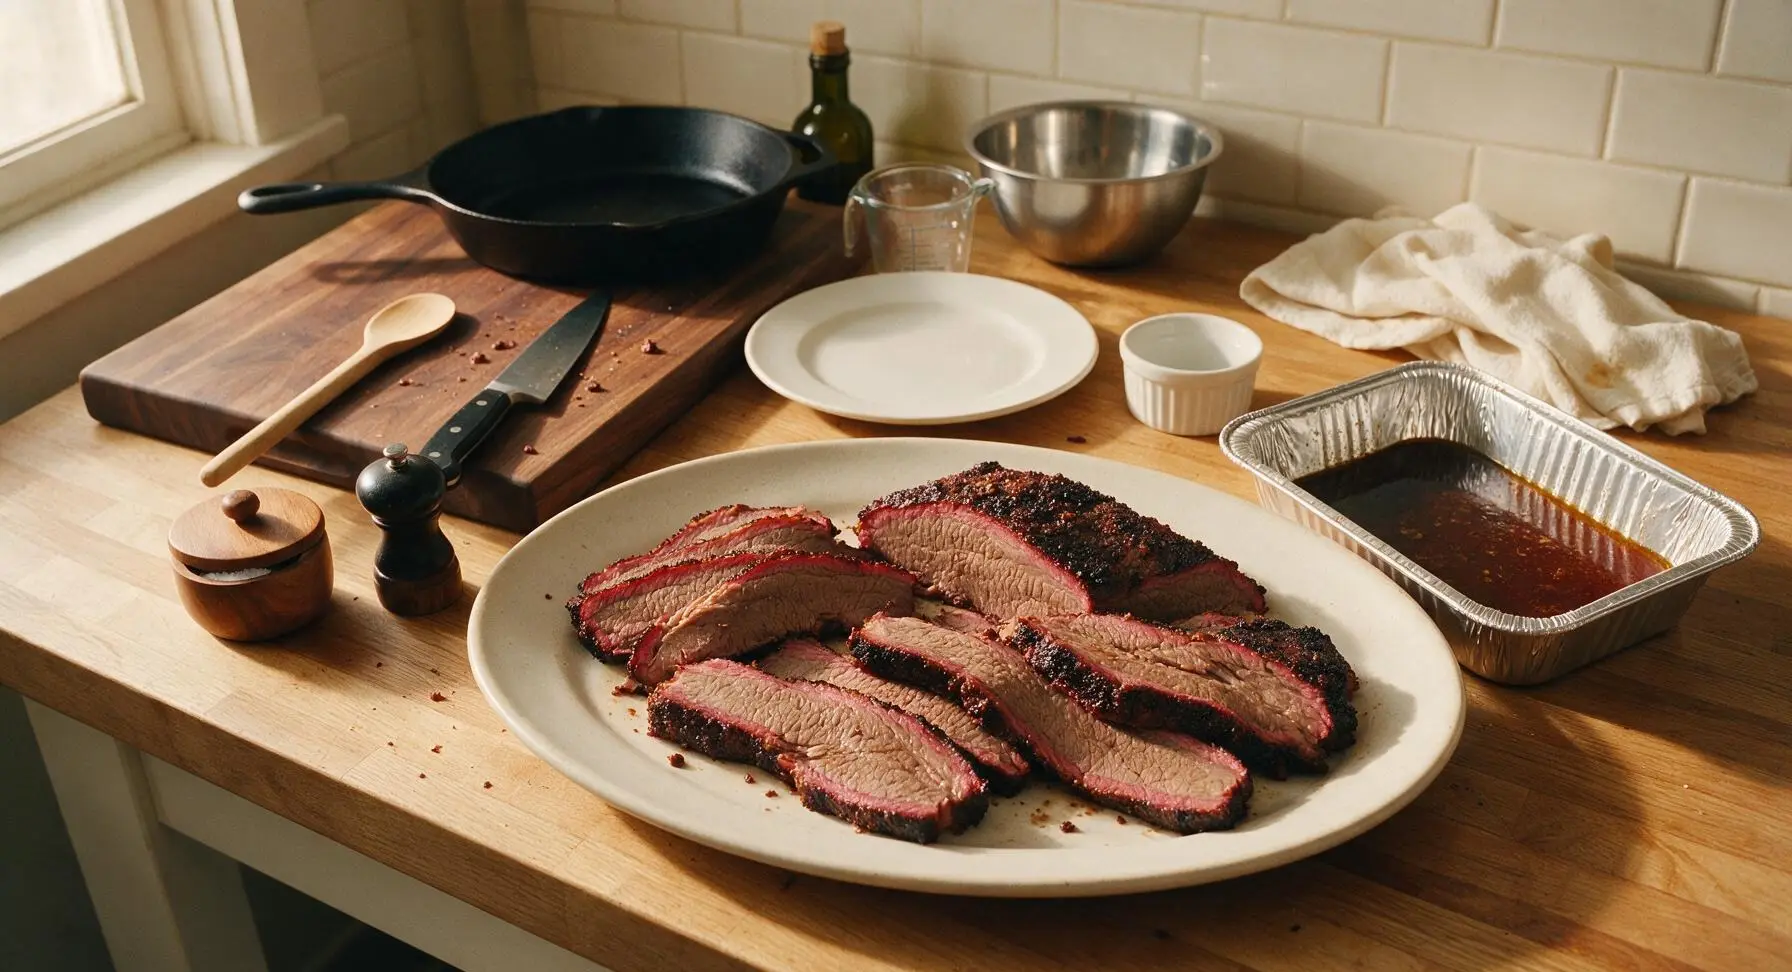
Unwrap the rested brisket, pouring any collected juices from the foil into the disposable aluminum pan to reserve for serving. Place the brisket back on the walnut cutting board, separating the lean flat and moist point muscles, as their grain runs in different directions. Slice the flat against the grain into uniform 1/4-inch thick slices, and cut the point into thicker 1/2-inch chunks. Arrange the sliced meat on the large matte off-white ceramic serving platter, drizzle with reserved juices, and serve immediately.
Tips
2.Slice against the grain after resting: Brisket has long, tough muscle fibers that run in different directions on the flat and point sections. Separate the two muscles before slicing 1/4-inch thick against the grain to guarantee melt-in-your-mouth tender bites, even with perfect cooking.
3.Prioritize thin blue smoke: Thick, white billowing smoke from wet or unseasoned wood leaves a bitter, ashy coating on the brisket bark. Maintain a small, hot fire with dry hickory chunks to produce thin, almost invisible blue smoke for clean, nutty smoke flavor without bitterness.






OMG, I’ve been chasing that perfect Texas brisket for YEARS and this recipe finally nailed it! 10.5 hours sounds insane but trust the process, y’all. The bark was perfectly crispy, the meat was so juicy it dripped down my wrist when I sliced it, and my whole crew at the weekend cookout went back for seconds (and thirds). Total game changer for my summer potlucks! Only quick note: I used post oak like the recipe recommended, don’t skimp on the wood choice if you want that authentic Central Texas flavor.
Okay, full transparency: I was so intimidated to try this because brisket feels like the ultimate big-league BBQ cook, right? I’m a total beginner, I only got my first smoker last month! This recipe broke every single step down so clearly even I didn’t mess it up. I made it for Sunday family dinner and my husband said it was better than the brisket we got at that famous BBQ spot in Austin on our last trip. My 8 year old loved it so much he asked if we can have it every week for his upcoming birthday dinner. SO good, I already saved this to my meal prep rotation to slice up for quick weekday sandwiches.
Flavor was absolutely on point, no notes there—the rub ratio was perfect, the smokiness was exactly what I want from a proper Texas brisket. Only reason I’m knocking a star is I misjudged that 10+ hour cook time and ended up serving dinner an hour late to my buddies for game night. Next time I’ll start way earlier, like the night before as the pro tip suggests! Would absolutely make this again, just don’t be an idiot like me and think you can rush a brisket. Low and slow is the name of the game, folks.
I was so nervous to tackle this since I know Texas brisket is notoriously tricky, but it turned out unreal! Made this for my neighborhood block party last weekend and people were literally coming up to ask for the recipe before they even finished their first plate! I did the overnight dry brine like the recipe recommended and it made such a huge difference, the seasoning went all the way through instead of just sitting on the surface. Even my picky father-in-law, who swears his own brisket is the best in the whole state, said mine was “pretty darn good” which is the highest compliment he ever gives. Will be making this for every backyard BBQ from now on!