1.Do I need a special commercial machine to make fluffy snow cones at home?
▾
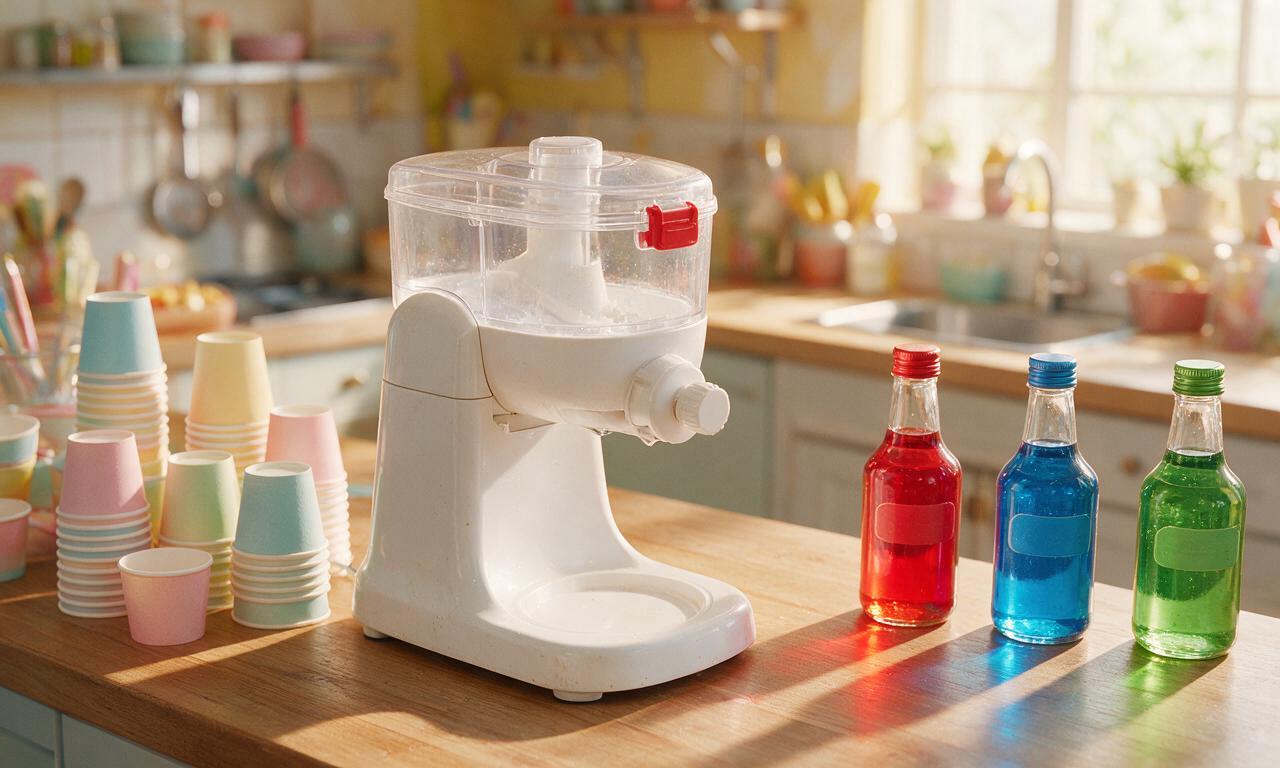
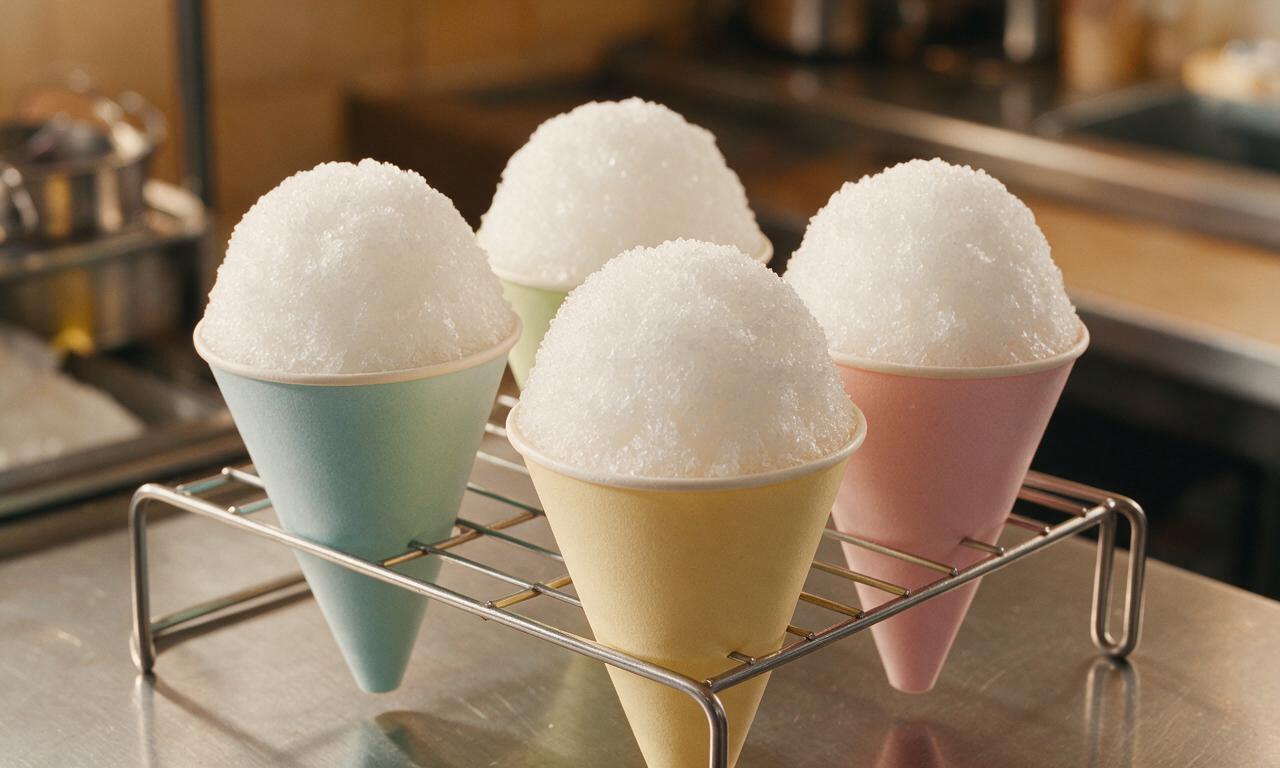
You don’t need a fancy commercial snow cone machine! A high-powered blender works perfectly: add filtered ice cubes, pulse in 10-second bursts, and scrape down the sides between pulses to avoid slushy, half-melted ice. If you make snow cones often, a $20 manual countertop ice shaver also produces that light, snow-like texture without extra cost.
2.Why does my shaved ice turn into coarse, wet slush instead of staying light and fluffy?
▾
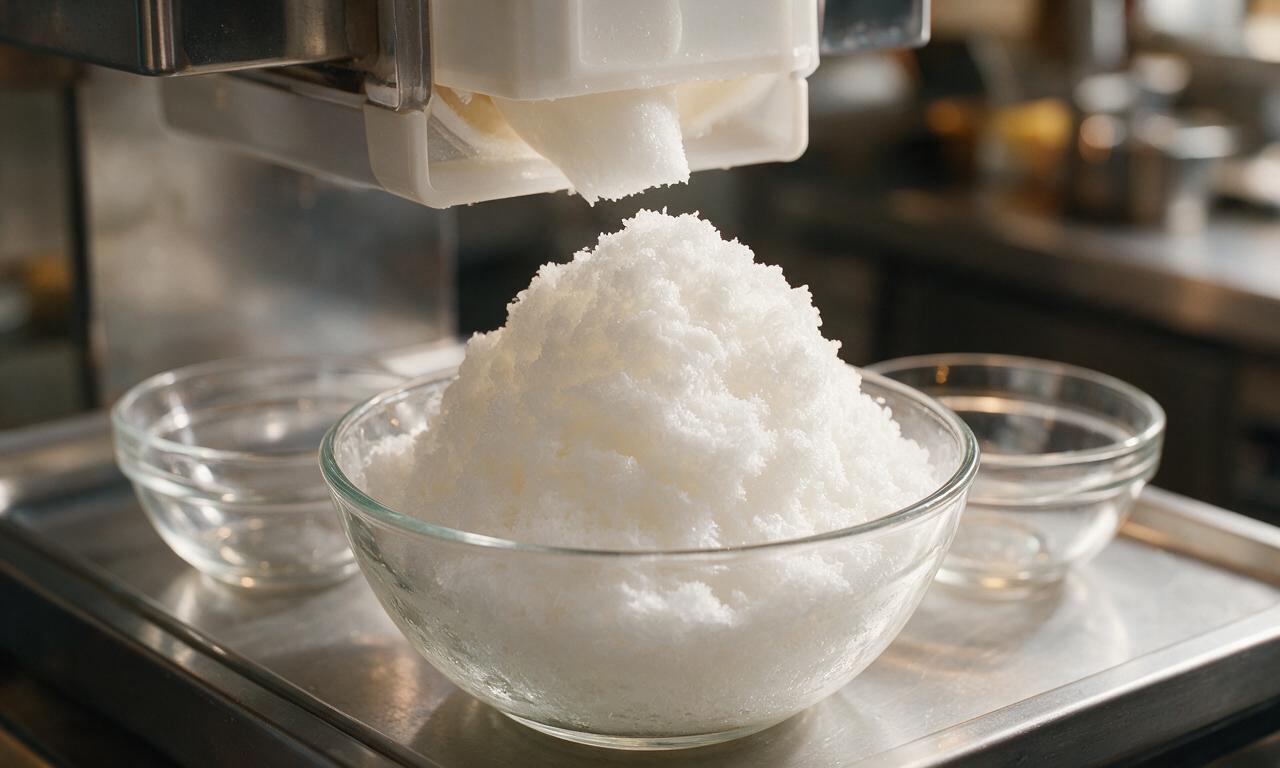
That almost always happens when ice sits out too long before shaving, or when you over-process it. Use ice straight from the freezer, and don’t let it rest on the counter for more than 2 minutes pre-shave. Stick to short pulses instead of running your blender nonstop, which melts ice slightly and causes it to clump into coarse slush that won’t hold syrup well.
3.Can I use regular ice from my fridge’s automatic ice maker, or do I need special ice blocks?
▾
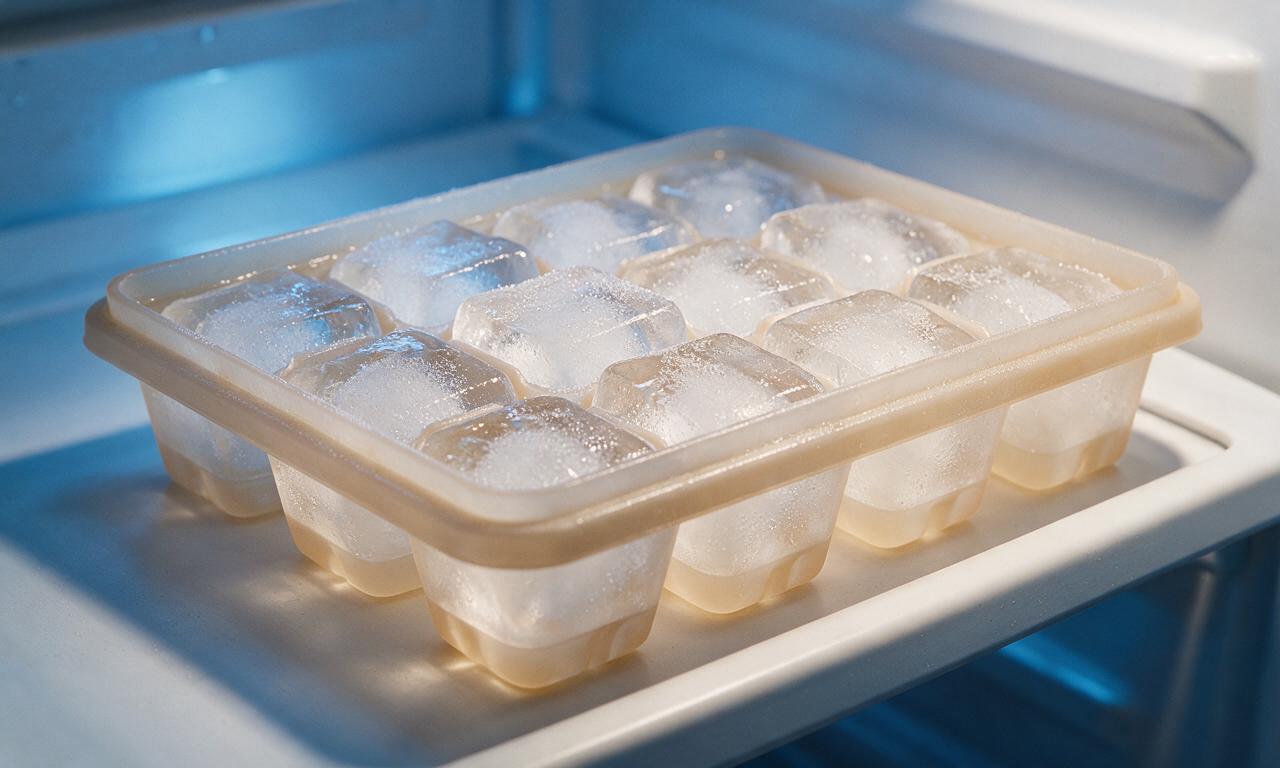
Filtered ice cubes from your fridge’s automatic maker work totally fine, as long as they’re free of freezer burn or off-flavors from nearby stored food. You don’t need fancy custom ice blocks for home snow cones—just skip cloudy, old ice that’s been sitting in your freezer for more than a month, as it will carry a stale, odd taste that ruins bright syrup flavor.
4.How do I keep my snow cones from melting too fast at a sweltering backyard summer party?
▾
First, pre-chill your serving cups in the freezer for 15 minutes before piling in shaved ice. Pile ice high above the cup rim rather than packing it tight, and hold off on drizzling syrup until right before serving. For outdoor events, keep pre-shaved ice in a well-insulated, lidded cooler to keep it light and frozen for up to 2 hours.
5.How do I drizzle syrup so every bite has flavor, instead of just the very top?
▾
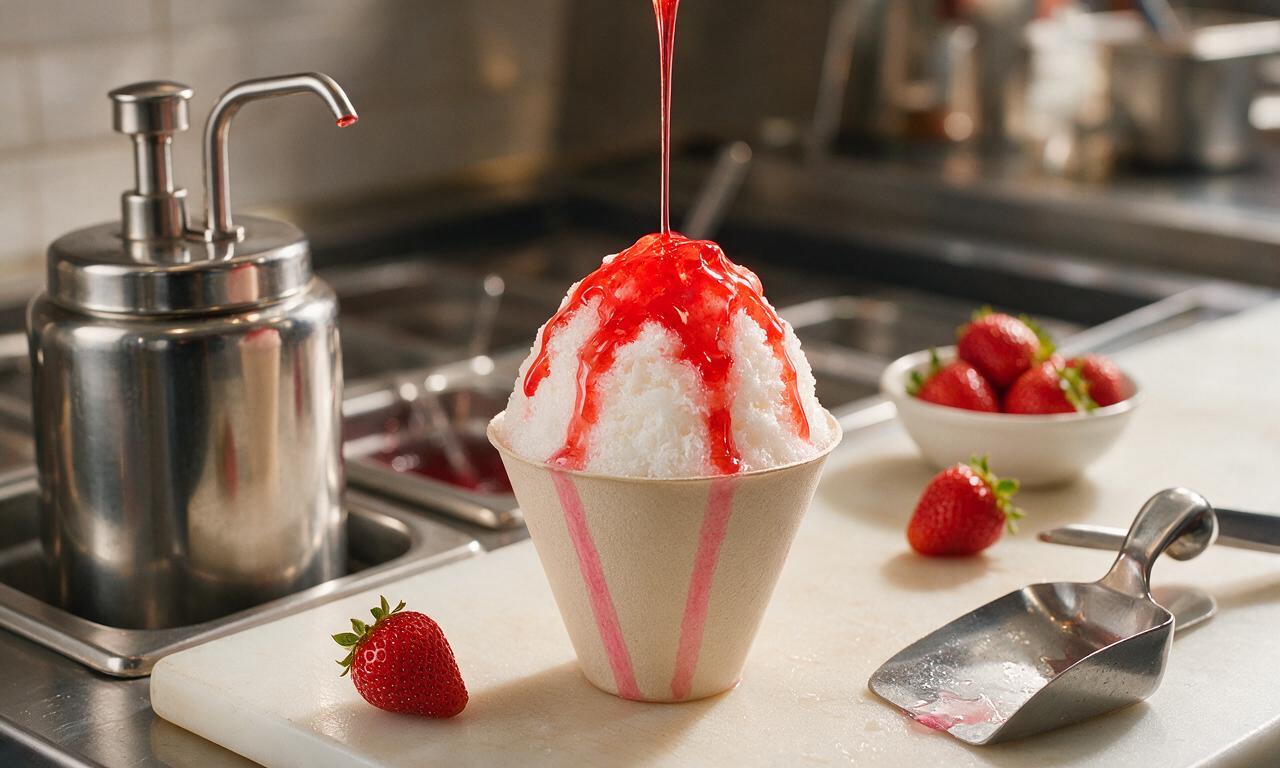
Don’t pour syrup in one big glop right on the peak of the ice! Drizzle small amounts of your chosen strawberry, blue raspberry, or lemon-lime syrup as you build the ice pile, adding thin layers between scoops of shaved ice. Finish with a light top drizzle so both first and last bites are sweet, with no bland, unflavored ice pockets.
6.When should I add the optional sweetened condensed milk, and how much is the right amount?
▾
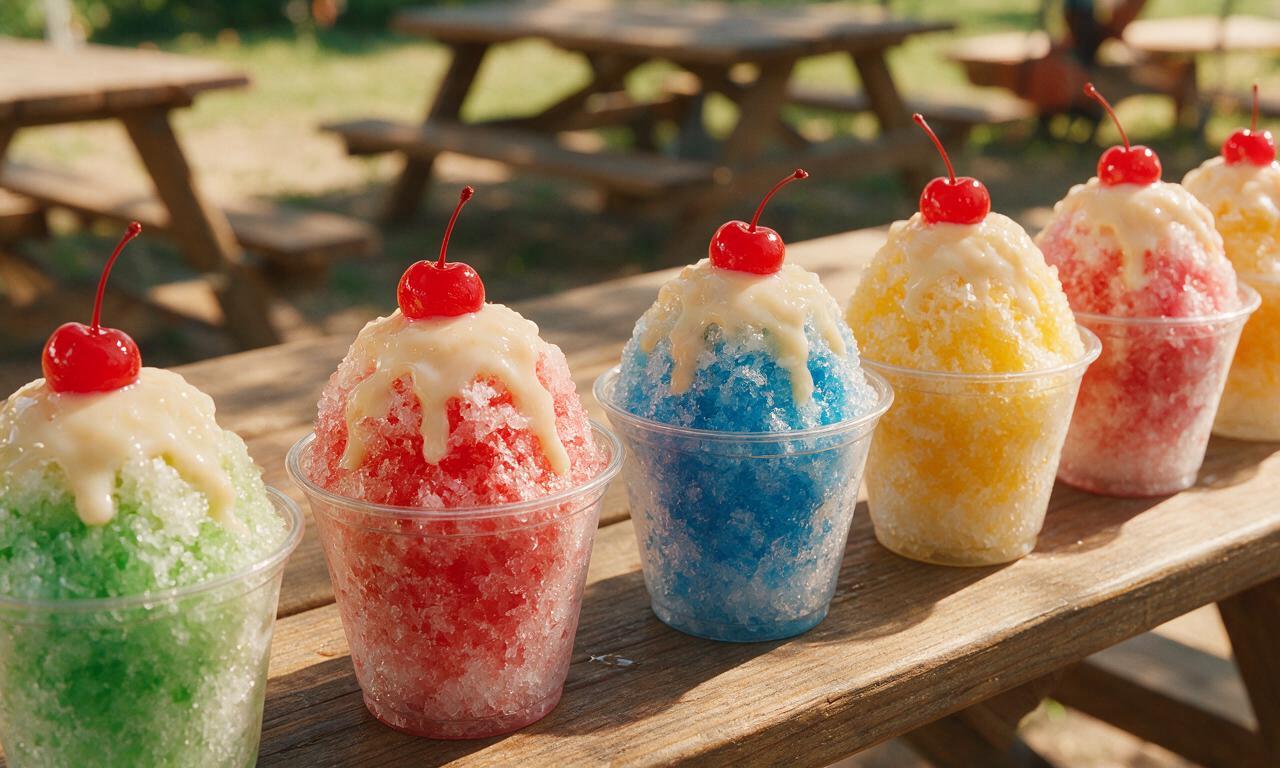
Sweetened condensed milk adds that rich, creamy, county-fair style “snow cream” twist many people remember from childhood. Drizzle 1 to 2 tablespoons over the top of your syrup-drenched ice right before serving—stick to that amount, because too much will melt ice fast and overpower the bright, fruity notes of the classic snow cone syrups.
7.Can I make my own fruit syrups instead of using store-bought snow cone syrup?
▾
Absolutely! If you prefer no artificial colors or flavors, simmer equal parts white sugar and water with fresh fruit puree, a squeeze of lemon juice, and a pinch of salt for 5 minutes, then strain and chill fully before using. Just note homemade syrups are thinner than commercial versions, so drizzle slowly to avoid over-saturating the ice.
8.Why does my ice sometimes have a weird, stale, freezer-burnt aftertaste?
▾
That happens when ice absorbs odors from other food in your freezer, or when you use unfiltered tap water with high mineral or chlorine content. Stick to filtered water for making ice cubes, store ice in a sealed airtight bag in the freezer instead of loose in the bin, and toss any ice older than 4 weeks for a clean, neutral base.
9.Can I assemble snow cones ahead of time for a kids’ party, or do they have to be made fresh?
▾
I don’t recommend assembling fully dressed snow cones more than 5 minutes before serving, since the ice will melt and dilute syrup fast. You can prep ahead by pre-chilling cups, portioning syrups into squeeze bottles, and storing pre-shaved ice in an insulated cooler, so assembling each cone takes just 10 to 15 seconds when guests are ready.
10.How do I make a bright rainbow snow cone using all three classic syrup flavors?
▾
Pile your fluffy shaved ice high in a cup, then divide the top surface into three equal sections. Drizzle strawberry syrup on one third, blue raspberry on the second, and lemon-lime on the third, letting each seep about a half-inch down into the ice. Don’t over-pour, or the colors will mix into a murky brown instead of staying bright and distinct.
11.Can I make lower-sugar snow cones without losing that classic nostalgic flavor?
▾
You can swap regular snow cone syrup for sugar-free versions made with stevia or monk fruit sweetener, which are widely sold in the classic strawberry, blue raspberry, and lemon-lime flavors. Skip the optional sweetened condensed milk, or swap it for a splash of unsweetened coconut cream if you want a creamy note without extra added sugar.
12.What’s the real difference between a classic snow cone and other shaved ice treats?
▾
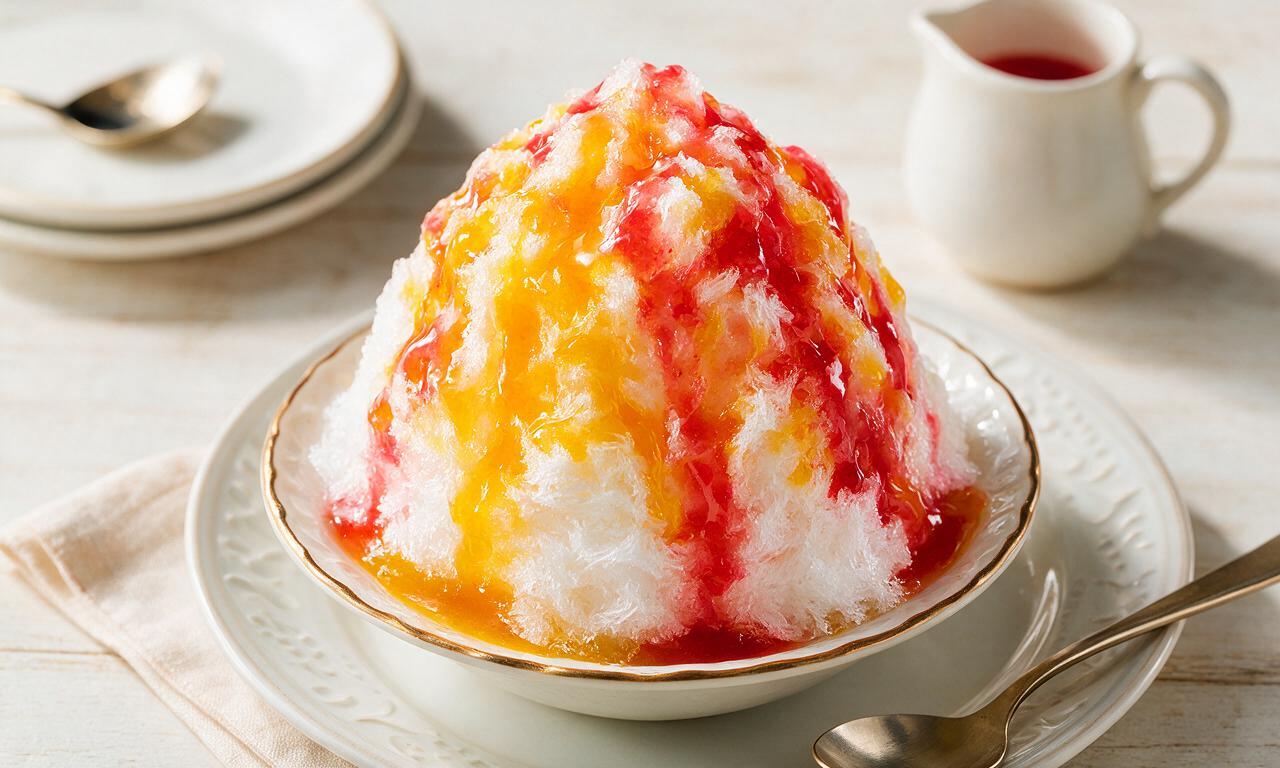
Classic snow cones use light, finely shaved ice (not coarse crushed ice) that absorbs fruity syrup evenly, rather than letting it sink straight to the cup bottom. Unlike denser shaved ice desserts loaded with toppings like fresh fruit, ice cream, or mochi, traditional snow cones keep it simple: fluffy ice, bright fruit syrup, and an optional condensed milk drizzle.







OMG, this was such a hit at our backyard 4th of July cookout! I pre-froze the ice the night before so I didn’t have to wait around, and set up a little topping bar with cherry, blue raspberry, and tiger’s blood syrup plus gummy bears and sprinkles. My kids and all their friends went back for seconds, even the picky eaters! SO easy too, I thought making snow cones at home would be a mess but it took 15 minutes flat to get everything set up once the ice was ready. Total game changer for summer.
Took these on our recent day trip to the lake! I pre-crushed the ice and kept it in an insulated cooler, packed a few different syrups in squeeze bottles, and they stayed perfectly fluffy for 3 whole hours. Way better than stopping for overpriced gas station slushies on the drive. Will absolutely be a staple for all our summer outdoor adventures.
Wait, I tried this yesterday and my ice turned super slushy instead of light and fluffy, what did I do wrong? I froze the ice for like 3 hours instead of 4, is that the issue? It still tasted good but the texture was off, more like a slushie than a snow cone.
Brought these to our neighborhood block party potluck last weekend and people were asking for the recipe left and right! I did a mix of classic flavors and even a homemade mango chili syrup for the folks who like a little kick. The prep was so minimal, I didn’t even have to stress about slaving over the stove for a potluck dish for once. 10/10, will be adding this to my regular summer rotation.
I don’t have kids, don’t go to a lot of potlucks, and I still make these at least once a week for me and my roommate. There’s something so nostalgic about a classic snow cone, it takes me right back to little league games in the summer. I usually top mine with a drizzle of condensed milk for extra creaminess, chef’s kiss.
I was worried this wouldn’t work for quick weeknight treats but the pre-freeze step is so easy to work into meal prep! I just keep a couple trays of ice specifically for snow cones in the deep freezer at all times now, so whenever the kids beg for a sweet snack after school we can whip these up in 2 minutes flat. Way less sugar than the popsicles they usually beg for at the grocery store too, huge win.
How far in advance can I crush the ice if I’m having people over? I don’t want to be stuck in the kitchen blending while my guests are hanging out, but I also don’t want the ice to melt before everyone gets there.
This is perfect for my kid who has a ton of food allergies! All the store-bought frozen treats have weird additives and cross-contamination risks, but making these at home means I control exactly what goes in them. I make my own simple syrup with fresh fruit so there’s no artificial dye, and he can have a fun summer treat just like all his friends. I can’t thank you enough for this easy, accessible recipe!
We made these with my group of 8-10 year olds at summer camp last week and it was the easiest activity ever! Each kid got to pick their own syrup and toppings, and it was way less messy than I thought it would be. Even the kids who usually turn their nose up at cooking activities got super excited to help crush the ice. 10/10 for kid group activities.
I didn’t want to buy a fancy $50 snow cone machine so I was thrilled this works with a regular blender! The texture is exactly like the snow cones I get at the local fair stand for $6 a pop, and I can make them at home for pennies. I splurged on a couple of fancy syrups but even with that cost I’ve already saved money making these at home instead of buying them out. So worth it.
Did a little retro summer date night with my partner tonight and these were the star! We put on old 90s summer movies, had hot dogs, and made snow cones with all the weird toppings we loved as kids—sour patch kids, marshmallow fluff, even a little pickle juice on one for the chaos. It was such a fun, low-cost date idea, way better than going out to an expensive dinner.