
Snowflake Cookies
intro
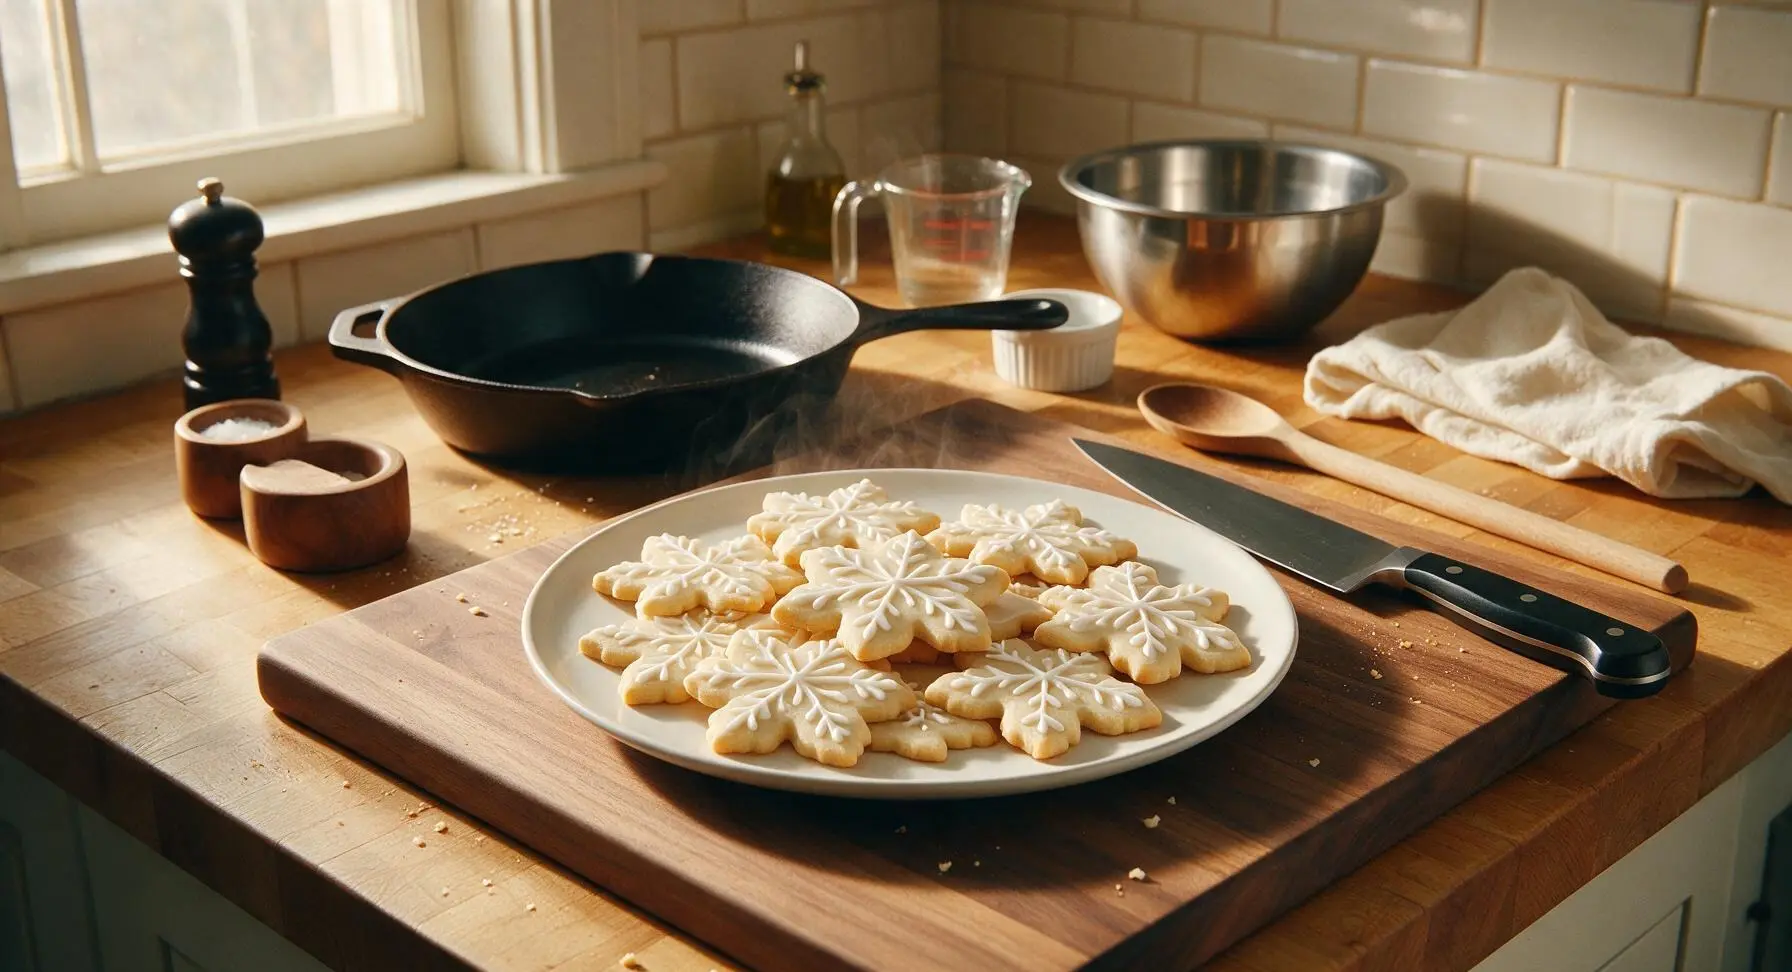
Buttery, tender cut-out sugar cookies shaped like snowflakes, decorated with crisp, glossy white royal icing—a beloved winter holiday baking staple perfect for gifting and cookie platters.
Ingredients
Steps
Cream Butter and Sugar
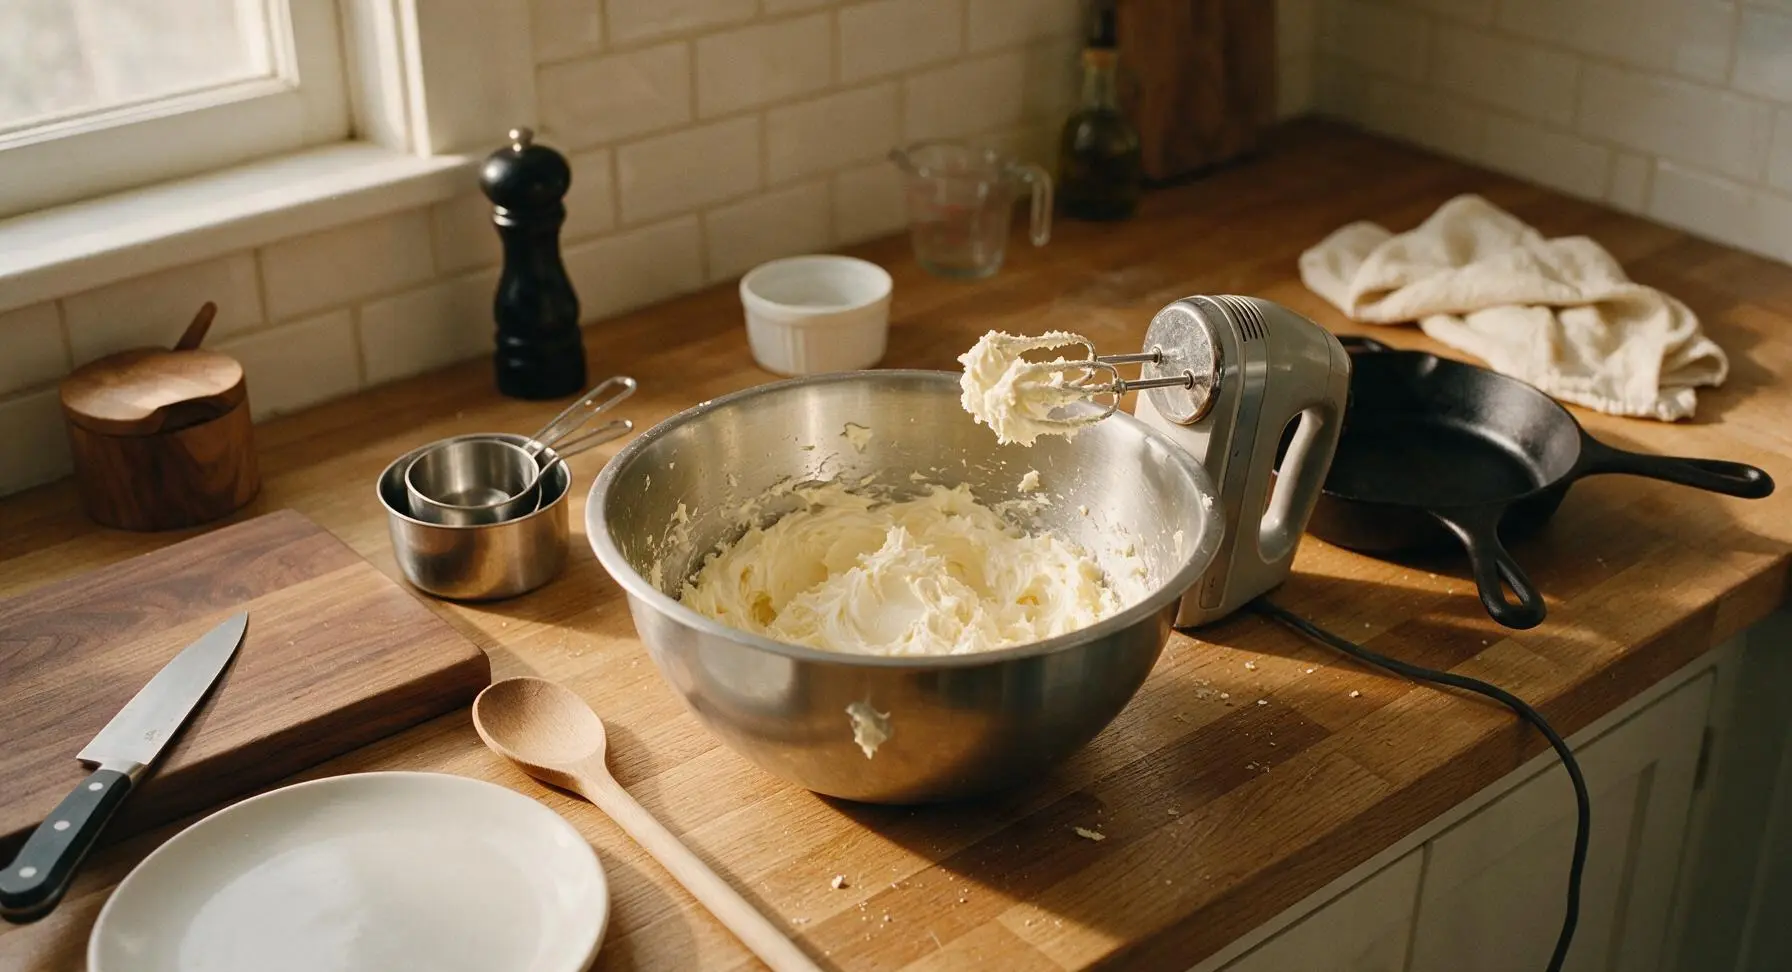
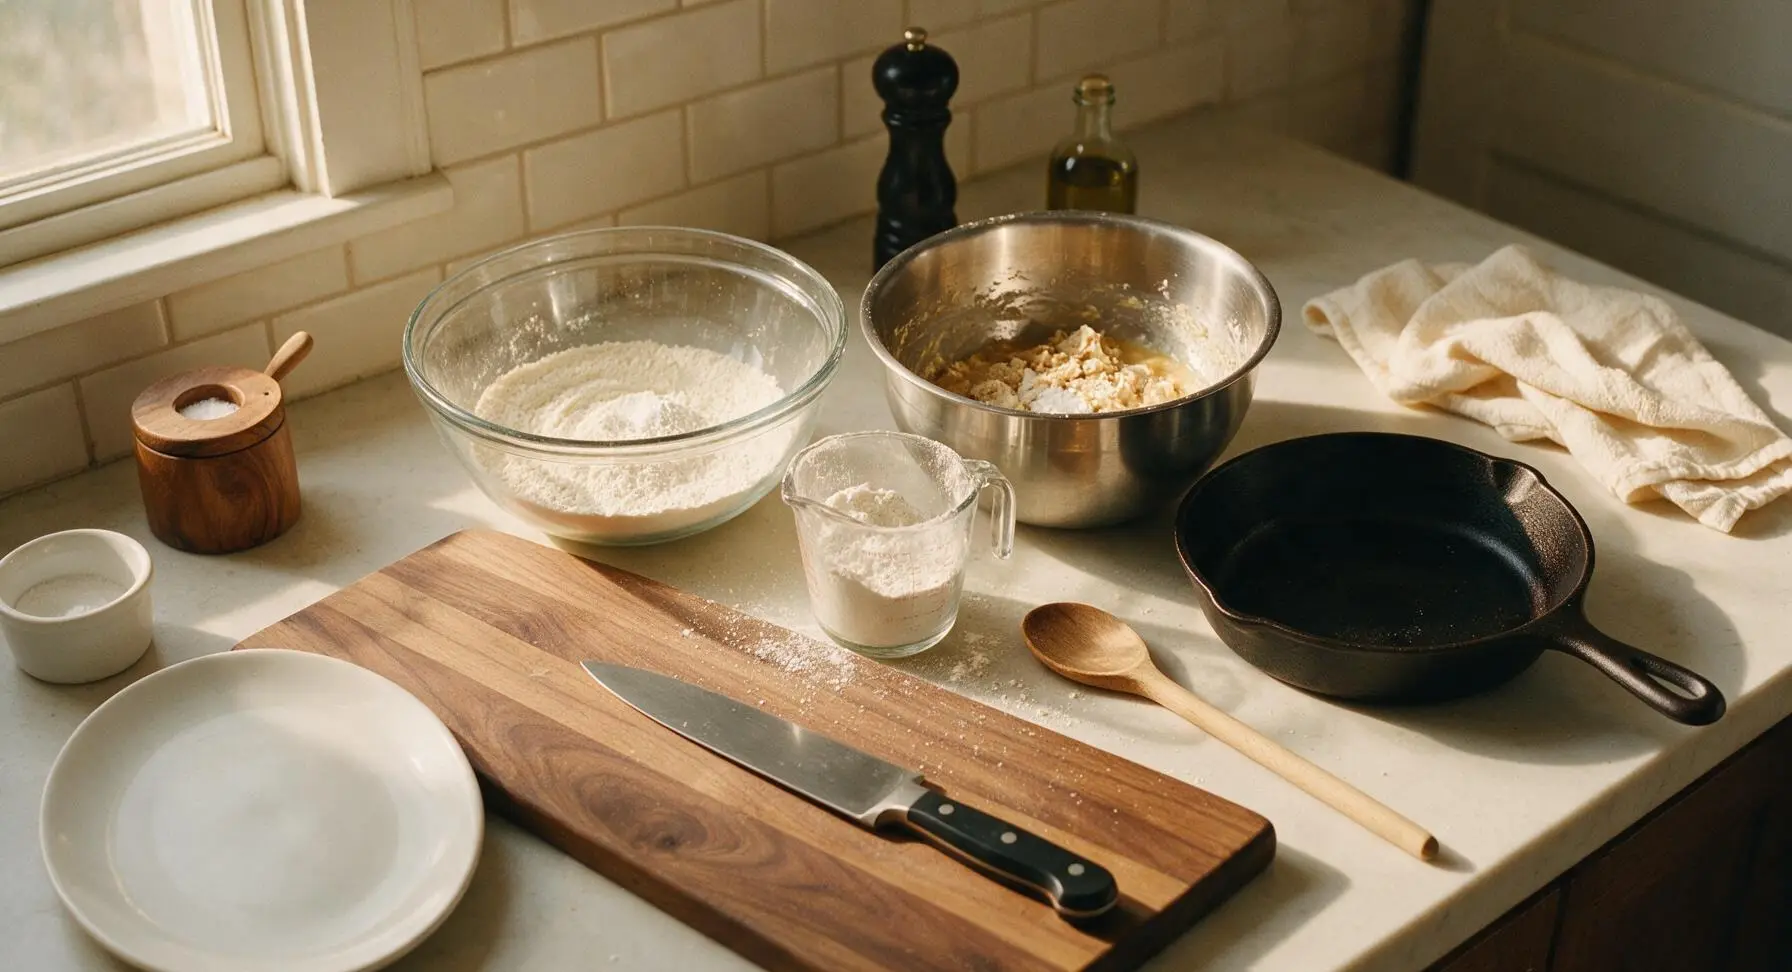
Place 226g softened unsalted butter and 200g granulated sugar into the large brushed stainless steel mixing bowl. Use the handheld electric mixer set to medium speed to beat the mixture for 3 full minutes, stopping once to scrape down the bowl sides, until the mixture is pale ivory, light, and fluffy with no visible butter lumps.
Add Egg and Vanilla
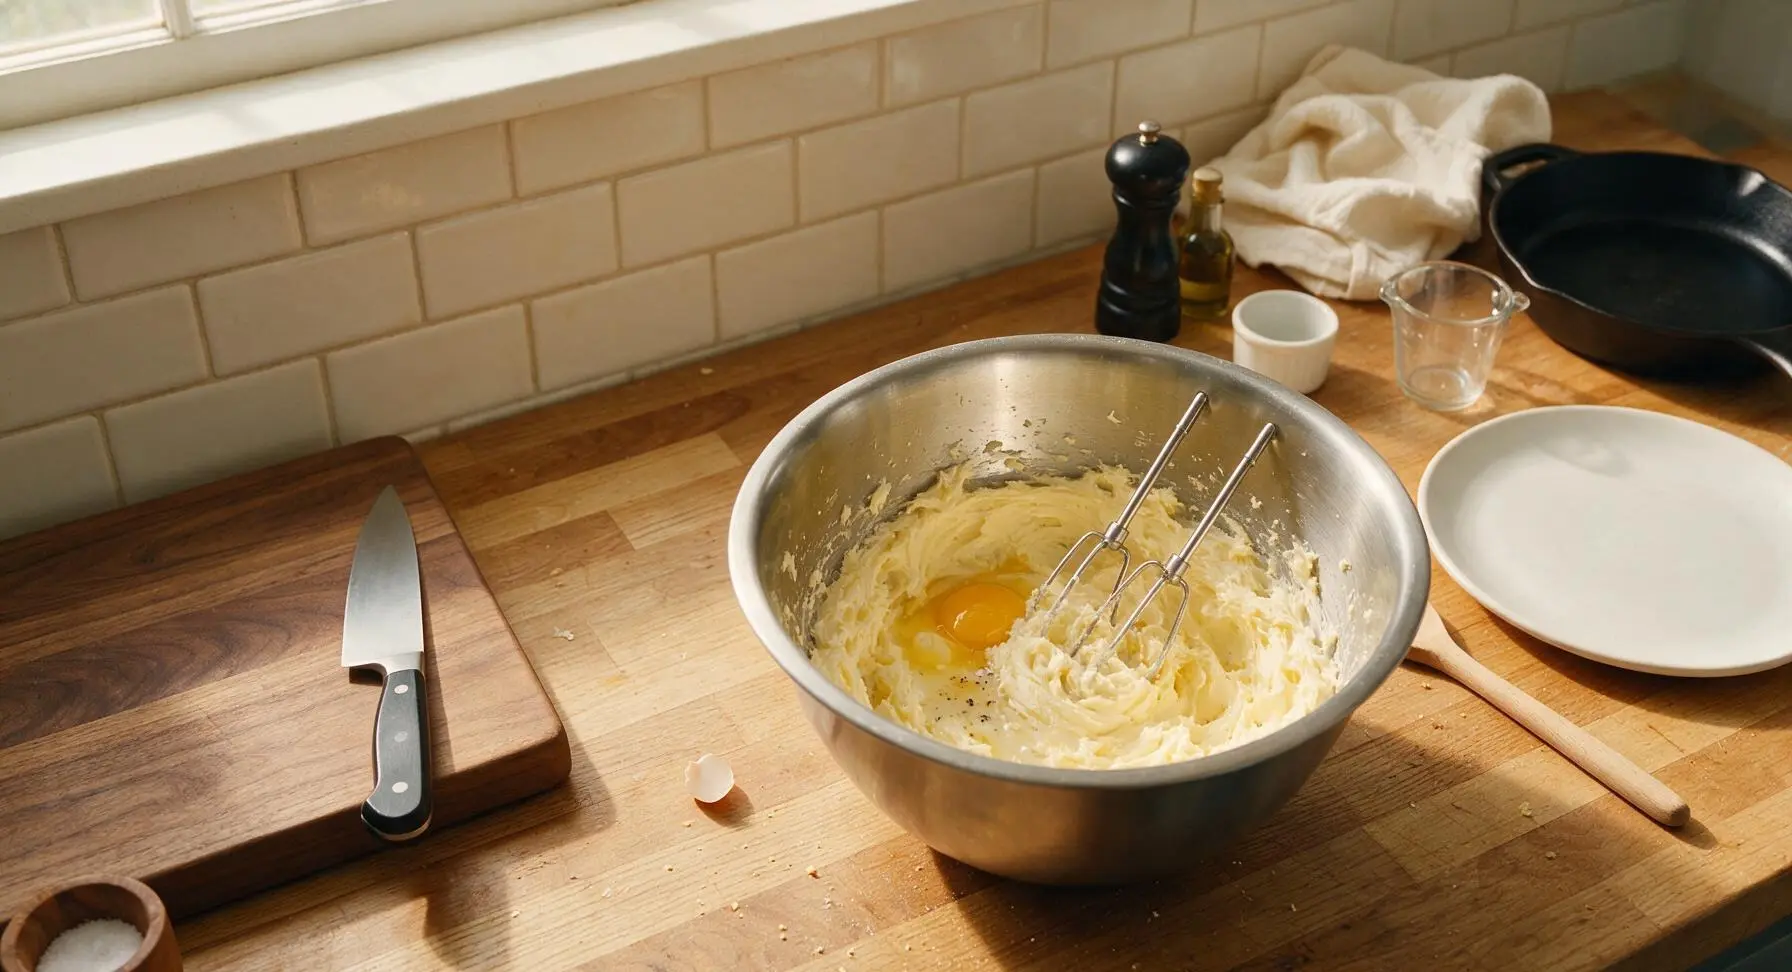
Crack the room-temperature large egg into the creamed butter mixture, then add 1 tsp pure vanilla extract. Beat on low speed for 1 minute, scraping down the bowl sides halfway through, until the mixture is fully smooth and homogenous with no visible streaks of separate egg.
Mix Cookie Dough
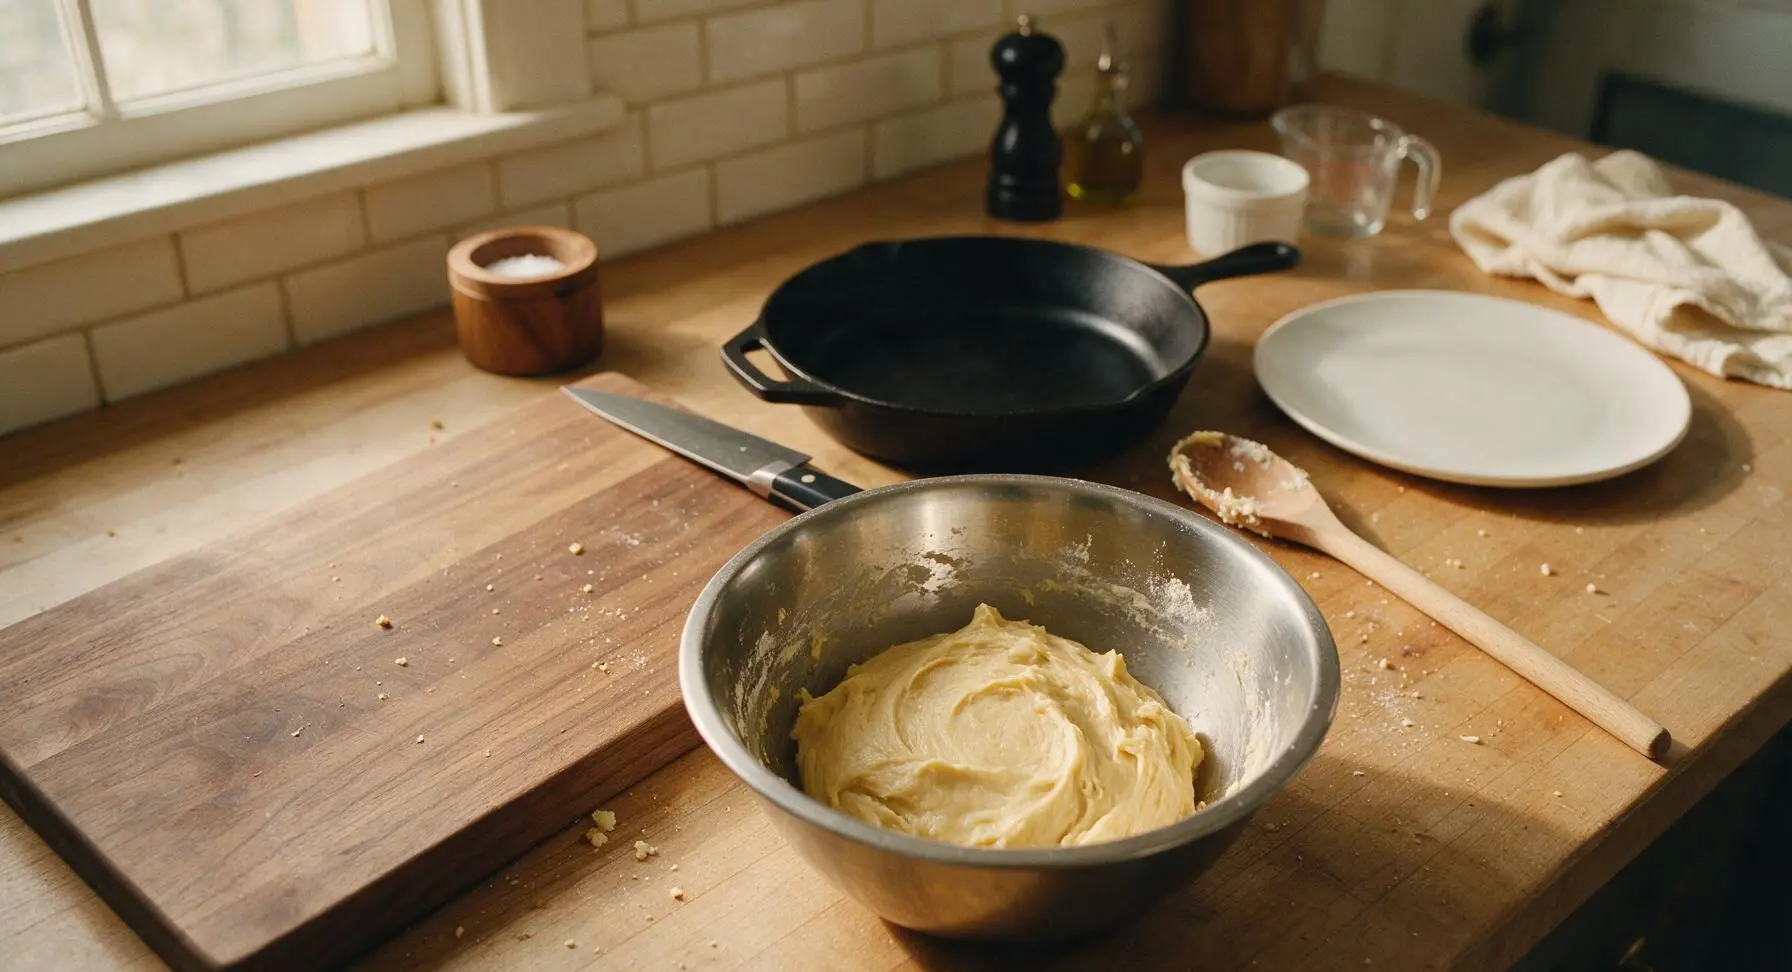
In the medium clear glass mixing bowl, whisk together 315g all-purpose flour, 1 tsp baking powder, and 1/2 tsp fine sea salt until evenly combined. Gradually add the dry mixture to the wet butter mixture, beating on the lowest mixer speed just until no dry flour streaks remain—do not overmix, as this creates tough cookies. The dough will form a soft, slightly sticky pale yellow mass.
Chill Dough Disk
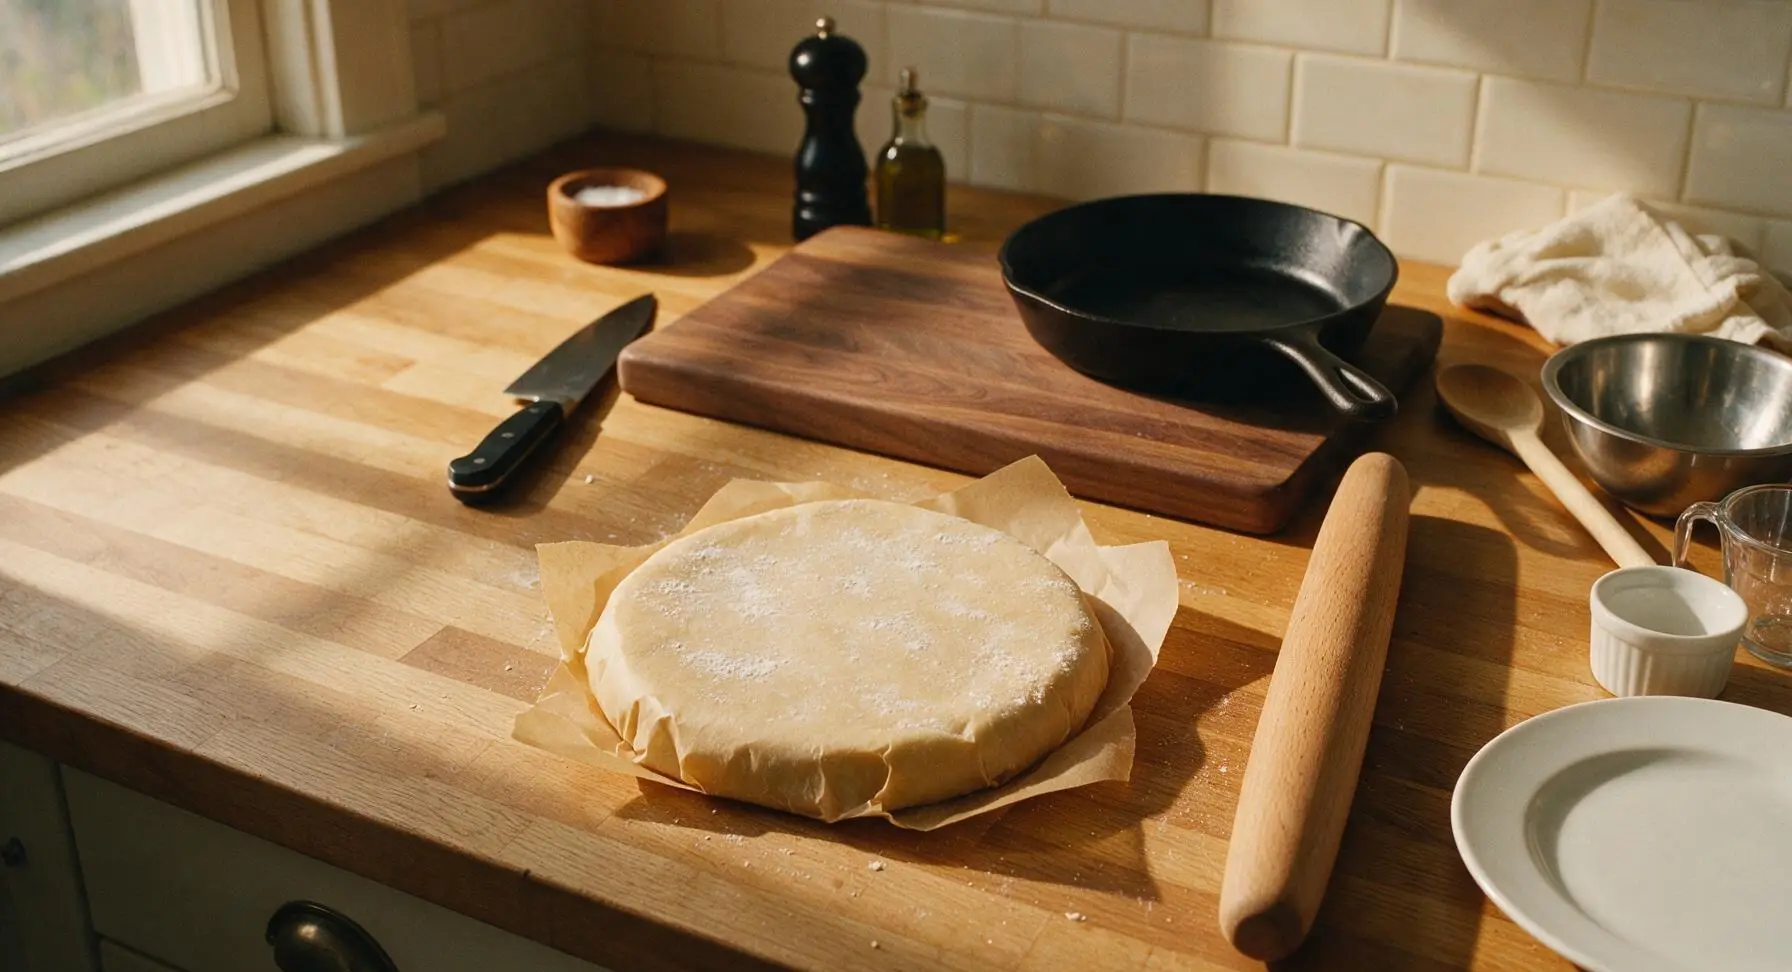
Turn the dough out onto a sheet of unbleached parchment paper, shape into a uniform 2cm thick flat disk, wrap tightly in the parchment, and refrigerate for a minimum of 2 hours (up to 3 days). Chilling solidifies the butter in the dough to prevent spreading and preserve sharp snowflake edges during baking.
Cut Snowflake Shapes
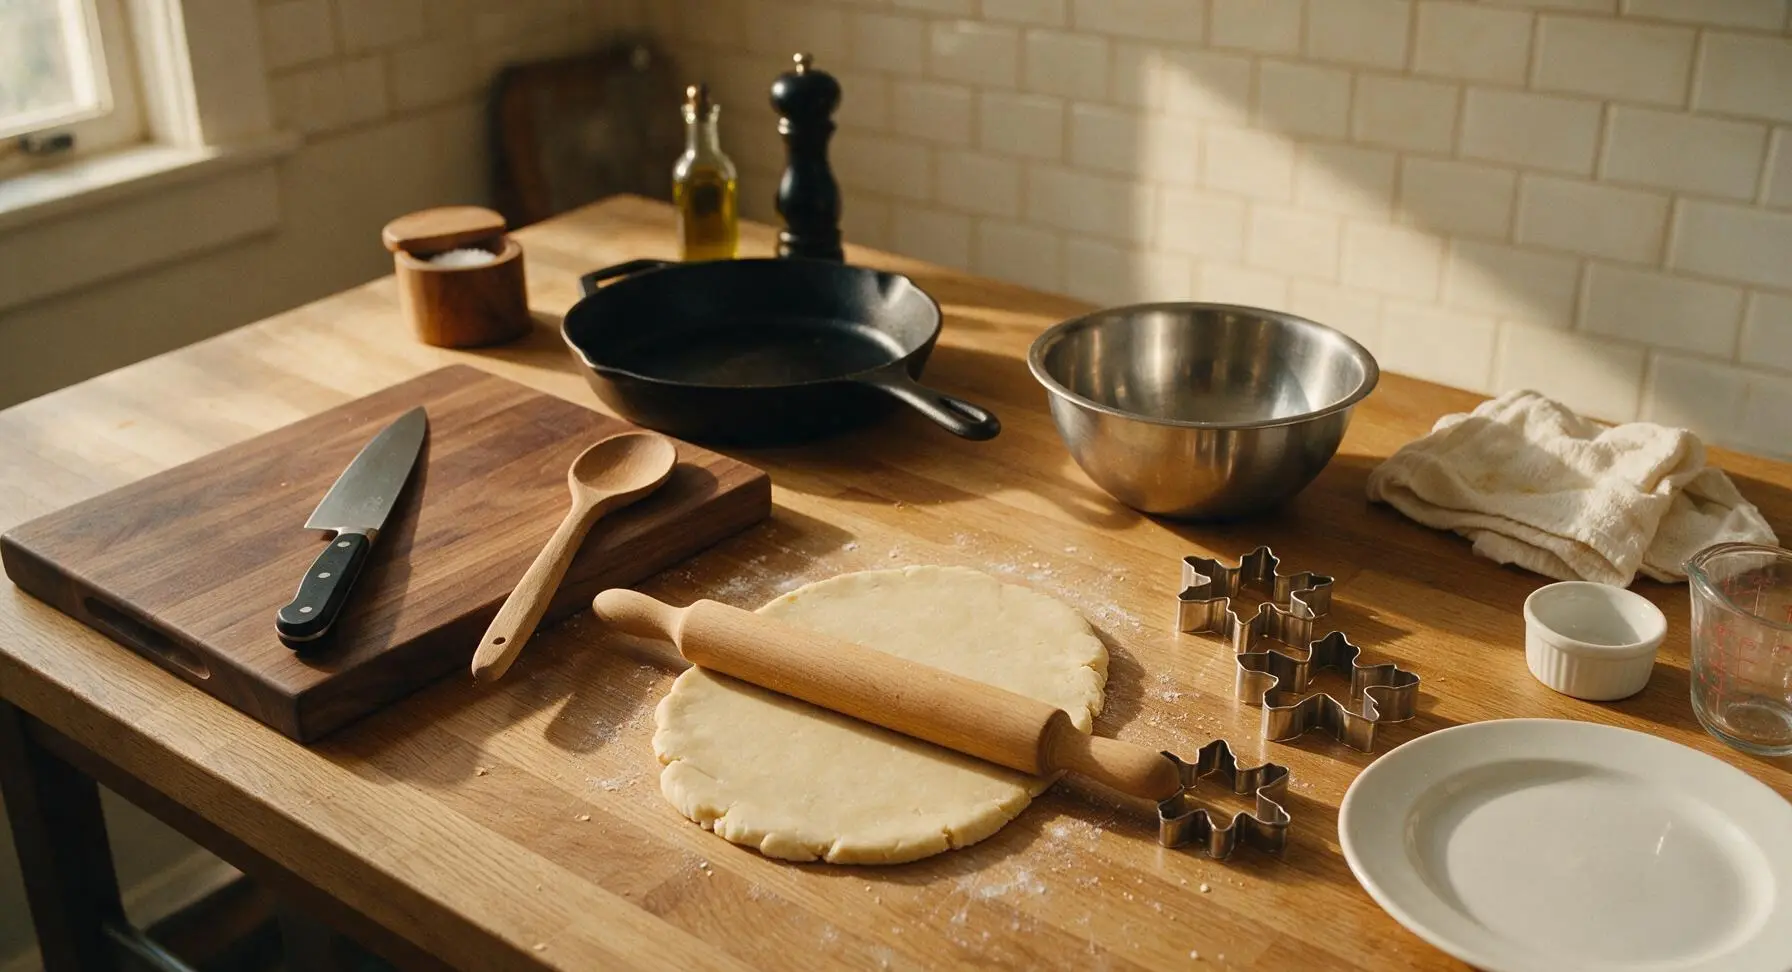
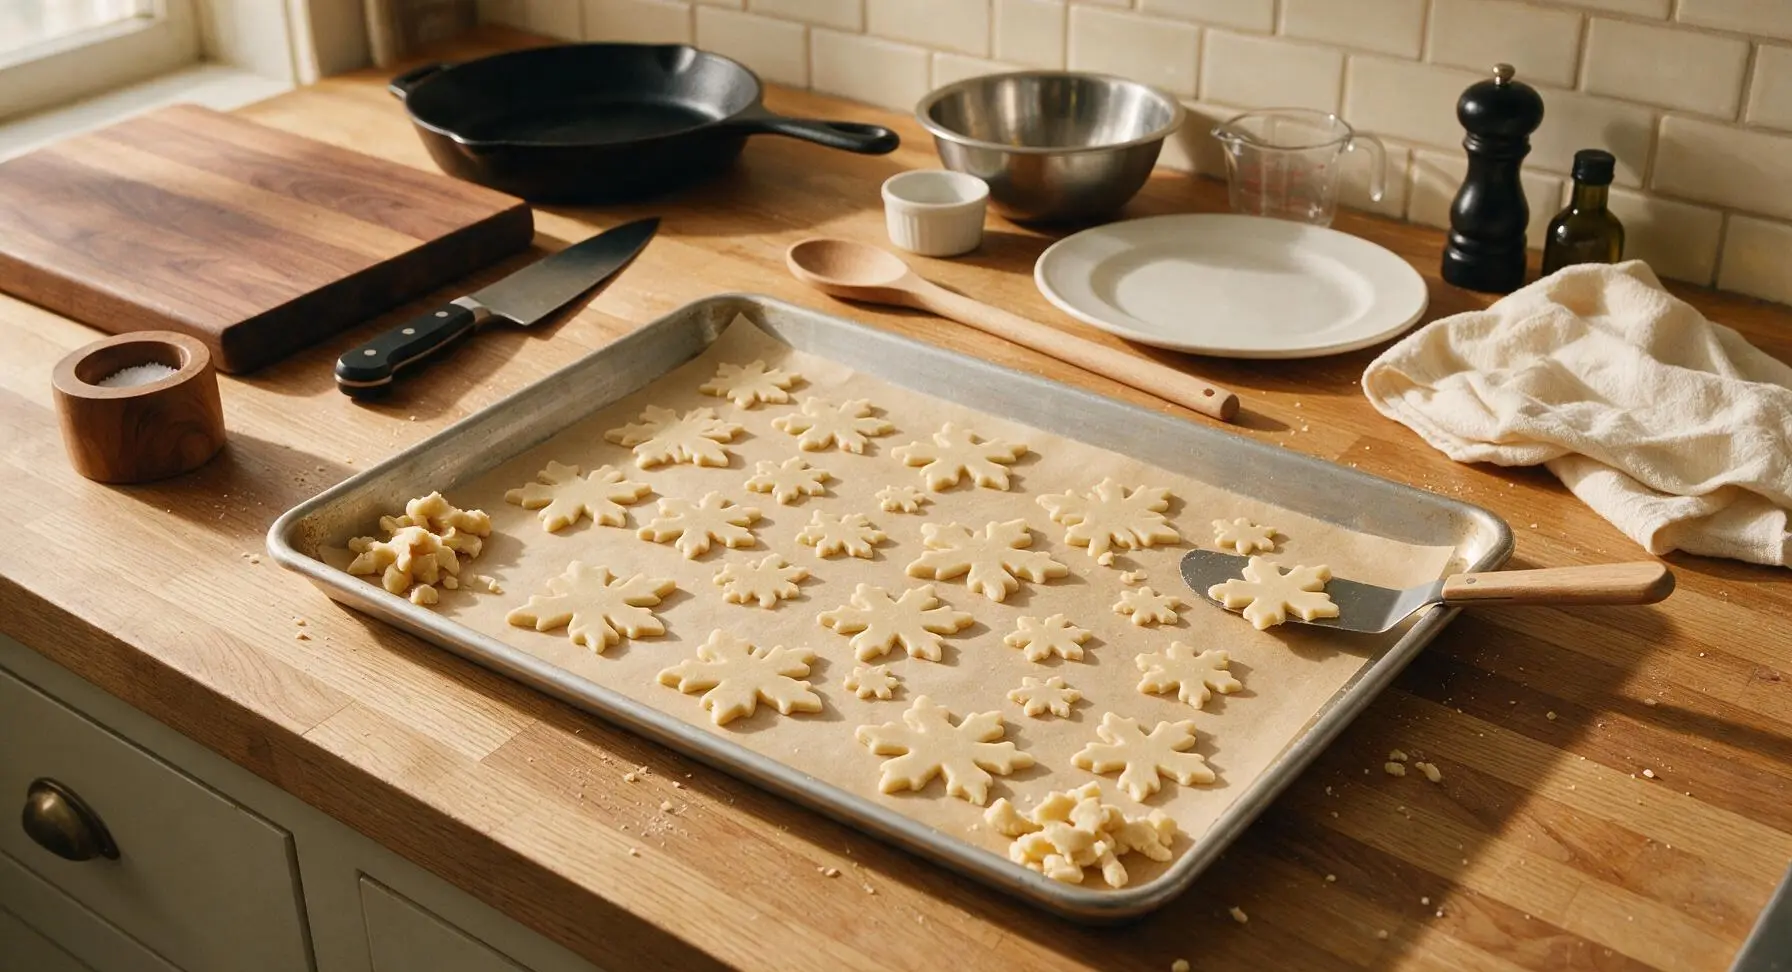
Remove chilled dough from the fridge and let rest 5 minutes at room temperature to soften slightly. Lightly flour the counter surface, then use the beech wood rolling pin to roll the dough to an even 6mm thickness. Press the stainless steel snowflake cutters straight down through the dough, twisting slightly to release clean shapes, and space cutouts 2cm apart on the parchment-lined aluminum baking sheet. Gather scraps, re-roll once, and cut remaining shapes until all dough is used.
Bake Until Set
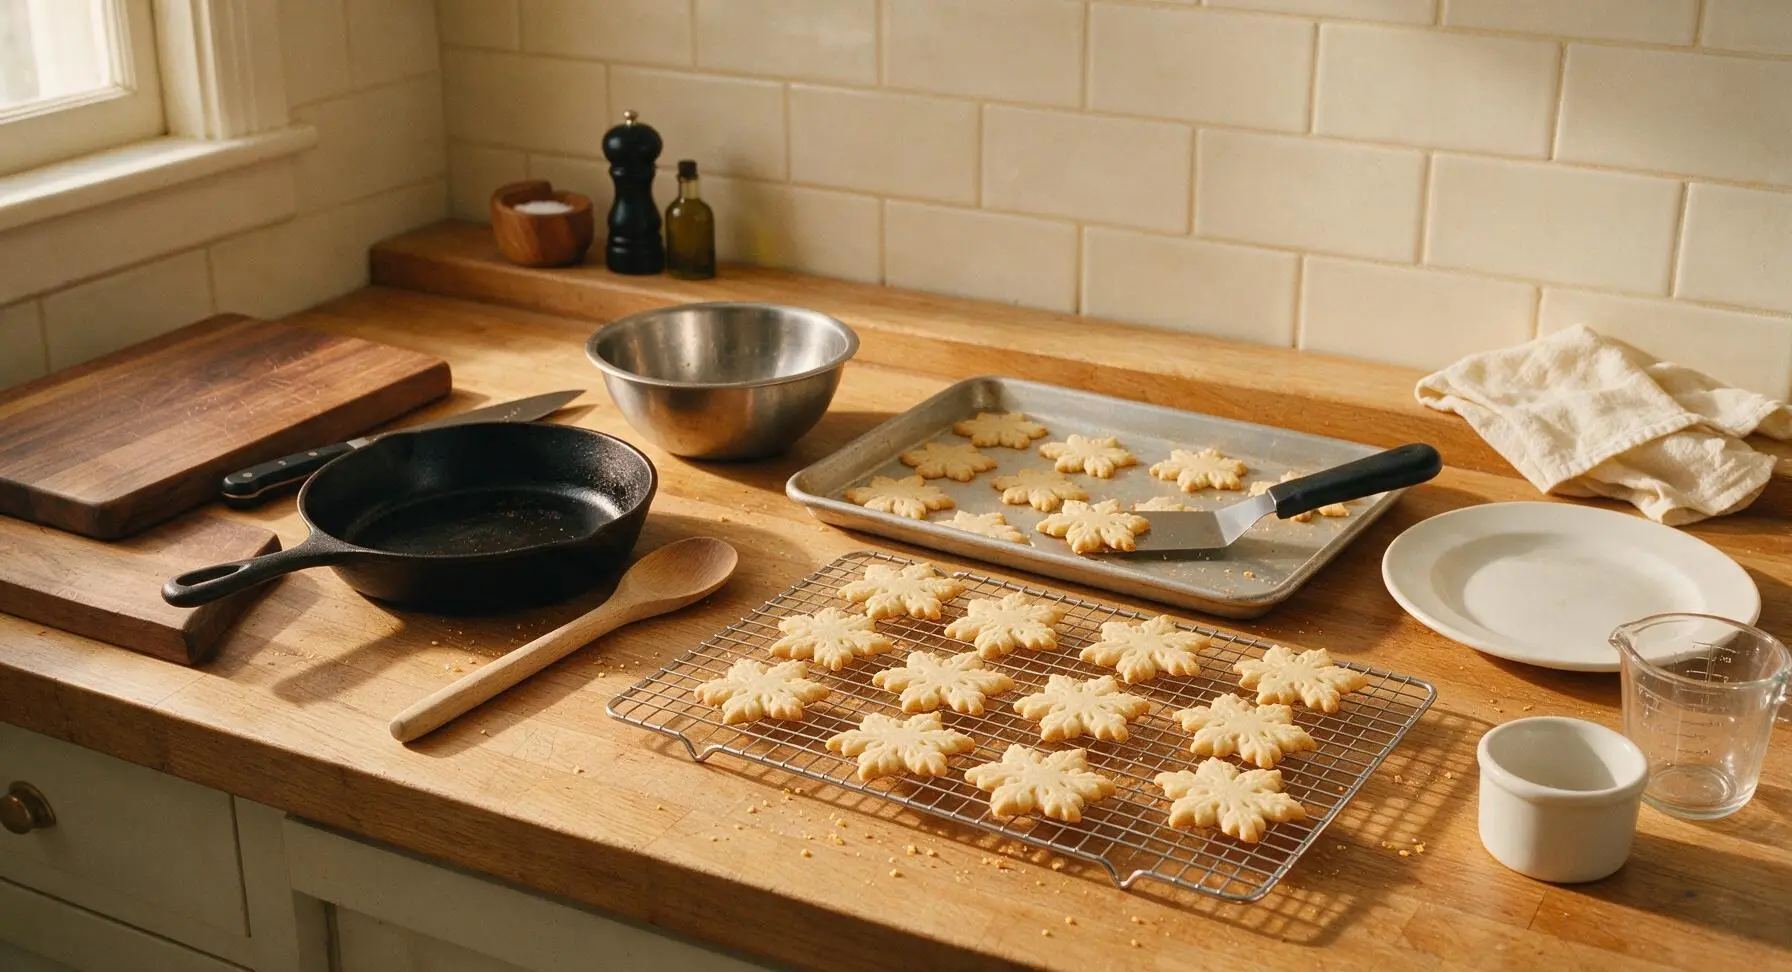
Preheat oven to 175C (350F). Bake cookies one sheet at a time for 8-10 minutes, until edges are just barely pale golden brown—do not overbake, as cookies will crisp as they cool. Let cookies rest on the hot baking sheet for 5 minutes, then use the offset spatula to transfer them to the chrome wire cooling rack to cool completely to room temperature (warm cookies melt royal icing).
Make Royal Icing
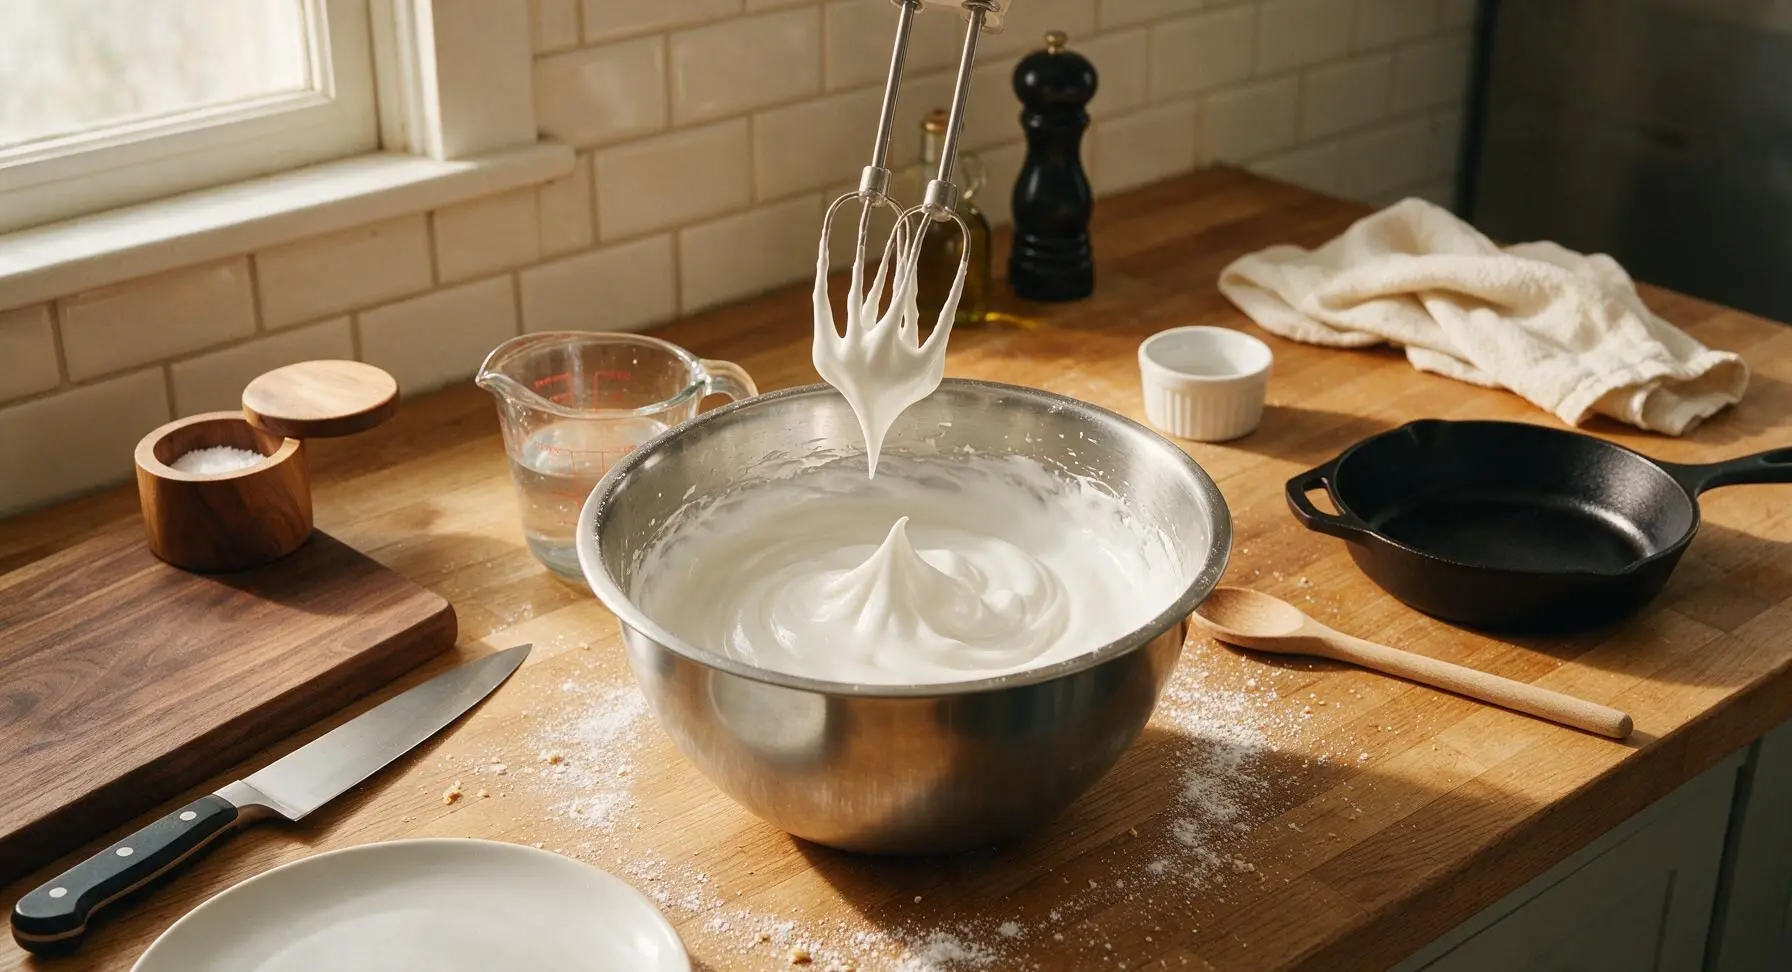
In the cleaned large stainless steel mixing bowl, combine 450g powdered sugar, 3 tbsp meringue powder, and 6 tbsp warm water. Beat with the electric mixer on medium-low speed for 5 minutes, until icing is thick, glossy, and holds a soft 1cm peak when the beater is lifted. Adjust consistency with 1-2 extra drops of warm water if too thick, or extra powdered sugar if too thin, to reach a slow-flowing piping consistency that holds sharp lines.
Decorate Snowflakes
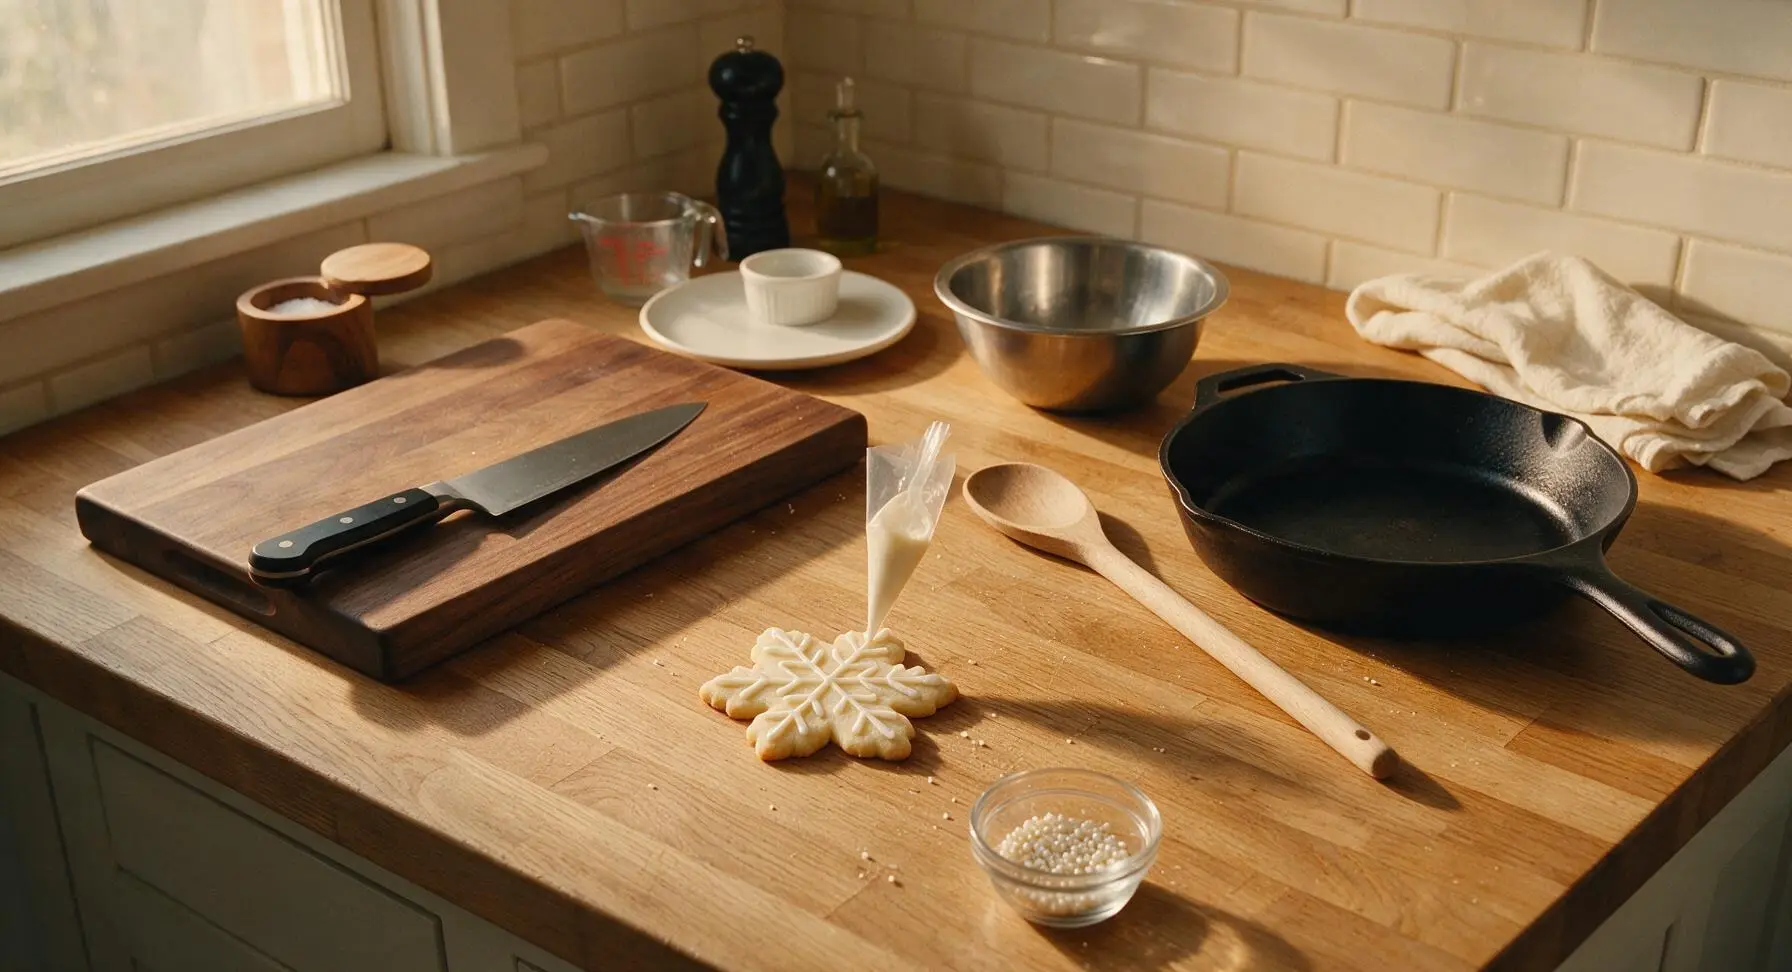
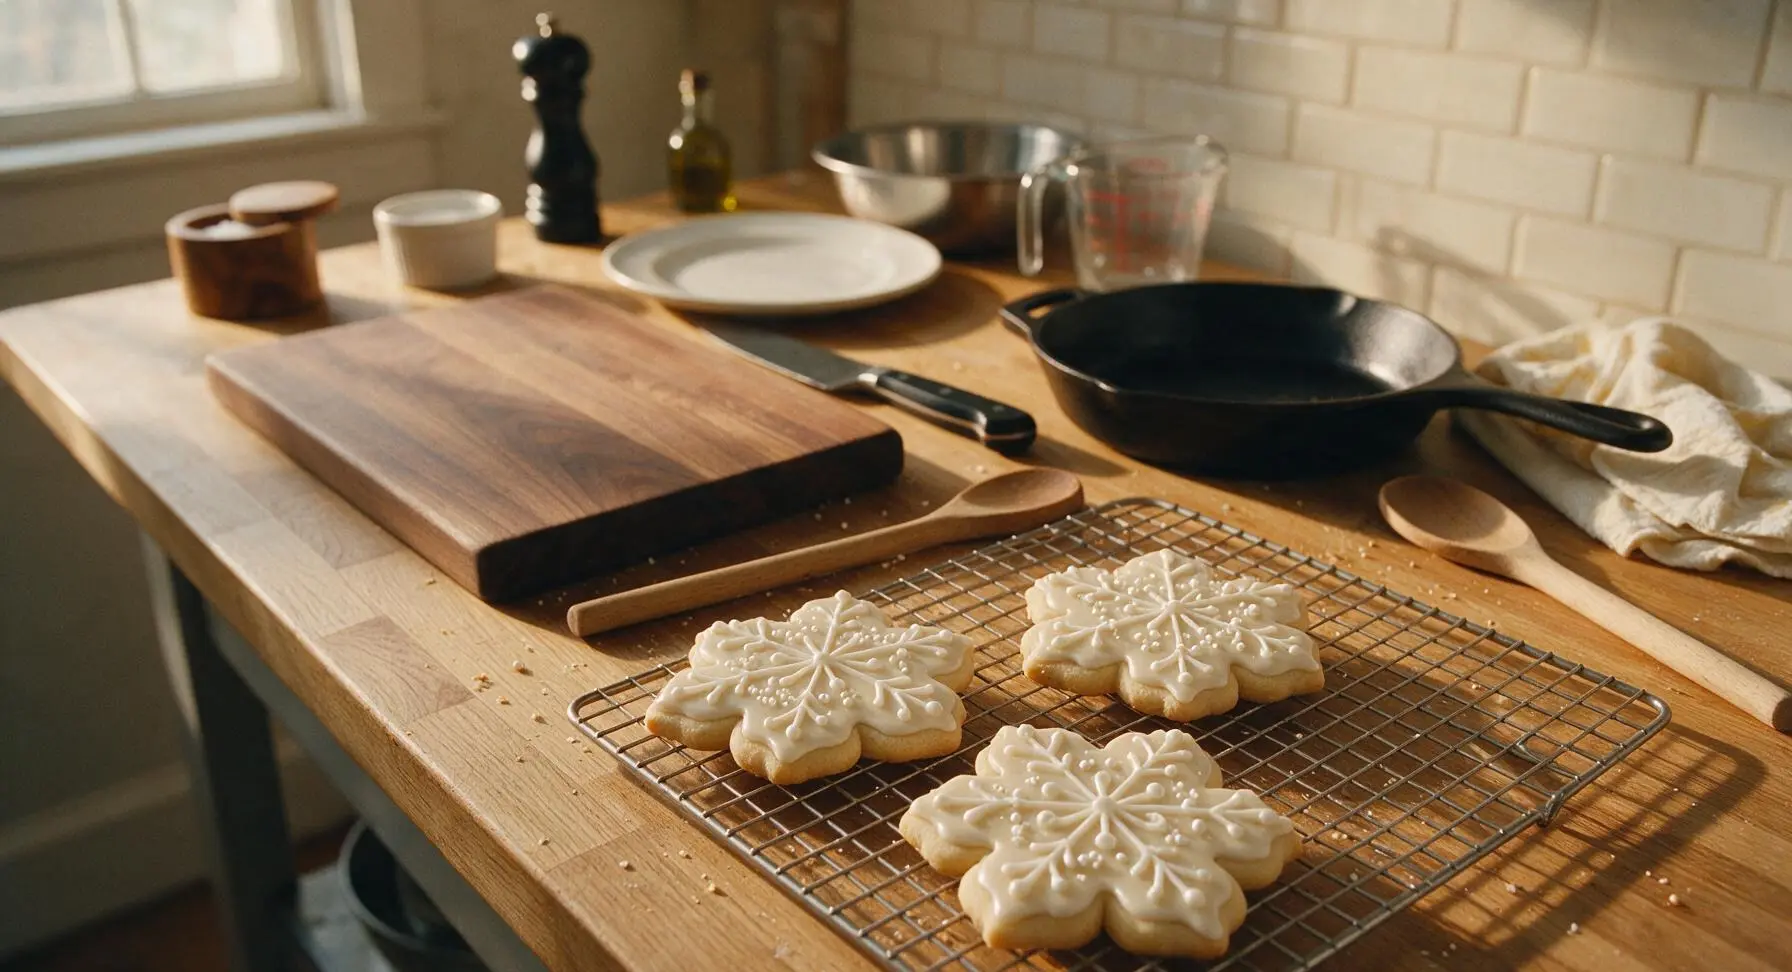
Transfer royal icing to the clear piping bags fitted with small round tips. First, pipe a thin outline around the edge of each fully cooled cookie, then fill the center with a smooth thin layer of icing for a solid white base. Let the base set 10 minutes, then pipe delicate intersecting lines and dot details to mimic unique snowflake patterns, and sprinkle with white pearl sugar before icing sets. Let decorated cookies rest 1 hour at room temperature until icing is completely hard and dry.
Tips
2.Never skip the full 2-hour dough chill: warm, soft dough spreads rapidly in the hot oven, which will blur the delicate points and edges of your snowflake cutouts and turn them into unrecognizable round blobs.
3.Wait until cookies are completely cool before applying royal icing: even slightly warm cookies will melt the icing, causing it to slide off the cookie surface and never set to its signature smooth, hard, glossy finish.






OMG these snowflake cookies were such a hit at my kid’s class holiday party! The texture is perfectly buttery, not too sweet, and the royal icing set so nicely even with my shaky piping skills. 10/10 will be making these every December from now on.
Tried these for my first ever holiday cookie bake and wow, medium difficulty is no joke! I messed up the dough chilling step the first time and my snowflakes spread all over the tray, total blob city. Second batch turned out way better once I actually followed the chill time note. Tasted SO good even the messed up ones got eaten by my roommates.
Game changer for my annual cookie exchange! Everyone was asking for the recipe before they even finished their first bite. I added a tiny dash of almond extract to the dough and it elevated the flavor so much, highly recommend that little tweak.
Wait, has anyone tried making these gluten free? I have a couple family members with celiac coming for Christmas dinner and I’d love to serve these instead of buying a separate gluten free dessert.
My kids loved helping me cut out the snowflake shapes and dust them with powdered sugar! We had a little flour fight halfway through but the end result was so worth the mess. These are going to be our new yearly snow day tradition.
Made these for my daughter’s winter recital potluck and they were gone in 10 minutes flat. I will say, make sure you roll the dough to exactly 1/4 inch thickness—my first batch was too thin and got crispy around the edges, still tasty but not as soft as the second batch.
SO good. I was worried medium difficulty would be too much for my tiny apartment kitchen with zero counter space, but I made it work rolling the dough between two sheets of parchment paper on my tiny cutting board. The snowflake shapes came out crisp and the vanilla flavor is chef’s kiss.
Update: I made these for the office potluck like I said I would, and my boss literally asked if I bought them from a fancy bakery. The only change I made was adding a little edible silver glitter on top for extra sparkle, 10/10 would recommend. I’m officially the office snack hero now.
These held up so well when I packed them up for our backcountry ski trip yurt weekend! I stored them in an airtight container and they stayed buttery and soft for 4 whole days, even in the cold yurt. Perfect high altitude snack after a long day on the slopes.
I’ve been making snowflake cookies for 40 years and this recipe is easily one of the best I’ve tried. The balance of butter and sugar is perfect, not cloyingly sweet like so many modern cutout cookie recipes. My grandkids decorated them with all kinds of sprinkles and said they’re better than my old recipe—don’t tell my 1983 recipe card I said that.
Wait, 20 minute cook time? Mine took way longer, almost 30 minutes total in the oven? Did I do something wrong? I followed the recipe exactly, used room temp butter, chilled the dough, everything, but they were still super doughy after 20 minutes.
I don’t even like sugar cookies that much but my partner begged me to make these for our neighborhood holiday block party, and wow I’m a convert. They’re buttery, not overly sweet, and the icing doesn’t get that weird crunchy chalky texture that royal icing usually gets. 10/10 even for a cookie hater like me.
Made these for a tropical themed Christmas party (we do beach Christmas down here!) and used blue and white icing to make them look like frosty ocean snowflakes, everyone lost their minds over them. Only issue was the butter got super soft fast when I was rolling dough because my AC was out, so I had to pop the dough back in the fridge a couple times.
Meal prepped a double batch of these to have on hand for last minute holiday guests and it’s the best decision I made all month. I froze half the cutout shapes before baking so I can just pop a tray in the oven whenever someone stops by, no last minute dough mixing required. Fresh baked cookies in 20 minutes, no stress.
I tried adding lemon zest to the dough on a whim because I had a lemon sitting on the counter, and it was such a bright, delicious twist! Cut the richness a little bit, paired so perfectly with the sweet royal icing. Will absolutely be doing that again next time I make these.
First time making decorated cookies for my husband’s work holiday party and I was so stressed they’d look terrible, but the snowflake cutter shape is so forgiving! Even my wonky icing lines looked cute, like whimsical snowflakes instead of messy mistakes. Got so many compliments.
These are SO good! I made a batch to leave out for Santa this year and even snuck a couple before Christmas Eve, no regrets. The cook time was spot on for my oven, edges were perfectly golden, center soft, icing set in exactly an hour like the recipe said. No notes, 10/10.