
Snowman Oreo Cookies
intro
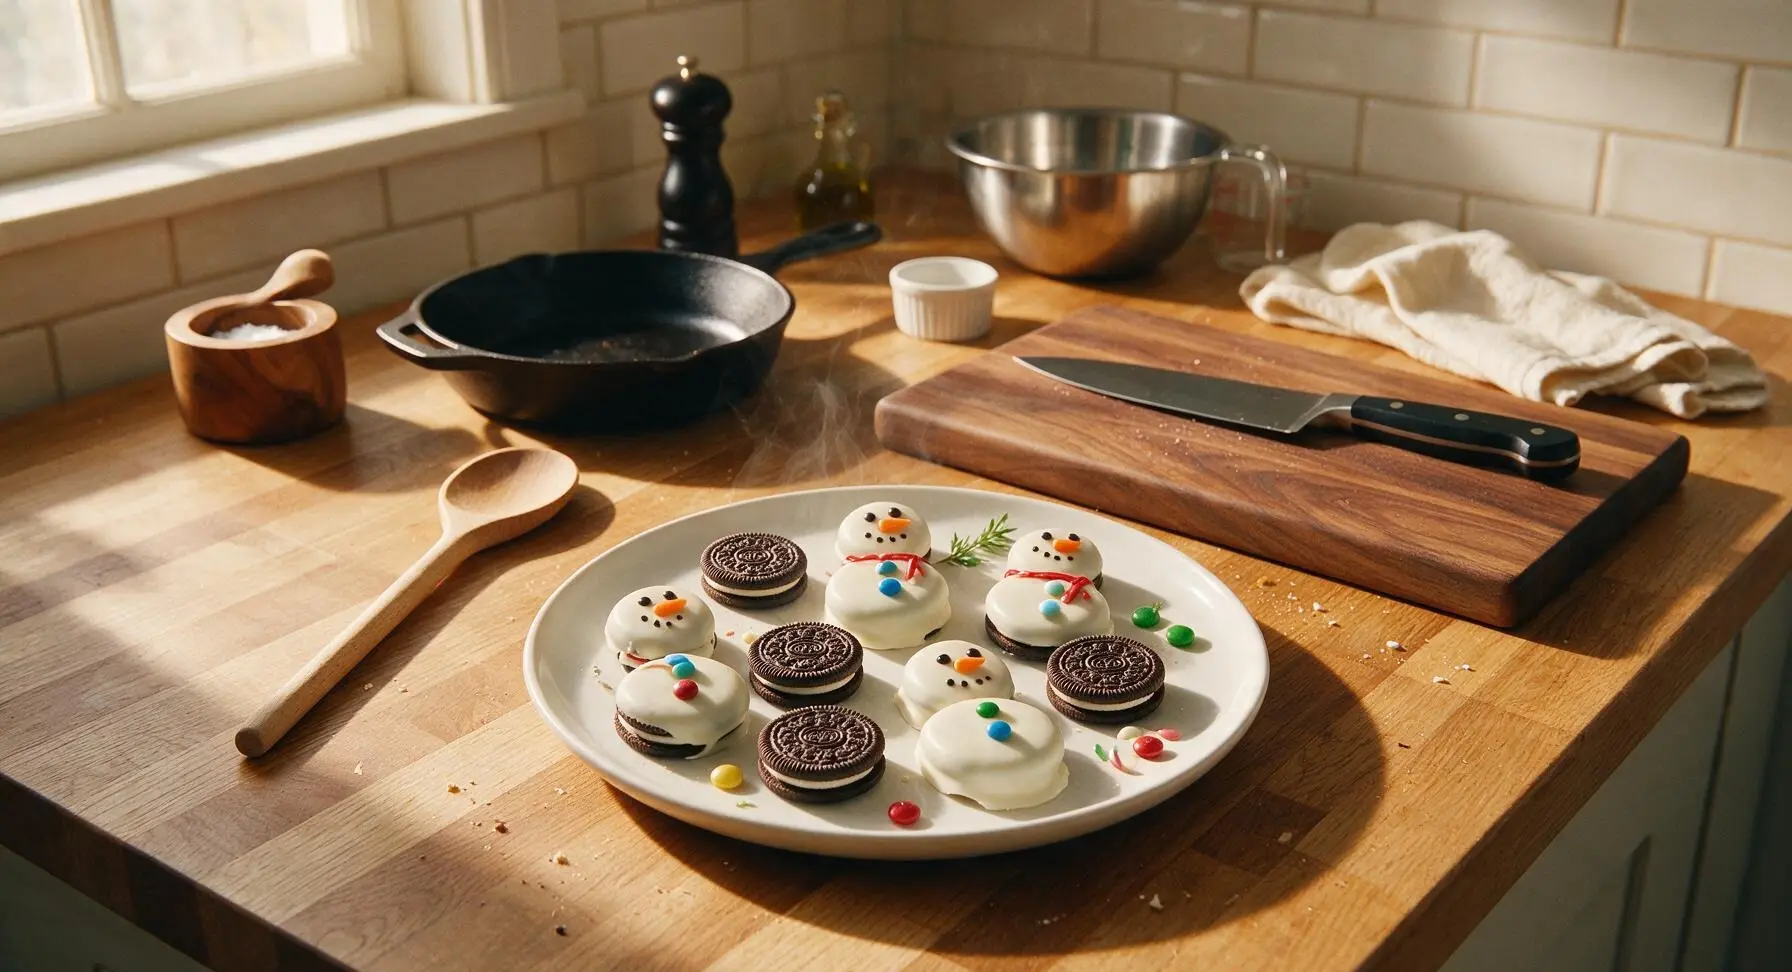
Adorable no-bake snowman treats made with crisp Oreos, smooth white candy coating, and playful candy decorations, perfect for holiday cookie platters and kid-friendly winter fun.
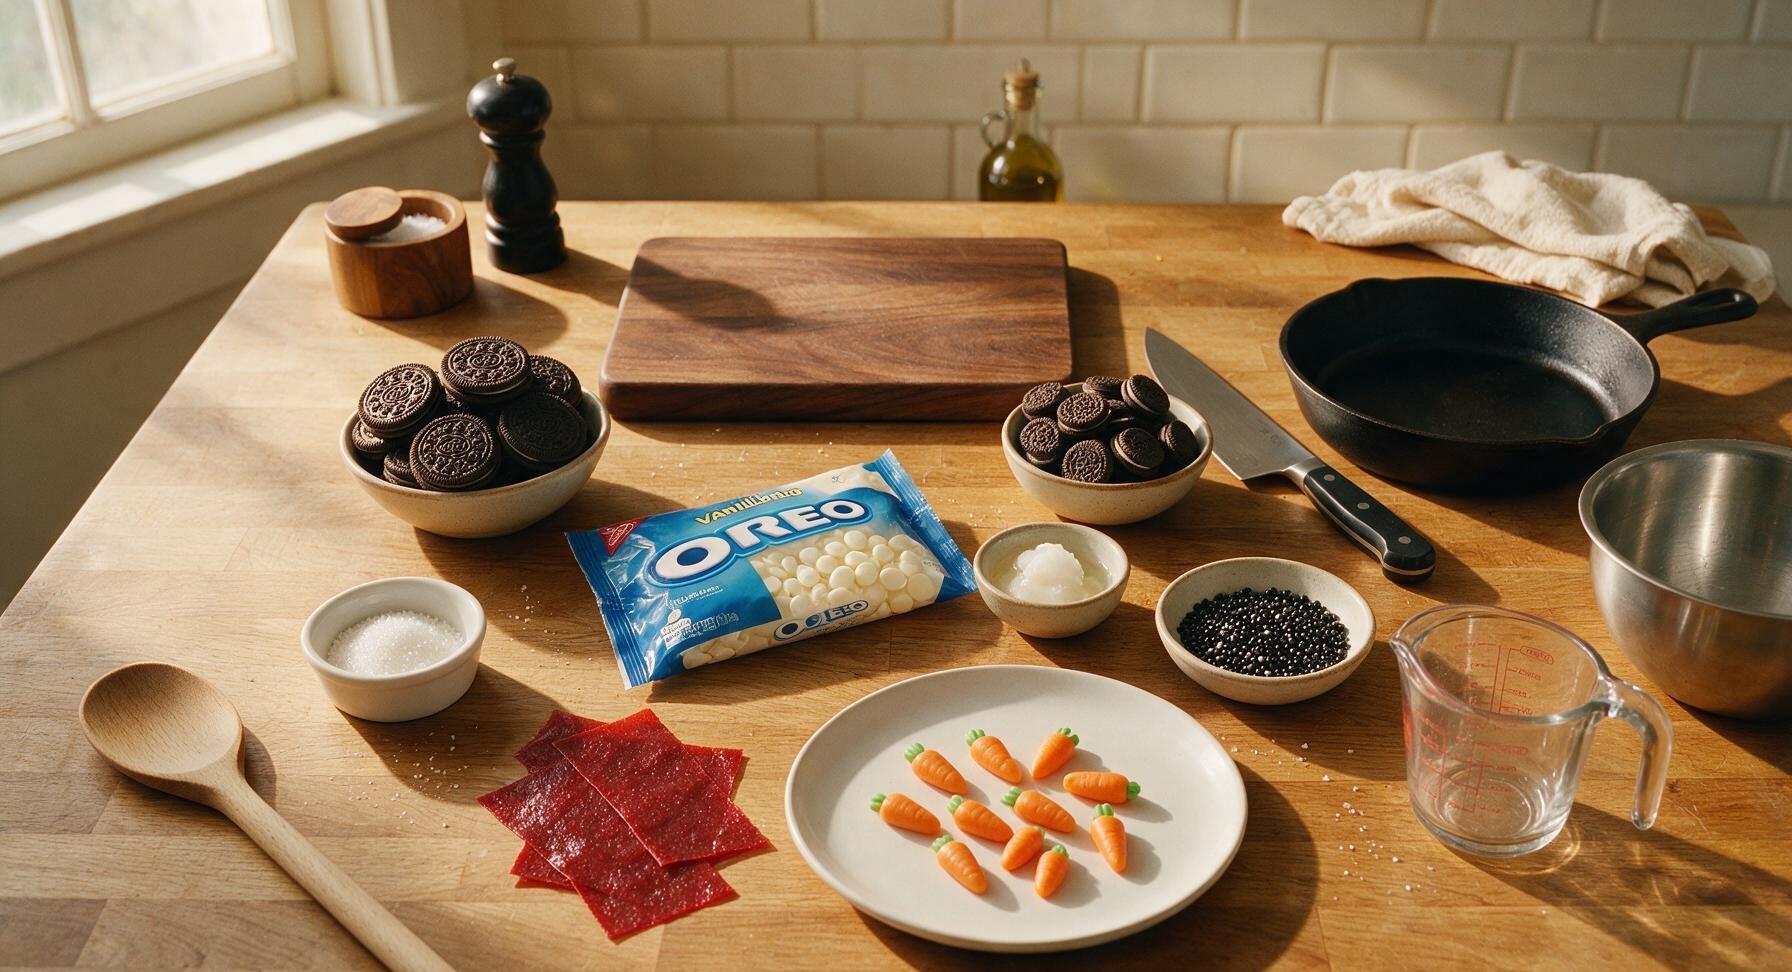
Ingredients
Steps
Prep Dipping Station
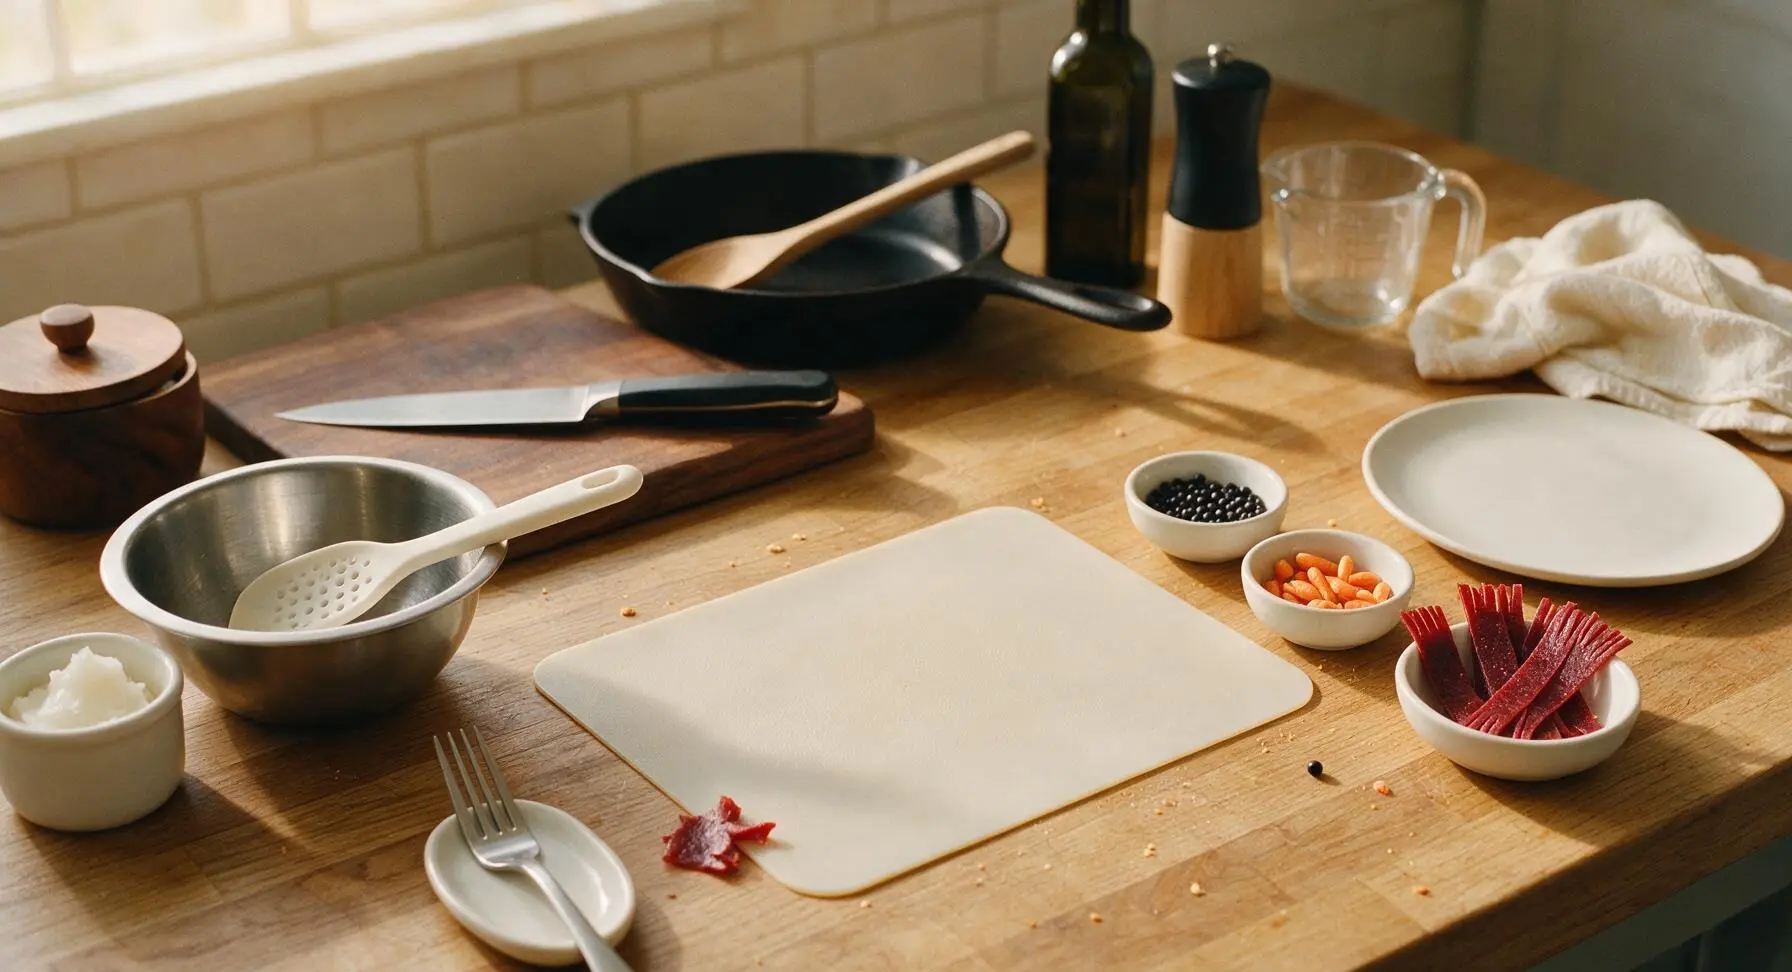
Line the center of the counter work zone with the large white silicone baking mat. Arrange the three tiny matte white pinch bowls to the right of the mat: fill the first with mixed black sugar pearls, the second with mini orange candy carrot decorations, the third with 1cm wide x 5cm long strips cut from red fruit leather, each strip trimmed with a small fringe at both ends to resemble a scarf. Rest the stainless steel fork on the oval spoon rest to the left of the mat, and lay the silicone spatula across the rim of the empty stainless steel mixing bowl. Prepping all decorations first ensures you can apply them before the fast-setting candy coating hardens (typically 3-5 minutes at room temperature).
Melt White Candy Coating
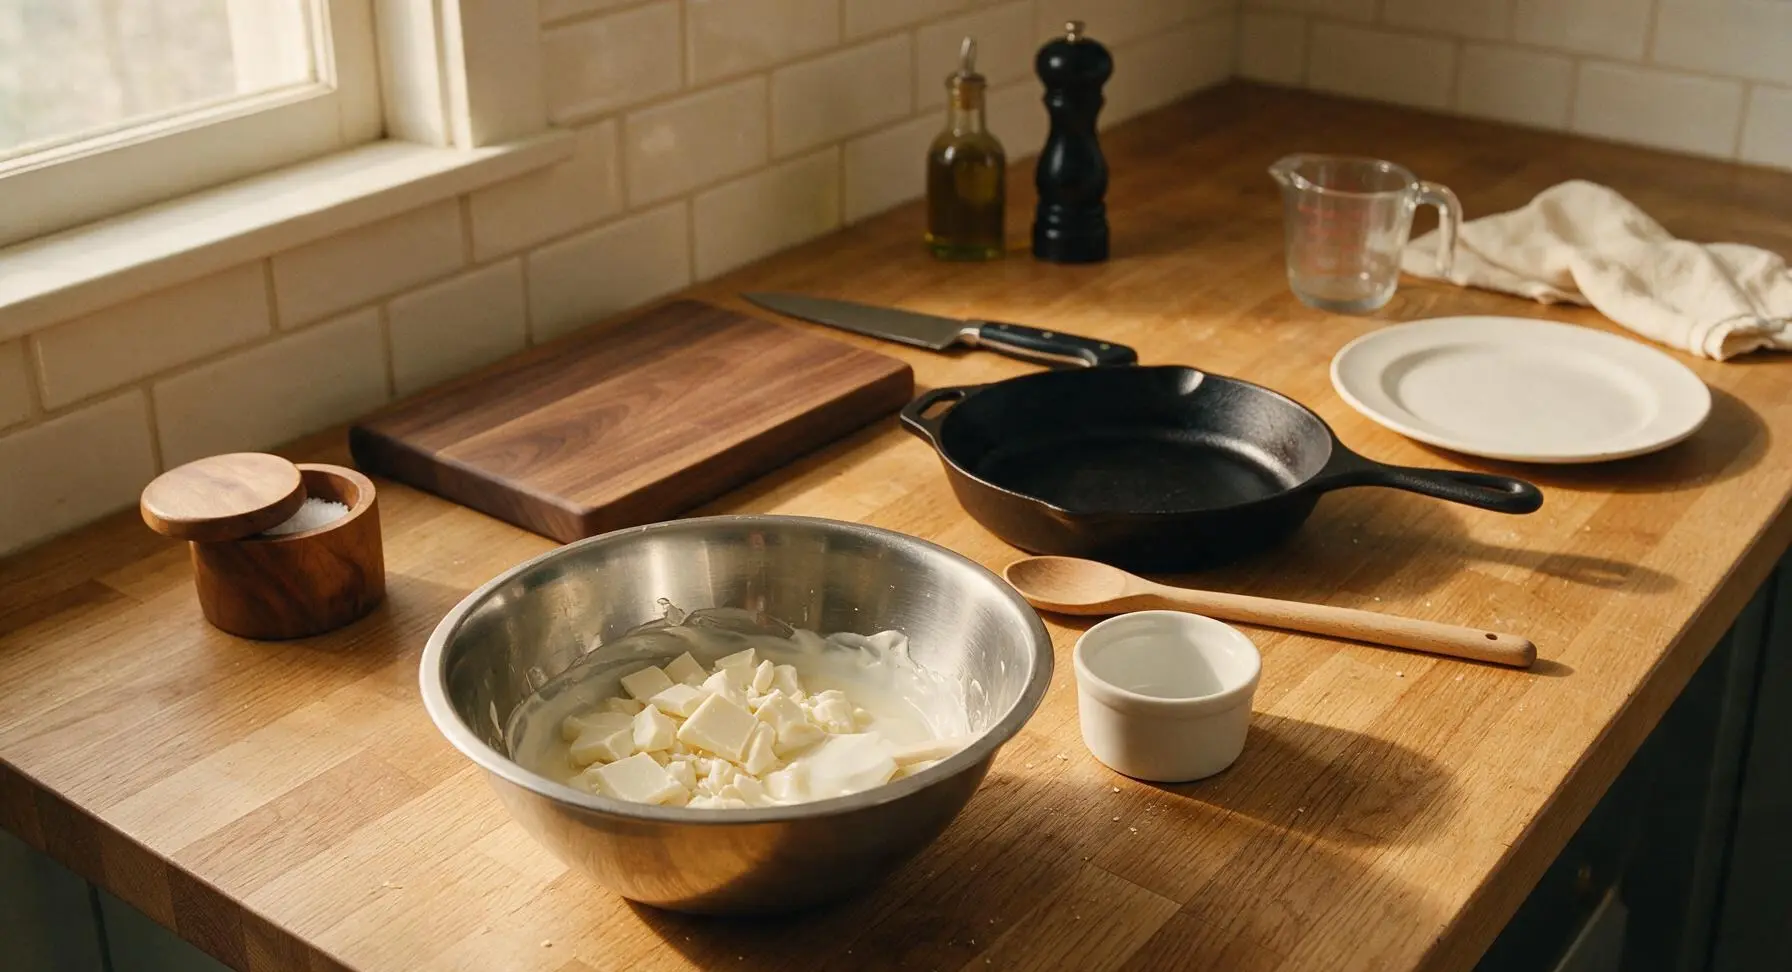
Pour all 340g of white candy melts and 1 tablespoon of refined coconut oil from the ramekin into the stainless steel mixing bowl. Microwave in 30-second bursts at 50% power, stirring thoroughly with the silicone spatula between each burst, until the coating is completely smooth, lump-free, and flows like thick heavy cream (total melting time approximately 2 minutes). Do not overheat, as temperatures above 120°F/49°C will cause candy melts to seize into a grainy, unusable paste.
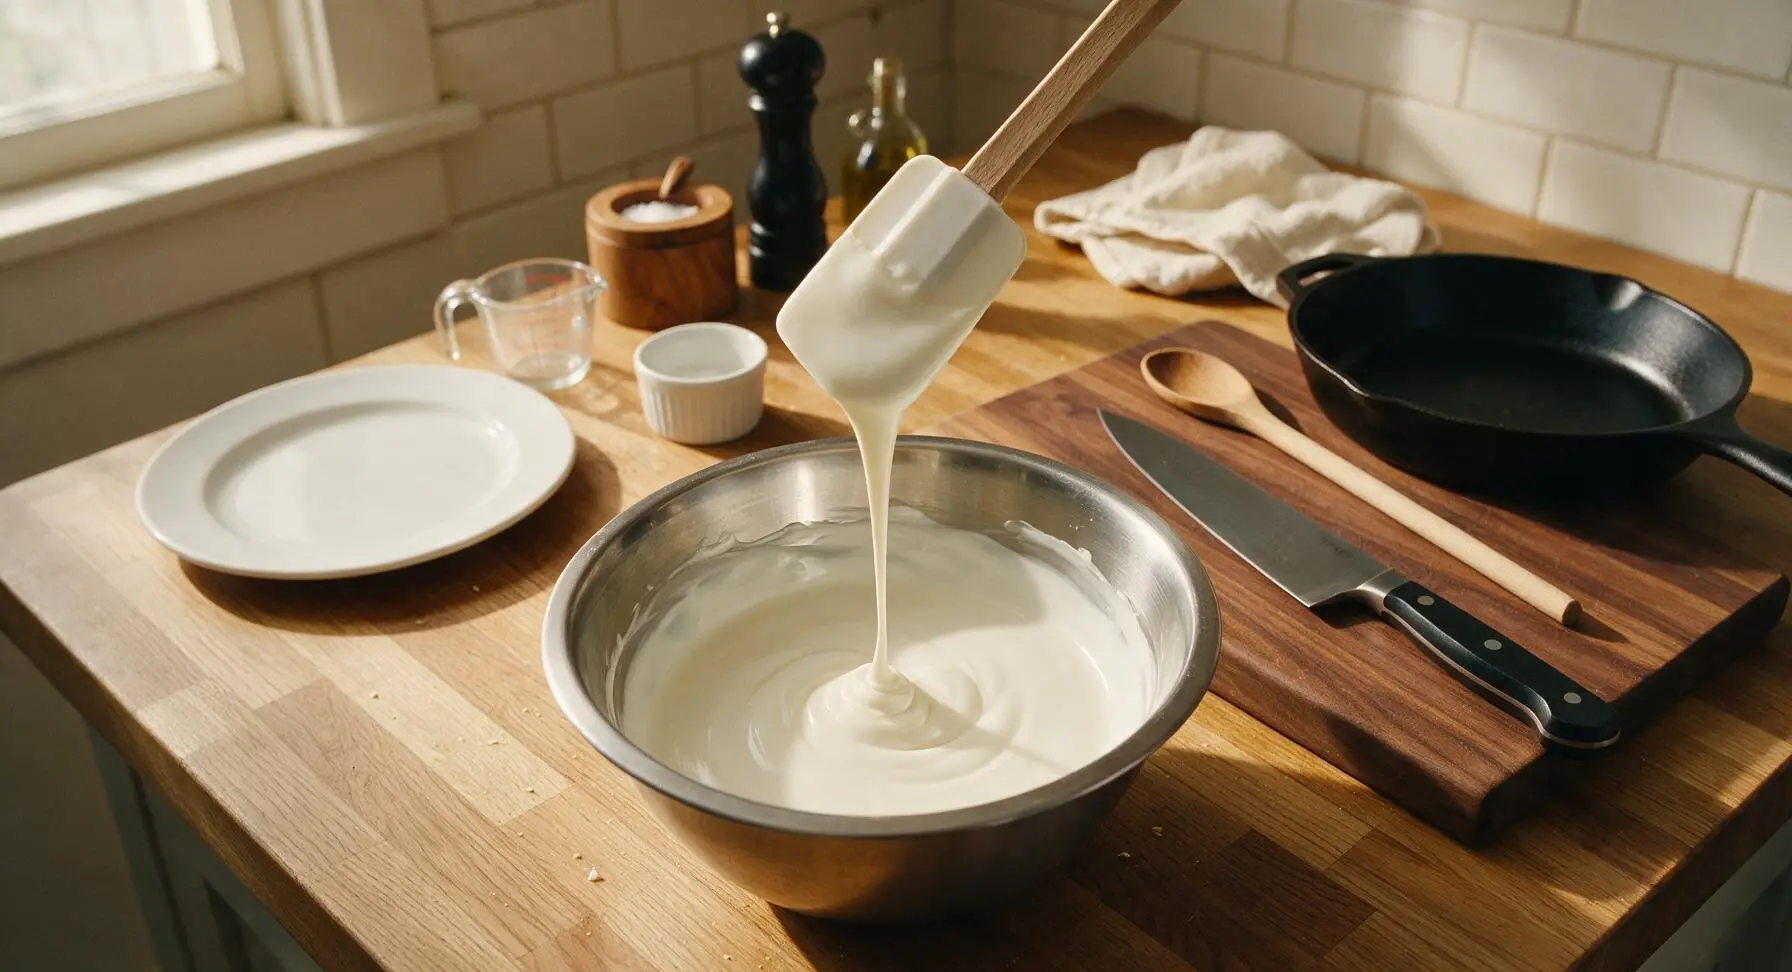
Dip Snowman Bodies
Take the 12 regular-size Oreos to use as snowman bodies. Working one cookie at a time, drop a cookie fully into the melted white coating, use the stainless steel fork to flip it until every surface is evenly coated. Lift the coated cookie on the fork tines, tap the fork gently against the bowl rim 3 to 4 times to let excess coating drip off for a thin, smooth finish, then slide the cookie off the fork onto the silicone baking mat, leaving 5cm of space between each cookie. Repeat for all 12 body cookies.
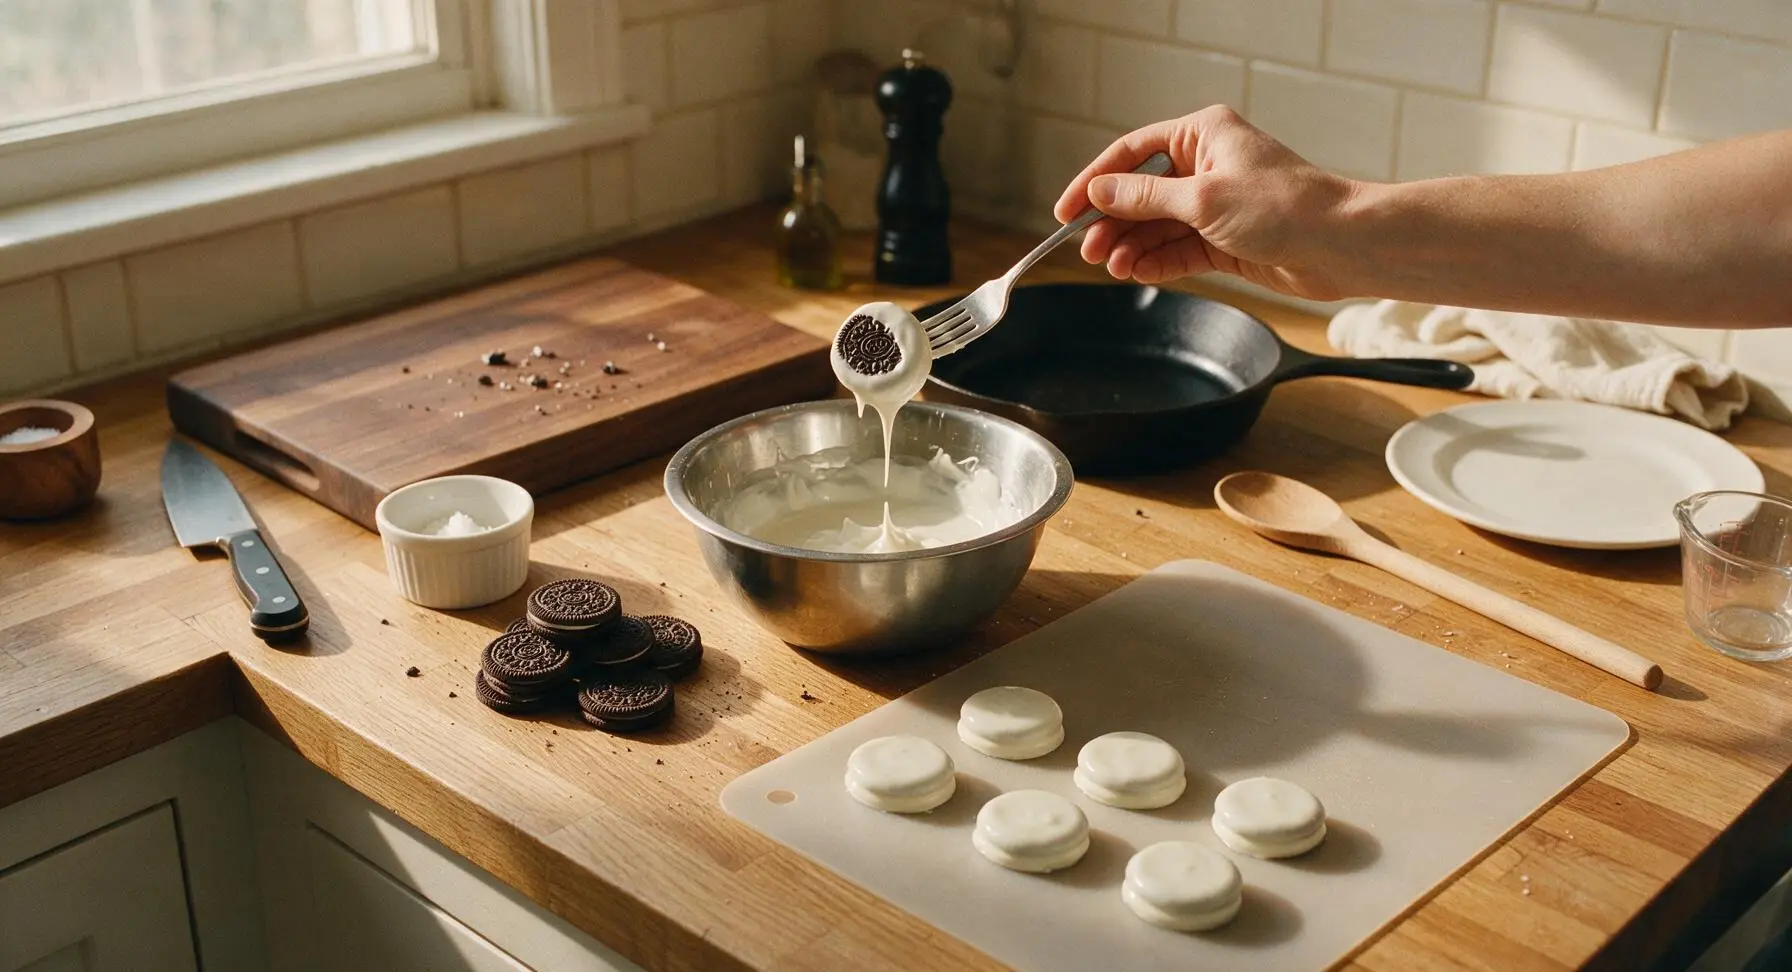
Stack Dipped Heads
Take the 12 mini Oreos to use as snowman heads. Repeat the same dipping process to coat each mini Oreo fully in white candy melt, tapping off excess coating. Place one coated mini Oreo directly centered on top of each regular-size coated body cookie, pressing very gently to adhere. The wet candy coating will act as glue to hold the stacked snowman shape in place as it sets.
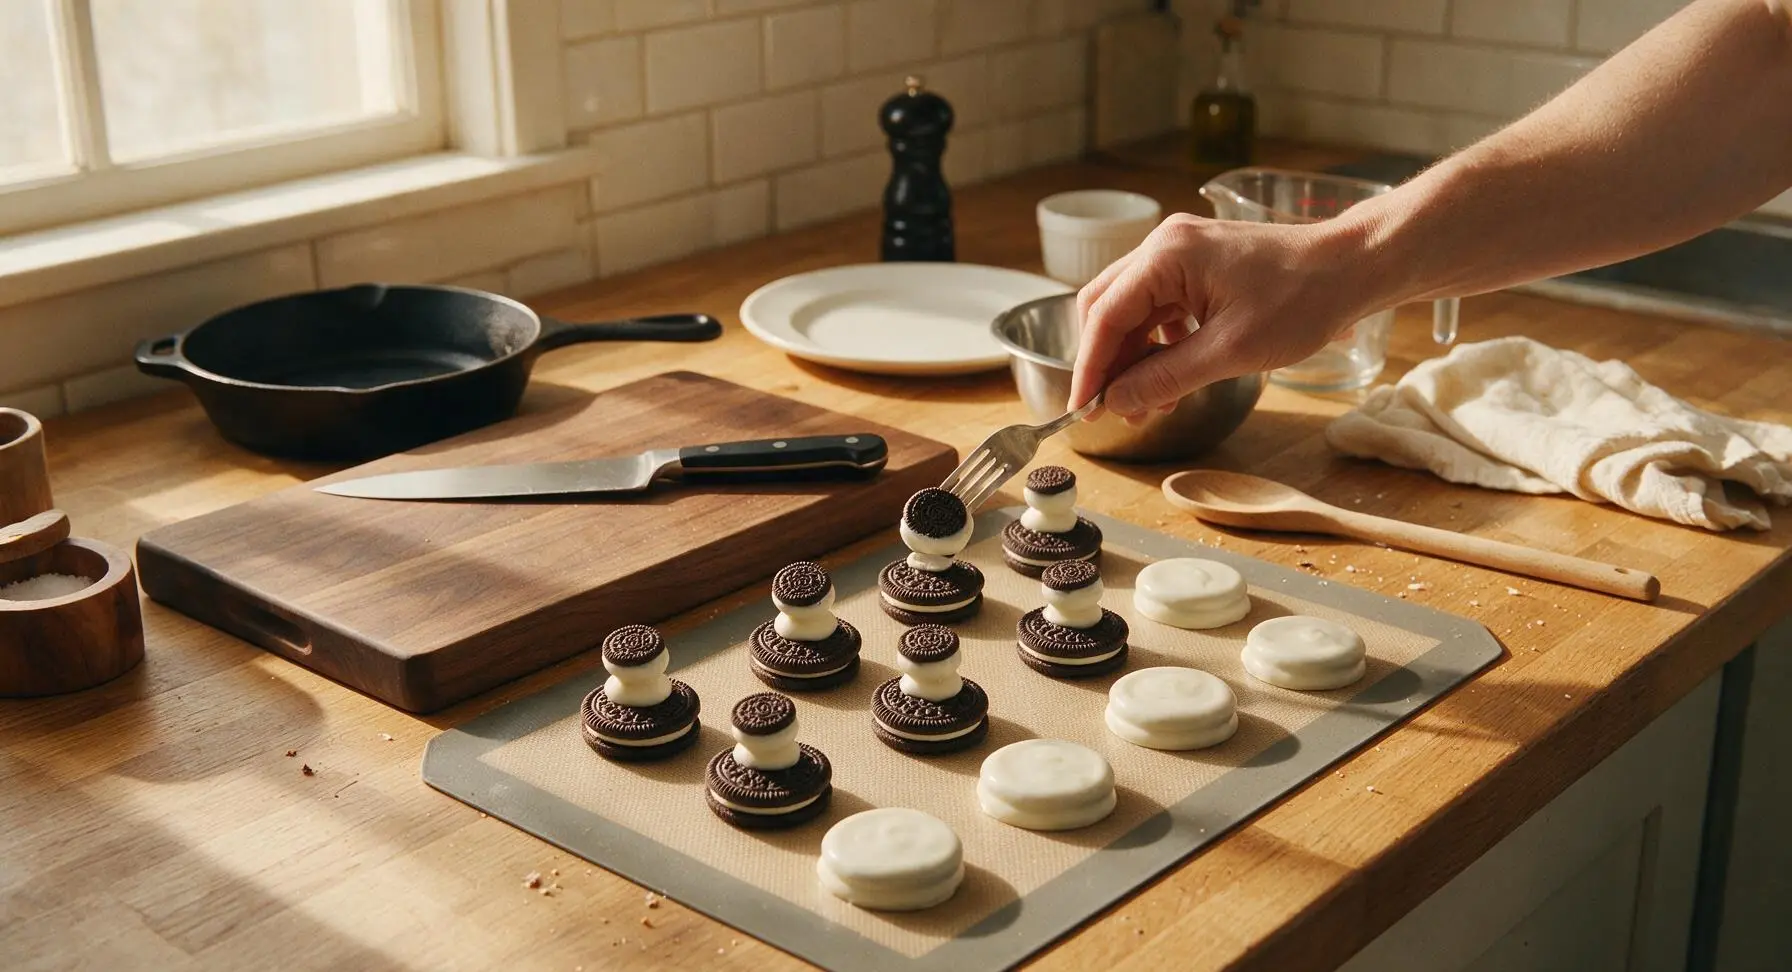
Add Facial Features
Working within 5 minutes of stacking (before the coating fully sets), use clean fingertips to place two 4mm black sugar pearls on each mini Oreo head for eyes, one mini orange candy nose centered 5mm below the eyes, and three 2mm black sugar pearls arranged in a soft upward curve below the nose for a smiling mouth. Press each decoration very lightly so it sits flush with the coating and stays firmly in place once set.
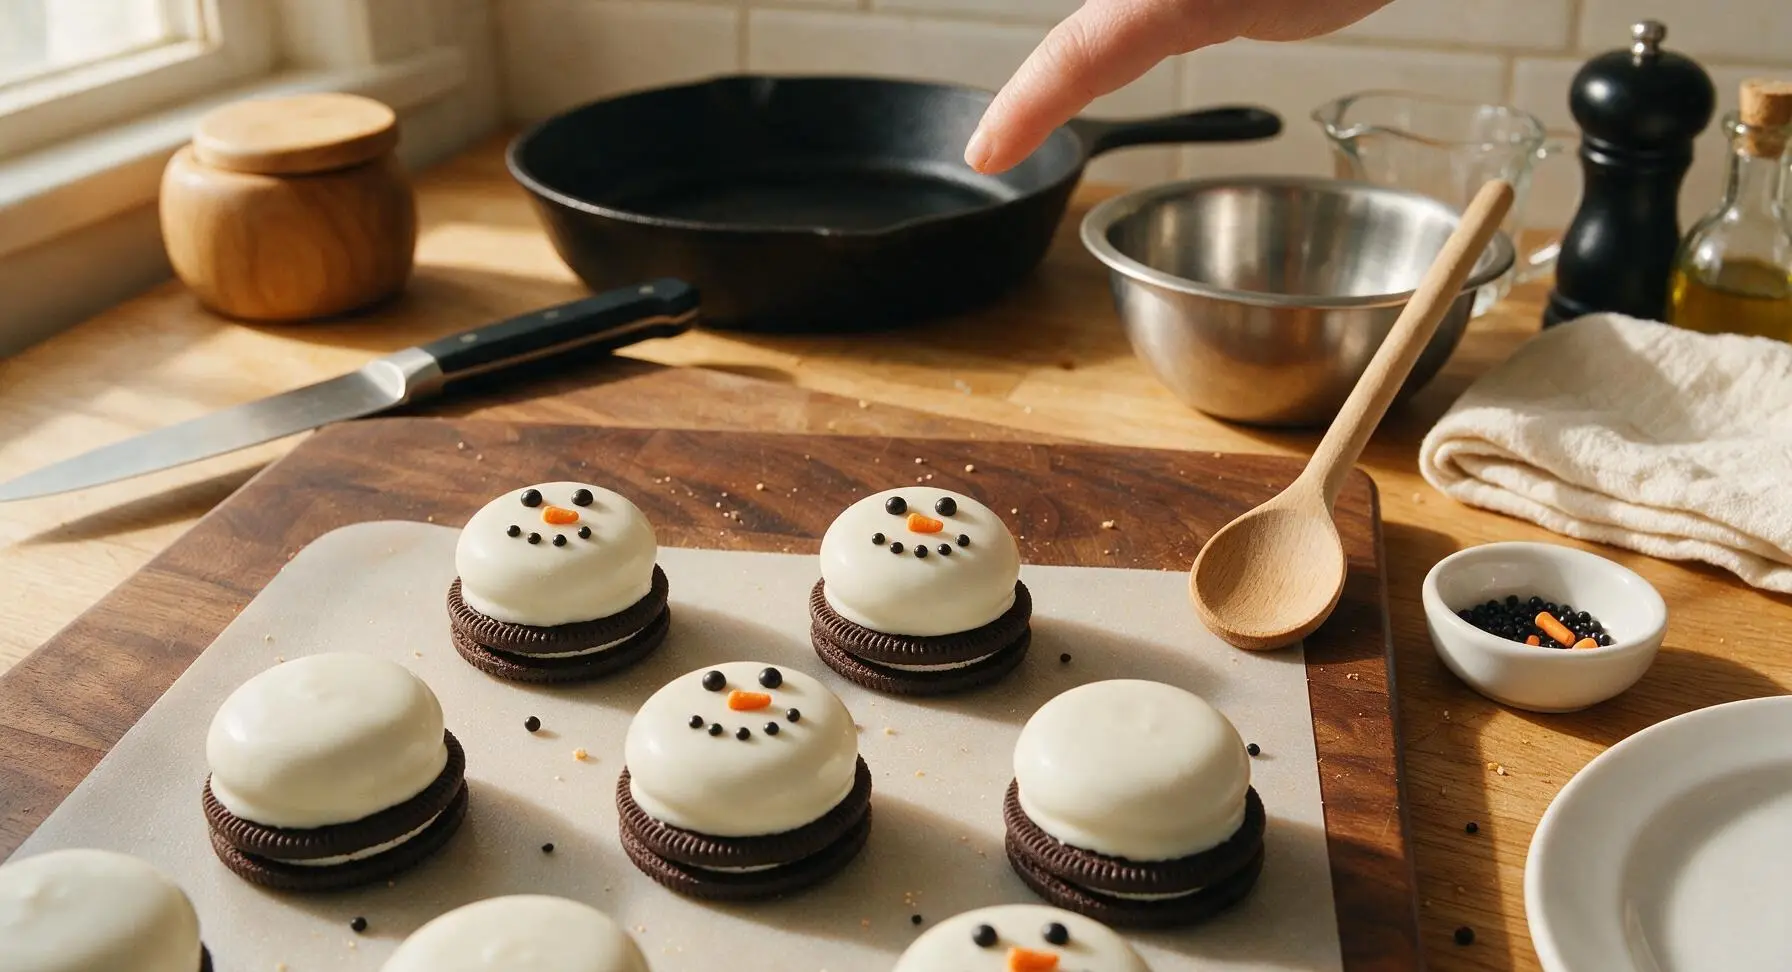
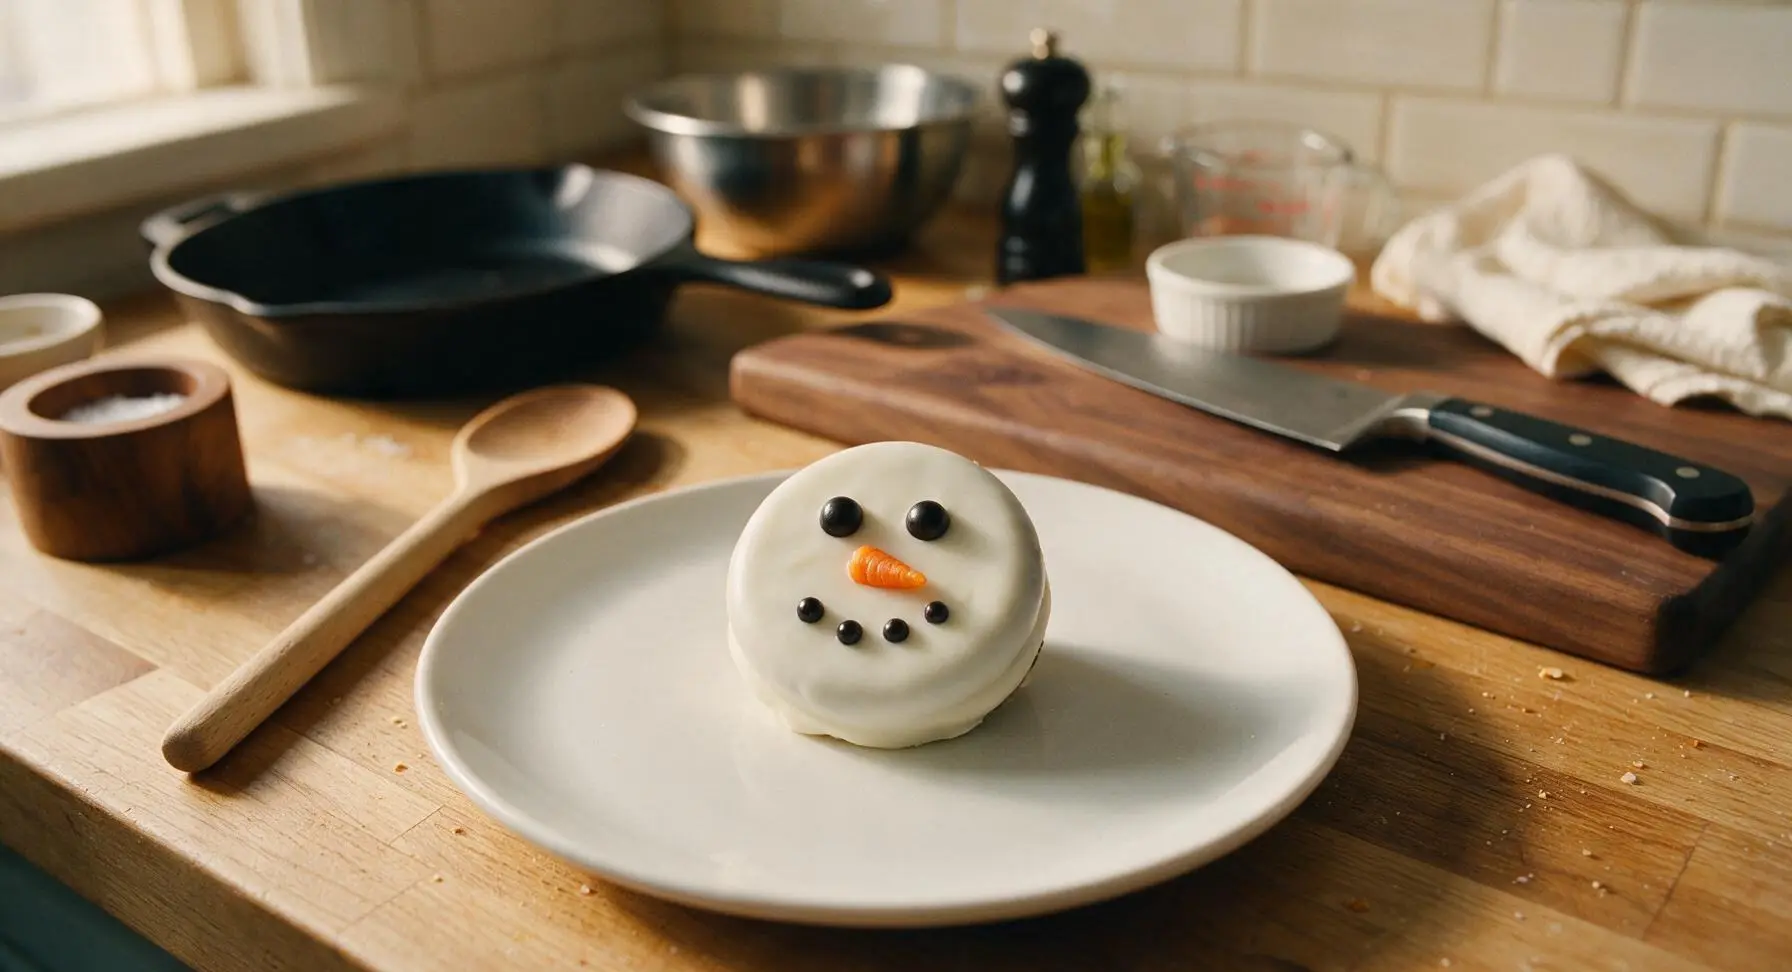
Add Buttons and Scarves
On each larger regular-size Oreo body, press three 4mm black sugar pearls vertically down the center, spaced 1cm apart, to look like coal buttons. Wrap one pre-cut fringed red fruit leather scarf around the narrow joint where the head meets the body, pressing the ends gently into the slightly soft coating to hold it in place. Let the scarf fringe hang loosely down the sides of the body cookie for a playful, whimsical look.
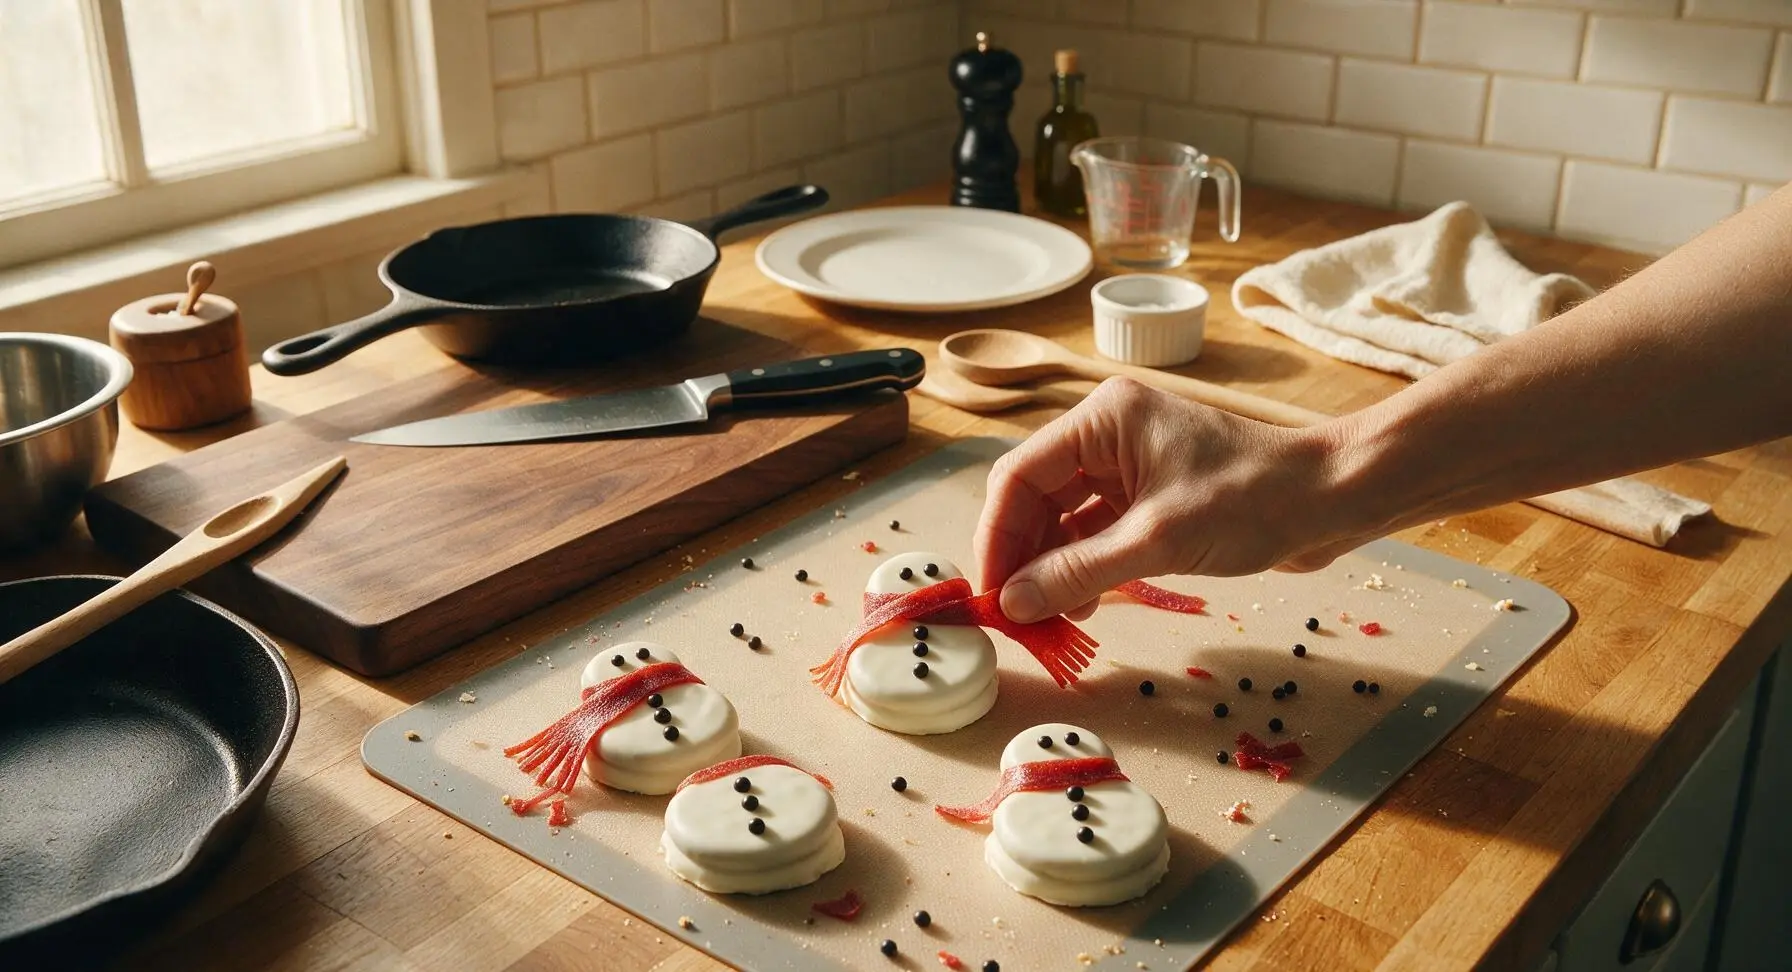
Dust with Sparkling Snow
Let the decorated cookies rest at room temperature for 10 minutes until the candy coating is fully firm (no fingerprint remains when pressed lightly). Hold the clear jar of white sparkling sugar 15cm above the cookies, and sprinkle a light, even dusting over the top of all snowmen to mimic a dusting of fresh snow. Avoid over-sprinkling, as too much sugar will obscure the face and button details.
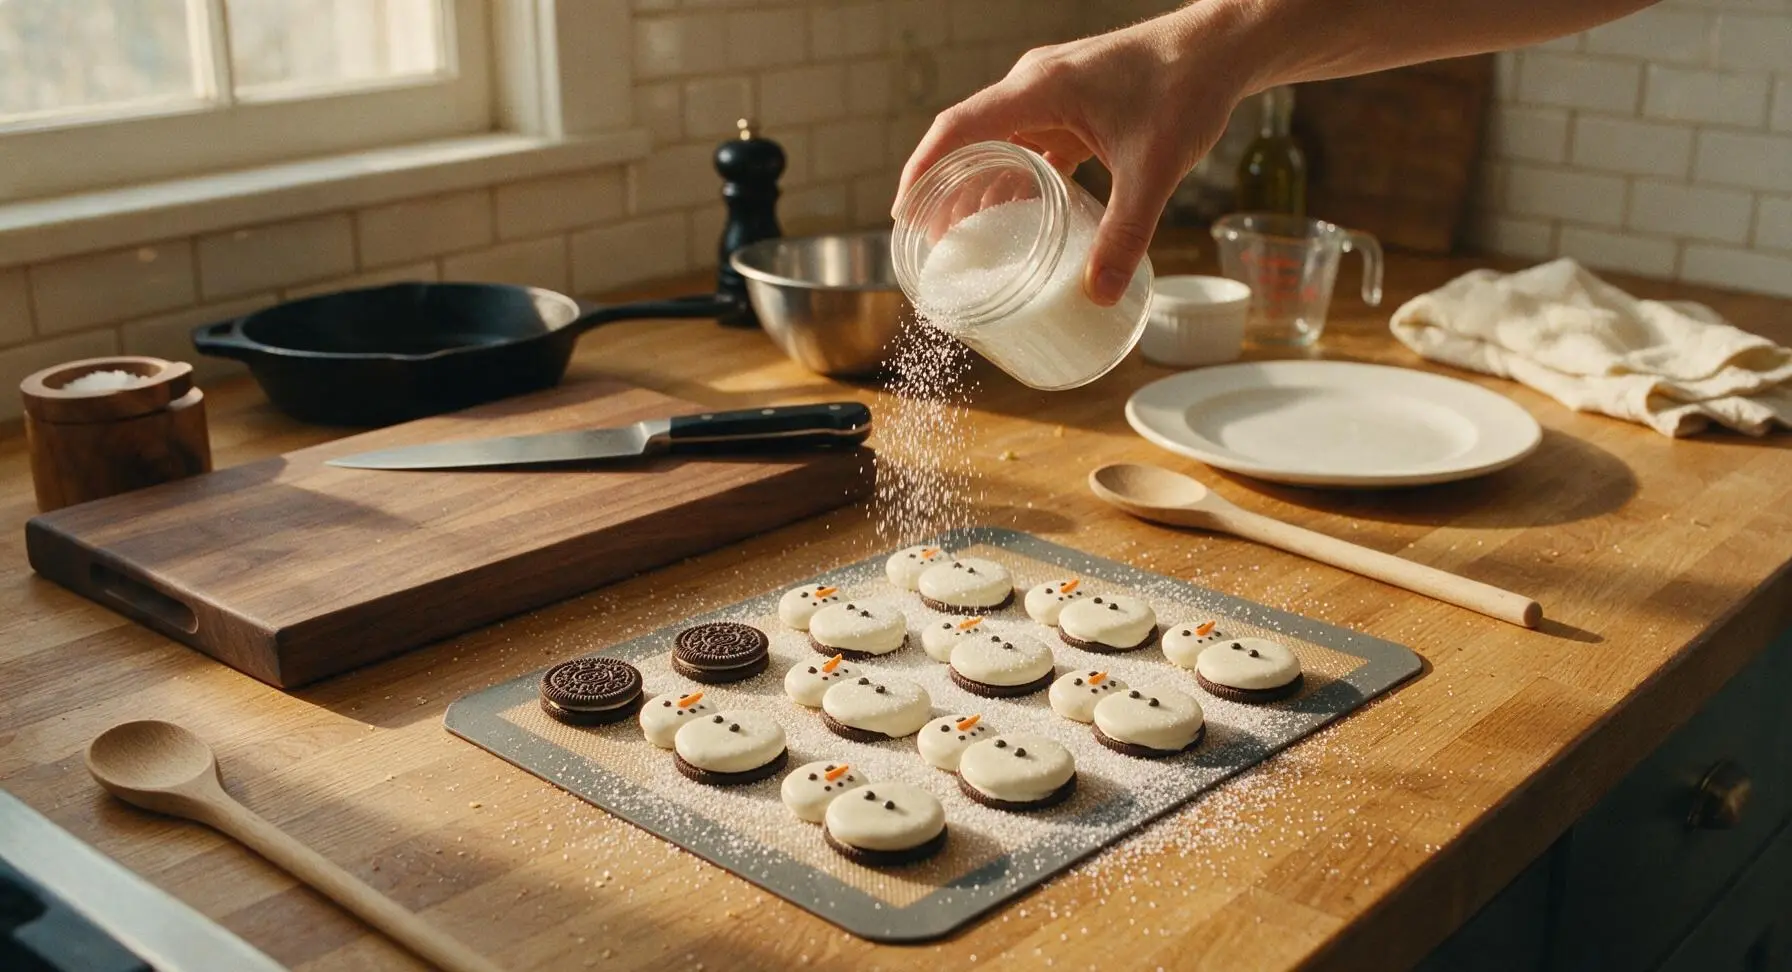
Plate for Serving
Gently lift each finished snowman cookie from the silicone mat and arrange them in a loose, casual cluster on the large matte white ceramic serving platter. Sprinkle a pinch of extra sparkling sugar on the platter surface around the cookies for added snowy texture, and tuck the small pine sprig at the left edge of the platter for a simple festive garnish.
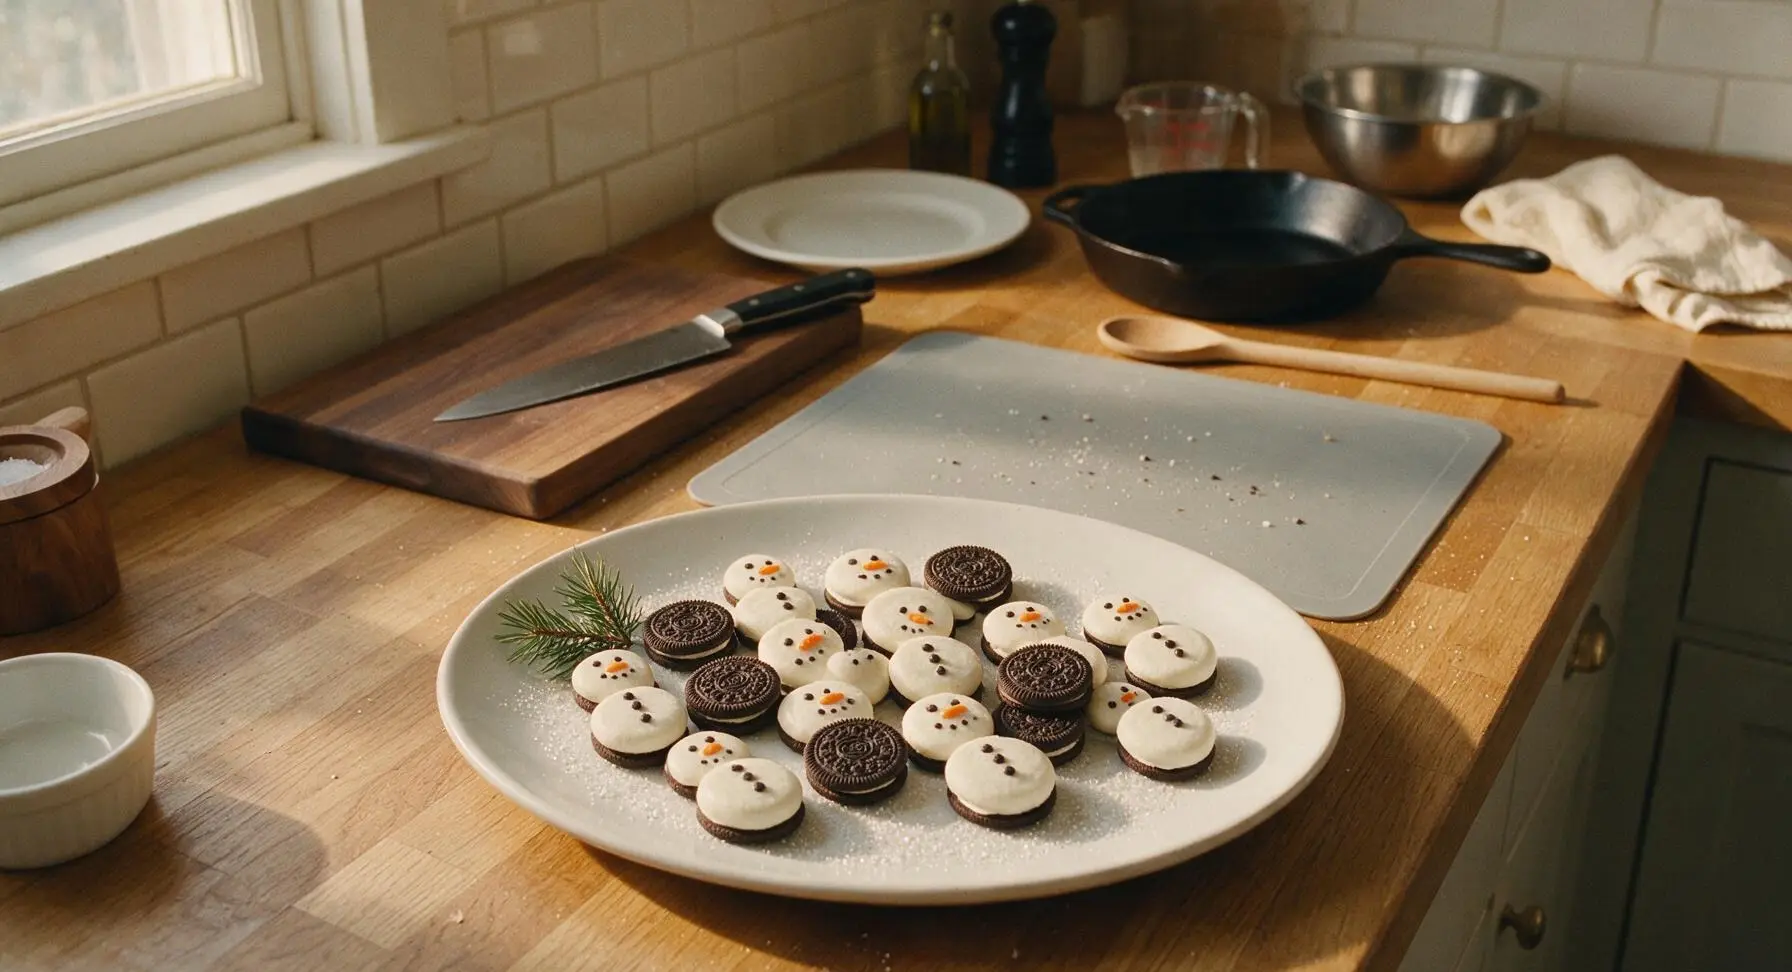
Tips
2.If your kitchen is warmer than 72°F/22°C, work in small batches of 3-4 cookies at a time to ensure the coating stays soft enough to attach decorations without sliding off; if the coating in the bowl starts to thicken, reheat it for 10 seconds in the microwave at 50% power.
3.If you do not have pre-made mini orange candy carrot noses, cut tiny triangle shapes from orange fruit leather as a substitute, or pipe small 3mm dots of orange candy melt for noses once the white coating is fully set.






OMG these were the easiest holiday treat I’ve ever made for my kid’s class party! 2 minutes cook time is no joke, I knocked out 24 of these last night while waiting for my pasta to boil. The snowman faces turned out so cute, every kid at the table was grabbing for them before I even set the plate down. 10/10 will make every Christmas from now on!
Game changer for last minute cookie exchange plans! I totally forgot I signed up to bring treats yesterday, saw this recipe, ran to the store for Oreos and candy decorations, and was done before my favorite Christmas movie finished the opening credits. SO good, even my picky teenager ate three without complaining.
These are so stinking cute! I made them with my niece when she was visiting over the weekend, and we had a blast decorating each snowman with little scarves made from fruit roll-ups and mini chocolate chip eyes. They held up perfectly for 3 days in an airtight container too, which I was worried about!
Brought these to my office holiday potluck today and they were gone in literally 5 minutes. Multiple people asked for the recipe before they even finished their first cookie! Only note I’ll add is make sure your white chocolate isn’t too hot when you dip, otherwise the Oreos get a little soggy if you leave them in too long.
I am notoriously terrible at any kind of cutesy baking — I once burned rice krispie treats so bad the smoke alarm went off. These? Even I could pull them off! My 6 year old thought I was a professional baker when I set the plate of snowmen out for our family dinner last night. 10/10 for us non-baking parents.
Made these as a little weekend treat for my roommates and we ate half the batch before we even finished decorating. The combination of crunchy Oreo and smooth white coating is chef’s kiss, I don’t know why I never thought to turn Oreos into snowmen before. Super easy, zero fancy equipment needed, can’t beat that.
Wait a second — do these work with gluten free Oreos? My son has a gluten sensitivity and I’ve been looking for easy holiday treats he can bring to his class party that don’t require a ton of fancy ingredients, this looks perfect! I’m so excited to try these if they work for our diet needs.