
Soft Sourdough Hoagie Rolls

title 1
Soft Sourdough Hoagie Rolls
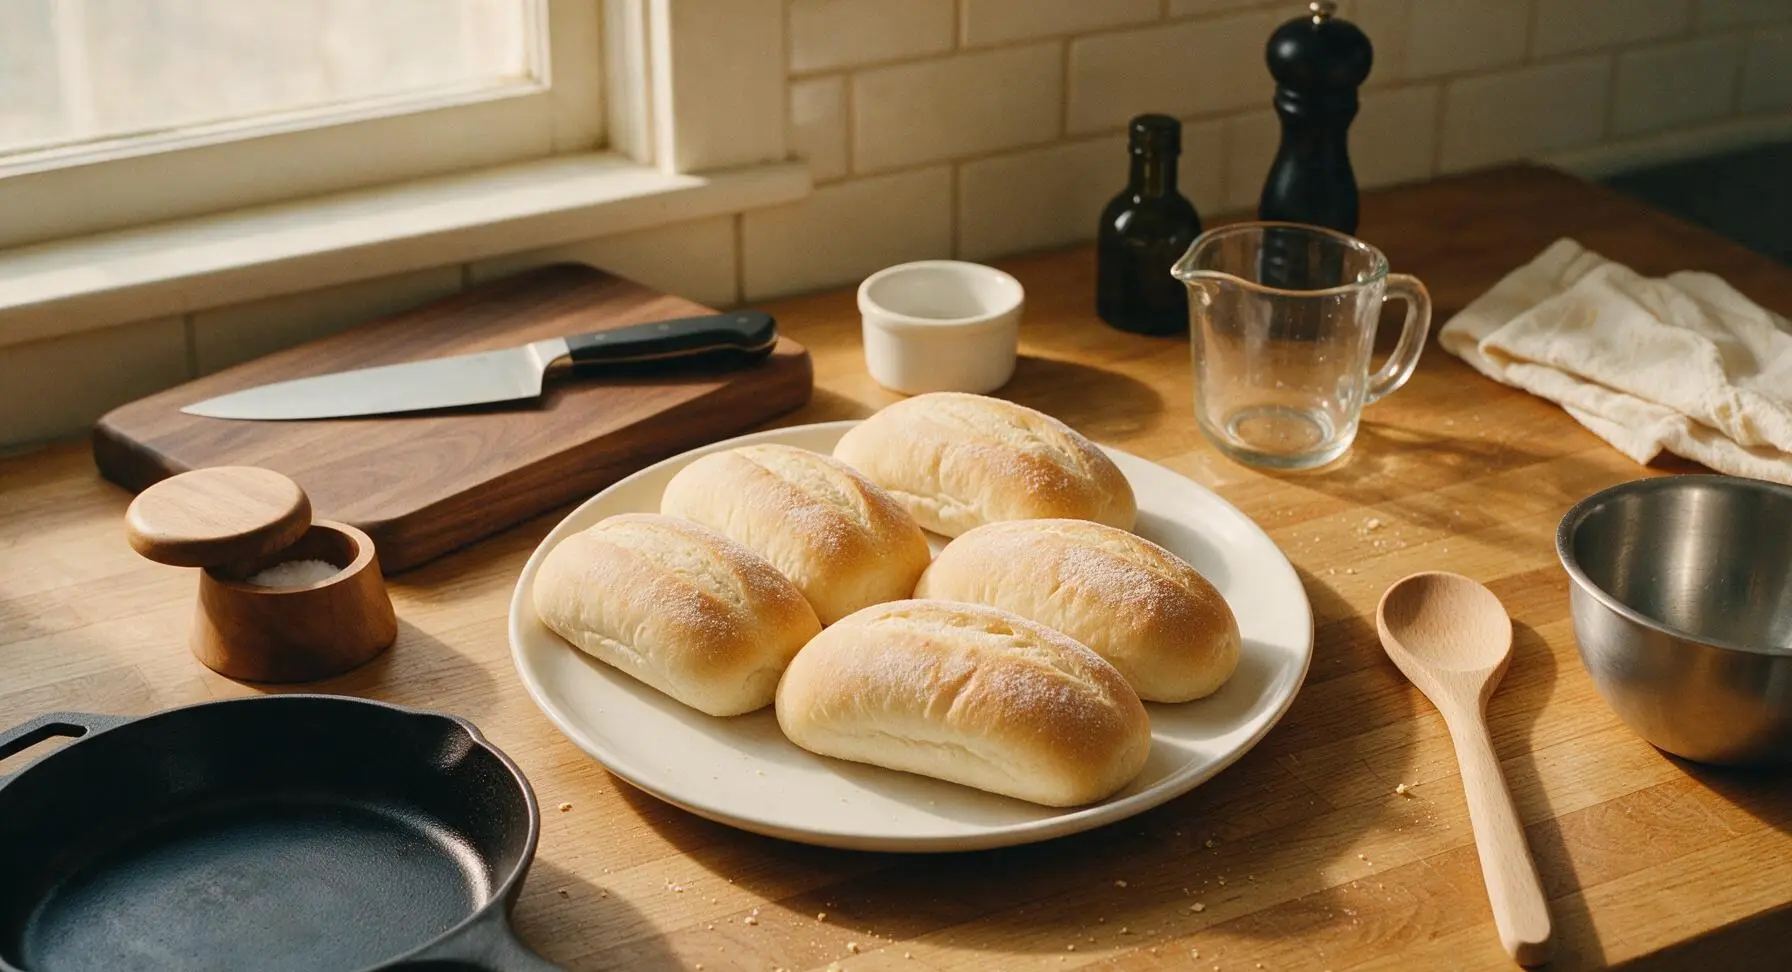
⏱️ cook time 24 minutes
🍽️ servings 8
⚡ Difficulty medium

intro

Pillowy, chewy sourdough hoagie rolls with a thin golden crust, perfect for piling high with grilled meats, cheeses, and fresh fixings for summer gatherings.

Ingredients
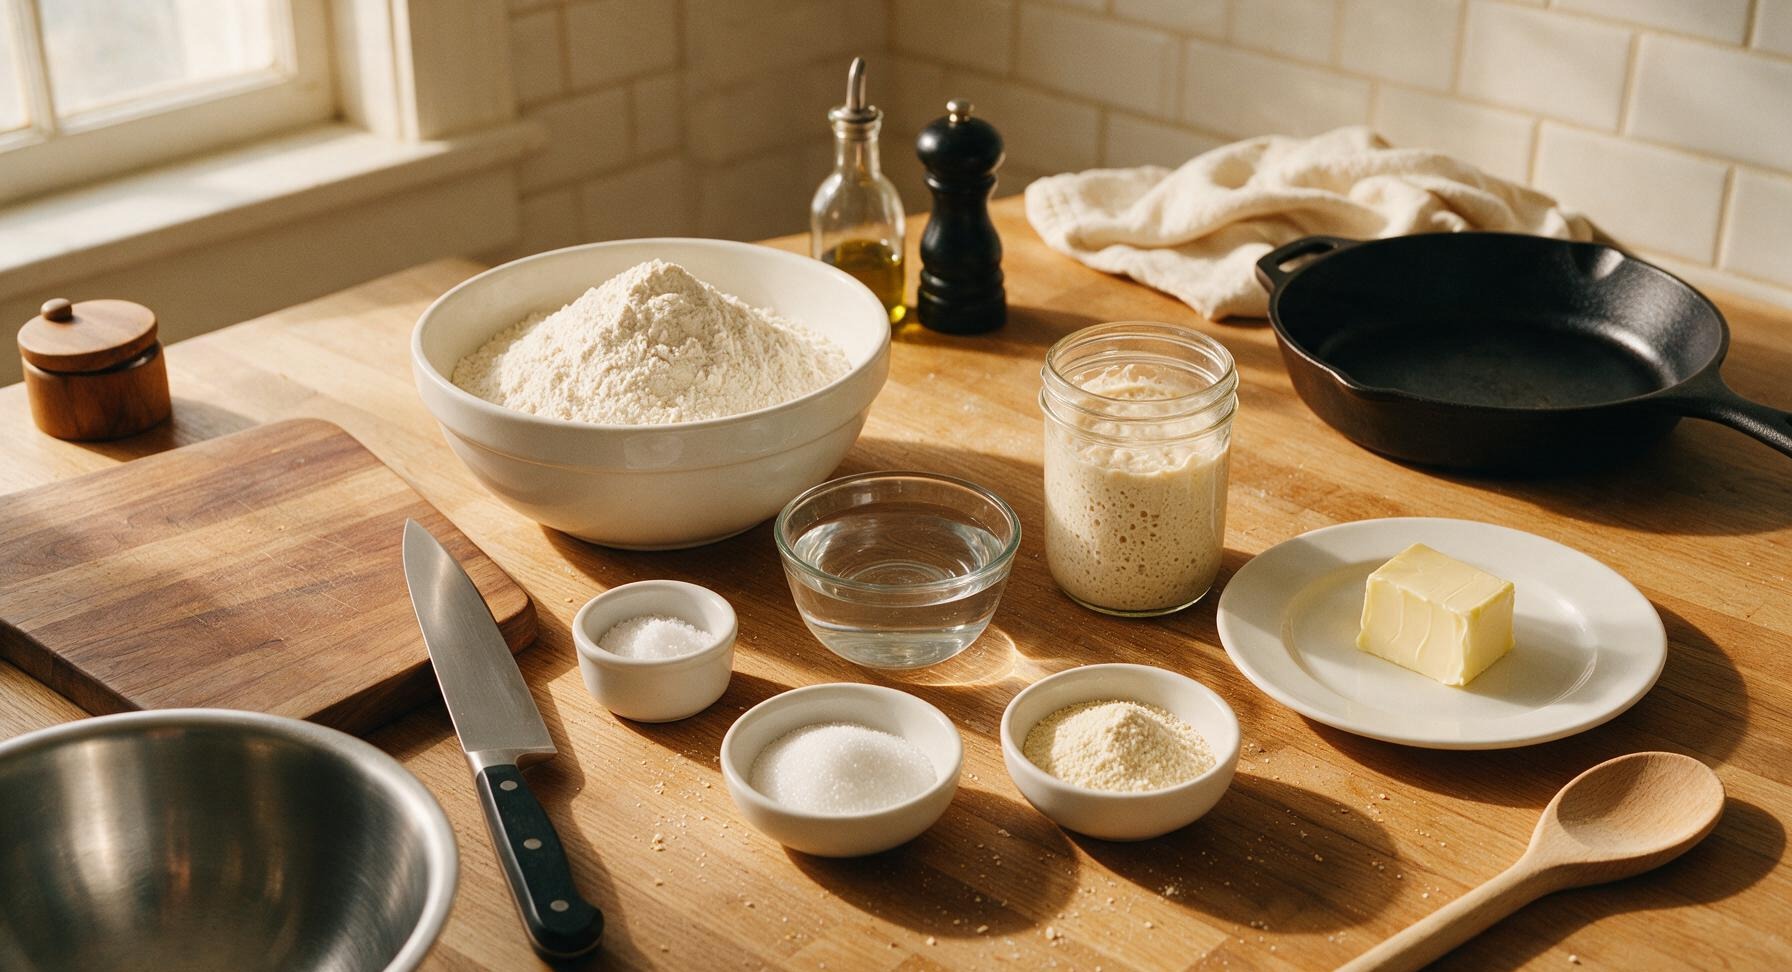
Unbleached bread flour 500g
Warm filtered water (32C/90F) 300g
Active 100% hydration sourdough starter (ripe, bubbly) 100g
Fine sea salt 10g
Unsalted butter, softened 25g
Granulated sugar 15g
Semolina flour (for dusting) 20g

Steps

1

Mix the Dough Base

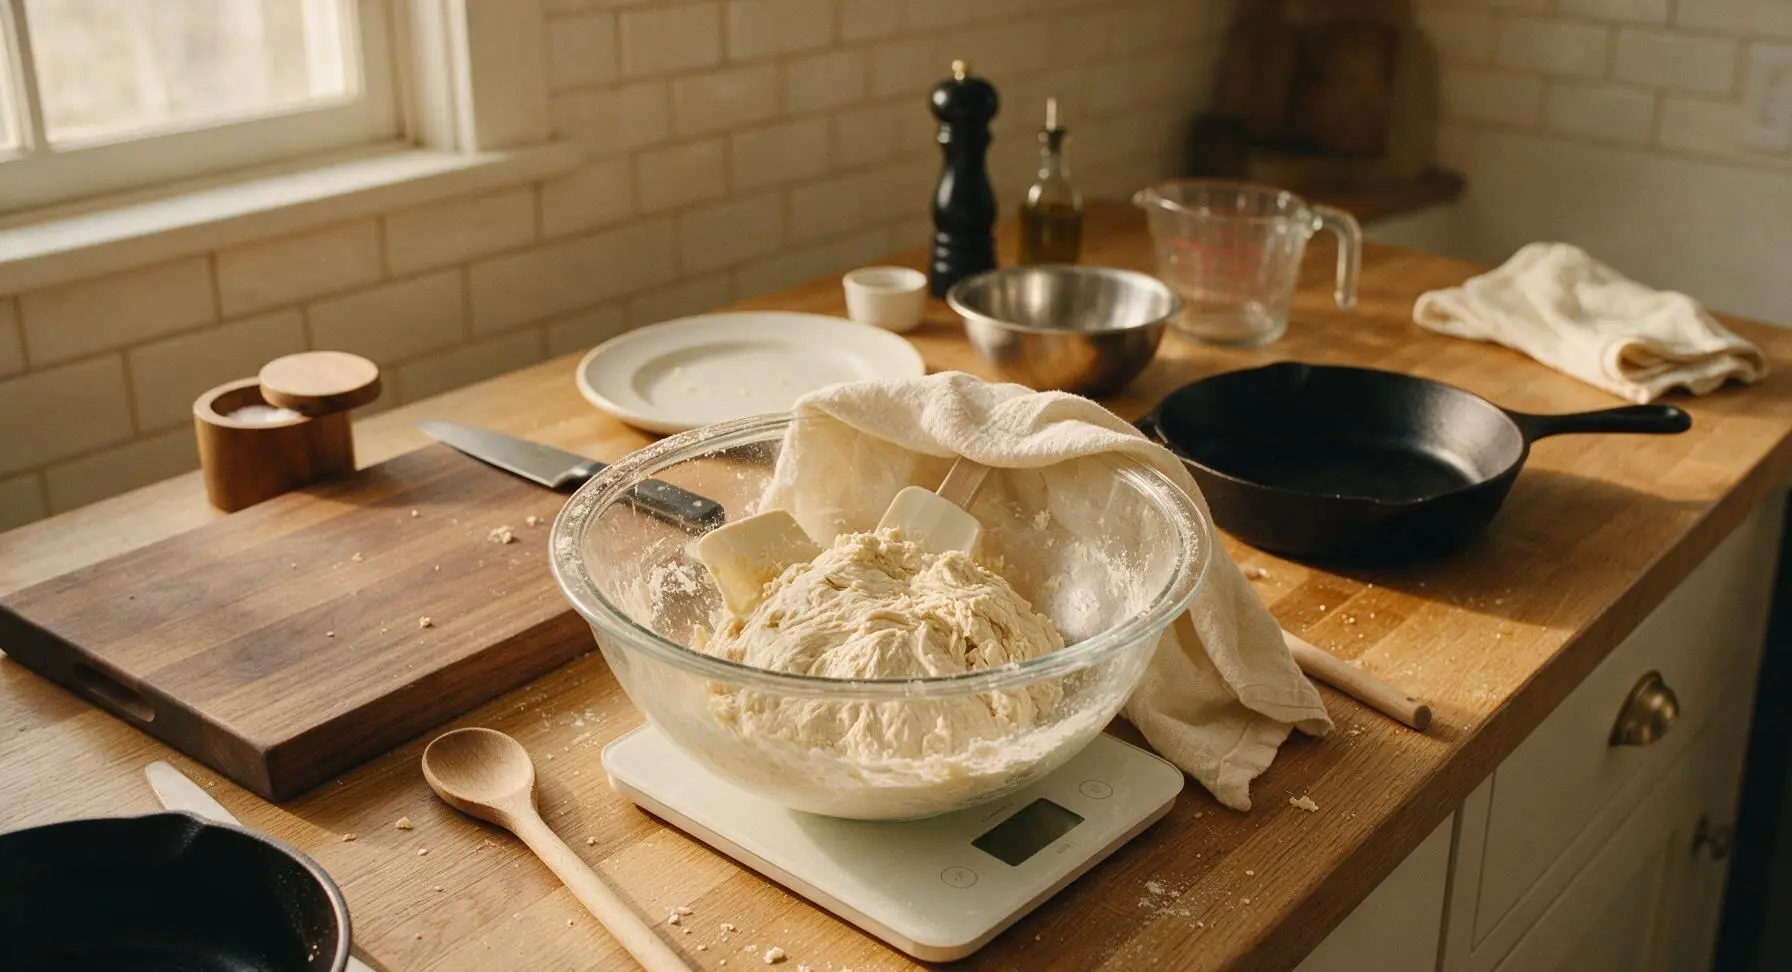
Place the large clear glass mixing bowl on the digital scale. Tare the scale, then add 500g bread flour, 300g warm (32C/90F) filtered water, 100g ripe bubbly sourdough starter, 15g granulated sugar, and 25g softened unsalted butter. Use the silicone dough scraper to mix until no dry flour remains, forming a shaggy, sticky mass. Cover the bowl with the unbleached cotton kitchen towel and let rest for 30 minutes at room temperature (21C/70F) to allow the flour to fully hydrate.
Step 1
step1:Mix the Dough Base
2

Incorporate Salt and Fold

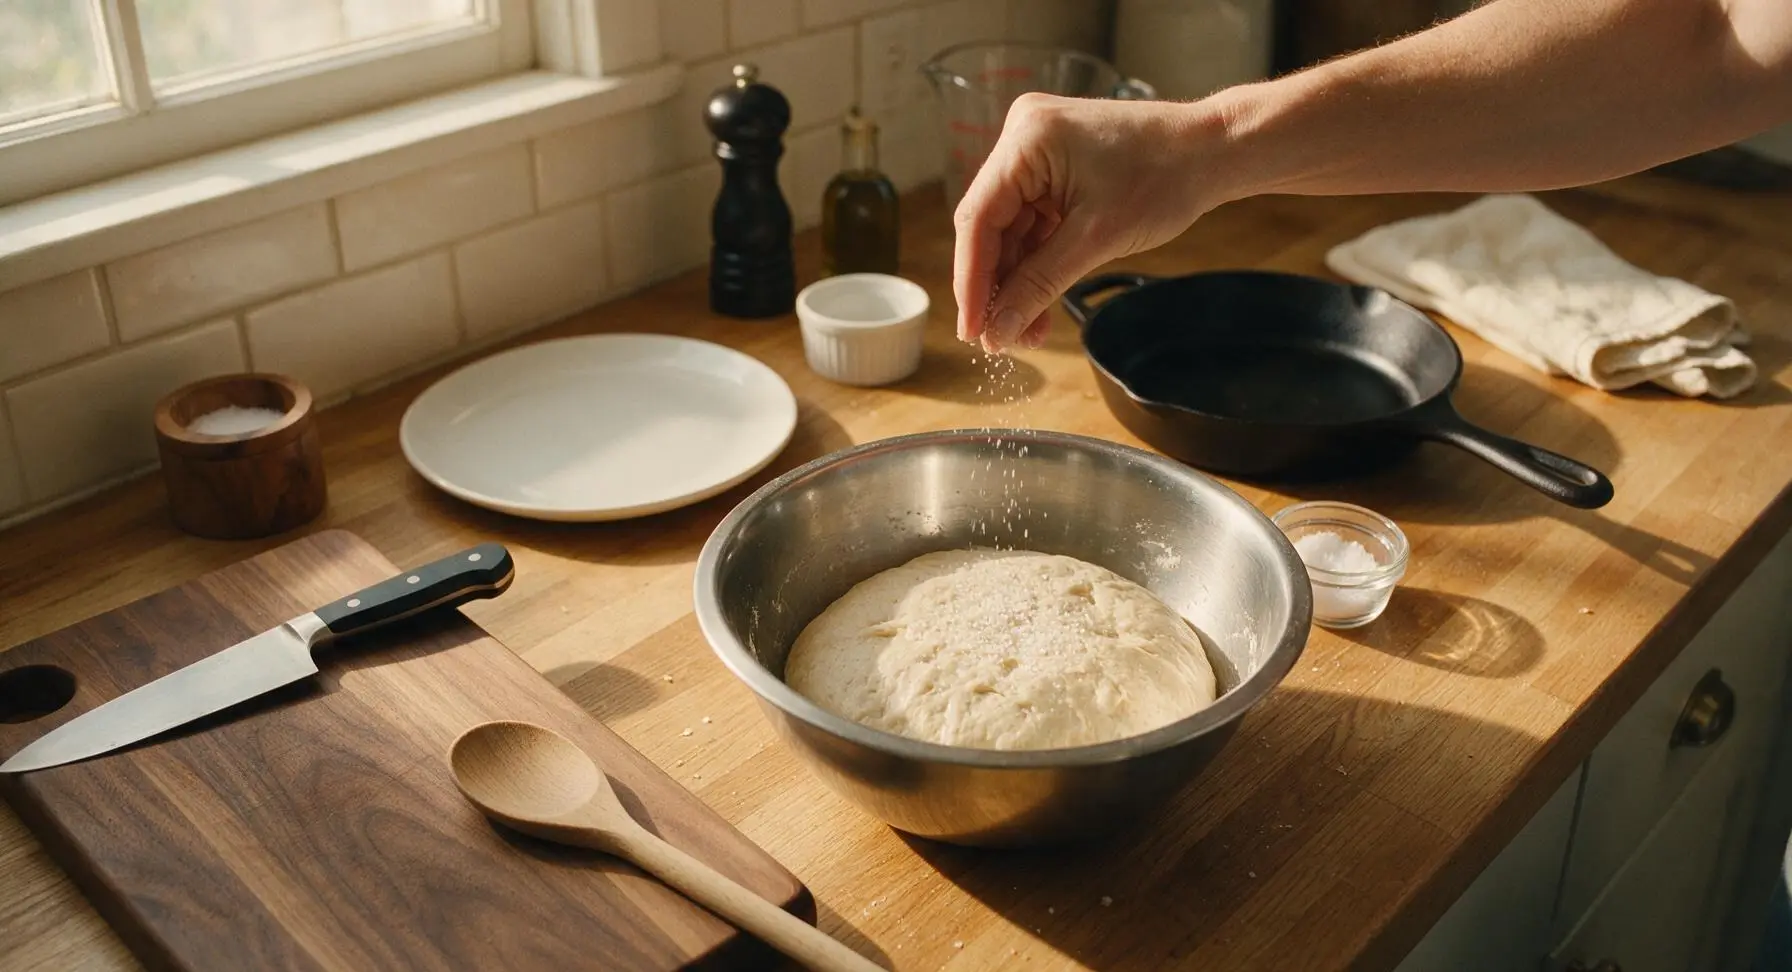
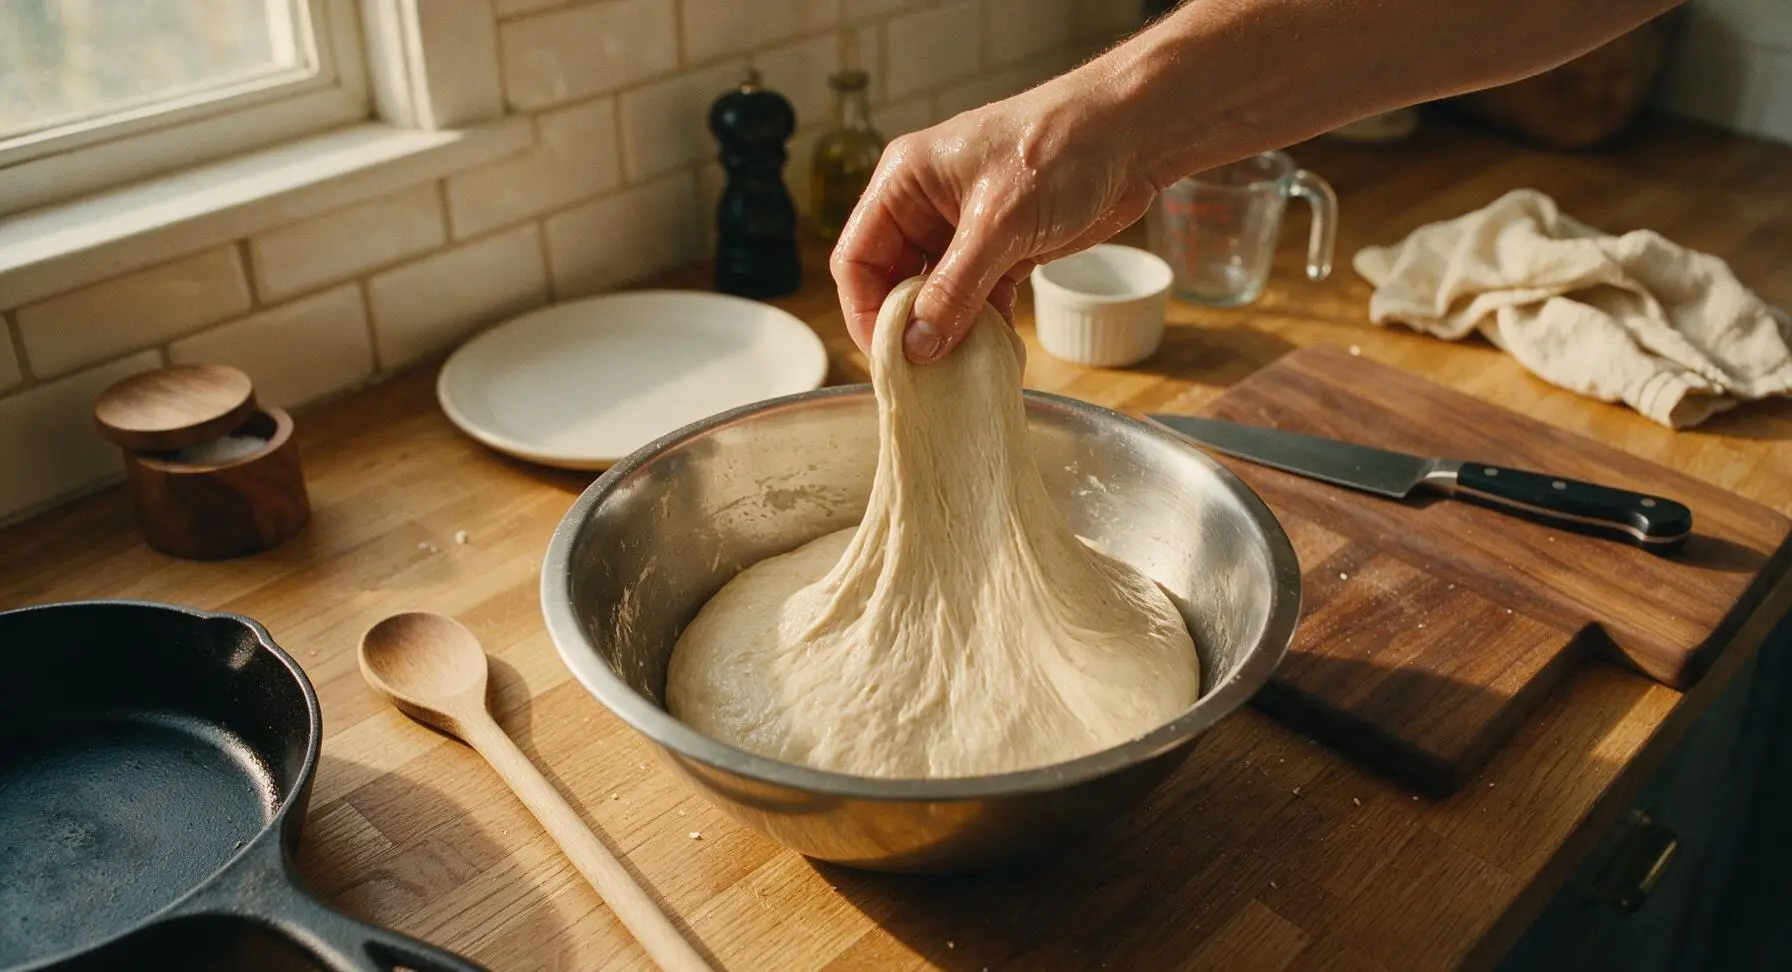
Uncover the rested dough, sprinkle 10g fine sea salt evenly over the surface. Wet your hand slightly to prevent sticking, then reach under the dough, pull the edge up, and fold it over the top. Turn the bowl a quarter turn, repeat the fold 3 more times to fully work the salt into the dough. Re-cover with the kitchen towel and let rest for 30 minutes.
Step 2
step2:Incorporate Salt and Fold
Step 2
step2:Incorporate Salt and Fold
3

Bulk Ferment Dough

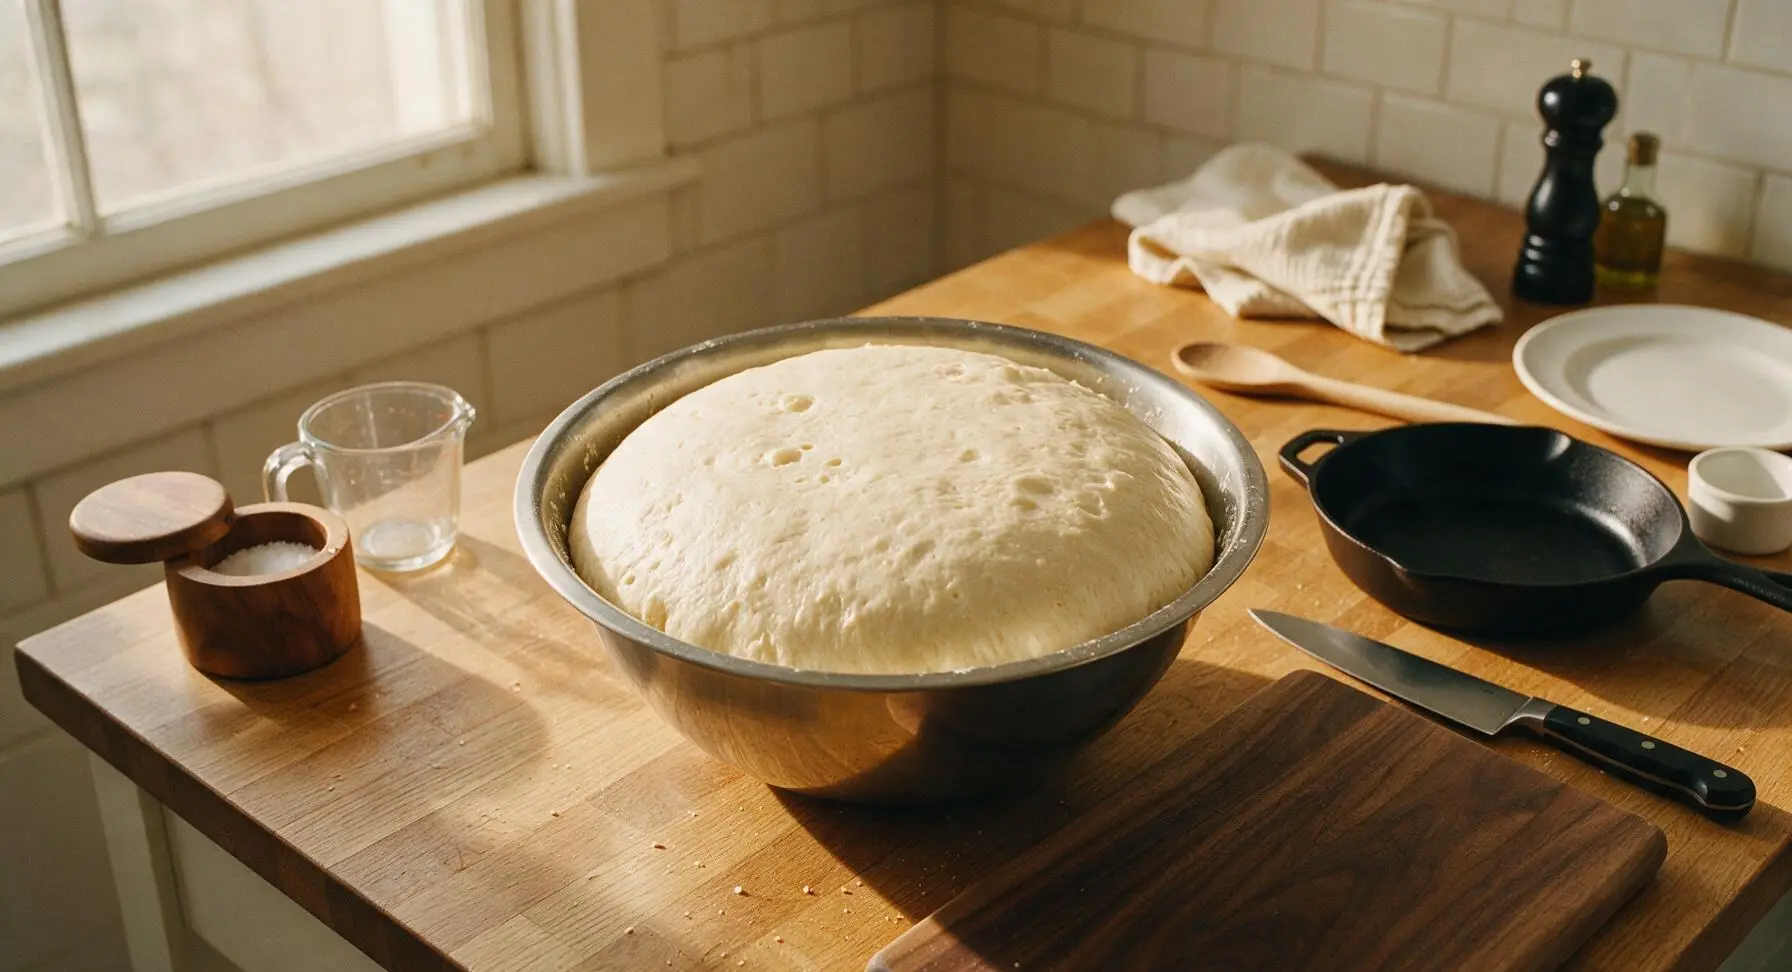
Perform 3 more sets of stretch and folds, 30 minutes apart, over the next 1.5 hours. After the final fold, re-cover the bowl and let the dough bulk ferment at room temperature for 2-2.5 additional hours, until it has doubled in size, looks bubbly along the bowl edges, and jiggles slightly when the bowl is tapped gently.
Step 3
step3:Bulk Ferment Dough
4

Divide and Preshape Rolls

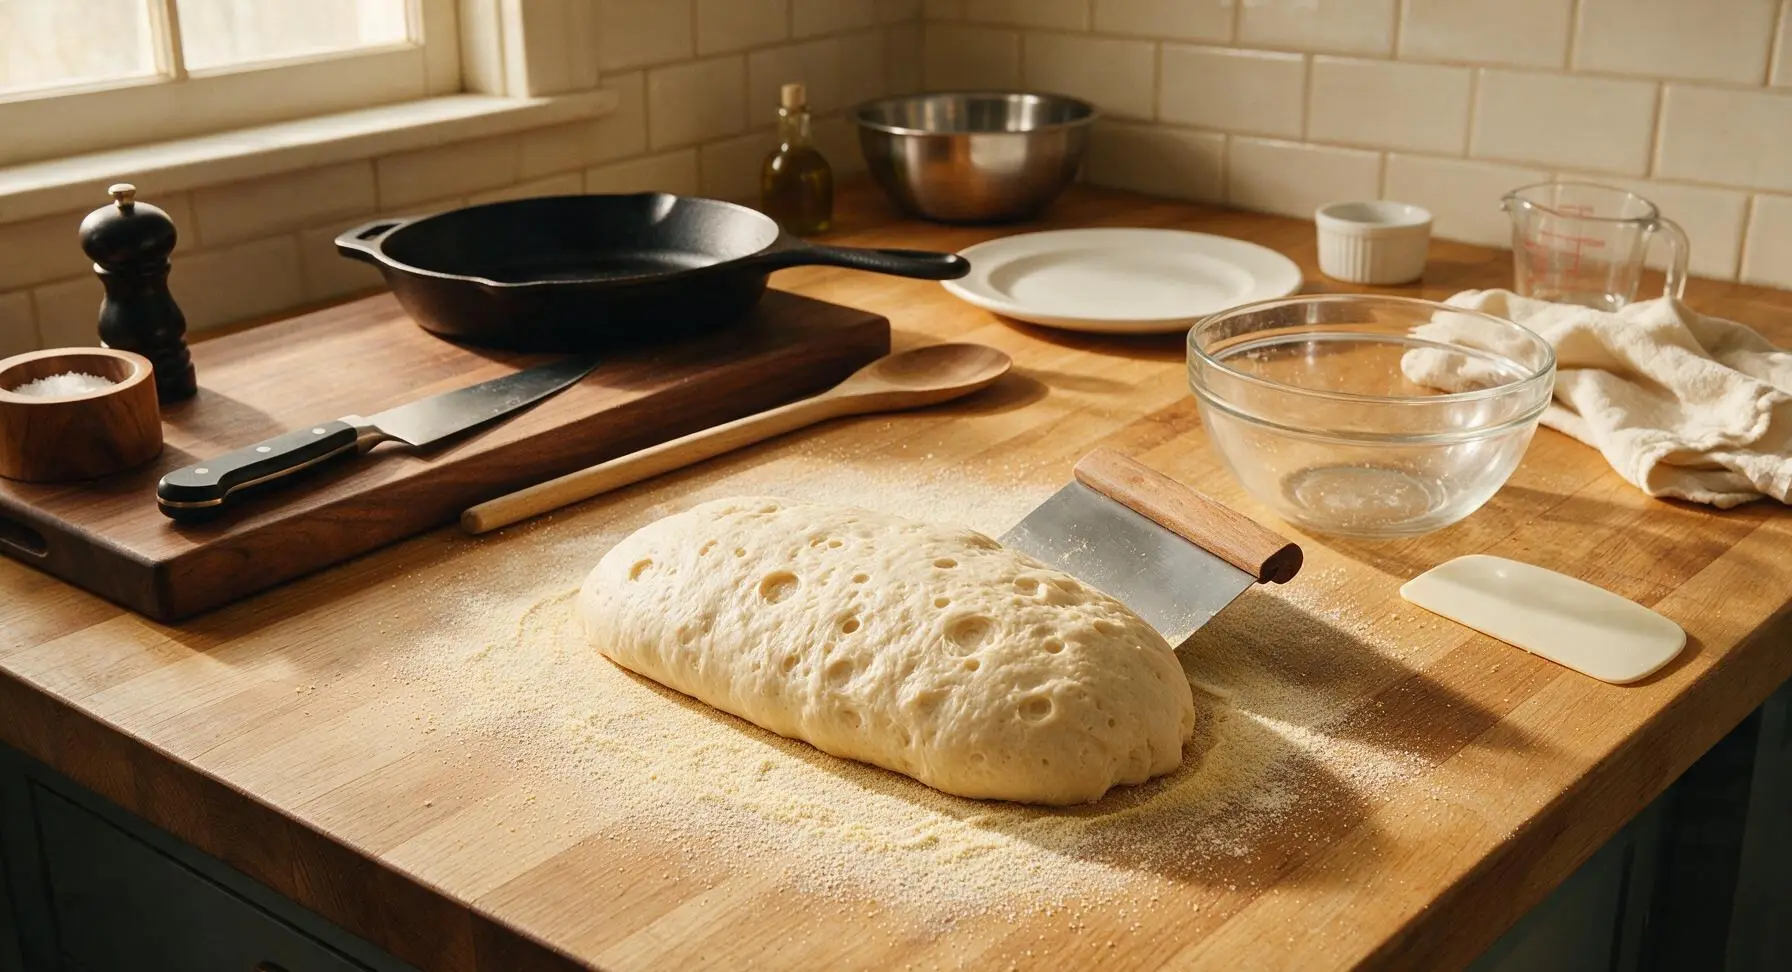
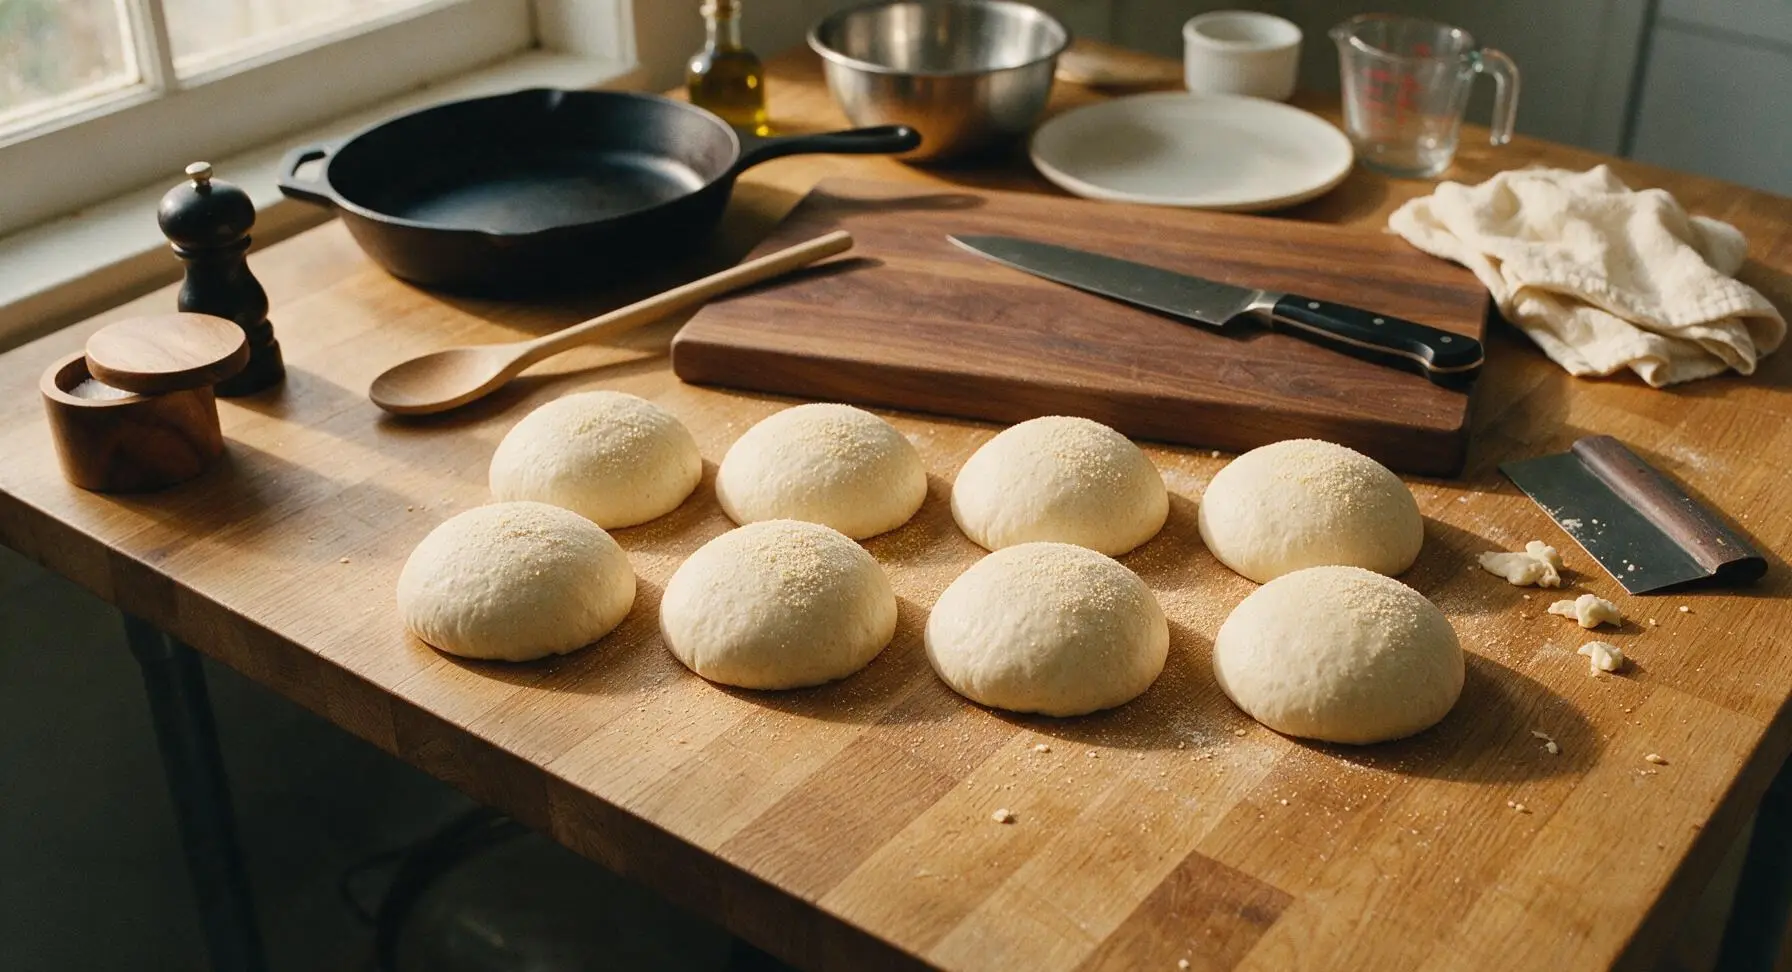
Lightly dust the soapstone counter with a thin layer of semolina flour. Use the silicone scraper to gently turn the fermented dough out onto the counter, being careful not to deflate all trapped air bubbles. Use the bench knife to cut the dough into 8 equal 115g pieces. Form each piece into a tight, smooth ball by tucking the edges under, then let rest uncovered for 20 minutes to relax the gluten.
Step 4
step4:Divide and Preshape Rolls
Step 4
step4:Divide and Preshape Rolls
5

Shape Hoagie Rolls

Take one rested dough ball, pat it gently into a 10x12cm oval, being careful not to press out all large air bubbles. Fold the top third of the oval down to the center, press to seal, then fold the bottom third up to meet the center, pressing to seal. Roll the dough back and forth with your palms to form a 15cm (6-inch) log with slightly tapered ends, placing it seam-side down on the parchment-lined rimmed baking sheet. Repeat with all dough balls, leaving 5cm between each roll to allow room for rising.
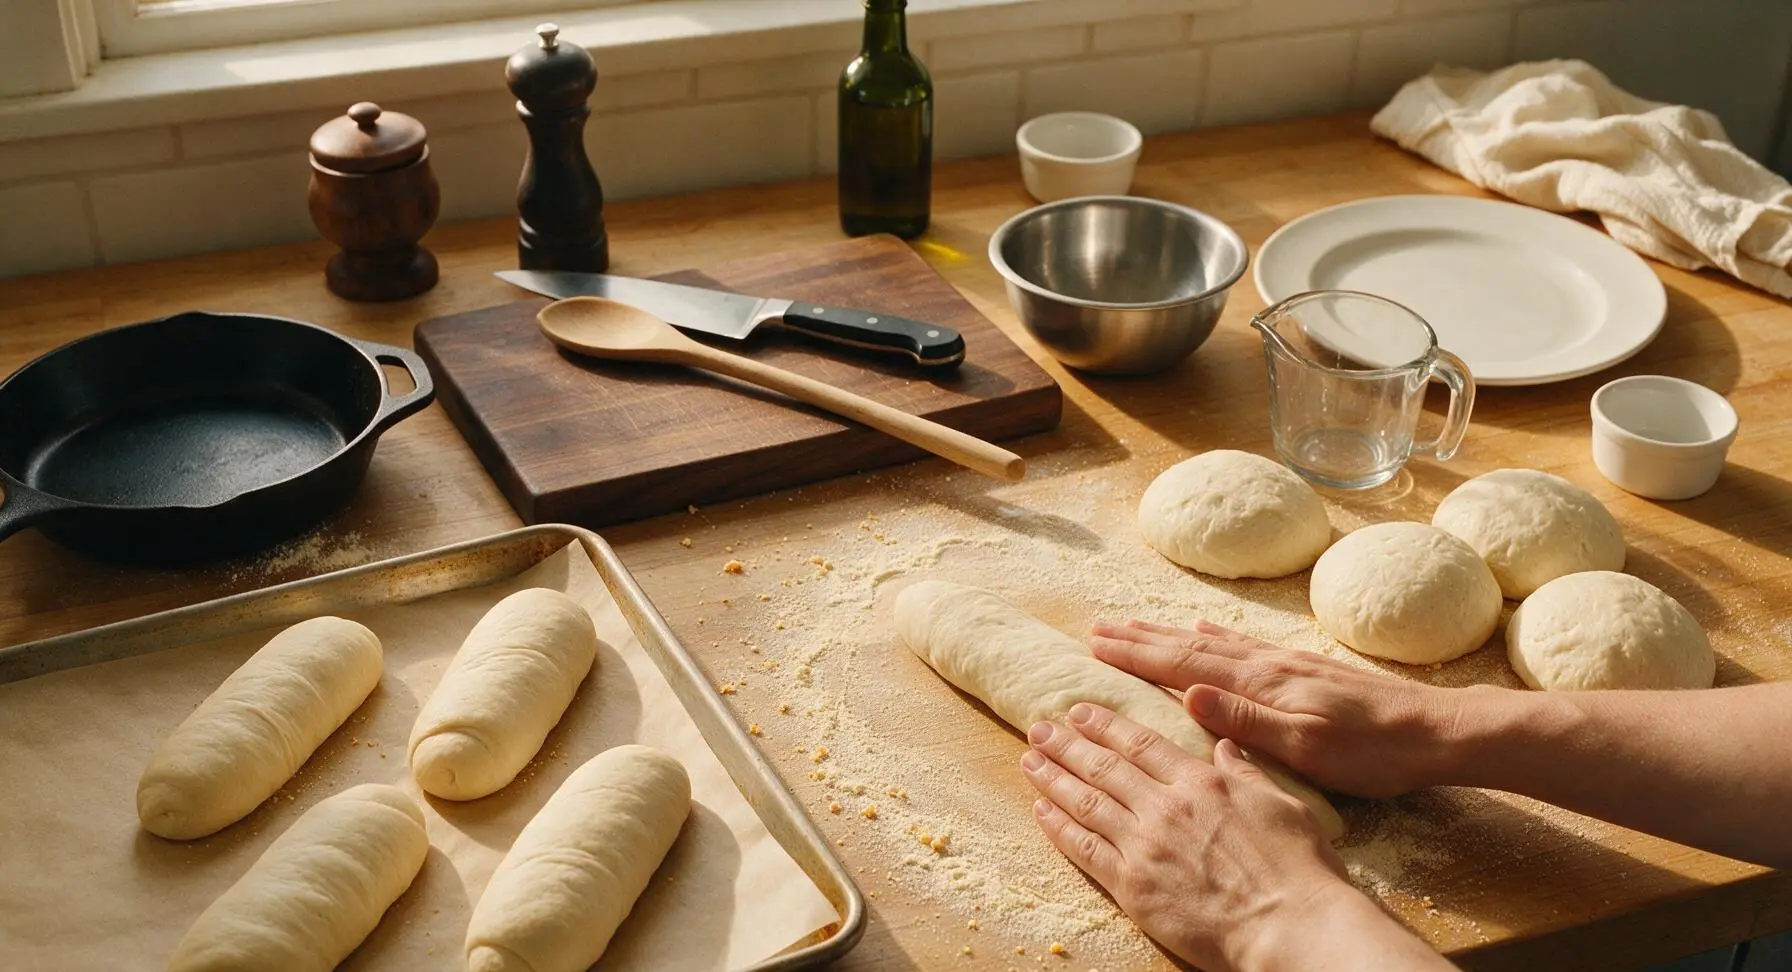
Step 5
step5:Shape Hoagie Rolls
6

Proof and Score Rolls

Cover the baking sheet of shaped rolls loosely with the kitchen towel, and let proof at room temperature for 1 to 1.5 hours, until the rolls have puffed by 50% and hold a slow indent when pressed gently with a floured finger. Twenty minutes before baking, preheat oven to 200C (400F). Once proofed, use the serrated bread knife to make a single 1cm deep lengthwise slash down the top of each roll.
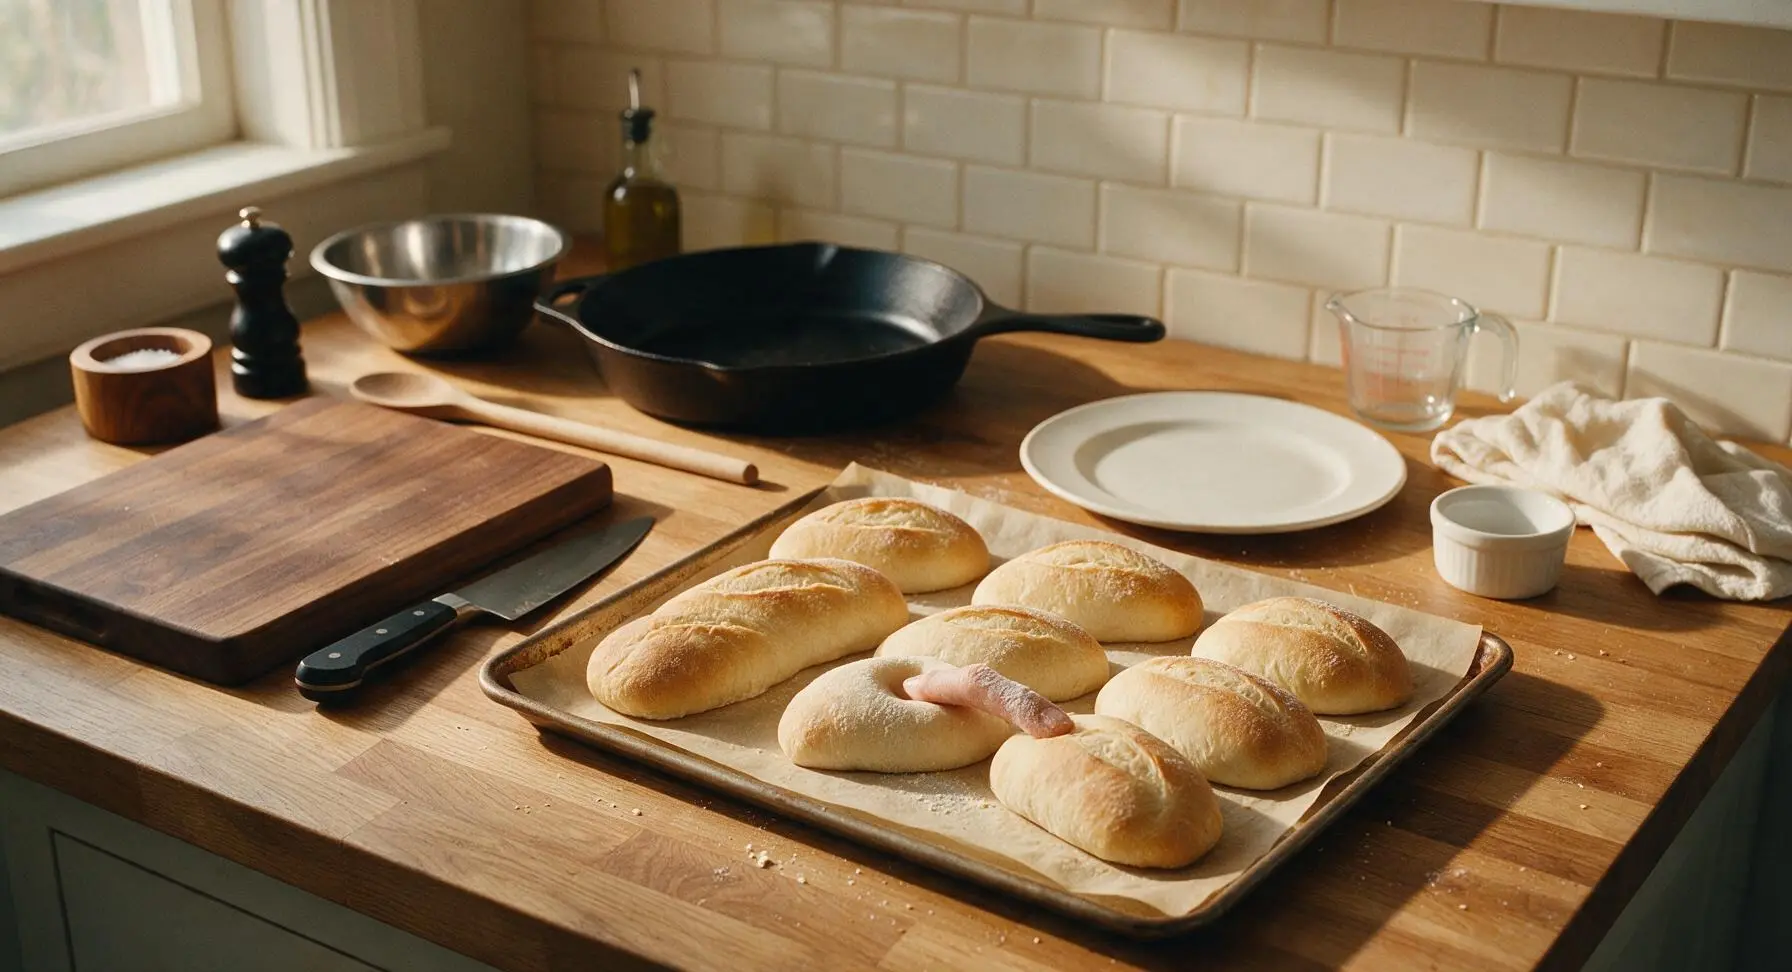
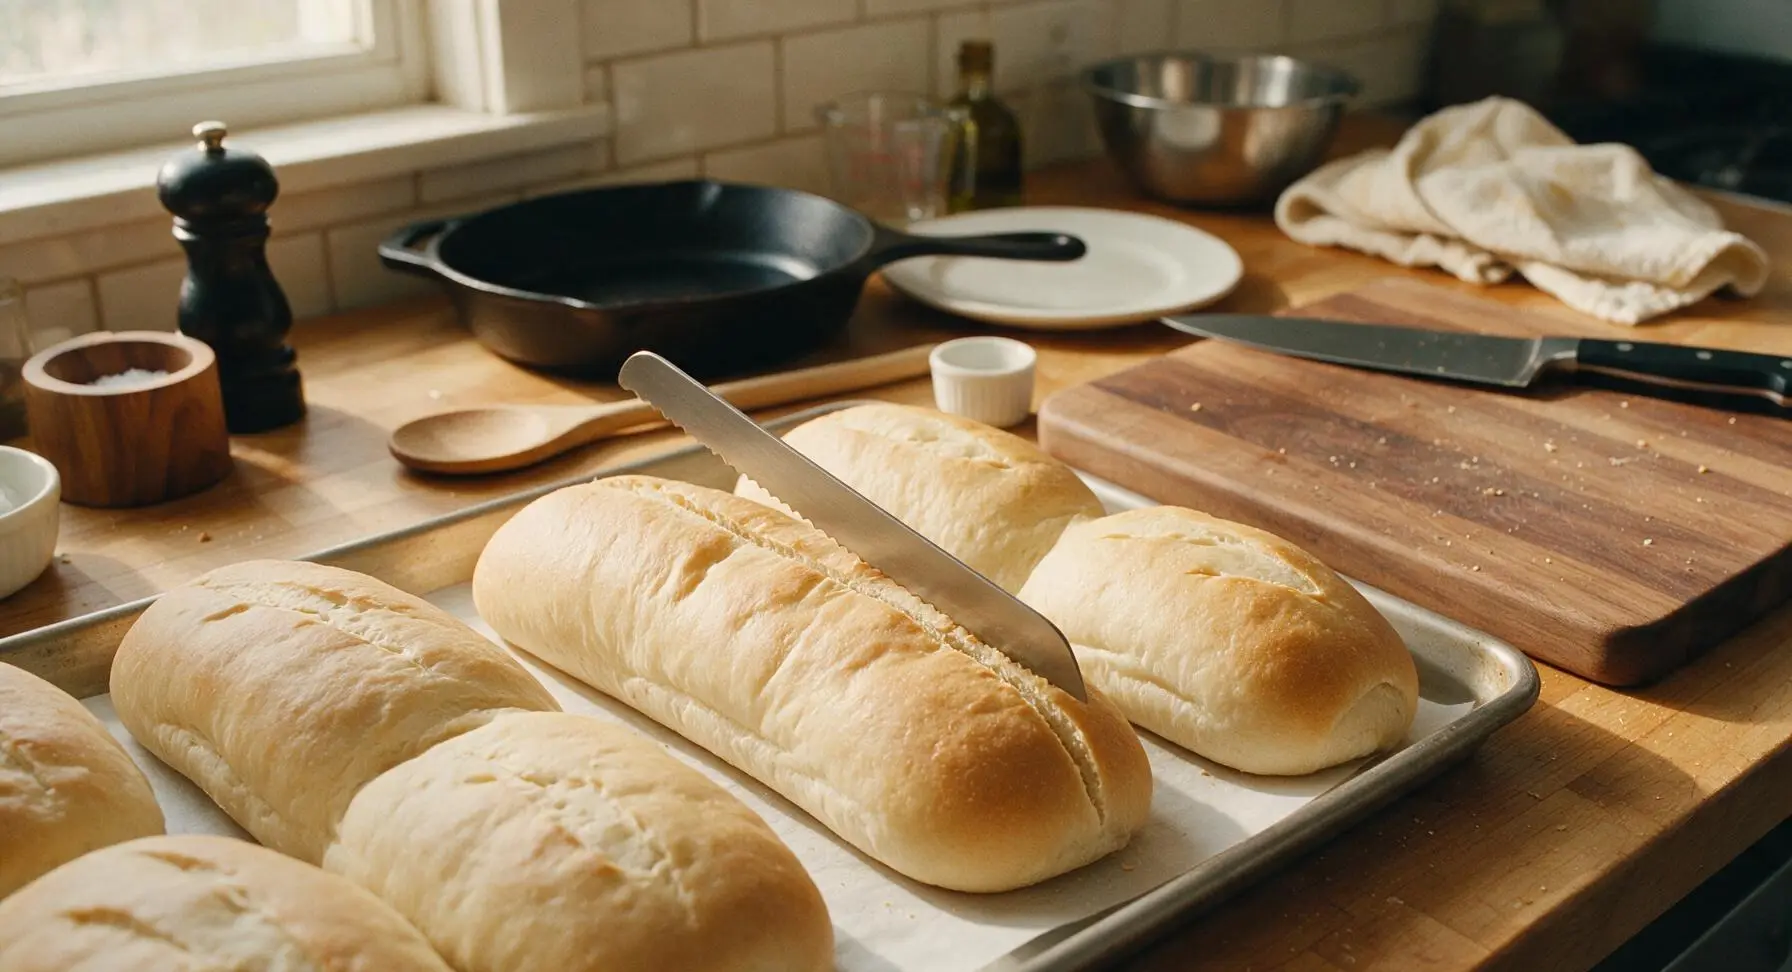
Step 6
step6:Proof and Score Rolls
Step 6
step6:Proof and Score Rolls
7

Bake to Golden Brown

Place the baking sheet on the middle rack of the preheated oven. Bake for 22-26 minutes, rotating the sheet halfway through, until the rolls are deep golden brown on top, sound hollow when tapped on the bottom, and reach an internal temperature of 93C (200F). For an extra soft crust, dab the tops of the hot rolls with a small pat of butter held in a paper towel immediately after removing from the oven if desired.
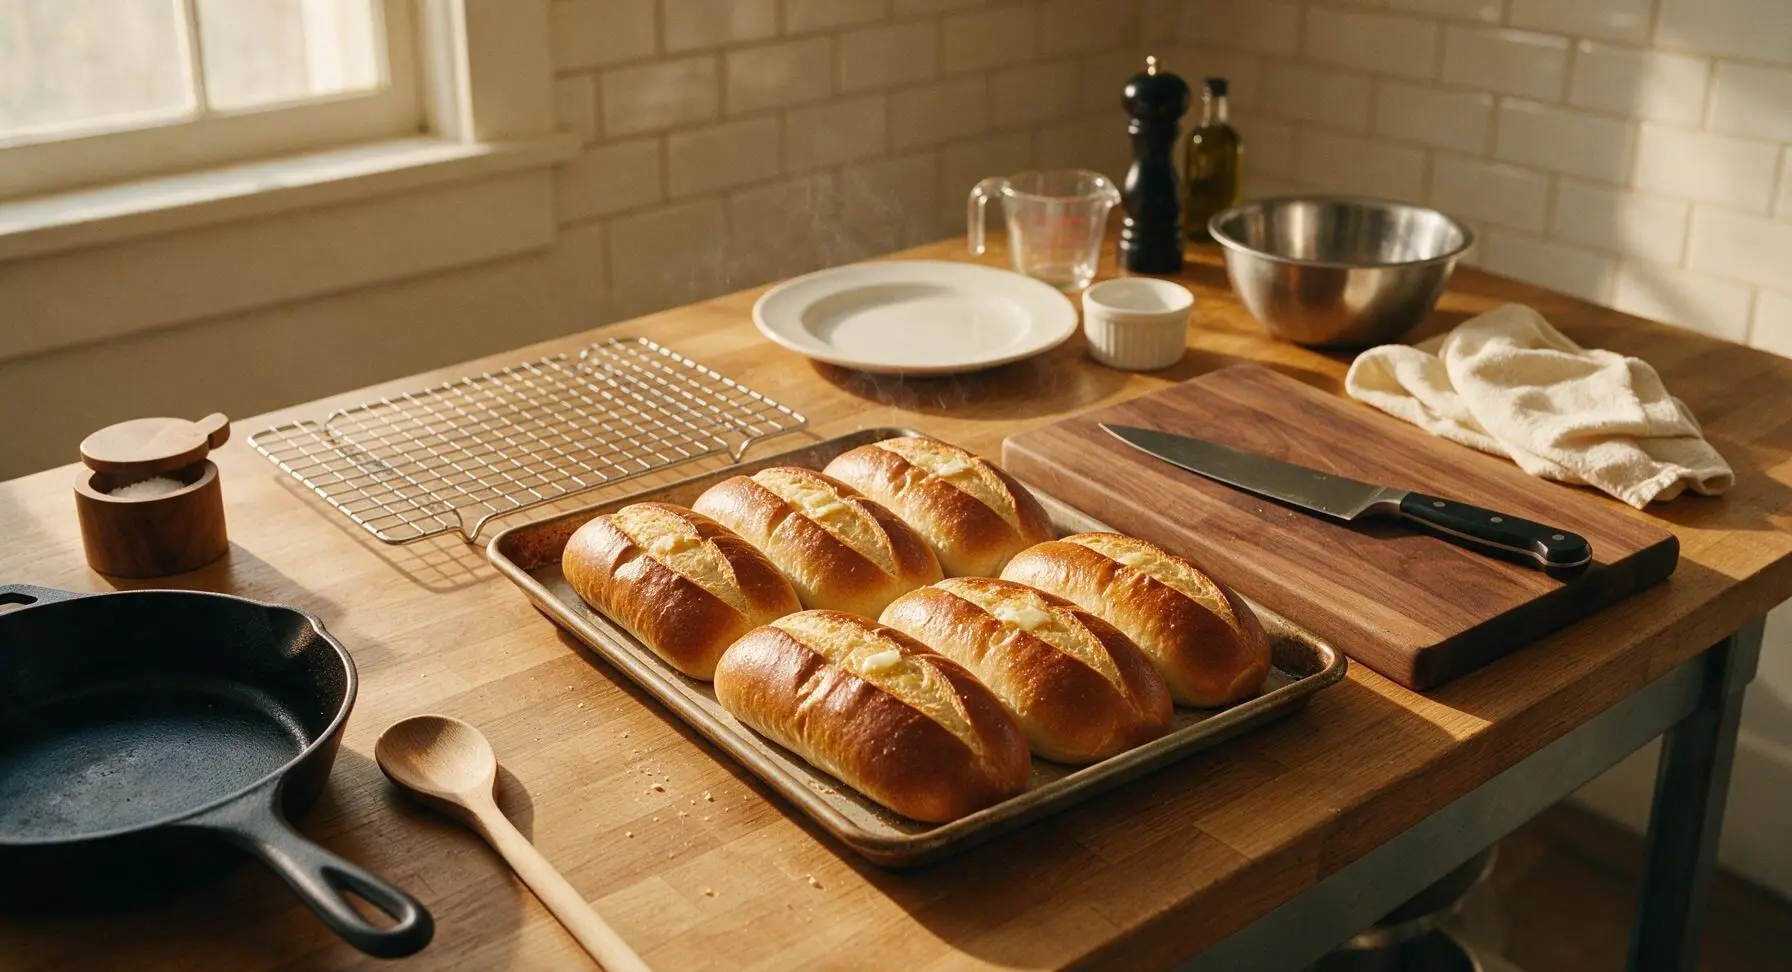
Step 7
step7:Bake to Golden Brown
8

Cool Rolls Fully

Use the bench knife to transfer the hot rolls from the baking sheet to the wire cooling rack. Let cool for at least 20 minutes before slicing or serving, to allow the crumb to set properly. Serve split open, filled with your favorite grilled meats, cheeses, veggies, and condiments.
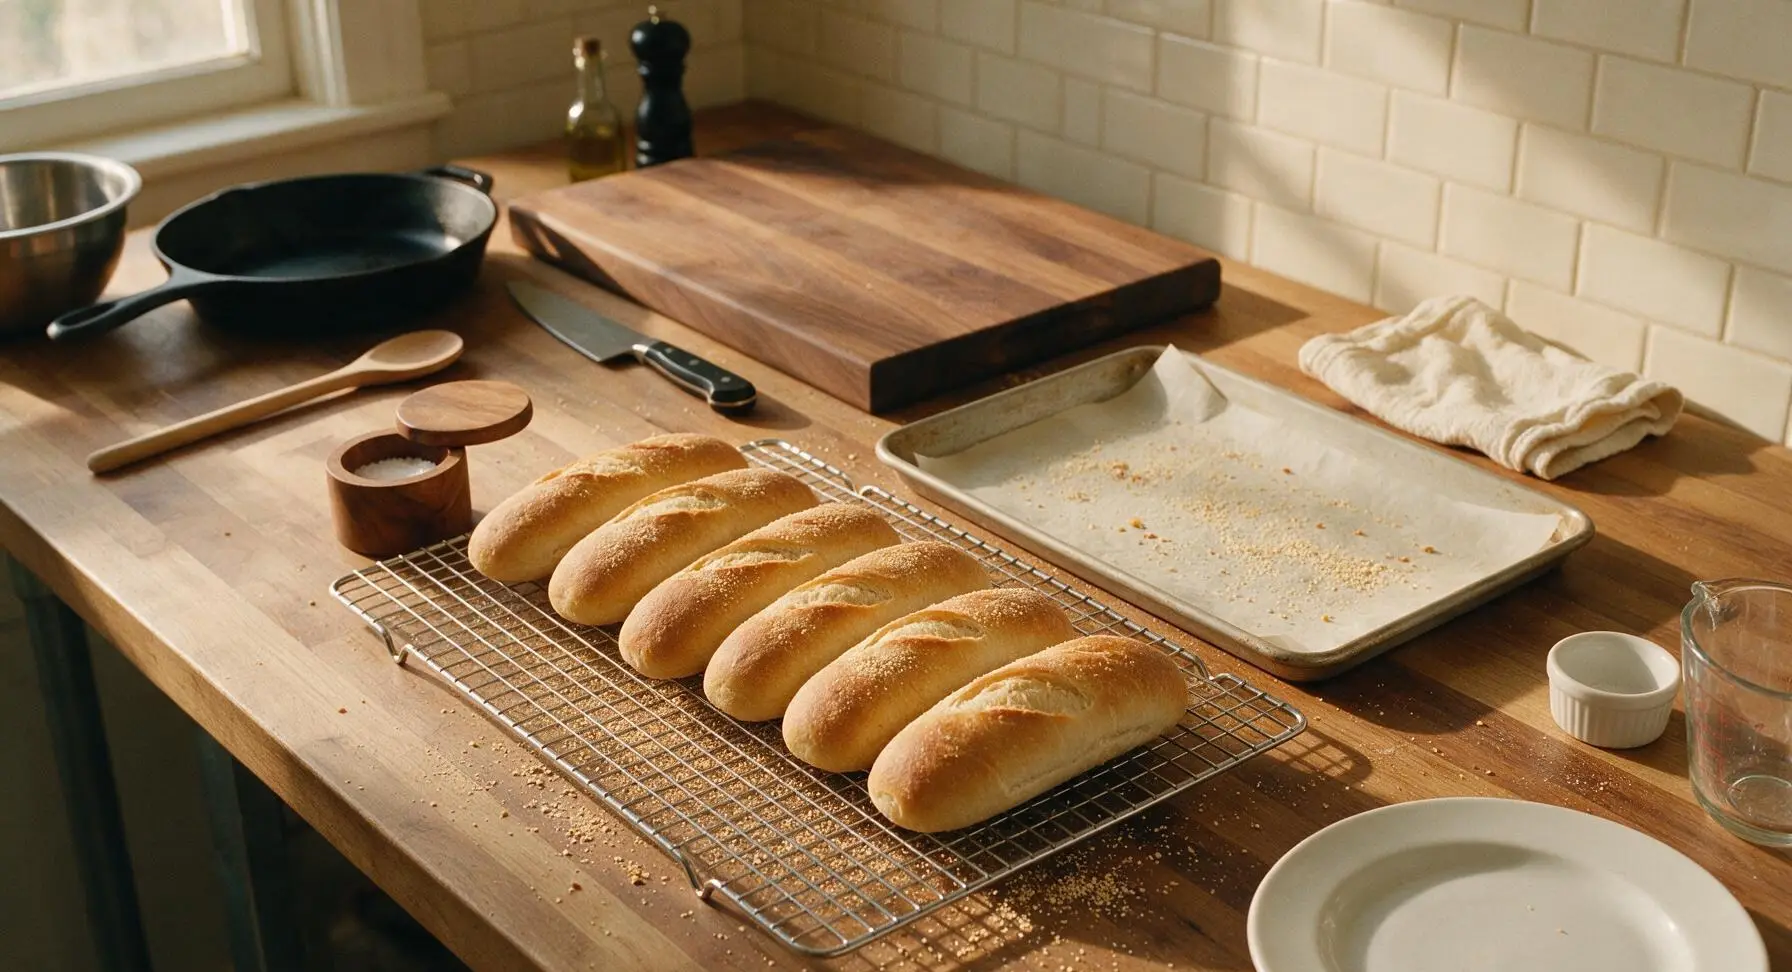
Step 8
step8:Cool Rolls Fully

Tips

1.Use a fully ripe sourdough starter that doubles in size 4-6 hours after feeding for the best rise; a sluggish, underfed starter will produce dense, flat rolls with a tight, non-airy crumb instead of the light, pillowy texture these rolls are known for.
2.Resist the urge to add extra flour when shaping sticky dough—wet your hands lightly instead to prevent sticking. Extra flour will incorporate into the dough and create dry, dense sections in the finished crumb.
3.Let rolls cool for the full 20 minutes before slicing: cutting hot bread causes the soft crumb to compress and become gummy, as the starches are still setting as the rolls cool. Store fully cooled rolls in an airtight bag at room temperature for up to 3 days for the softest texture.


✨ You May Also Like

Desserts & Baking
🍜 Italy

Creamy, coffee-kissed classic Northern Italian no-bake dessert, with layers of rum-spiked mascarpone cream, soft ladyfingers, and a rich cocoa dusting.

⏱️ 4 hours 3Desserts & Baking ★ 4.7
Desserts & Baking
🍜 France

Flaky, shatteringly crisp, buttery French croissants with golden exteriors and soft, airy layered interiors, perfect for pairing with coffee for a special morning treat.

⏱️ 12 hours Desserts & Baking ★ 4.5
Desserts & Baking
🍜 United States

Warm, spiced baked apples topped with a fluffy golden biscuit crust, this cozy dessert pairs perfectly with vanilla ice cream for cool-weather comfort.

⏱️ 55 minuteDesserts & Baking ★ 4.6
Desserts & Baking
🍜 United States

A star-spangled classic American blueberry pie with buttery flaky crust and bright sweet-tart filling, perfect for summer patriotic gatherings.

⏱️ 1 hour 25Desserts & Baking ★ 4.7
Desserts & Baking
🍜 United States

A beloved no-bake regional Maine candy with a chewy coconut-potato center coated in rich dark chocolate, a New England holiday staple since the 1870s.

⏱️ 2 hours 3Desserts & Baking ★ 4.8
Desserts & Baking
🍜 France

Luxuriously creamy, floral frozen custard made with aromatic Tahitian vanilla beans, boasting a smooth, rich texture that melts slowly on the tongue.

⏱️ 3 hours 3Desserts & Baking ★ 4.5

Soft Sourdough Hoagie Rolls:Frequently Asked Questions

1.How do I know my sourdough starter is active enough to use for these hoagie rolls? ▾
Your 100% hydration starter is ready when it’s bubbly, doubled in size 4-6 hours after feeding, and passes the float test: drop a small teaspoonful into room-temperature water, and if it floats, it’s good to go. If it sinks, let it rest another 2-3 hours at 75-78°F before using, as underactive starter will lead to dense, flat rolls.
2.Can I substitute all-purpose flour for the unbleached bread flour in this recipe? ▾
You can, but note that bread flour’s 12-14% protein content creates the chewy, sturdy crumb that holds up to piled-high hoagie fillings. If you use all-purpose flour, stir in 2 tablespoons of vital wheat gluten per 4 cups of AP flour to boost protein; otherwise your rolls may be too soft and collapse under heavy toppings.
3.Why is 90°F warm water specified, and what if my water is too hot or too cold? ▾
That 90°F temperature is ideal for waking up your sourdough starter without damaging it, keeping fermentation consistent. Water over 110°F will kill the beneficial yeast and bacteria in your starter, leading to no rise, while water under 80°F will slow fermentation drastically, adding 2+ hours to rise time and resulting in denser rolls.
4.How do I get that thin, soft golden crust instead of a thick, tough artisan-style crust? ▾
Skip the heavy steam bakes used for crusty sourdough loaves! For these soft rolls, brush the tops with melted butter right before baking, and bake at 375°F for 18-22 minutes with no added steam. Brush the tops with a little extra melted butter immediately after baking to lock in tenderness and prevent a tough crust.
5.Can I make these hoagie rolls ahead of time for a summer cookout or gathering? ▾
Absolutely! Once the baked rolls are fully cooled, tuck them into an airtight zip-top bag and store at room temperature for up to 3 days, or freeze them for up to 1 month. For that fresh-baked taste, thaw frozen rolls at room temp, then warm them for 3-4 minutes in a 350°F oven right before serving.
6.My rolls turned out dense instead of pillowy and chewy—what went wrong? ▾
The three most common culprits are inactive starter, underdeveloped gluten, or underproofed dough. Always confirm your starter passes the float test before mixing, knead until the dough passes the thin windowpane test, and let dough bulk rise until fully doubled (not just slightly puffy) to get that light, pillowy crumb perfect for loaded sandwiches.

Comments (4)

yesterday

OMG these soft sourdough hoagie rolls are a total game changer! I made them for our family Sunday meatball subs last night and even my super picky 7 year old asked for seconds. I can already tell they’re going to be perfect for meal prep for my husband’s work lunches this week, since the crumb is so soft and pillowy. I did let my starter rest an extra 30 minutes because my kitchen is pretty cold right now, and they turned out absolutely perfect. SO good!

2 hours ago

Wait did you do the egg wash like the recipe says? I tried making sourdough hoagies once before and they came out super crusty on top, not soft at all. Wondering if skipping that was my mistake!

30 minutes ago

So glad your family loved them! The egg wash definitely helps lock in moisture for that soft top, plus it gives that perfect golden color. If your kitchen is cold, that extra starter rest time is a great call too—dough should roughly double before shaping for the fluffiest texture.

3 days ago

Took these to our neighborhood potluck last weekend to go with the smoked pulled pork I made, and people were raving so much I had to share the recipe link with 4 different neighbors! Only thing I adjusted was adding a tiny bit of garlic powder to the dough before shaping, and it paired so well with the pork. Cook time was spot on at 24 minutes for my oven, no burnt bottoms at all.

2 days ago

Love that garlic powder addition! That sounds incredible with smoked pulled pork—what a perfect potluck pick. So glad these were a hit with your neighbors!

1 week ago

Okay, I’m pretty new to sourdough baking so I was nervous about tackling a medium difficulty recipe, but these came out way better than I expected! My only issue was that my rolls spread a little more than I wanted during the final proof—they still tasted amazing, just not quite as tall and plump as the photos. Any tips for nailing that classic hoagie shape next time?

5 days ago

I had the exact same issue my first batch! I started shaping them a little tighter, making sure to pinch the seam really well down the whole length of the roll, and that totally fixed the spreading for me. Also don’t let them proof too long on the counter before popping them in the oven!

2 weeks ago

Total game changer for my weekly sandwich prep! I bake a batch every Sunday now, slice them up, and freeze half so we can pull them out for quick cheesesteaks, Italian hoagies, even breakfast egg sandwiches during the busy work week. They thaw perfectly in the toaster oven and don’t get all soggy or tough like the store-bought hoagie rolls I used to buy. My kids loved them too, which is a massive win in my book. 10/10, will be making these on repeat!



